
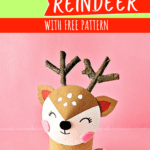

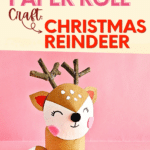
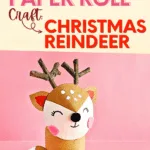
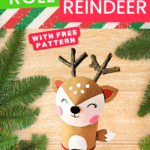

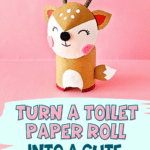
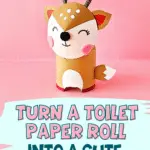

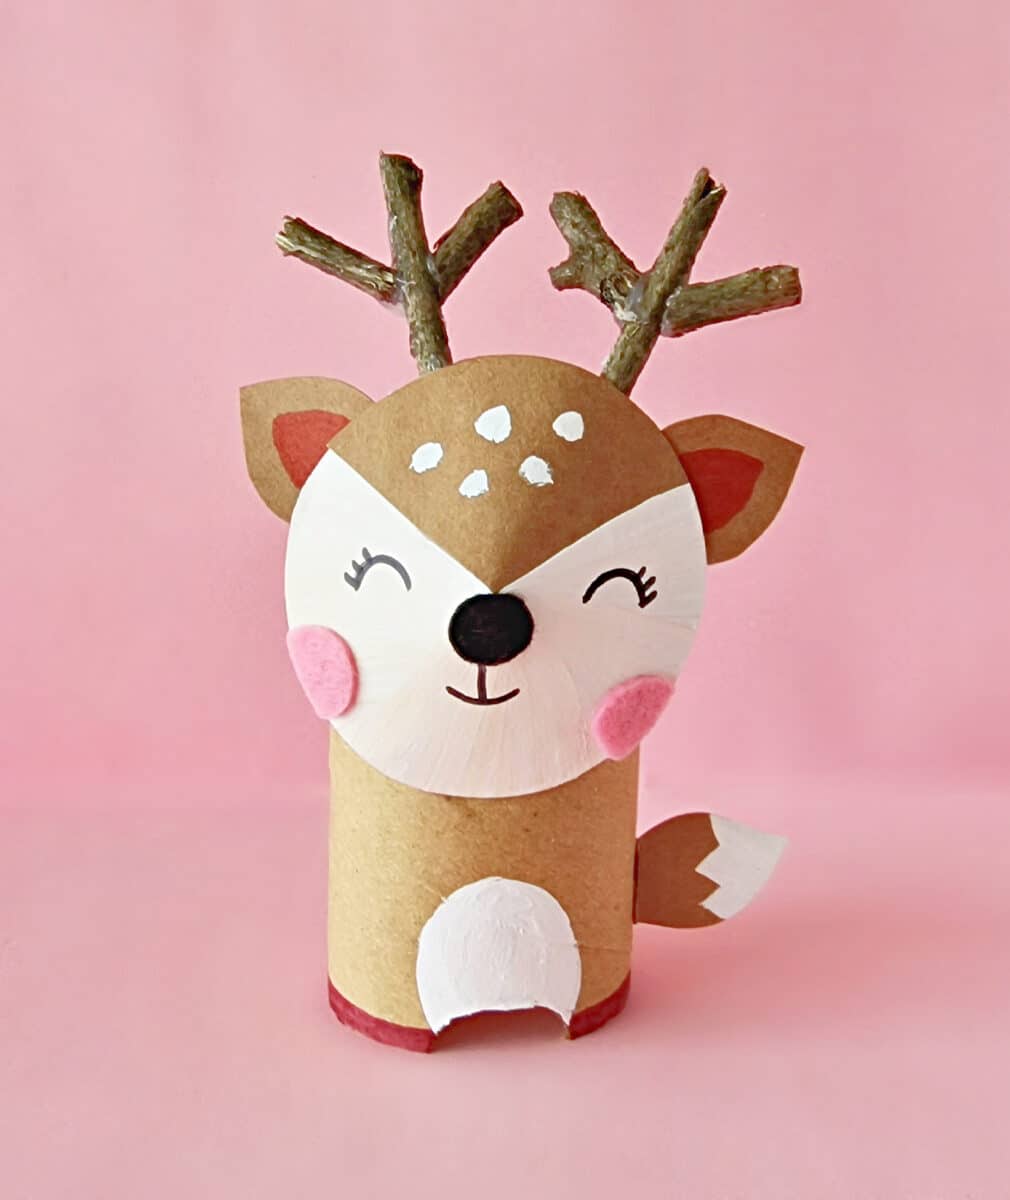
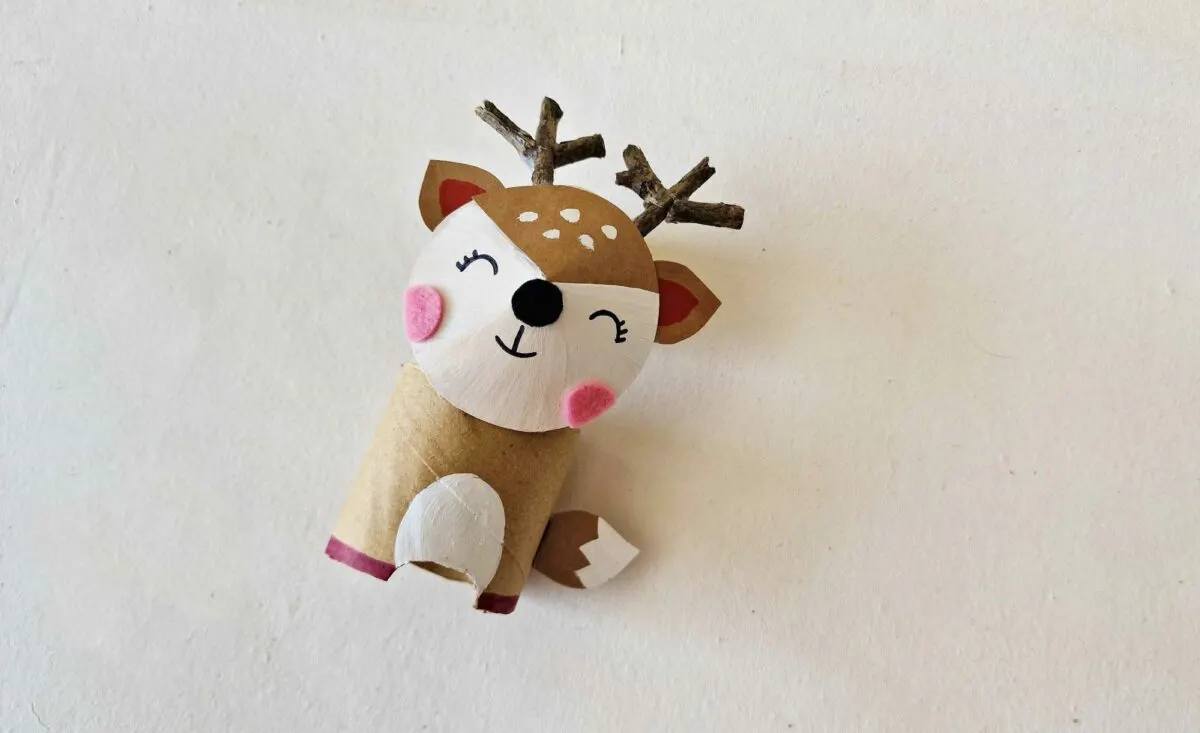
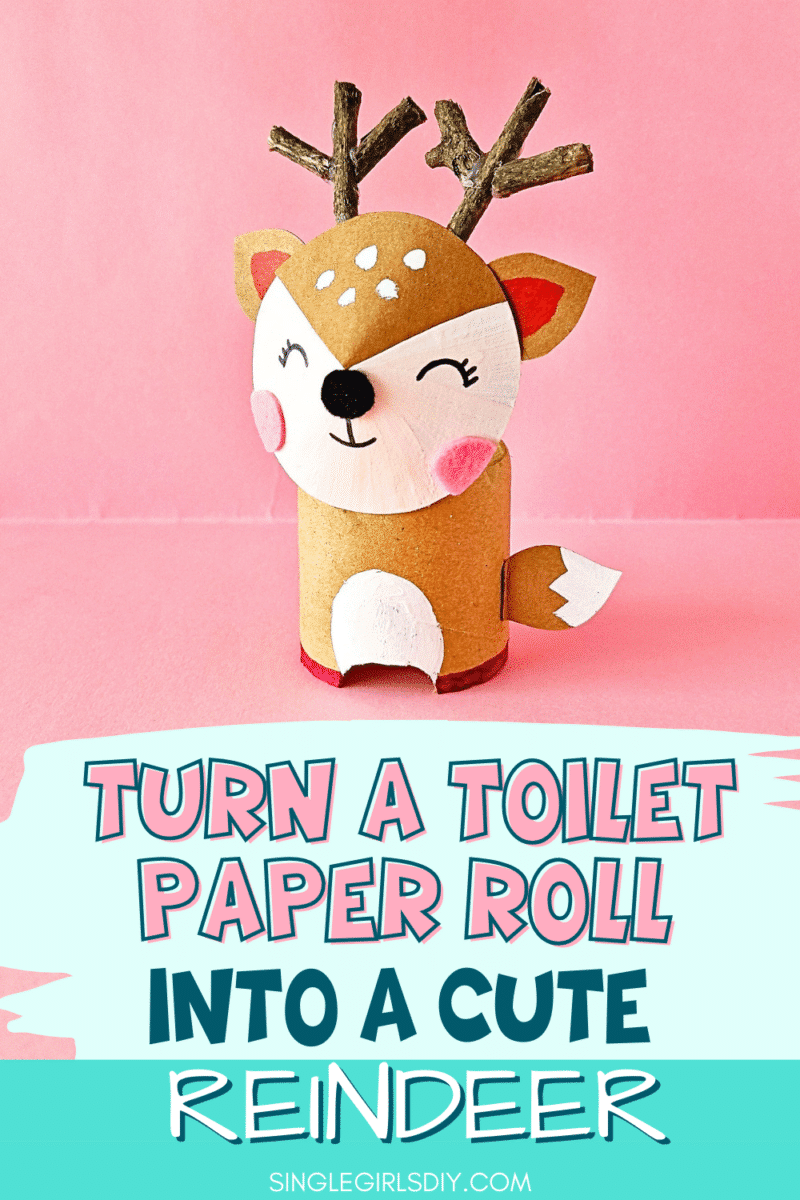
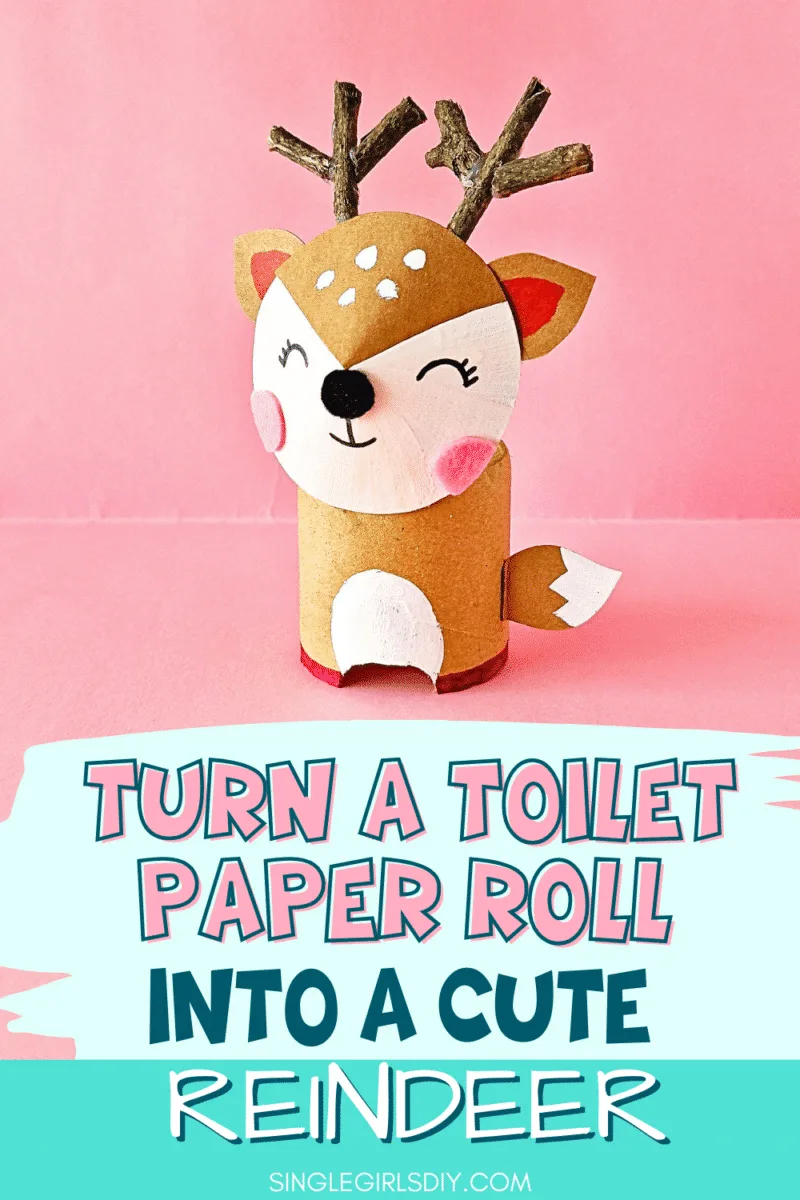
This cute craft uses common supplies, such as a cardboard tube and twigs, to create an adorable toilet paper deer craft that is perfect for Christmas or for woodland decor. Use our free pattern and recycle your cardboard into fun decorations.
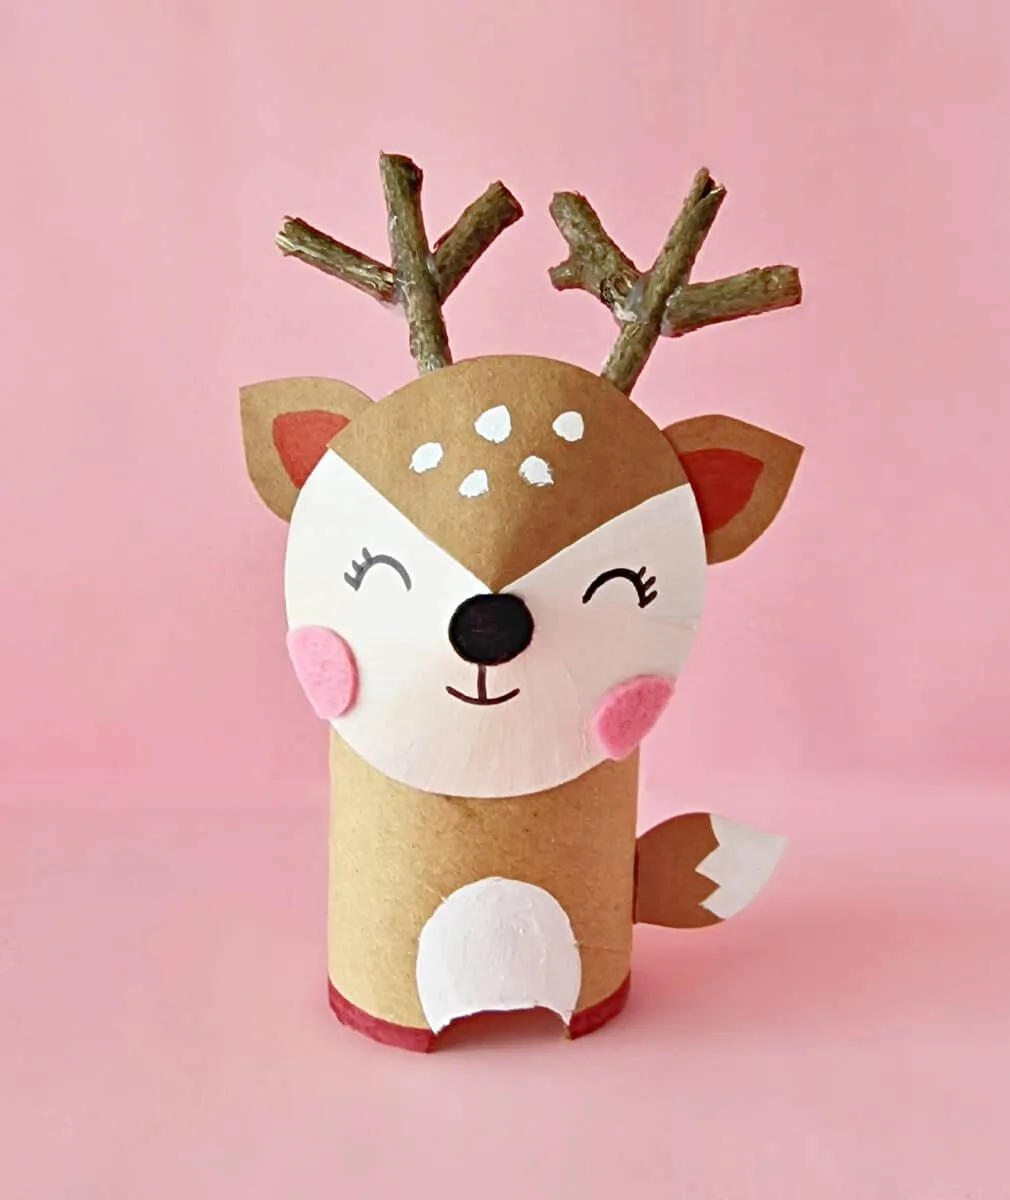
DIY Toilet Paper Roll Deer
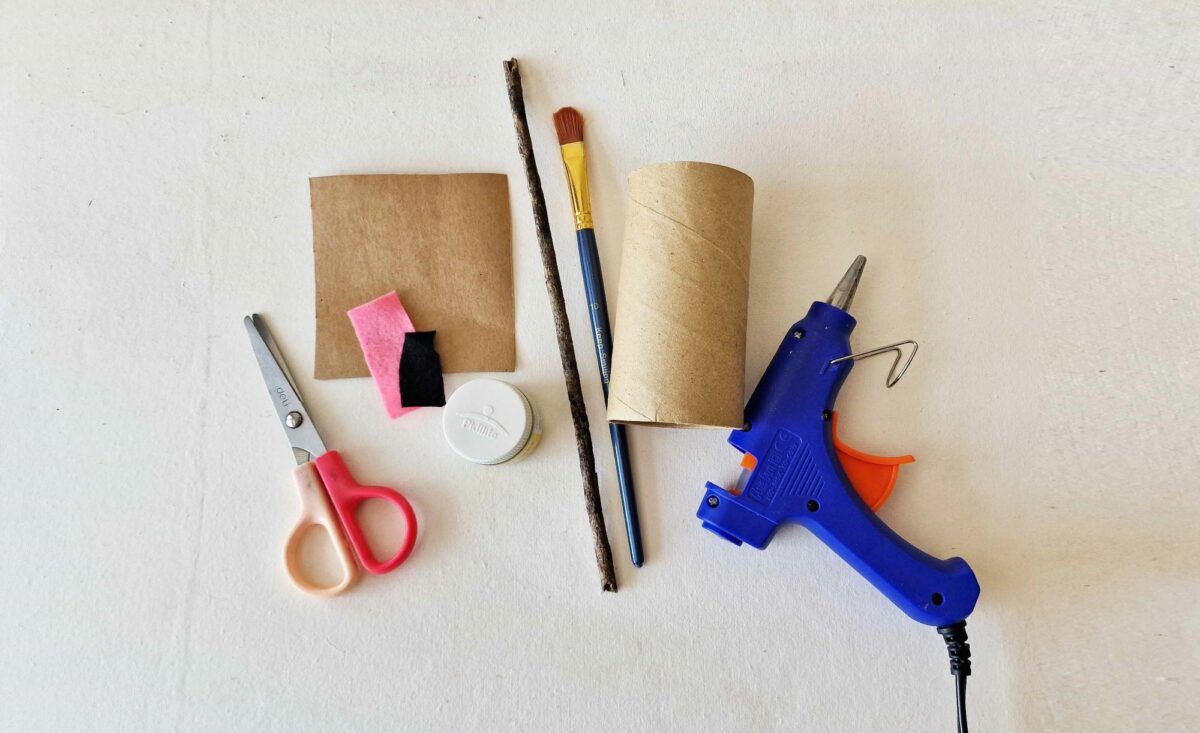
Supplies
- Free Deer Pattern
- Thick brown craft paper
- Pink felt scrap
- Black felt scrap
- Toilet paper cardboard roll
- White Acrylic Craft Paint or White Paint Pen
- Thin, Dry Twigs
- Craft Glue
- Permanent Markers (Black and Red)

Directions
Step 1
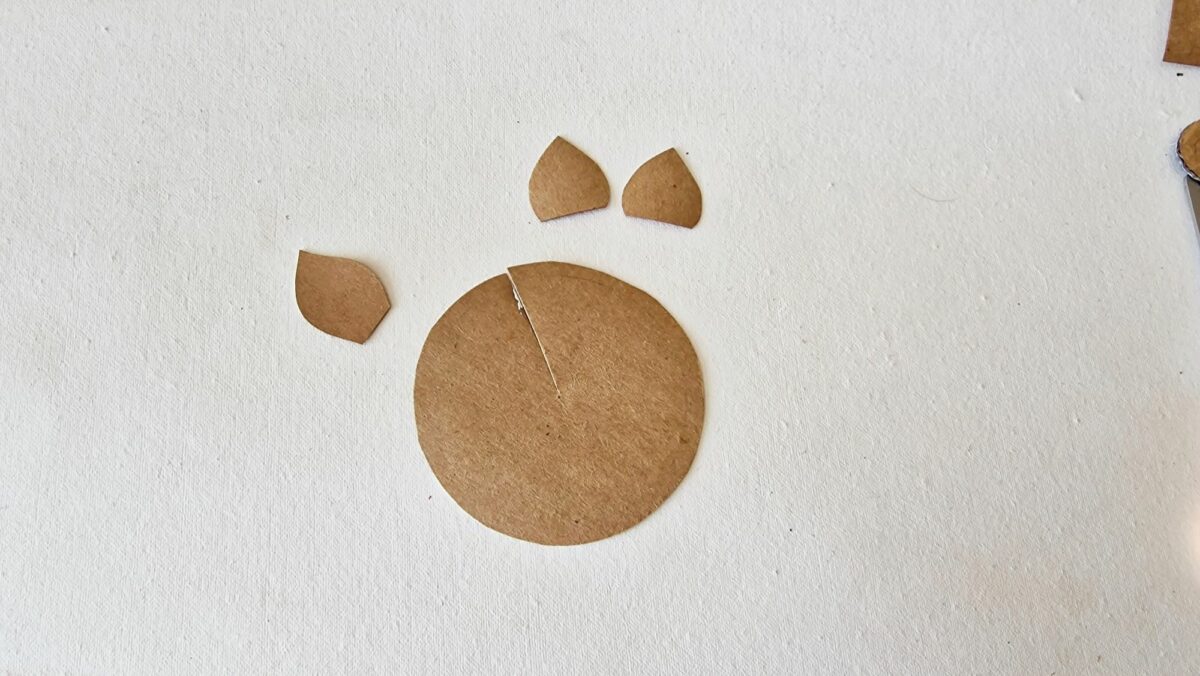
Download, print and cut out the template patterns (head, tail, ears, nose, and cheeks).
Trace the head, tail and ears template patterns on thick brown craft paper.
Cut the blush pattern out of pink felt and the nose out of black felt.
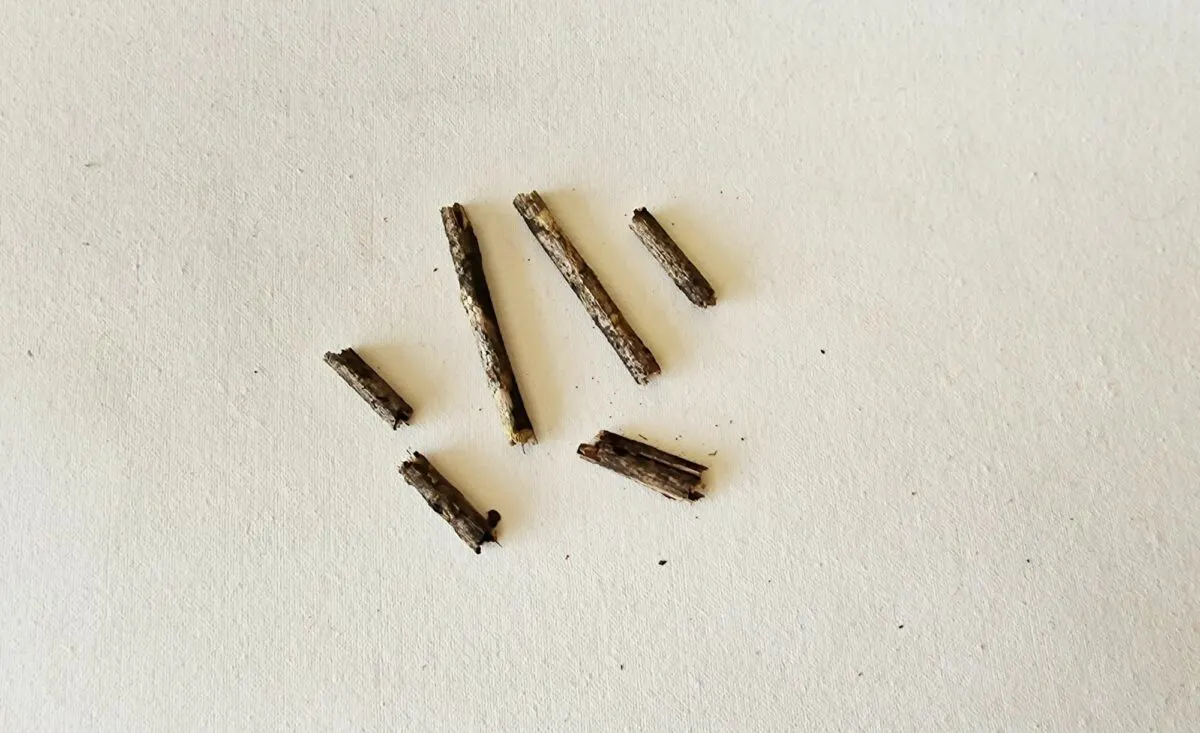
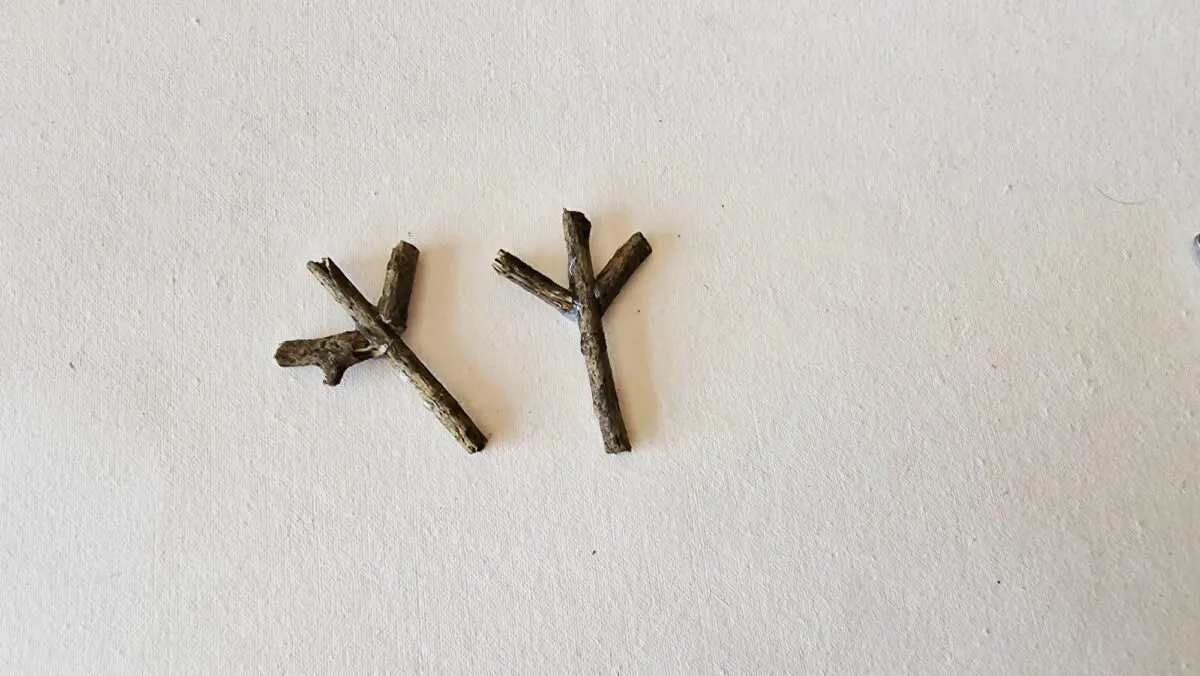
Cut dry twigs into 2 long pieces and 4 short ones.

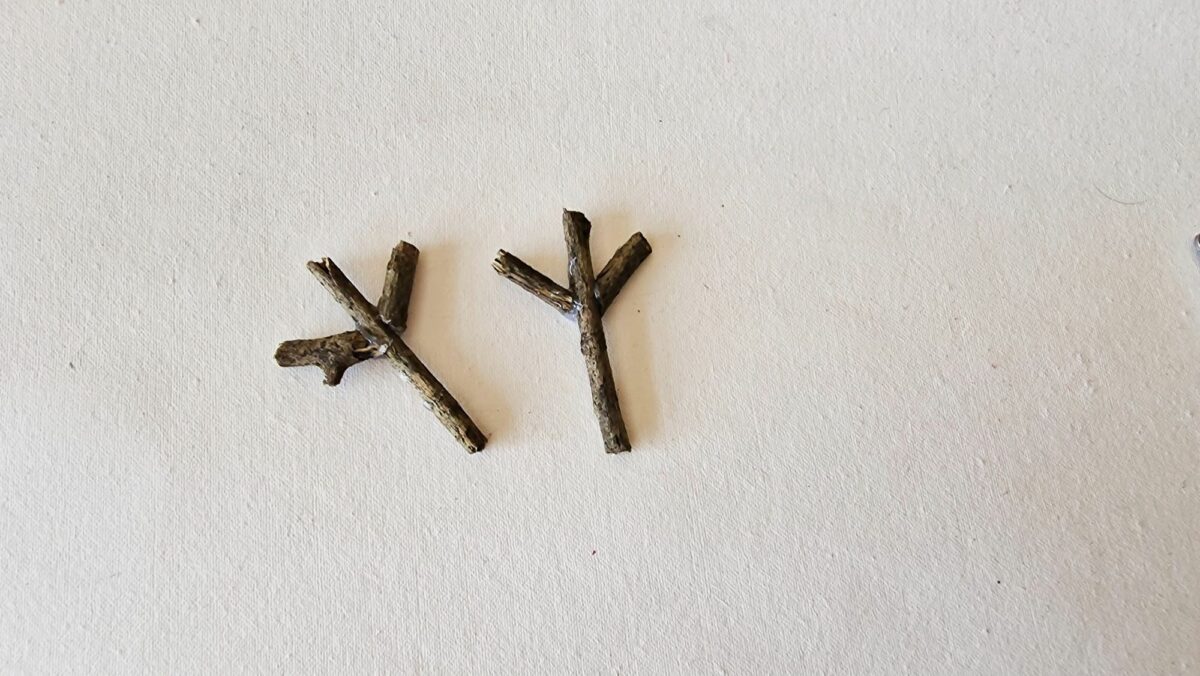
Step 2
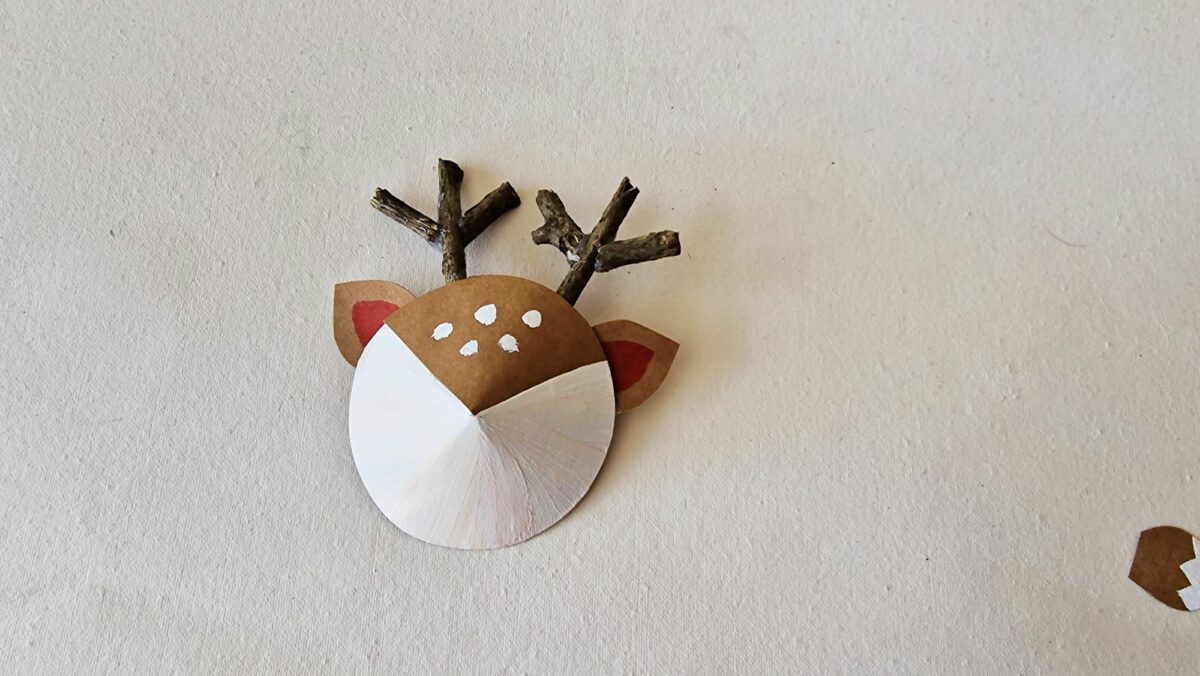
Glue two short pieces to either side of a long dry twig to make an antler. Repeat the process to make the second antler.
Step 3
Cut a slit along the marked line inside the head cutout.

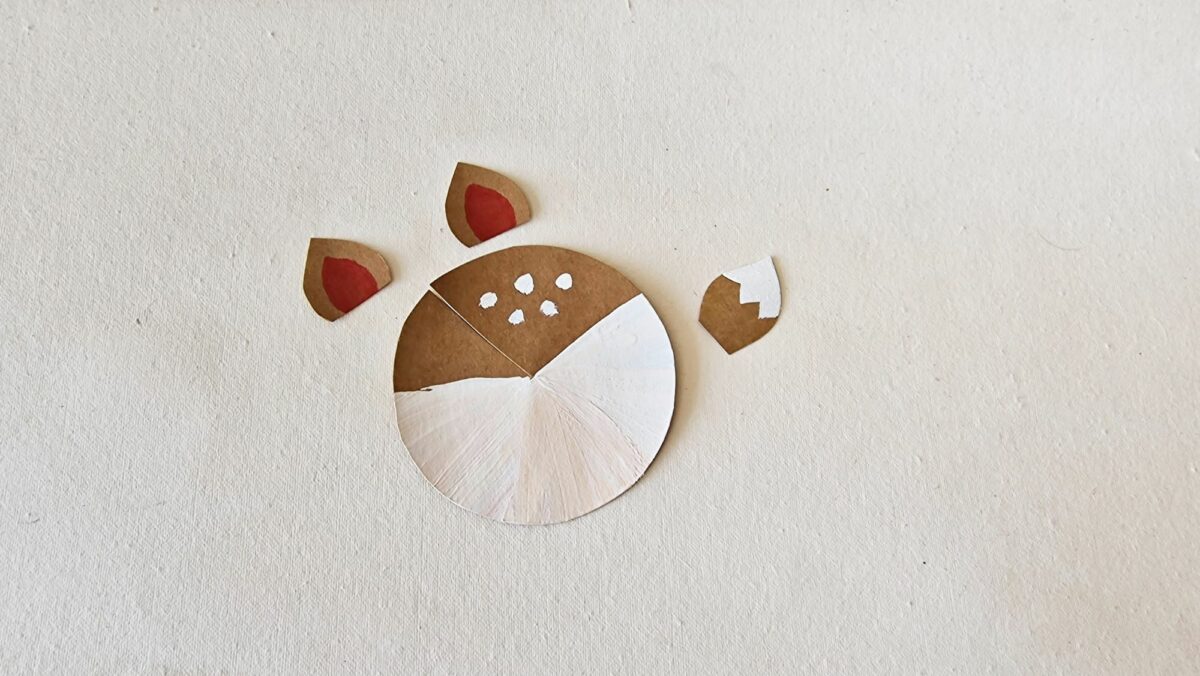
Step 4
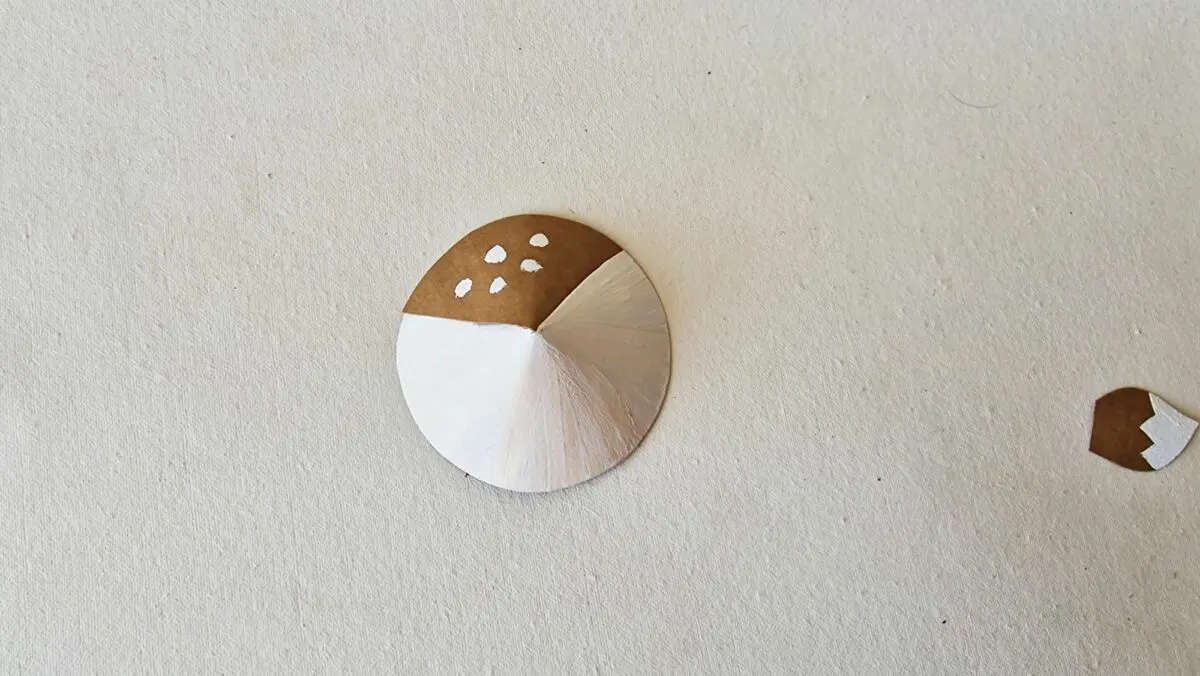
Use white acrylic paint to paint the tip of the tail as well as the head cutout as seen in the photo.
Add a few spots on the head on the brown area. These will be spots on top of the deer’s face.
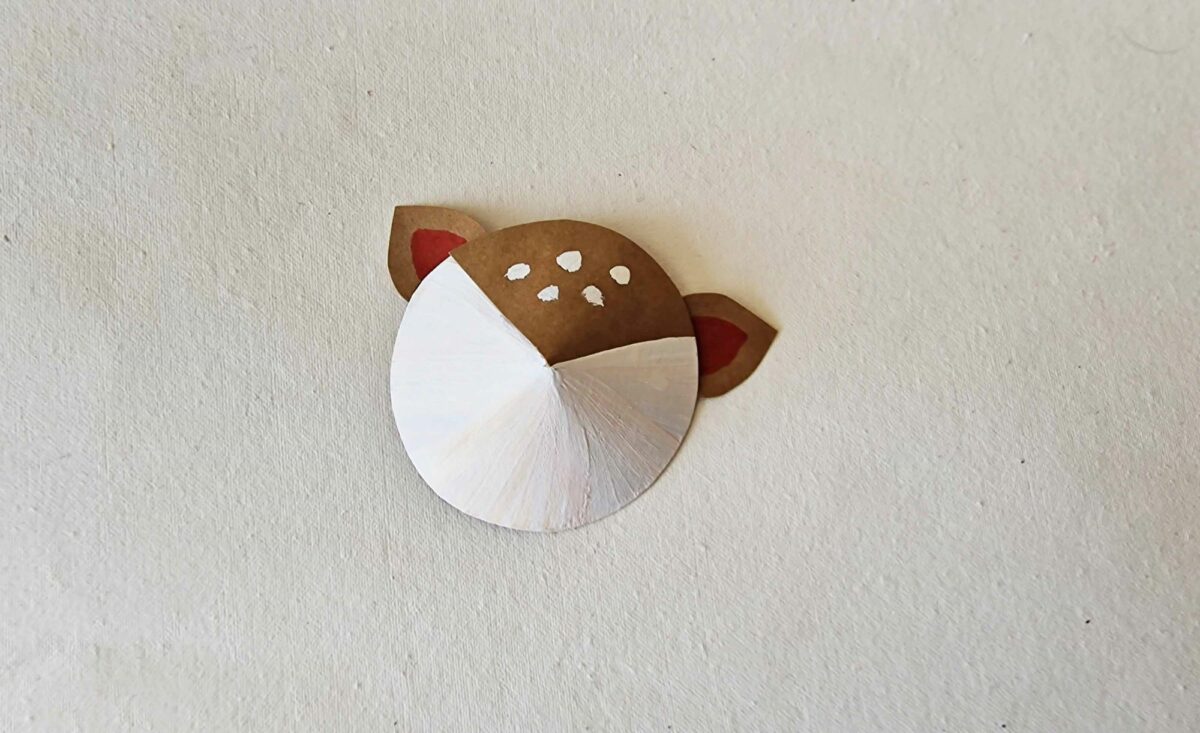
Use a red sharpie or paint to draw the inner ear parts on the ear cutouts.

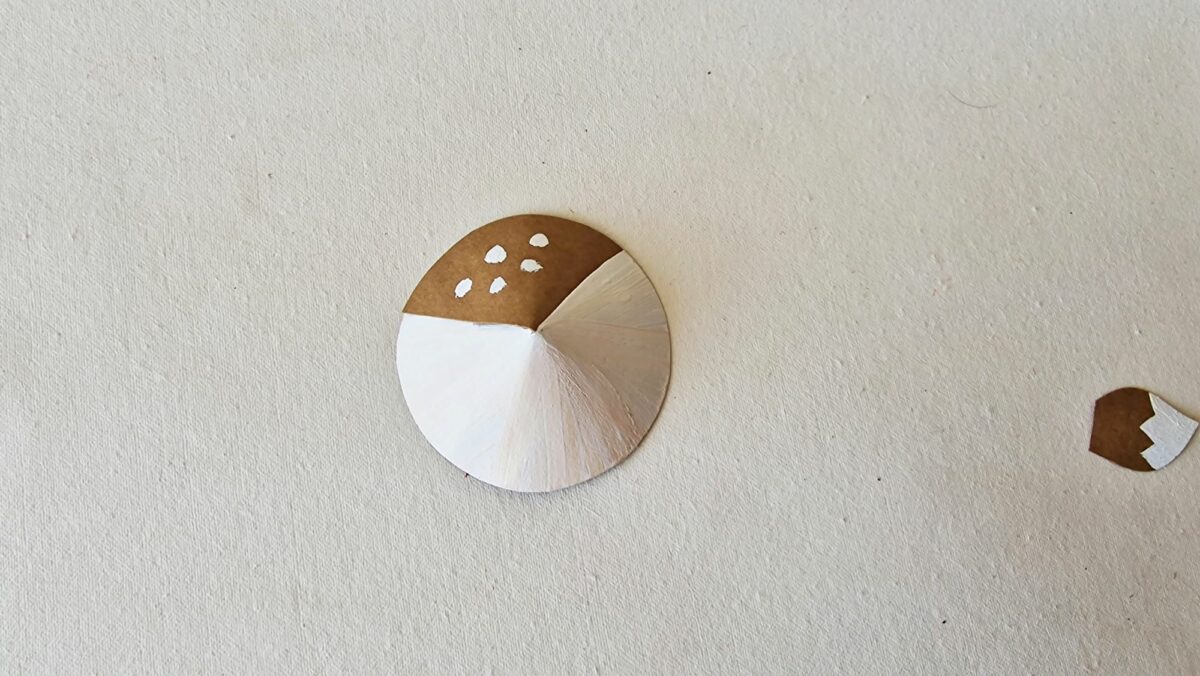
Step 5
Slightly overlap the cut edges in the head pattern, creating a slight cone shape.
Step 6
Glue the ears to the back side of the face on the top of the head pattern.

Step 7
Glue the antlers to the back side of the head between the ears.
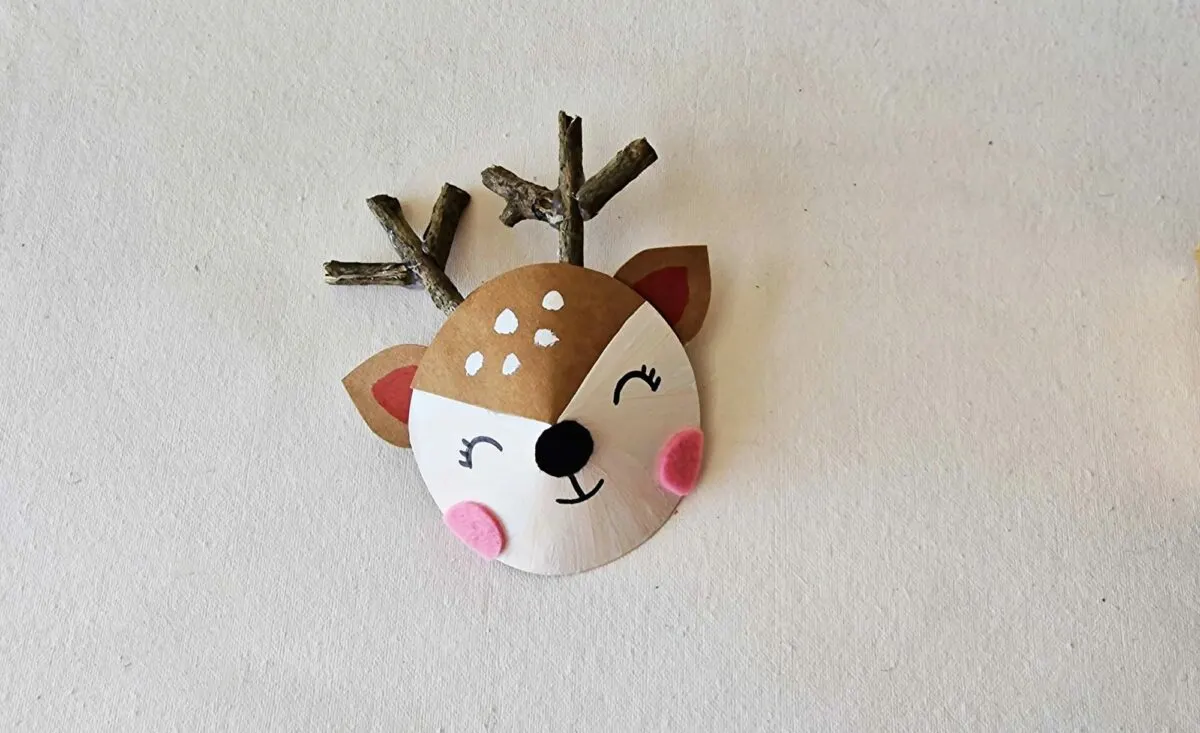
Step 8
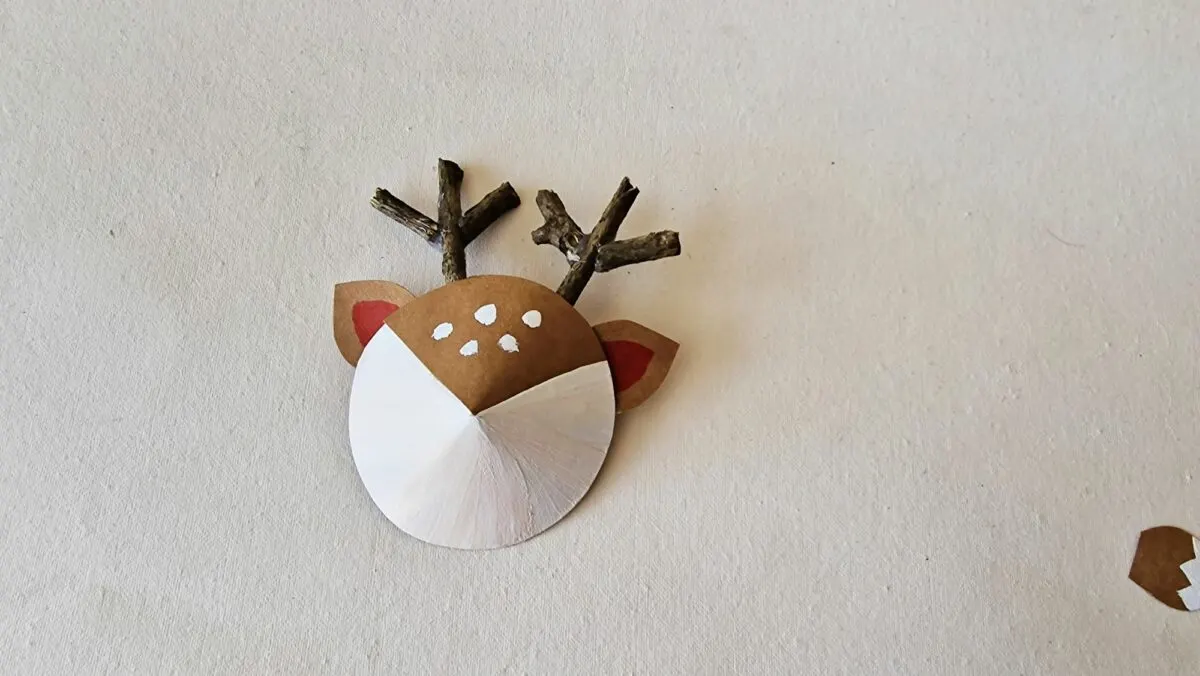
Glue the nose in the center of the head, just underneath the pointed cone.
Glue the cheeks to either side of the deer face.


Step 9
Use a sharpie to draw the eyes and mouth on the deer head.
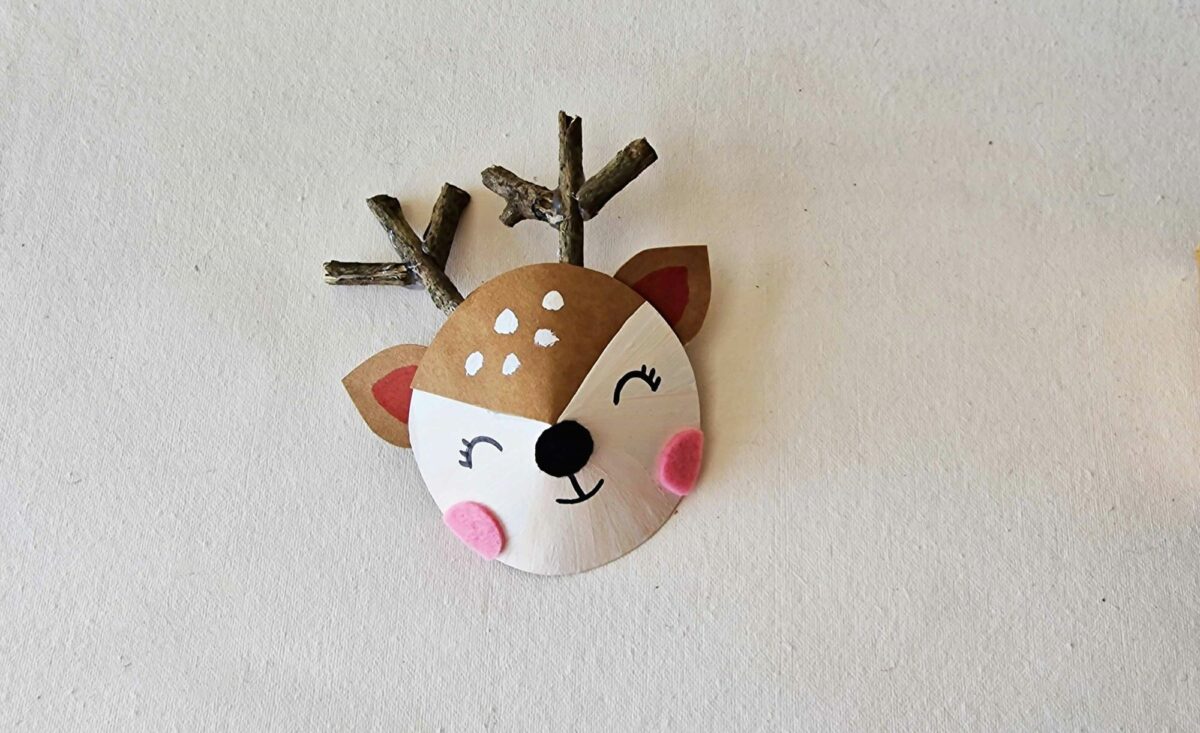
Step 10
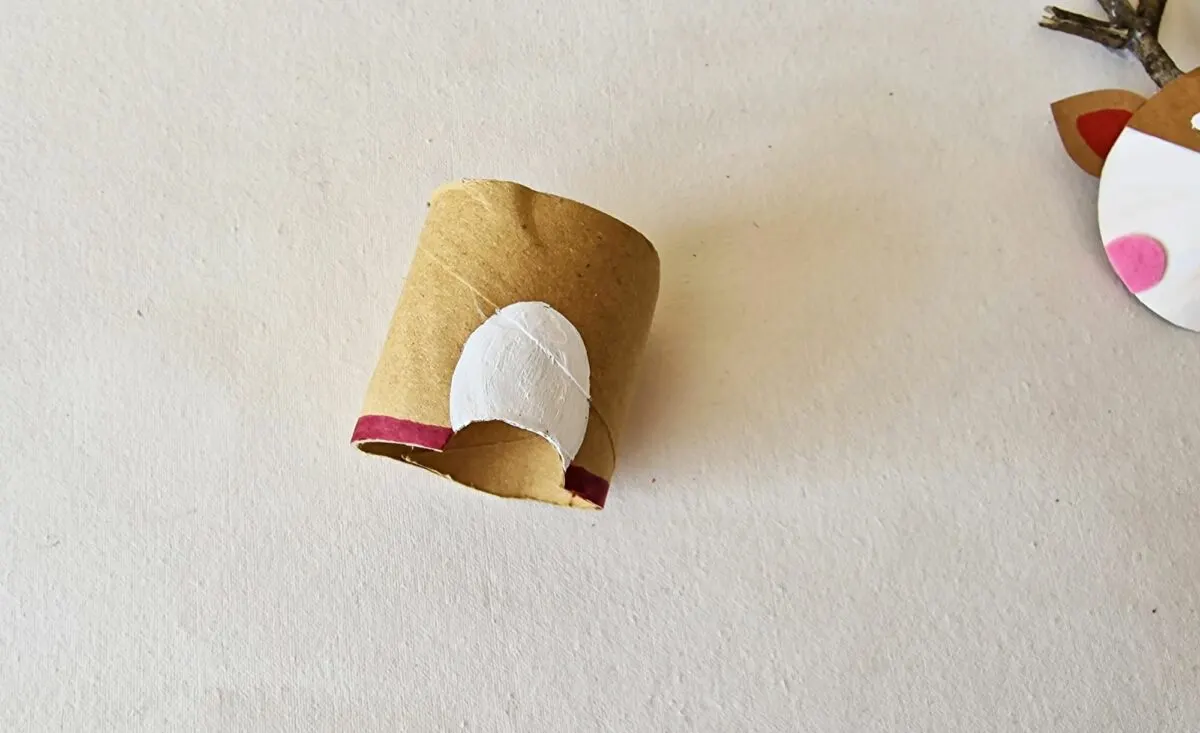
Cut a small half circle shape out of the base of the cardboard roll.
The toilet paper deer pattern template has a pattern for covering the cardboard roll, along with a small cut out on the bottom. You do not have to use this pattern if you would like to use the brown cardboard as it is (which is what we did in the photos below).
Using paint or markers, draw a white oval in the middle of the toilet paper roll.
Add a thin red line around the base of the toilet paper tube.

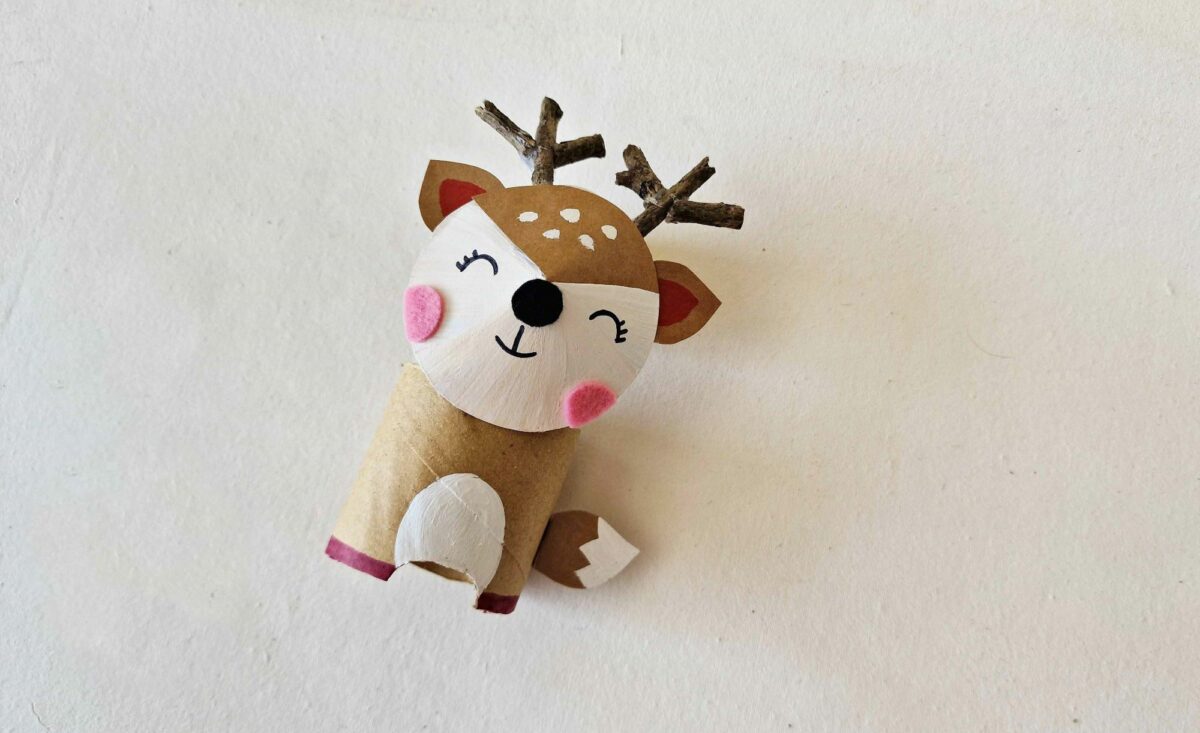
Step 11
Glue the tail to the back of the deer body, pointing the tip of the tail towards the side.
Then glue the deer face to the front of the toilet paper tube body.
This is just one of our many fun toilet paper craft projects! Be sure to see them all, including:
- Toilet Paper Roll Trophy
- Mini Cardboard Box
- Valentine Gnome Couple
- Toilet Paper Tube Advent Calendar
- Snowman Crackers for Christmas
Be sure to Pin This idea to save for later!
Want more woodland animal crafts? Check out these ideas?

Nicole L
Friday 15th of December 2023
This may require purchasing things you wouldn't normally have around the house, but it's SOOOO cute! The step-by-step pictures on this page are very helpful.