
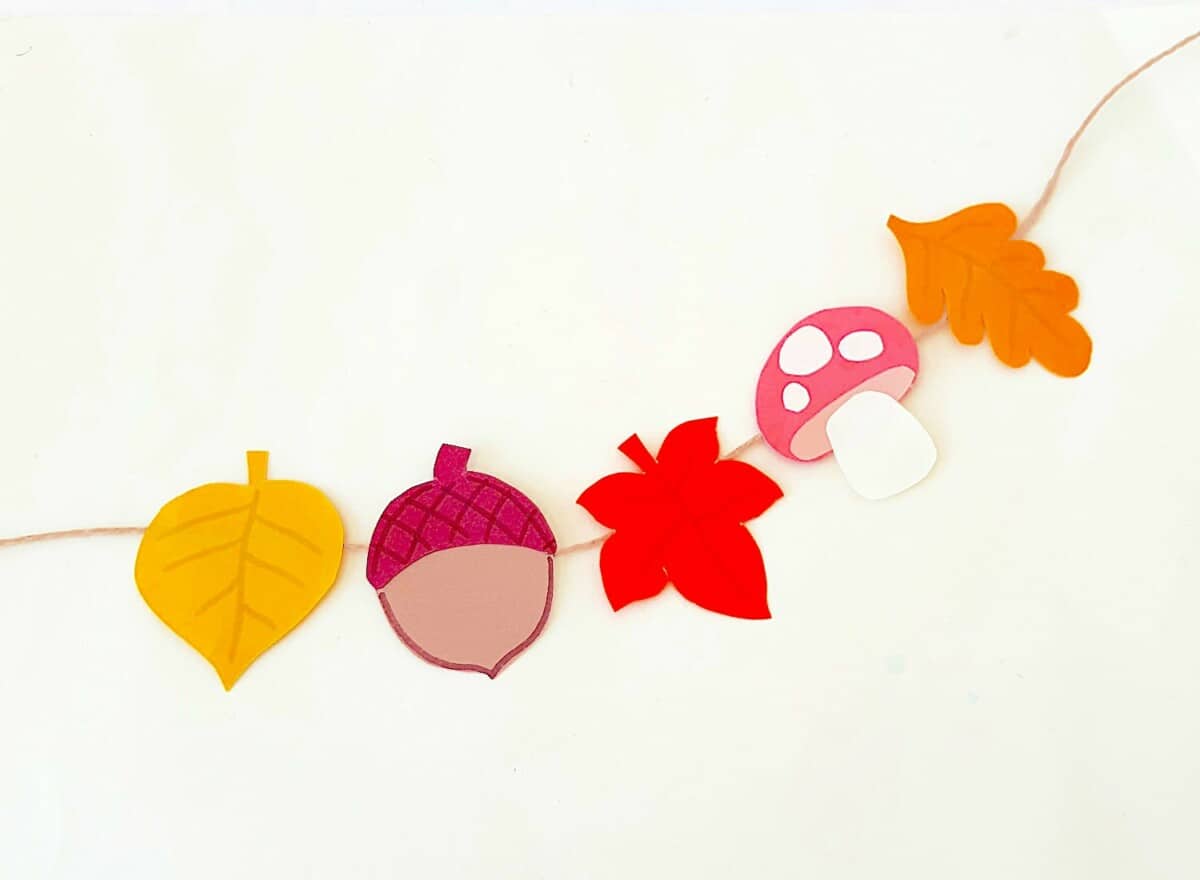
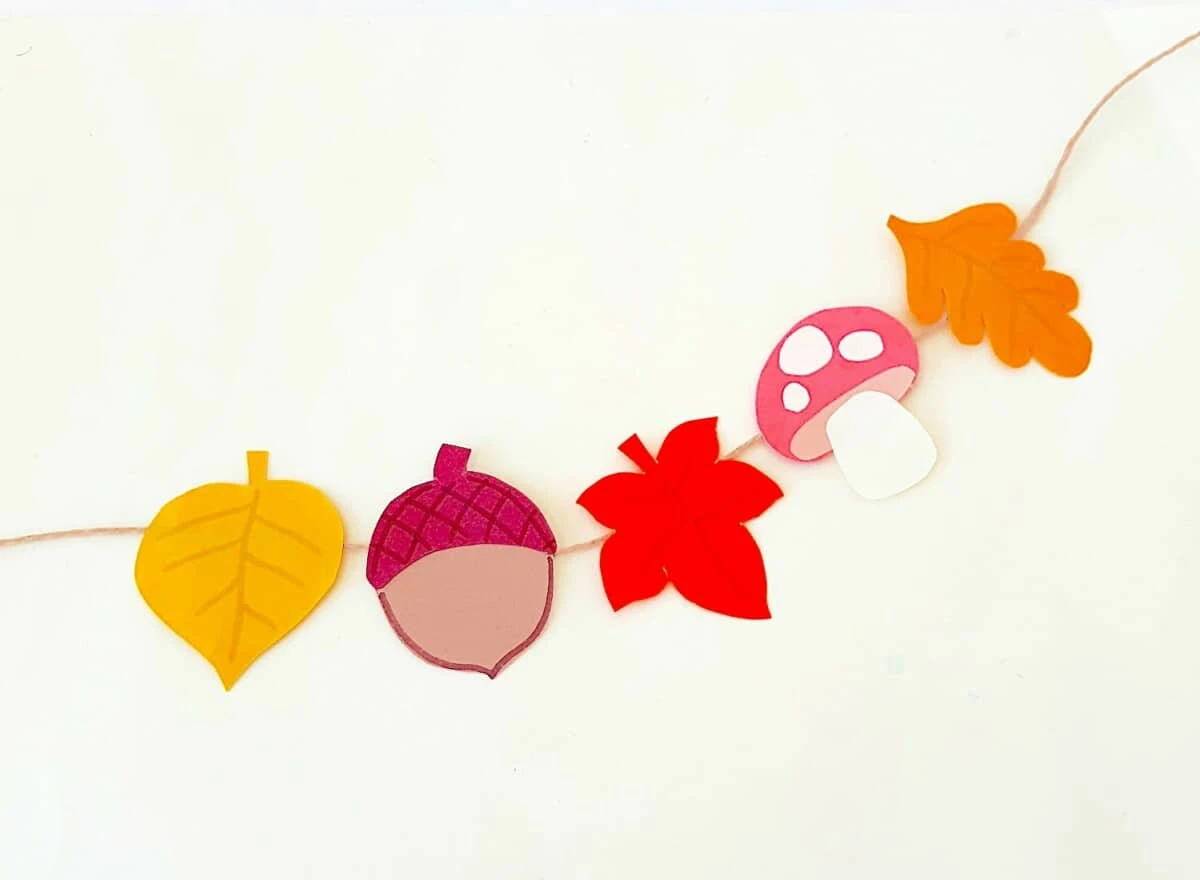
This simple woodland garland is easy to make using our free patterns and construction paper!
Mushrooms, acorns and leaves are all on this easy DIY garland that has a cottage core aesthetic.
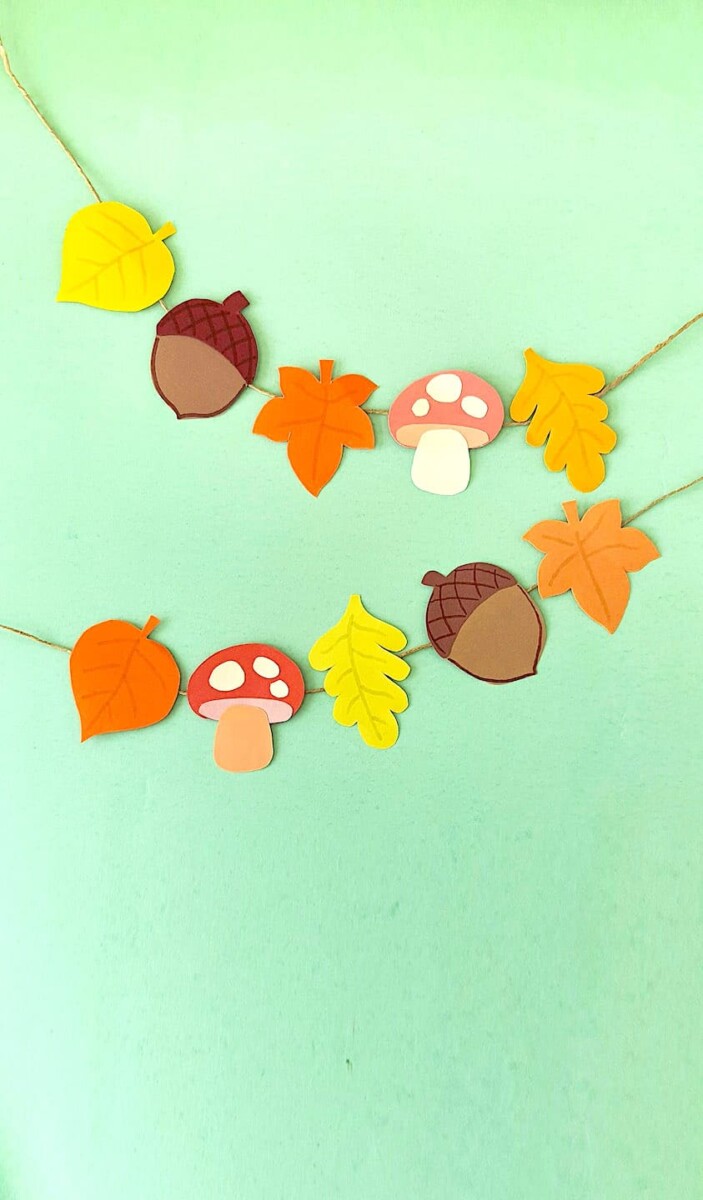

Simple enough for kids to make, this is a fun craft in the fall.
The forest garland is perfect for decorating parties with a woodland or outdoor theme.
How to Make a Woodland Garland
Materials
- Colored construction paper
- Pencil
- Craft glue or tape
- Brown Sharpie or Gel Pen
- Thin Jute twine, string or ribbon
- Free Woodland Garland Pattern
Instructions
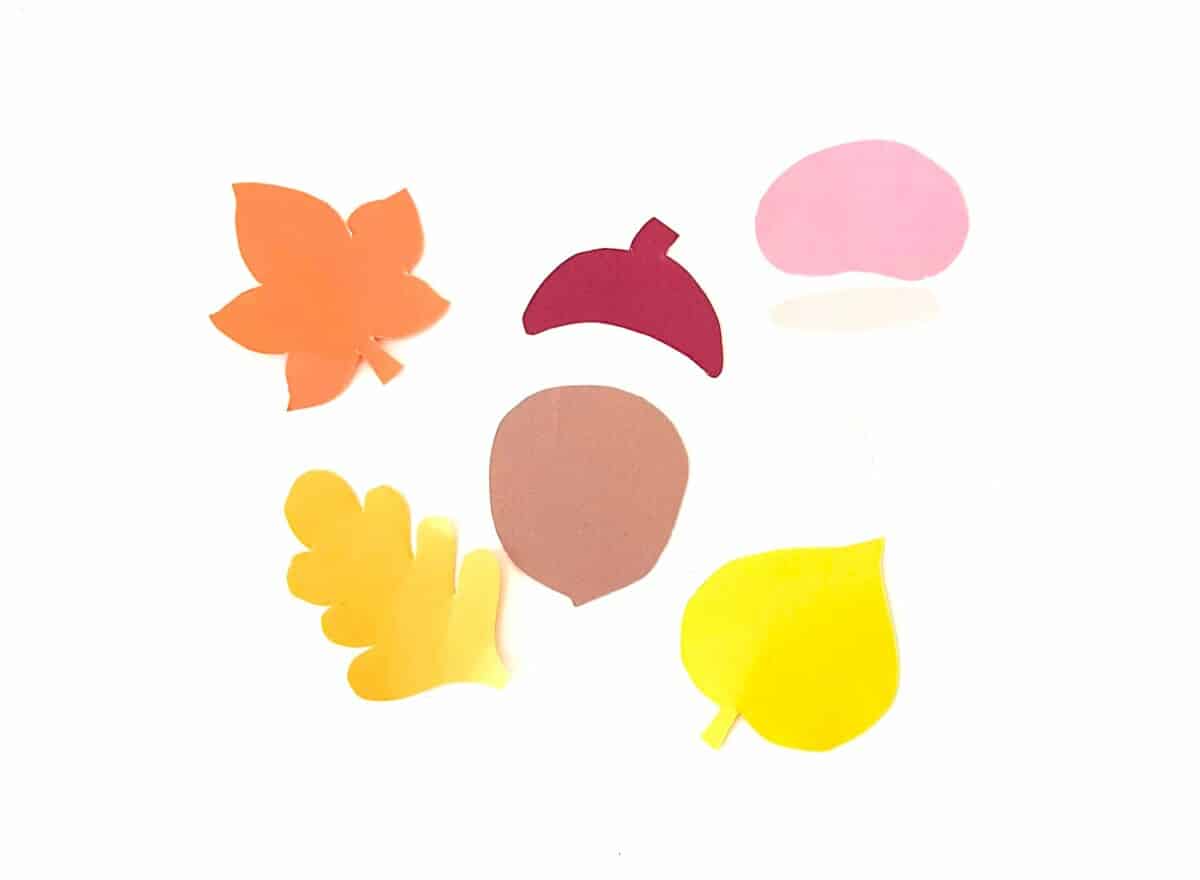
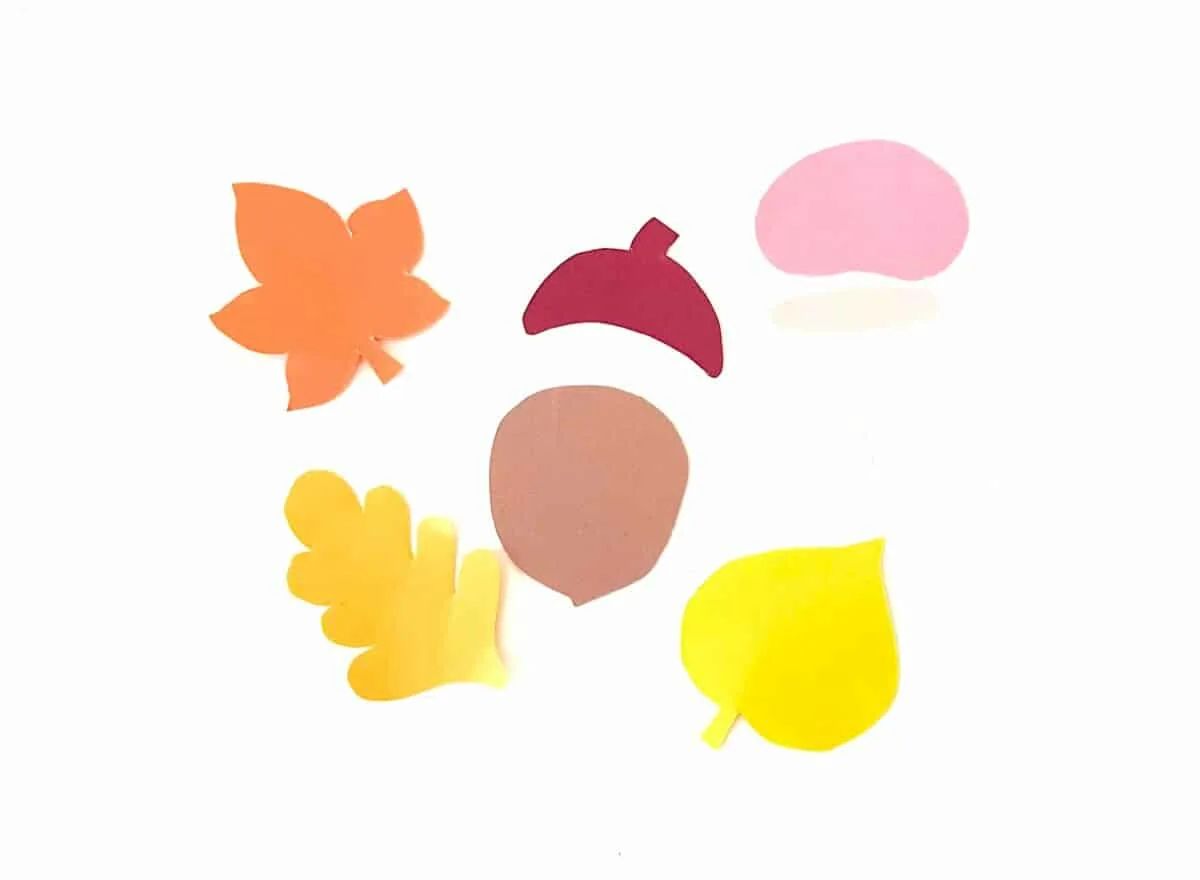
Step 1
Select fall-themed colored papers for this woodland garland.
The template includes fall leaves, acorn and mushrooms.
Print out the pattern, trace on the papers and cut out.
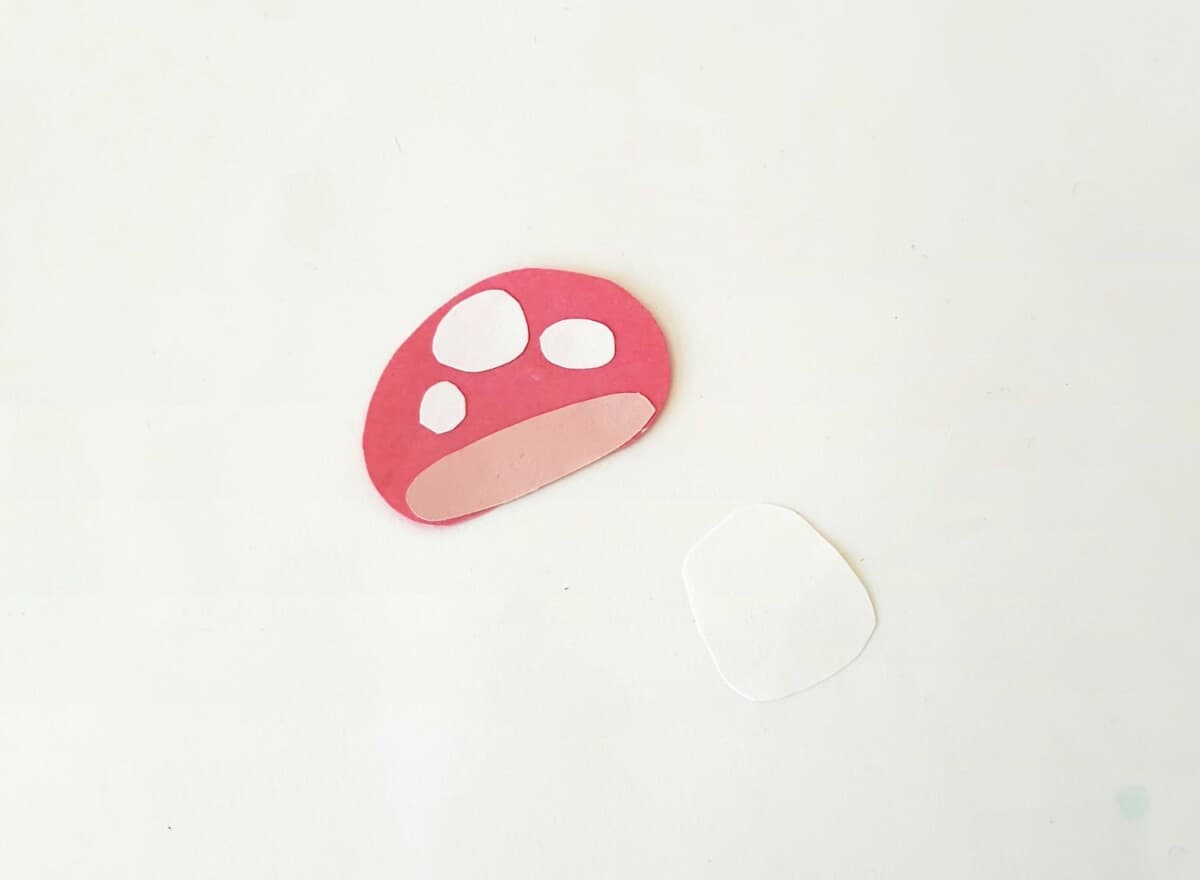
Step 2
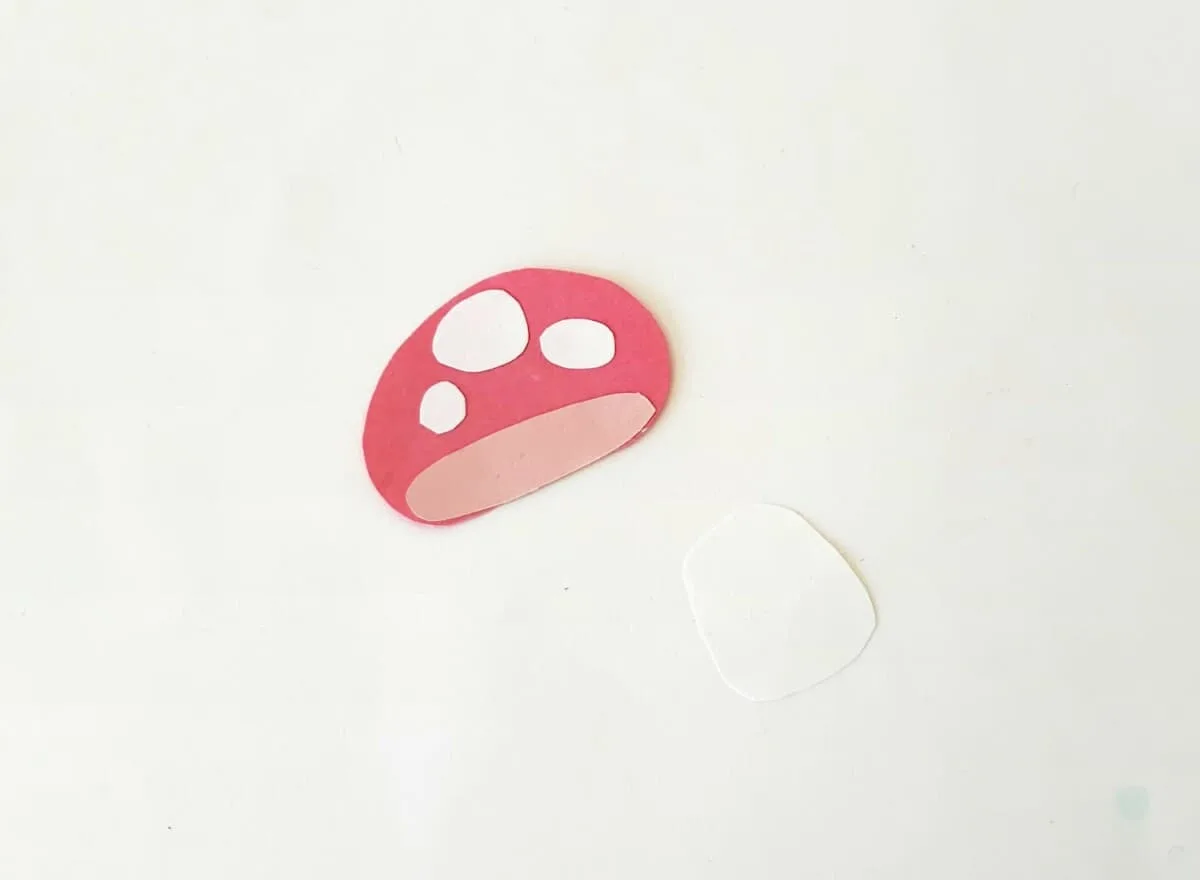
Glue the spots (shown in white) and underside of the mushroom (shown in tan) pattern on the cap cutout (shown in red) of the mushroom pattern.
Step 3
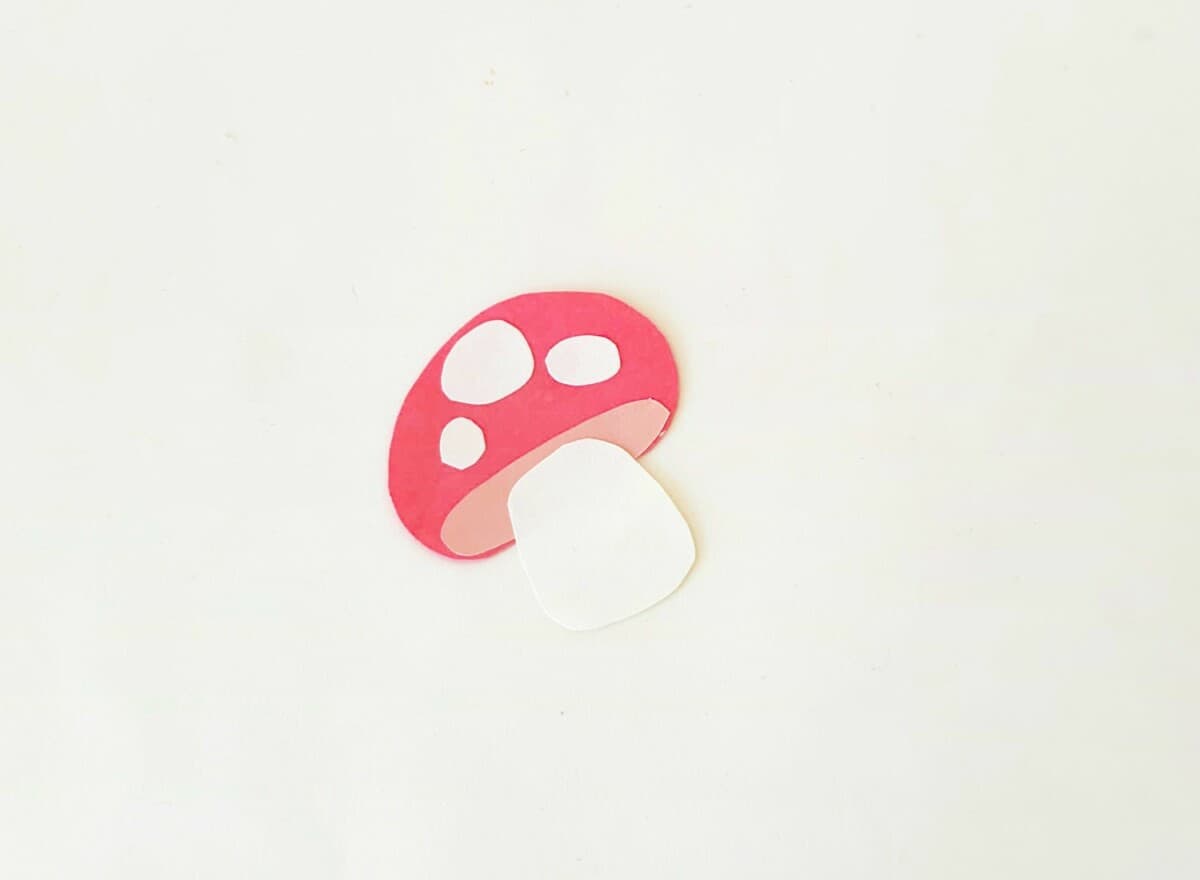
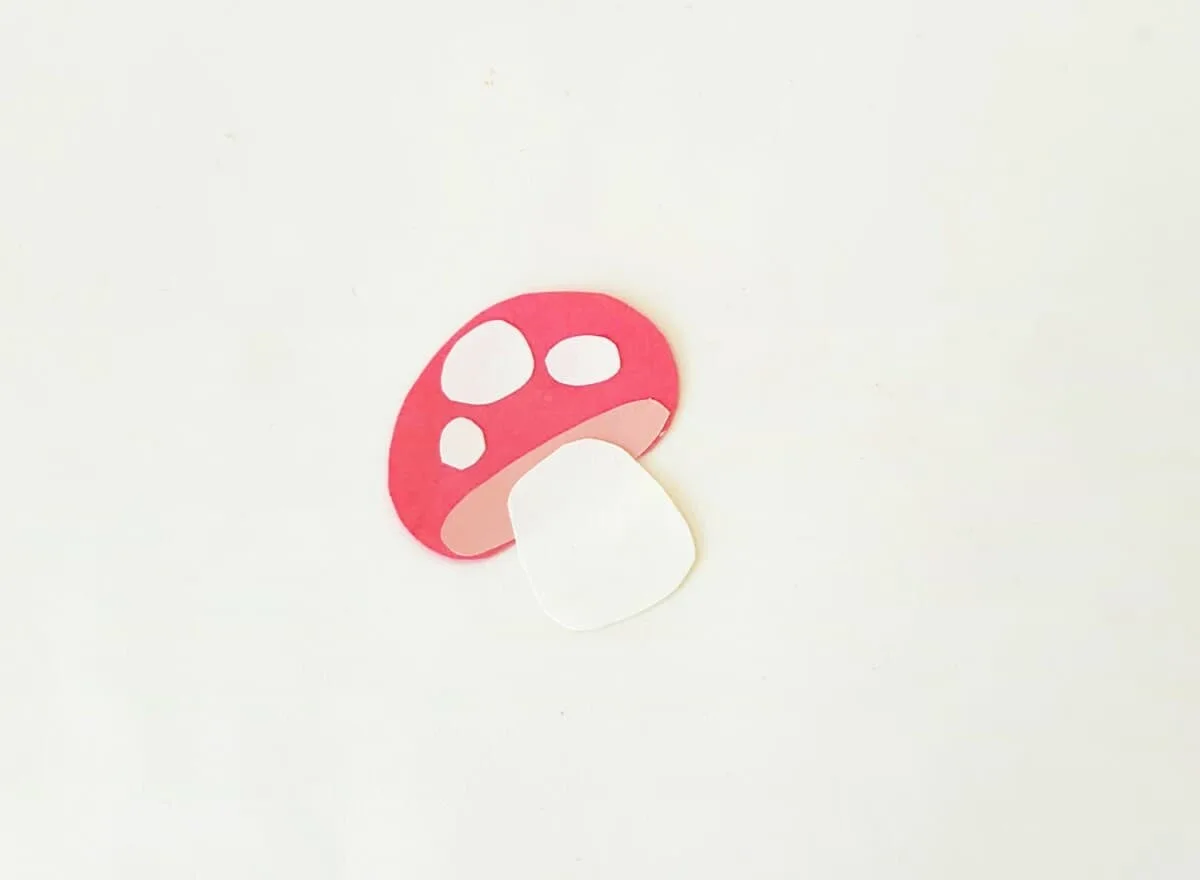
Glue the mushroom stem (shown in white) on top of the mushroom cap as seen in the photo below.
Step 4
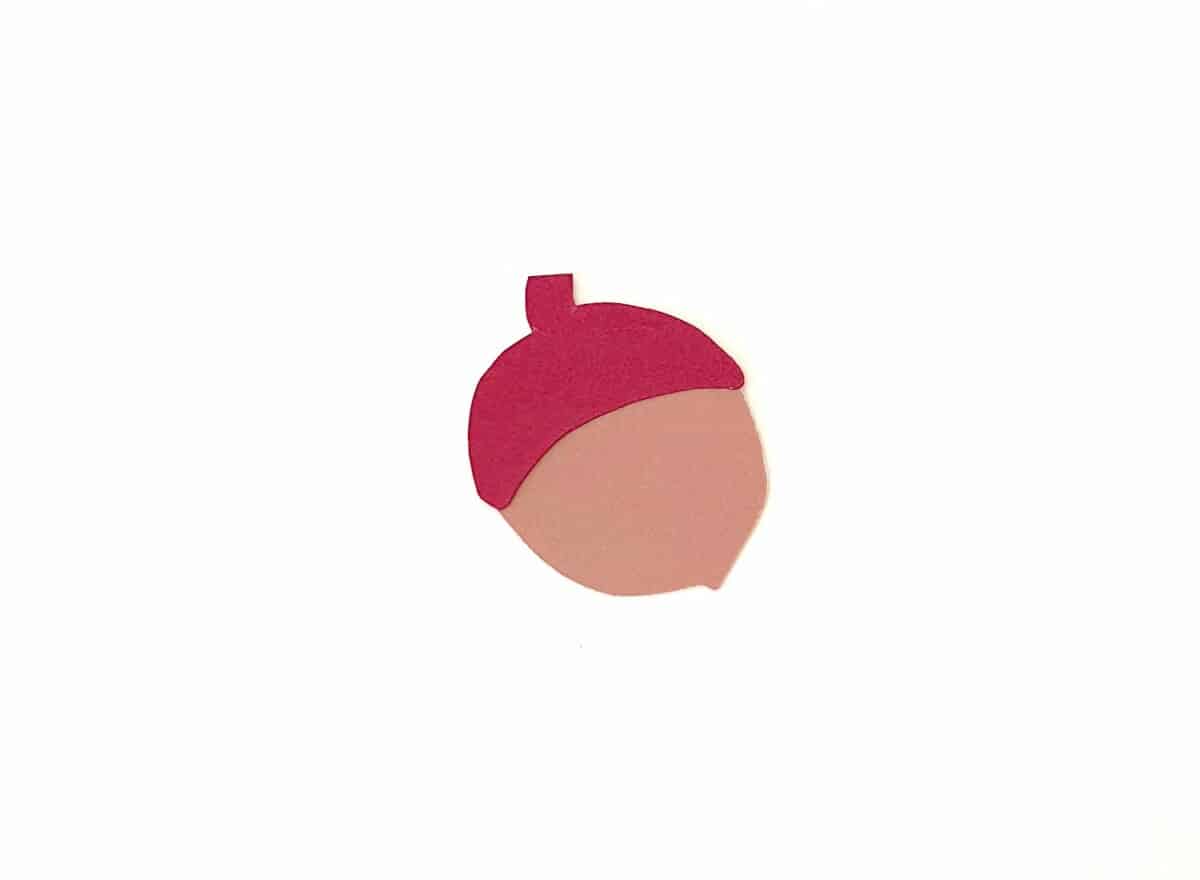
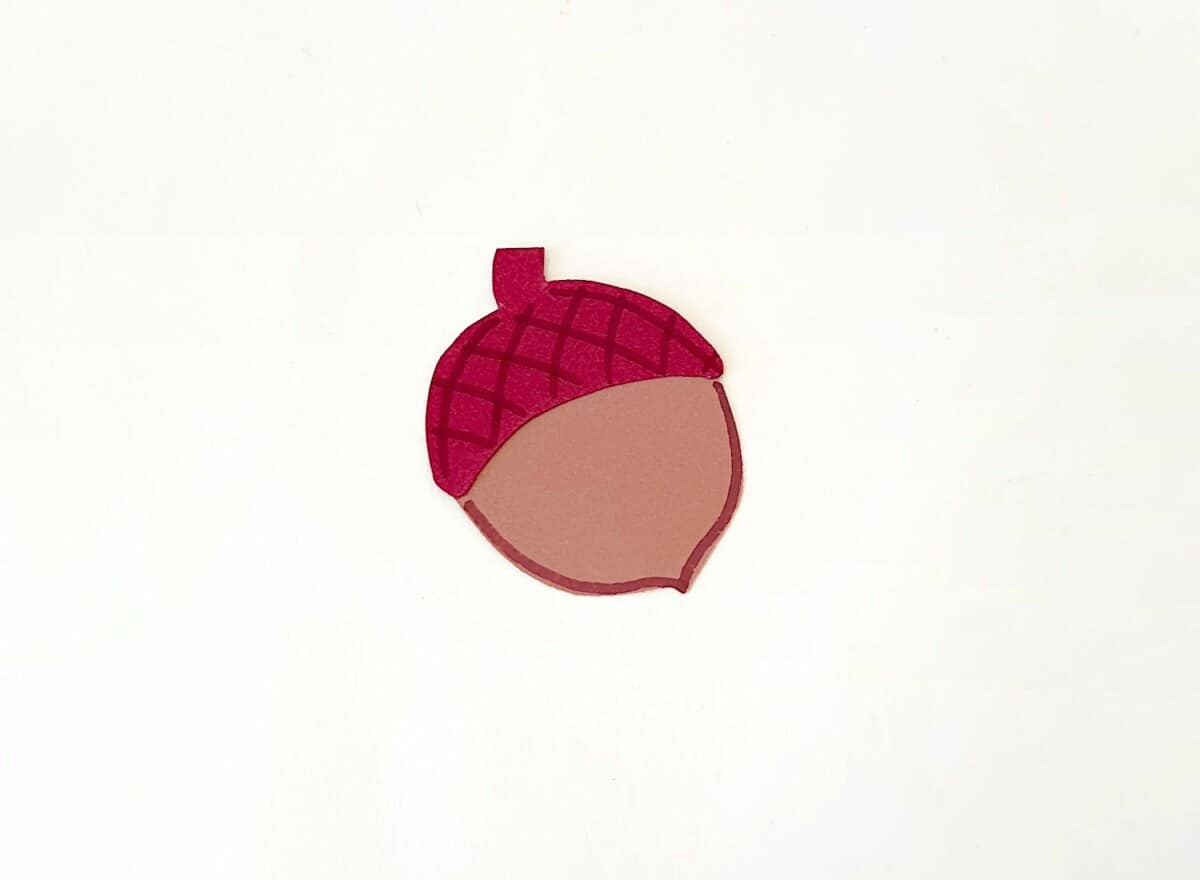
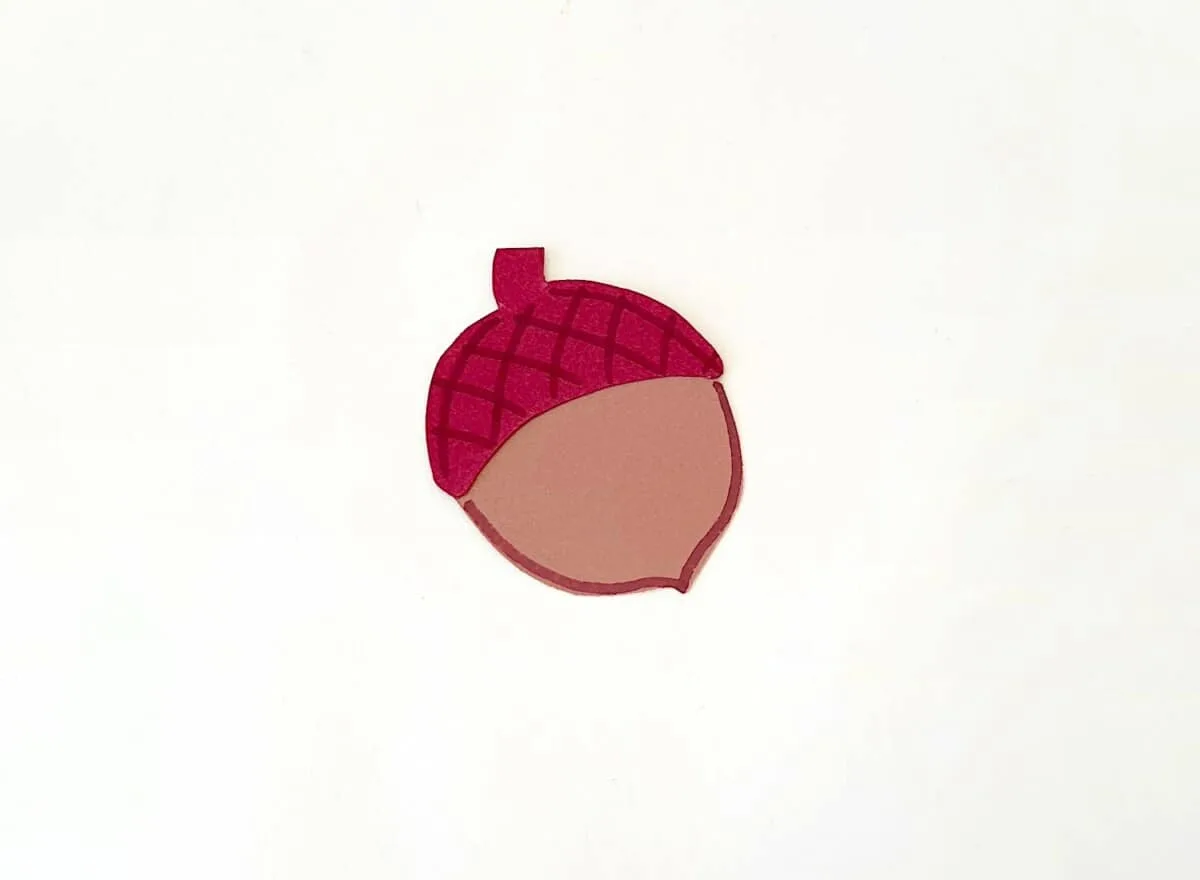
Glue the acorn cap onto the acorn pattern.

Step 5
Use a brown Sharpie or gel pen to trace checkered pattern on the acorn cap.
I also drew an outline on the acorn’s edge with the marker.
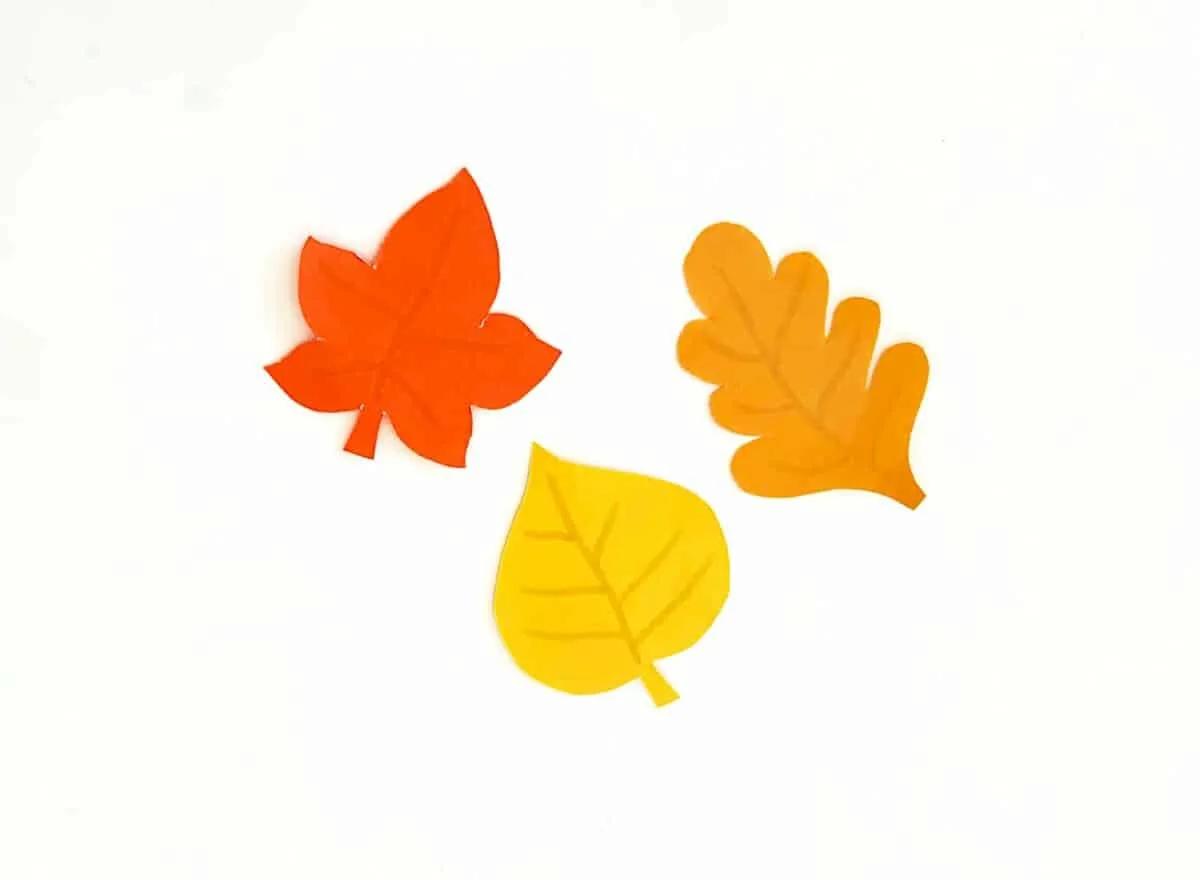
Step 6
Use matching markers or gel pens to trace veins of leaves in the fall leaf cutouts.

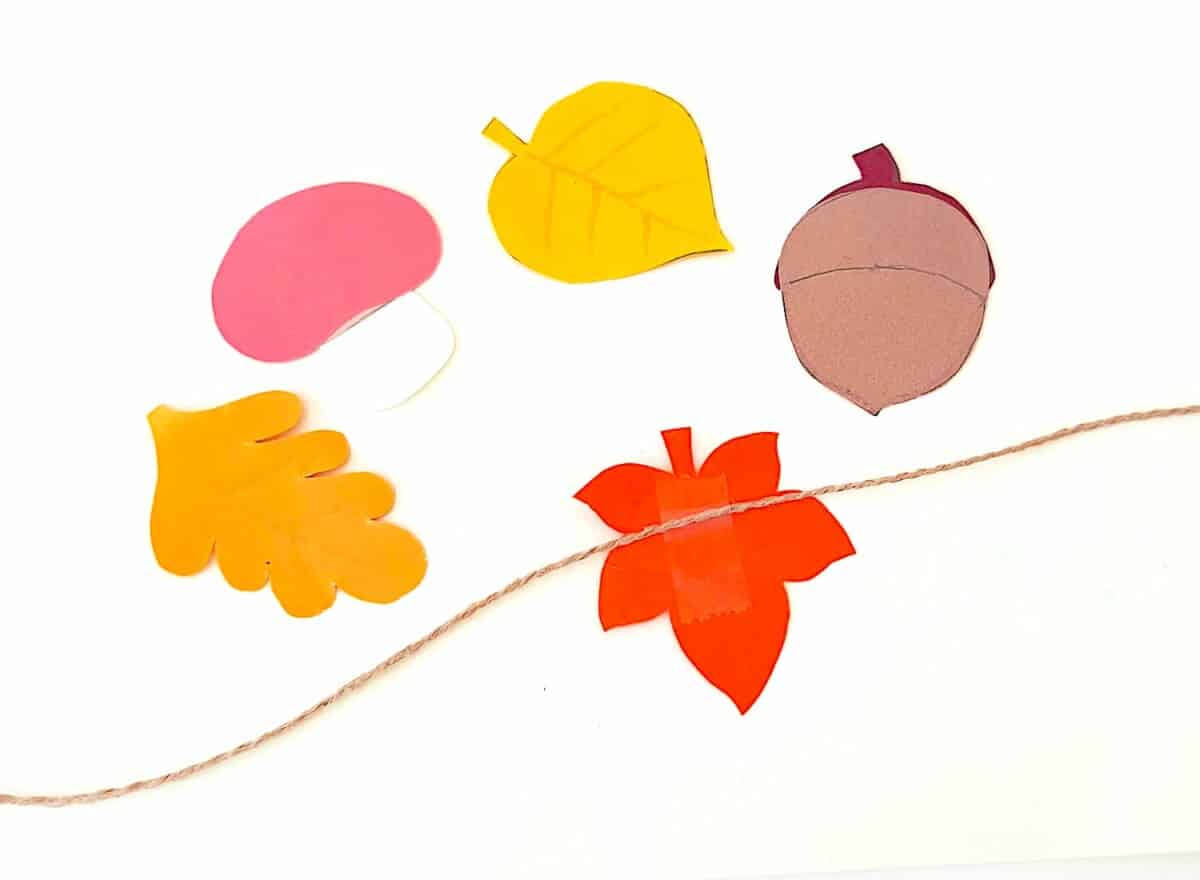
Step 7
Cut a long piece of thin jute that will fit the area where you want to hang a garland.


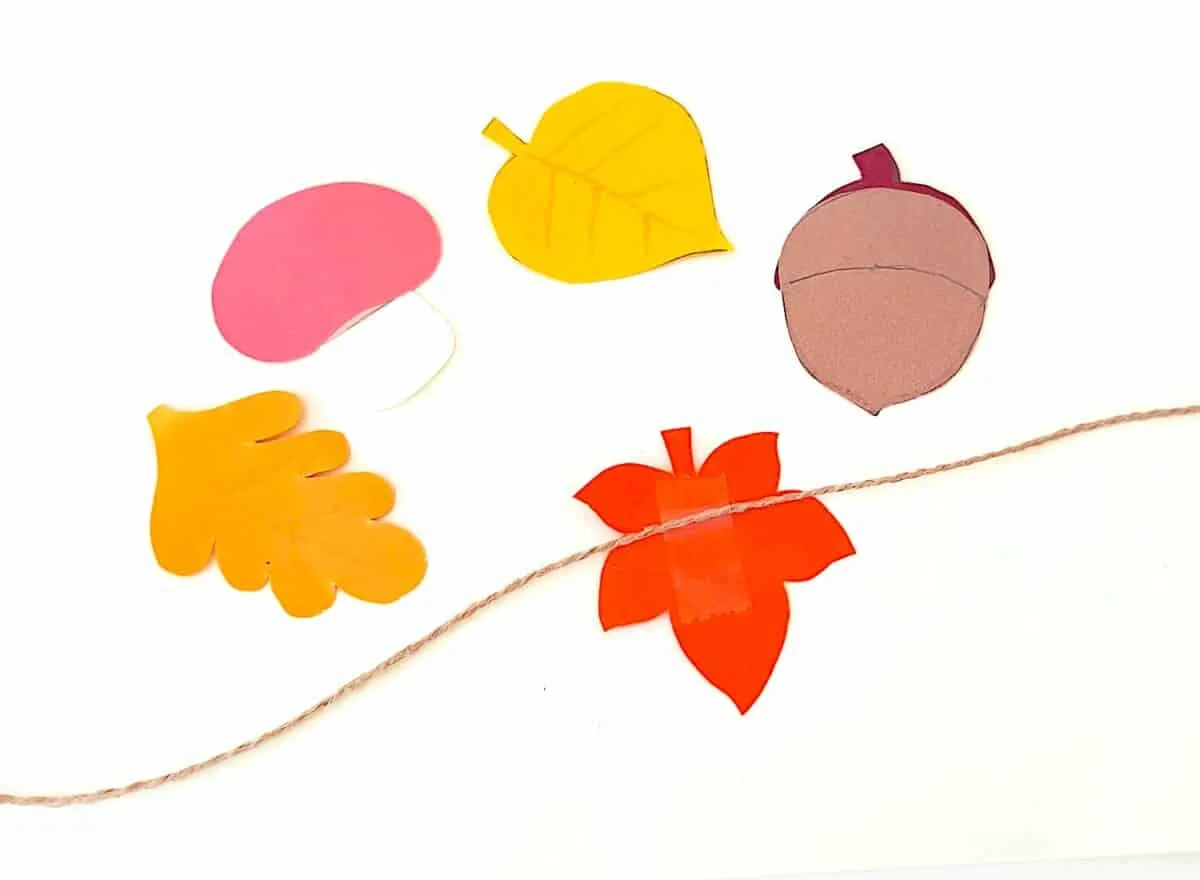
Step 8
Tape or glue your fall cut outs to the twine. Attach on the back. Space out as far or as close as you’d like.

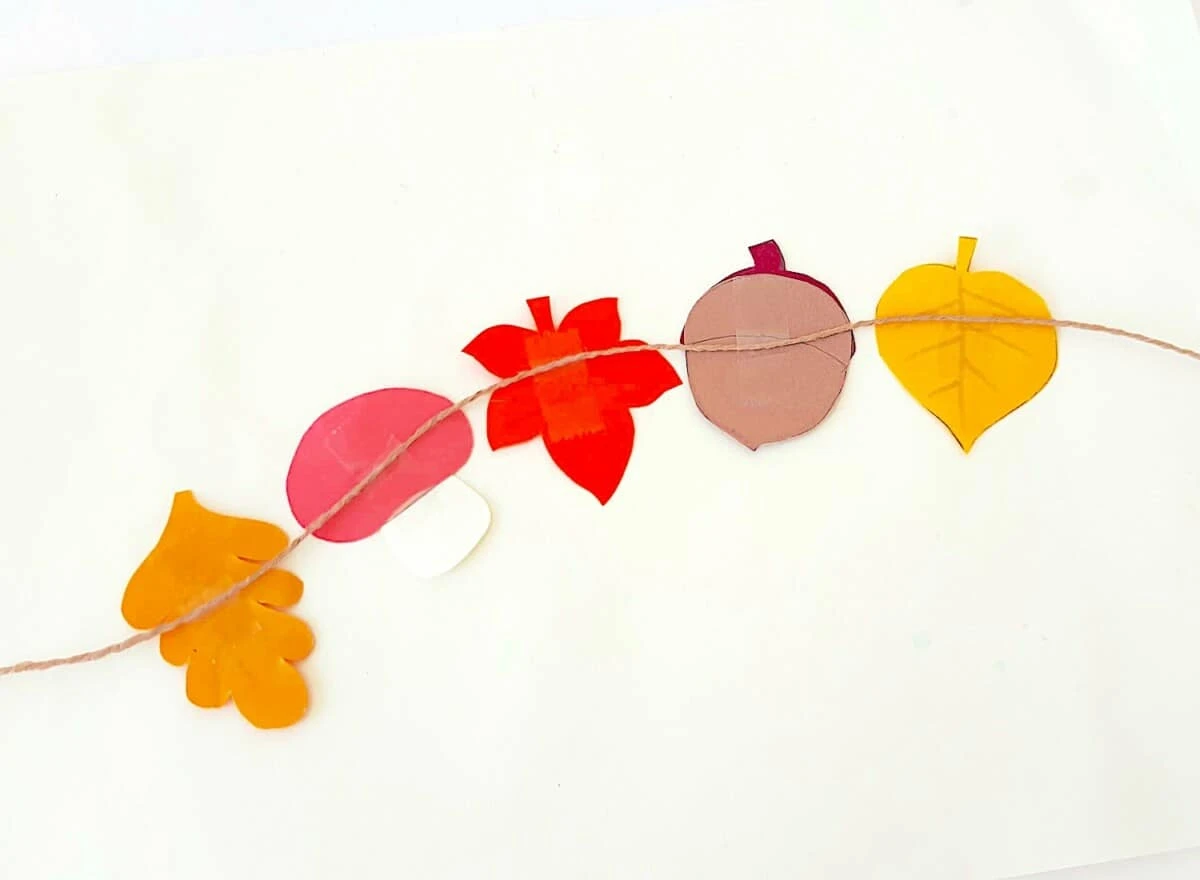
Once you’re done attaching enough items to the string, carefully flip the garland to the right side. Now hang it on a wall or use them for another project.
If you like this woodland garland, be sure to see our other woodland crafts:
