
This easy craft celebrates our love of camping and the outdoors. Here’s the free printable template and simple instructions on how to make an adorable woodland animals paper craft wreath.

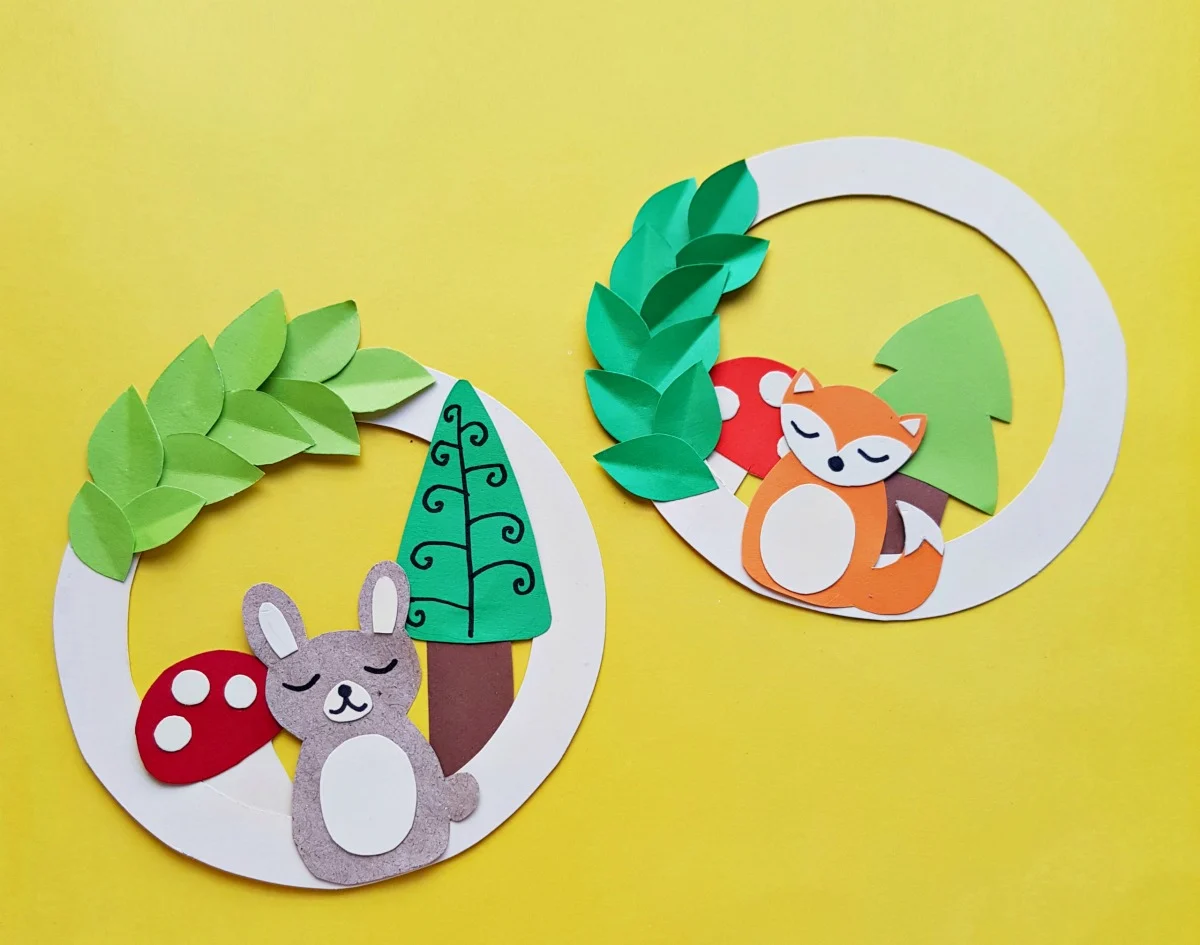
Easy DIY Paper Wreath
Though this cute wreath looks complicated, it’s not! All it takes is having cut out templates and gluing them on a cardstock wreath base.
In fact, this might be a great craft to use up paper scraps!
This wreath is perfect for a cabin in the woods. It’s also a fun way to get excited about camping or visiting National Parks. You might also want to check out our DIY camping storage ottoman, scented fire starters or these National Park pillows.
For more nature-inspired crafts, you might also like our woodland animal ornaments.
Or try sewing this owl plush or this mushroom plushy.
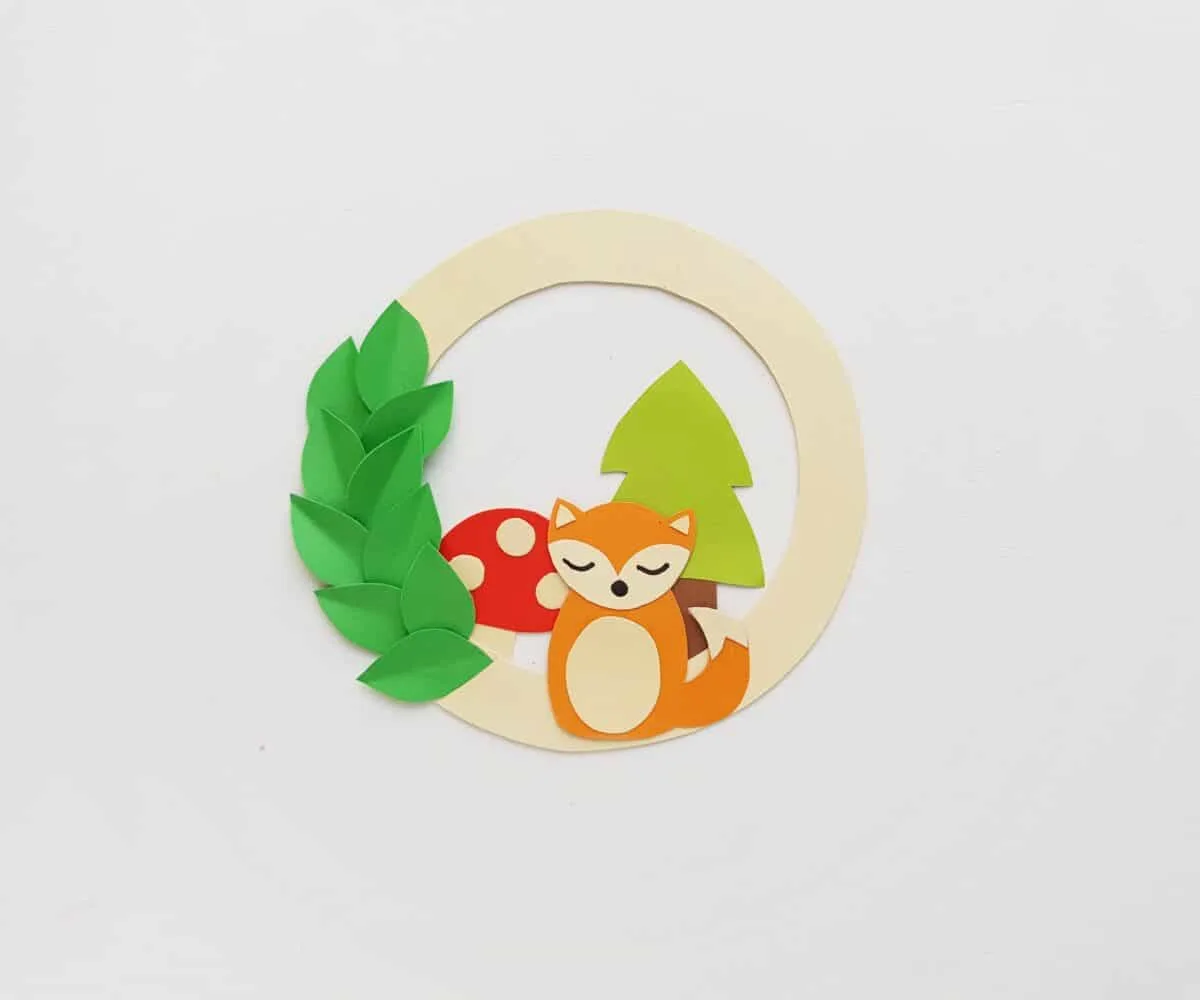
How to Make Woodland Animals Paper Craft Wreath
Note: The free printable templates for this paper wreath craft include the following animals:
- Fox
- Rabbit
- Squirrel
This tutorial only shows the fox paper template. Photos only show the rabbit and fox wreaths. However, the squirrel is on the printable template pattern. And you can choose to use all of the woodland animals on one wreath.
Supplies
- Colored craft papers
- Cardstock paper to make the wreath base
- Pencil
- Scissors
- Craft glue
- Black gel pen or Sharpie
- Free Woodland Animals Printable Template
Instructions
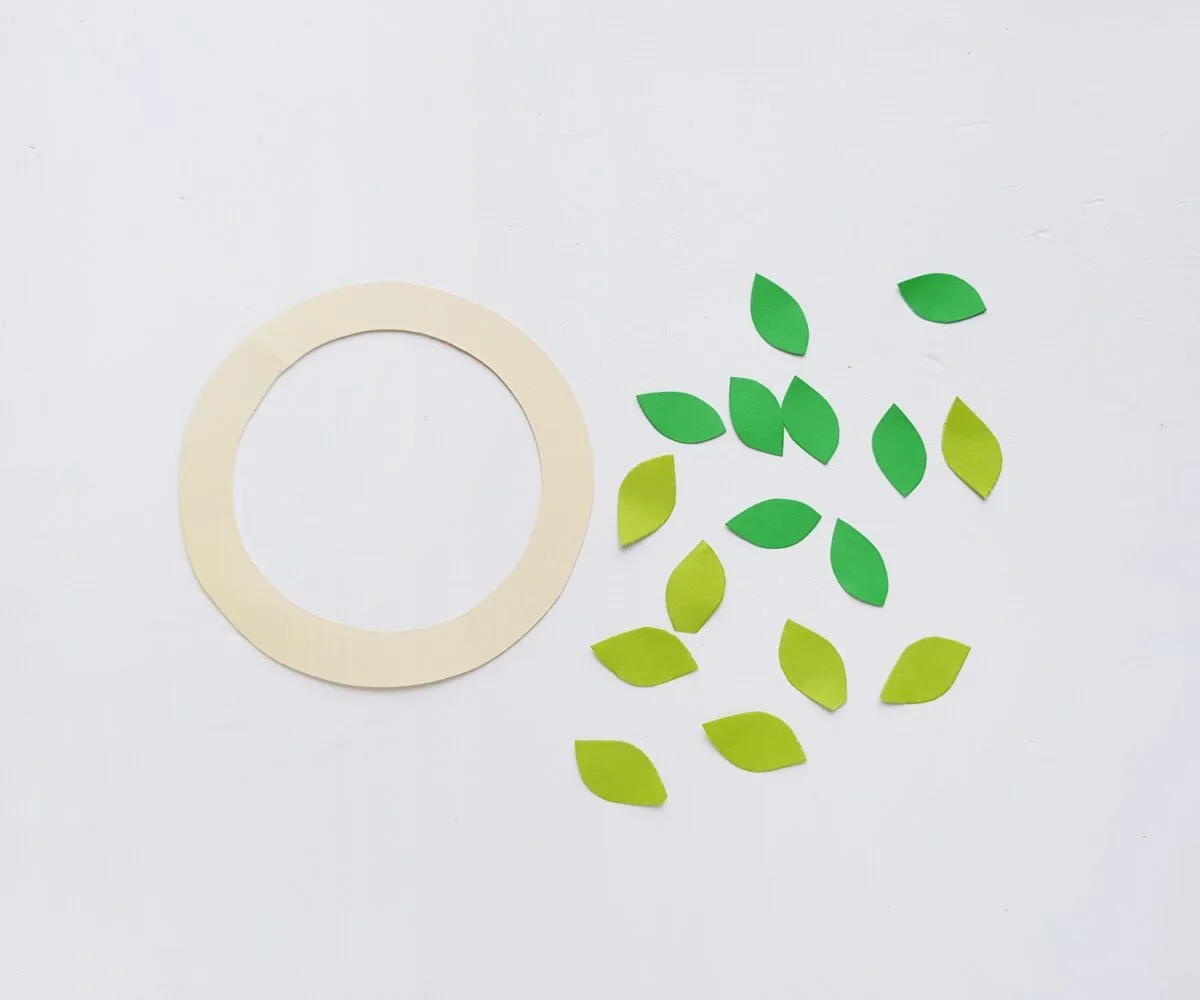
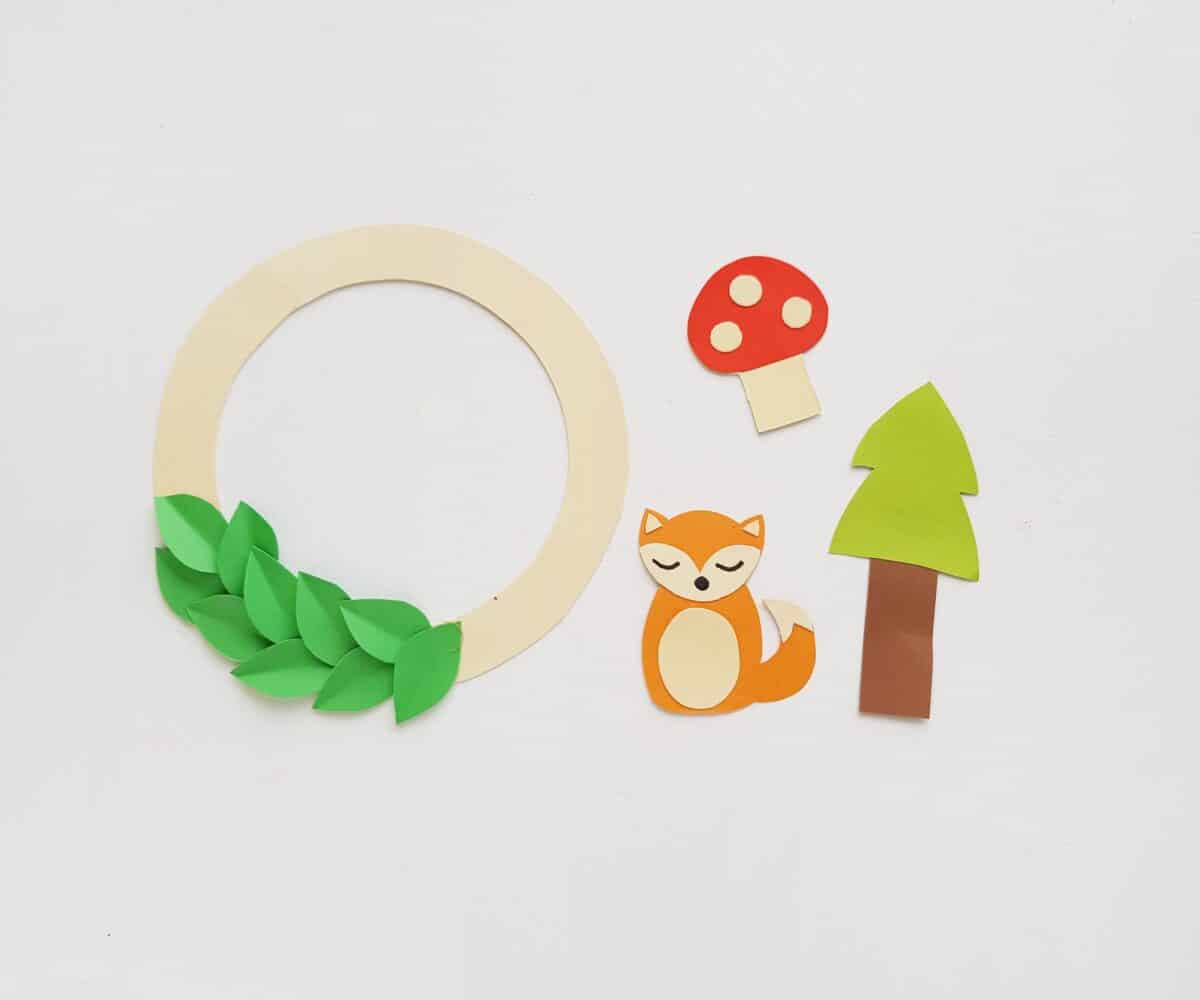
Step 1:
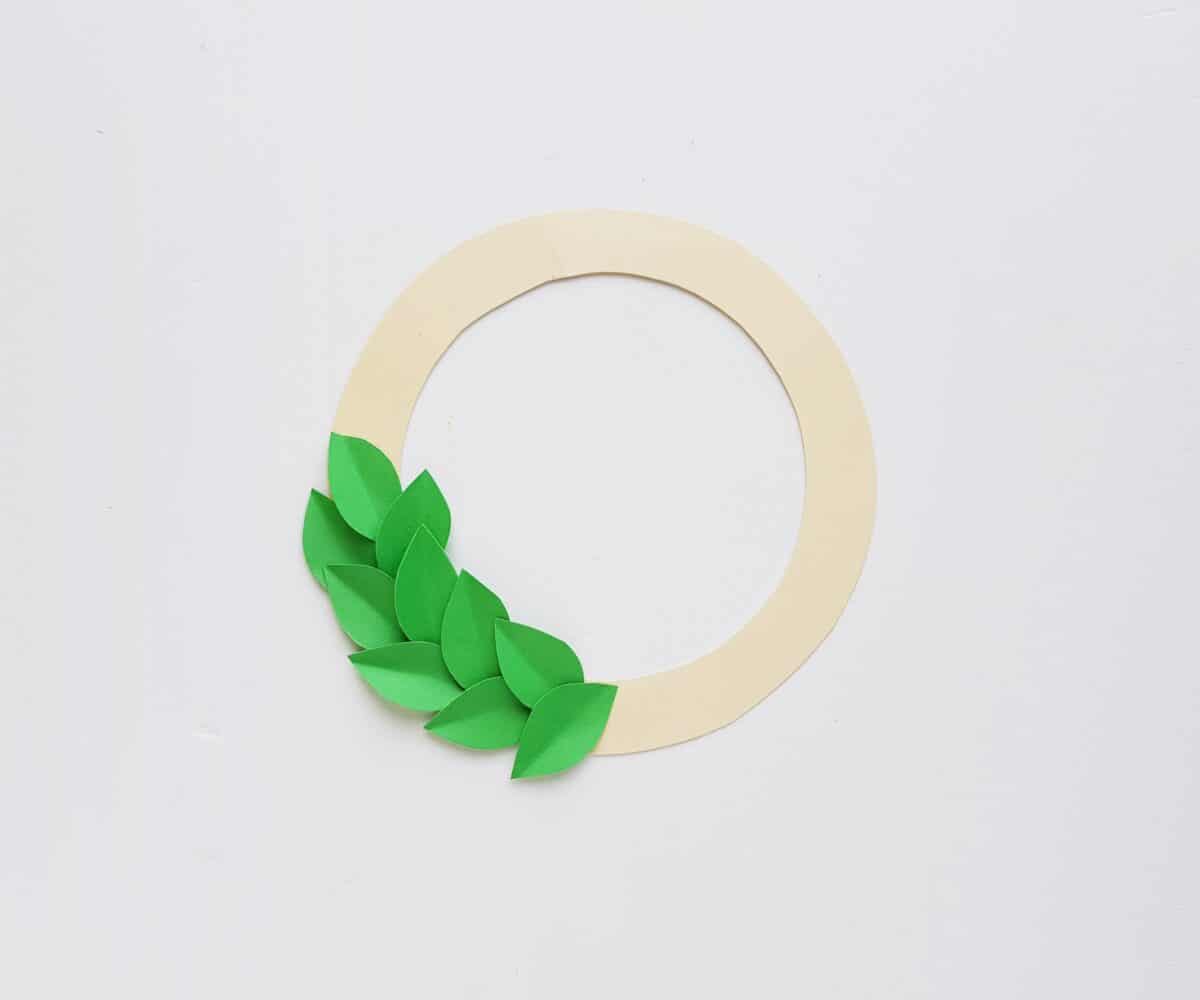
Trace the wreath base on a cardstock paper or cardboard. Trace the leaves on green colored craft papers. Cut out the traced wreath base and leaves.

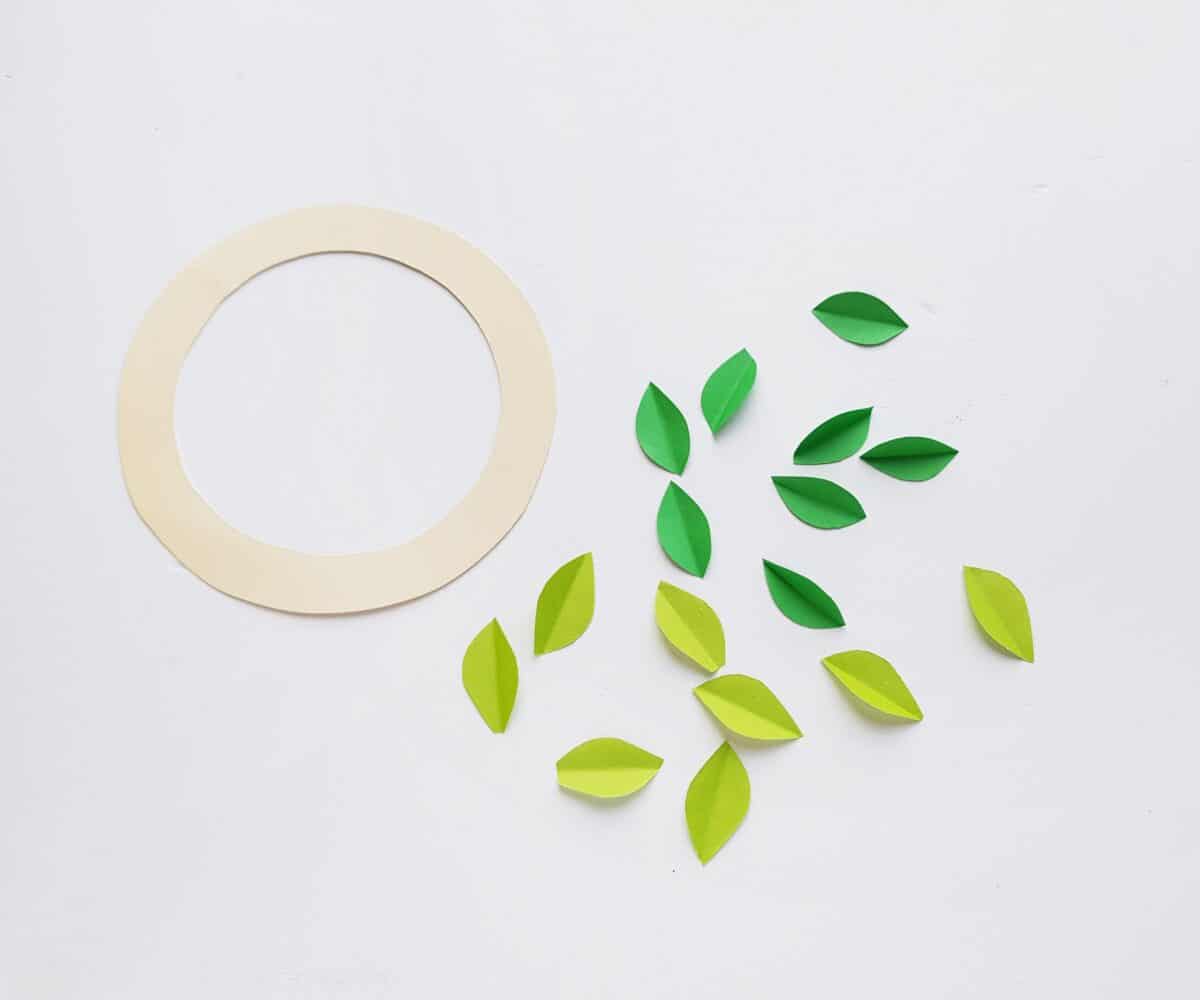
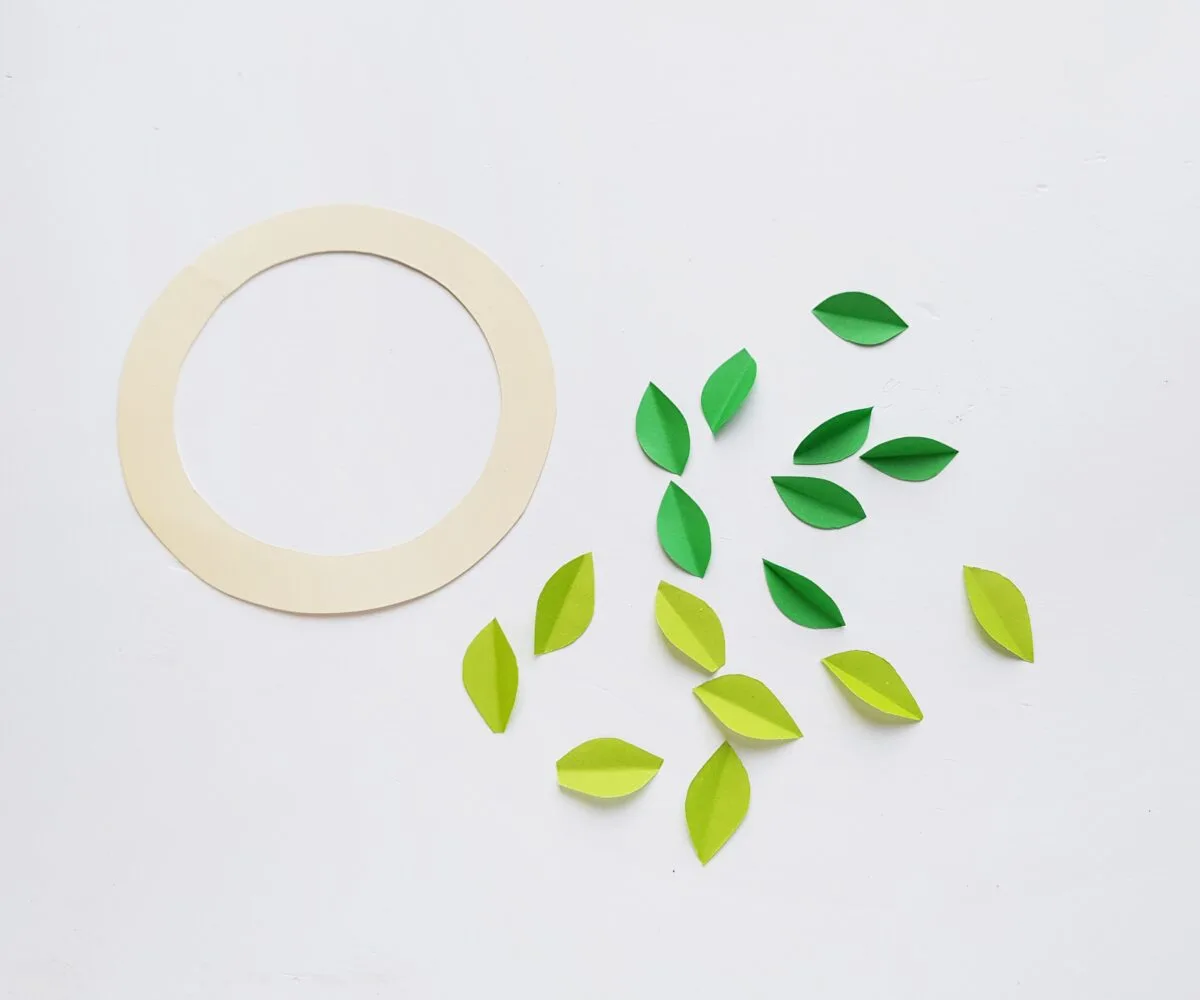
Step 2:
Take each leaf cutout and fold them into half lengthwise to create a crease line.
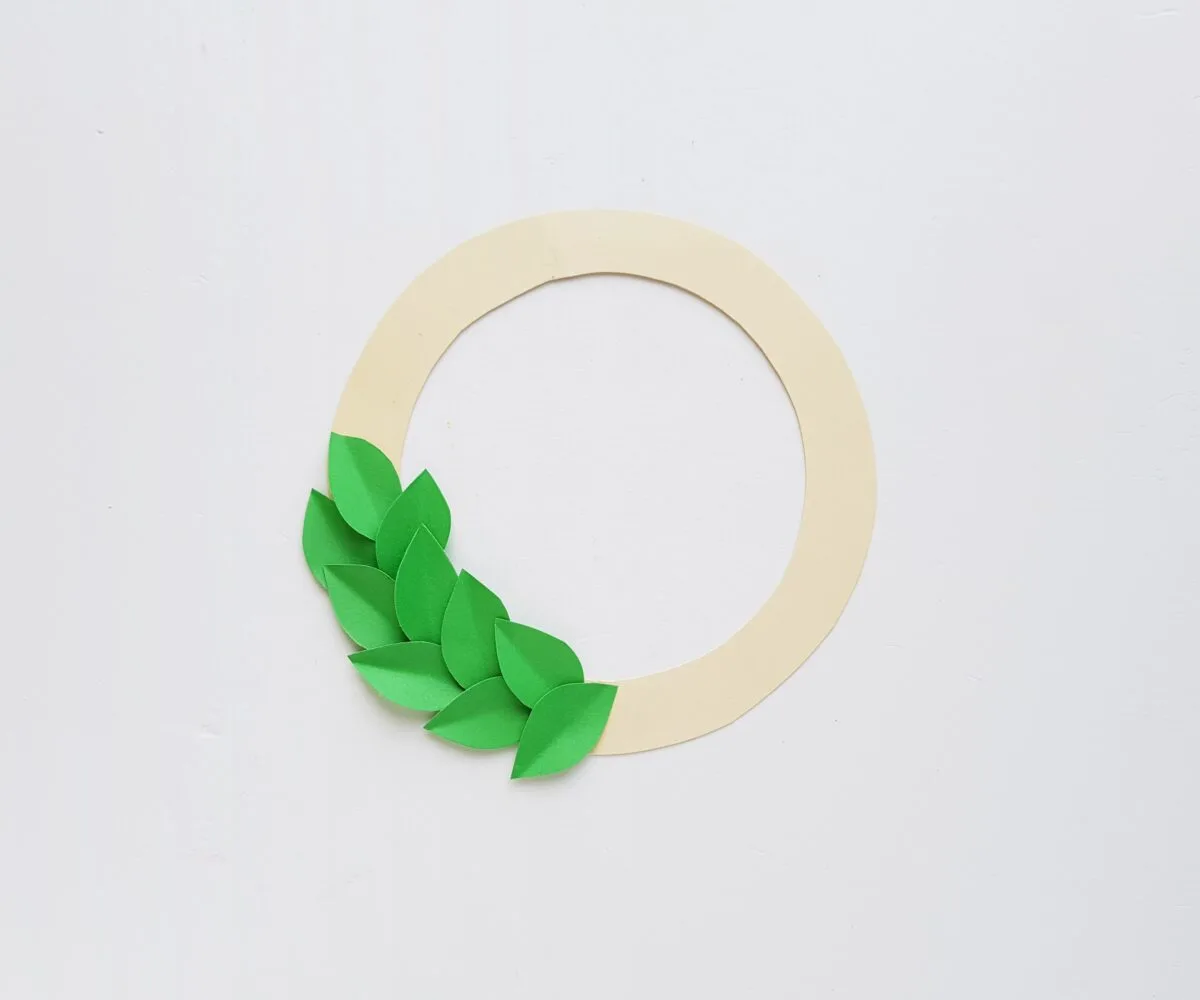
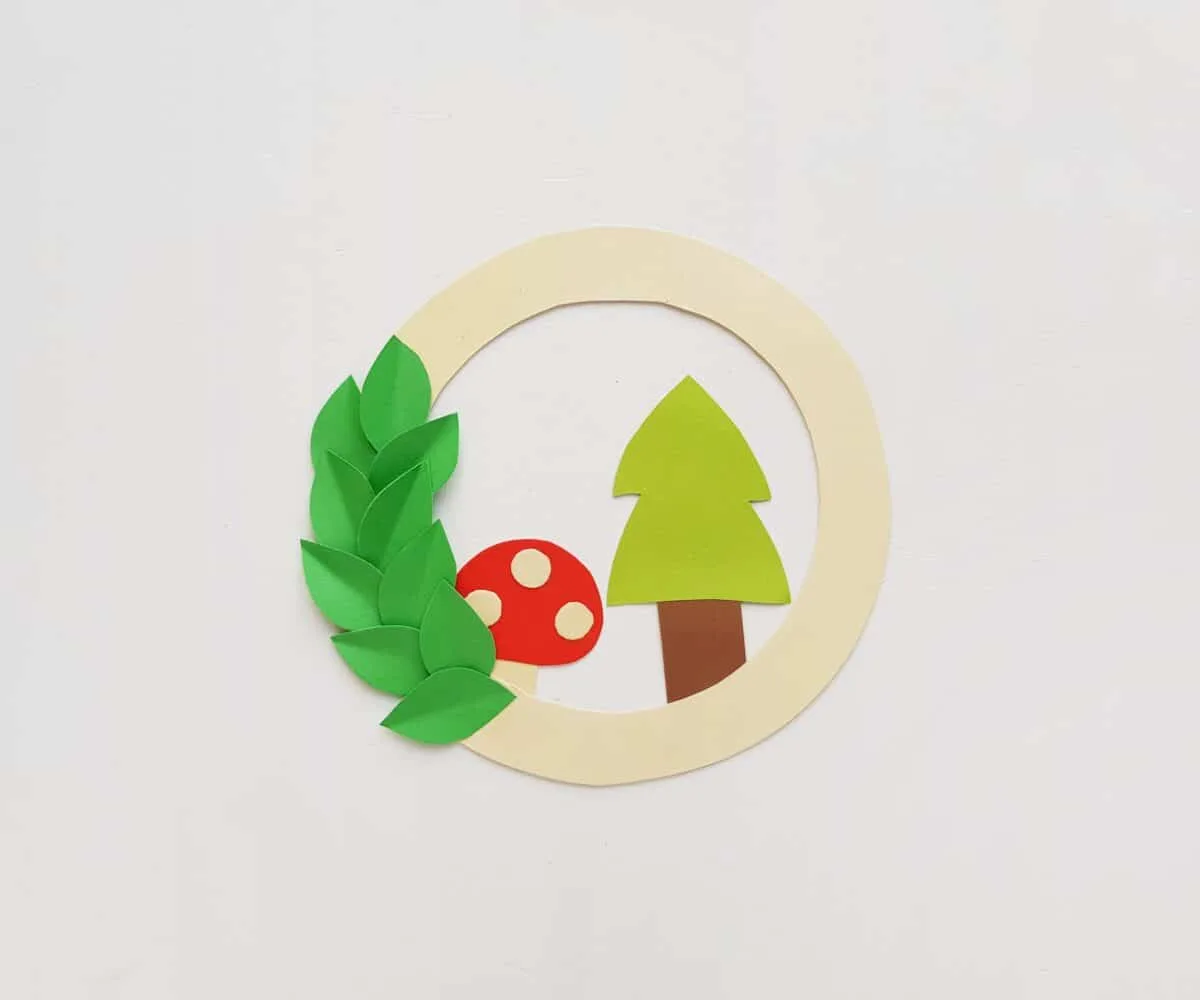
Step 3:
Take the leaves and glue them on the paper wreath base however you want. I am keeping the leaves stacked on a side, but you could cover the entire wreath with leaves if you would like.
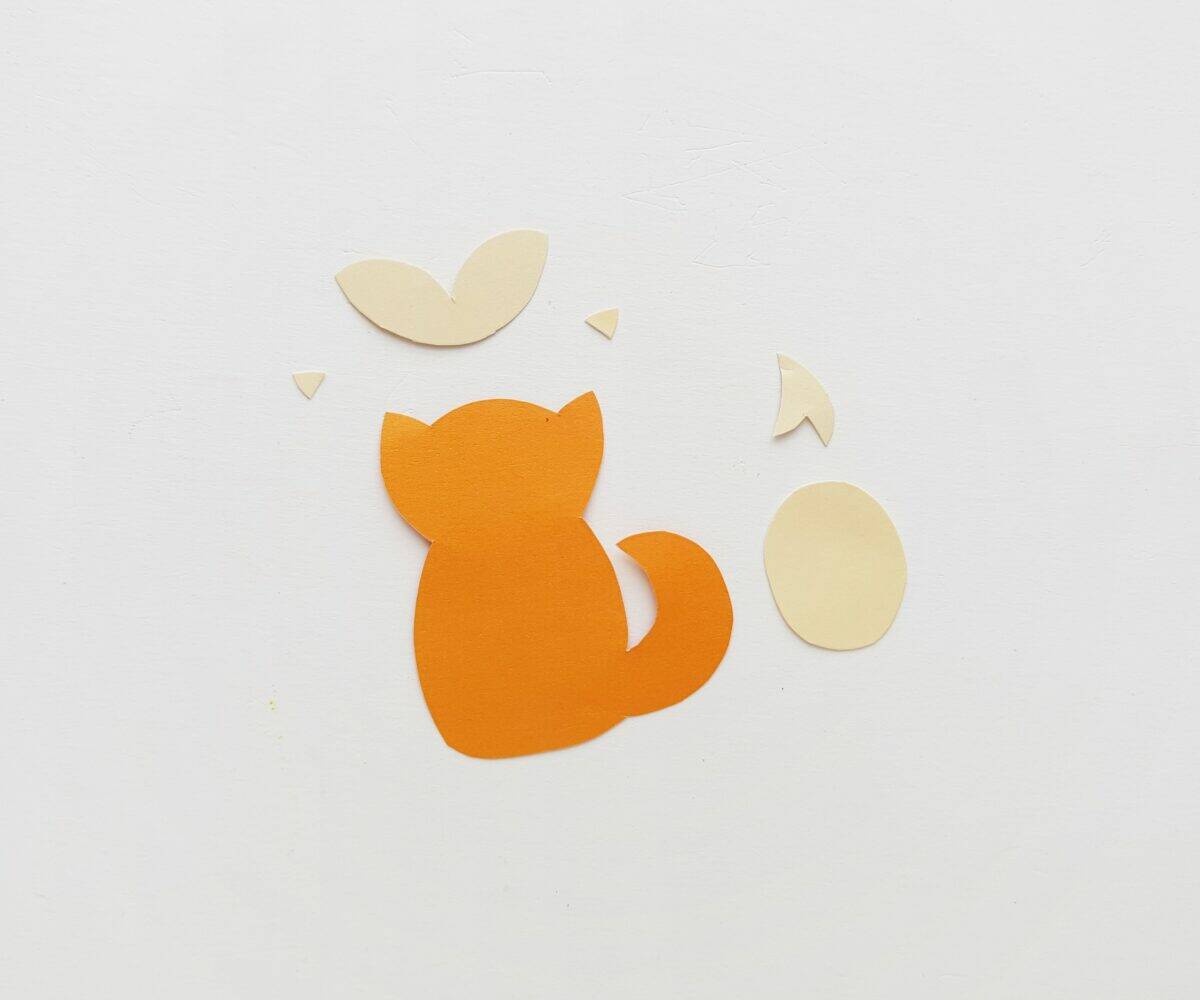
Step 4:
Trace the animal (fox) patterns on colored craft papers and cut them out with scissors.

Step 5:
Stick the fox template cutouts to complete the paper animal, as seen below.
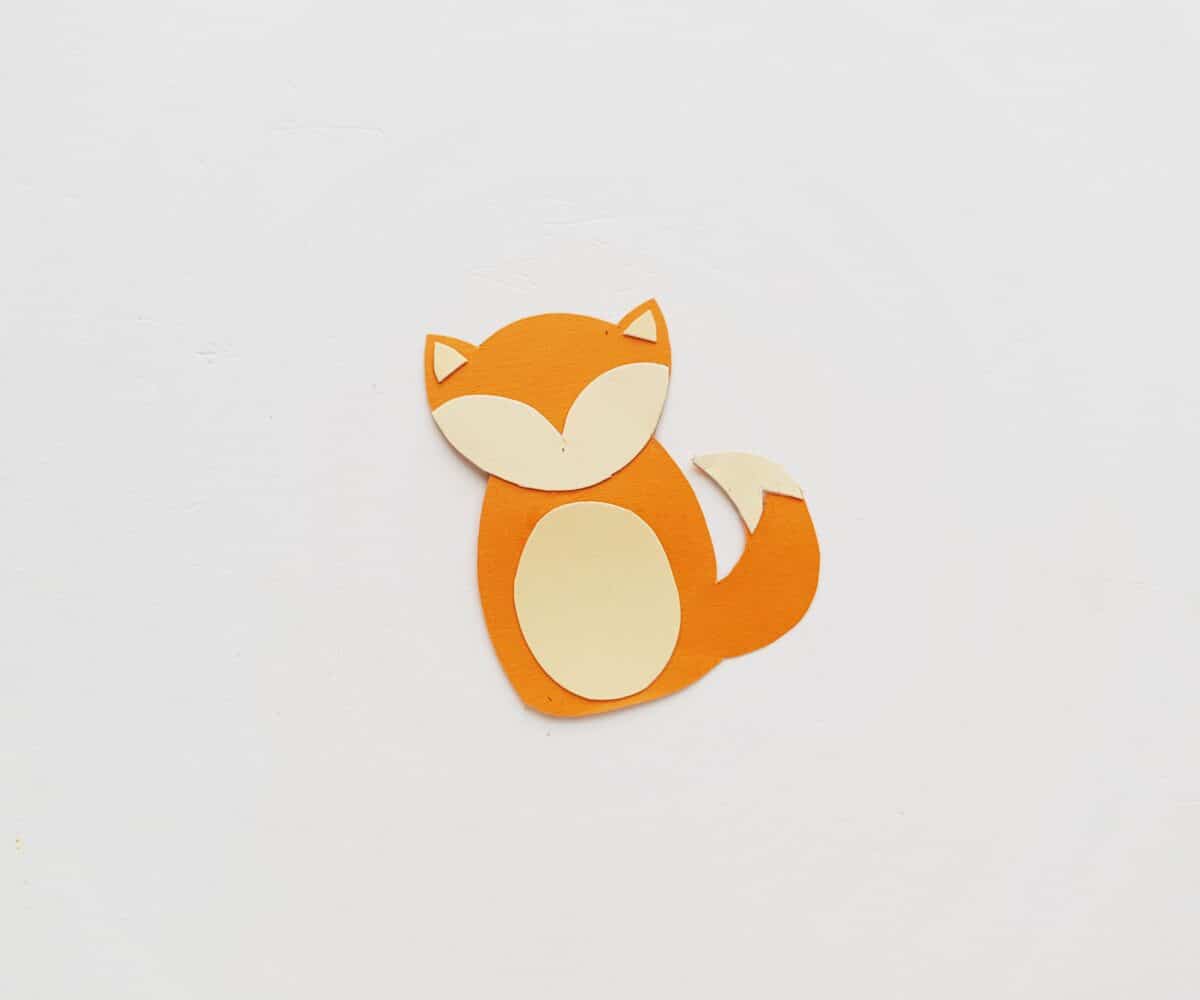
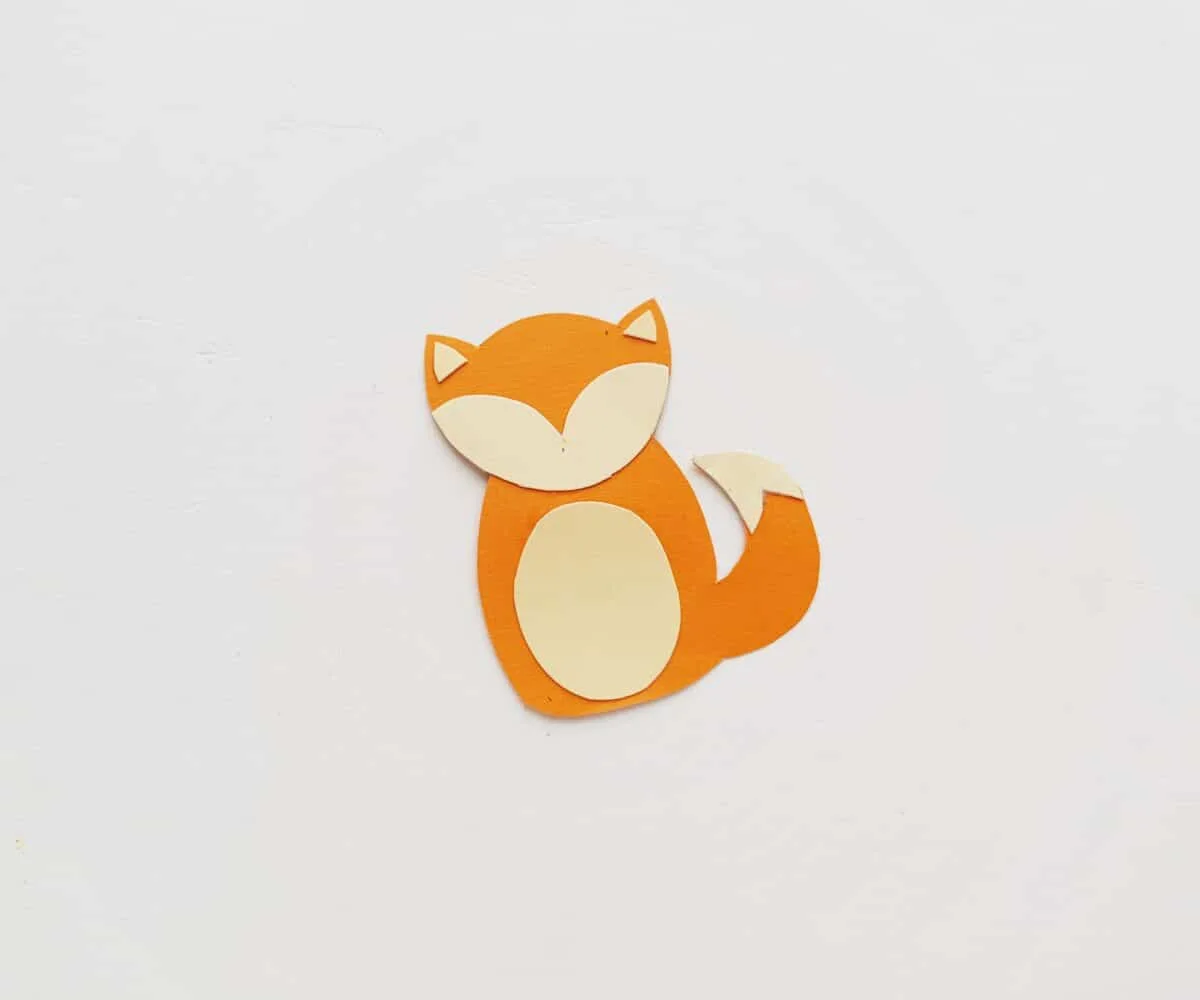
Step 6:
Use a sharpie to draw the face details of the paper animals. Draw eyes and a round dot for the nose.
Step 7:
Cut out the other patterns (mushroom and tree) and join the parts to complete each item.

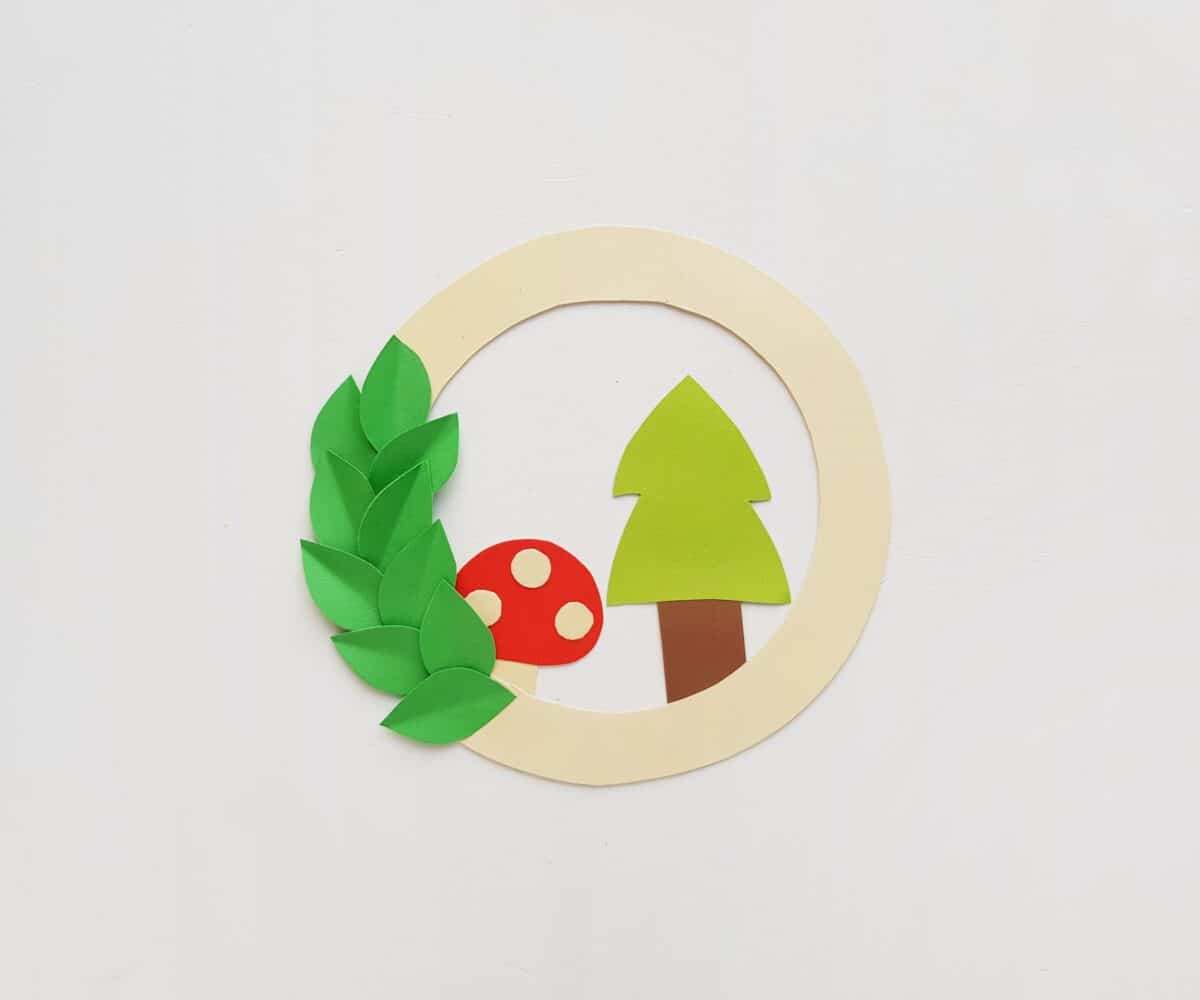
Step 8:
Glue the mushroom and tree on the wreath base. Glue these to the back of the wreath so that they look like they are growing out of the wreath.
Step 9:
Place and glue the woodland fox on the wreath base in the front.

FAQs for Woodland Animals Wreath Craft
Can I Use Felt?
Yes, you can. However, you still need to have a strong and sturdy wreath base. Use cardstock or cardboard for the base. You can cover it with felt if you’d like.
What Can I Use for the Wreath Base?
Cardstock works best, because it is rigid and supportive. Posterboard is thicker than paper but might not have enough strength. You could always repurpose a corrugated cardboard box to cut the wreath base.
What Kind of Glue to Use?
We used normal craft glue. You could also use a glue stick. Hot glue might work, too.
How Can I Customize This Woodland Animal Wreath?
Here are some ideas:
- Use orange, brown and yellow paper to make fall leaves on the wreath
- Choose different colors for the mushroom and animals
- Use all of the animals on one wreath, or two of them
- Decorate the tree with drawn-on birds, Christmas garland, etc.
- Make the wreath in all pastels for a baby’s nursery
If you like this woodland animal wreath, be sure to check out all of our DIY wreaths for more ideas!
