

These easy Halloween paper cup crafts are easy enough for kids to make and cute enough for adults to enjoy! The simple, inexpensive Halloween decorations are perfect for decorating at home or to use for a Halloween party.

Most of these DIY projects use the same types of craft materials. Or they use scrap bits that you might already have. So you don’t have to buy a lot of supplies to make these cute paper cup crafts.
Among the common supplies you will need are:
- Different colors of construction paper
- Paper cups
- Large googly eyes
- Glue gun or craft glue
Each project is unique, though, so you will need items such as pipe cleaners or yarn for some of the tutorials.
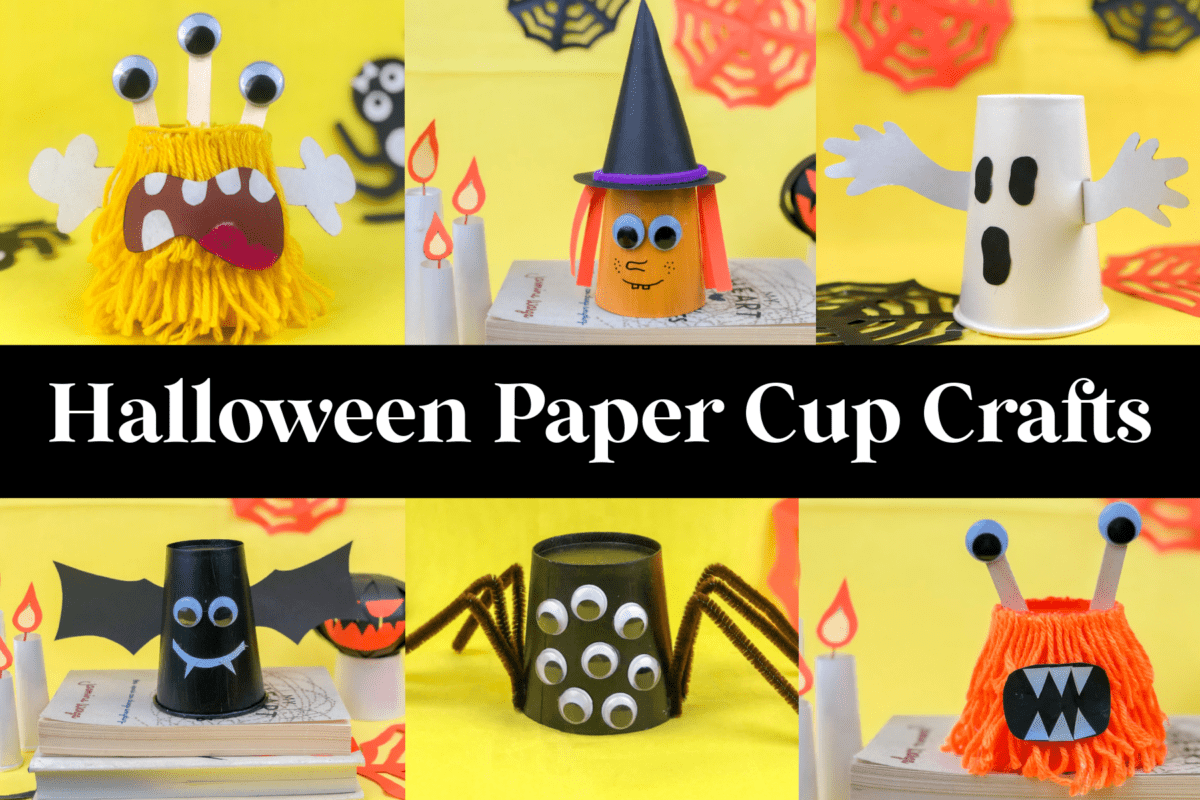
We have included instructions for five different Halloween paper cup crafts in this tutorial. They are organized in the following way:
- Paper Cup Bat
- Spider
- Ghost
- Witch
- Monster
Related Post: Use construction paper to also make these cute 3D Paper Strip Pumpkins and these adorable vampire gnomes.
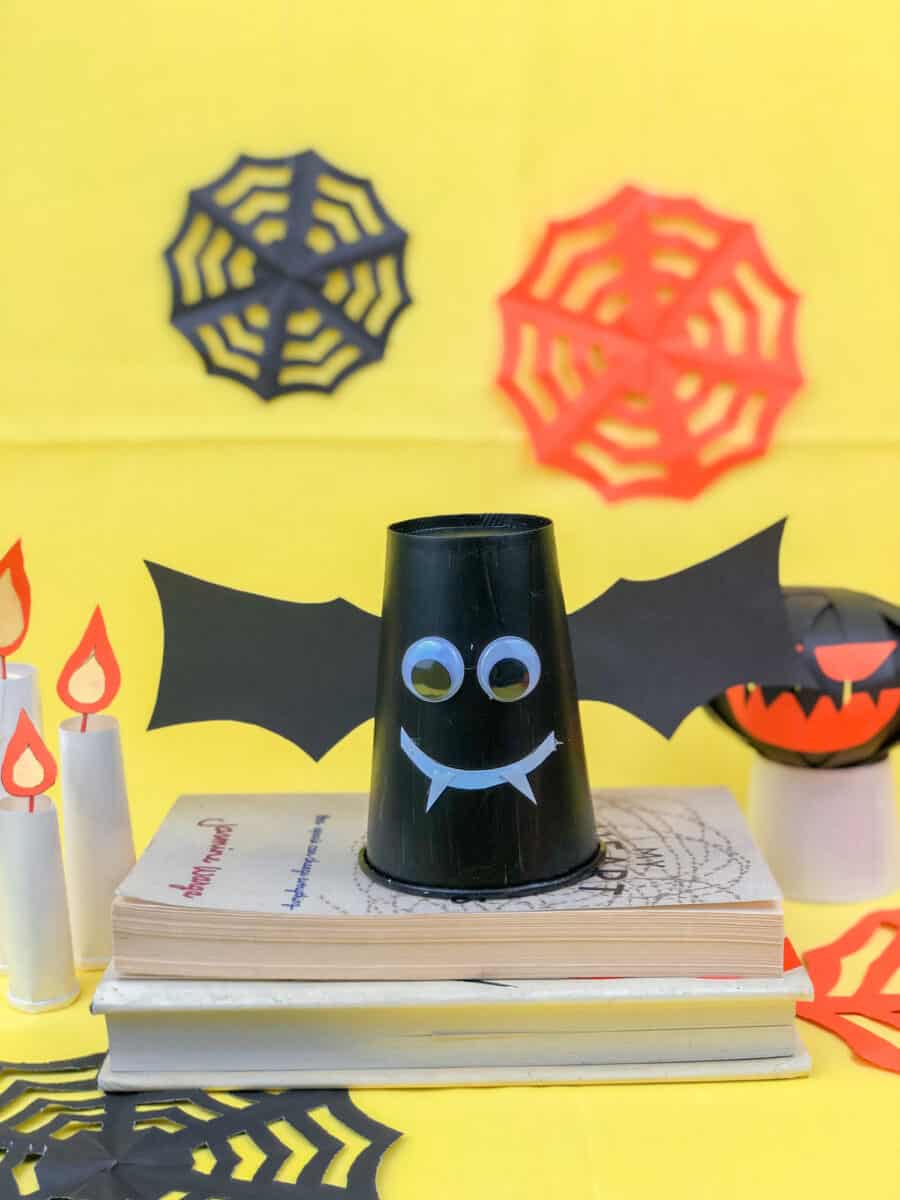
Halloween Paper Cup Bat Craft
Be sure to check out our Hocus Pocus vase for even more bat-themed Halloween crafts.

Supplies
- Paper cup
- Black paint and paint brush (unless you have a black paper cup)
- Black and white construction paper
- Scissors
- Pen or marker
- Glue gun and glue sticks; or craft glue
- Googly eyes
Directions
Step 1
Paint the paper cup black with acrylic paint. You will probably need to do more than one coat to completely cover the cup.
If you have a black paper cup, you can skip this step.
Step 2
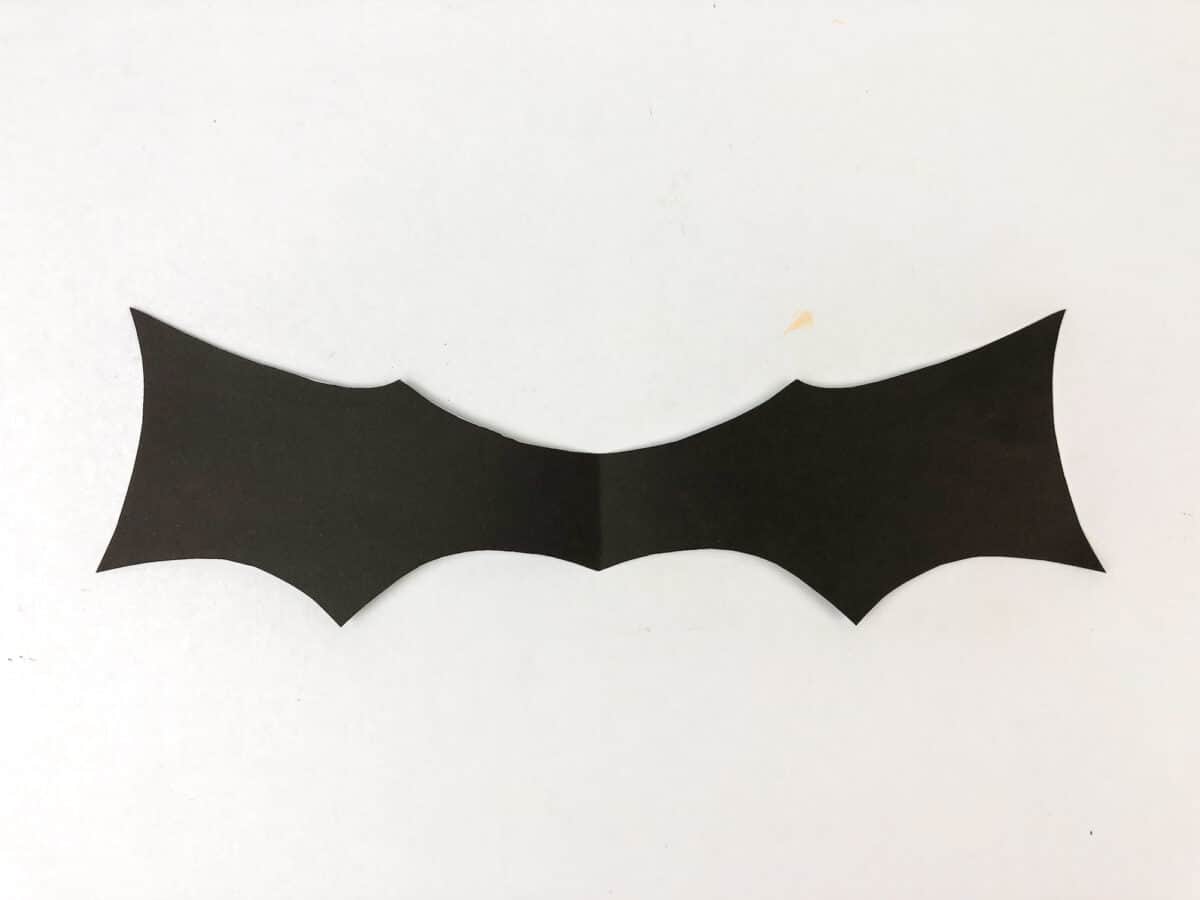
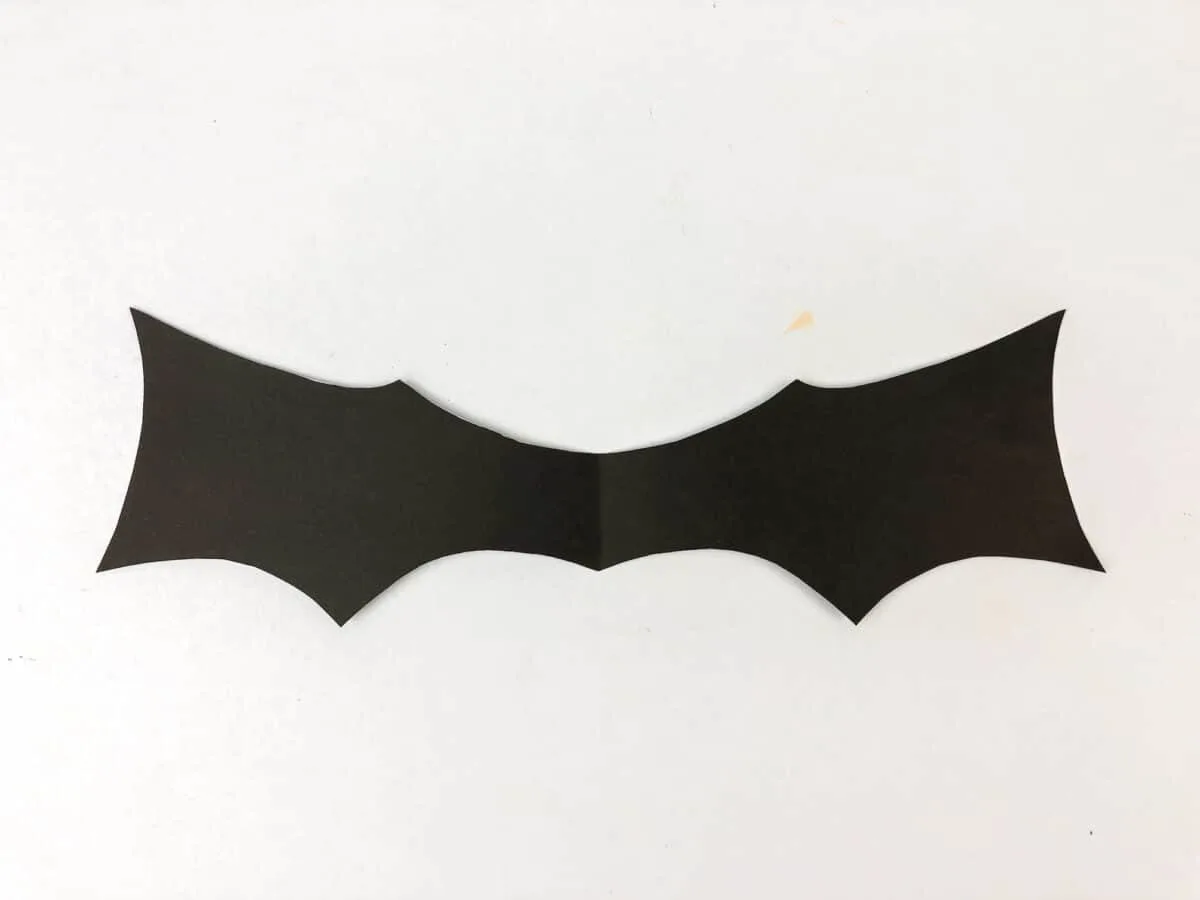
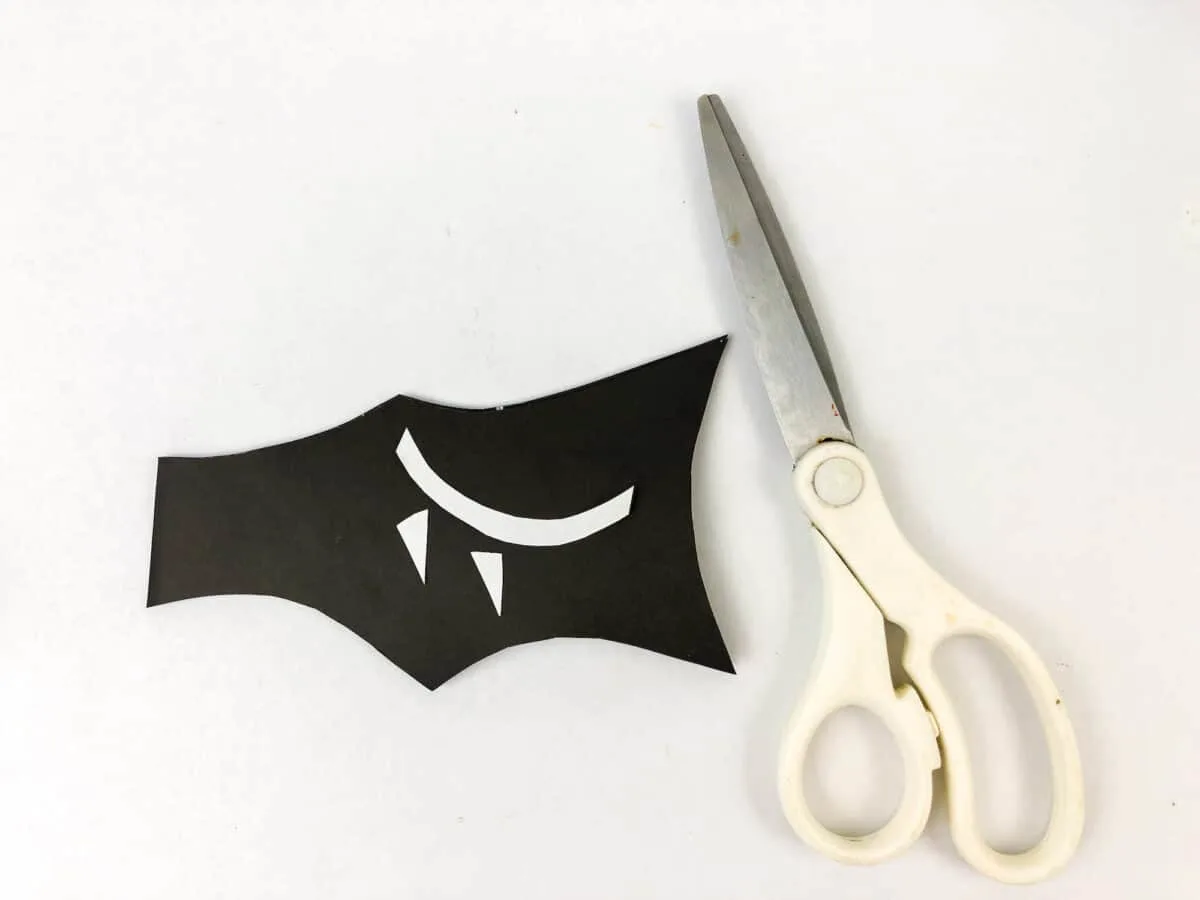
Fold a piece of black construction paper in half. Starting at the folded edge, draw a bat wing on the paper. It doesn’t have to be perfect!
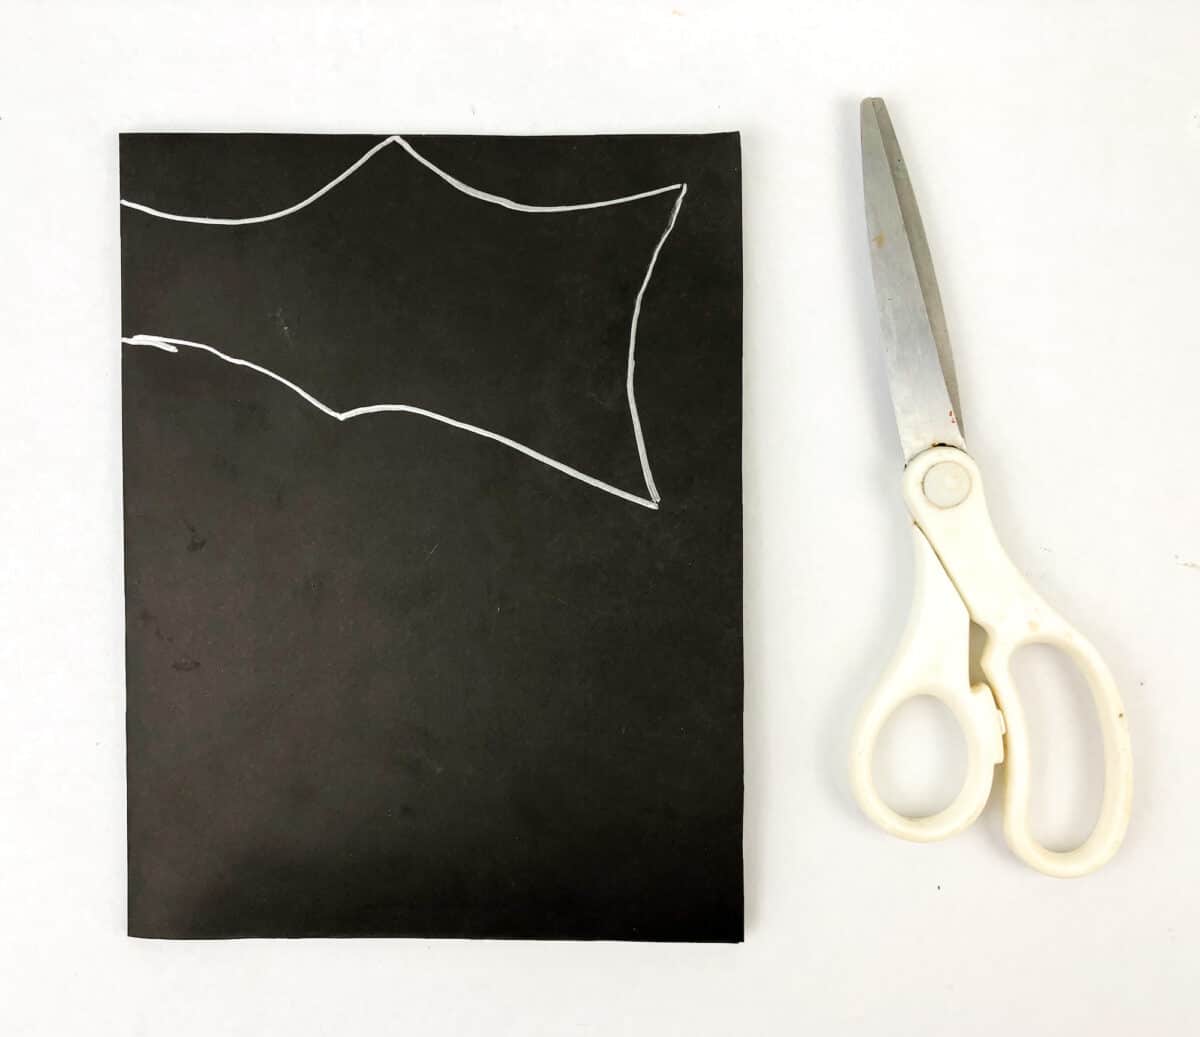
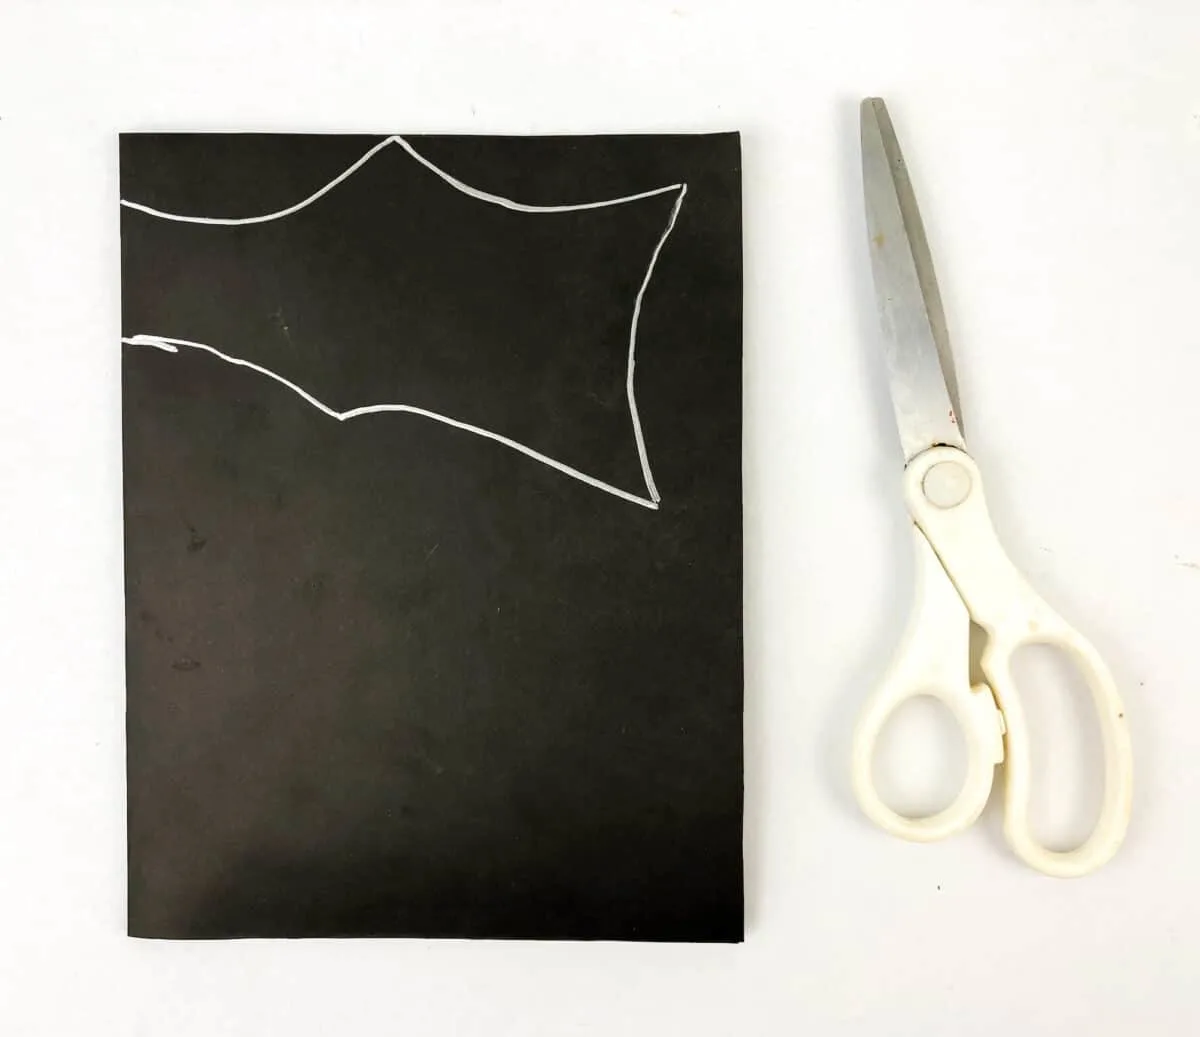
Cut out the wing, cutting through both pieces of paper.
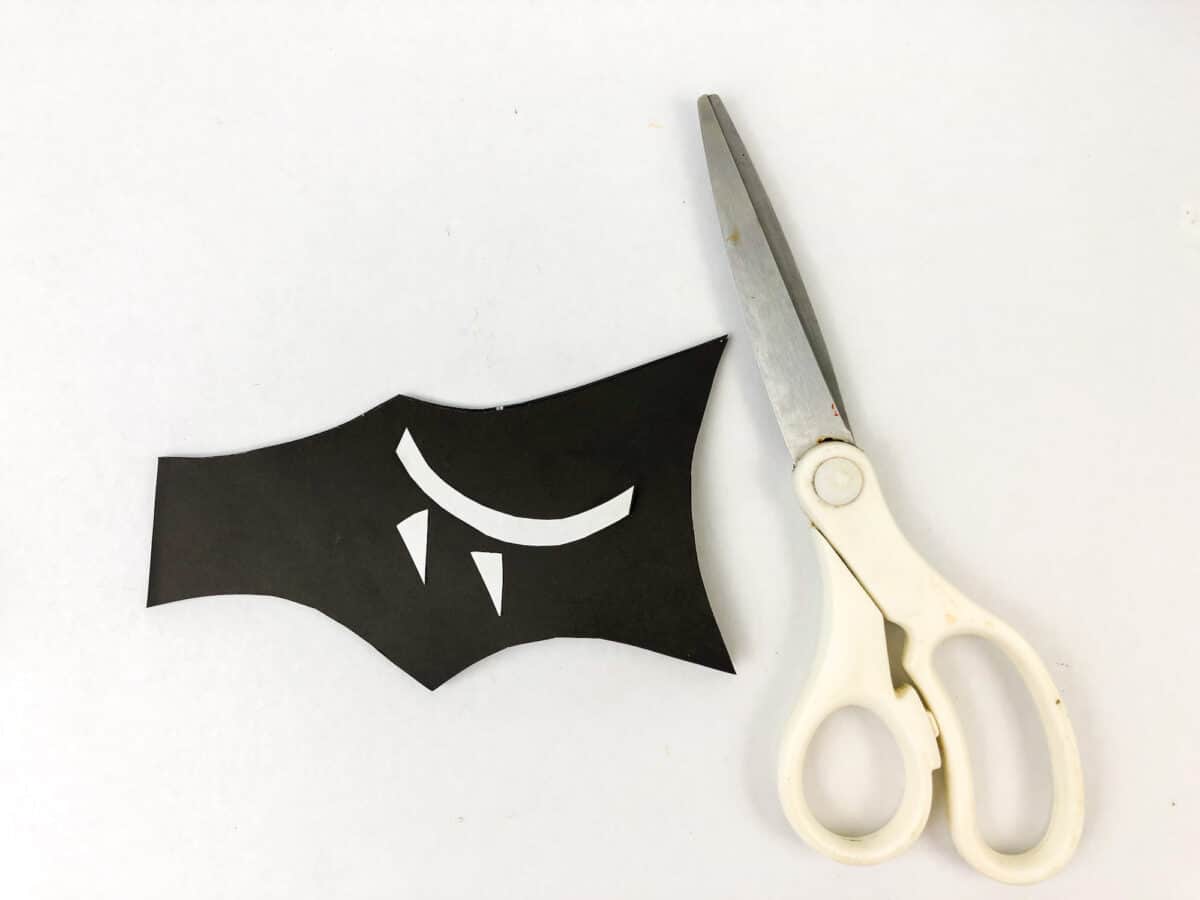
Step 3
Now, cut two tiny triangles out of white paper. These will be the teeth or fangs for the bat. Also cut out a white curved smile for the bat.
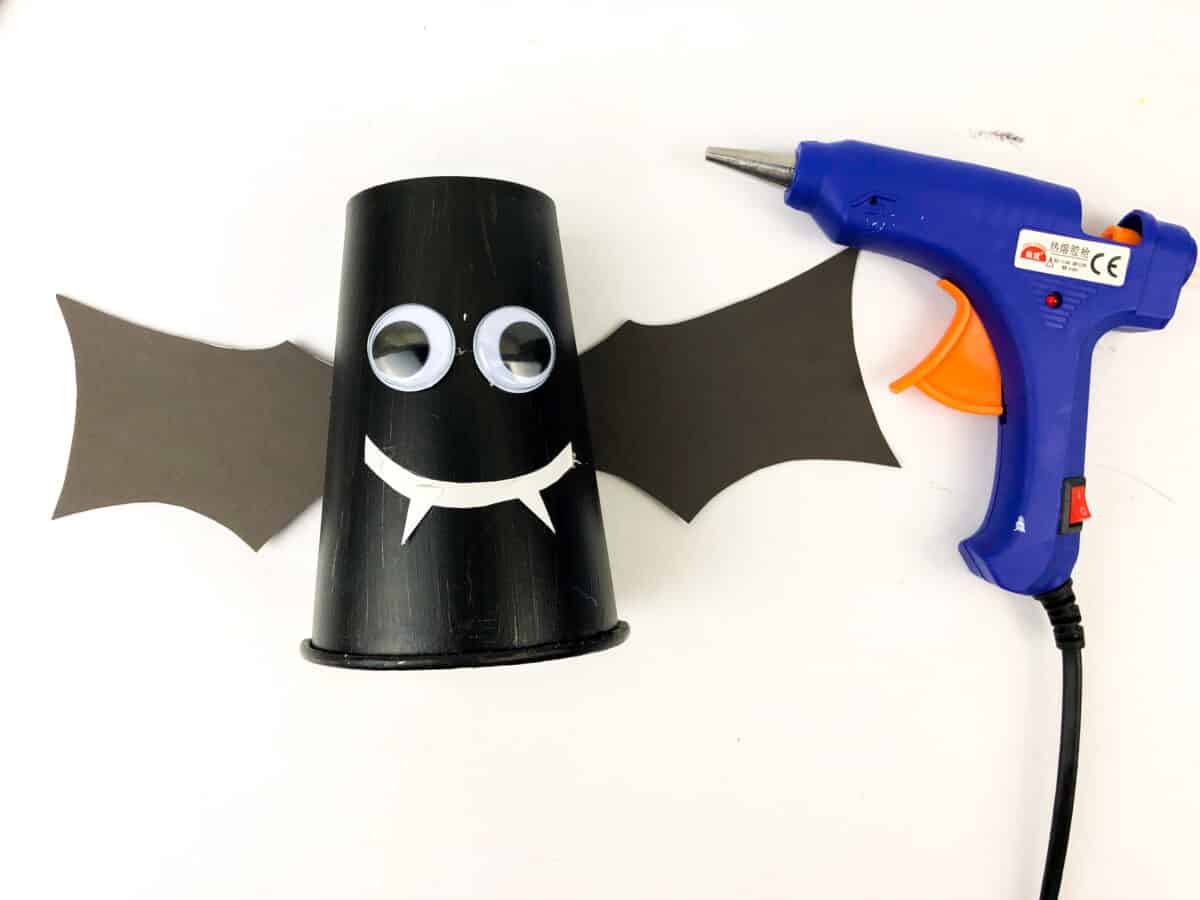
Step 4
Now, glue the bat wings to the back of the paper cup. Attach the googly eyes to the front of the cup, just above the wings.
Finally, glue the curved smile below the eyes. Attach two fangs pointing downwards to the curved smile.


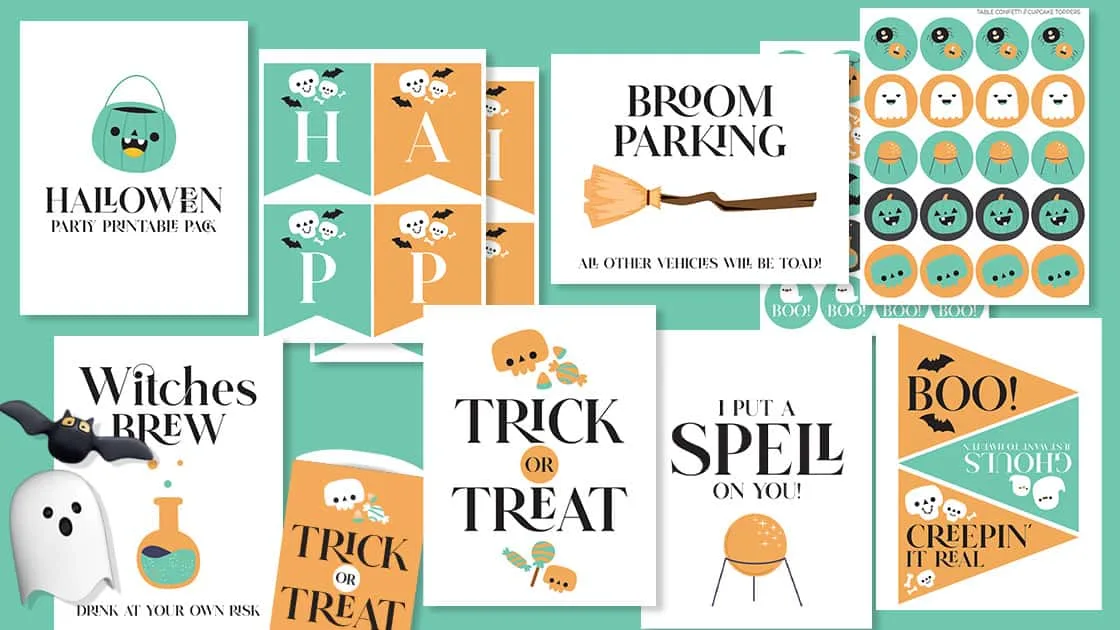
Hurry! Get Your Halloween Printables Pack Now!
This fun Halloween printables pack has banners, signs, treat bags and cupcake toppers. Don’t miss out!
Paper Cup Spider Craft for Halloween
If you like this paper cup spider, be sure to see all of our Halloween spider decorations, including this Cricut spider web door decoration and our spider Halloween vases.

Supplies
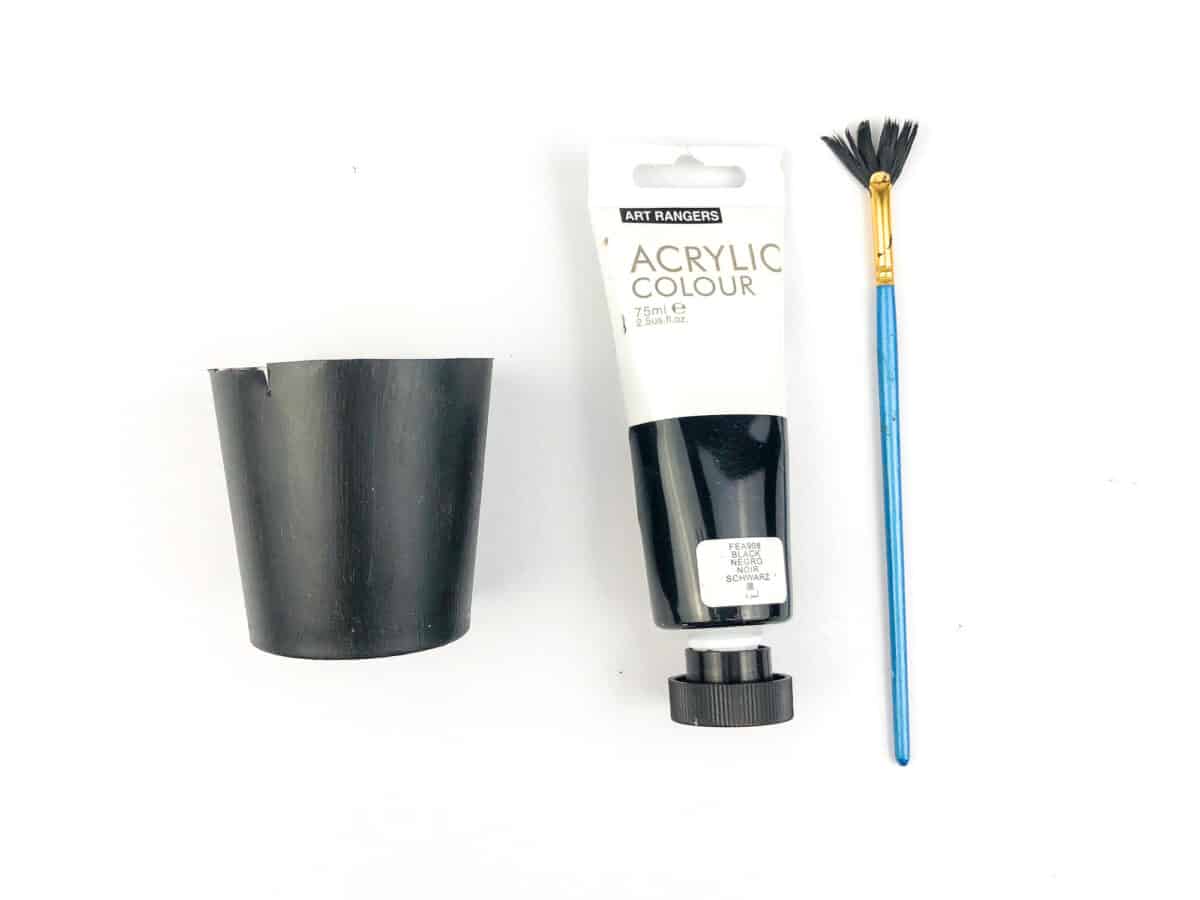
- Paper cup
- Black paint and paint brush (unless you have a black paper cup)
- Googly eyes
- 3 Pipe cleaners (brown or black)
- Scissors
- Glue gun and glue sticks; or craft glue
Directions
Step 1
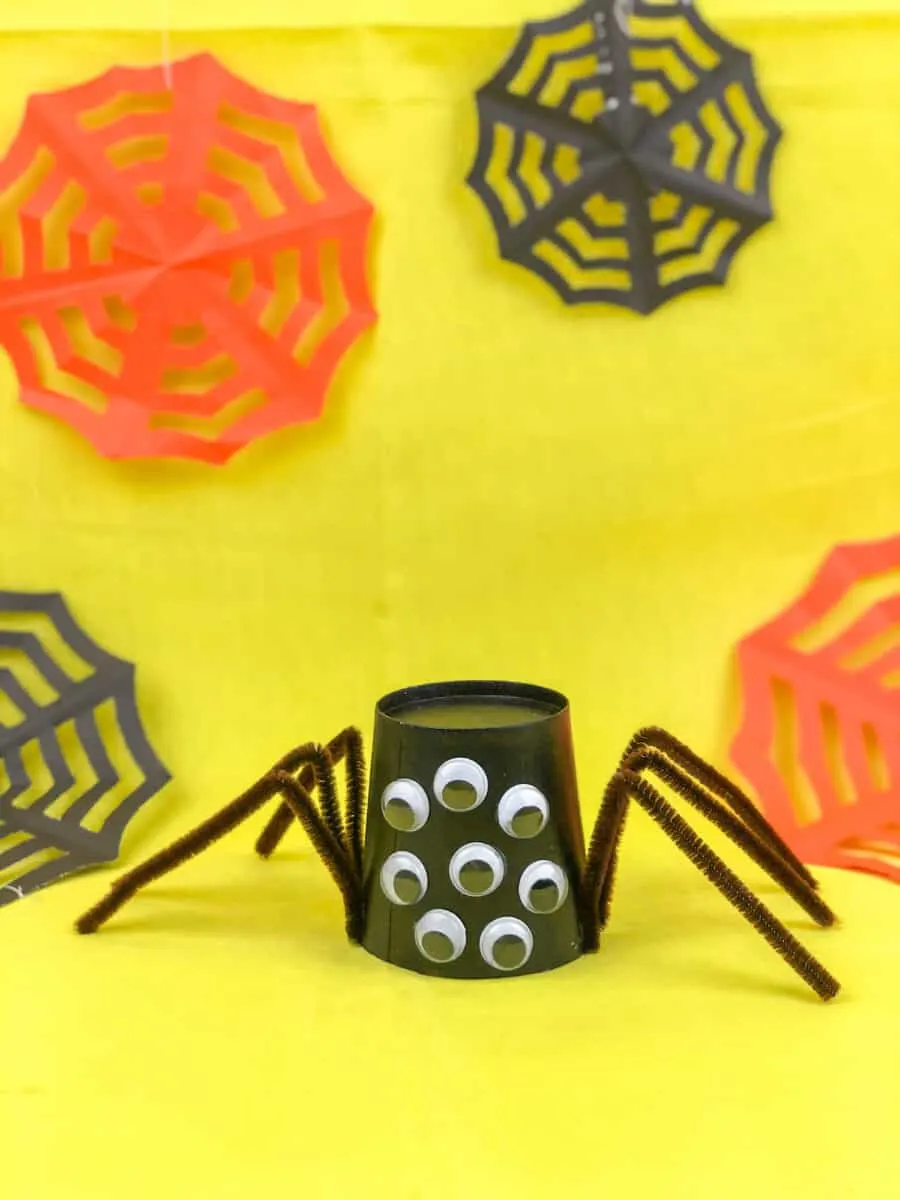
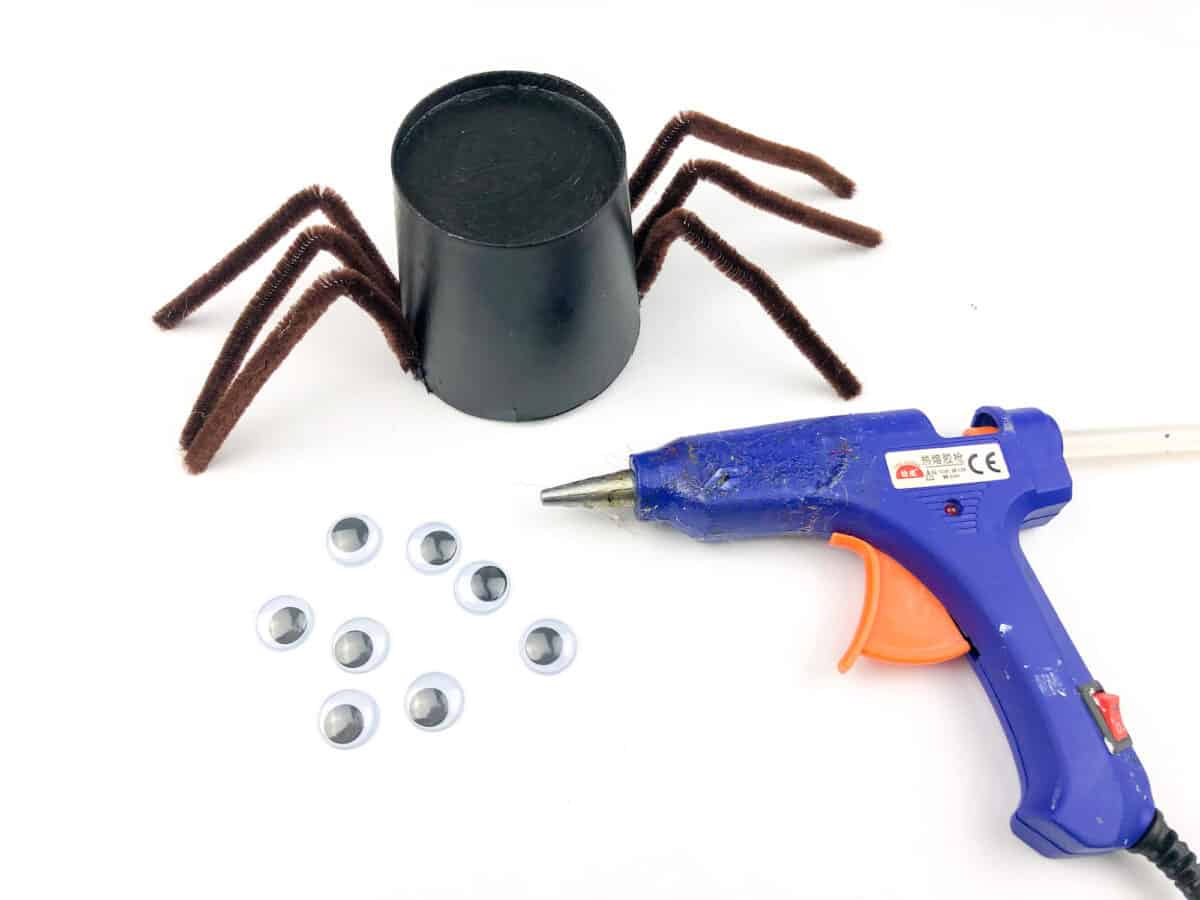
Trim down the paper cup. Cut at least an inch or more off of the top to give the cup a short, squatty appearance.
Paint the cup with black acrylic paint. You might need to apply more than one coat of paint. Remember to paint the base of the cup because you will see it when you turn it upside down.

If you are using black paper cups, there is no need to paint.
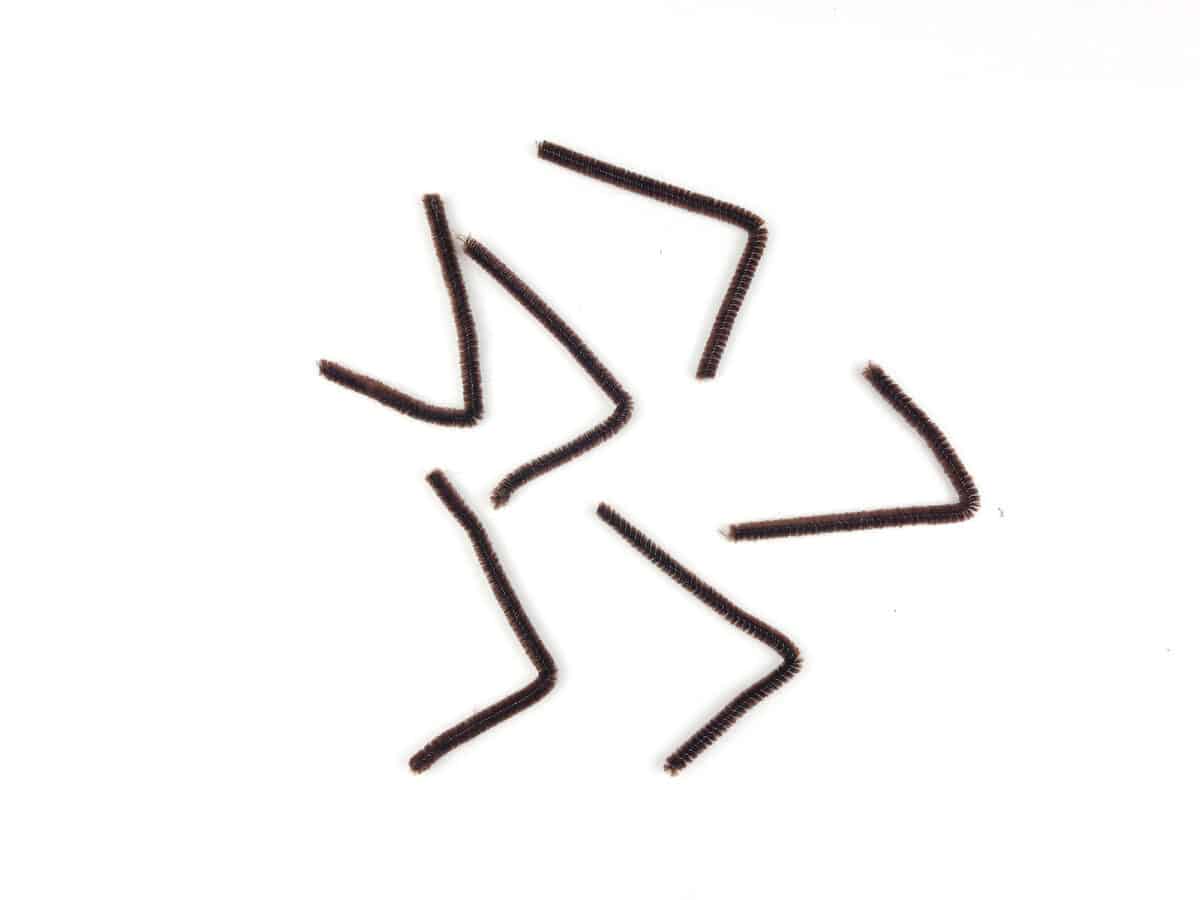
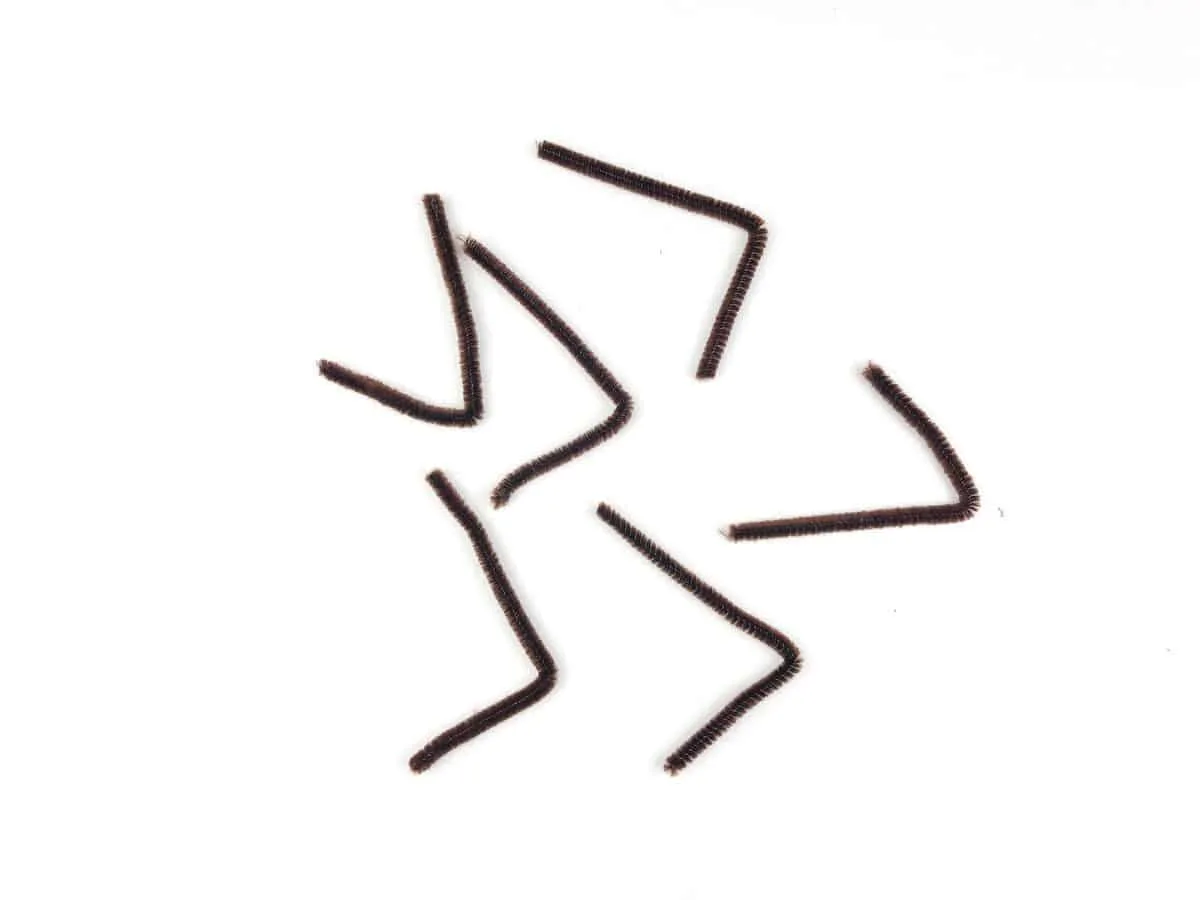
Step 2
Cut the pipe cleaners in half. Bend each half in half again. You will now have 6 spider legs.
Step 3
Glue the spider legs to the paper cup with hot glue or craft glue. Attach towards the base the spider (which will be the cut end that was the top of the cup before).
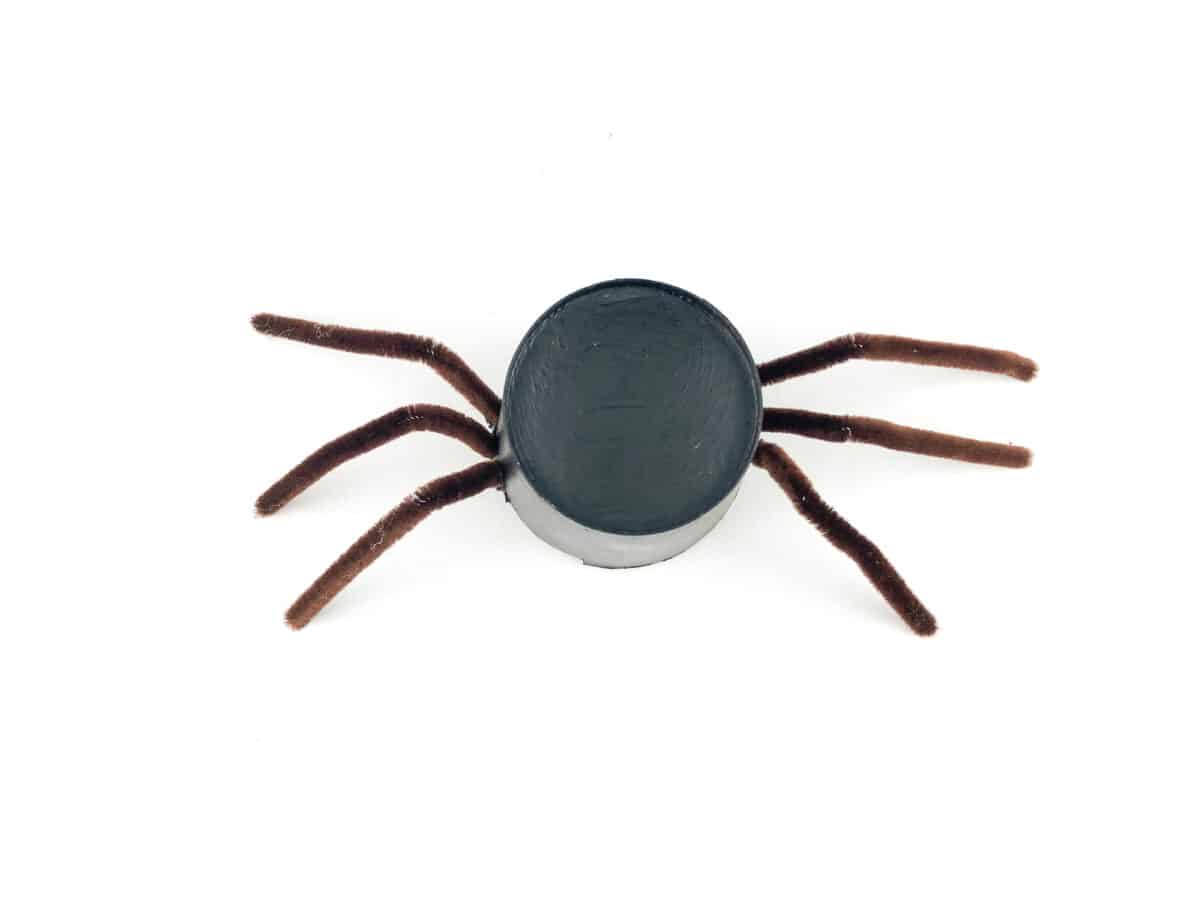

Step 4
Glue a lot of the googly eyes to the front of the cup. The more there are and the crazier it looks, the better!

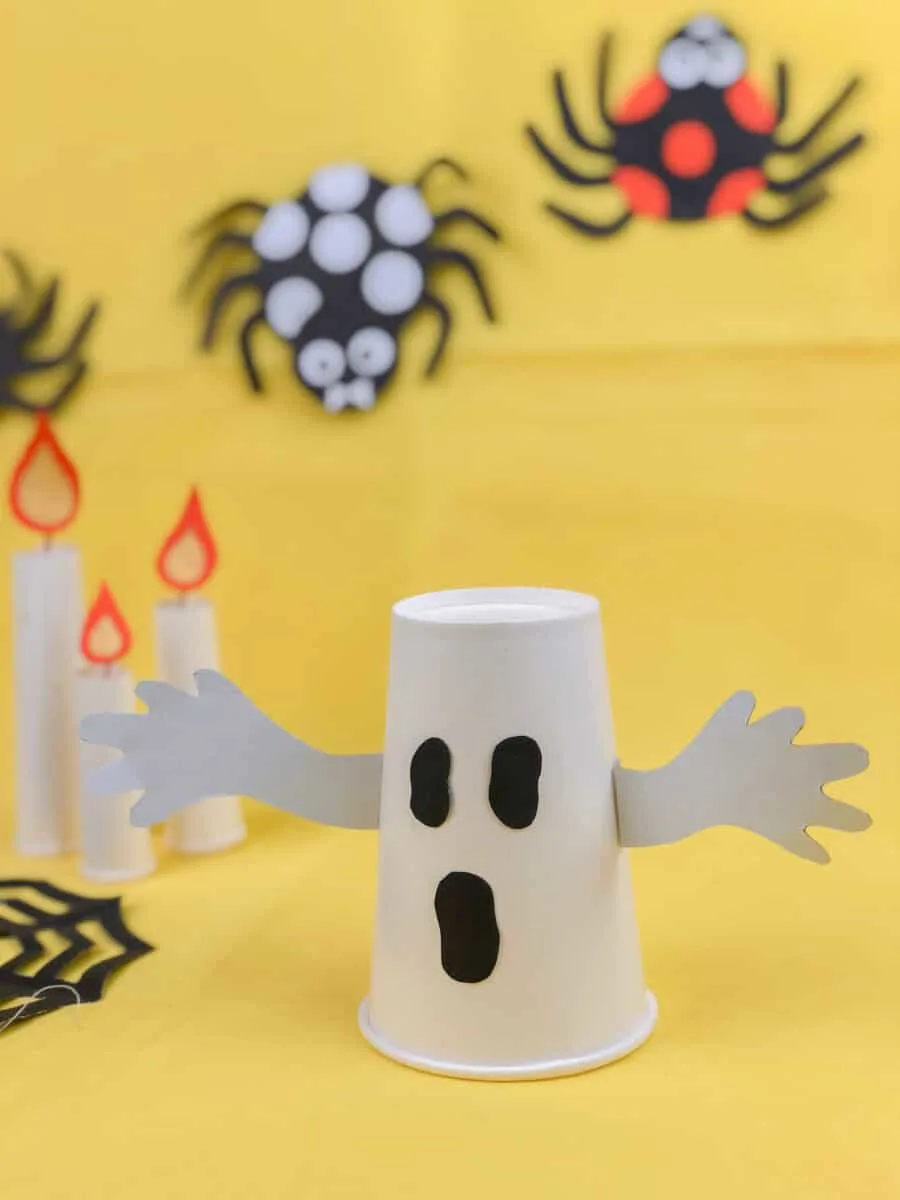
Halloween Ghost Paper Cup Craft
If you like this easy paper cup ghost, be sure to see our milk jug ghosts and DIY outdoor ghost decorations.

Supplies
- White paper cup
- Black and white construction papers
- Pen
- Scissors
- Glue gun or craft glue
Directions
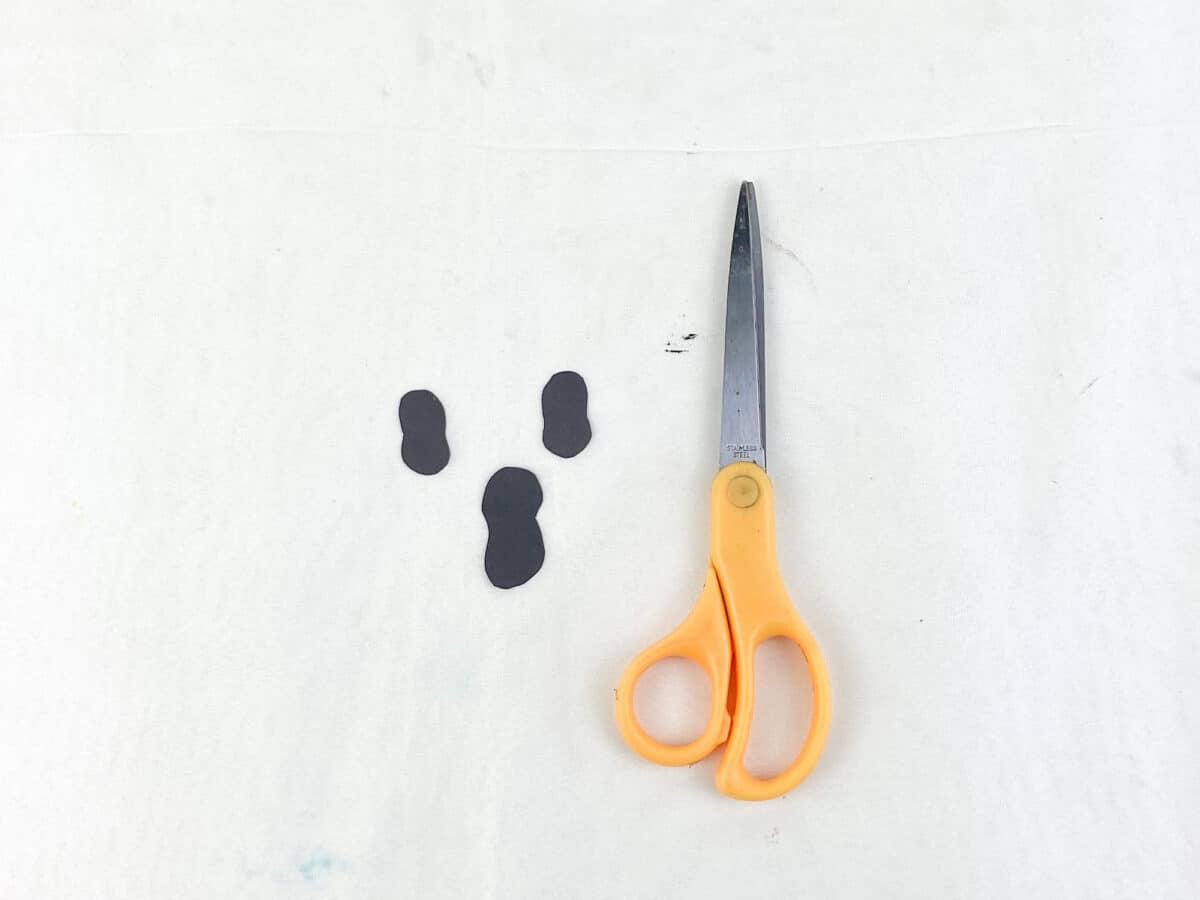
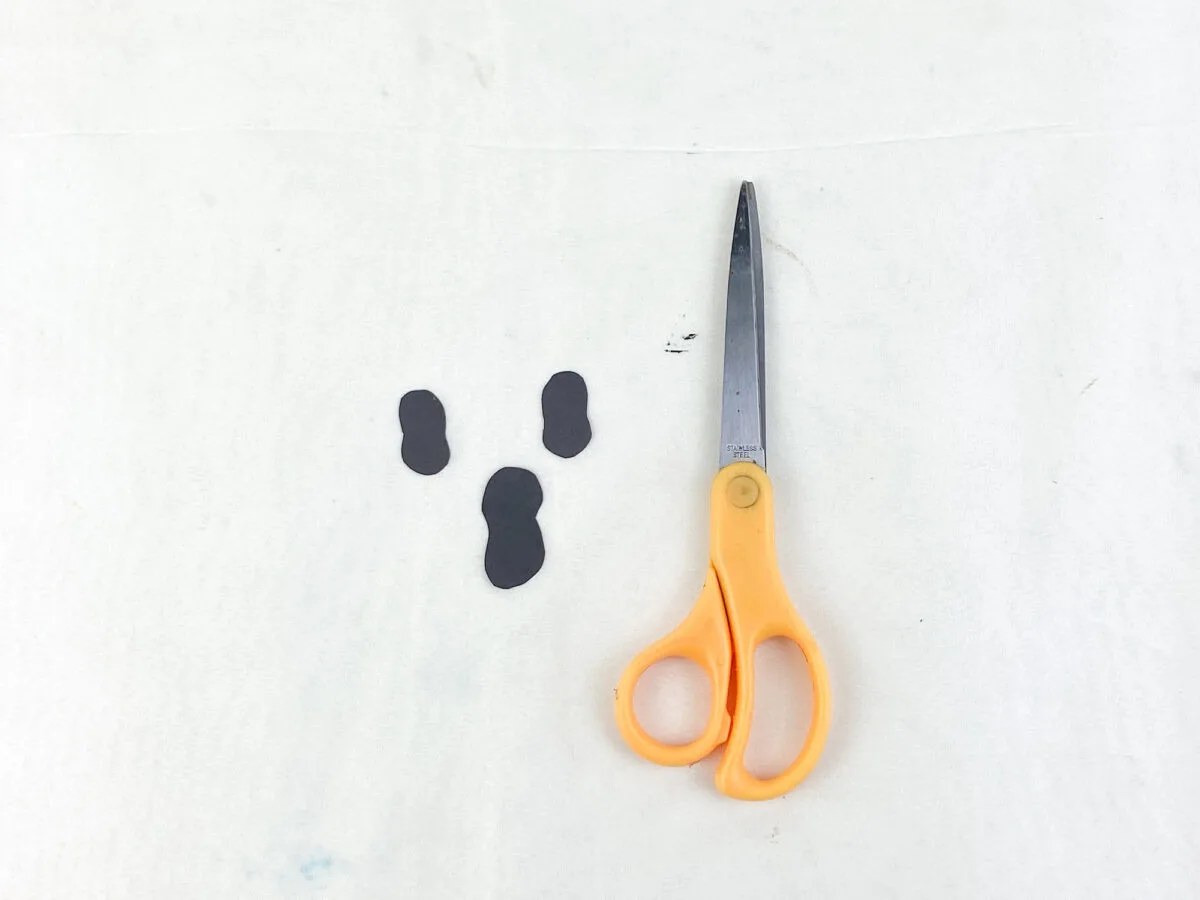
Step 1
Cut two eyes and one mouth out of black construction paper. I made them a little bit wavy to look like a ghost.
Step 2
Draw two hands on a piece of white paper. Then cut out.
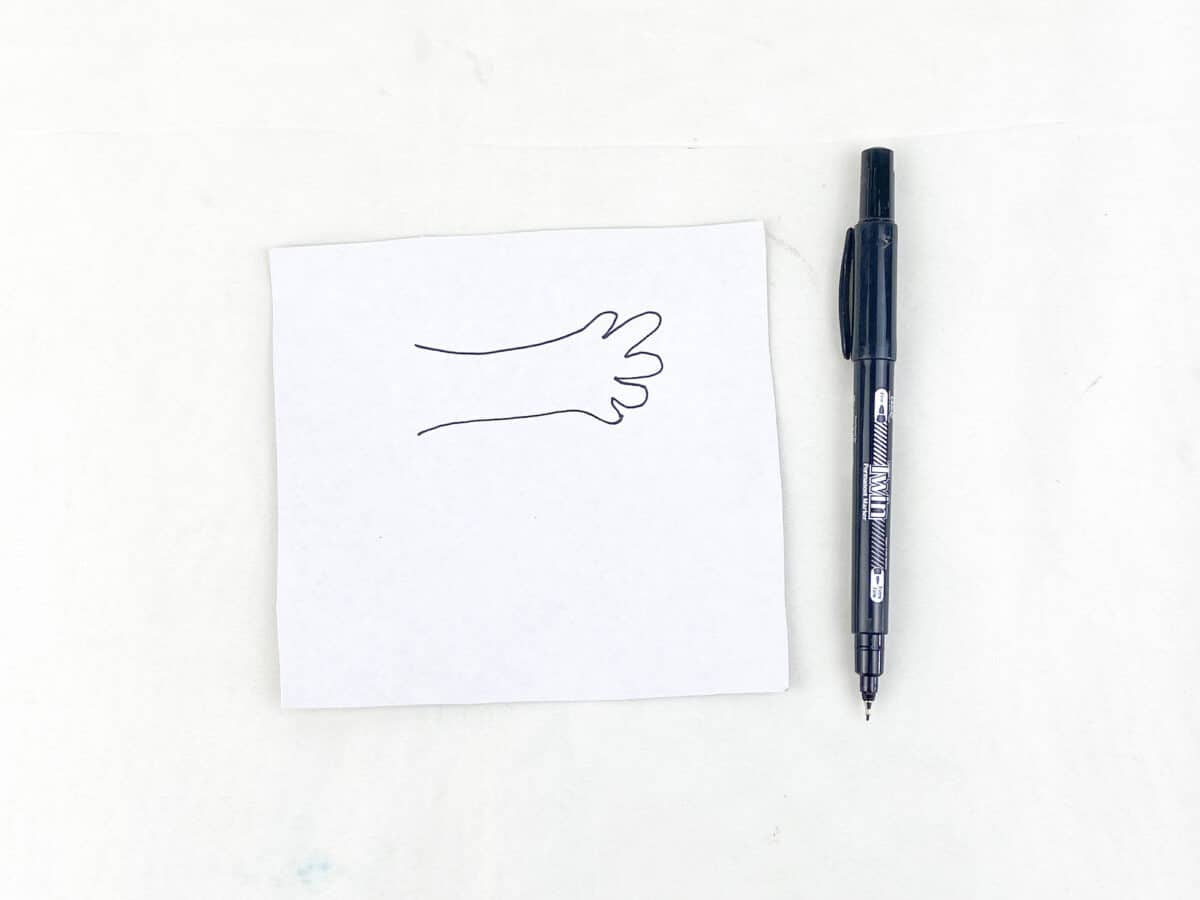
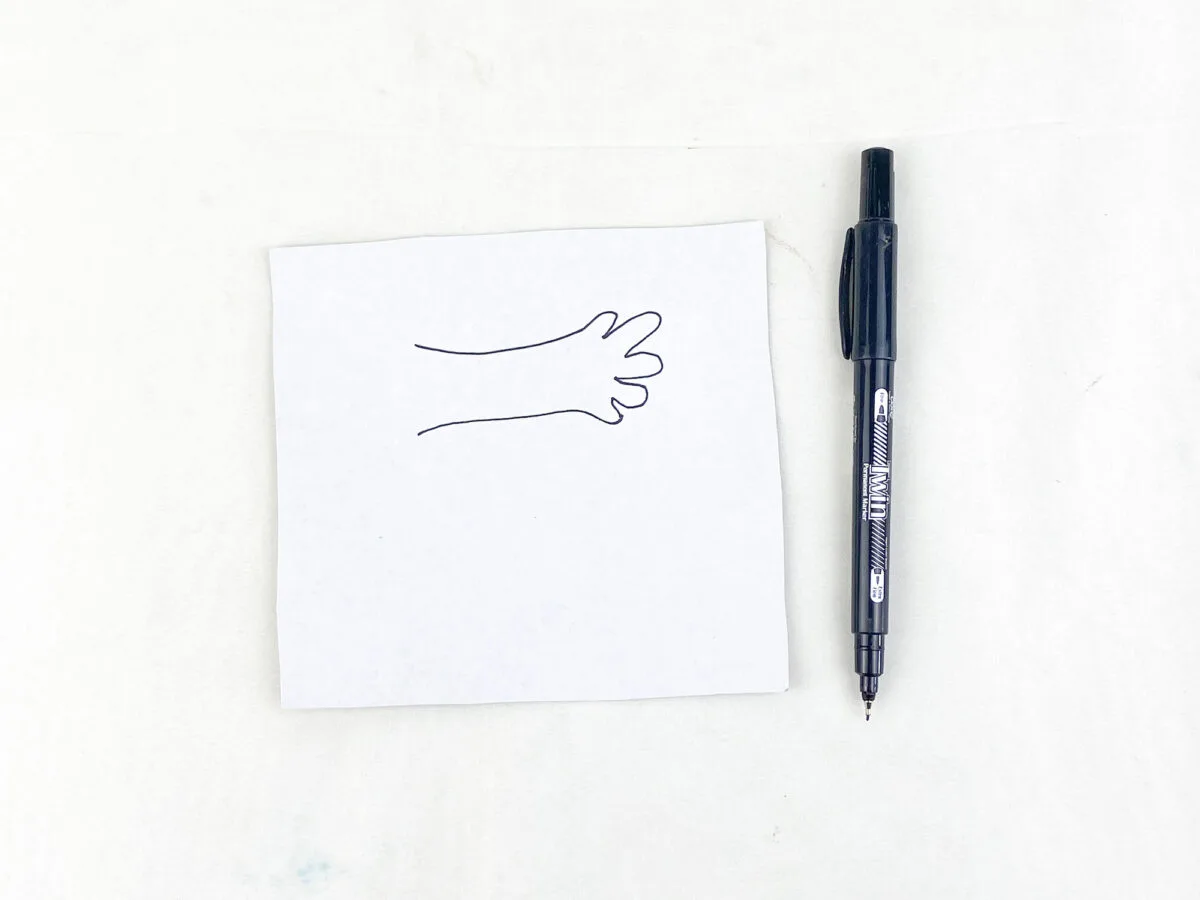
Tip: Fold the white paper in half. Draw one hand on one side of the paper. Then cut through both pieces to get two separate hands.
Step 3
Turn the paper cup over, so that the solid base is on top. Glue the hands on the back of the paper cup. Then glue the eyes and mouth to the front of the cup.


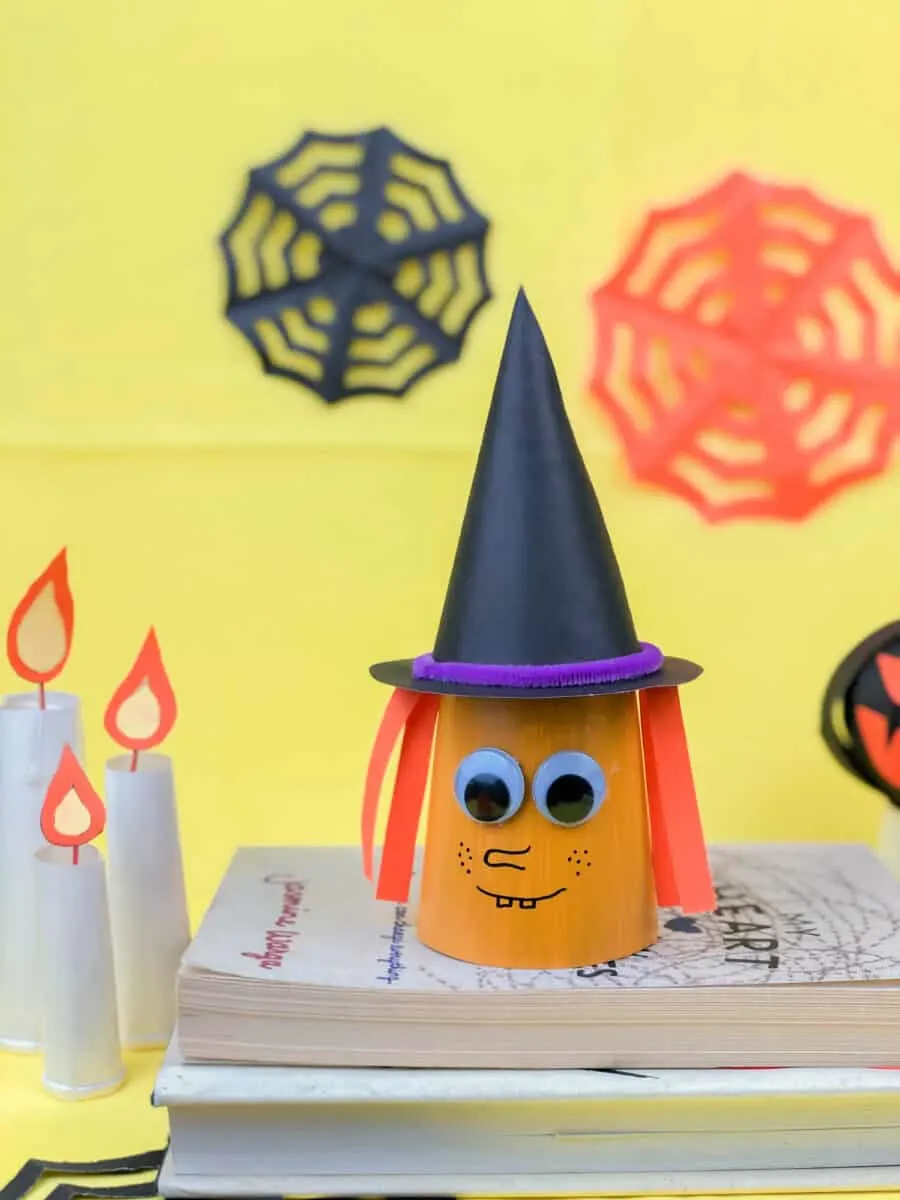
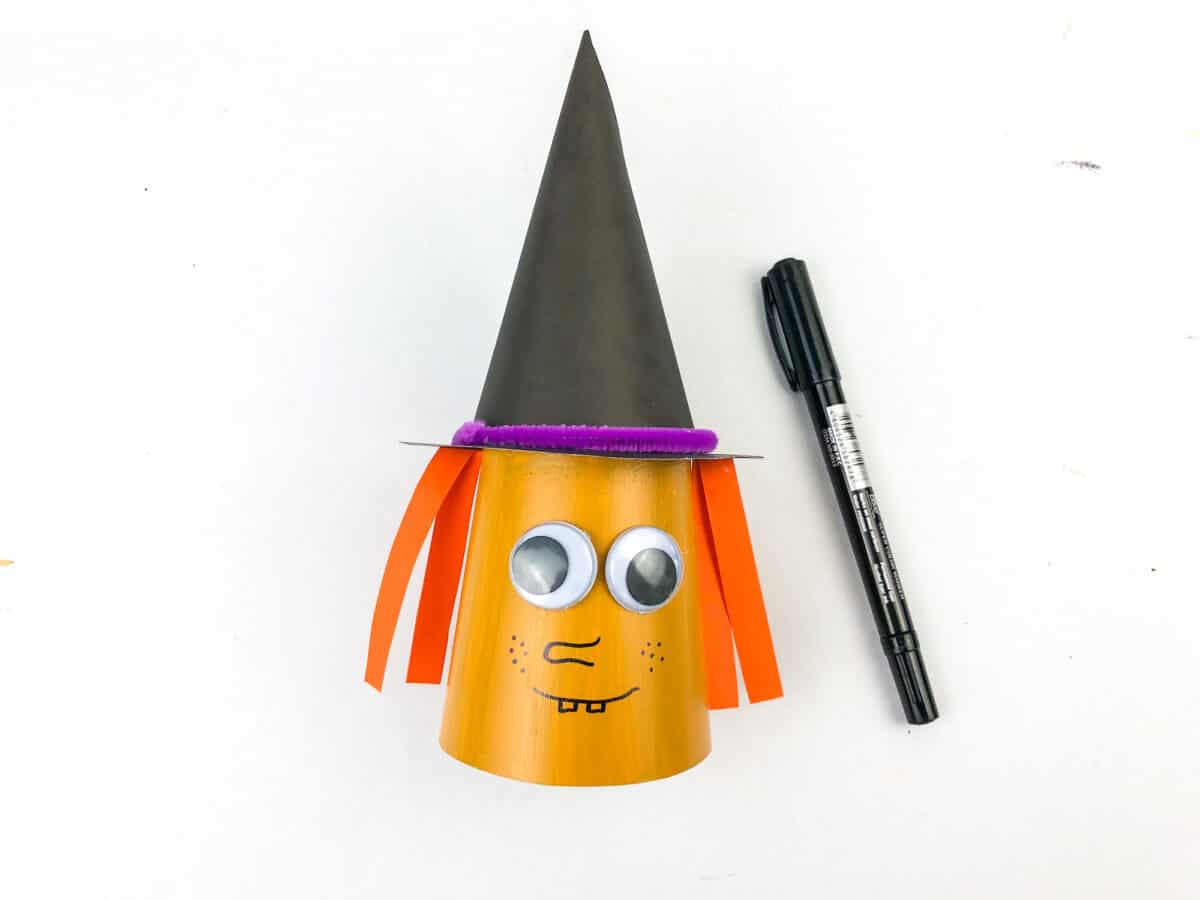
Halloween Paper Cup Witch

Supplies
- Paper cup
- Orange (or other witch color) acrylic paint and paintbrush
- Black and orange construction papers
- Googly eyes
- Scissors
- Purple pipe cleaner
- Black marker
- Glue gun and glue sticks
Directions
Step 1
Trim down a paper cup by cutting away an inch or so from the top.
Paint the cup orange. Other colors could include green or yellow for a witch.
Step 2
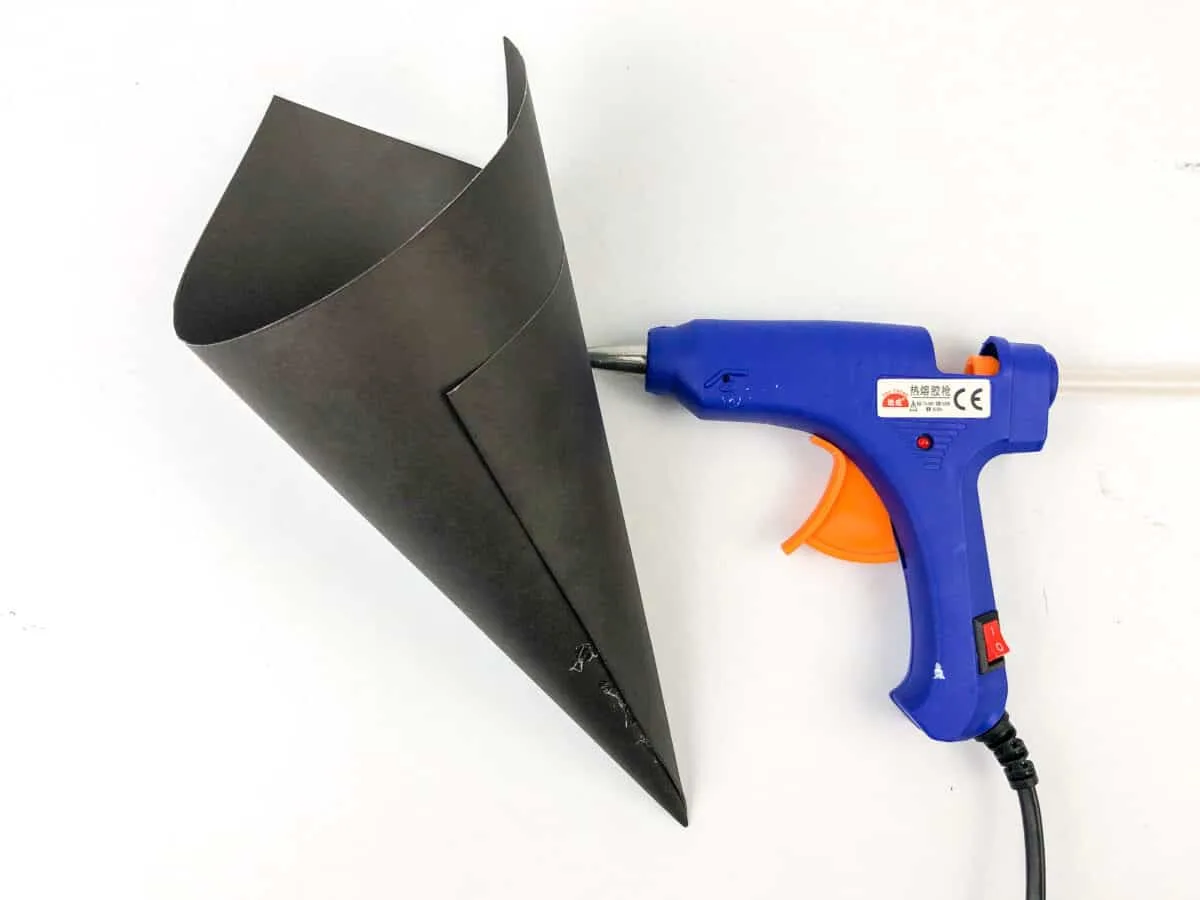
Make the witch’s hat out of black construction paper. Roll the black paper into a cone. Then cut off the bottom excess paper until it is flat on the widest part (the bottom, not the tip of the cone). Glue it to stay together.
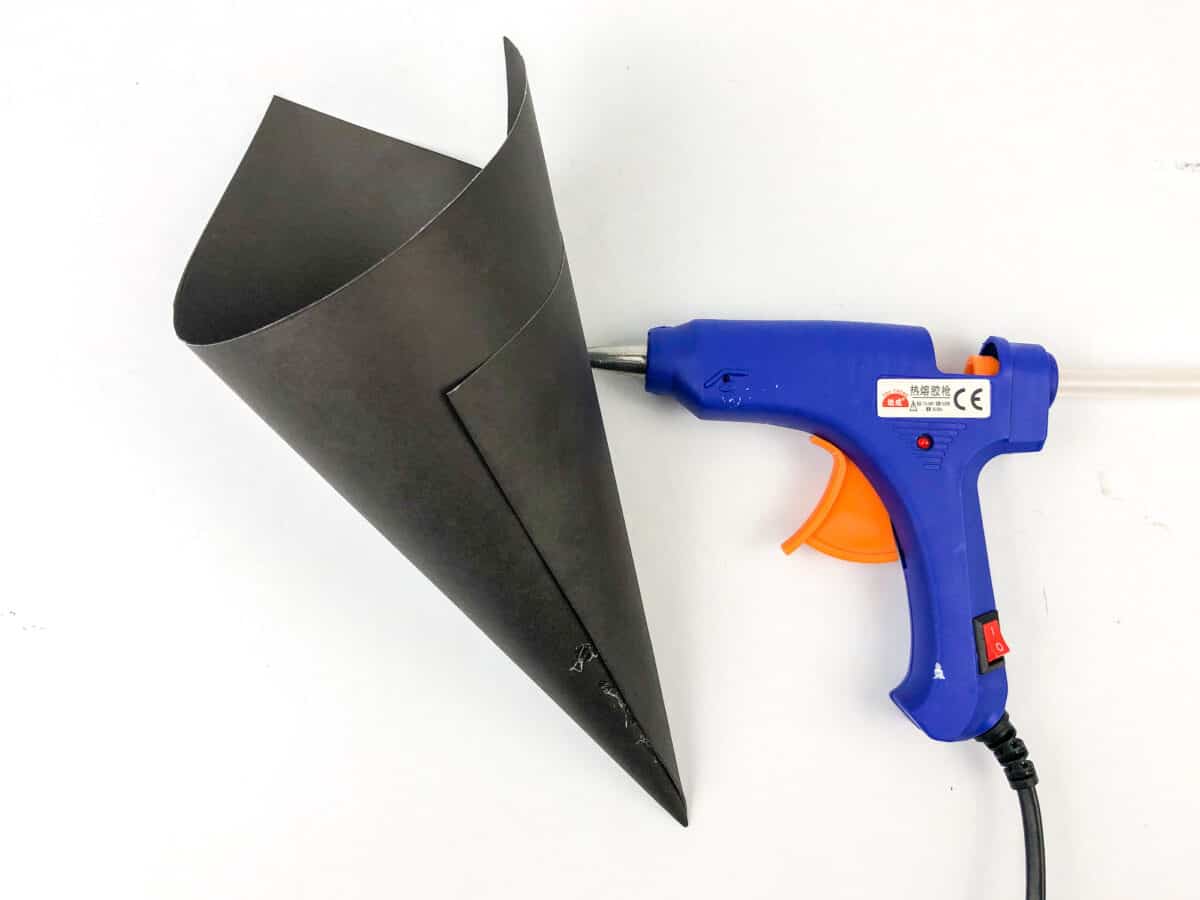
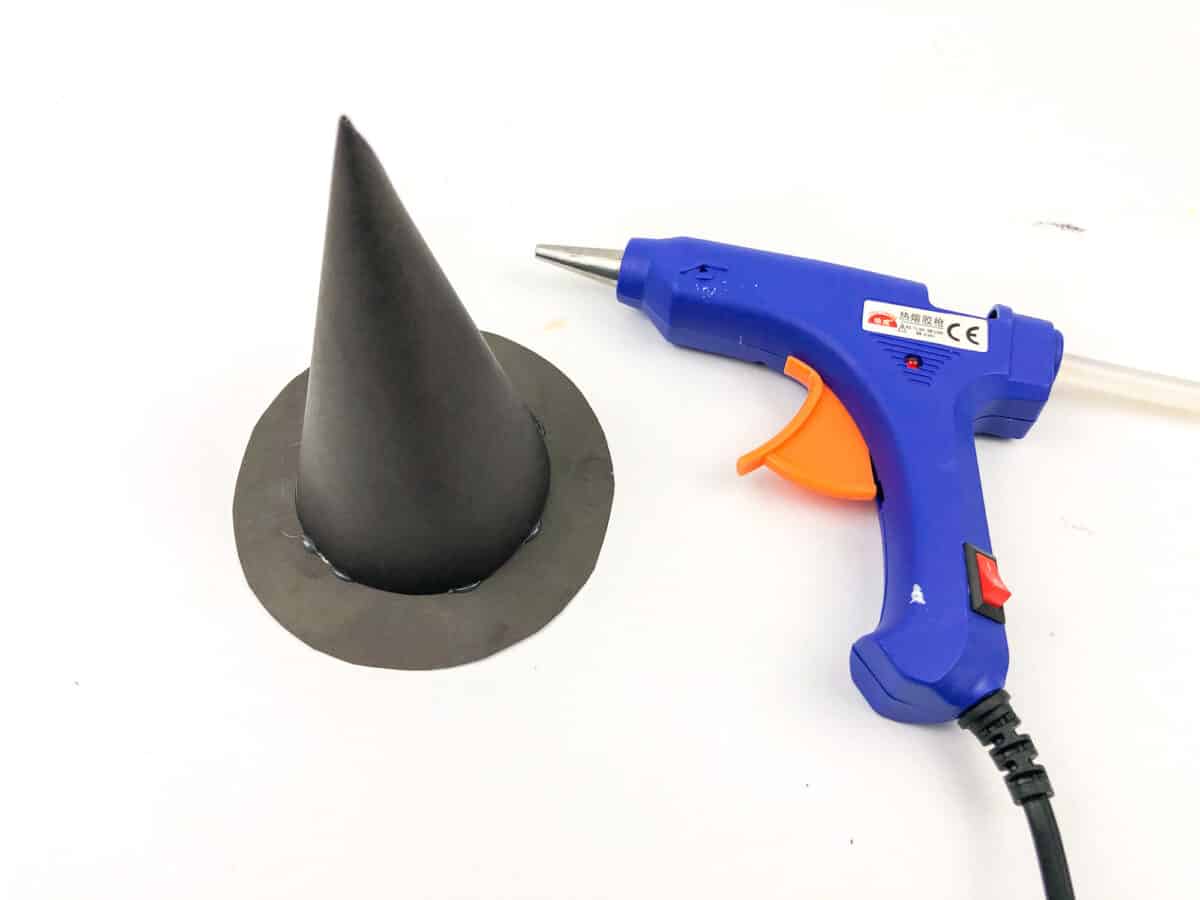
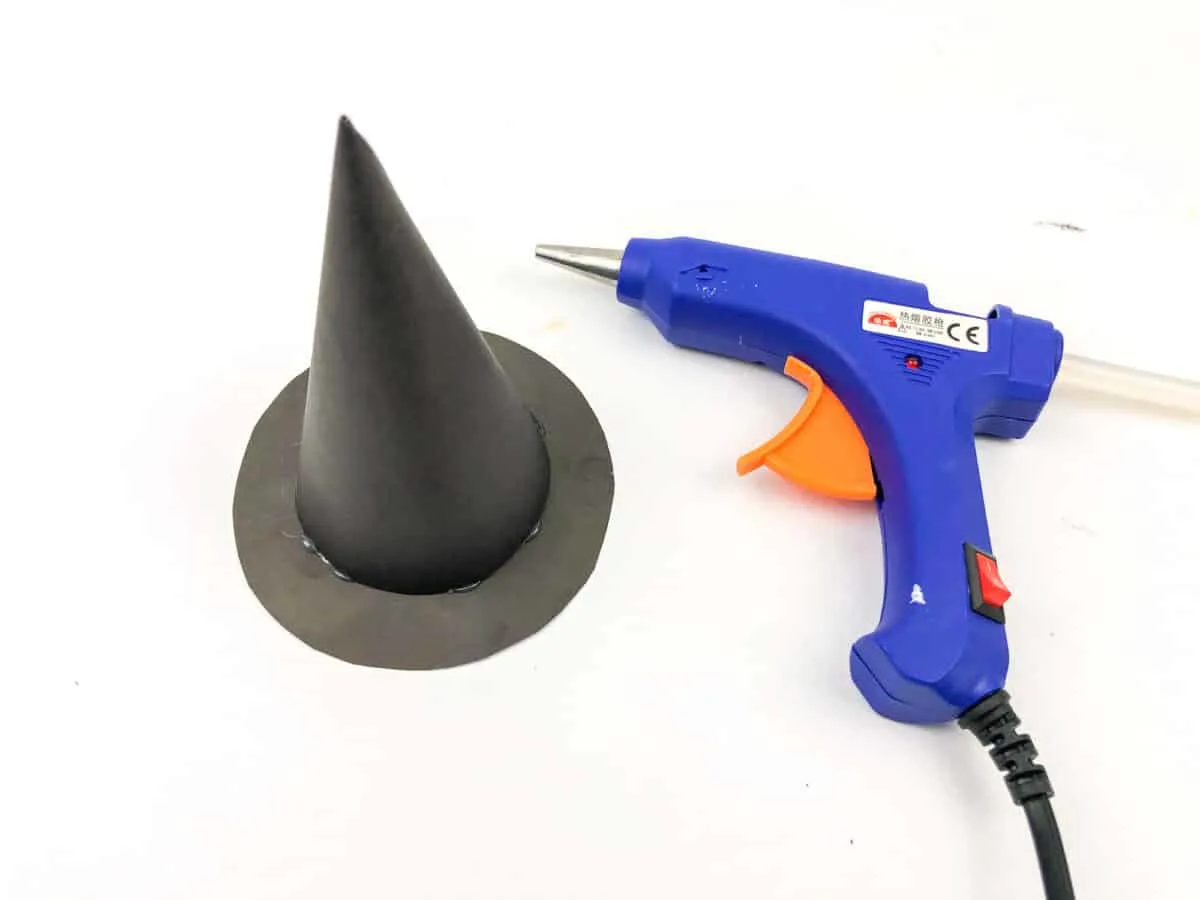
Next, cut out a circle from the black paper, wider than the width of the cone hat. Glue the cone to the circle to create the witch’s hat.
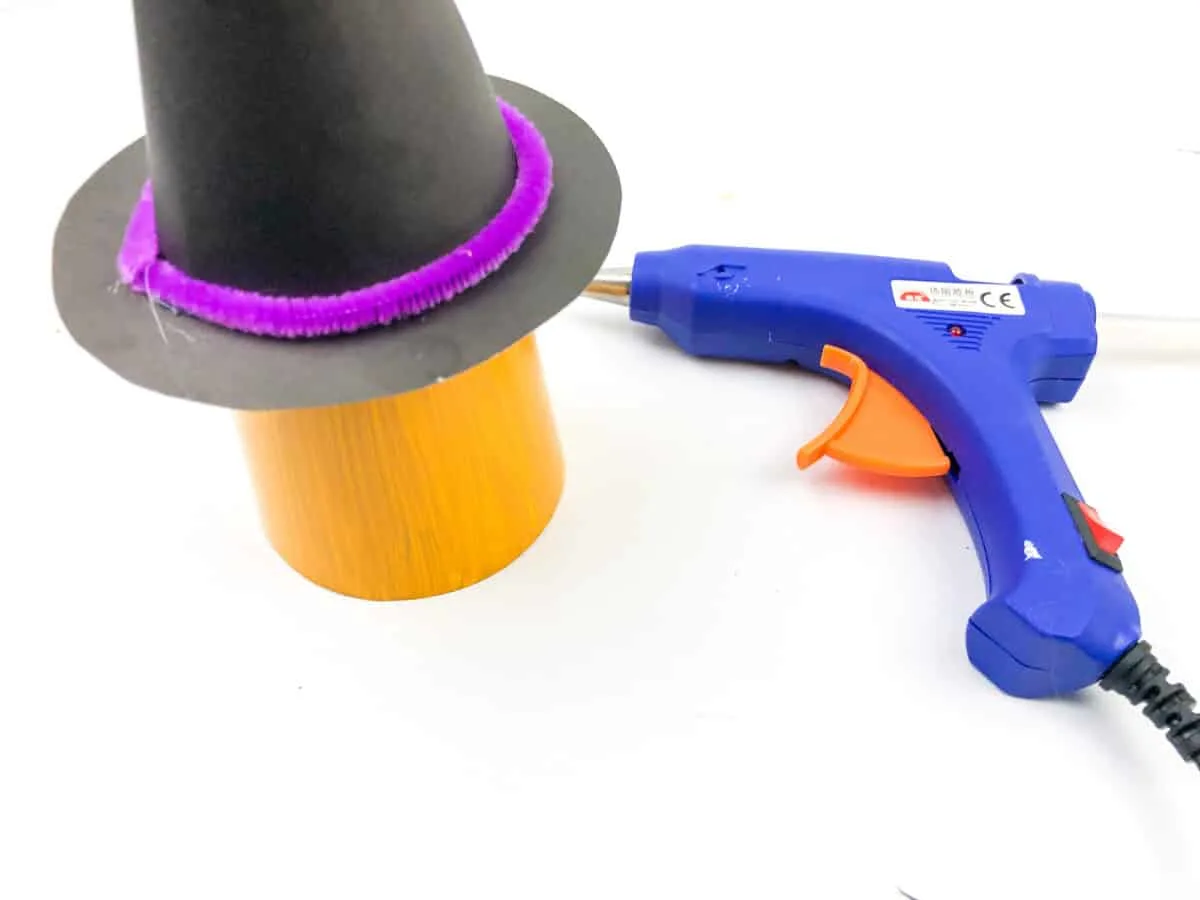
Step 3
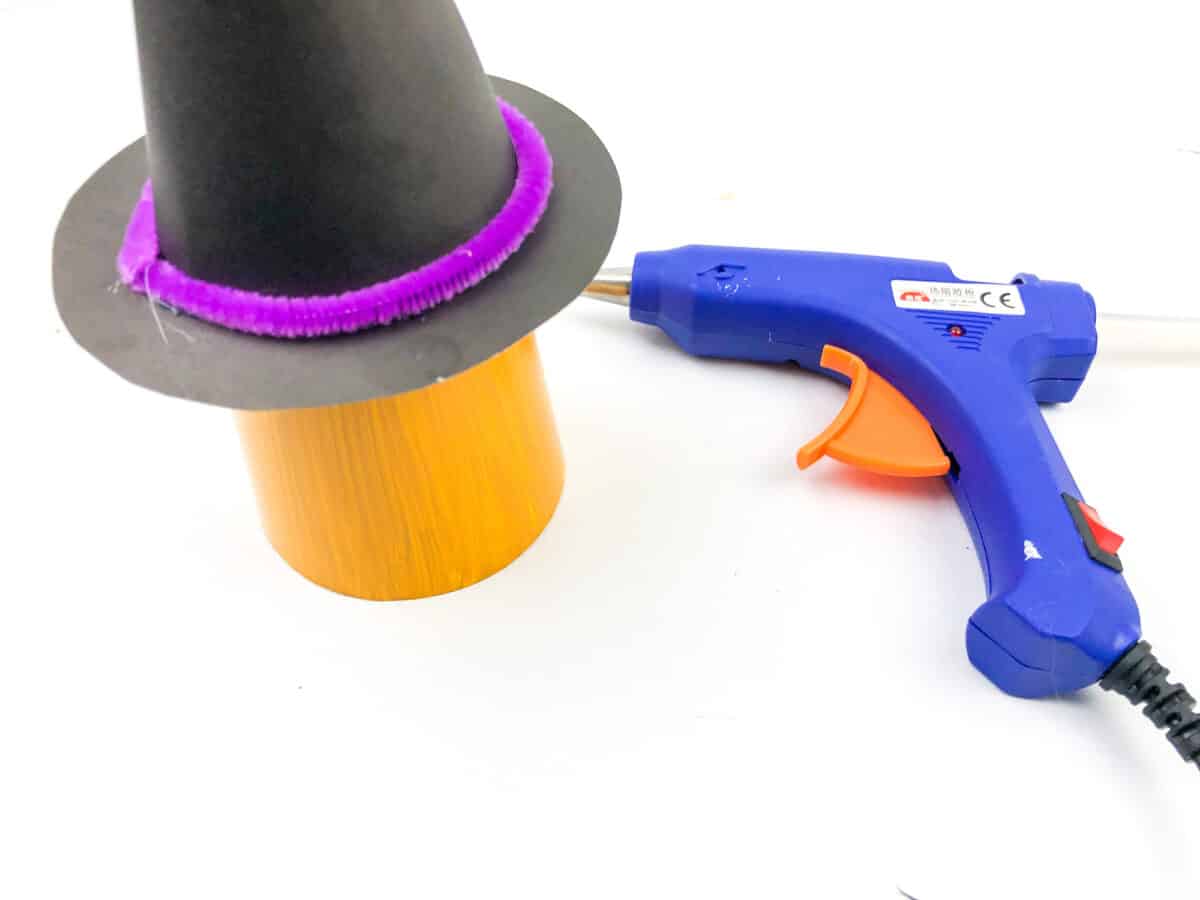
Wrap the purple pipe cleaner around the base of the witch hat to cover the seam. Cut off the excess pipe cleaner that is not needed. Then glue it around the base of the hat.
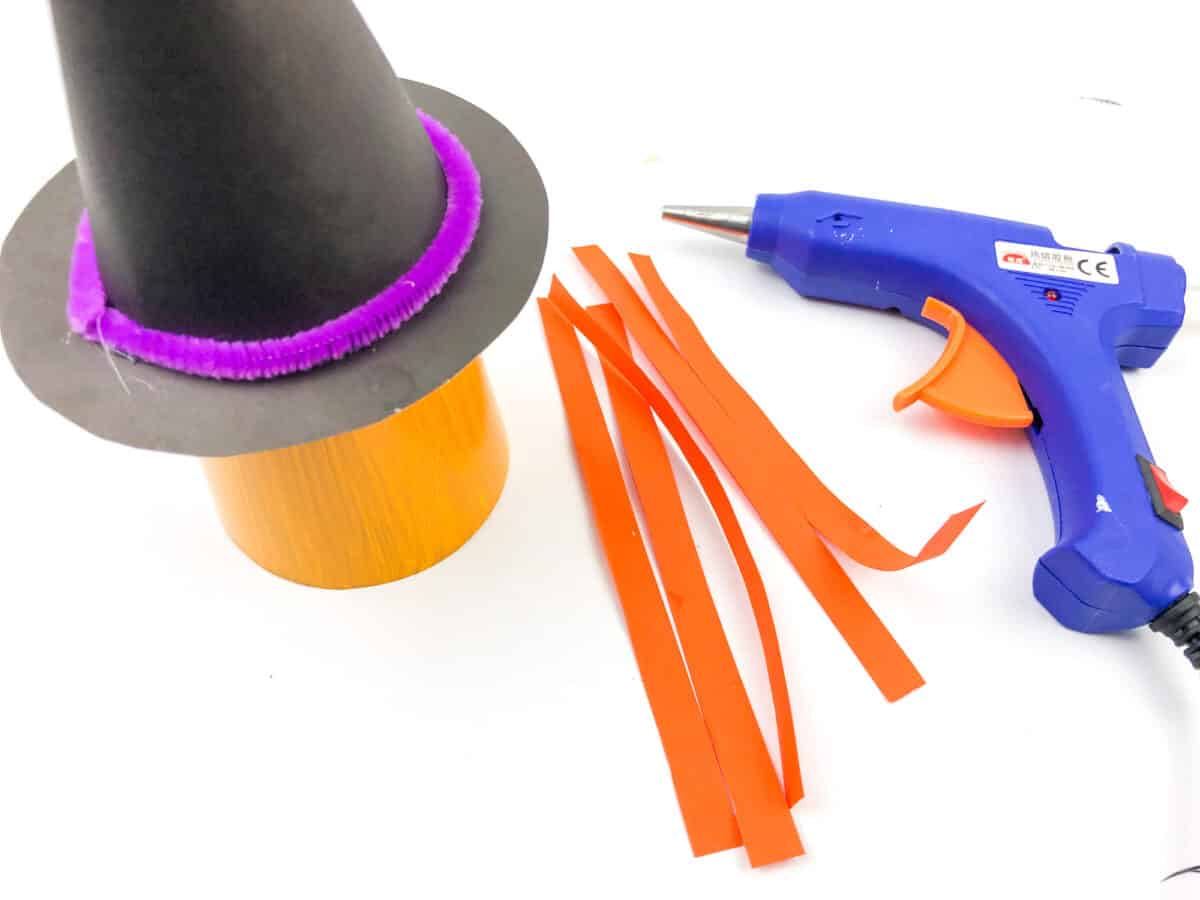
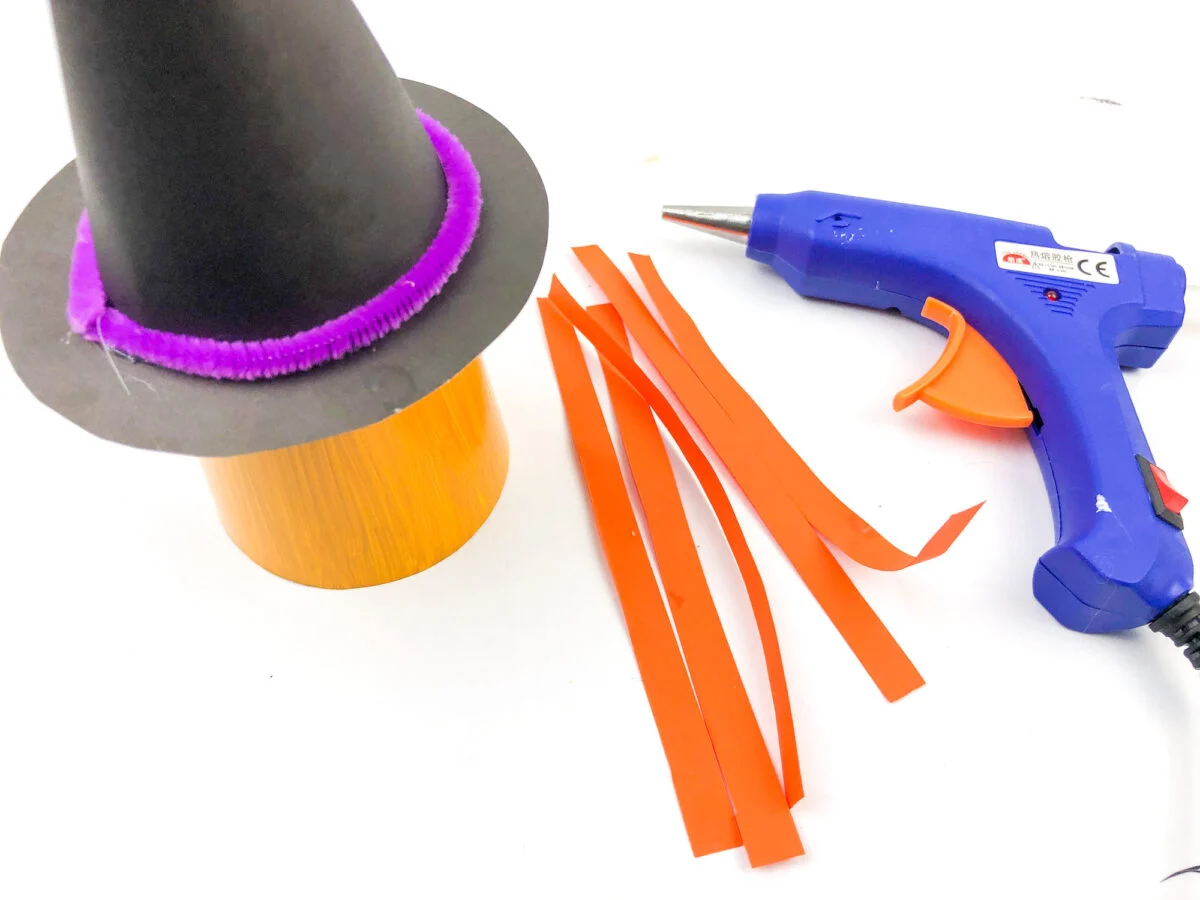
Step 4
Cut thin strips of orange paper. Glue them to underneath the base of the witch hat to be hair. You can cut as many strips as you’d like, and make them as wide or narrow as you’d like.
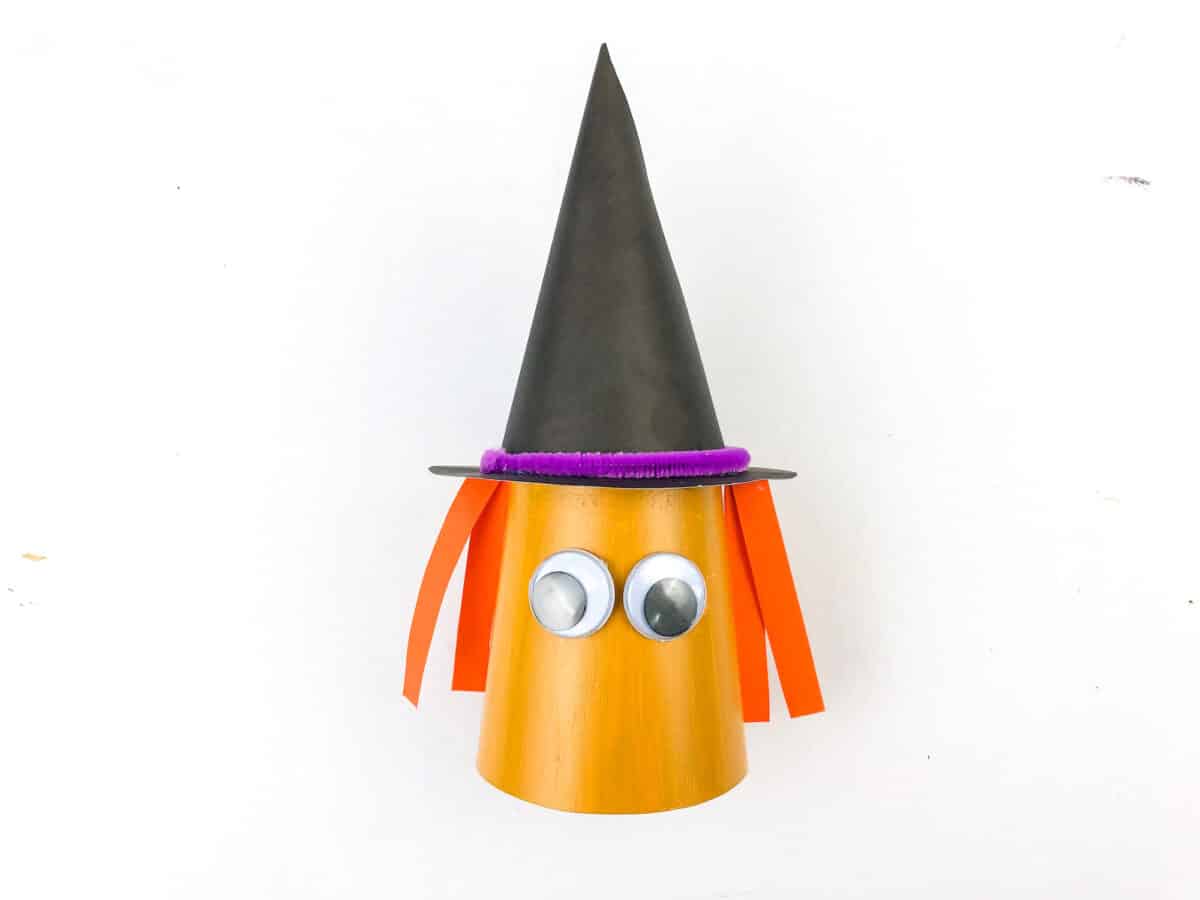
Glue the hat onto the top of paper cup (which should have the solid base on the top now).
Step 5
Glue on the googly eyes to the front of the cup. Then draw on a nose, mouth and freckles with the black marker.


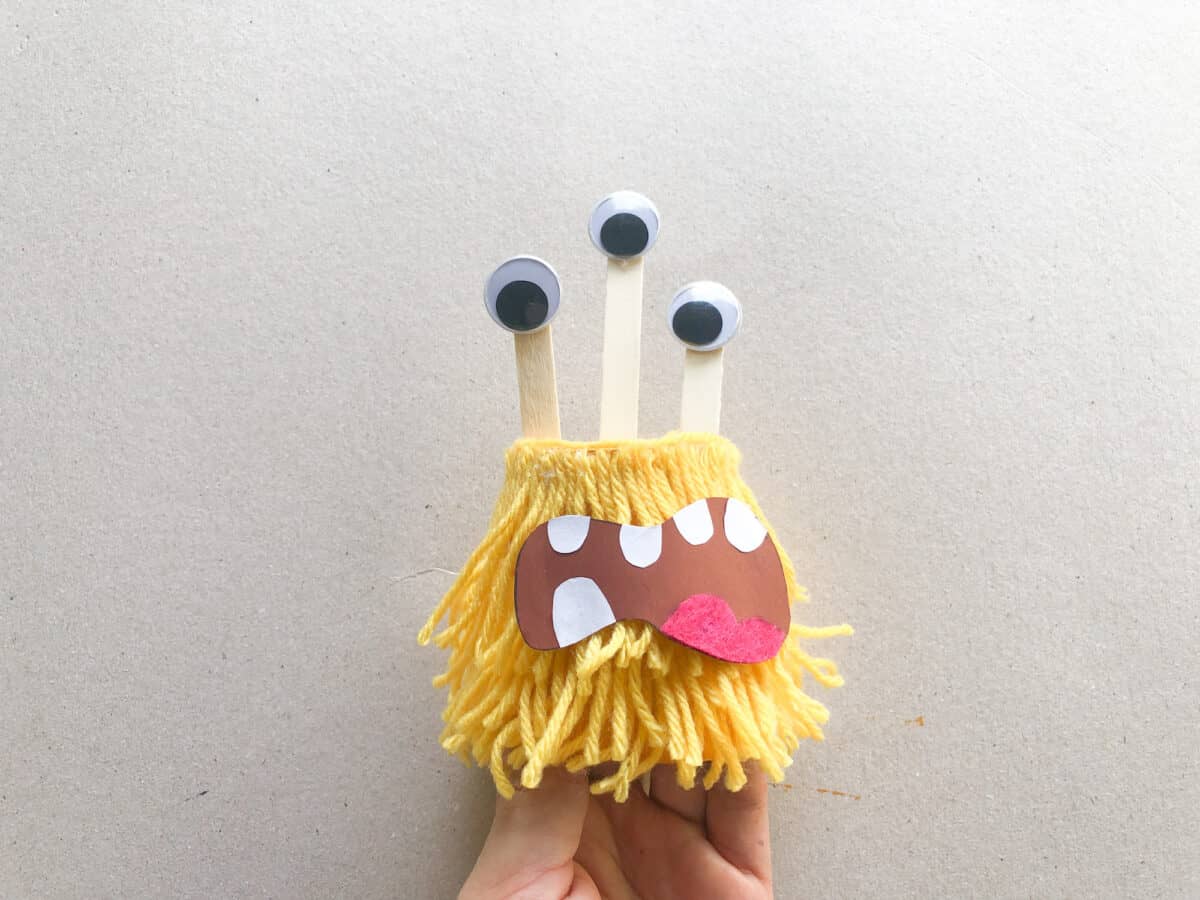
Halloween Monster Made from a Paper Cup
This paper cup Halloween Monster is the perfect way to use up a lot of leftover craft supplies that you might have. Small pieces of yarn that you might have from knitting or crochet projects are perfect to use for this craft!
You could use a variety of different colors of yarn for a very unique kid-friendly monster.
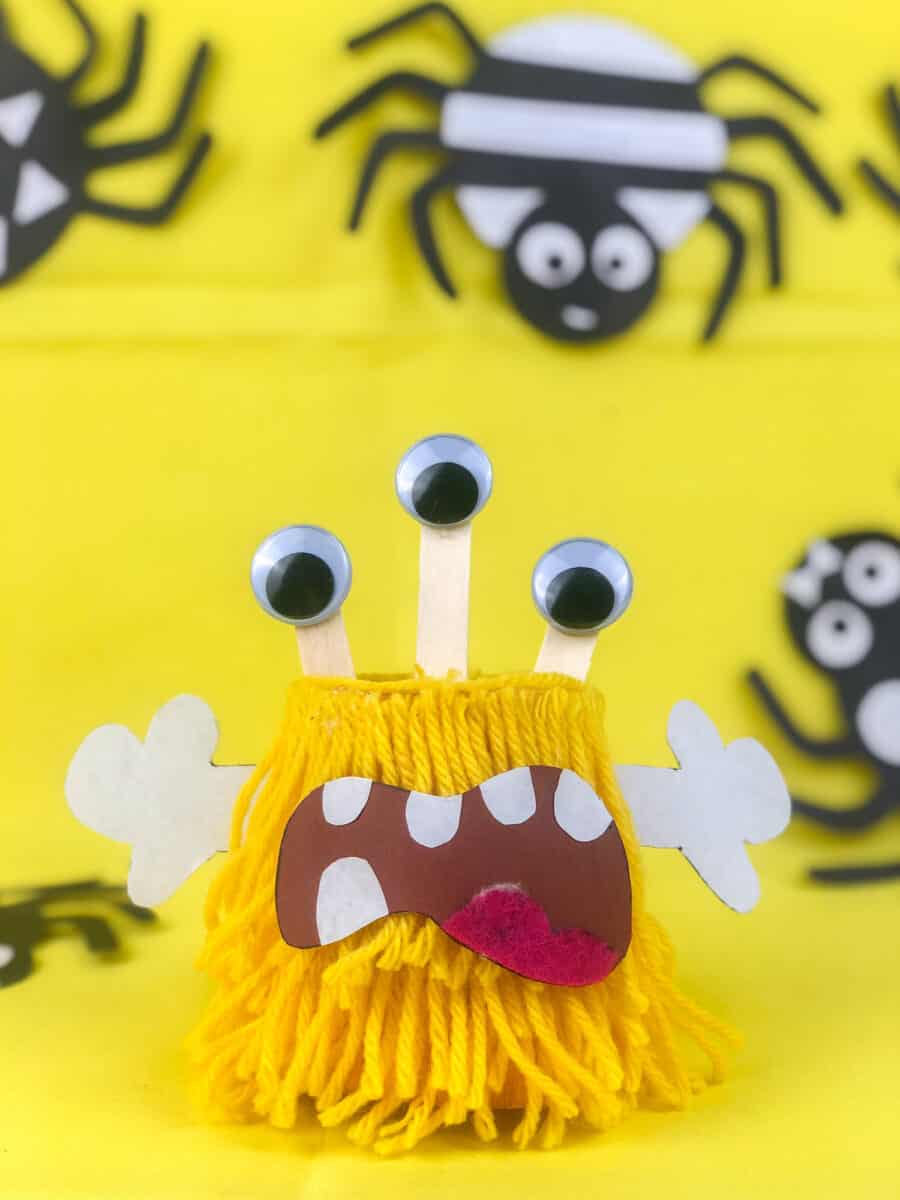

I made this monster two different ways. The three-eyed monster has hands. The two-eyed monster doesn’t have hands and has a scarier mouth.

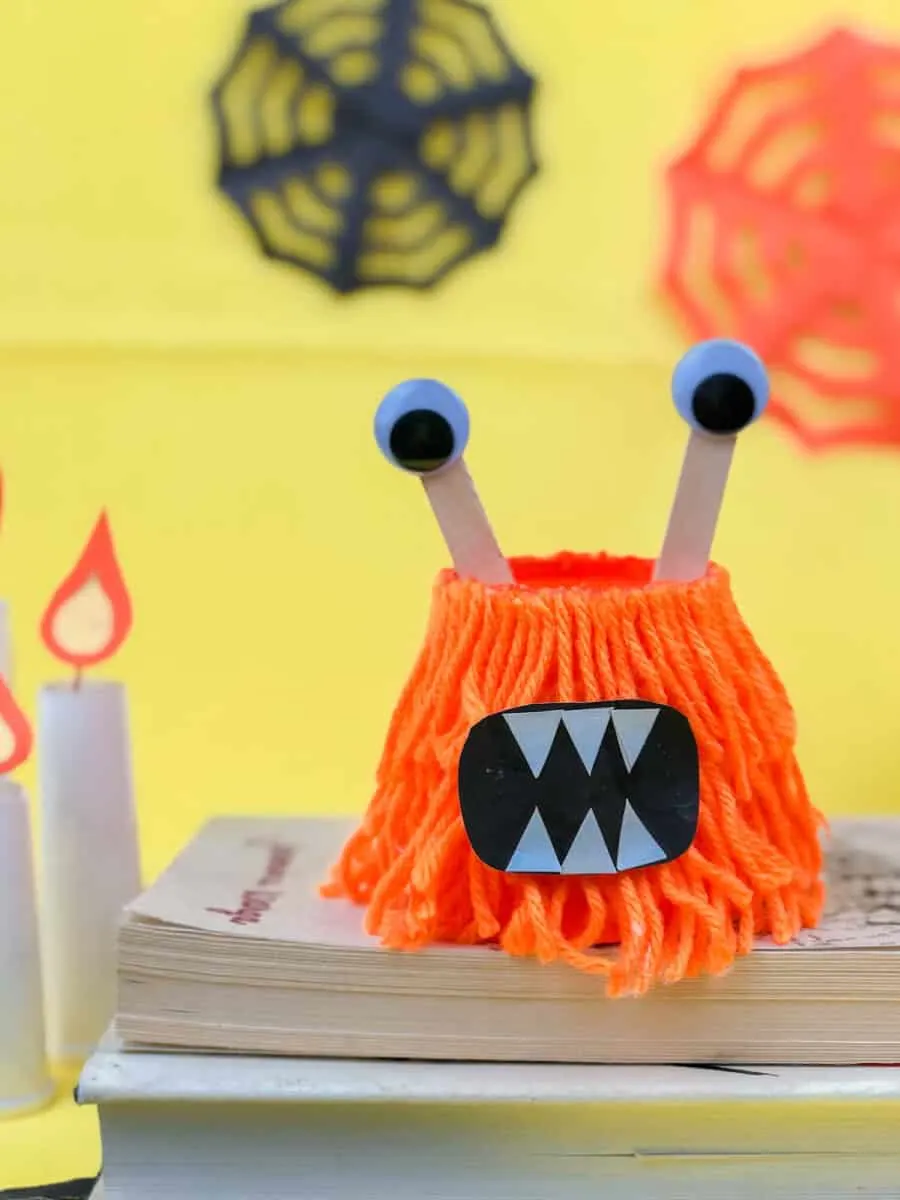
Make your monster however you choose. You could mix and match different elements such as the shape of the mouth, the number of eyes, whether there are hands, etc. Your imagination is the limit!
Supplies
- Paper cup
- Yellow (or other color) acrylic paint and paintbrush
- Yellow Yarn (or the same color as the paint you are using)
- White cardstock
- Brown and red construction paper (or fuzzy red felt, optional)
- Googly eyes
- Popsicle sticks
- Scissors
- Pen
- Glue gun and glue sticks
Directions
Step 1
Trim down a paper cup by cutting away an inch or so from the top.
Paint the cup yellow.
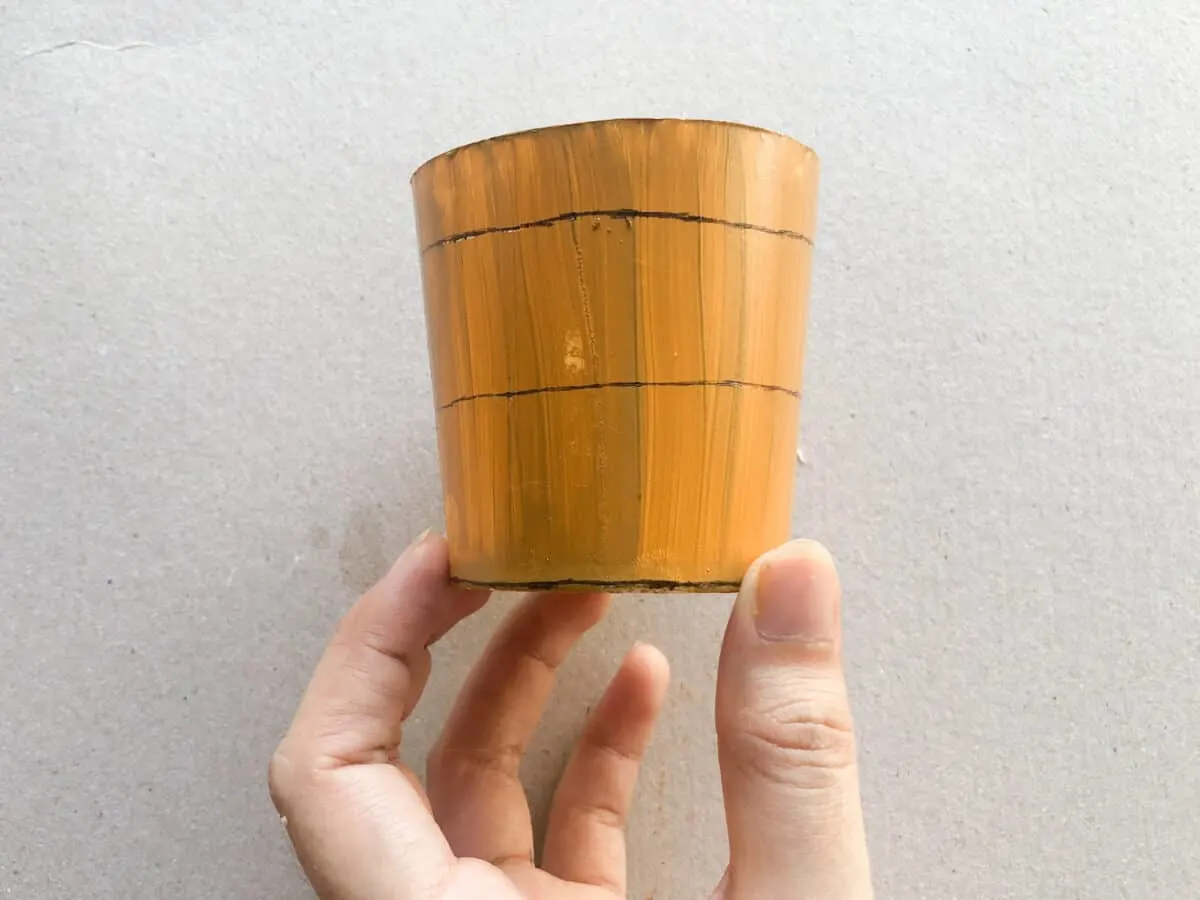
Step 2
Draw two lines on the cup. You want to divide the cup into thirds, and you will do this by guessing (or measuring) three equal parts on the top, and marking them off with two lines.

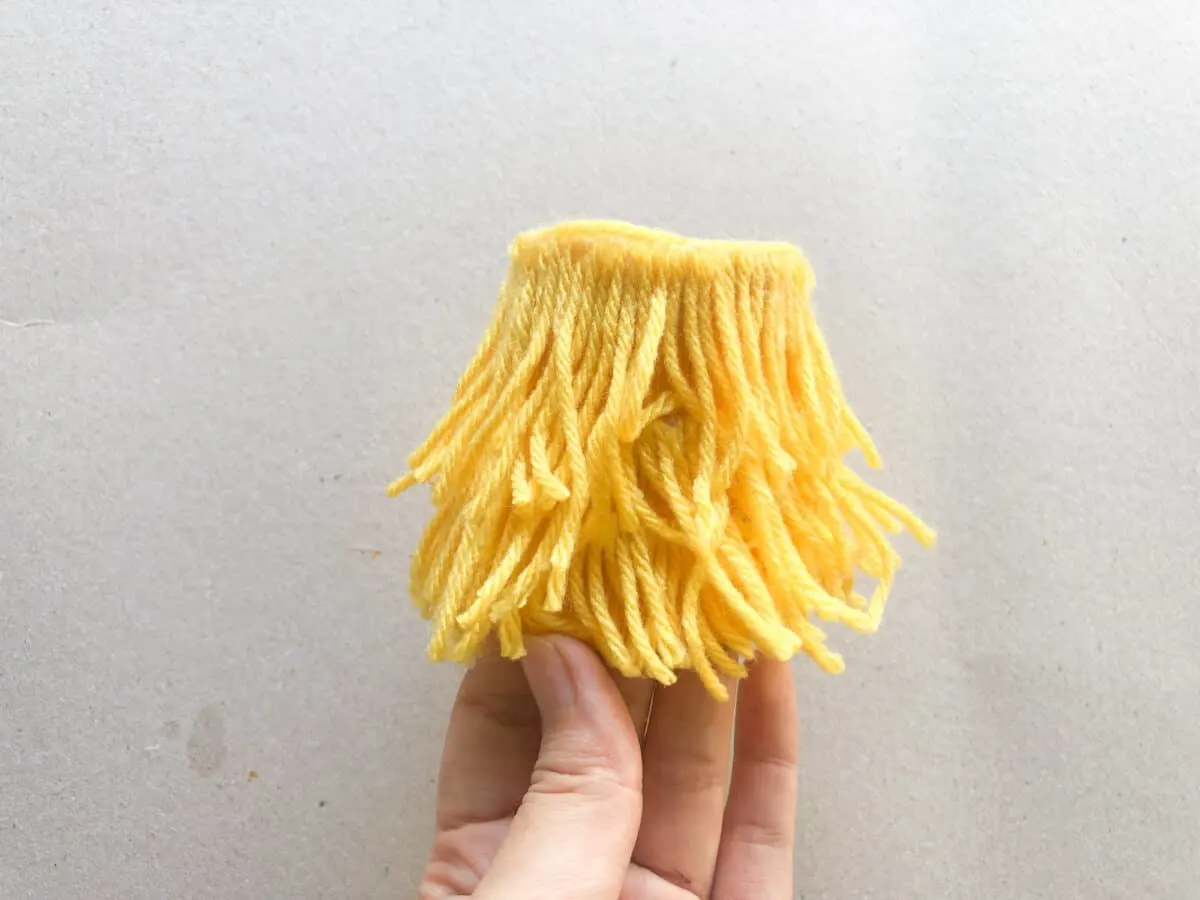
Cut the yarn into small pieces that are just large enough to cover a third of the cup.


Start gluing them onto the paper cup for the monster’s hair. Begin by gluing yarn pieces to the lower third of the cup, where your first line is.

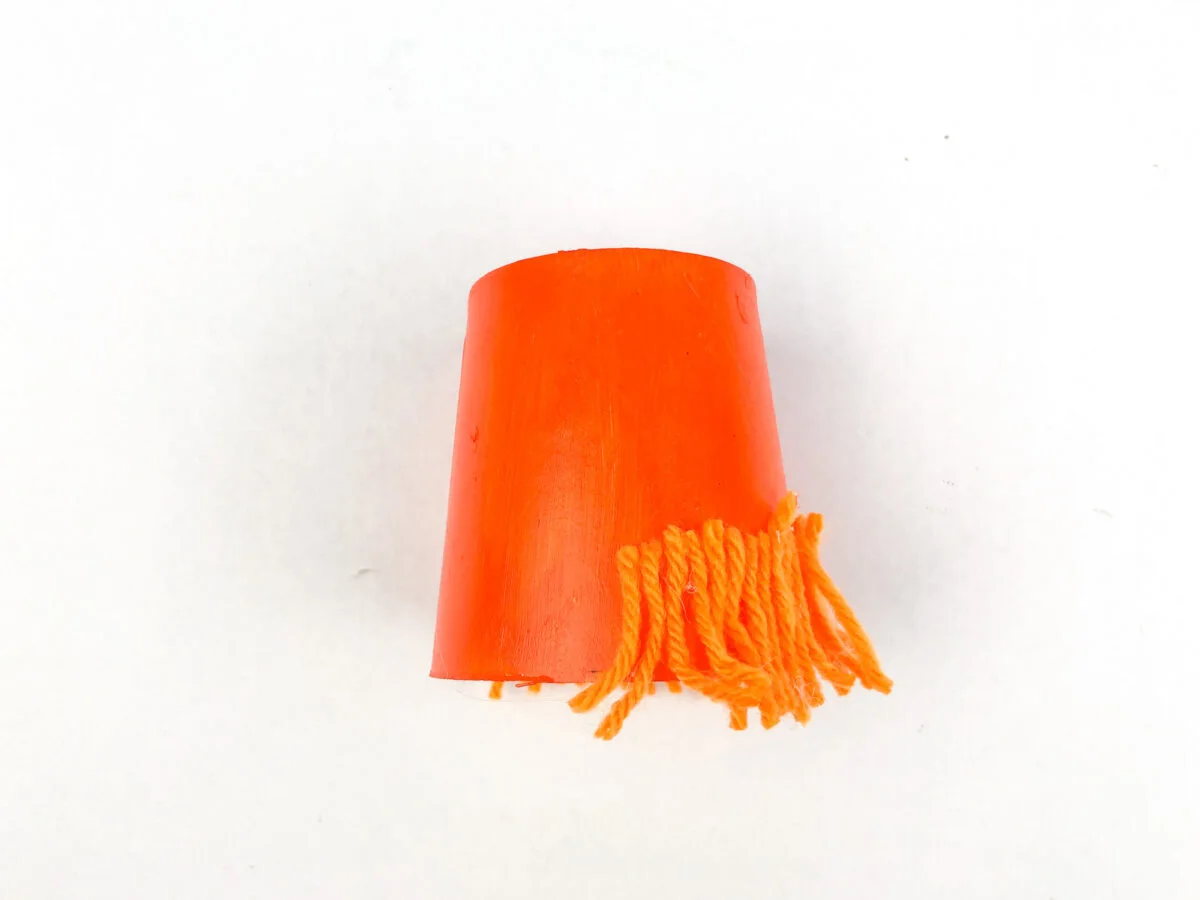
Then, once the entire width of the cup is covered in yarn, start on the second line. Glue yarn pieces along the second line until the entire cup is covered with yarn hair. This yarn should cover the glued tops of the first line of yarn pieces.
Finally, glue yarn pieces around the top of the cup (actually the base of the cup if it was to be used for drinking). Go around the entire cup and make sure it is covered with yarn pieces.

Step 3
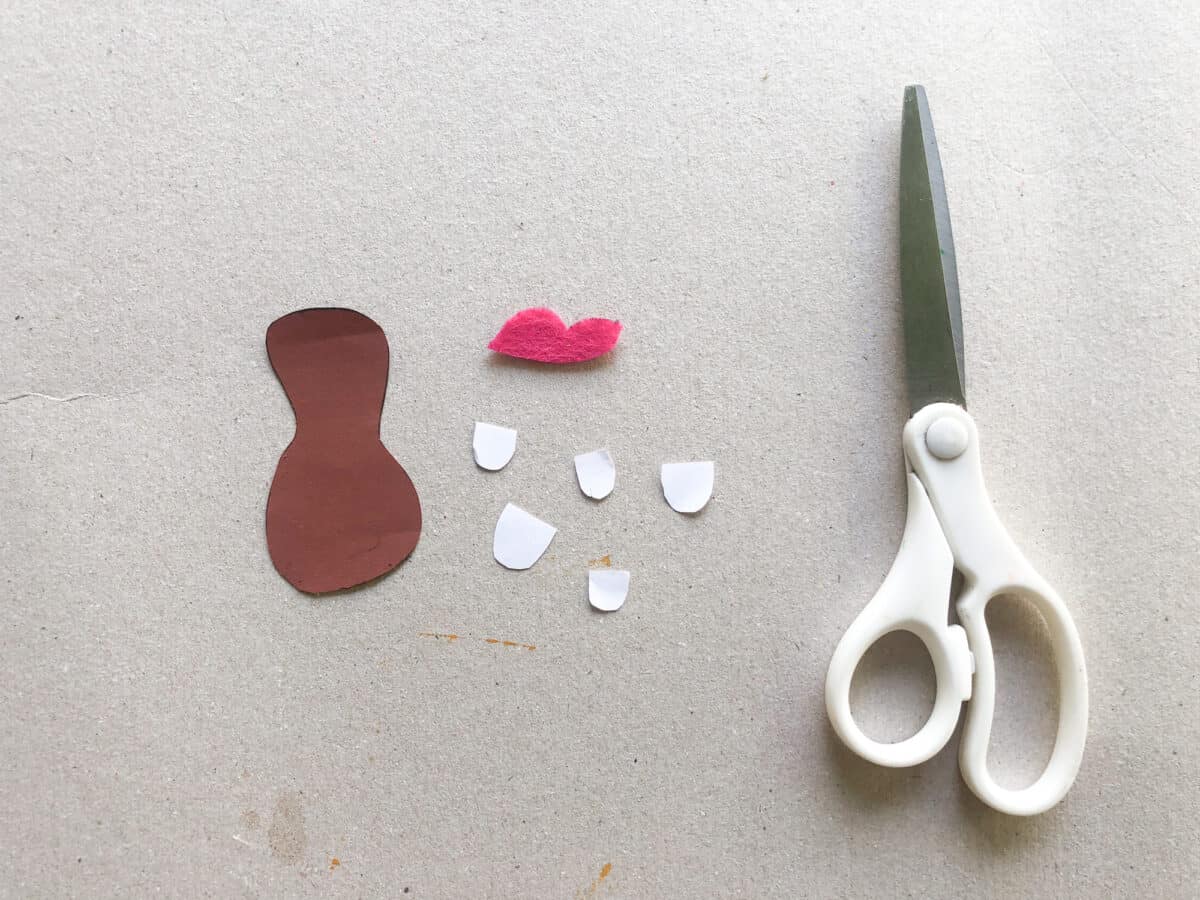
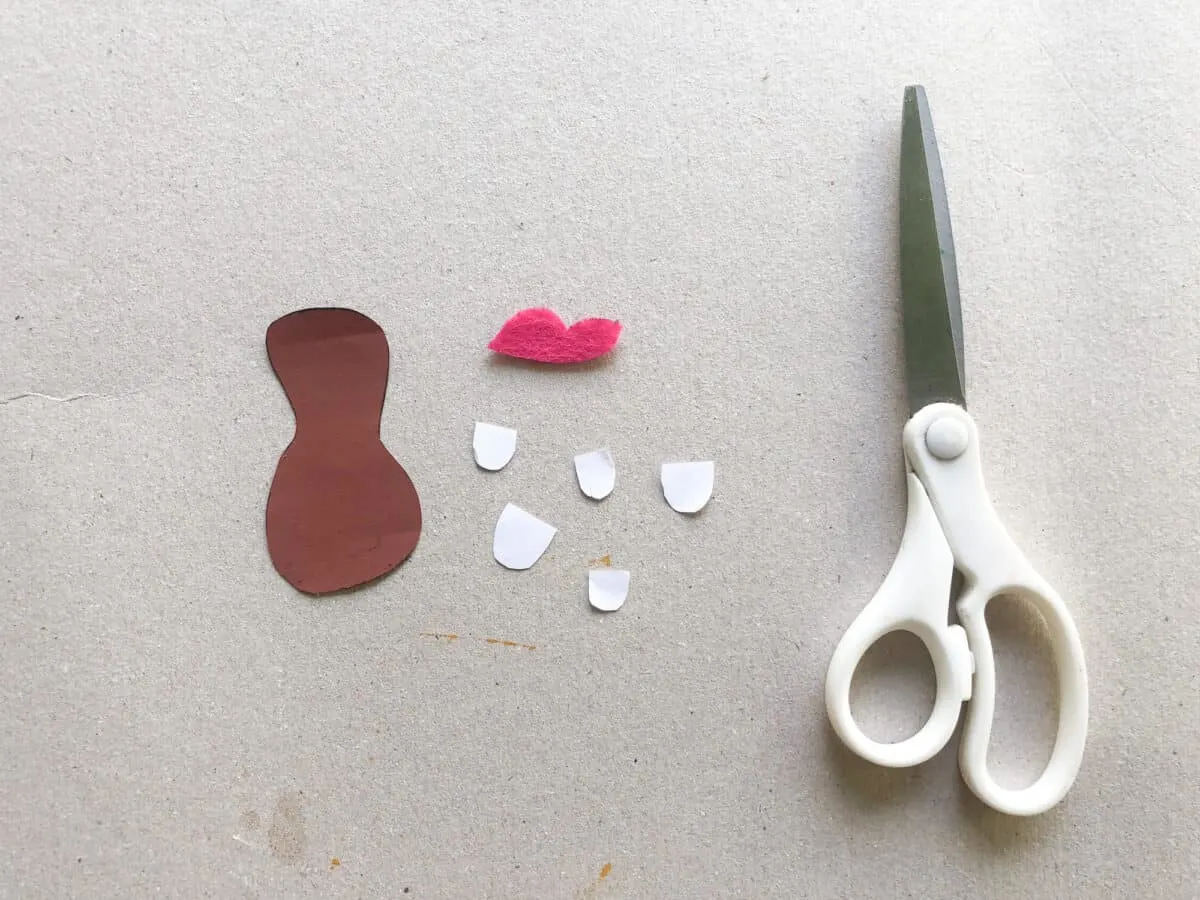
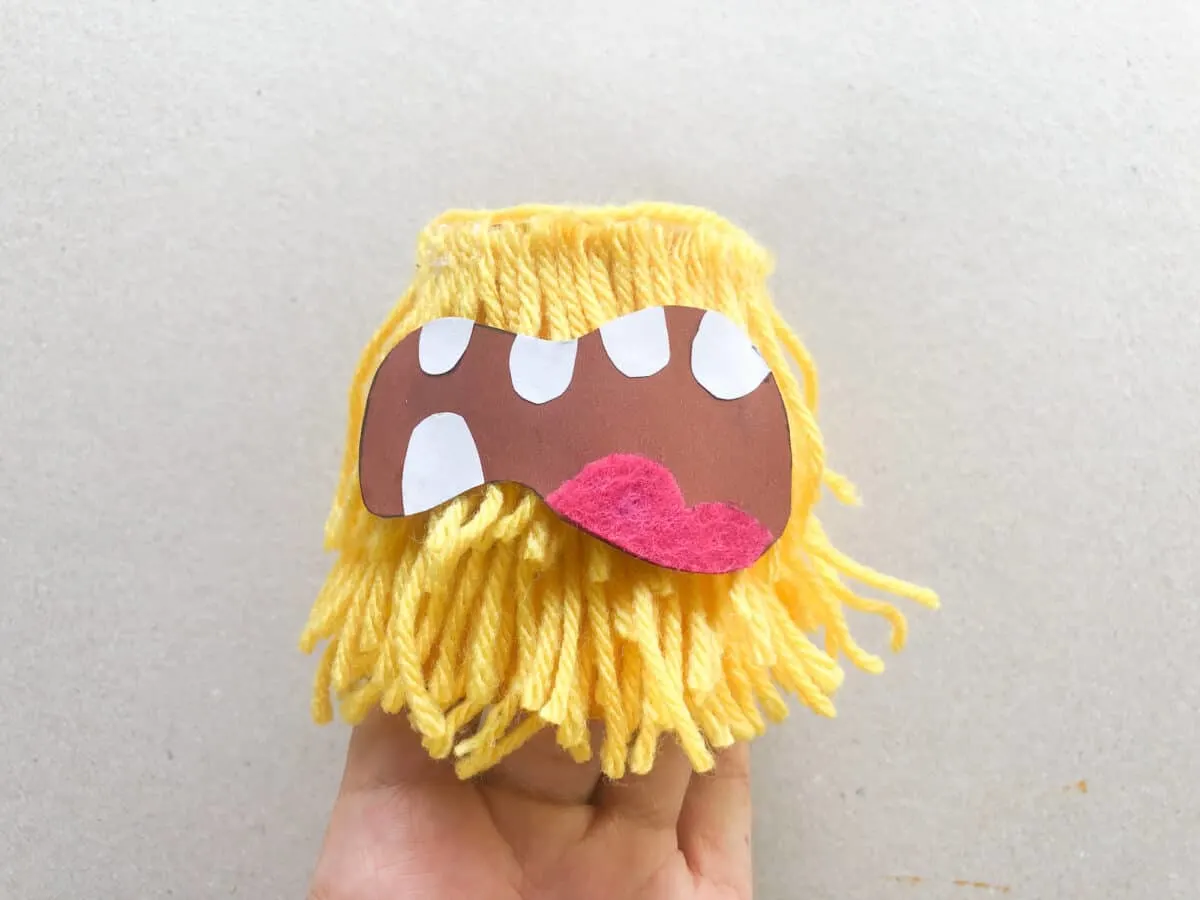
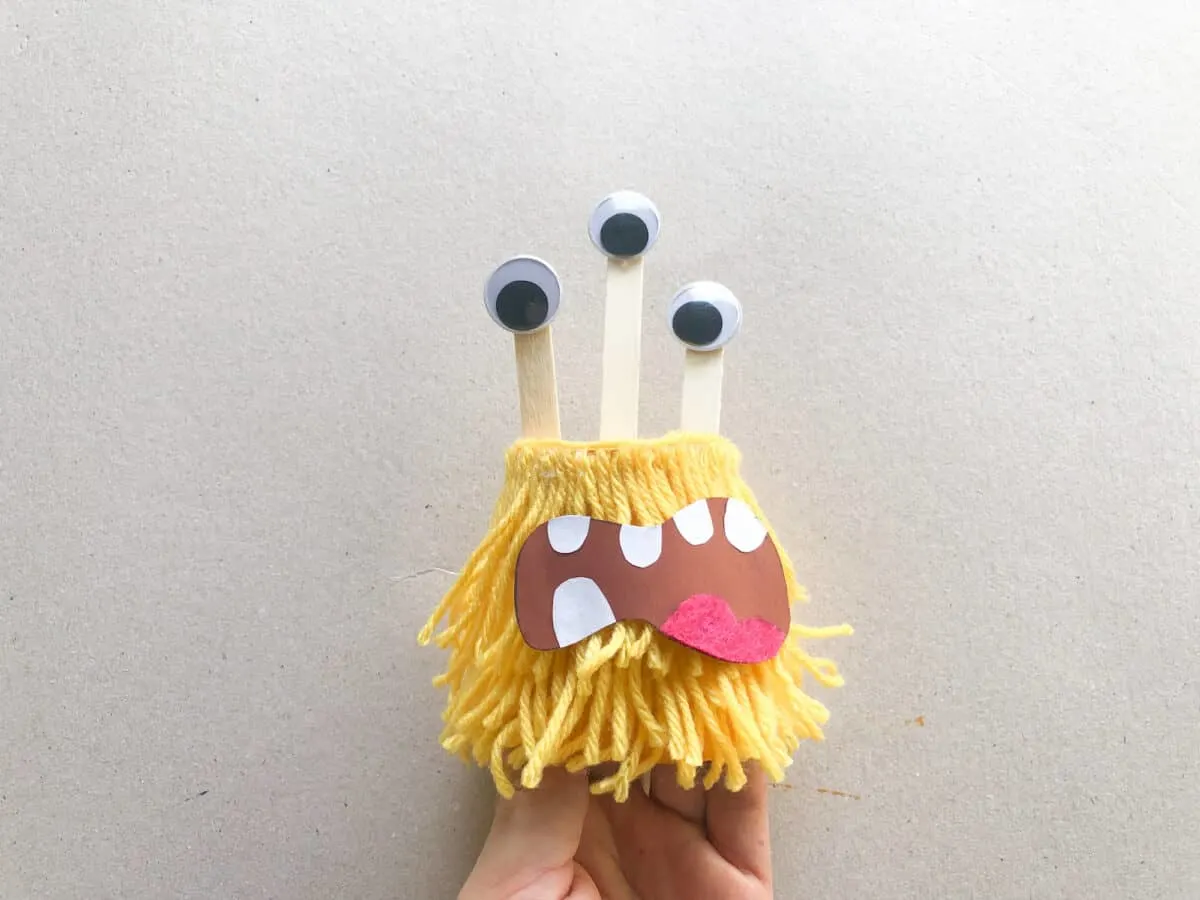
Draw the monster’s mouth on brown construction paper. Draw a curvy oval that looks like a menacing grin. It doesn’t have to be perfect! Cut it out.
Now, draw a small red tongue to add to the top of the monster’s mouth. Cut it out and glue it to the brown mouth.
Note: I used a small piece of fuzzy red felt for the tongue for added texture. However, this is optional and you can use paper, instead.
Finally, cut five small, curved teeth out of white construction paper or card stock. Glue them on the mouth.
Now, glue the mouth to the front of the paper cup monster.

Step 4
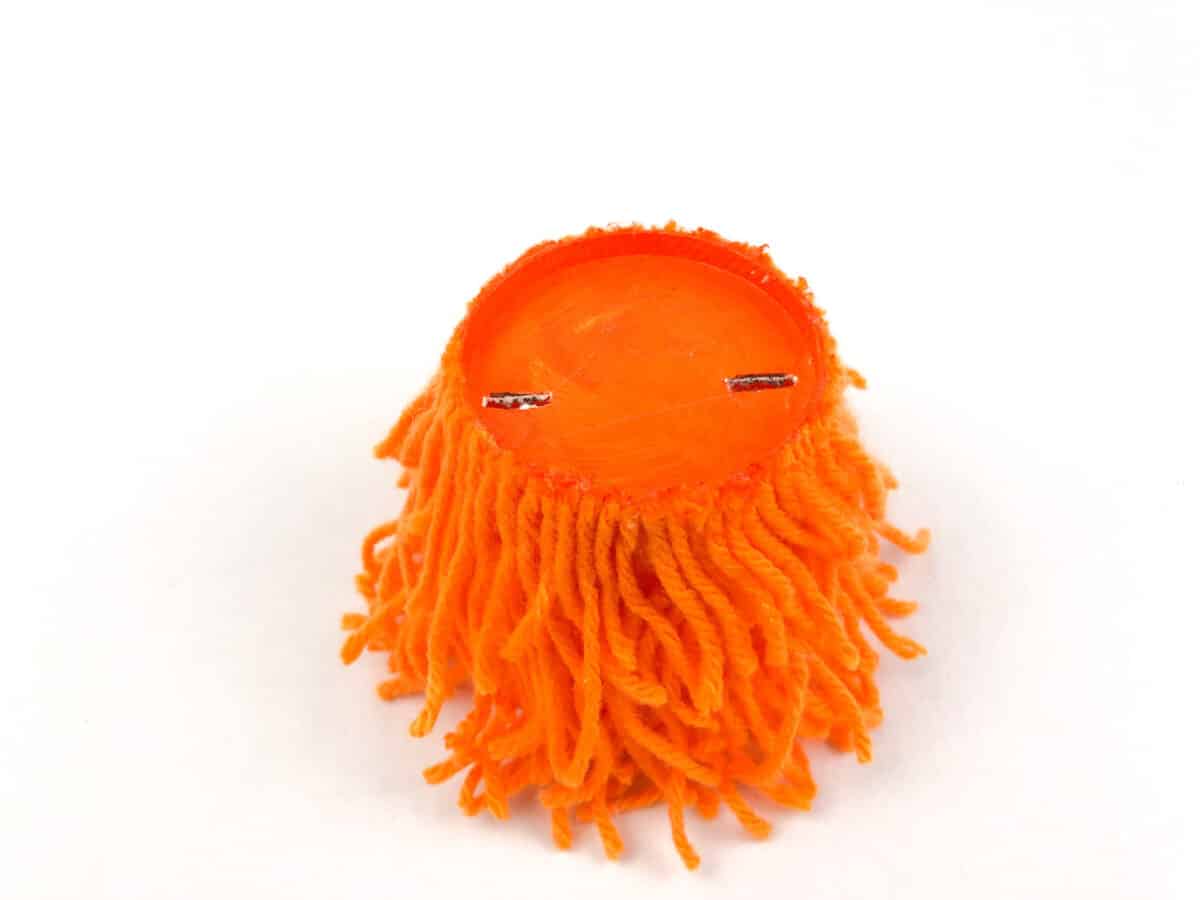
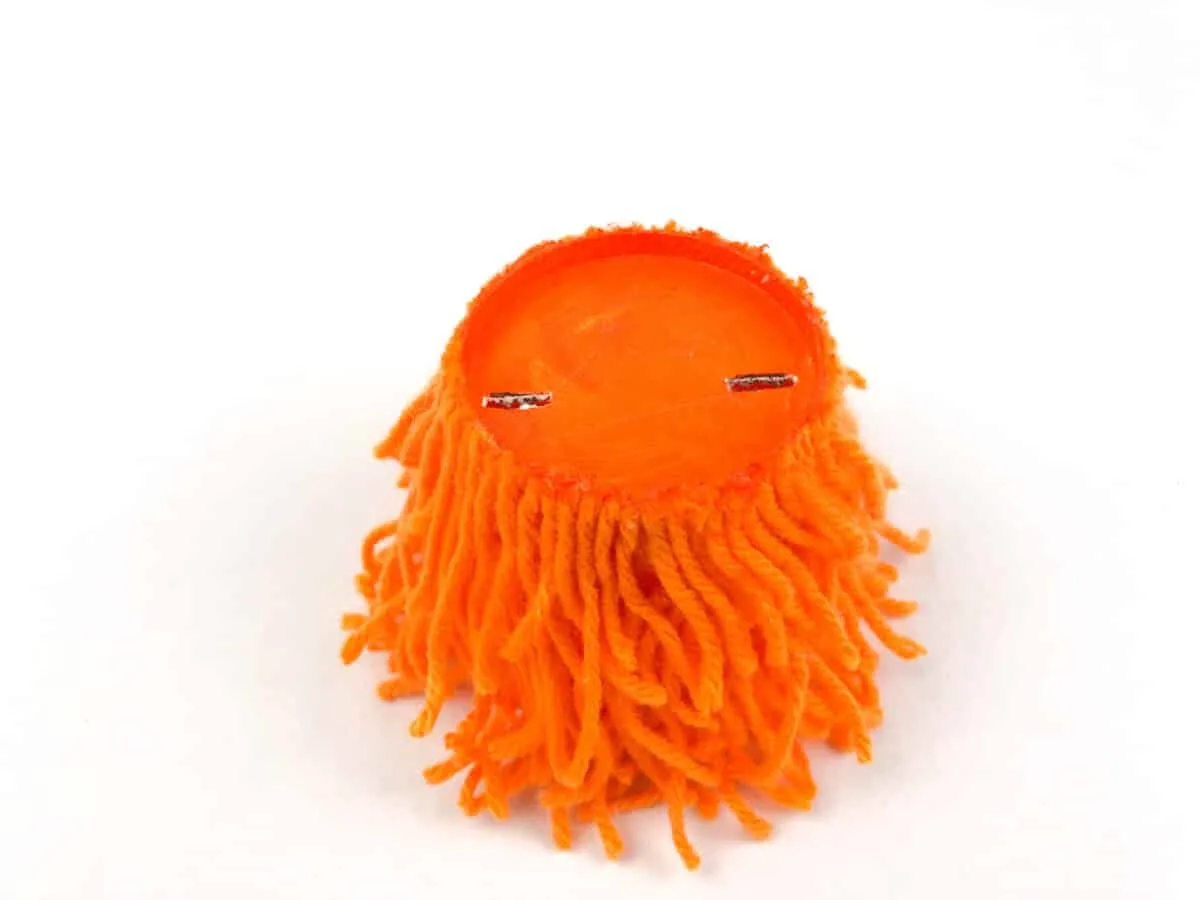
Make three slits or holes in the top of the paper cup (the flat base).
Step 5
Glue one googly eye onto the end of one popsicle stick. Repeat two more times, for a total of three popsicle stick eyes.

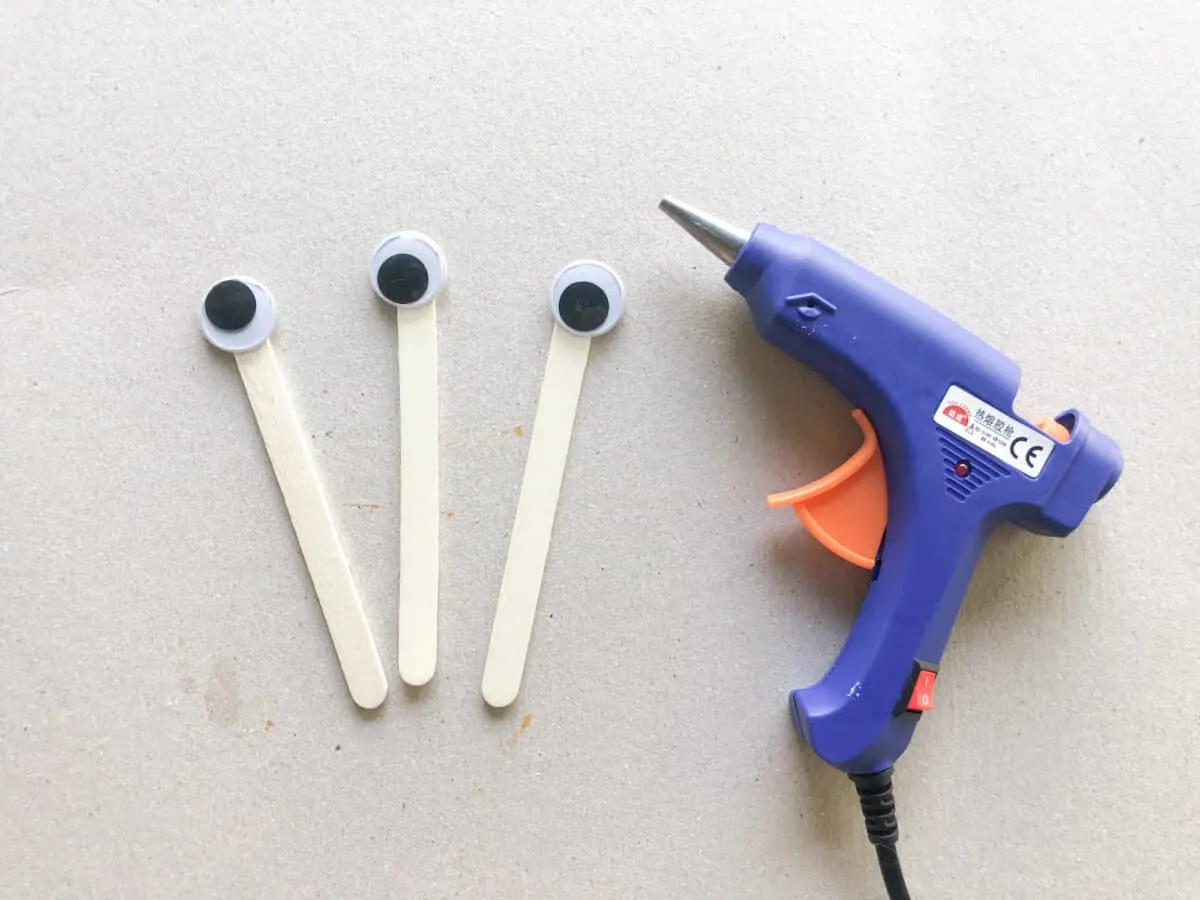
Stick each popsicle stick in one hole in the cup.
At this point you can glue more small pieces of yarn to cover the top of the cup.
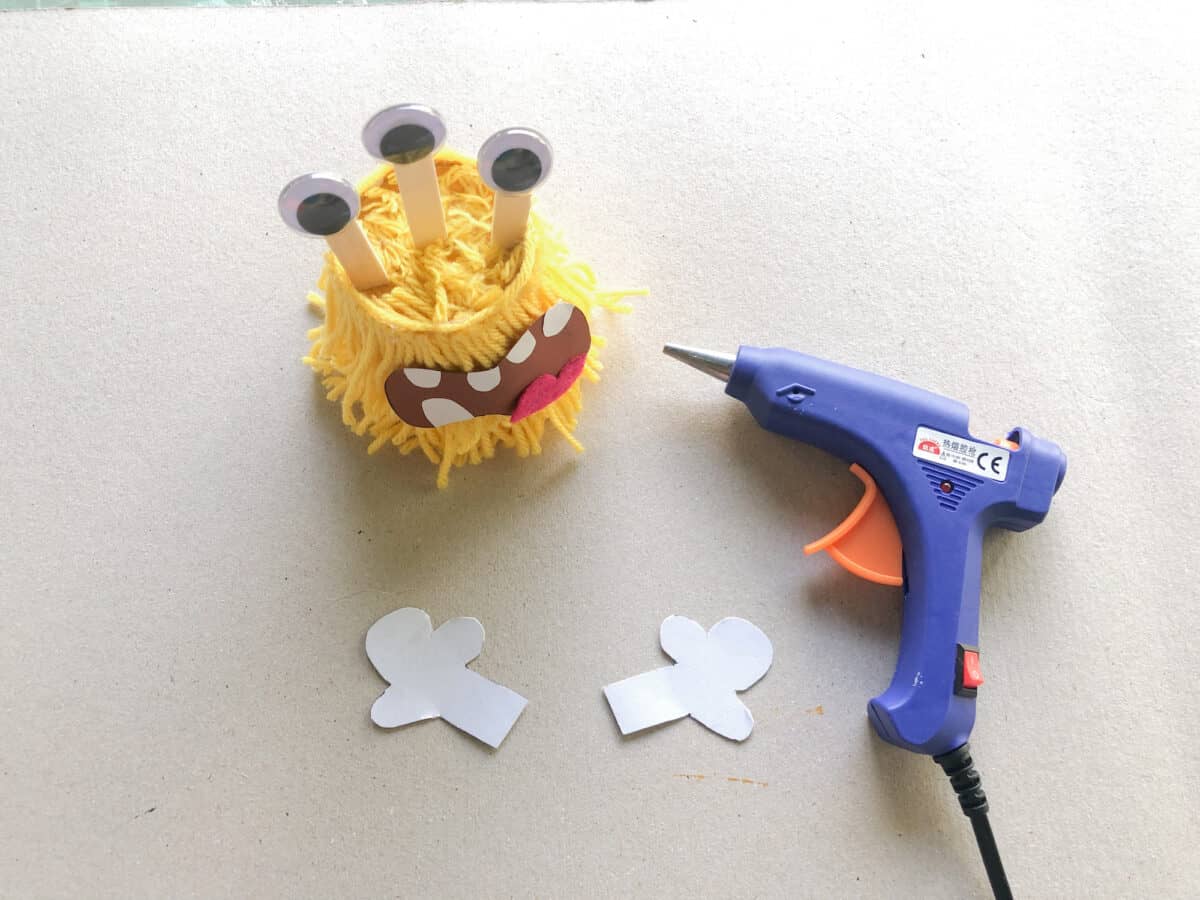
Step 6
Draw small monster hands on the white cardstock. Cut out and glue to the back of the paper cup monster.

For more fun Halloween monster crafts, check out our easy DIY candy buckets made from coolers!
