
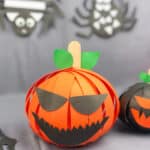

Our easy paper strip pumpkin craft is so easy to make! You probably already have the construction paper at home right now, so let’s get crafting!
Using construction paper strips, just glue together the paper to make these inexpensive yet cute Halloween decorations.

If you do not want Jack O’Lantern faces, just leave them off! Then you can have simple, easy decorations for Fall.

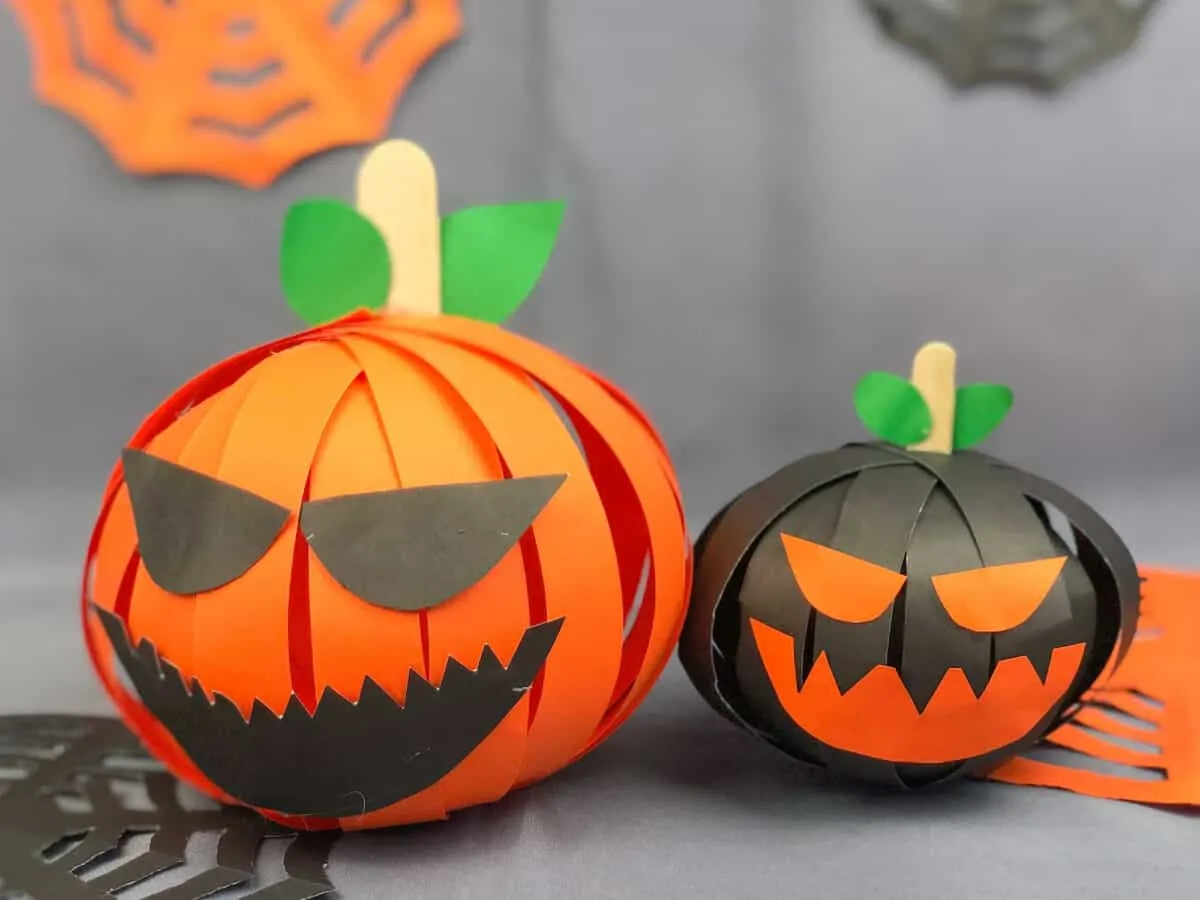
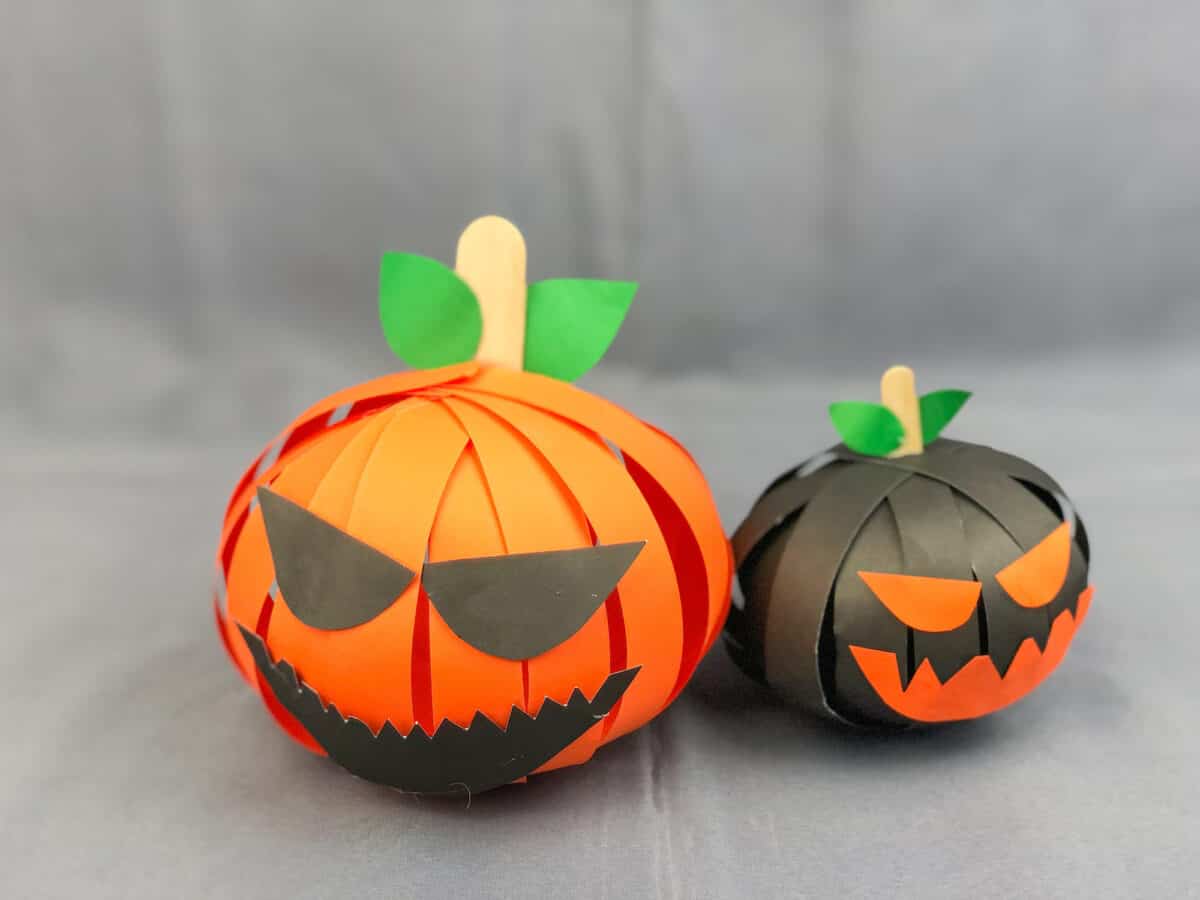
Choose different colors or patterns of paper to customize these 3D paper pumpkins for your home or party.
Use some of the construction paper to make our cute vampire gnomes, too!

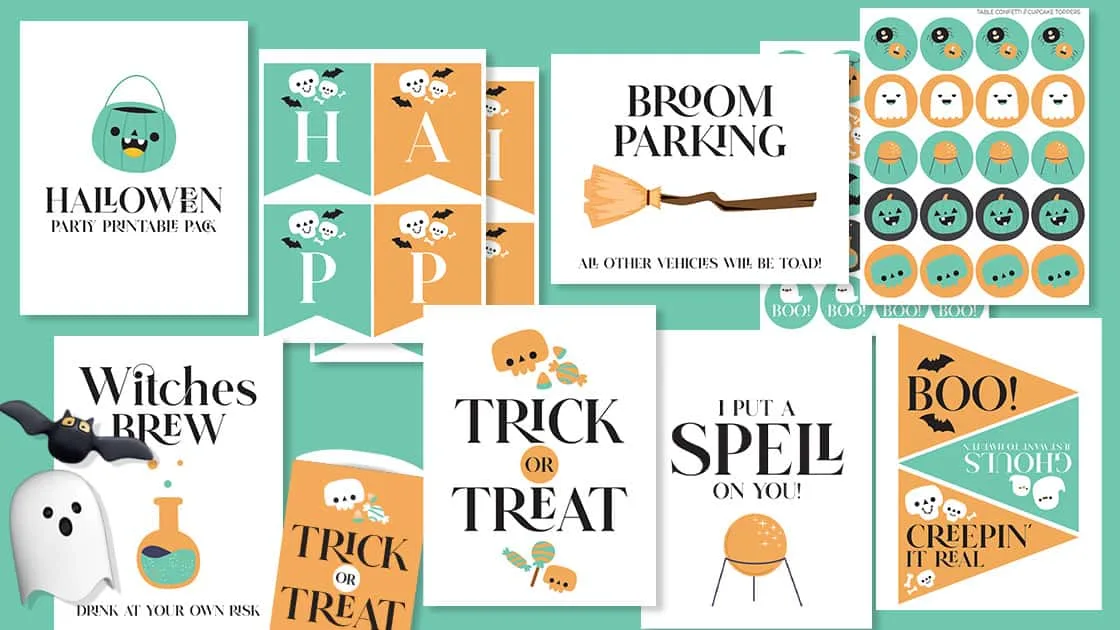
Hurry! Get Your Halloween Printables Pack Now!
This fun Halloween printables pack has banners, signs, treat bags and cupcake toppers. Don’t miss out!
How to Make a Paper Strip Pumpkin
Supplies
- Construction paper (orange, green, black)
- Large popsicle stick
- Scissors
- Ruler (optional)
- Glue gun and glue sticks (or craft glue)
Directions
Step 1
Start with a sheet of orange construction paper. Fold the paper in an accordion style, with the folds on the long side of the paper. I started with a ½ inch fold on the bottom, then continued with that size as I folded the rest of the paper.
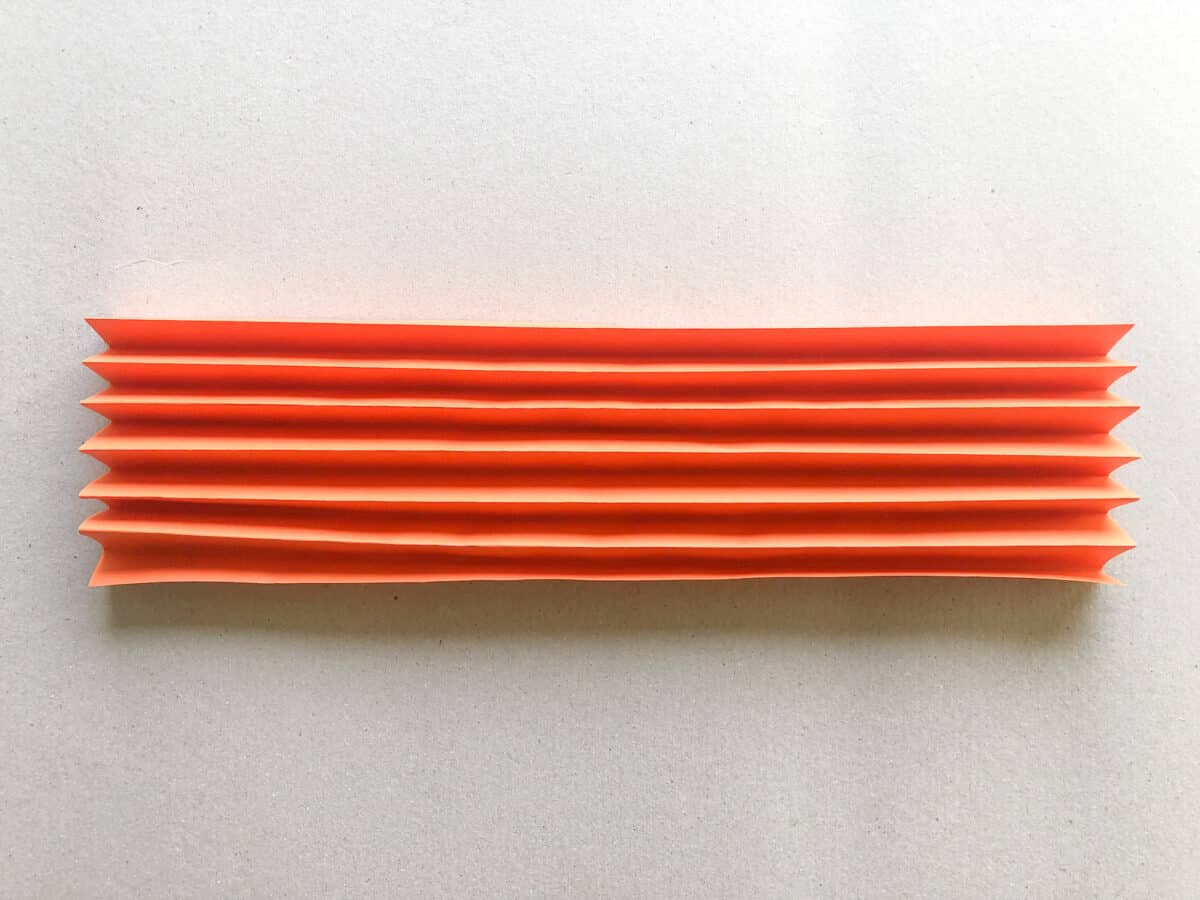
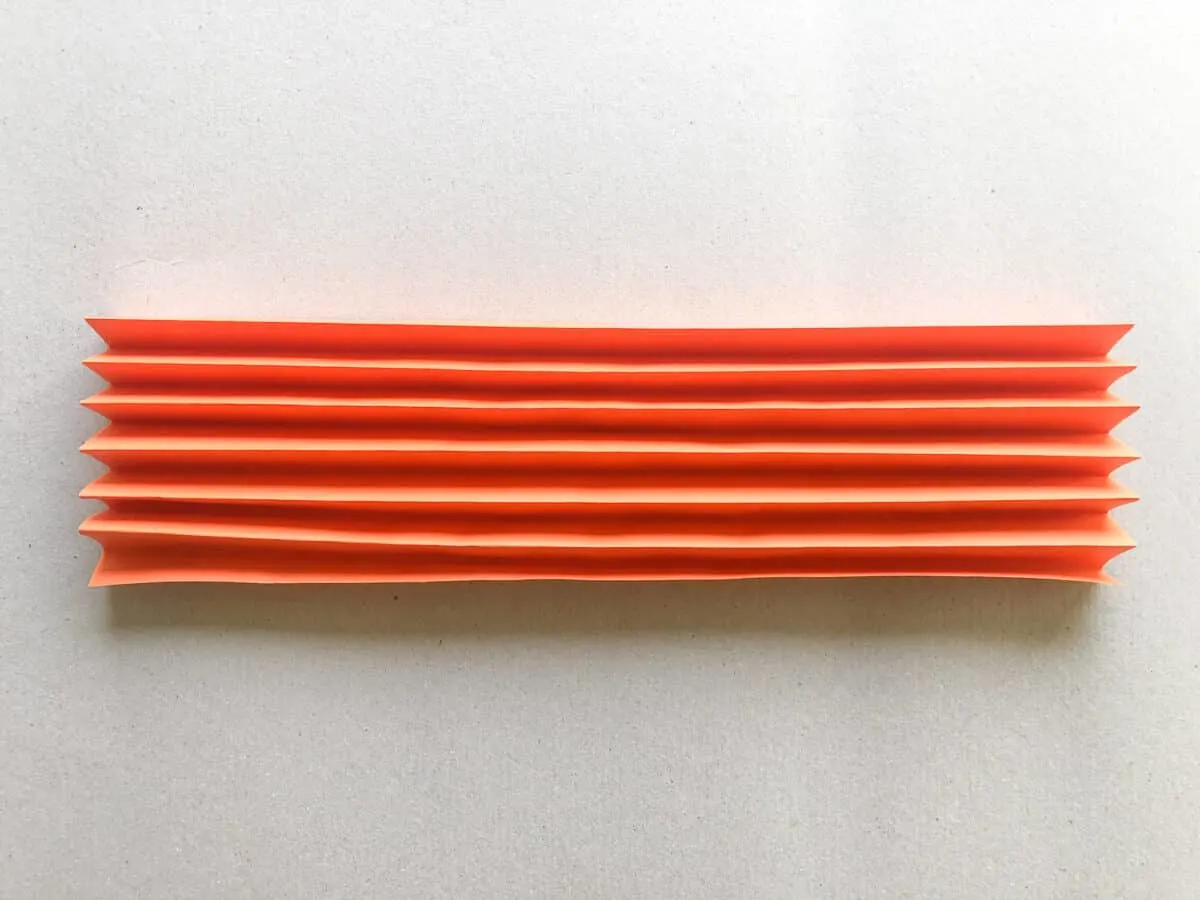
Optionally, you could use a ruler and mark equal lines on the paper to make long paper strips.
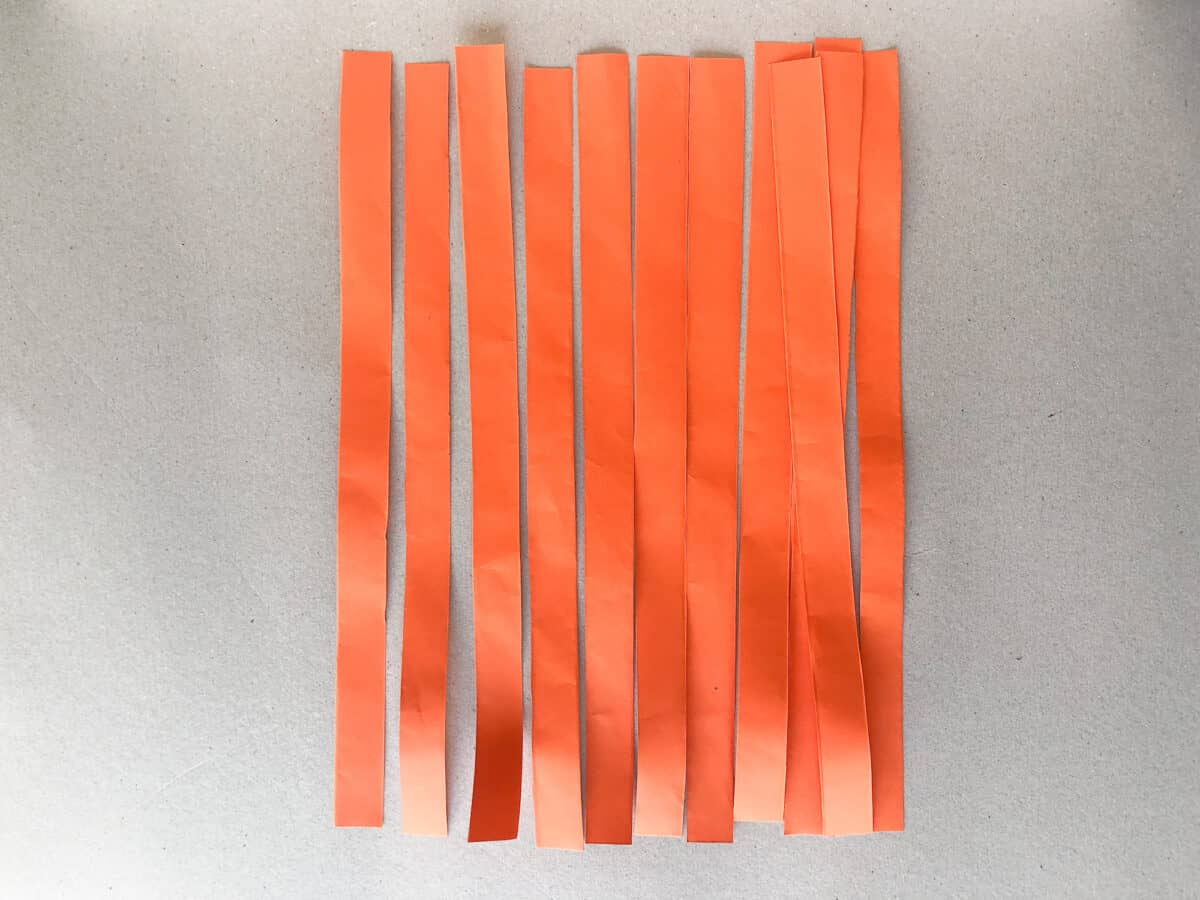
Cut out the strips of paper, either by cutting along the folds or marked lines.

Step 2
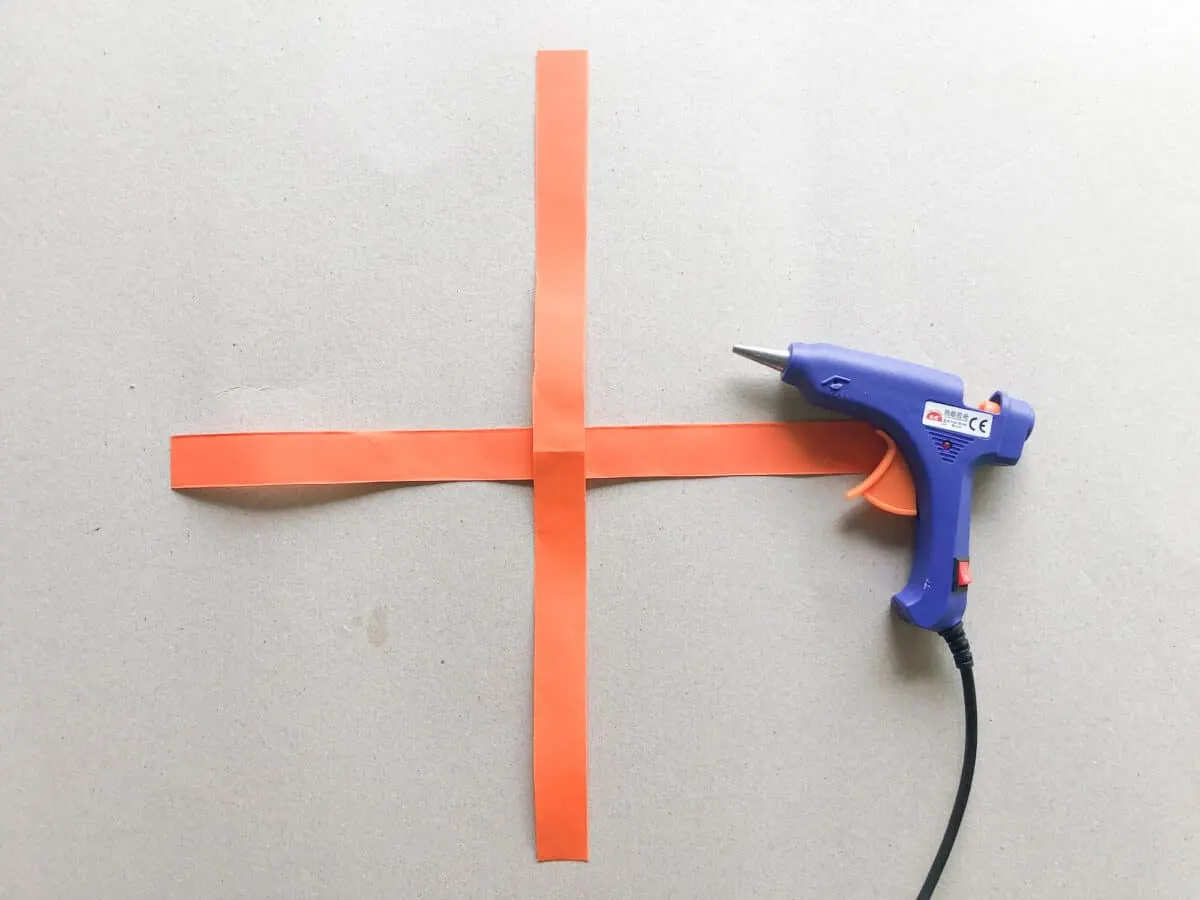
Start using the paper strips to make a circle. First, lay one paper strip perpendicular over the other to form a cross. Glue the pieces of paper together in the middle.
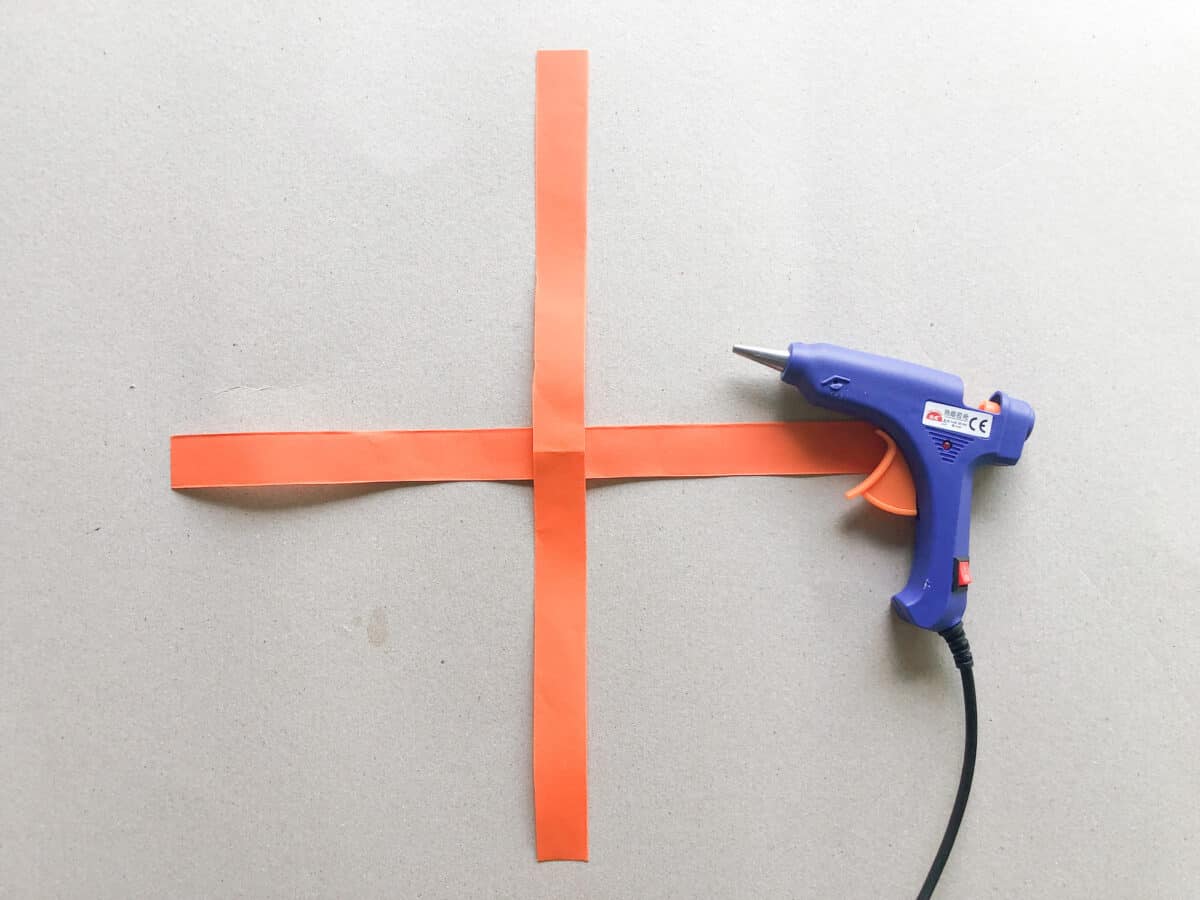
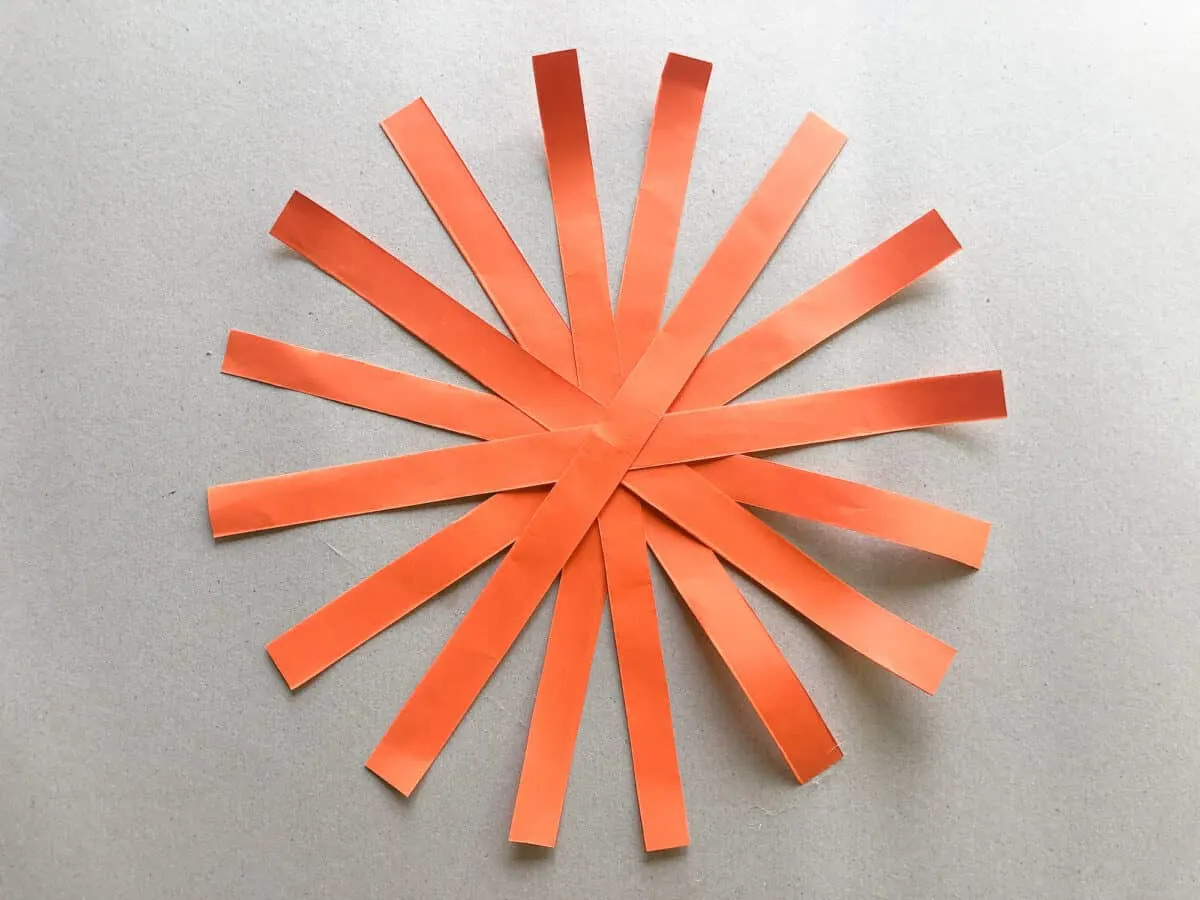
Then, add more paper strips, changing the angle just a little bit with every strip to make a circle. Each time you lay down a paper strip, glue it in the center.

Related Post: See how to weave a basket out of paper strips
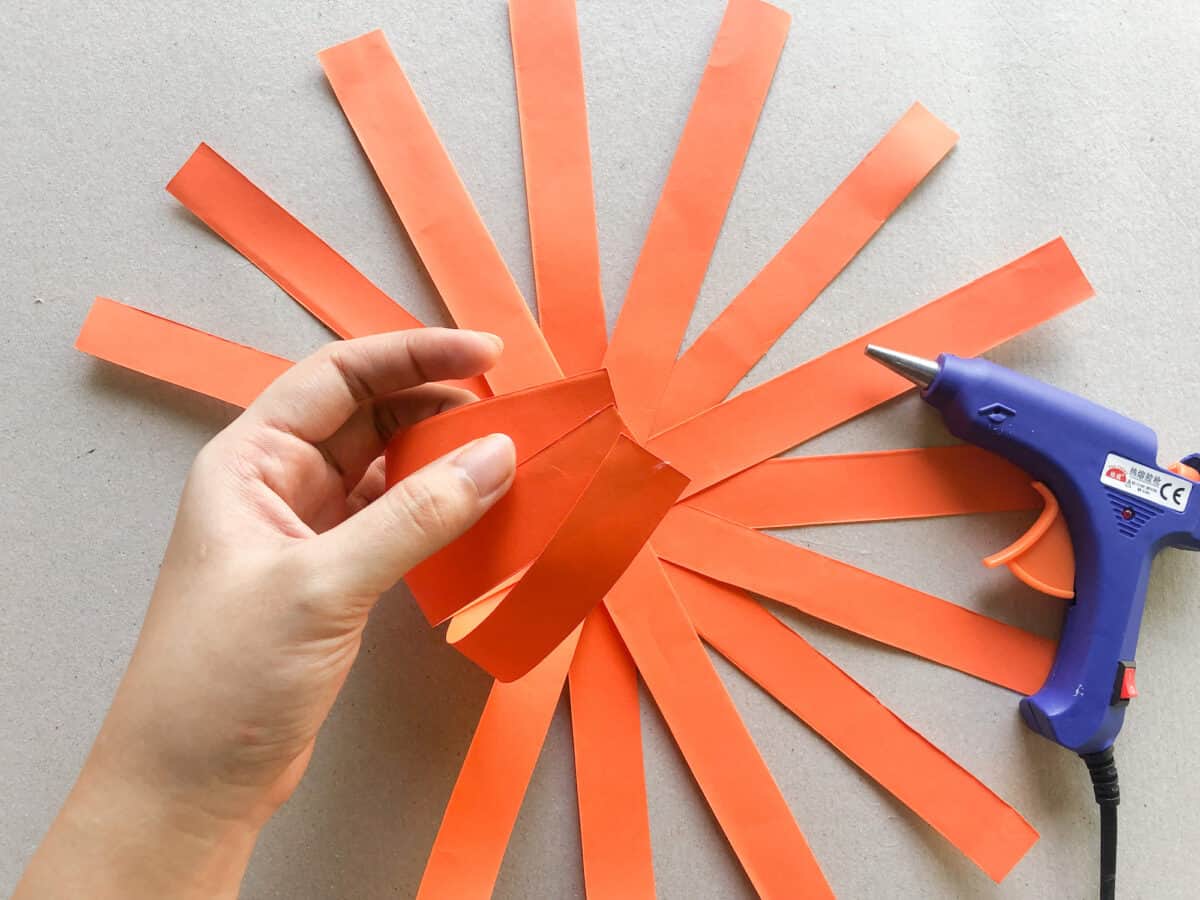
Step 3
Gently fold two paper strip up and make a curved pumpkin shape. Glue the ends together.

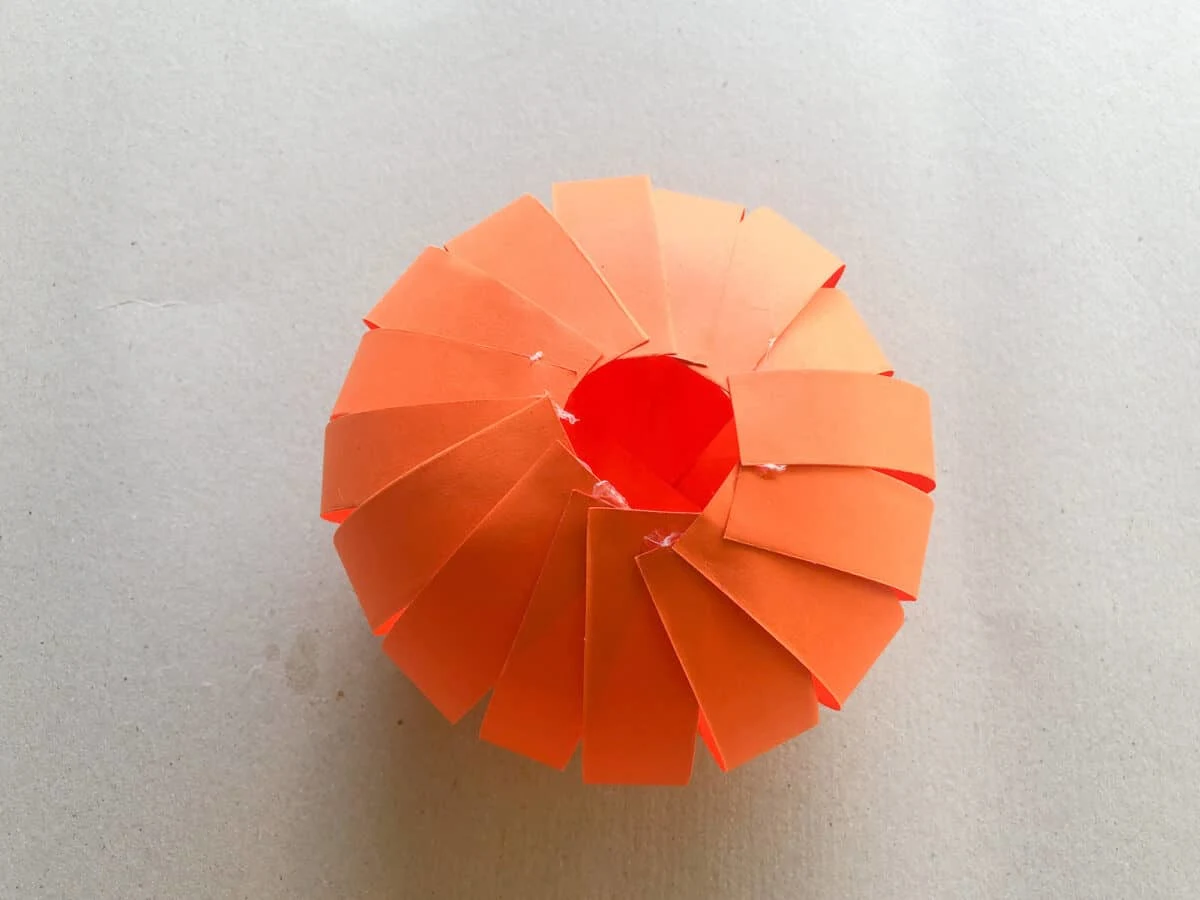
Continue to add each paper strip by folding it up and curved outward, with the ends of the paper strips meeting together. Glue them in place.
They will not all meet in the middle. There will be a hole in the top of the pumpkin.

Step 4
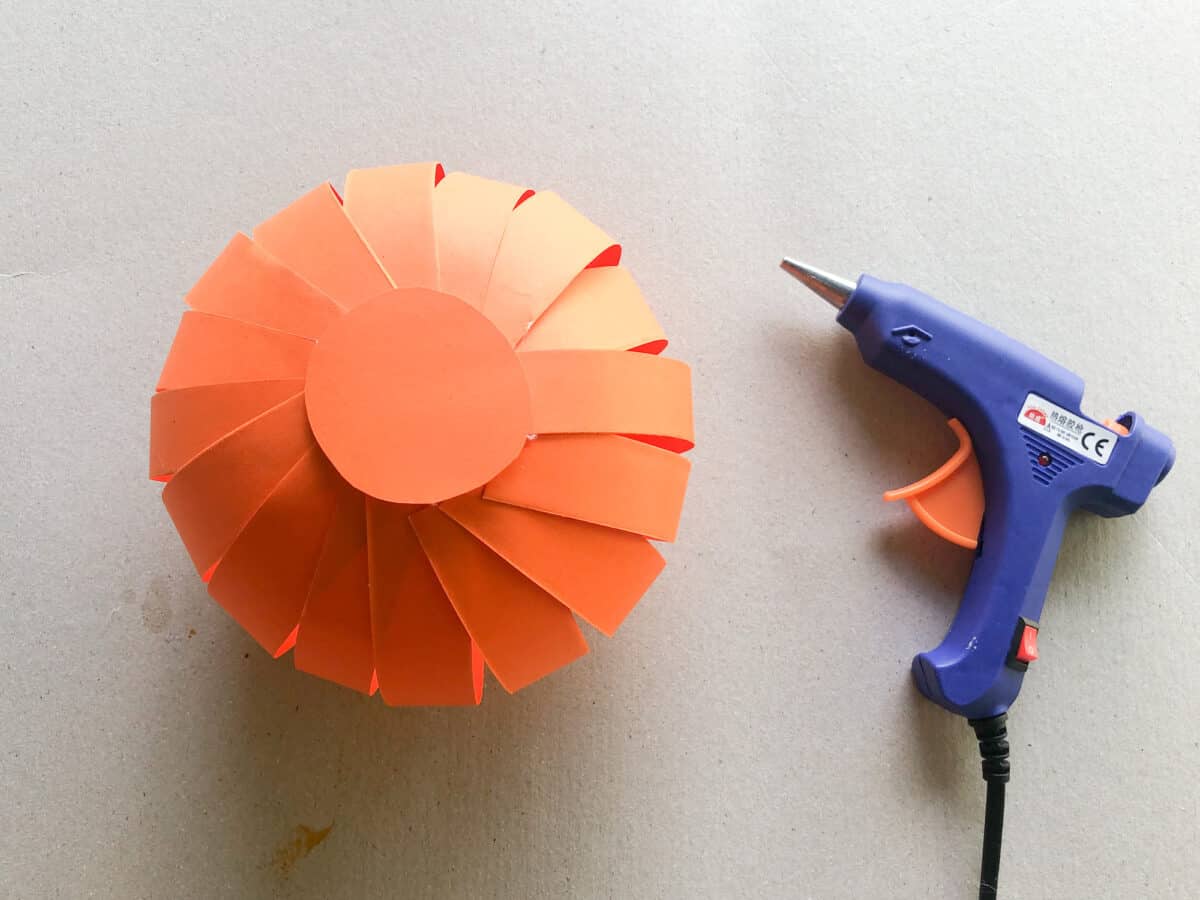
Cut a circle out of the orange construction paper that is big enough to cover the hole on top of the pumpkin. Glue in place.

Step 5 – Optional
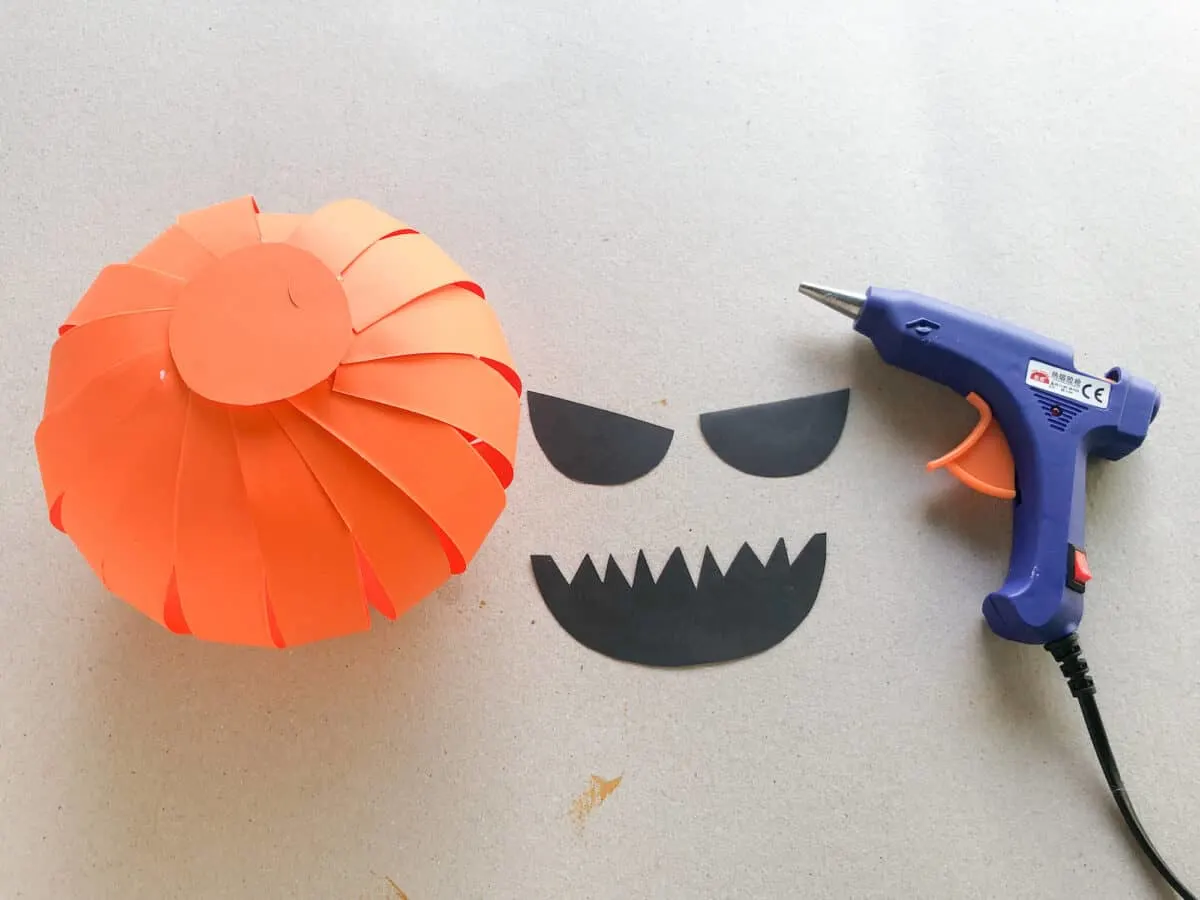
If you would like to add a Jack O’Lantern face to your paper pumpkin, cut out the eyes and mouth from black construction paper.
I cut out a medium-sized black circle and then cut the circle in half. These two pieces are the Jack O’ Lantern’s eyes.
Then, cut a large black circle of construction paper in half. This will be the mouth. You can cut out little triangles across the circle to make a spooky grin.

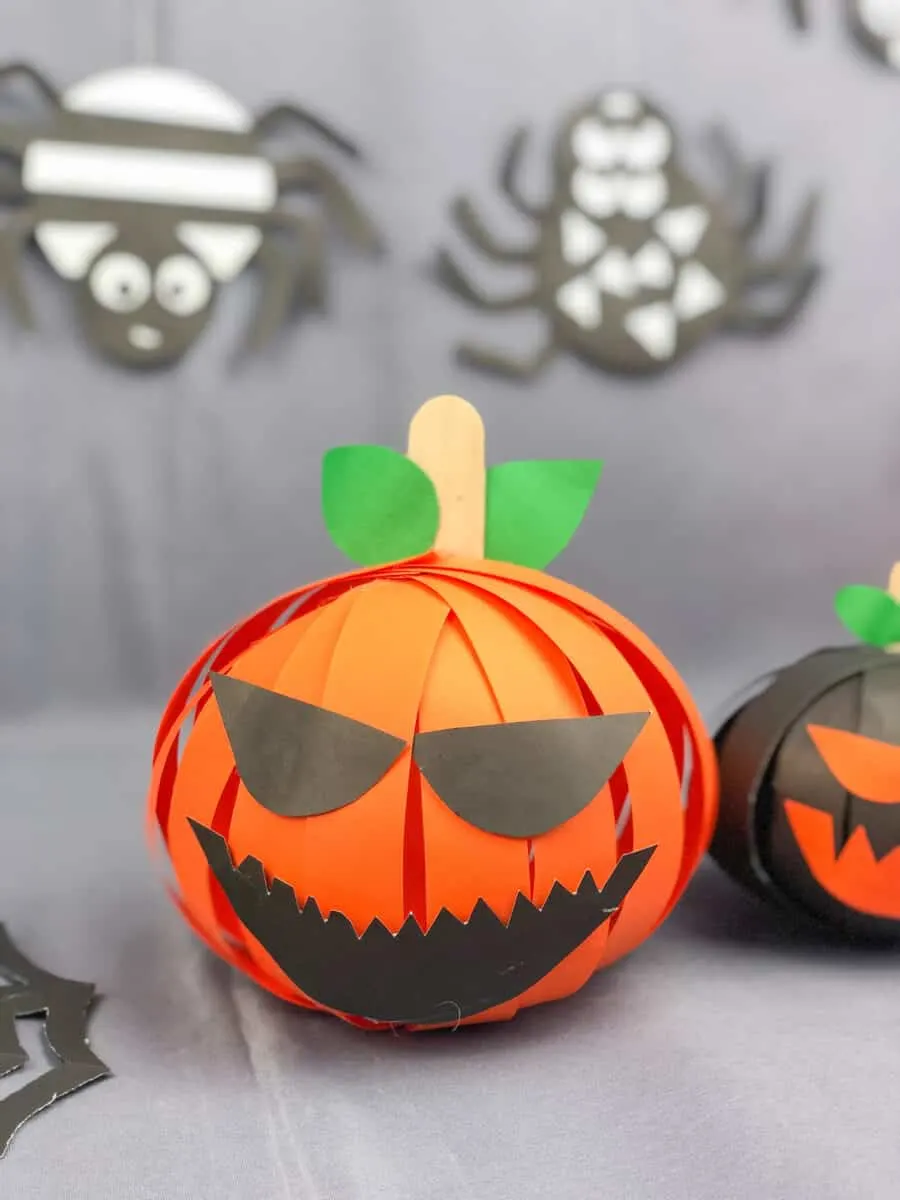
Glue the jack o’ lantern face pieces to the front of the pumpkin craft.
Step 6
Cut a short piece of the large popsicle stick to make the pumpkin stem. Glue it onto the top of the orange construction paper circle.

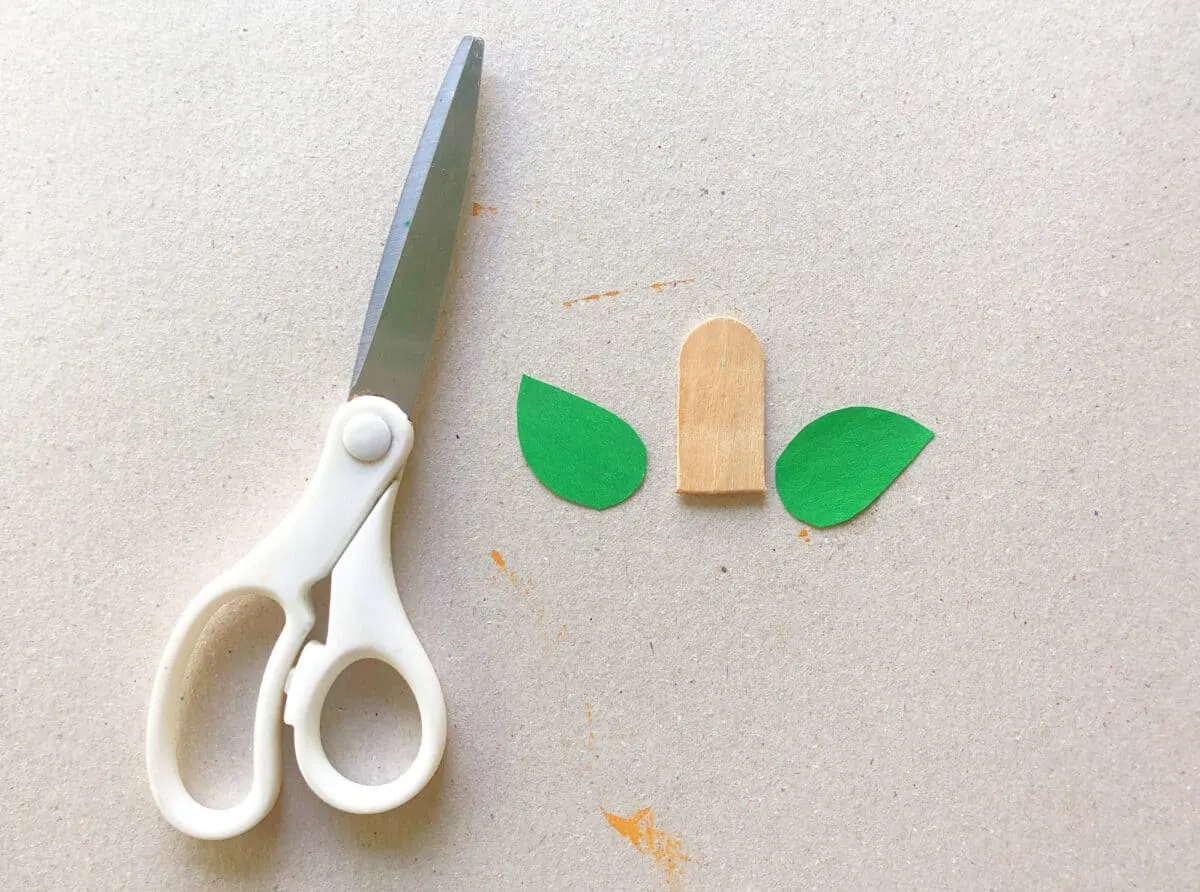
Next, cut out two leaves from the green construction paper. Glue them to the top of the pumpkin near the popsicle stick stem.

You can also watch a video tutorial of this pumpkin craft below:
If you love how easy this paper strip pumpkin is, then be sure to see our simple Halloween paper cup crafts.
You might also like our other pumpkin crafts:
