
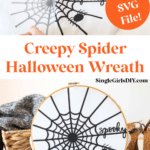
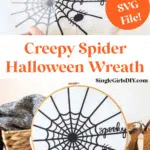
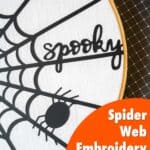

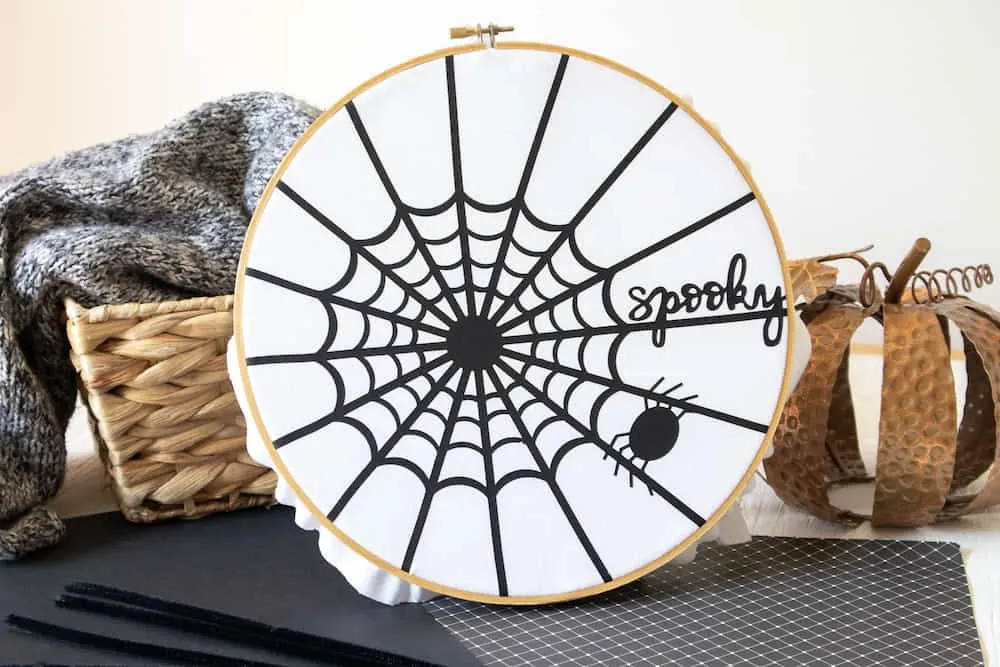
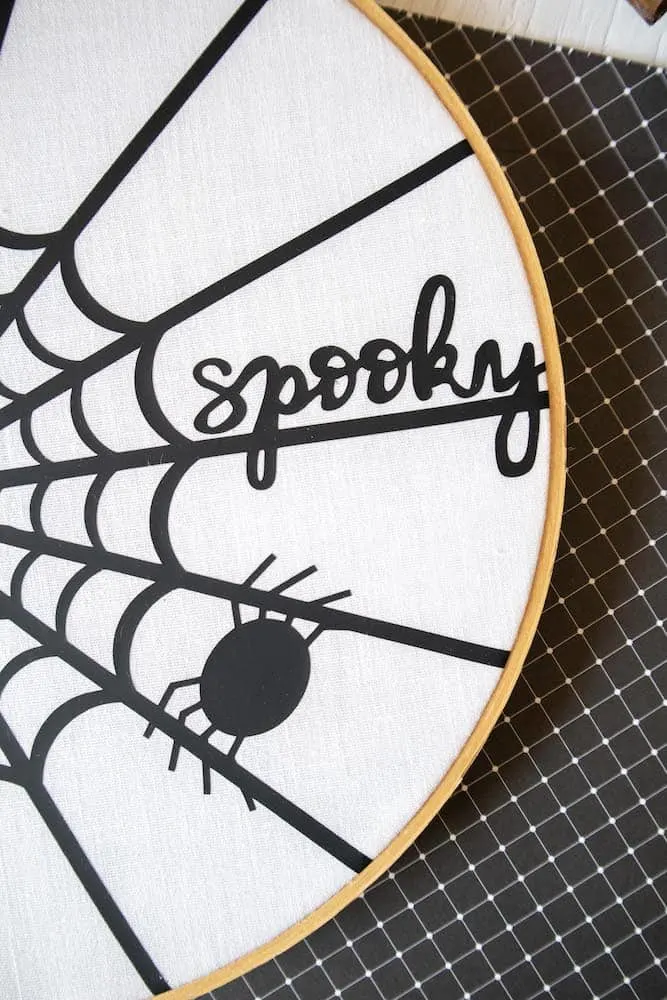
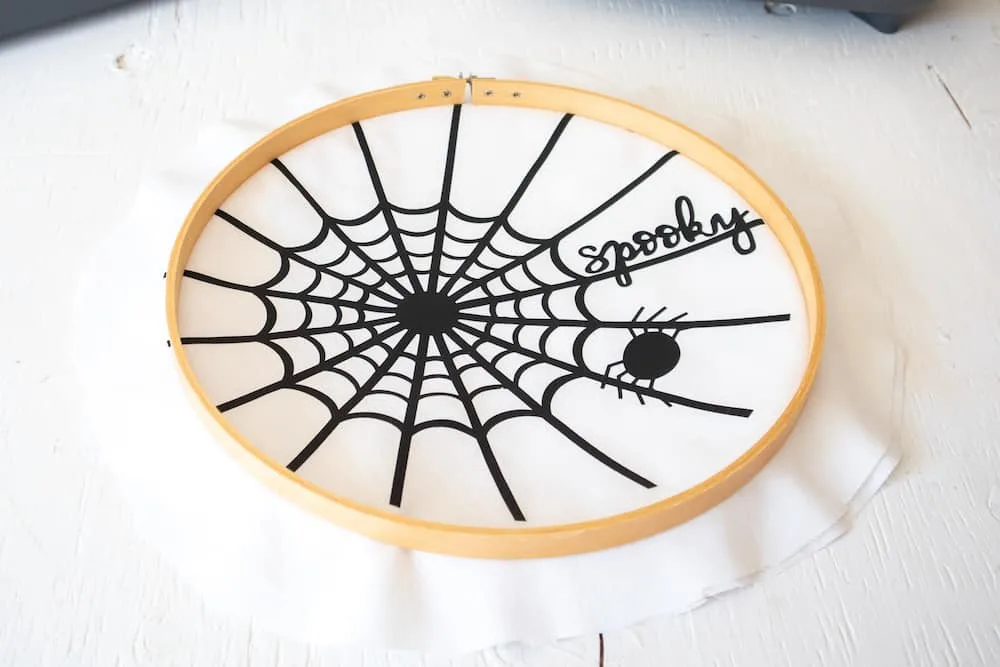
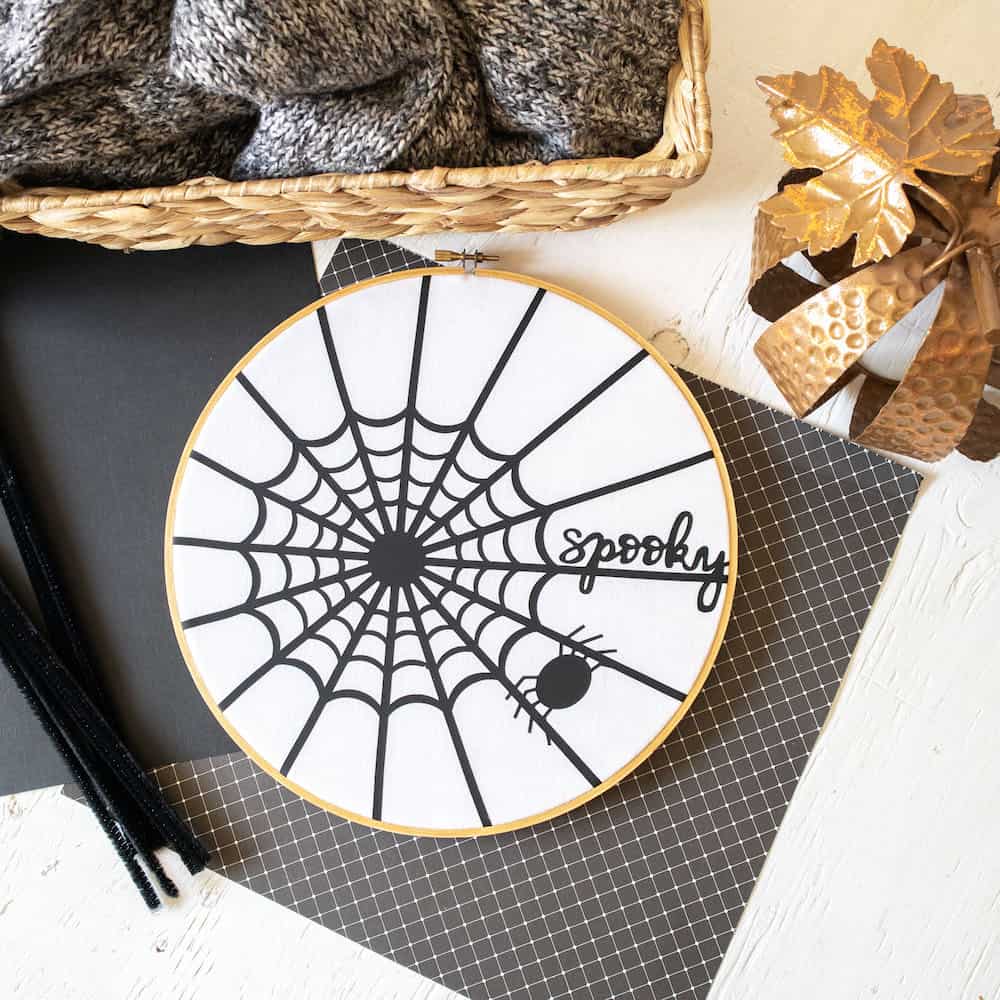
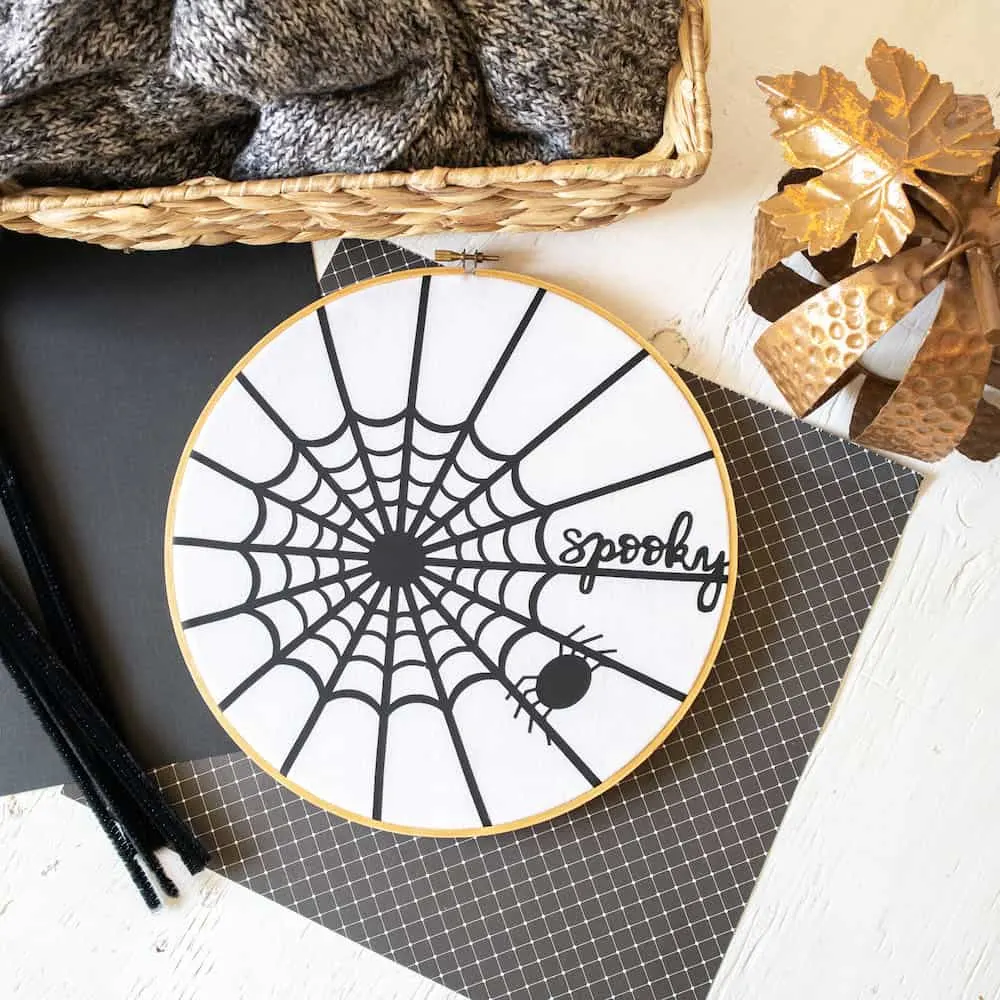
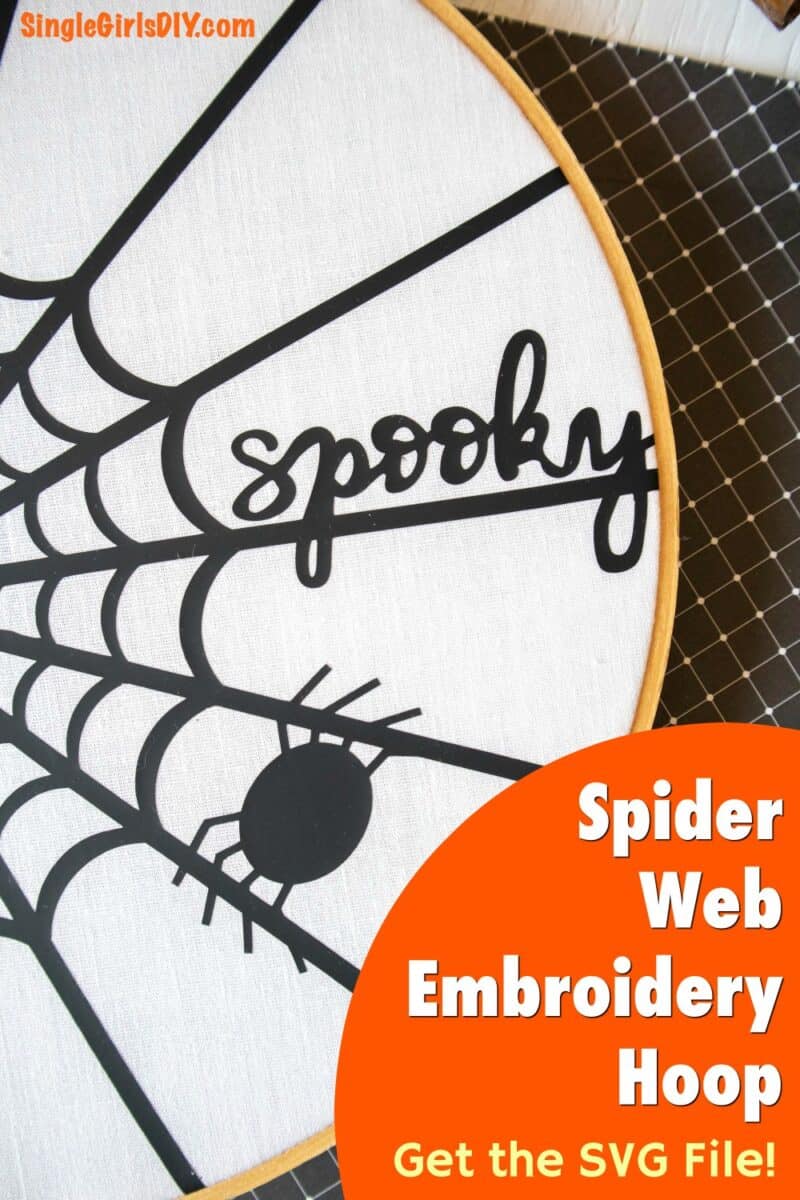
Our free Cricut Spider Web SVG file is perfect for making Halloween decorations! We used it with an embroidery hoop to make a spooky front door wreath.

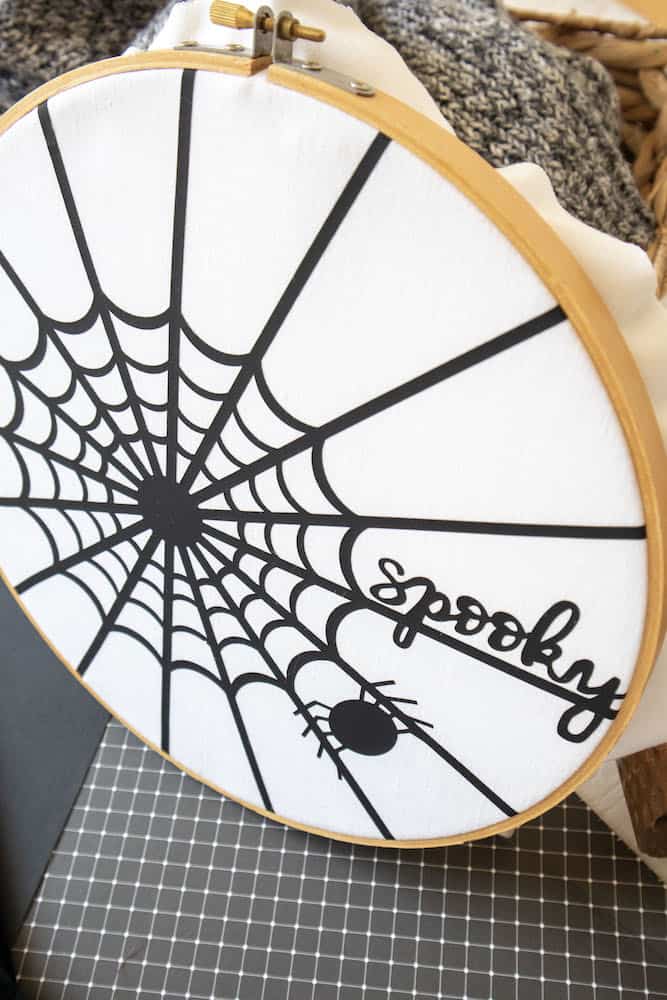
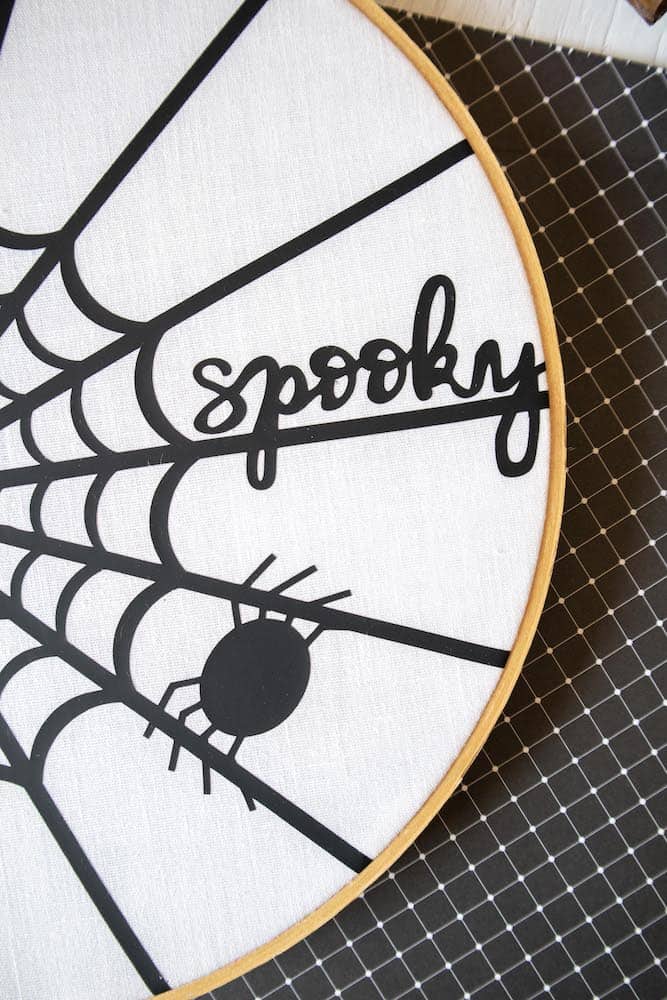
I like festive, cute and fun Halloween decorations. Which is why I love that this Cricut craft has an SVG file for a traditional Halloween spider web, but it’s not scary looking.
I have a love affair with embroidery hoops used as decorations. They are so easy to customize for each season! All you have to do is switch out the fabric.
These wood hoops (used for quilting and cross stitch) are modern and minimalist when used as wall hangings at home.
If you can’t find them for cheap at a thrift store, they are still really cheap in a craft store, like this wood hoop at Michaels.

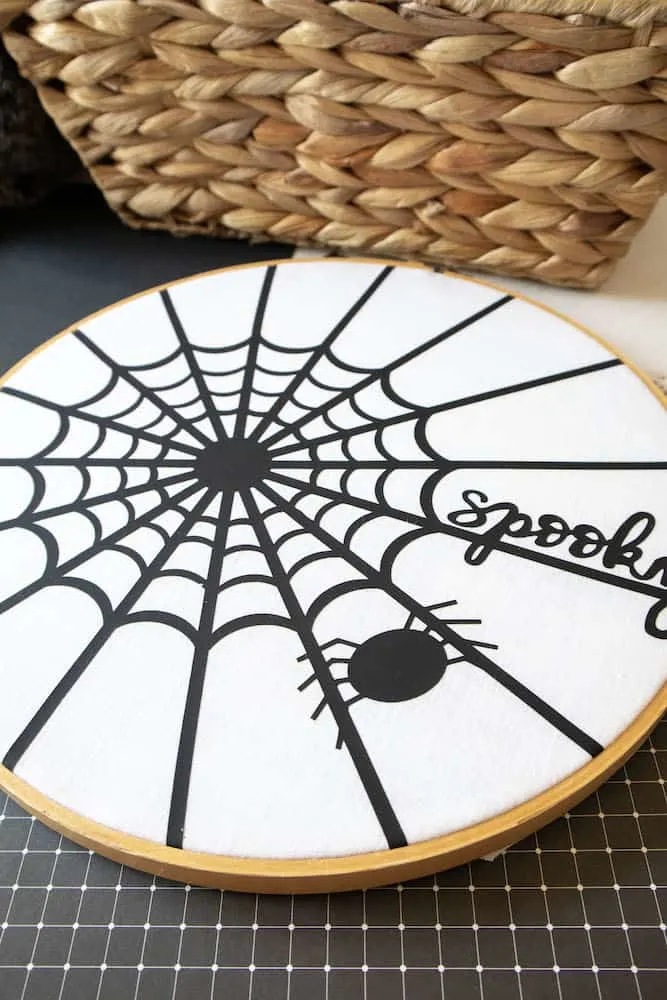
The hoop is perfect to hang on your front door instead of a wreath. Or hang on the wall or mantel as part of your Halloween decorations.
Our creepy spider vases also come with a free SVG file and use similar supplies.

How to Make a Halloween Spider Web with Cricut
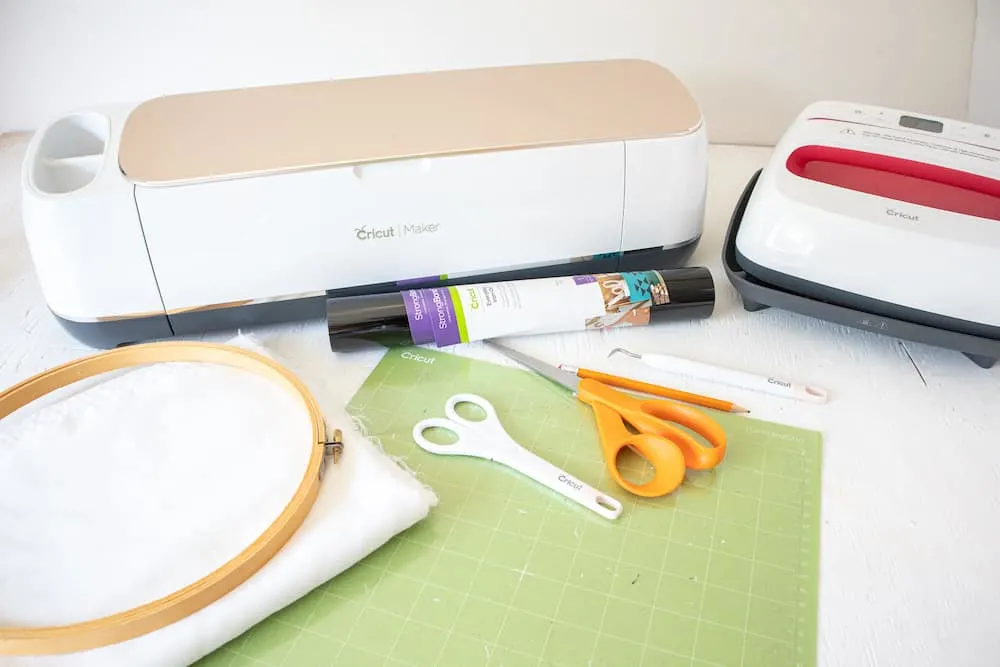
Materials
- Spider Web SVG
- Embroidery Hoop, 10” diameter
- 100% cotton woven fabric
- Cricut Maker
- Everyday Iron On Vinyl, Black
- Cricut Standard Grip Mat
- Cricut Weeding Tool
- Scissors
- Easy Press 2
- Easy Press Mat or Towel

Instructions
Prep Work
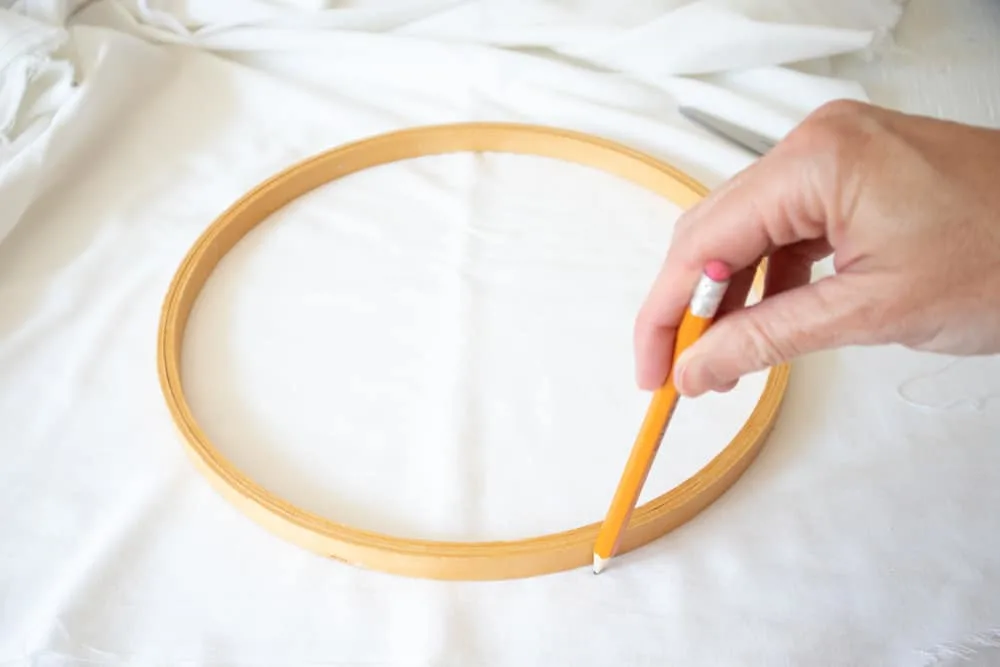
With a pencil, trace the outside of the embroidery hoop on the fabric.
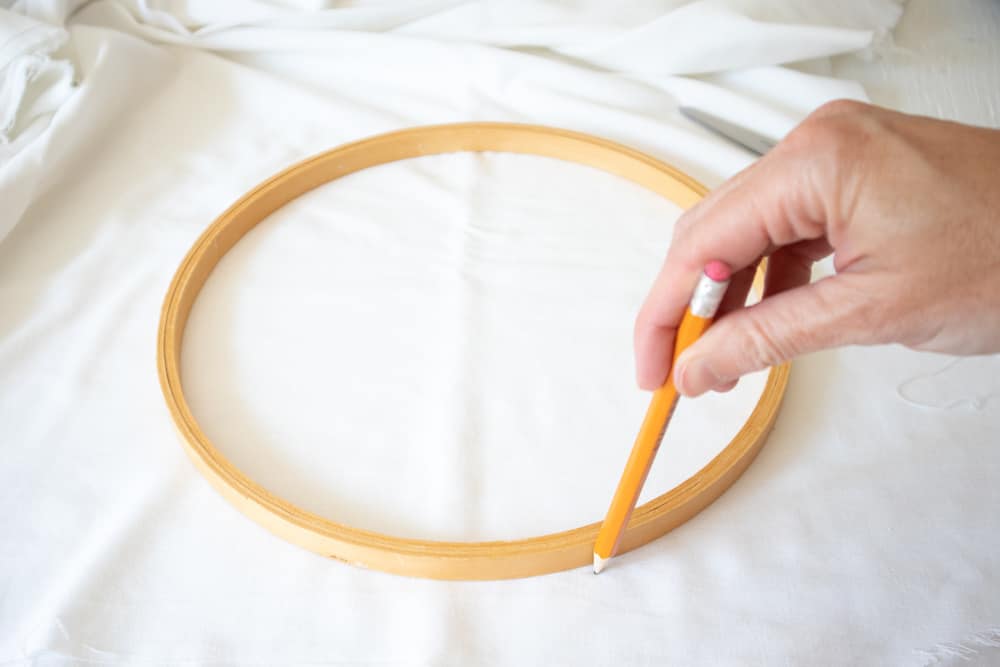
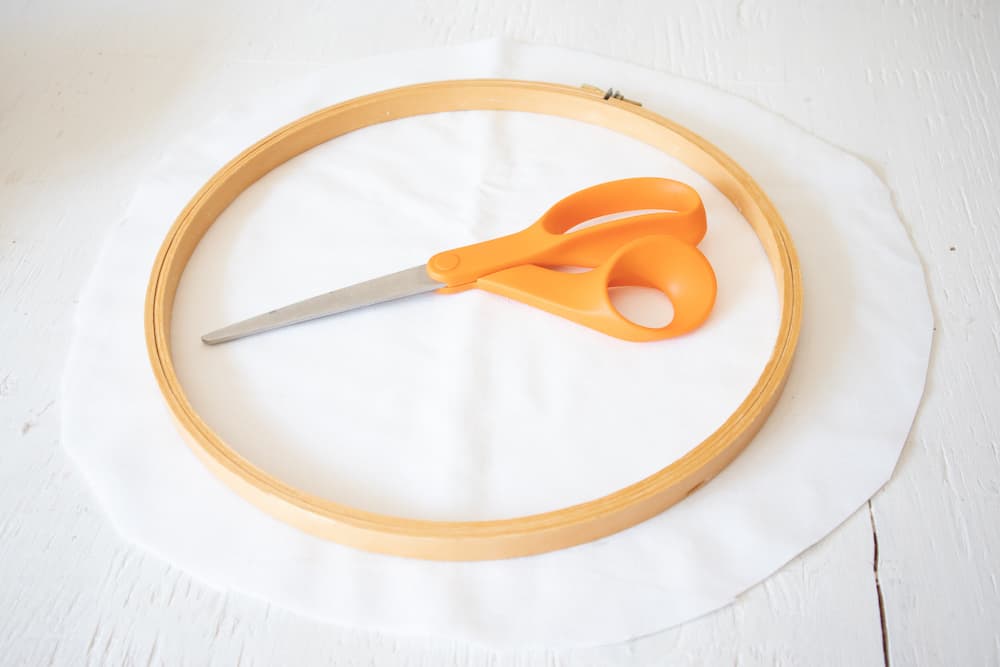
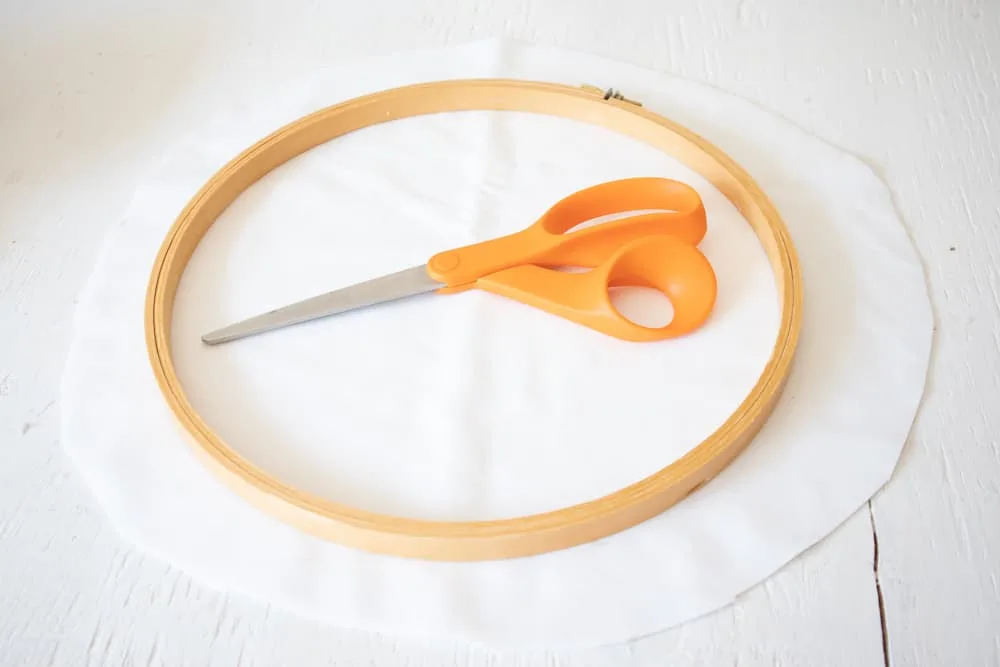
Add another 2 inches around the pencil line (so that it’s wider than the hoop) and cut out a circle shape.
Preparing the Image
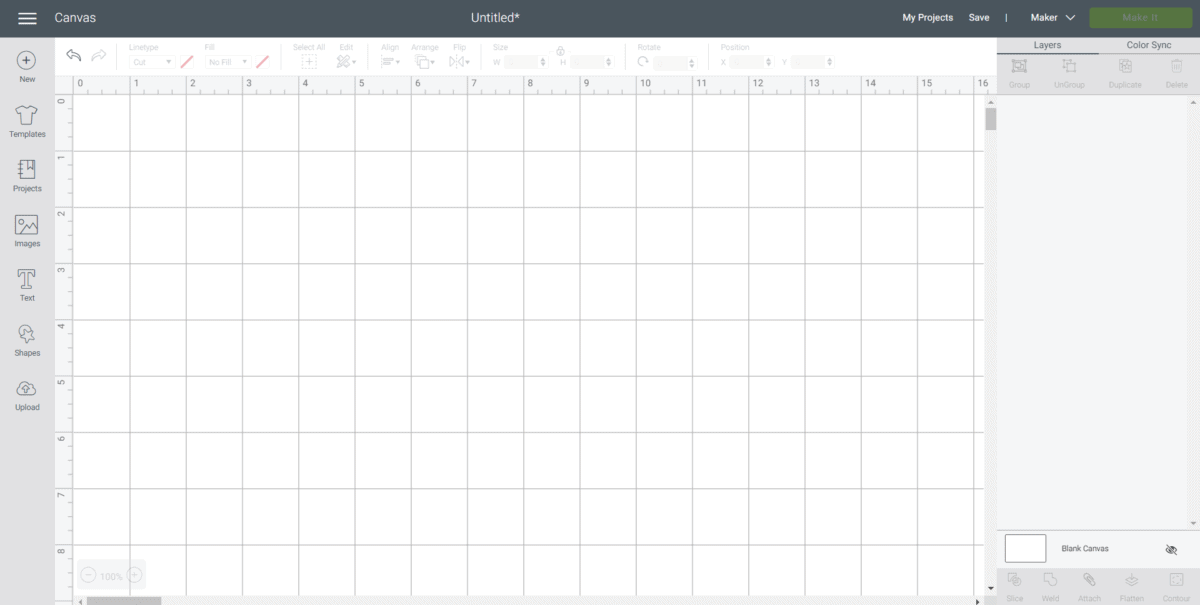
Open Cricut Design Space.
Click on the “+” sign to start a new project, opening up a blank canvas.
Click on the Upload button from the toolbar to insert the Spider Web SVG file onto the canvas.
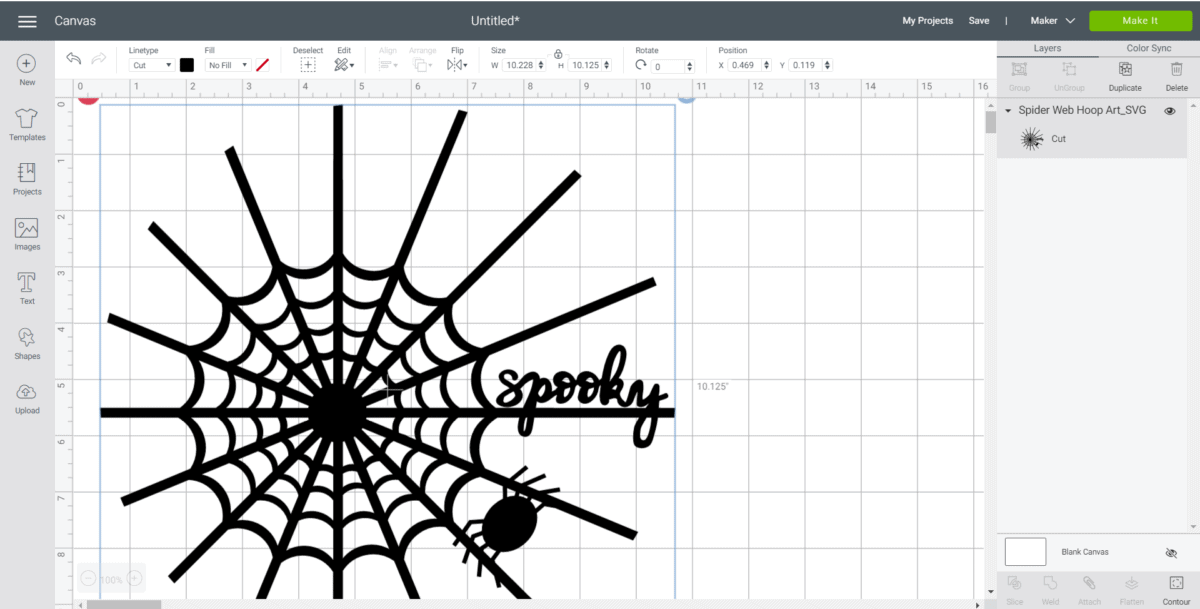

Maintain the size at 10.125” across or adjust by highlighting the image and clicking on the size box in the top toolbar.

Cutting the Iron-On Vinyl
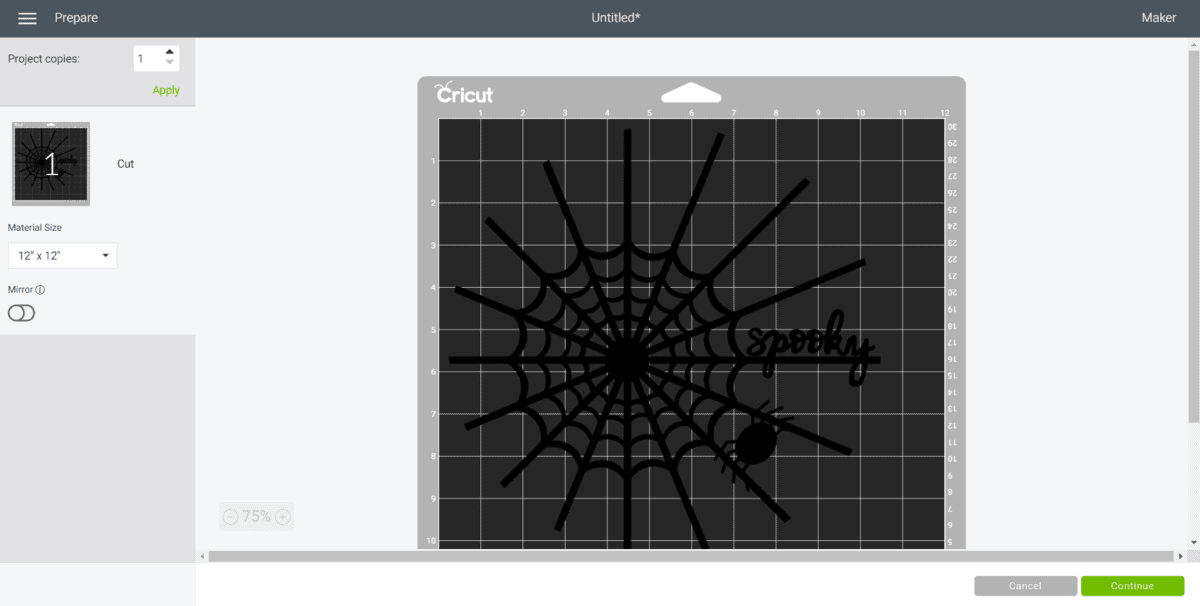
Select “Make It” in the upper right corner to proceed with cutting.
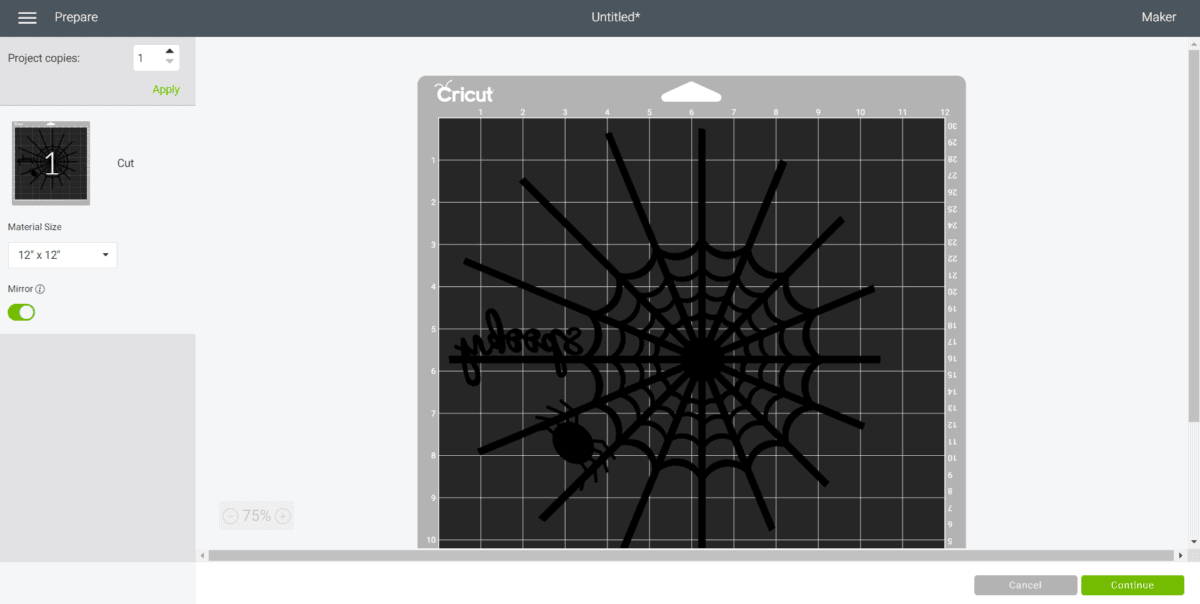
Click the “Mirror” toggle button to on. This is necessary for ALL iron on vinyl cuts.

Cut the Everyday Iron-On Vinyl width to fit on the standard grip mat. Press continue.

Choose Everyday Iron-On Vinyl from the list of options in the drop down menu.
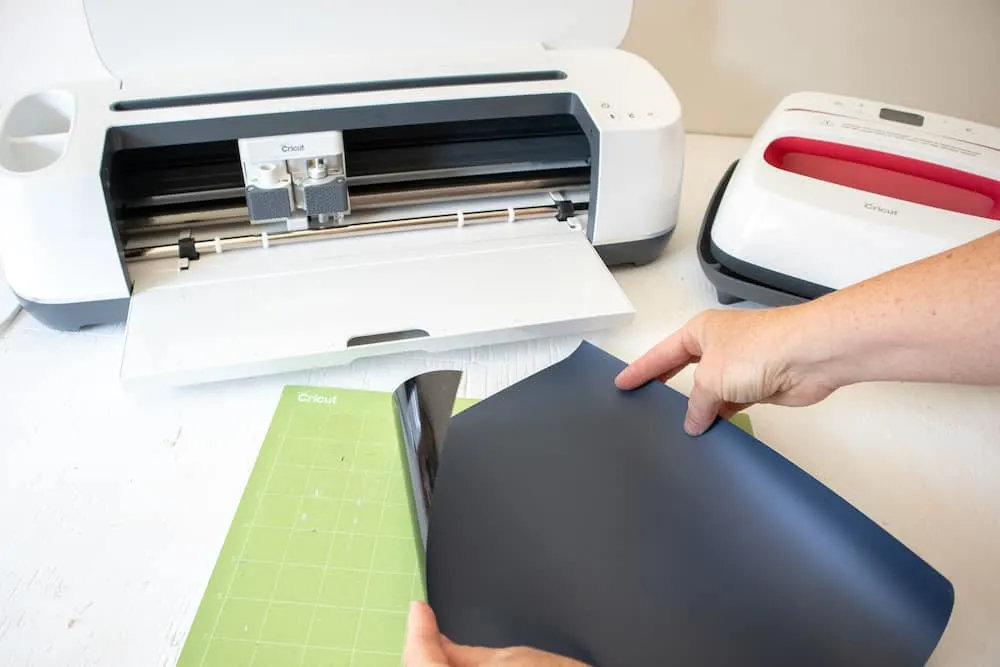
Place the Iron-On vinyl directly onto the standard grip mat with the SHINY SIDE DOWN.
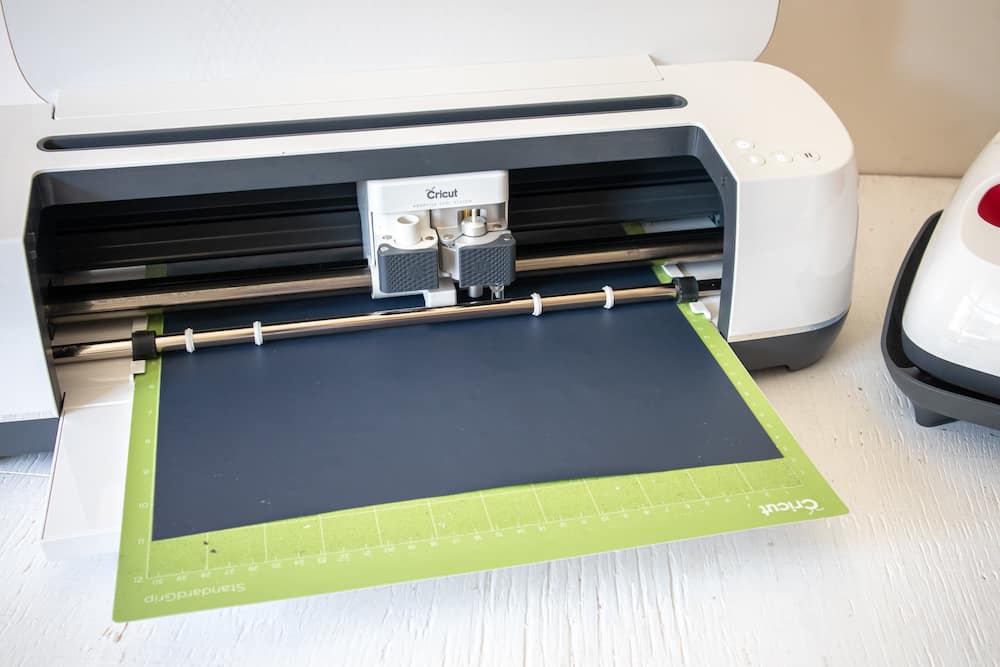
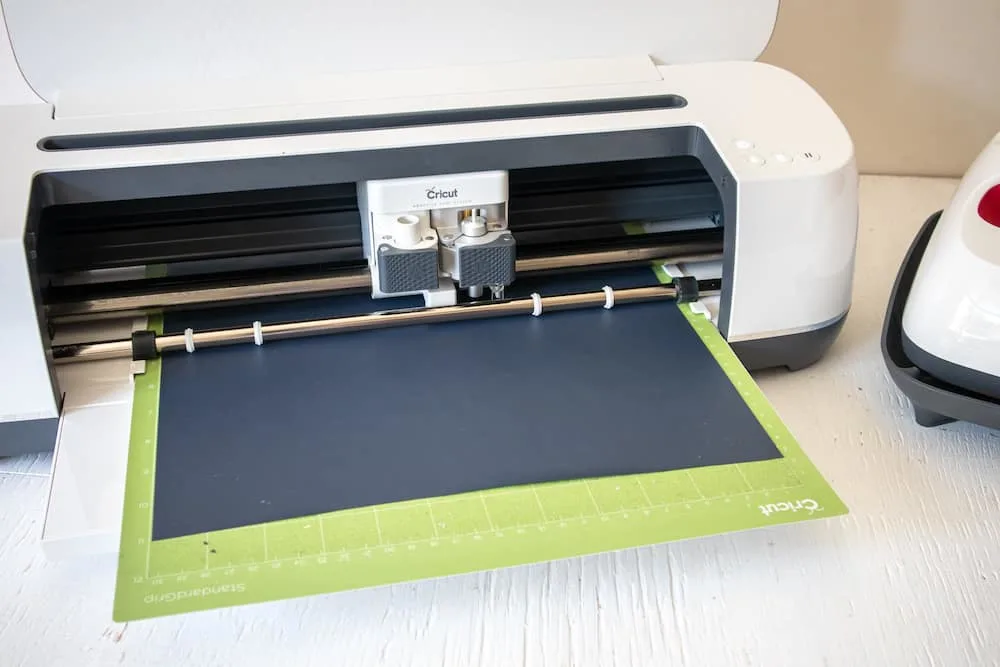
Following the instructions prompted on the screen, cut out the vinyl.
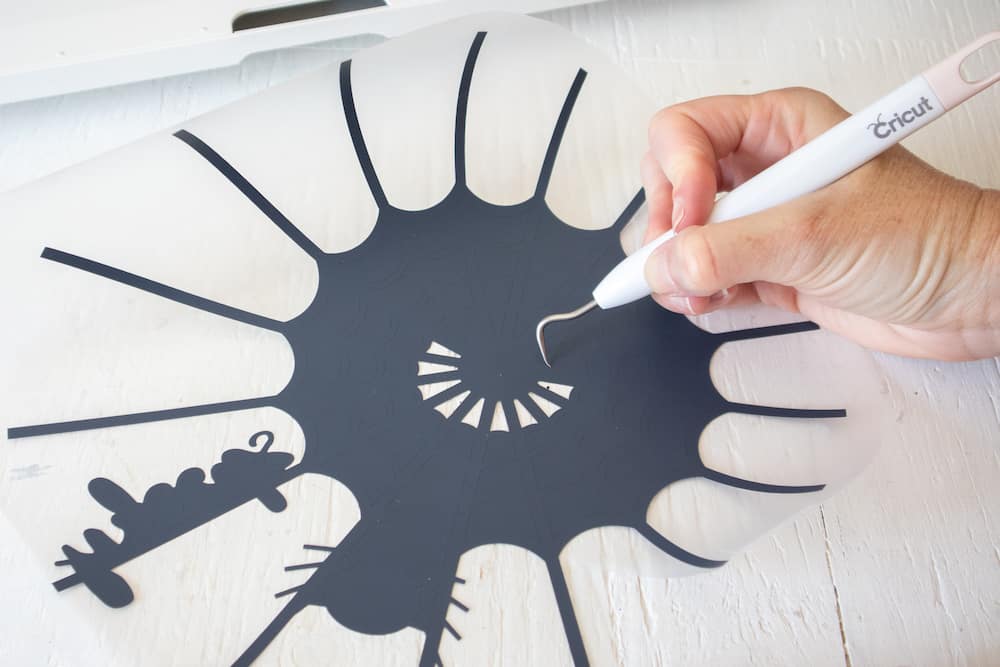
Preparing the Cut Image
Remove the Everyday Iron-On Vinyl from the mat.
Cut around the image and put aside the left over vinyl for another project.
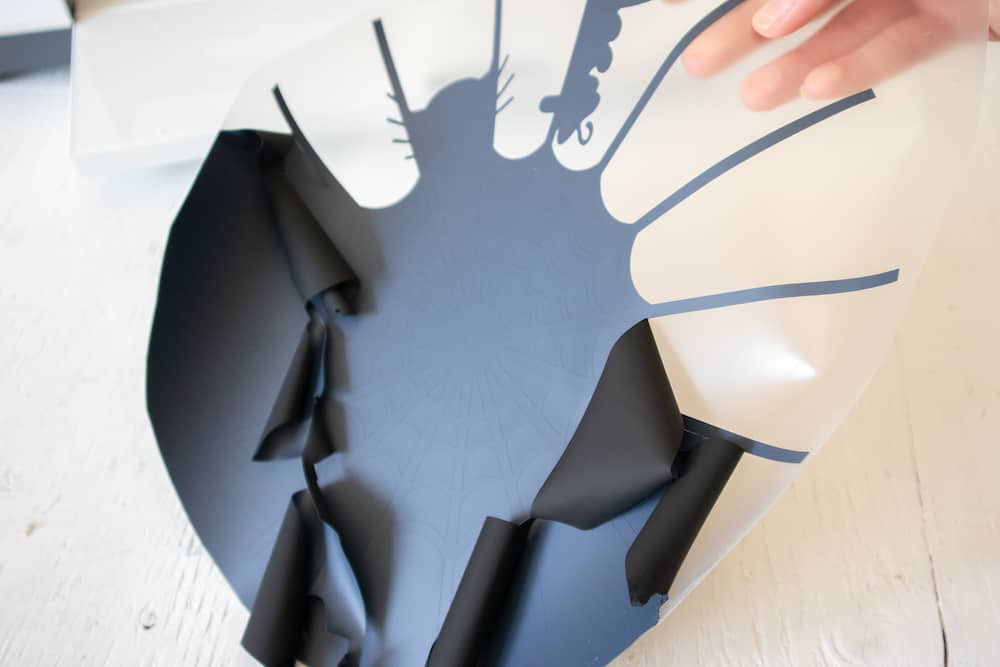

Using a weeding tool, peel away the excess vinyl leaving only the spider web image.

Applying the Image with Cricut EasyPress 2
Position the Easy Press mat or a towel on a flat surface.
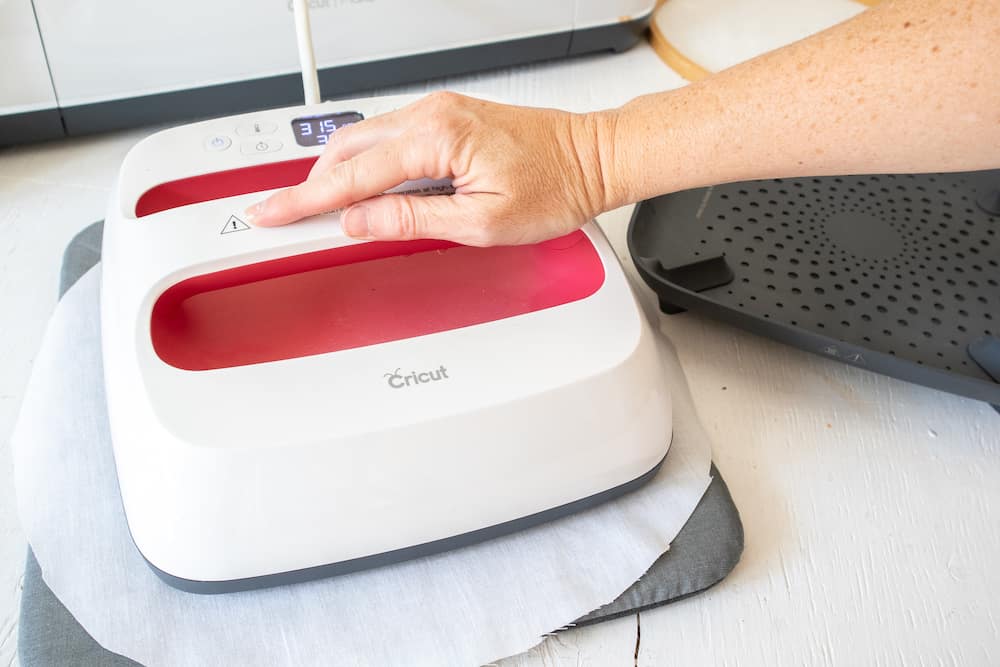
Set the temperature and time on the machine following the chart for the type of vinyl and material being used or use this Easy Press Interactive Quick Reference Guide.
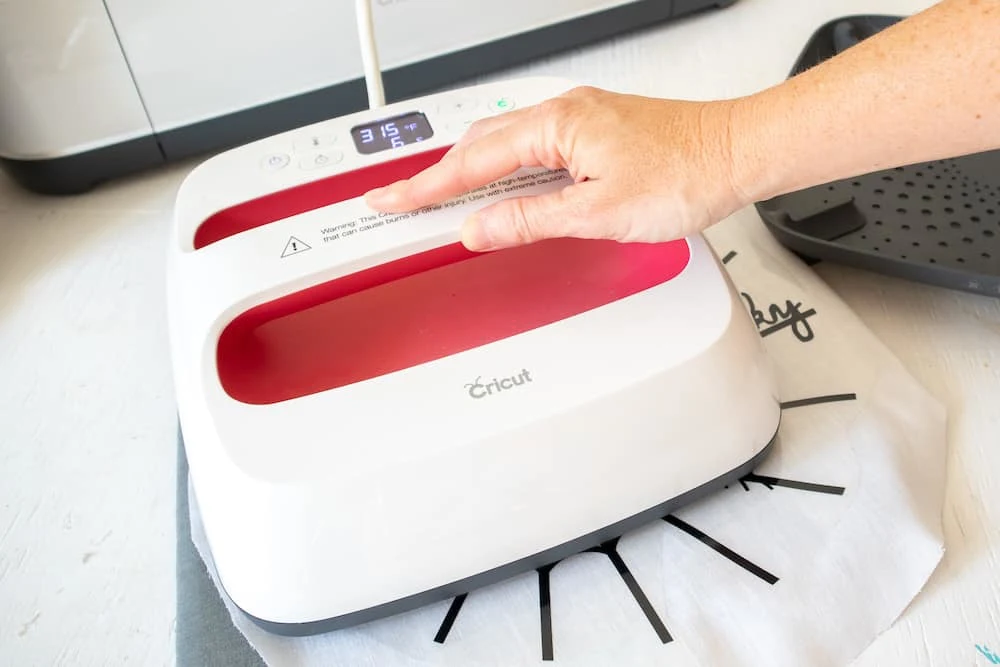
For a 100% Cotton tea towel and Everyday Iron-On Vinyl, set the Easy Press 2 to 315F.
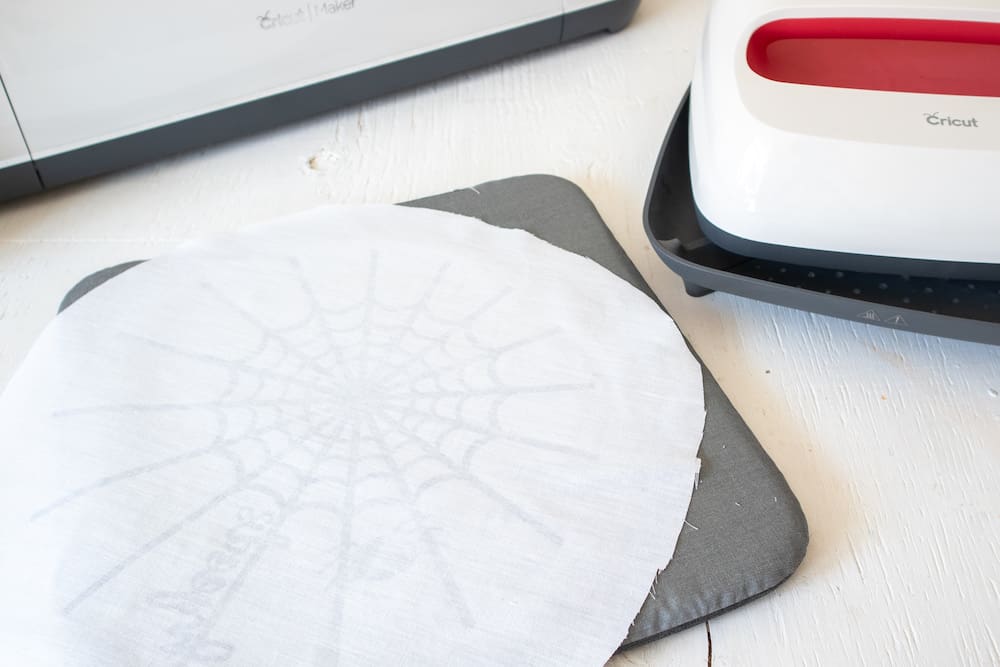
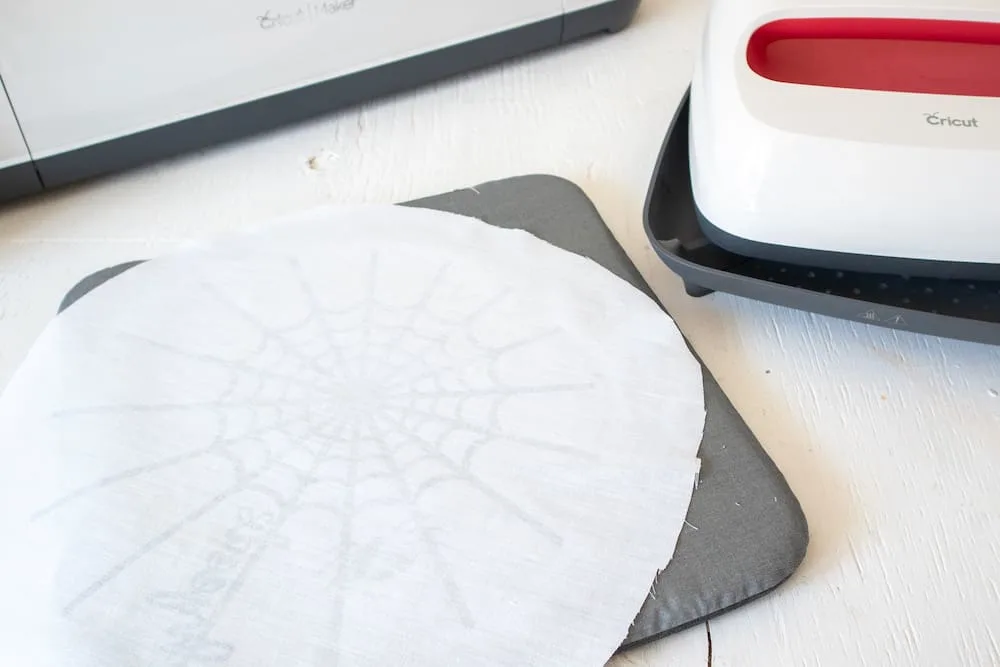
Preheat the fabric (the cut circle shape) for 5 seconds. This will prep the fabric for the vinyl, removing all excess moisture as well as help to remove any creases and wrinkles from the fabric.
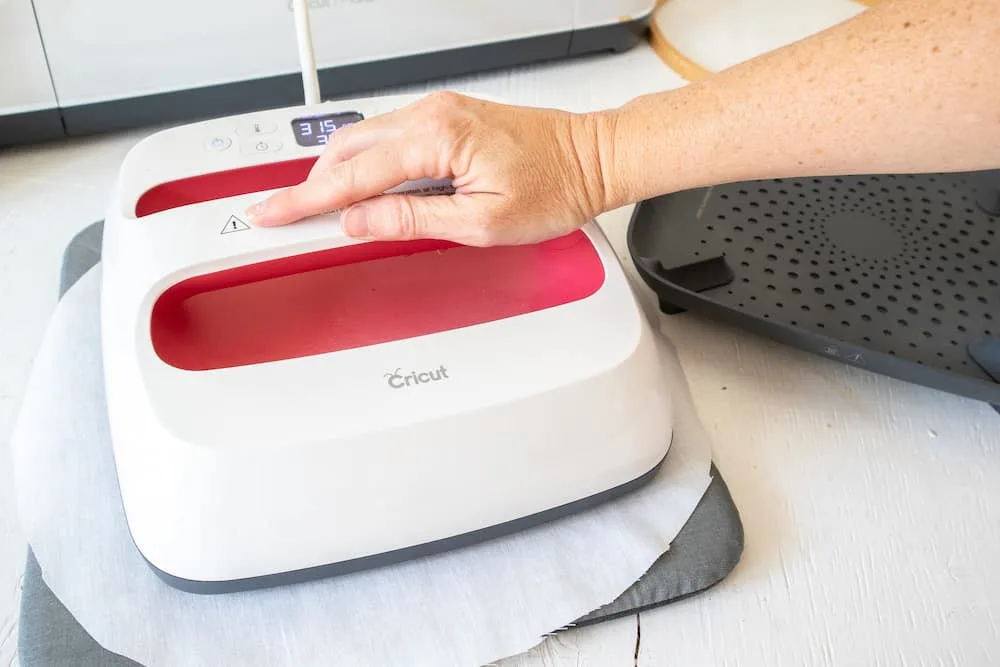
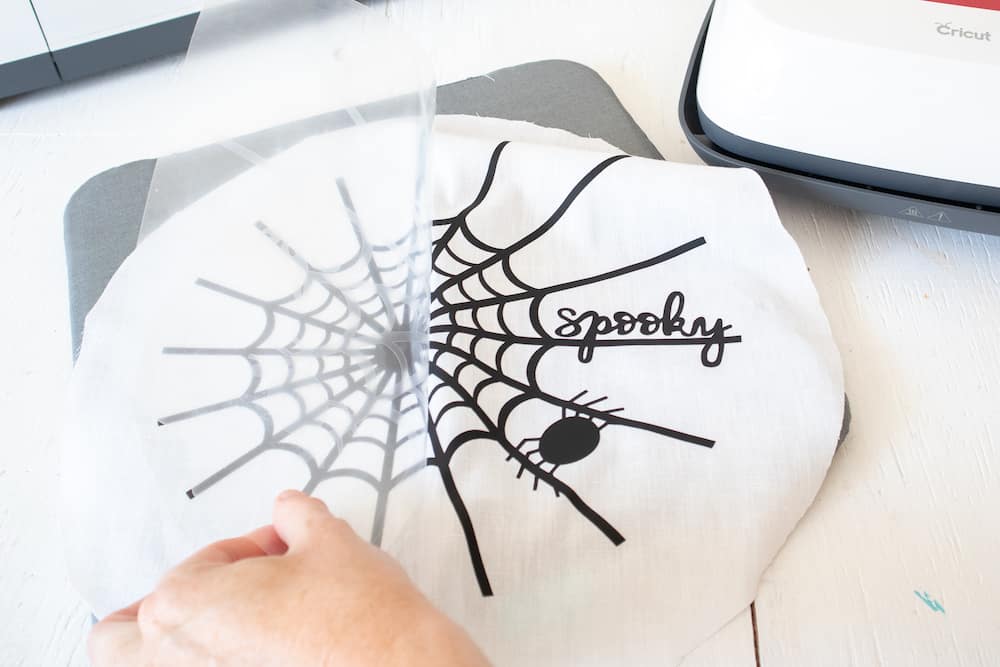
Place the cut image on the fabric with the shiny side up.

Press the image on to the fabric for 30 seconds with light pressure. If the entire image doesn’t fit under the EasyPress, then move the EasyPress over and heat press the image a second time.
Make sure you do not place an iron or the EasyPress directly over the vinyl without the protective plastic cover!

Turn the fabric upside down and apply heat for another 15 seconds.
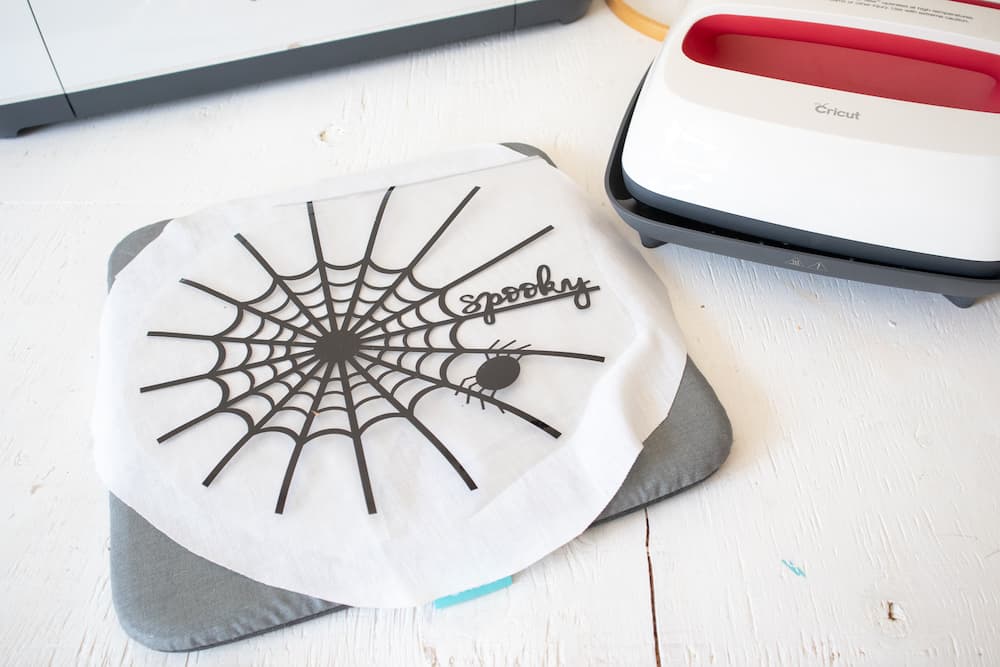
Peel the plastic part of the vinyl off carefully once it cools and discard.

Assembling the Embroidery Hoop Decoration
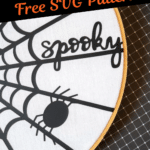
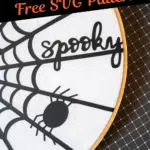
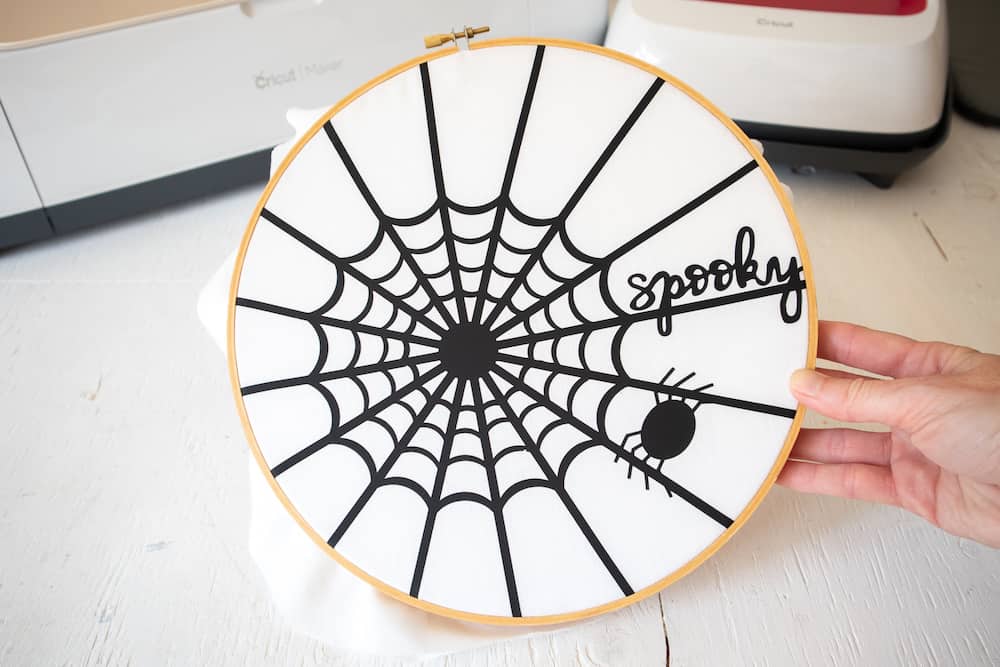
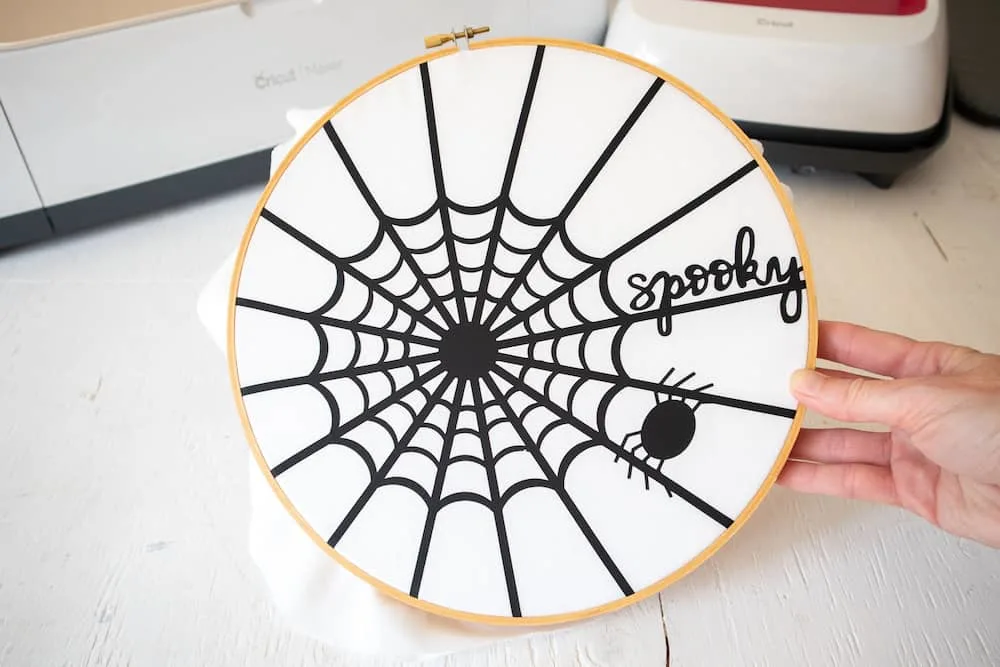
Insert the fabric into the embroidery hoop, after centering so that all vinyl edges are sandwiched inside the hoop, tighten the screw.

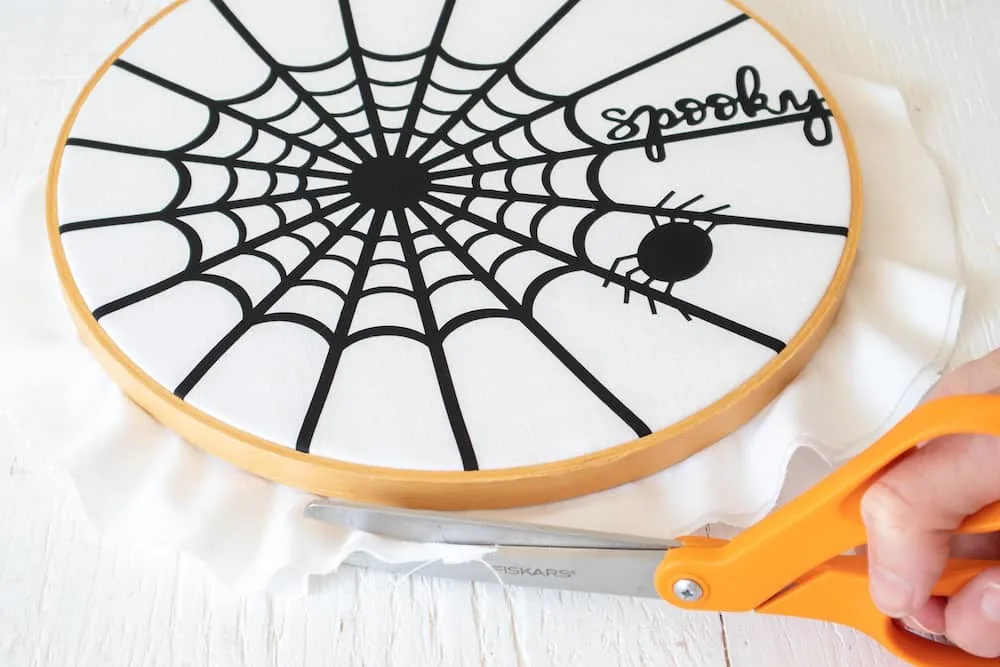
Trim away the excess fabric and hang to enjoy!


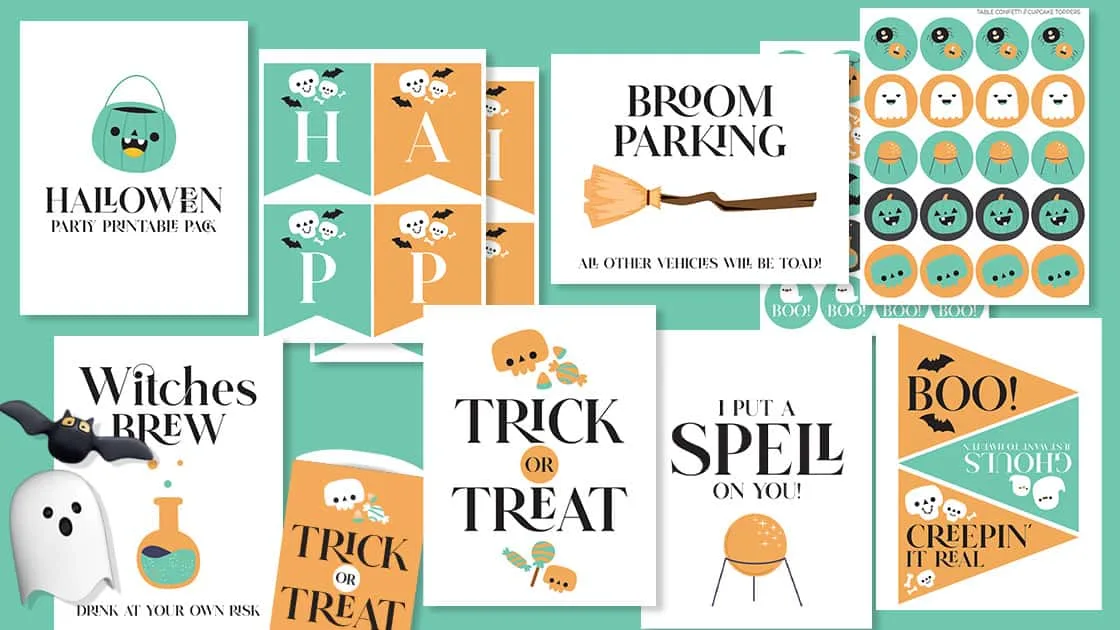
Hurry! Get Your Halloween Printables Pack Now!
This fun Halloween printables pack has banners, signs, treat bags and cupcake toppers. Don’t miss out!
And Pin This craft to remember for later or share with friends.

Love making Halloween decor for your home or for friends and family? Then you’ll want to see our other Cricut crafts:
- Rae Dunn Inspired Pumpkins (Dollar Store Makeover!)
- Halloween Tower of Pumpkins
- 3D Felt Pumpkins (No-Sew!)
