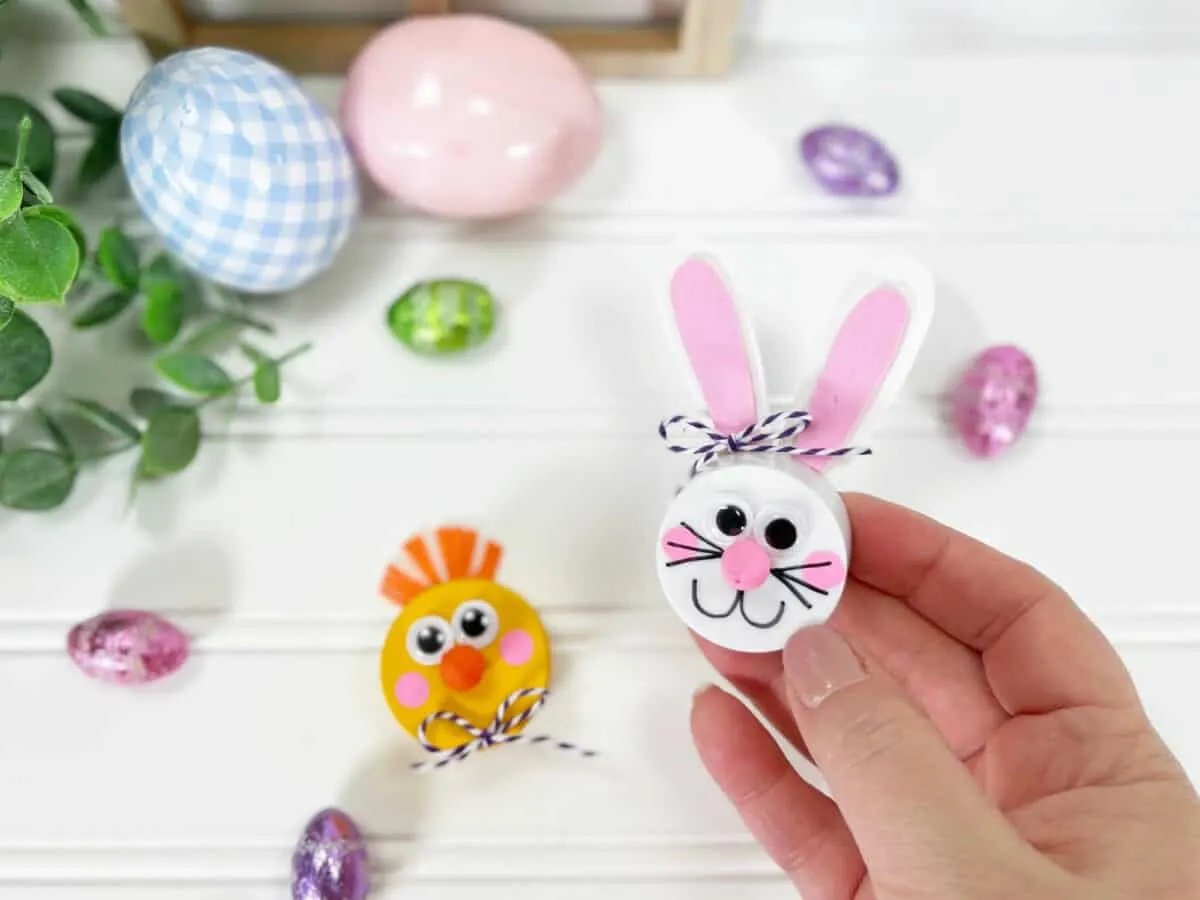
These adorable Easter tea lights are the cutest little gift to tuck into a basket or add to a table.
The miniature Easter bunny and chick are so easy to make. Just paint, glue and draw a face. That’s it!
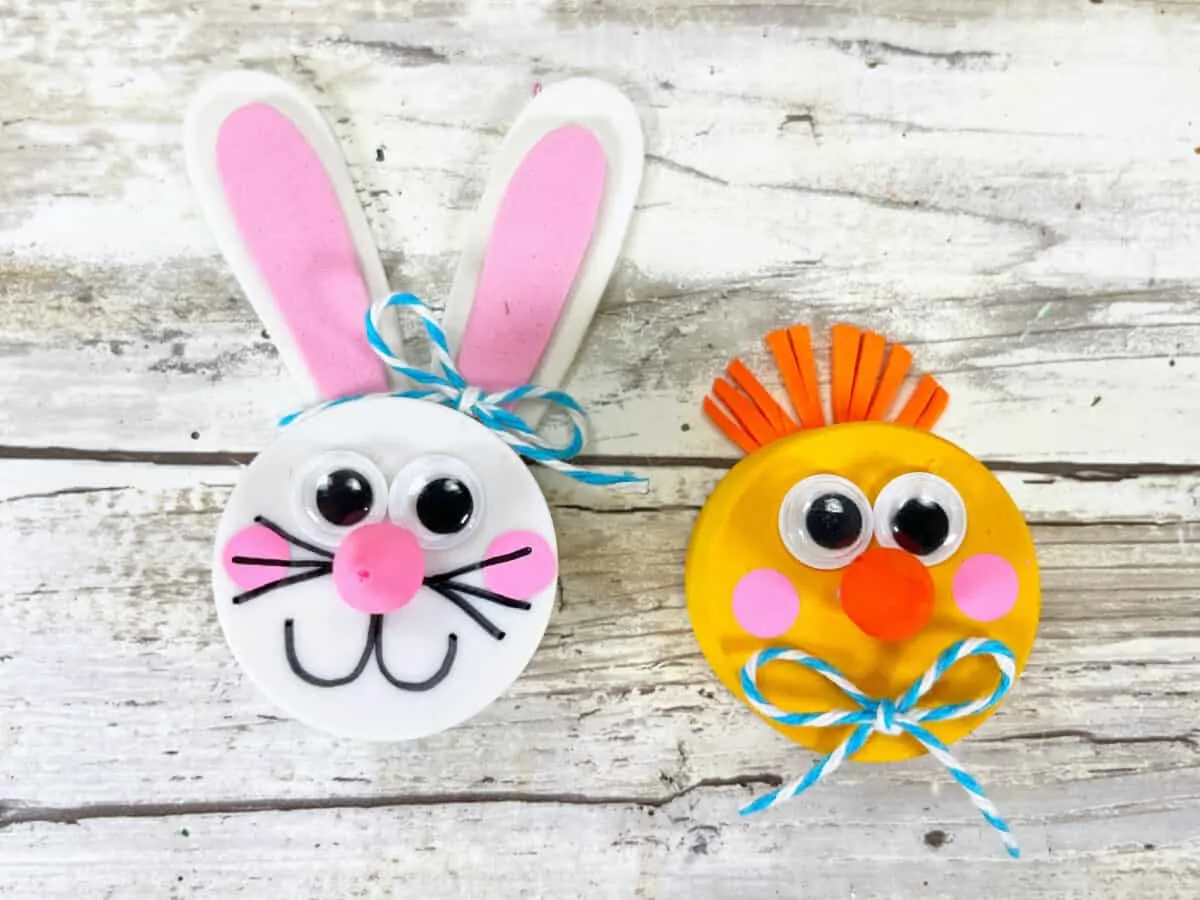
We made these cuties with Dollar Tree supplies. You won’t need to spend much money to make the Easter bunnies and chicks. In fact, you can probably use craft supply scraps for everything but the tea lights themselves, and those are 2 for $1.25.
This is a great craft to make and sell! Your expenses are low yet you can charge much more and make a profit.
The tea light bunny and chick are a fun craft to make at an Easter party, too. Kids can make these crafts without needing much help from adults if you use craft glue instead of hot glue.
You might also like these easy Dollar Store Easter Crafts:
DIY Easter Tea Light Bunny and Chick
Materials
- 2 White Battery Operated Votive Candles (tea lights)
- Craft Foam (White, Pink, and Orange)
- Wiggle Eyes
- Acrylic Craft Paint (Yellow, Pink, and Orange)
- Bakers Twine
- Black Permanent Marker
- Glue Gun
- Scissors
- Pencil with an unused eraser
- Free Easter Tea Light Craft Patterns
Directions
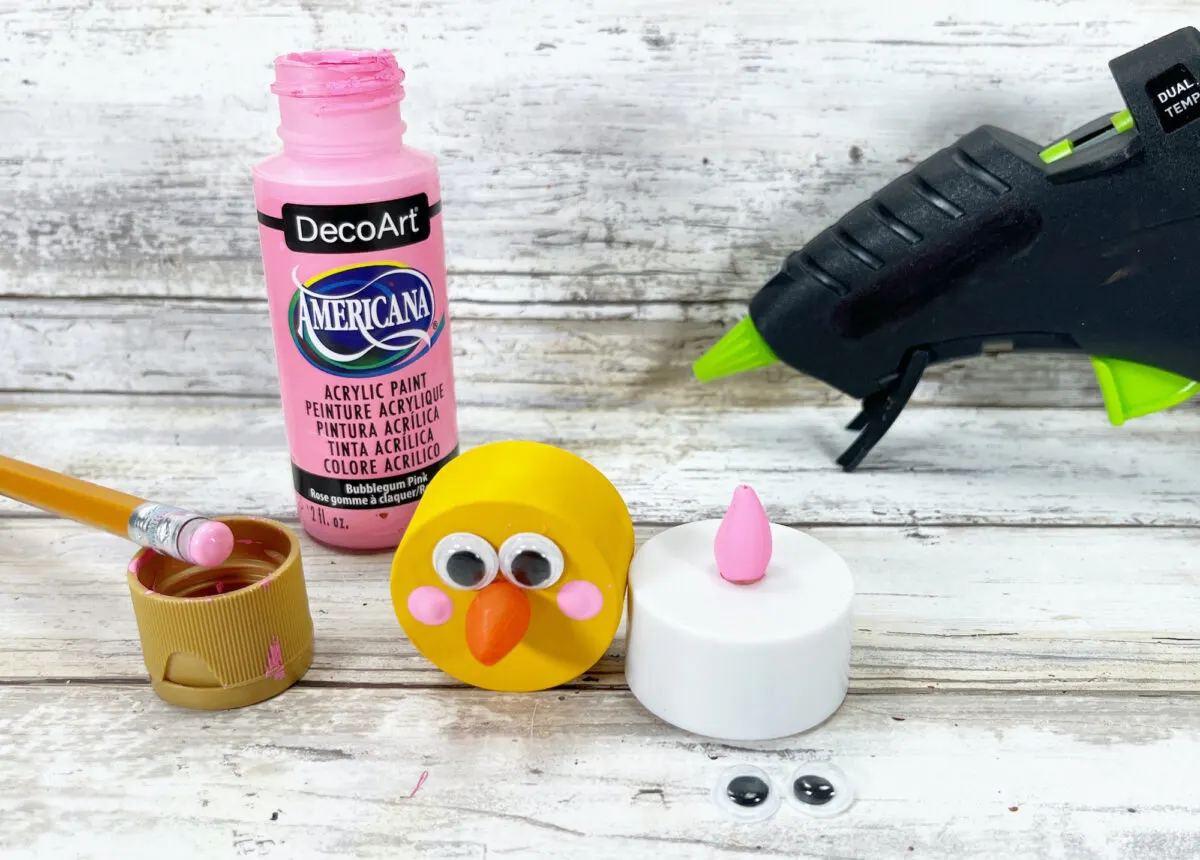
Paint the base of the chick votive with yellow acrylic craft paint. Let dry and apply a second coat, if necessary.
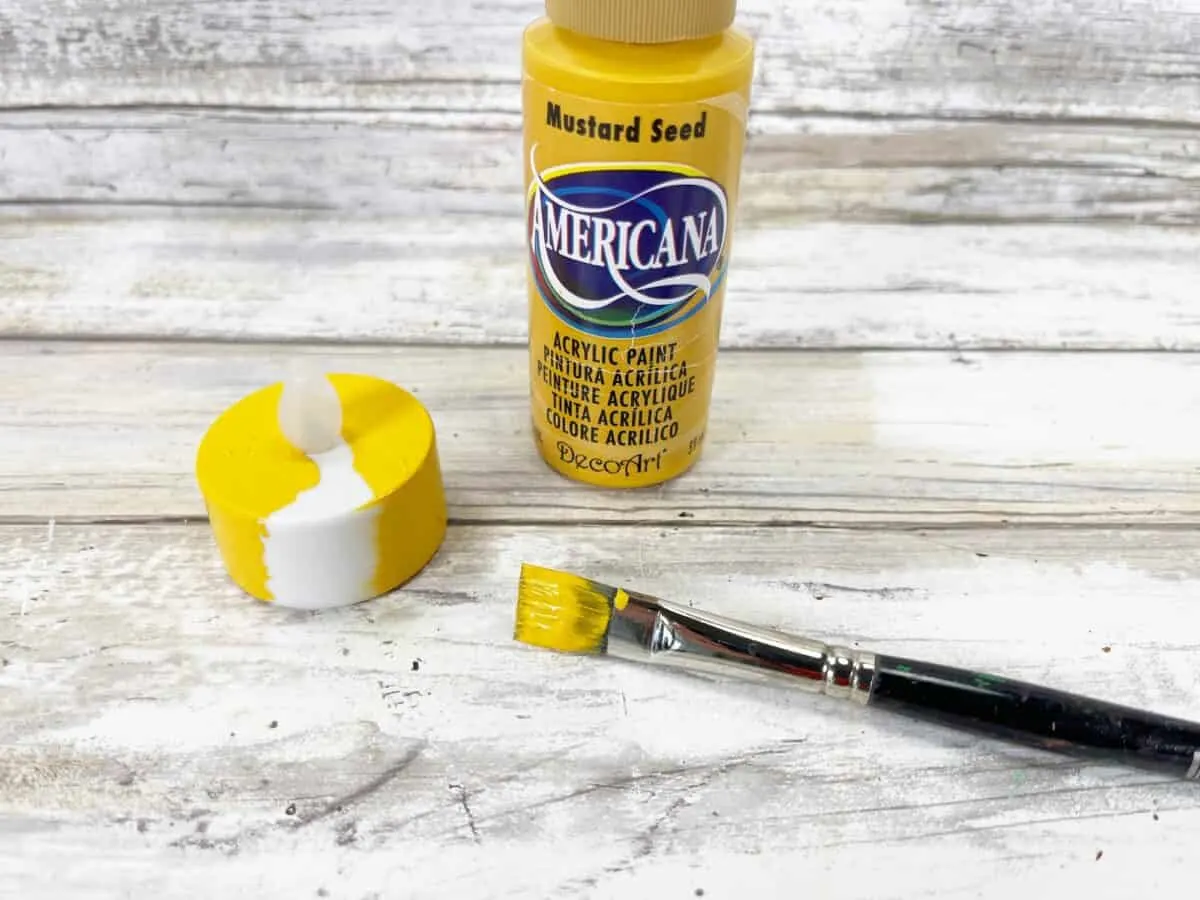
Paint the flame on the yellow Chick votive with orange acrylic craft paint.
Paint the flame of the white Bunny votive with pink acrylic craft paint.
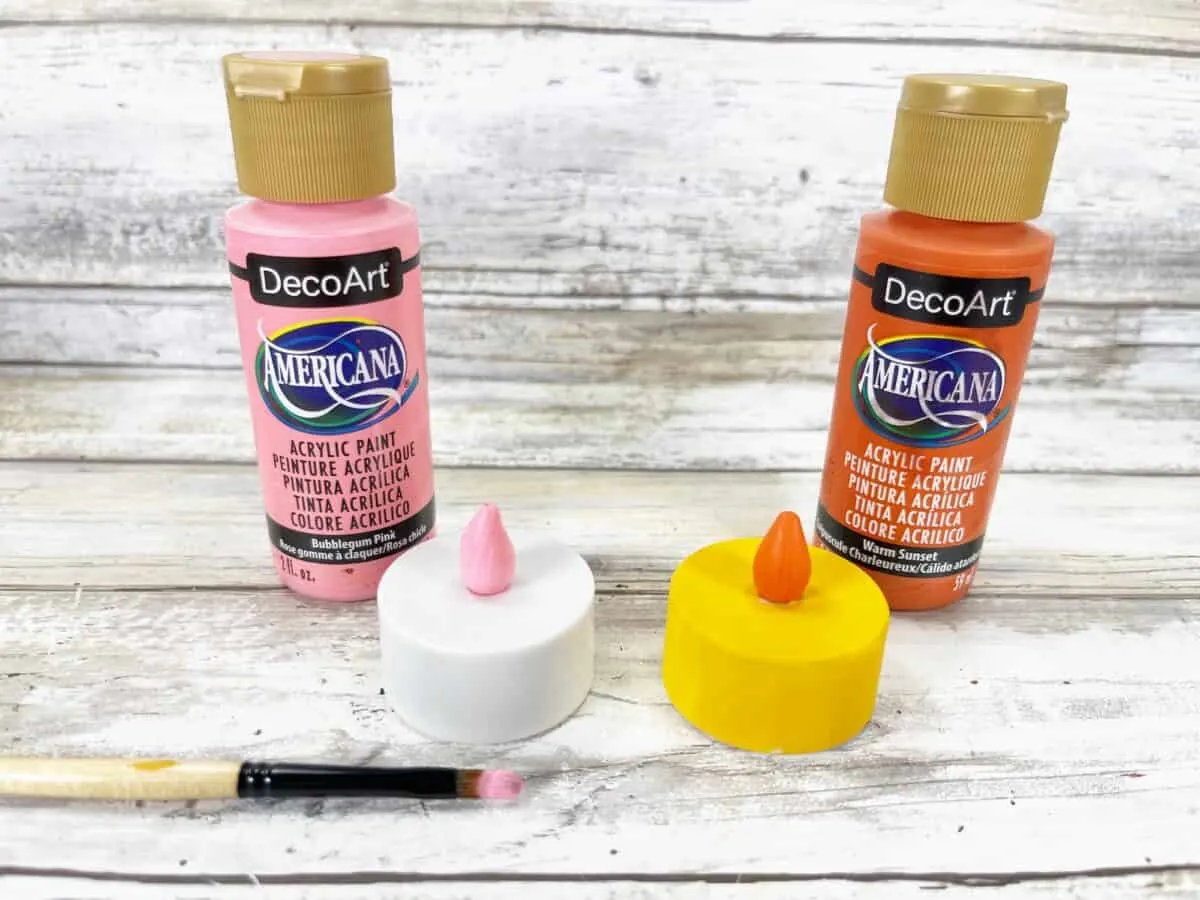
Let the paint dry completely.
Now it is time to add the faces! Glue two wiggly eyes above the flame for both the chick and the bunny.
Add cheeks by dipping an unused pencil eraser into pink acrylic craft paint and dotting on either side of the bunny’s nose and the chick’s beak. You could also use a Q-Tip to apply, as well.
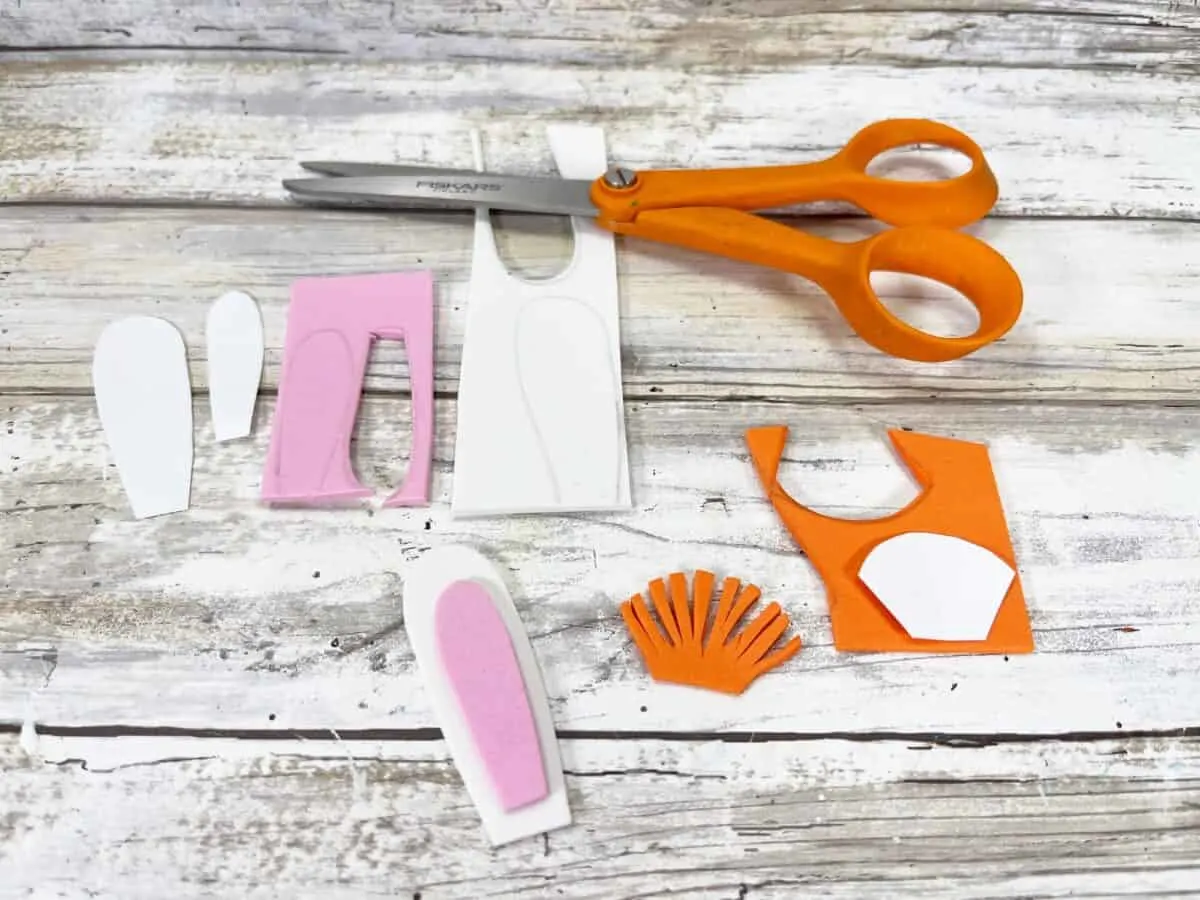
Print and cut out the pattern pieces. Trace the bunny’s outer ears onto white craft foam, the inner ears onto pink craft foam and the chick’s feather onto orange craft foam.
Cut out all of the patterns. Create the chick’s feathers by cutting slits around the edge of the craft foam, as seen in the picture below.
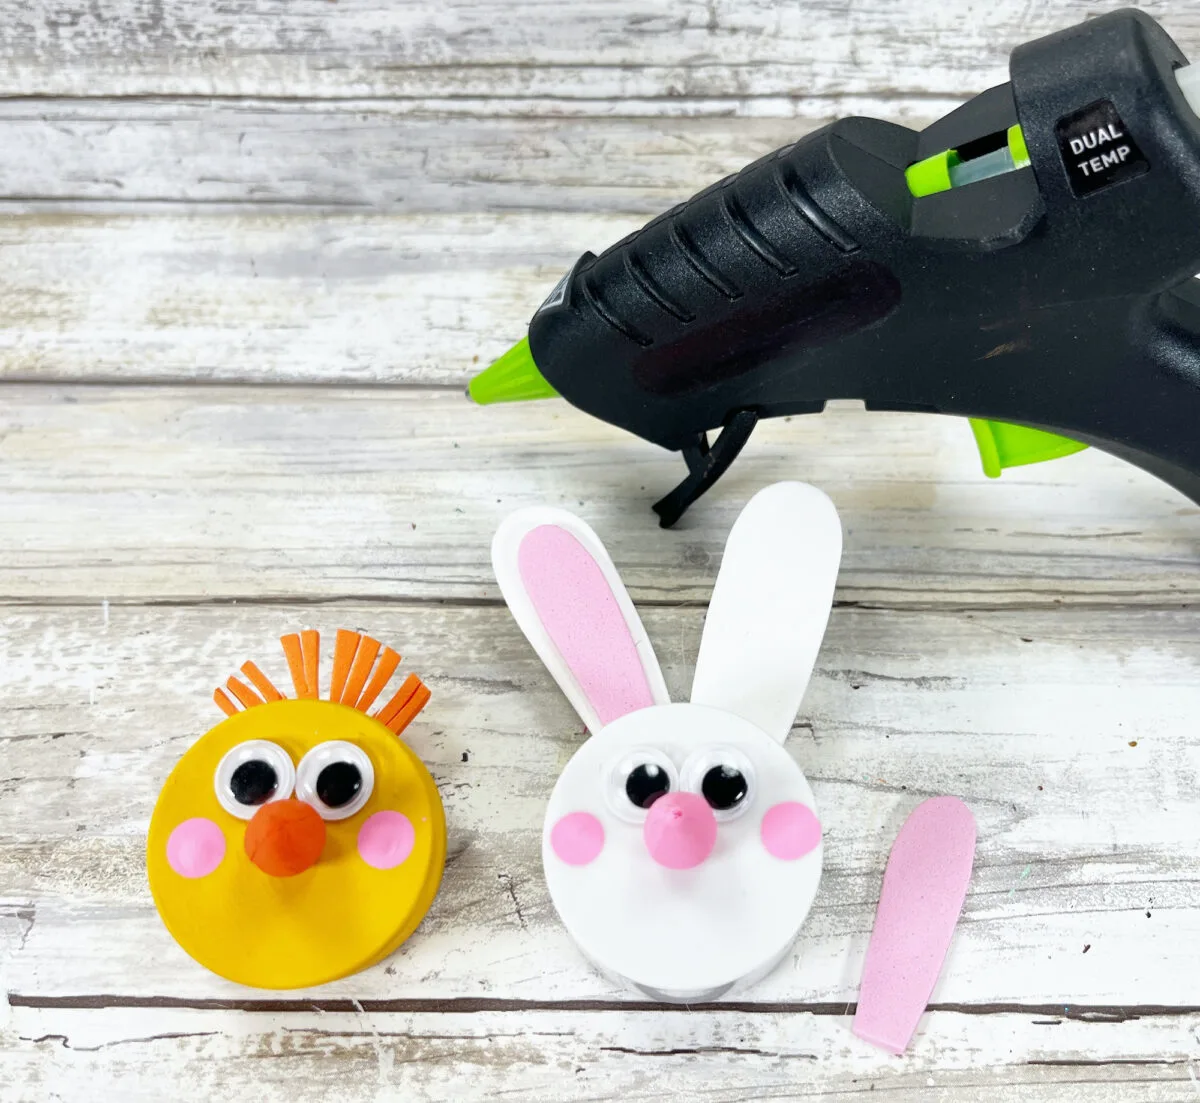
Glue the feather to the back of the chick votive at the top of his head.
Glue the white outer ears to the top back of the bunny votive. Then glue the pink inner ears on top of the white craft foam.
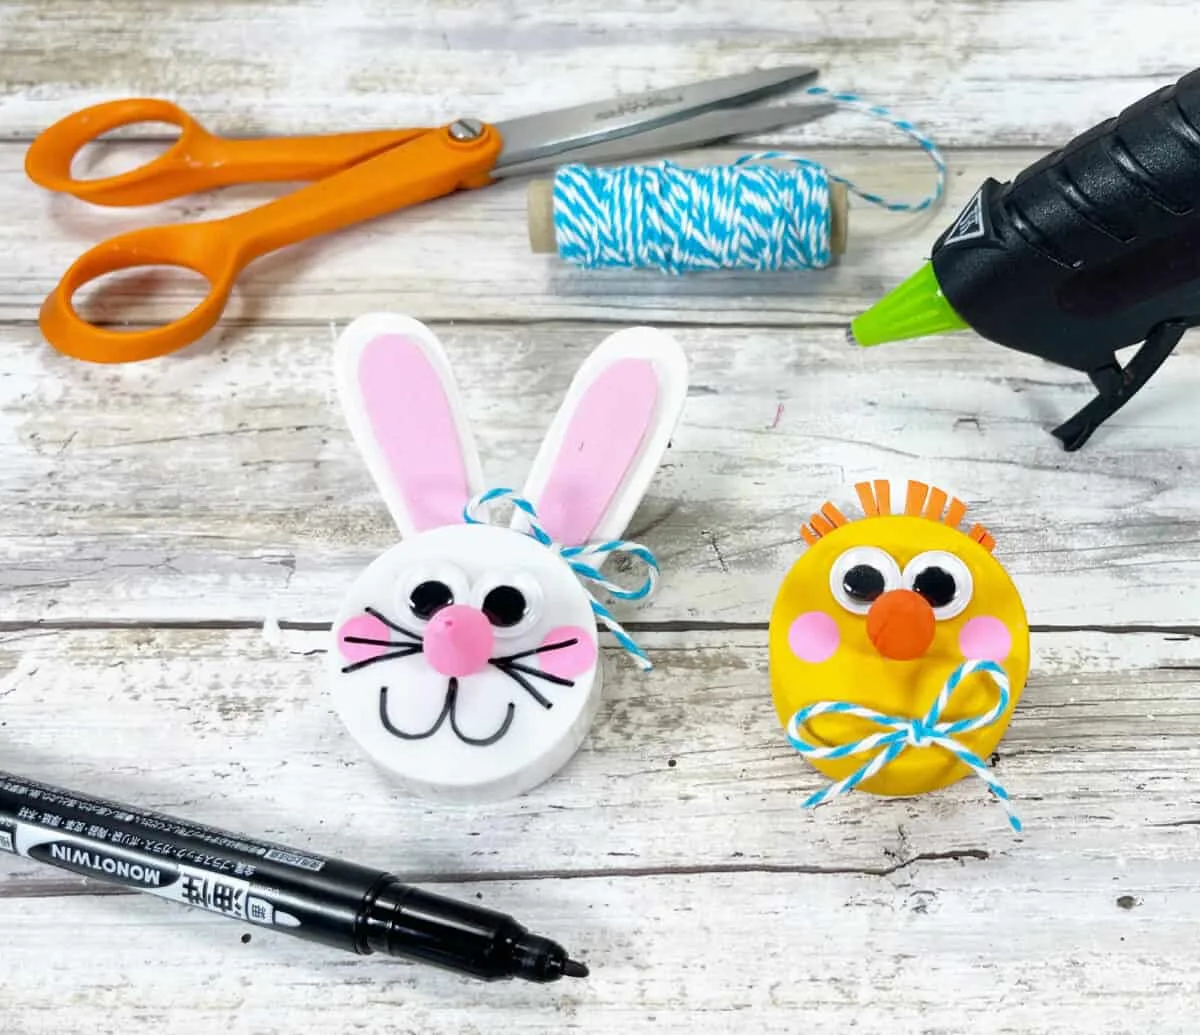
On the bunny votive, draw whiskers and mouth with a permanent black marker.
Tie two bows with baker’s twine and glue one bow to the chick at his neck and one to the bunny at the base of one ear.
If you love these easy Easter tea lights, you might also like these bunny crafts:
- Milk Jug Bunny Basket
- Easter Bunny Basket
- DIY Easter Bunny Bait for the Yard
- Peeking Bunny Sign
- Easter Bunny Butt Wreath


