


Who doesn’t love a good Dollar Tree DIY project? Especially when it is easy to turn a ho-hum dollar store find into something so cute!
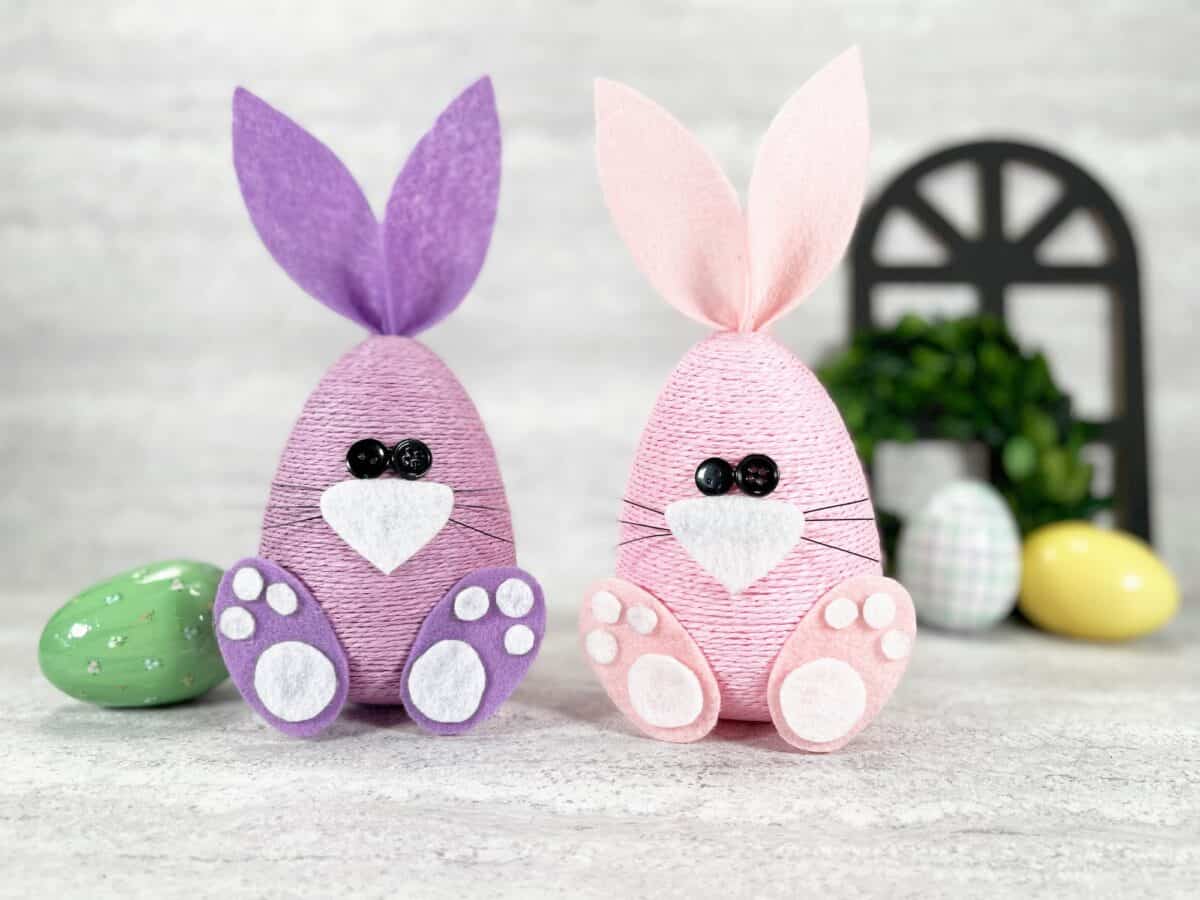
These Twine Easter Bunny Eggs are so incredibly easy to make! Just get our free bunny pattern to download and print.

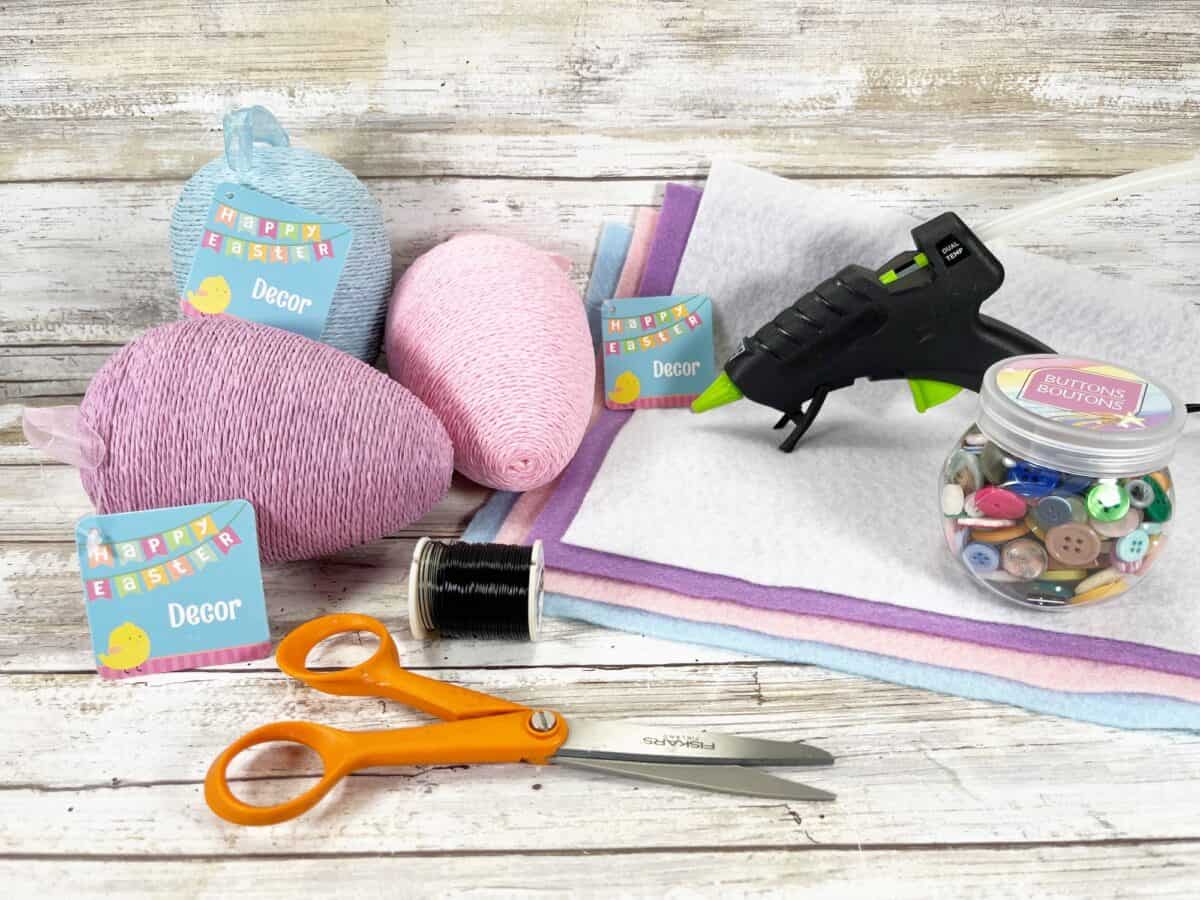
All materials were bought at the Dollar Tree. However, you can probably find similar items in any dollar store or craft store.
Or you could also make our twine wrapped Easter eggs and use them to make these cute rabbits, too!
Be sure to check out our library of fun Easter crafts, many of which are Dollar Tree DIYs!
Helpful Tip and Substitutions
- Instead of wire for the Easter bunny whiskers, you could use black embroidery floss. However, the whiskers would droop down and not stick out. (The same wire is used in our DIY Easter Bunny Basket, too.)
- I used two different types of buttons for the eyes for a comical look. So don’t worry if you don’t have matching buttons!
- Instead of buttons, you could use black felt circles if you would like.
- Instead of felt ears, you could also use colored cardstock or craft foam.
- Craft glue can be substituted instead of a hot glue gun, however you will need to use a lot of it to keep the wire glued to the felt bunny nose.
These would be especially cute tucked into a Easter flower basket!


DIY Twine Easter Bunny Eggs
Materials
- Twine Wrapped Eggs, tags removed
- Craft Felt in matching color
- Permanent Marker
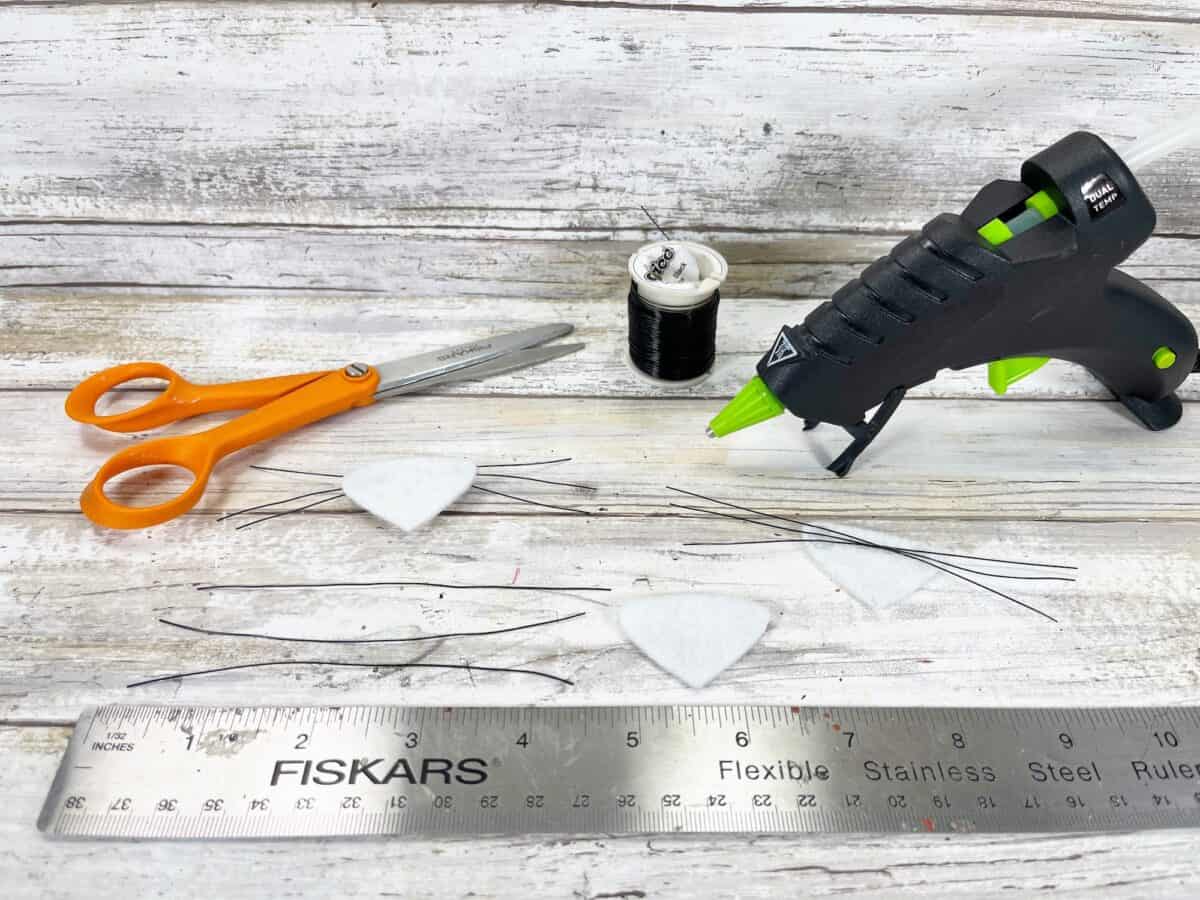
- Scissors
- Black buttons, ⅝” Round
- Glue Gun or Craft Glue
- 22 Gauge Black Wire
- Wire Cutters
- Free Easter Bunny Pattern

Directions
Press the base of a Dollar Tree twine egg onto a hard surface with gentle pressure to flatten slightly. This will help the egg to stand in place without rolling around.
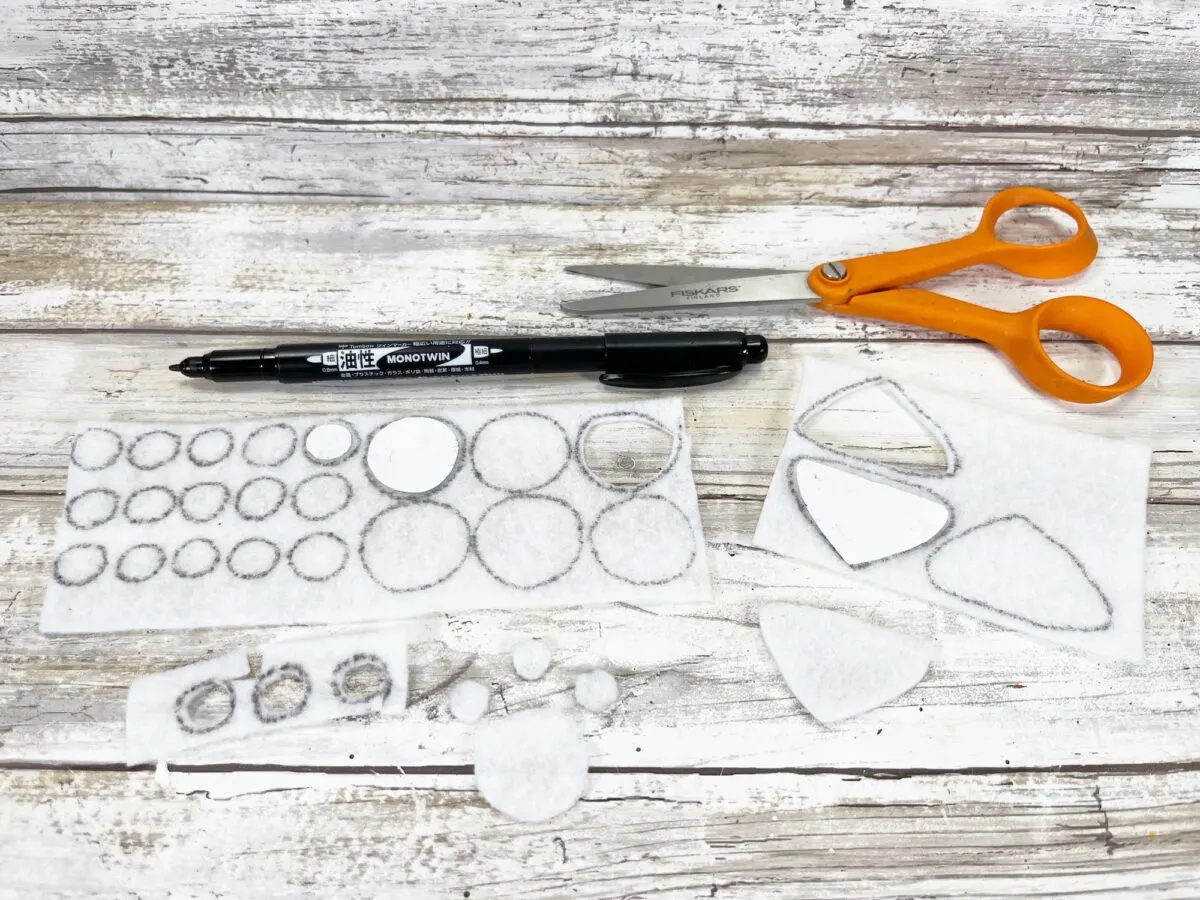
Print out the free Easter bunny patterns. Cut out the pattern pieces and trace on craft felt using a permanent marker.
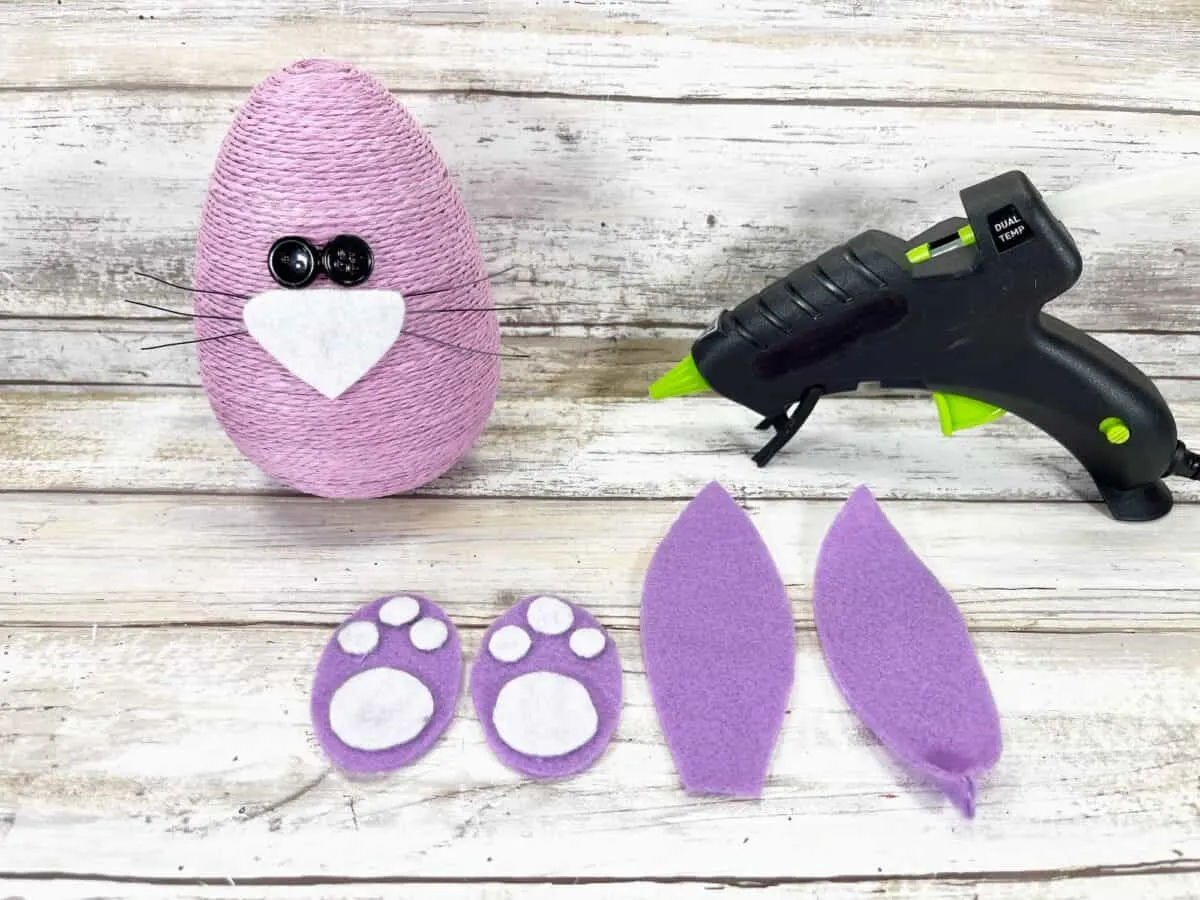
Trace six small circles, two larger circles and one nose onto white craft felt for each bunny. Cut out the patterns inside the marker lines so that you don’t see any black marker on your felt pieces.

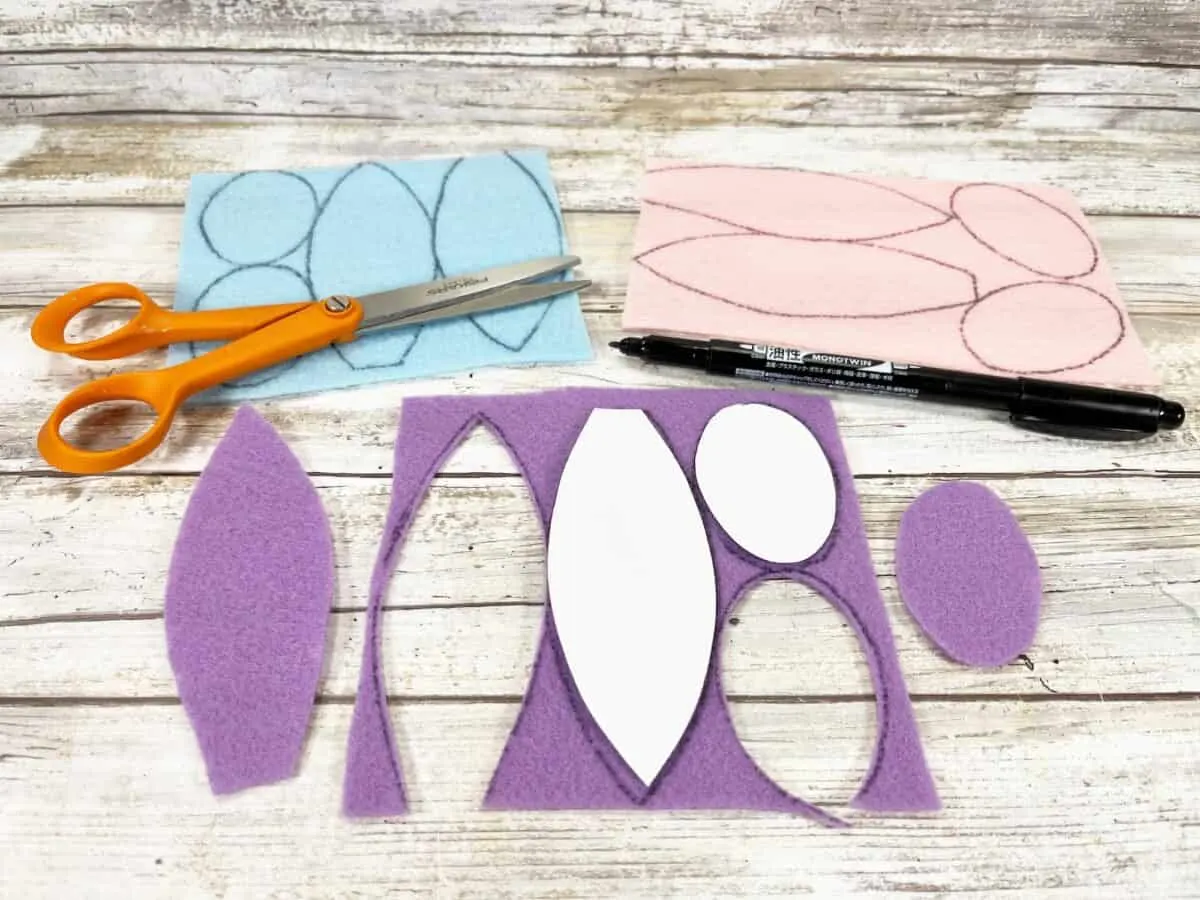
Trace two ears and two oval feet on the felt color of your choosing.

Cut three 4” long pieces of black wire with wire cutters.
On the back side of the white felt nose, attach the three wires in a crisscross pattern using a glue gun. These will be the bunny whiskers.

Glue two black buttons on the Easter egg for eyes.
Then glue the white felt nose just underneath the eyes.


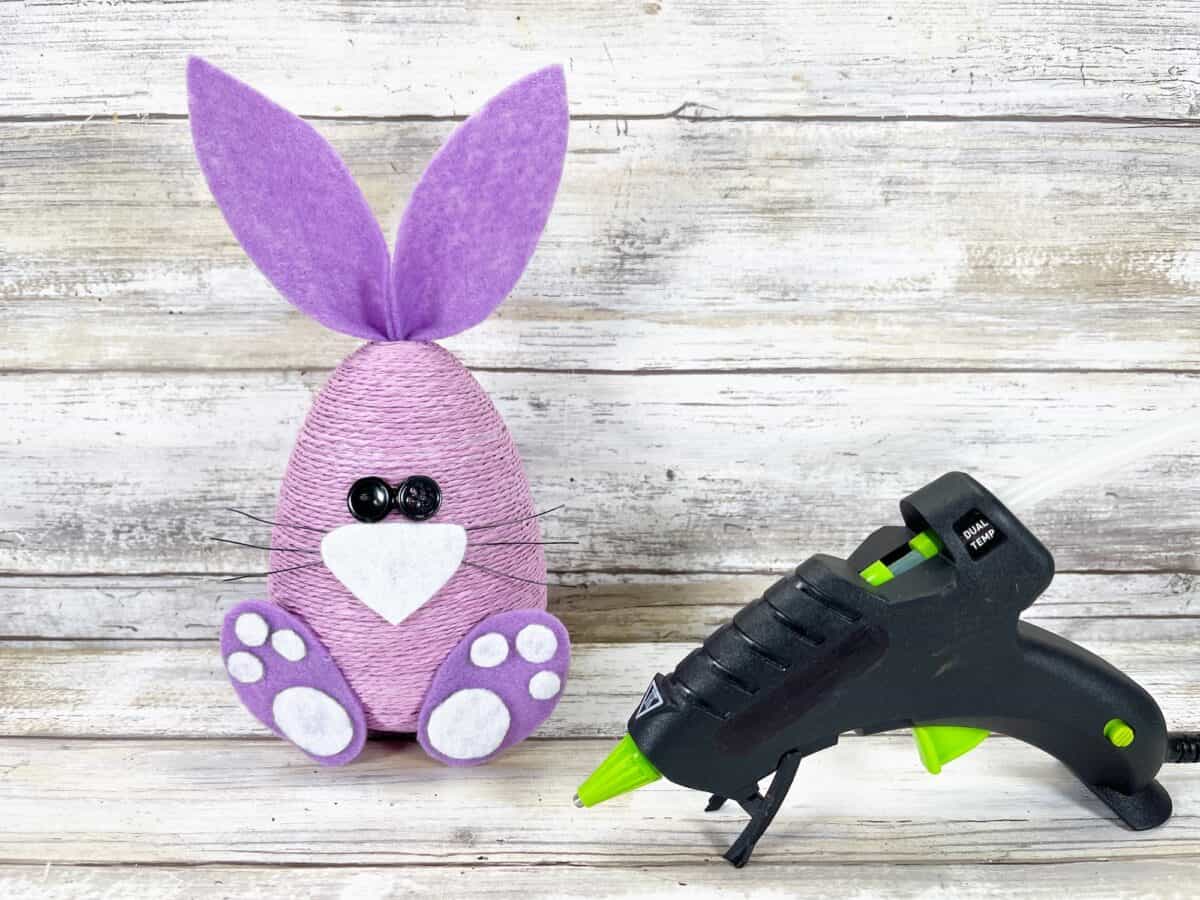
Assemble the bunny’s feet by gluing the white circles on the colored foot base (see photo for placement). Glue the feet onto the bottom of the bunny.
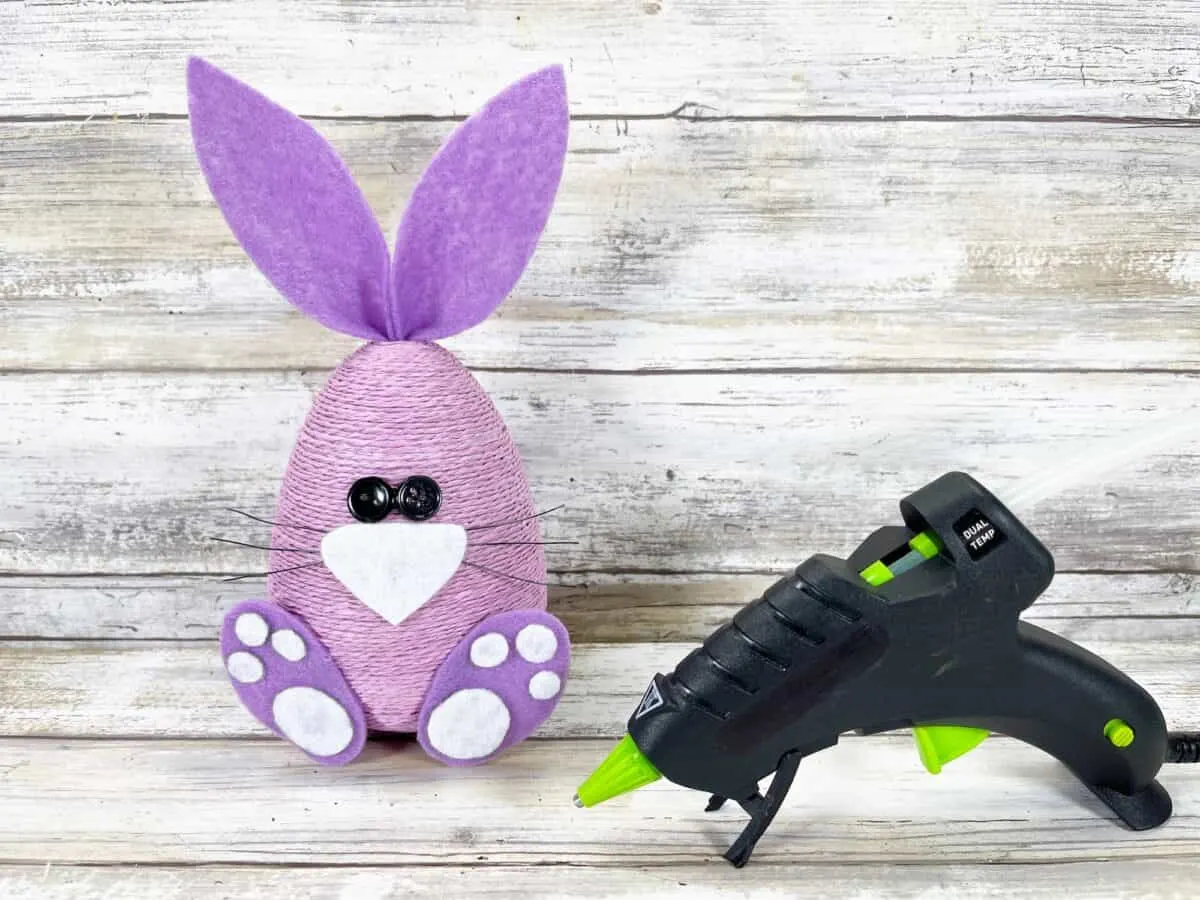
Put a small dot of glue at the base of each ear, and then fold in half to give the ears a 3-D look. Glue the bottom of the ears together.

Using the tip of your scissors, carefully poke a hole into the top of the egg. After making sure the hole is big enough for the base of the pair of ears, add a drop of glue inside the hole and insert the ears.
If you love this twine wrapped Easter bunny egg craft, then you have got to see these fun DIY projects, too!
- Milk Jug Easter Bunny Basket
- Easter Tea Lights (Bunny and Chick)
- Craft Stick Carrots
- DIY Easter Bunny Bait for the Yard
- 16 Cool Ways to Dye Easter Eggs
