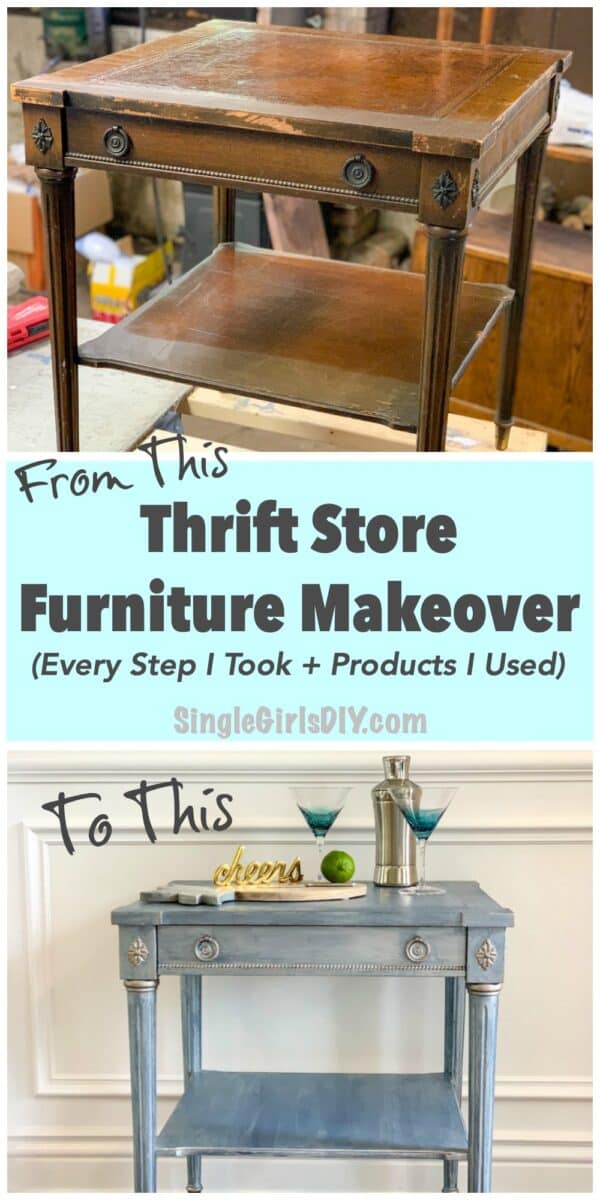
How often have you seen an outdated end table in a thrift store and wondered what you could do with it? With these instructions, I’ll show you how to distress furniture with chalk paint into a modern look that will look great in your living room or den.

It’s a cheap and easy furniture upcycle that will make a big statement in your home.
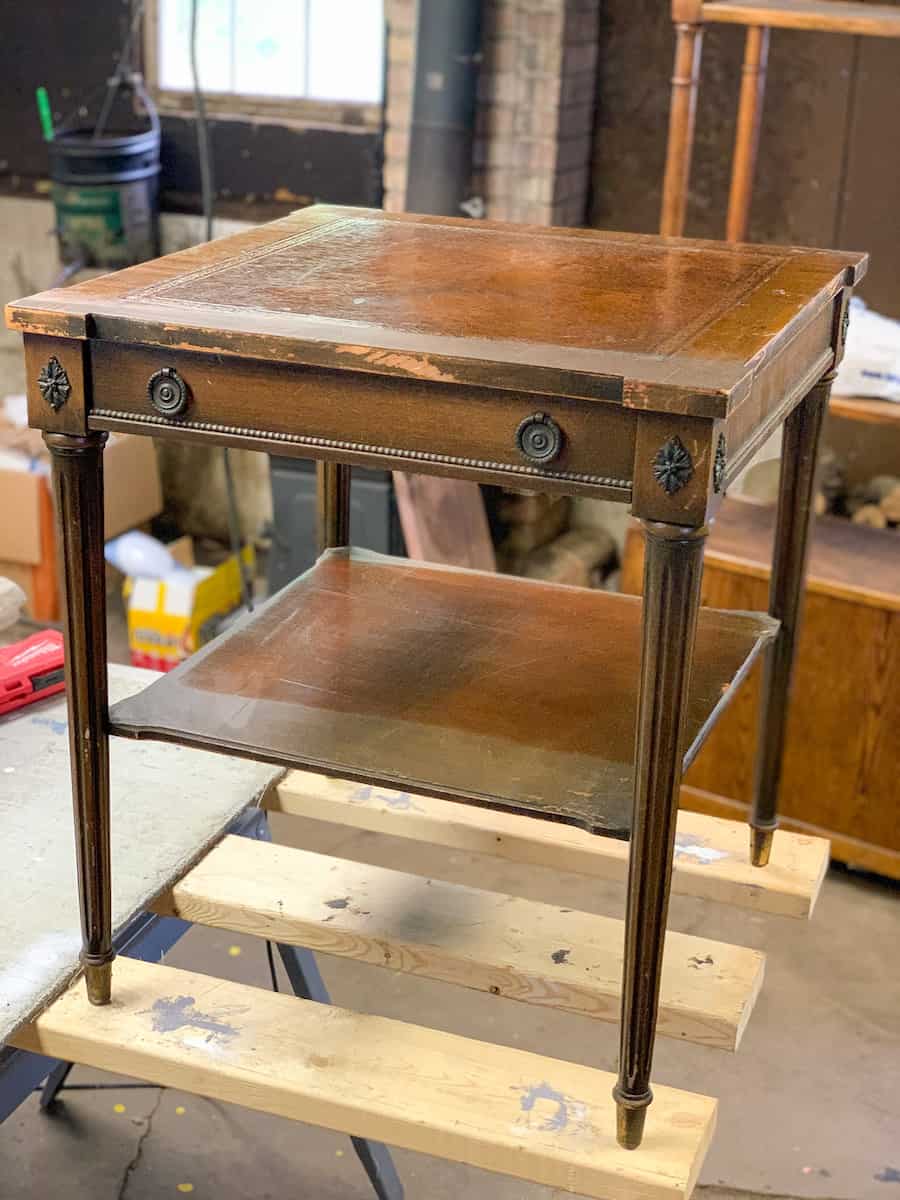
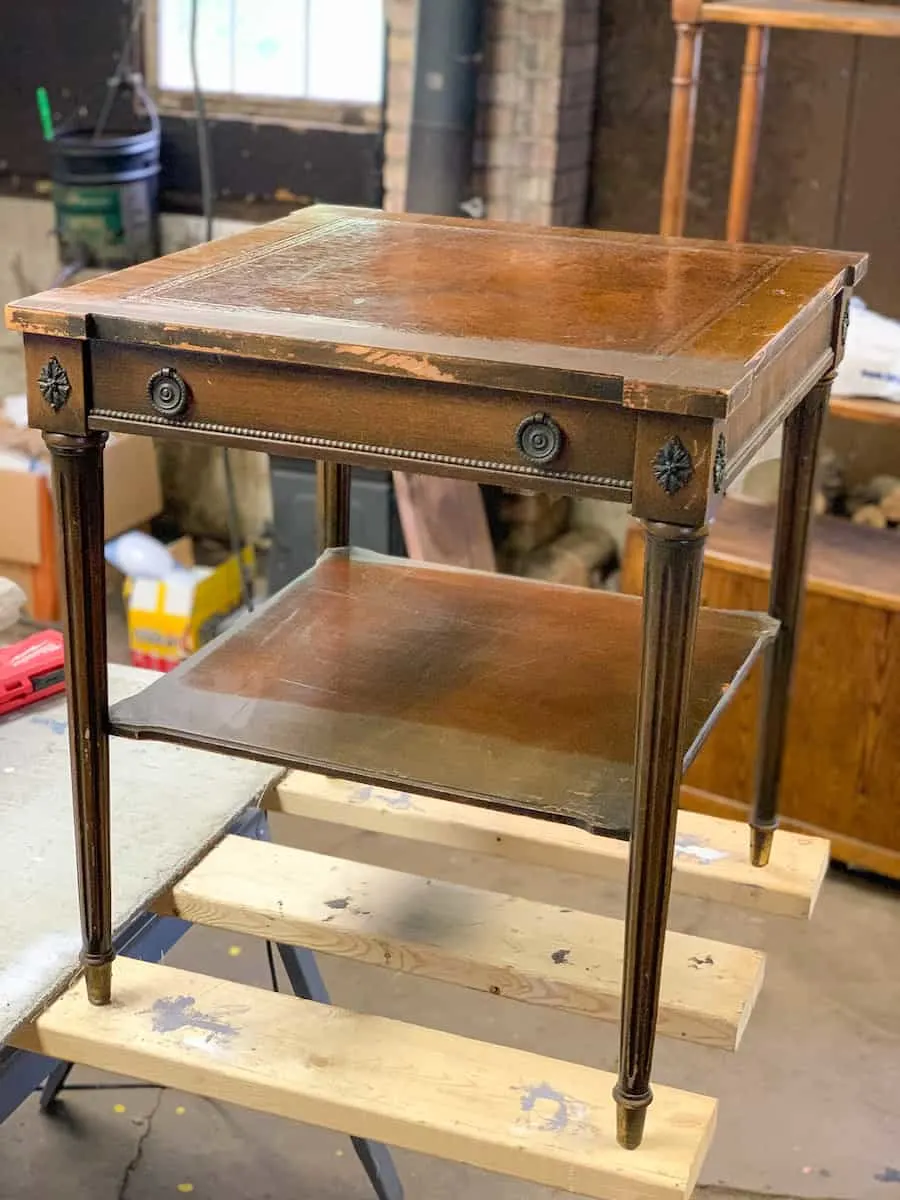
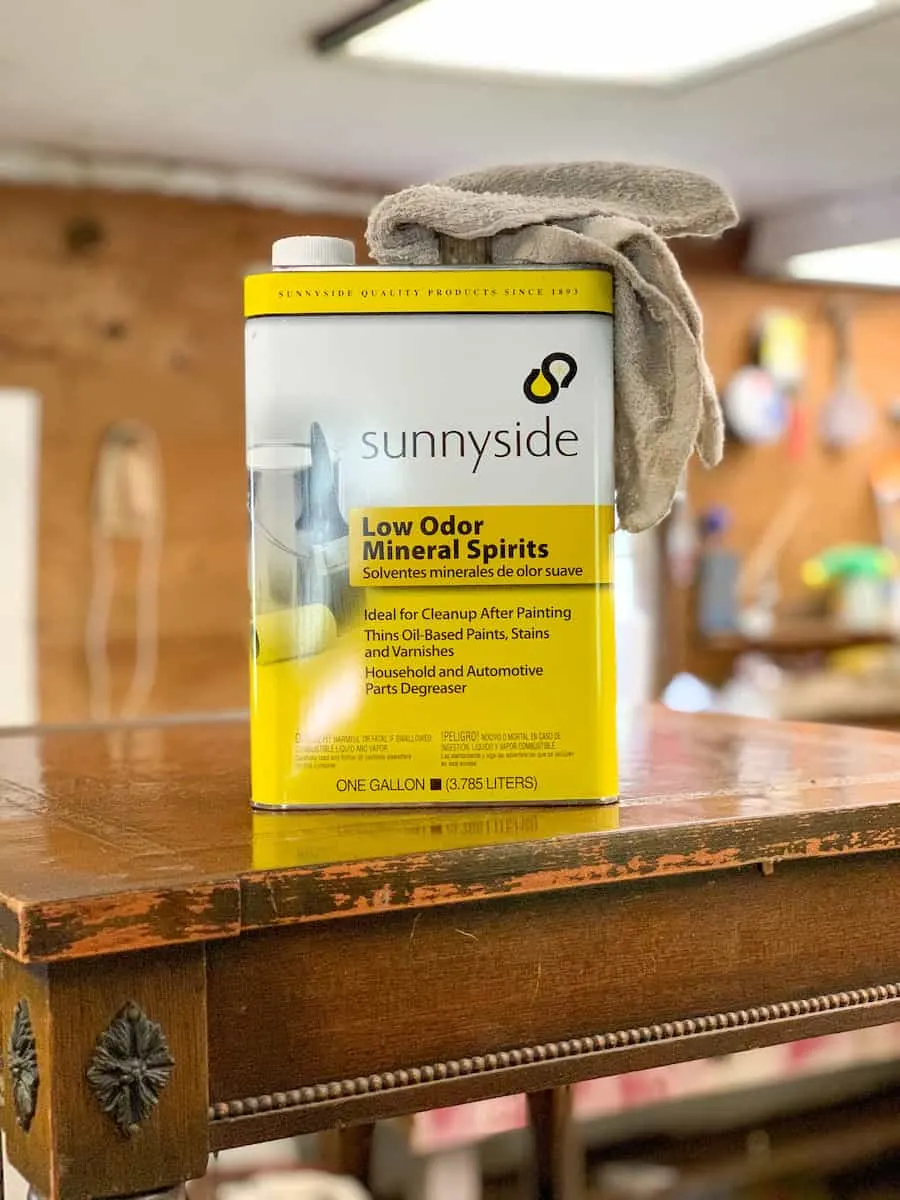
You can turn an old eyesore such as this….
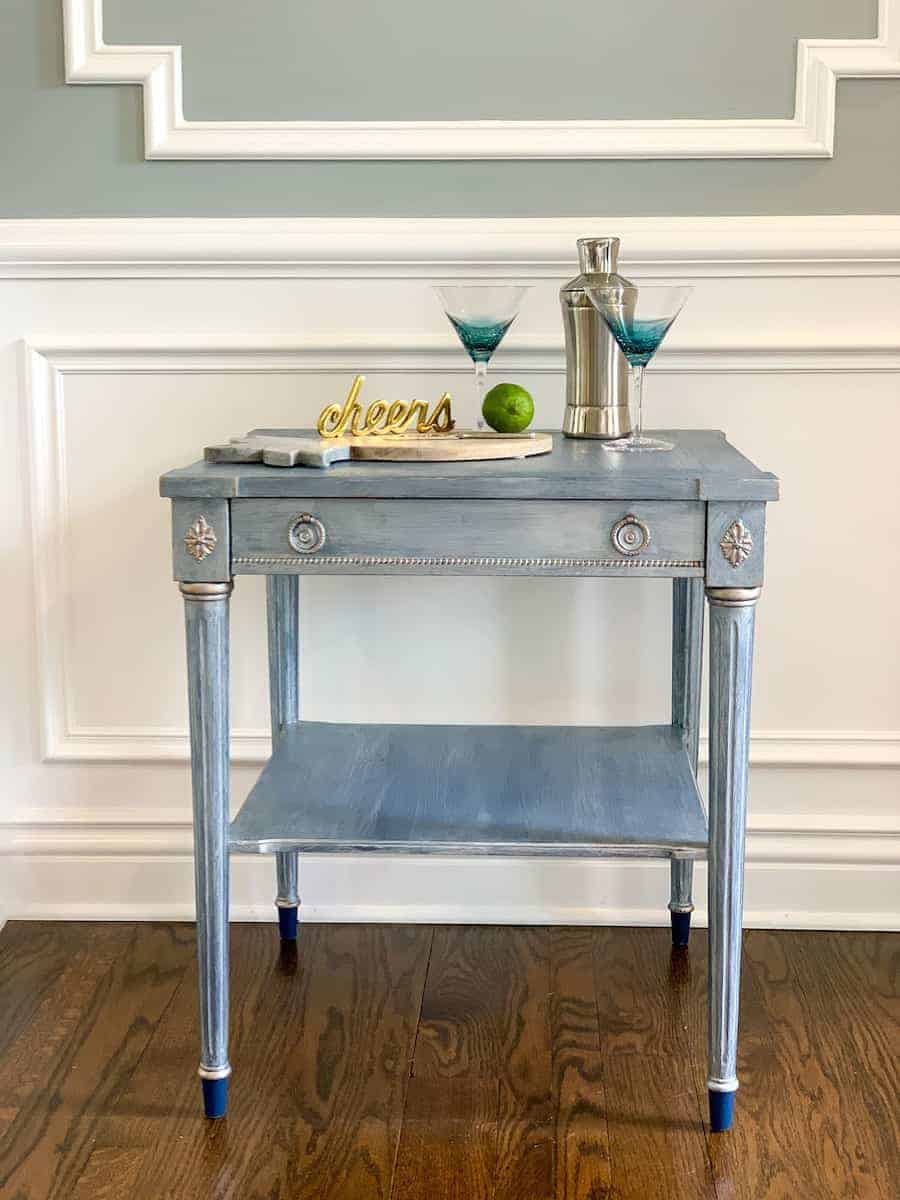
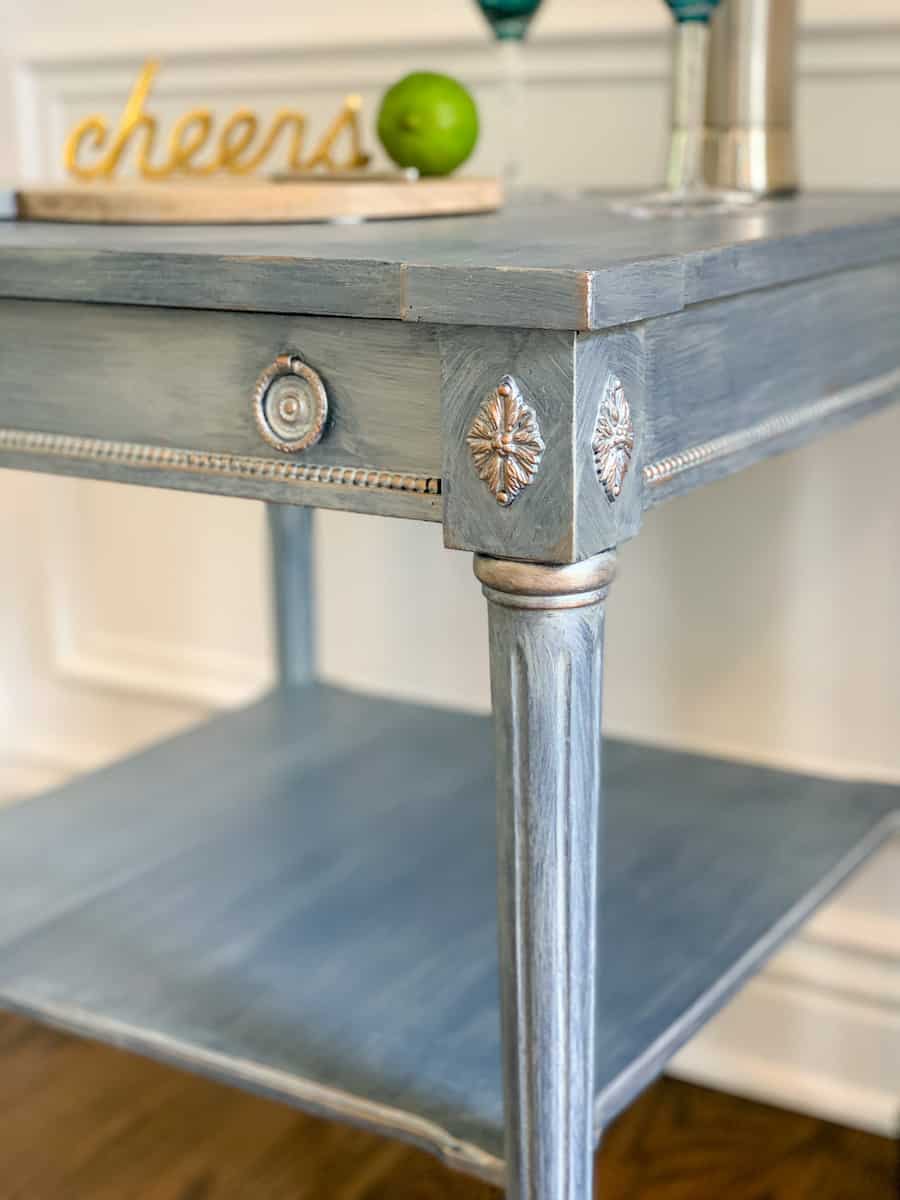
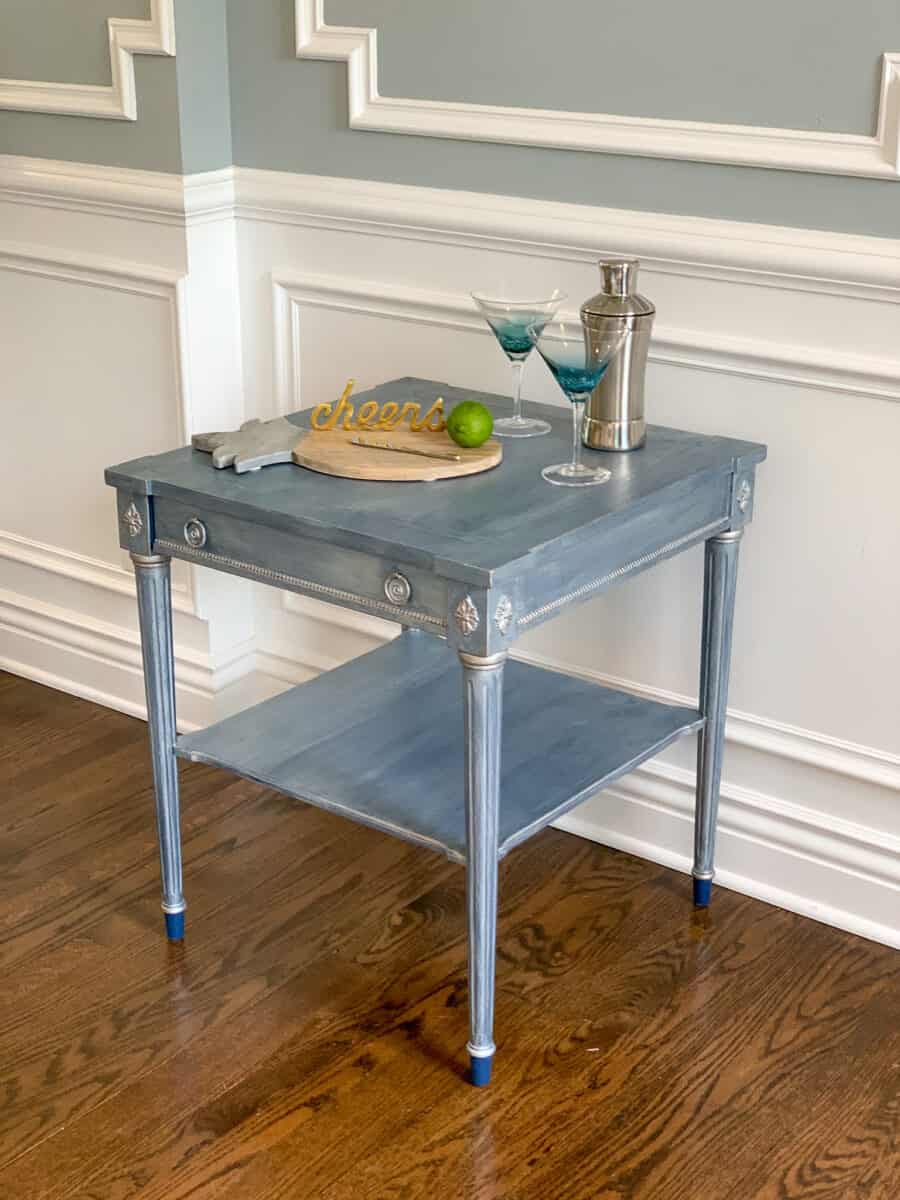
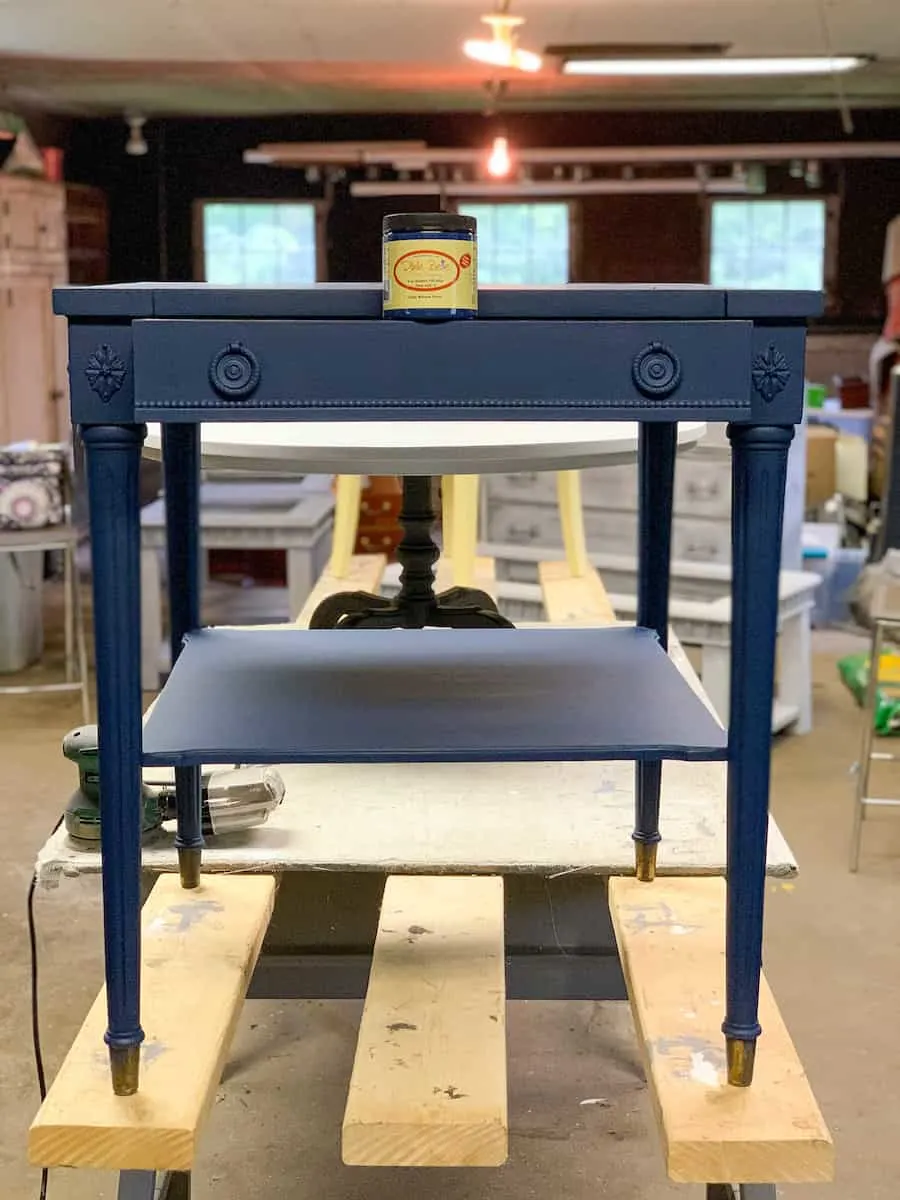
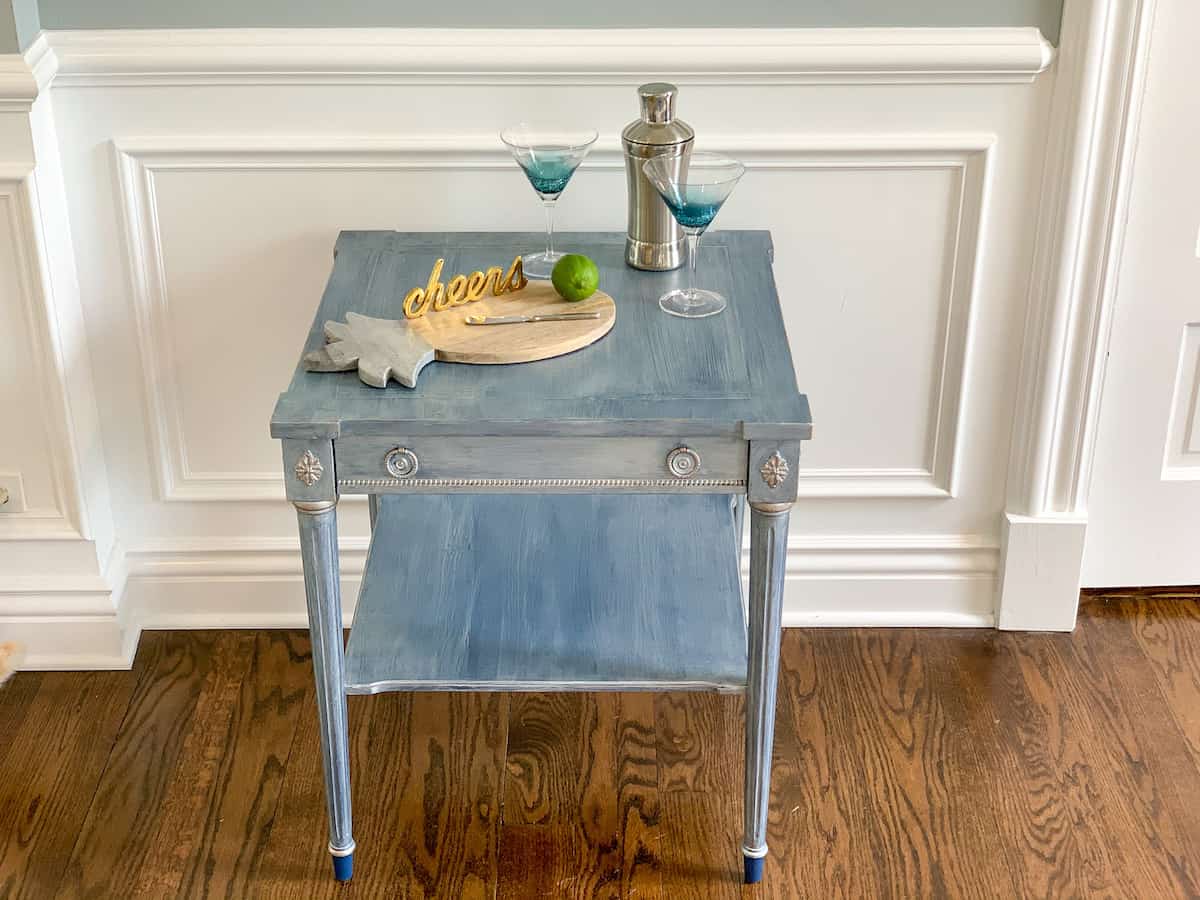
Into a stunning beauty such as this portable bar table…


You might also like my other furniture upcycle tutorials, including:
- how to distress furniture using vaseline
- adding legs to cube storage shelves
- how to paint furniture without sanding or priming first
And if you’d like to update upholstered furniture, check out our tutorial on how to make a slipcover for a chair.
Thrift Store Makeover: Distressing with Chalk Paint
Materials and Tools
- 220 grit sand paper or sanding block
- Fine Paint Brush
- Natural Bristle Chalkpaint Brush
- Natural Bristle Flat Paint Brush
- Two Lint Free Cloths
- Mineral Spirits
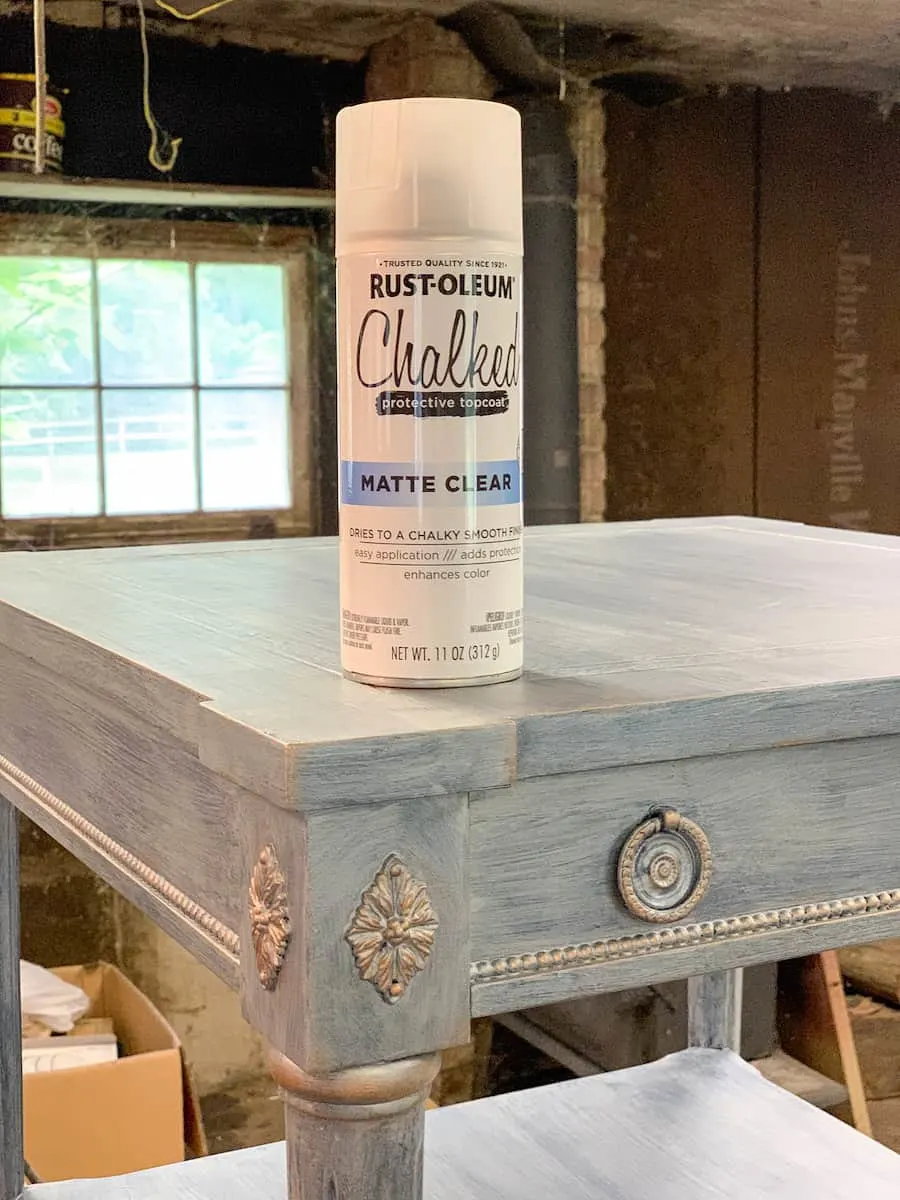
- Rust-Oleum Chalked Protective Top Coat (Matte Clear Spray)
- Dixie Belle Bunker Hill Blue Chalk Paint
- Dixie Belle Bronze Gilding Wax
- Dixie Belle Moonshine Silver Bullet
Instructions
Prepping the Table
- Put the end table in a clean work space with plenty of room. If working in a garage be sure to sweep or blow all dirt and debris out of the area you will be working in. Lay a drop cloth down to make sure the paint does not drip and ruin your floor.
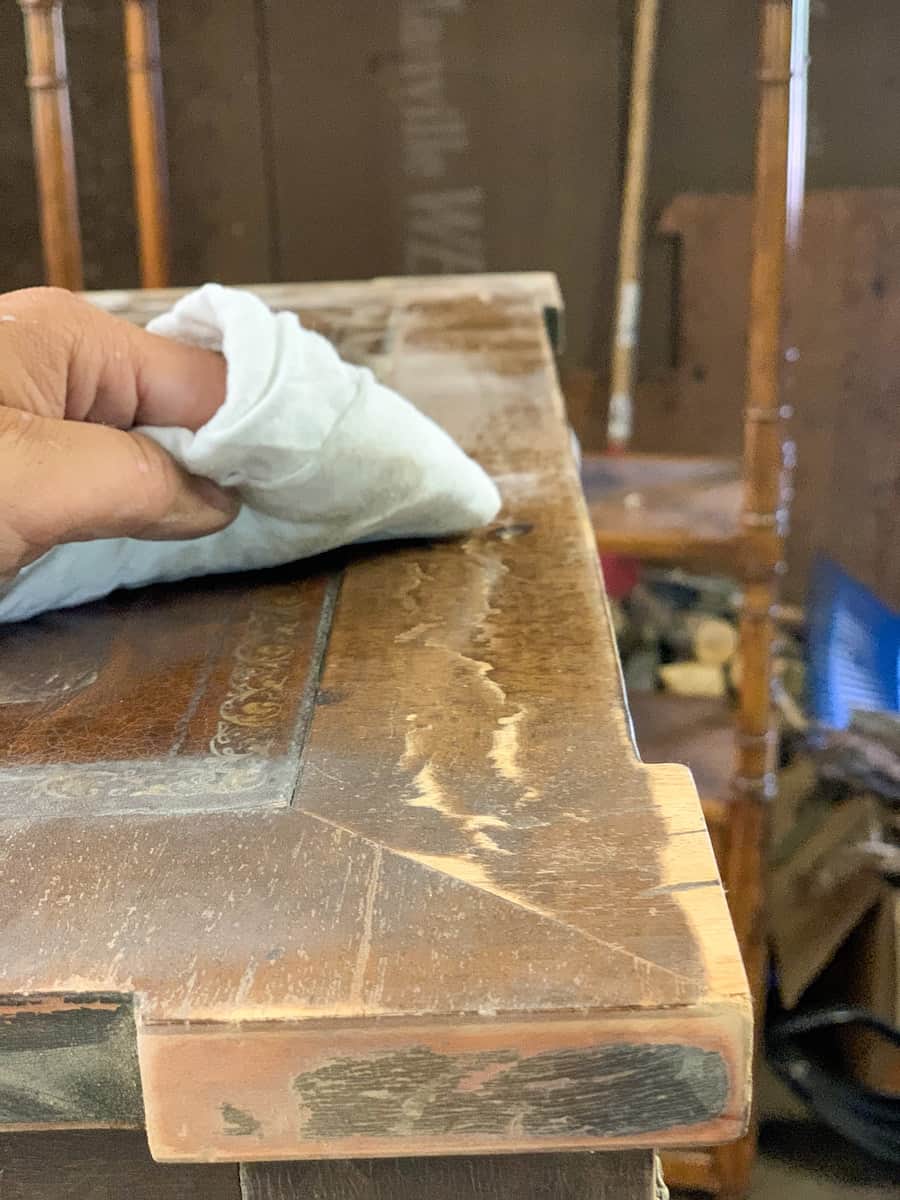
- Take one lint free cloth and dampen with mineral spirits. Clean the entire piece of furniture with the spirits to remove any dirt, dust or oils that may be on the surface. Be sure to wipe down everywhere you will be painting, including the inside of drawers and/or doors. Wear a mask or be sure you are in a well ventilated area, such as outdoors.

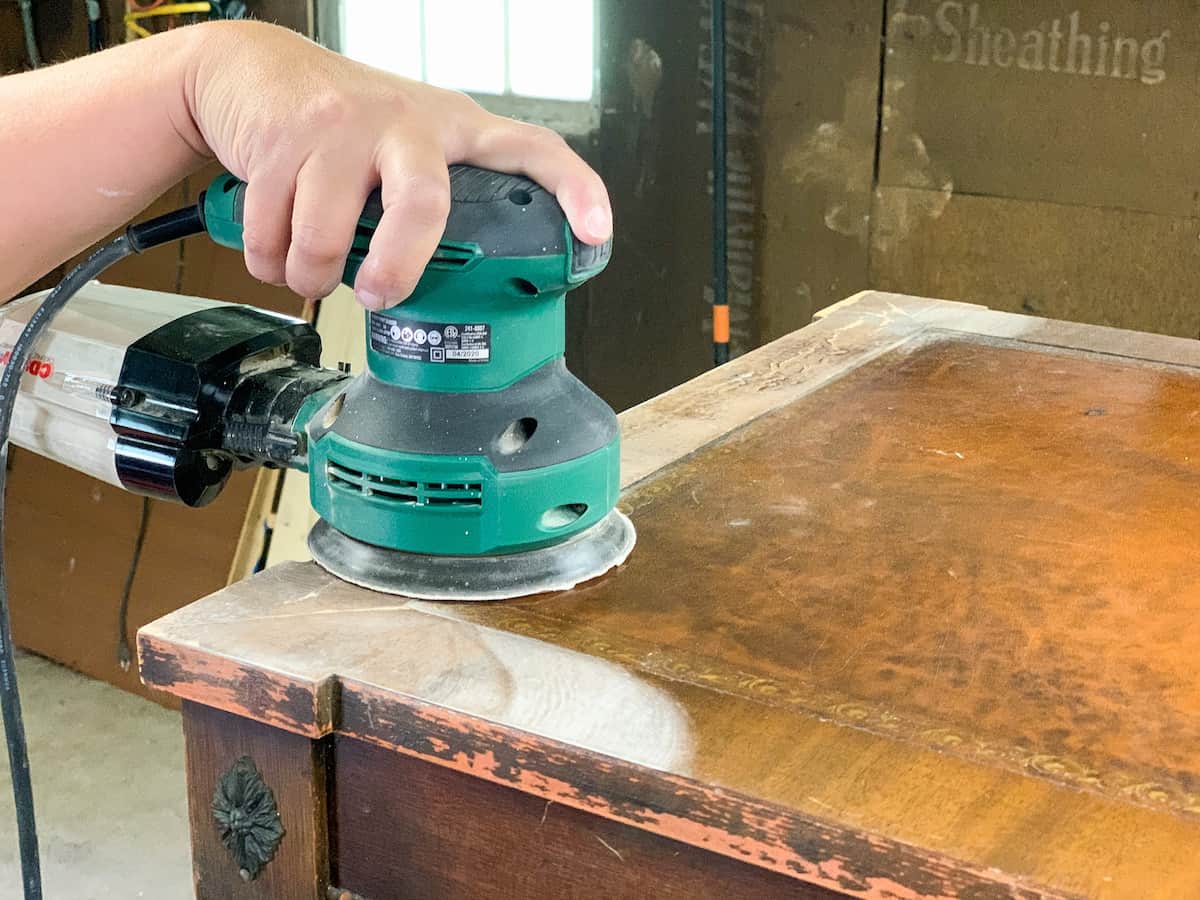
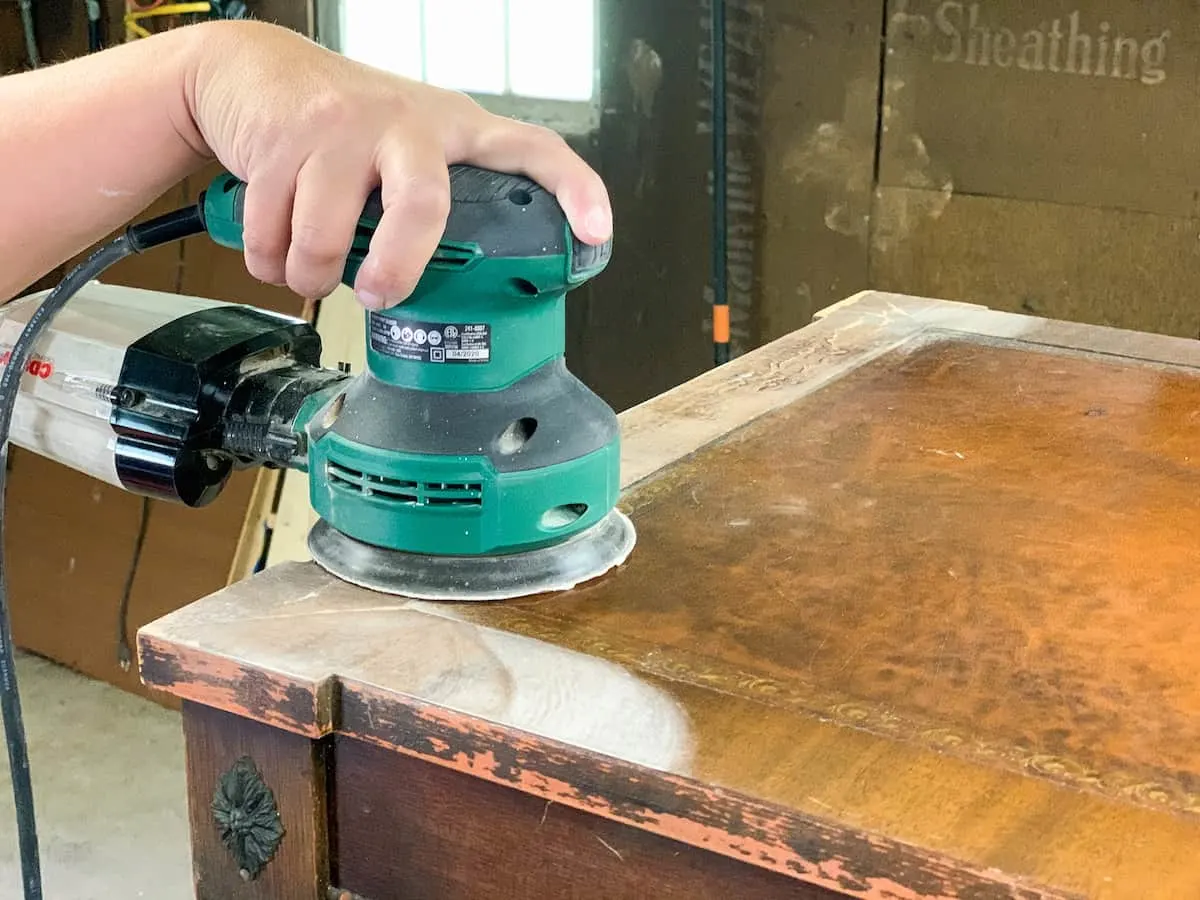
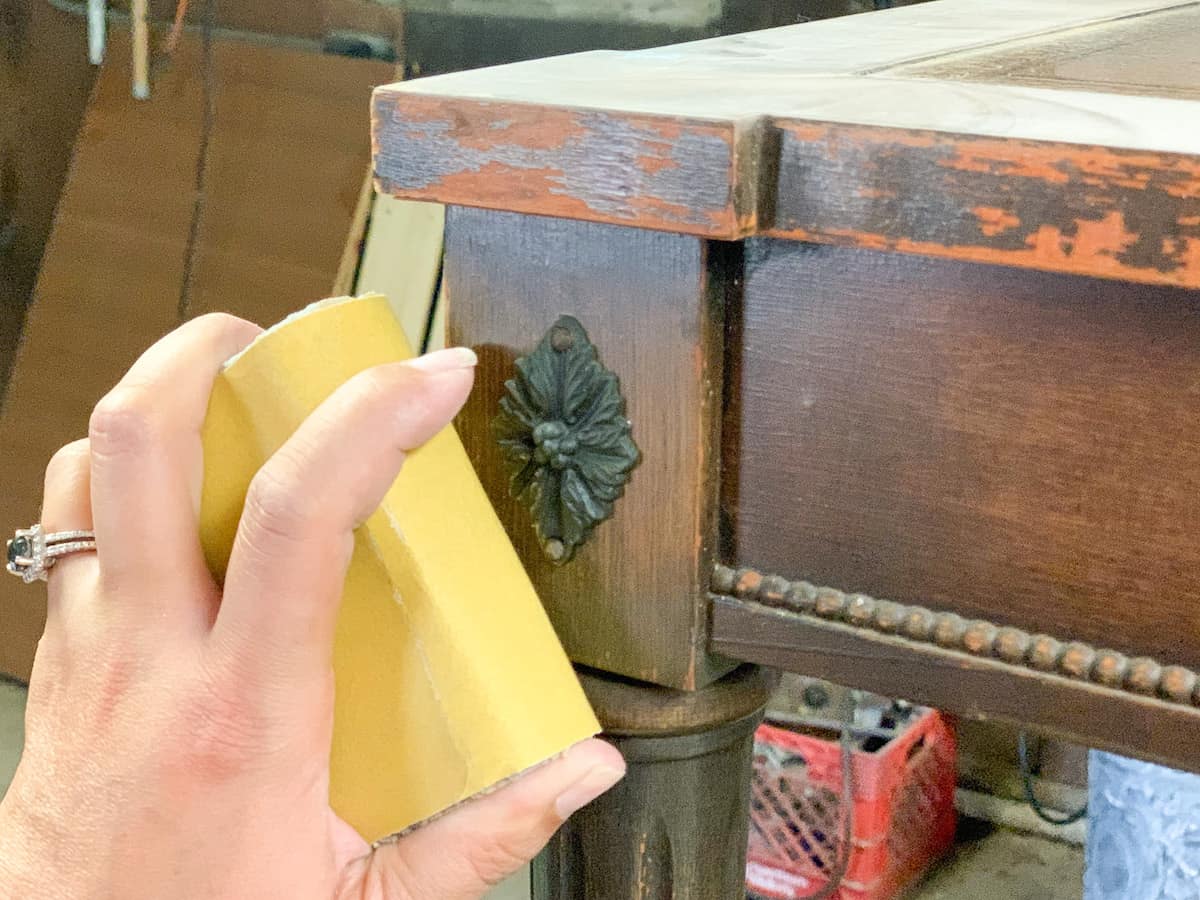
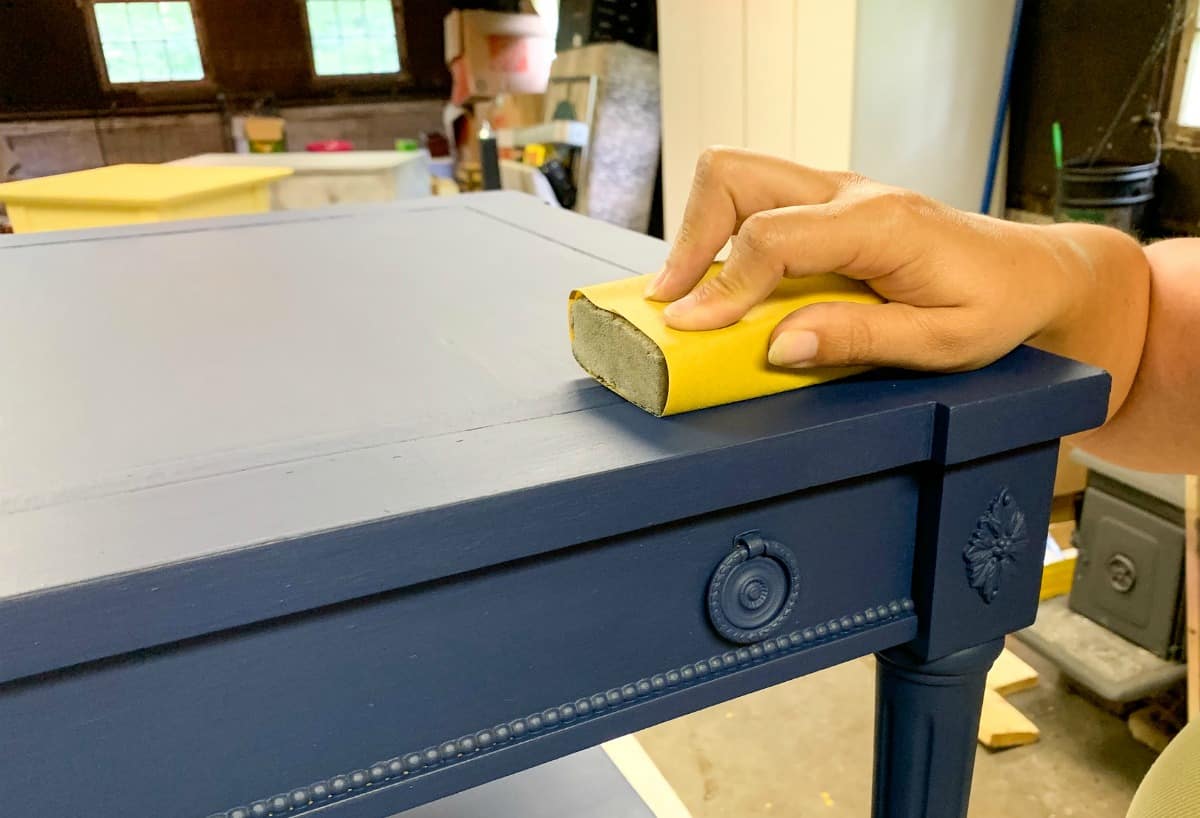
- Sand the entire piece using 220 grit sandpaper. If you have an orbital sander you can use this for the top of your piece and any larger areas to save you time and energy. (If you’re a beginner, here’s where you can learn more about power tool basics.) If not, sanding blocks and regular sandpaper will do just fine. Be sure to rough up the existing finish to expose the natural wood grain. Smooth out any imperfections and make sure your table is smooth to the touch. Be careful around any small details. Sanding is all about the pressure you apply. Use heavy pressure in areas that have thick existing finish. Use light pressure on corners and areas with detail you do not want to disturb.

- Take another lint free cloth and remove all dust particles from the sanding process. Take your time, you do not want any lingering particles that will live under your paint. If you have an air compressor gun you will be done in no time. Don’t miss the corners and crevices!

Painting the Table
- To start painting, shake your paint for 30 seconds.
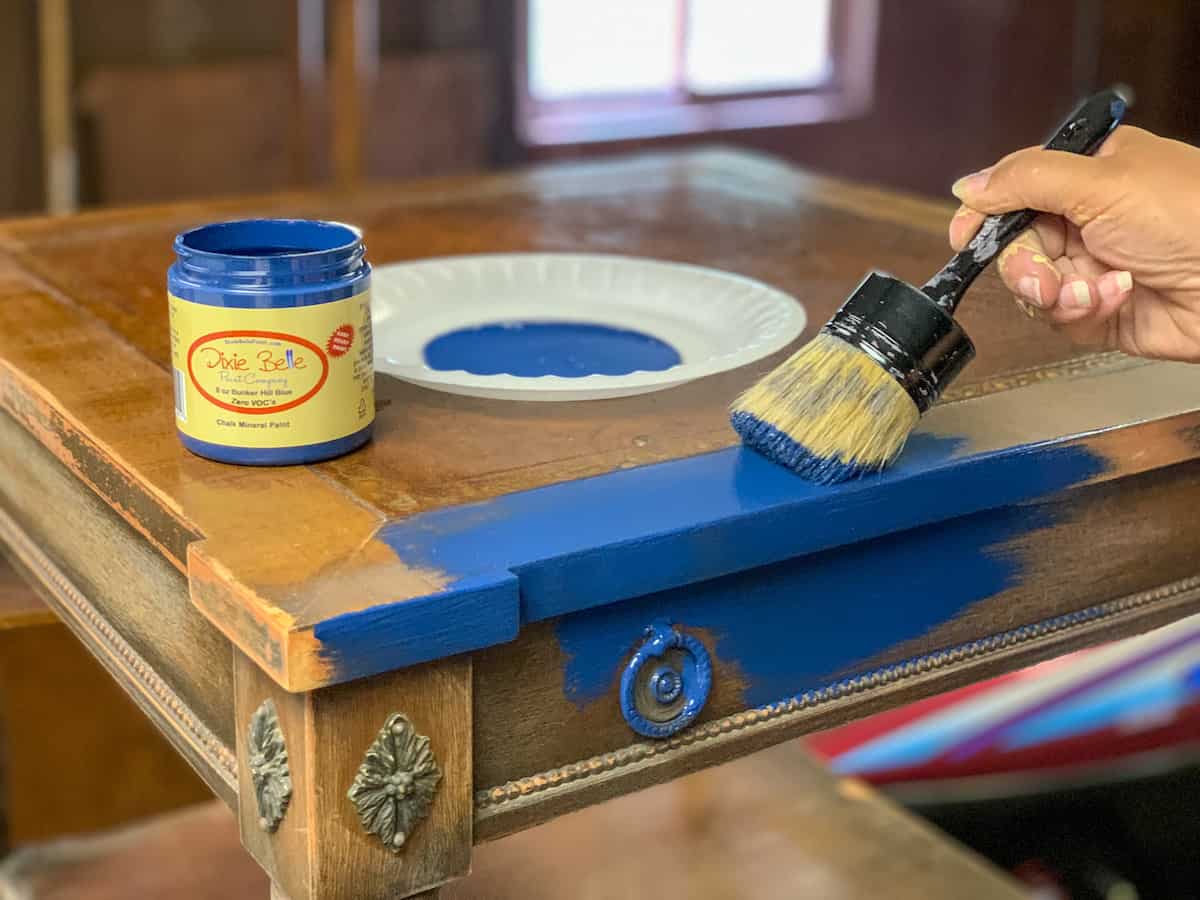
- Pour chalk paint onto a paper plate. A little goes a long way. Best to add more to your plate as you go to ensure you do not waste.
- Using your Natural Bristle Chalk Paint Brush, coat the bottom of your brush and start painting the top of your piece. Be sure to work the paint in the same direction of the wood grain. Working from top to bottom will help minimize drips. Coat the entire piece, except for the feet. Leave those as the natural wood finish for now. Be sure to open any drawers and paint all that you would like to be blue when you see them. Don’t worry if paint looks streaky it will all flatten out.

- Let dry for 30 minutes.
- Flip end table and paint the underneath. Be sure to focus on any edges, drawers, or areas that might be visible to ensure full coverage.
- Let dry for 30 minutes.
- Flip the table to standing position again.
- Apply a second coat of paint to the entire piece of furniture. Work in the same direction of the wood grain. Don’t worry about the underneath, no need to flip again.

- Let dry completely for 24 hours (depending on weather and humidity).
- If necessary, use 220 grit sandpaper to lightly sand any areas of paint drips or build up. Now is the time to check for any bristles from your brush or dust that was trapped in your paint. Light sanding will remove and give you a smooth surface.

- Using your lint free dusting cloth, remove all dust and debris.
Adding Metallic Paint
- Using your natural bristle flat paint brush and Dixie Belle Moonshine Silver Bullet apply a thin coat to the entire piece. With the Moonshine Paint, less is more. You can dip your brush right into the paint container. Remember to apply a thin coat. You don’t want to glob on a lot of paint on to your brush, only a workable amount. Work the brush back and forth, without overlapping the paint, smooth even strokes. Work small sections at a time, complete and move on to the next section. Work quickly. If your paint starts to dry before you’re satisfied in that area, lightly mist the paint with your misting spray bottle and rework the section. Water reactivates the paint.
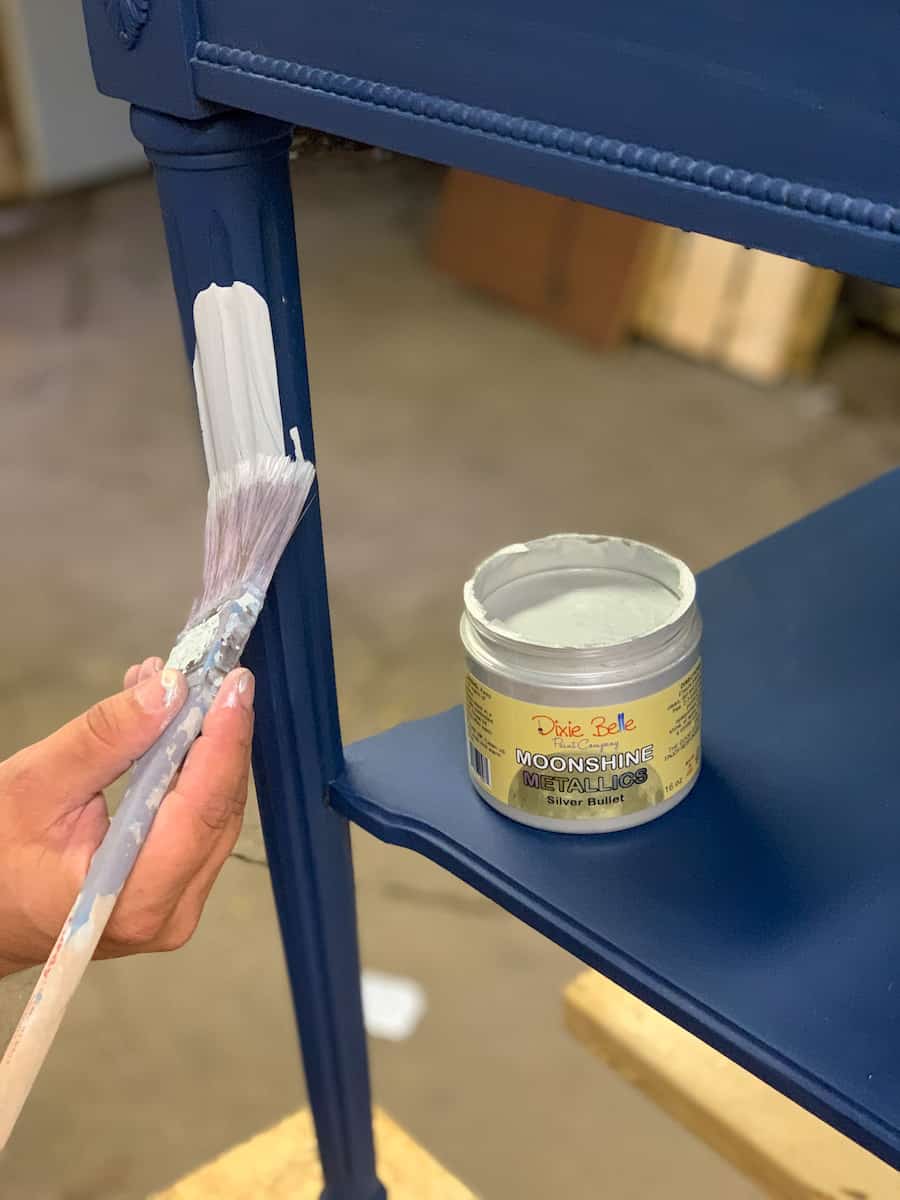

- Only one coat of Dixie Belle Moonshine Silver Bullet is necessary on top of your base coat of Dixie Belle Bunker Hill Blue for an opaque finish. Don’t worry if you see brush strokes, as long as you didn’t drag the paint everything will flatten out once dry.
- Let cure for 24 hours (depending on weather and humidity)
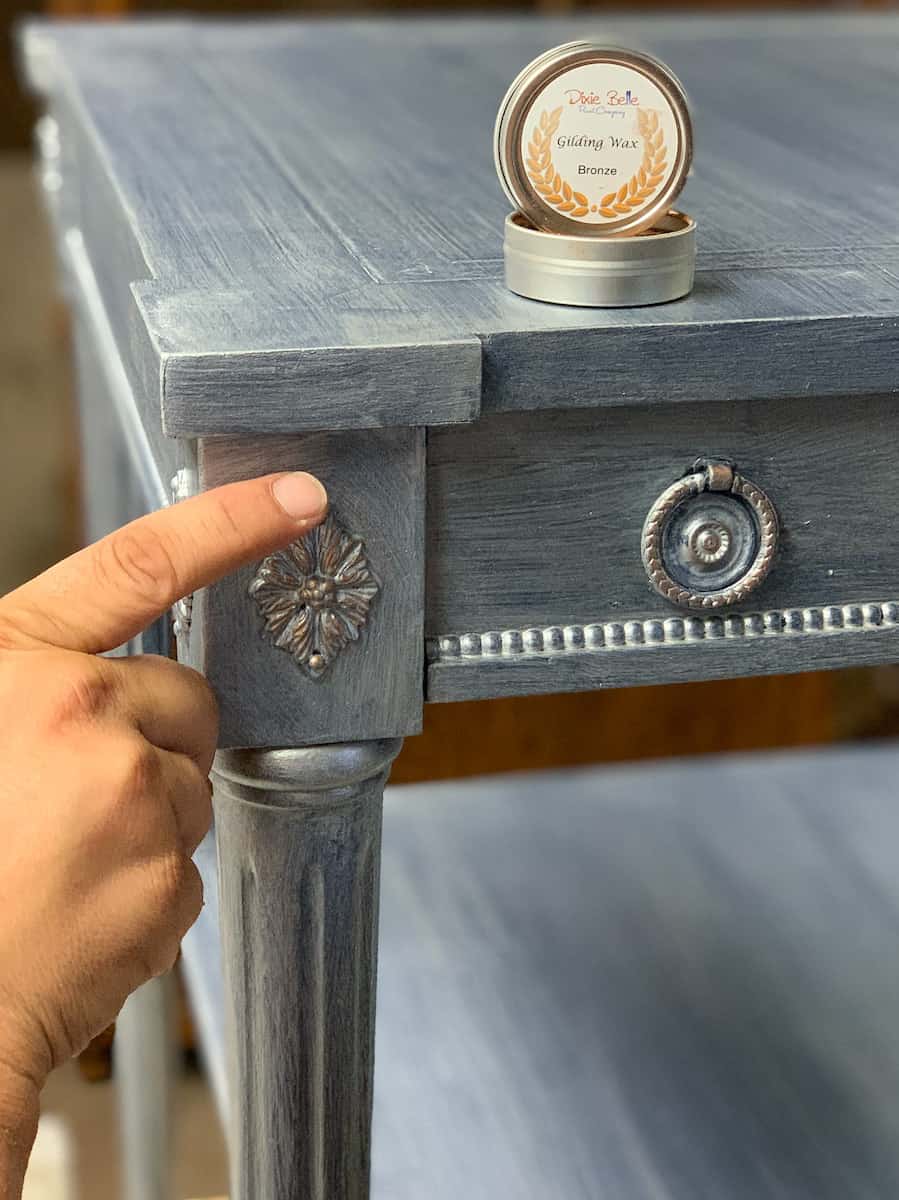
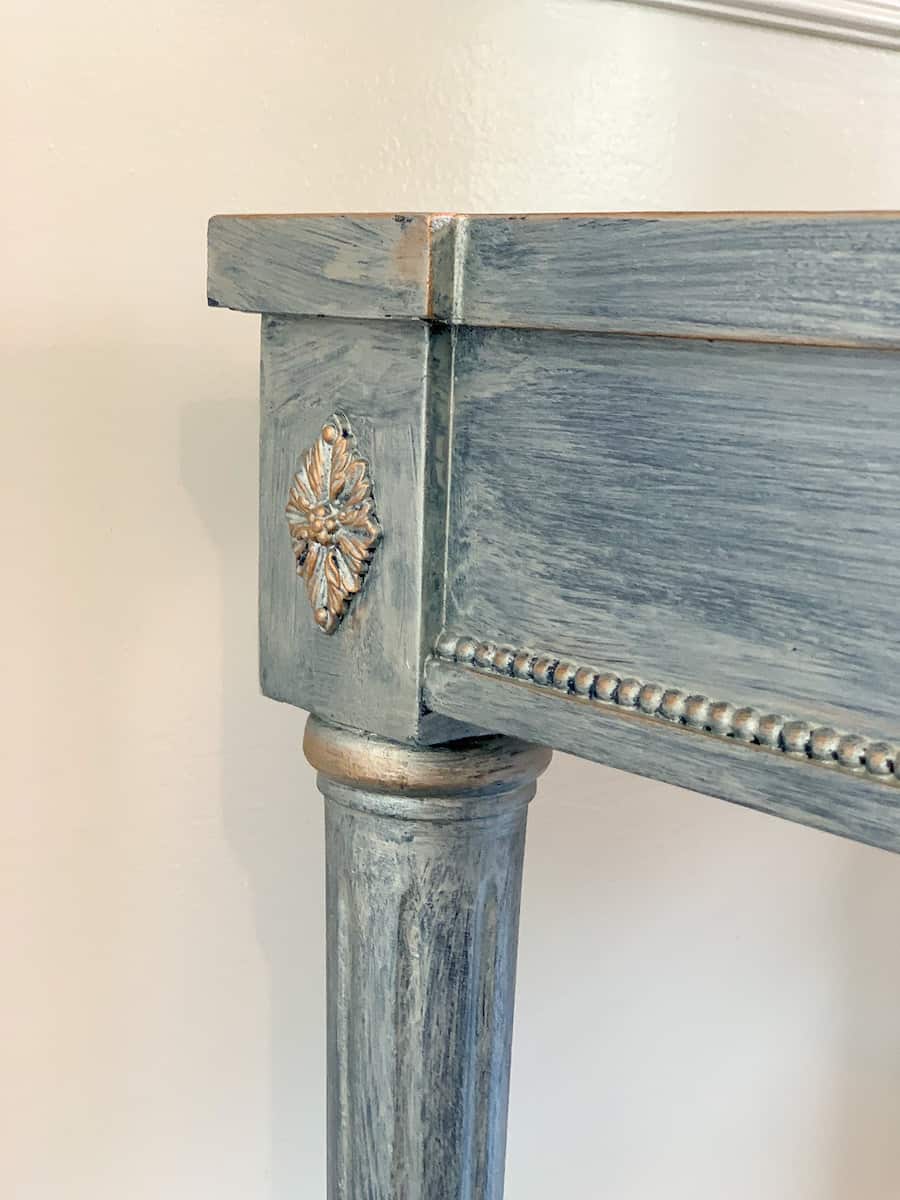
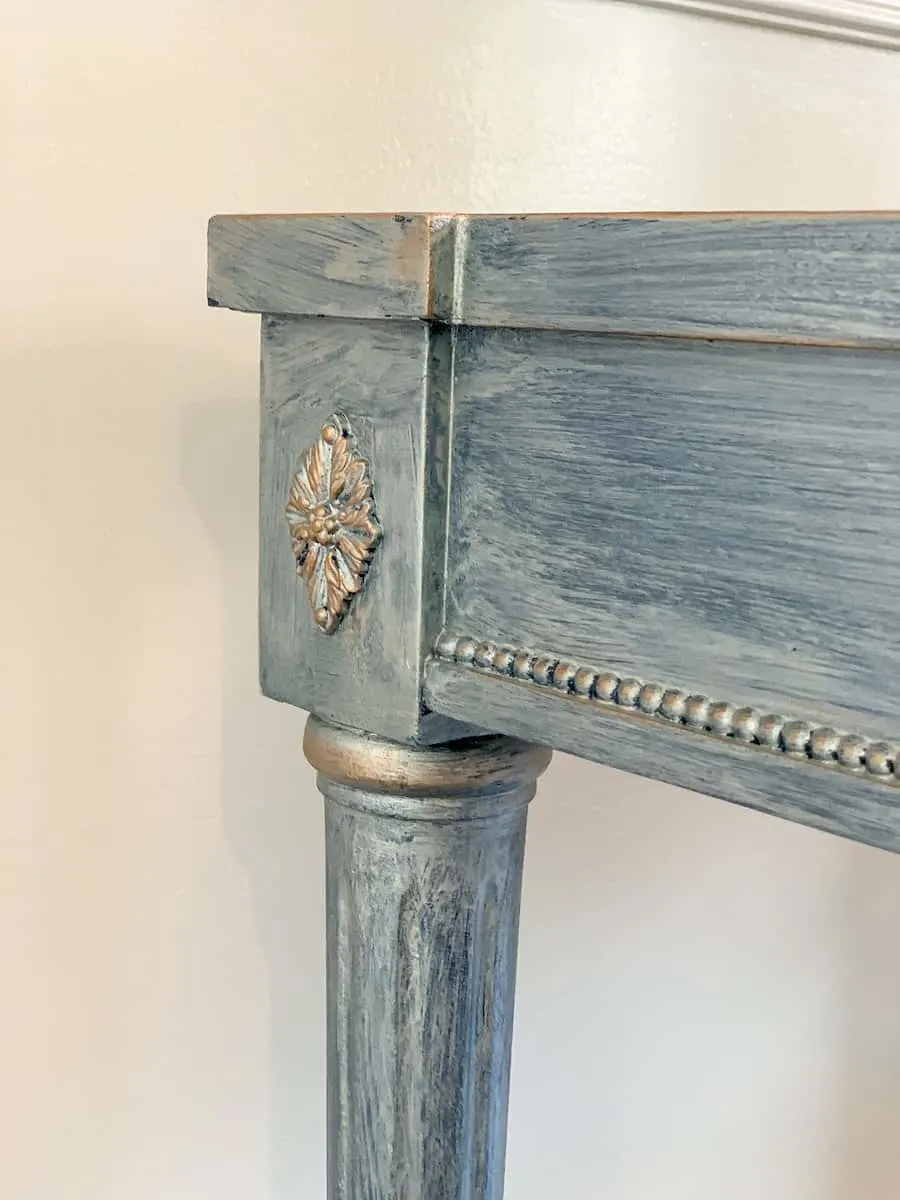
- Using your Dixie Belle Bronze Gilding Wax dip your finger into the tin. Apply Gilding wax to any detail areas that you want to stand out. Any hardware or detail that you would like highlighted simply apply wax the area. A little bit goes a long way. If you would like a darker tone of wax, then reapply in 10 minutes.

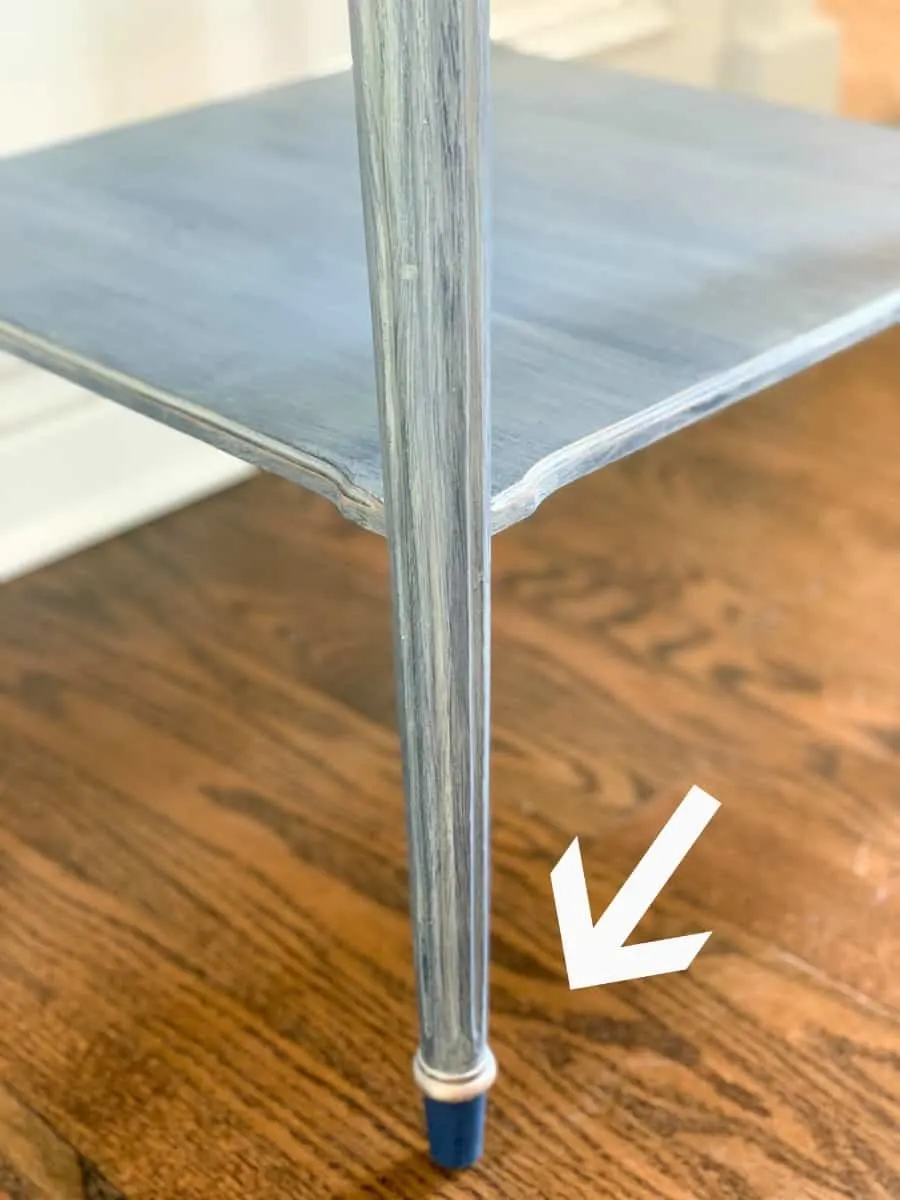
- Using your fine paint brush and Dixie Belle Bunker Hill Blue Chalkpaint, finish painting the feet of the table that had been left unpainted. Leaving these areas solid will give a unique finished look.

- Let cure for 24 hours (depending on weather and humidity).
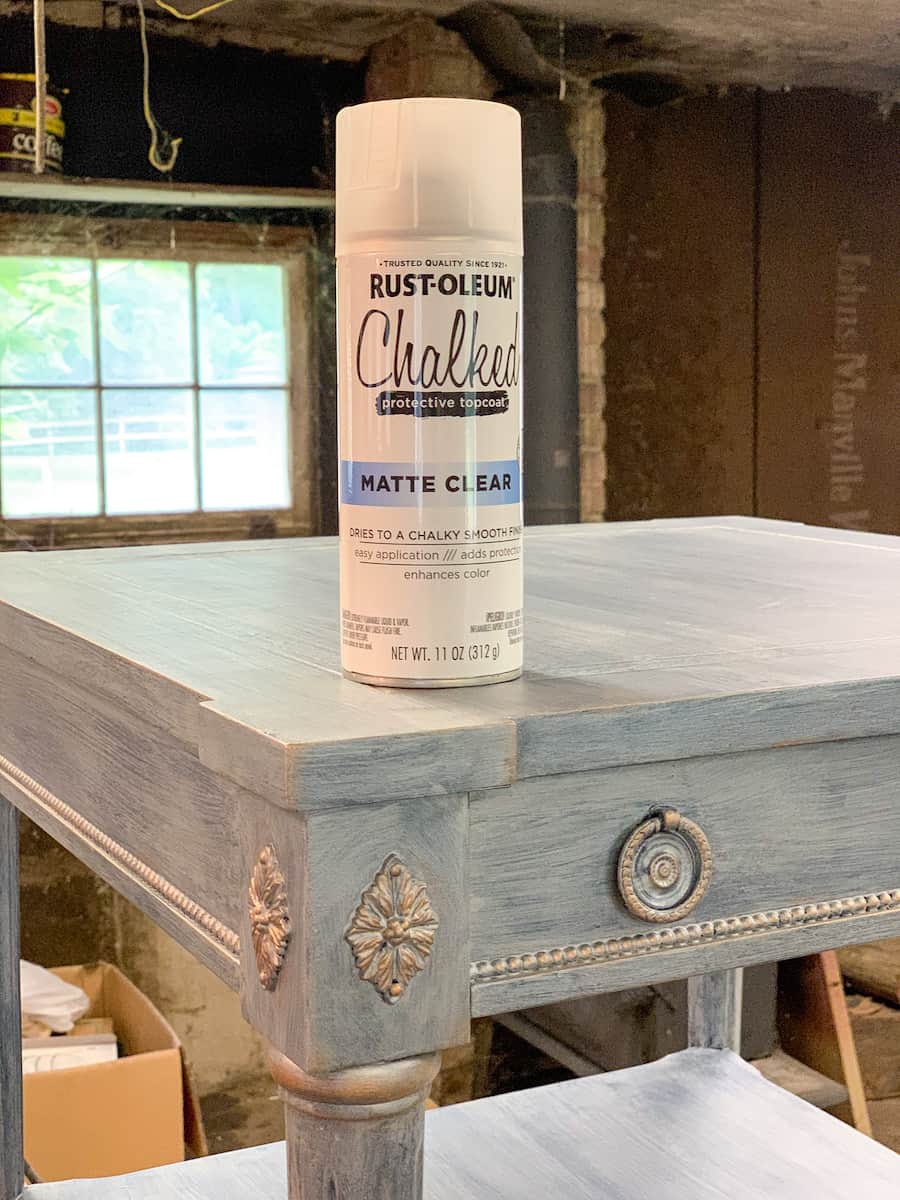
- Using Rust-Oleum Chalked Protective Top Coat (Matte Clear Spray), spray all the areas you gilded with the Dixie Belle Bronze Gilding Wax. Hold the spray can approximately 8 inches away and coat the gilded details. This will seal the area to ensure additional protection.
- Be sure to clean all of your brushes thoroughly.
- The end table bar can take up to 30 days to completely cure and dry. You can gently use your furniture after the first 48 hours. However, be sure not to clean or drag anything across the paint before 30 days has gone by.

I’ve got even more furniture restoration projects to inspire you! Here’s how I refinished a damaged wood table to make it look good as new!
And here’s how I updated a $3 upholstered thrift store chair with a fabric slipcover I made (and how you can do it, too)!