
Do you see old furniture at the thrift store or on the side of the road and dream about making it over? Me, too! But I don’t want to be bothered with the hassle of removing paint or varnish on the pieces.
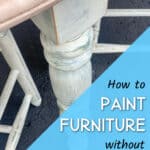
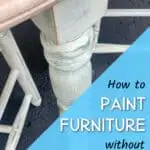
This is how to paint furniture without sanding or priming. If you are wondering how to paint over varnished (or glossy) wood without needing to sand, this tutorial will help.
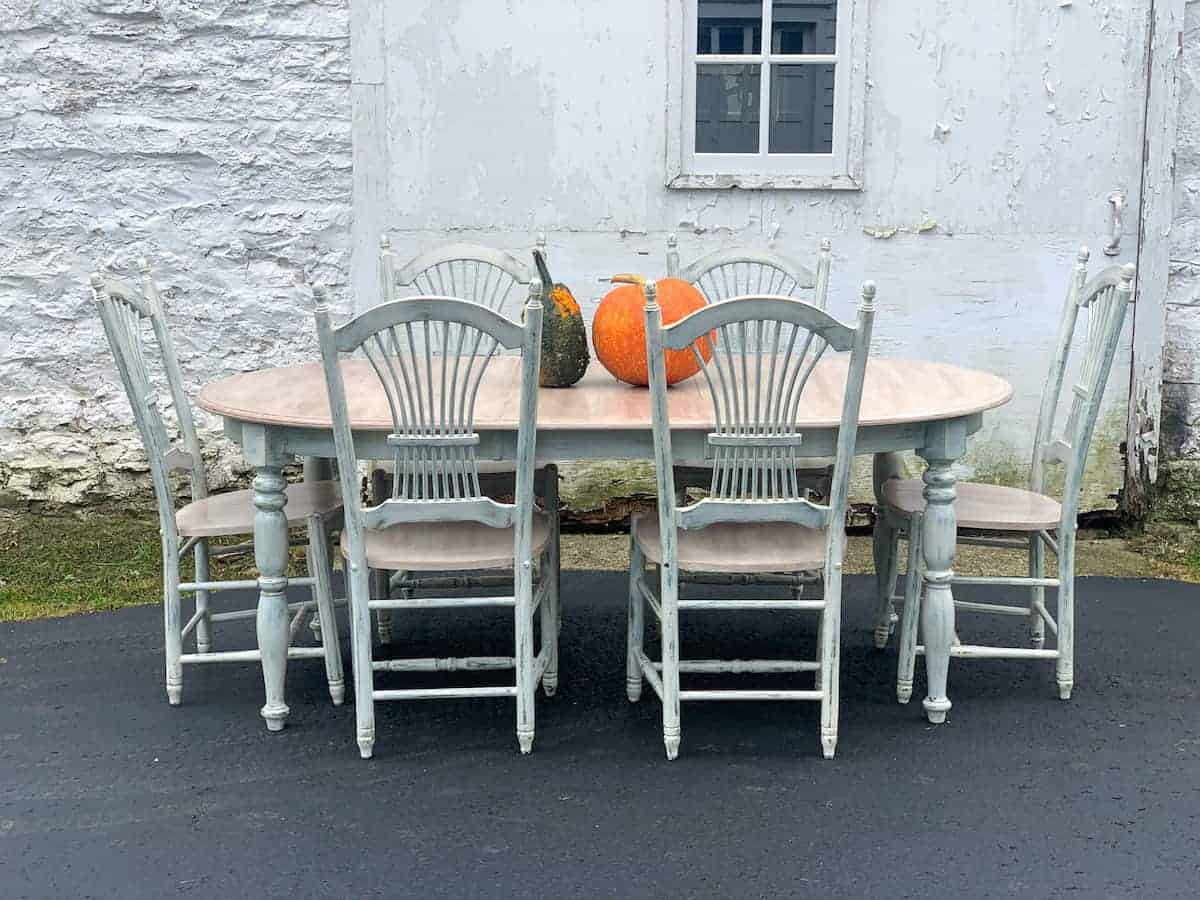

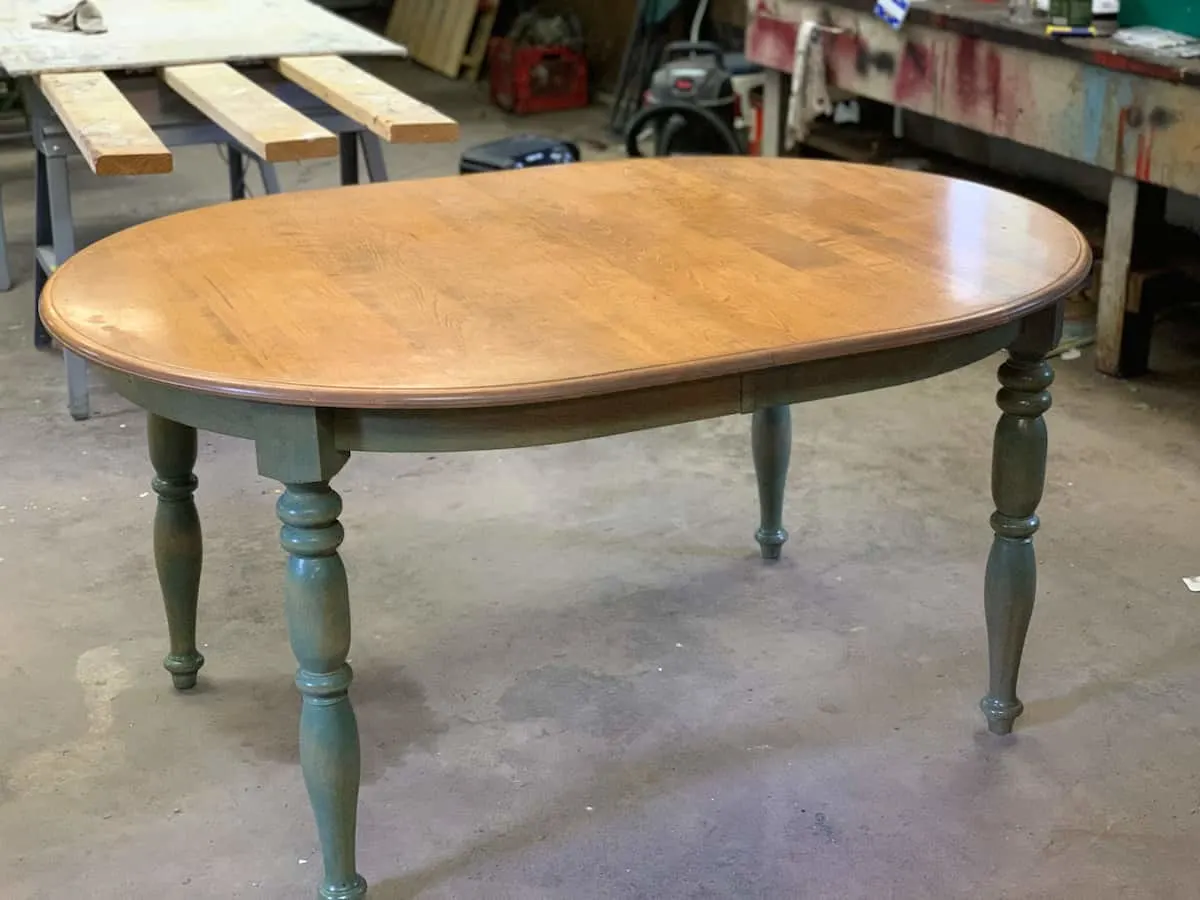
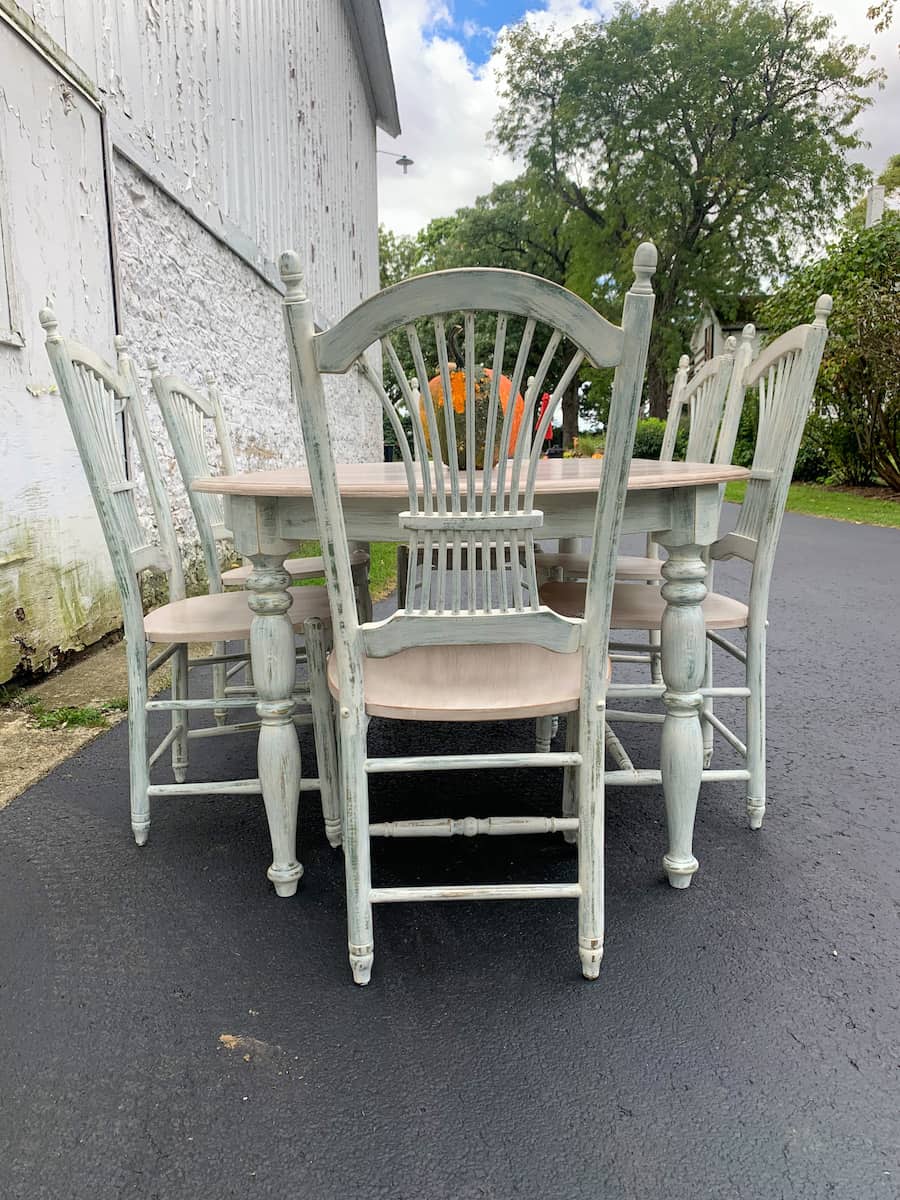
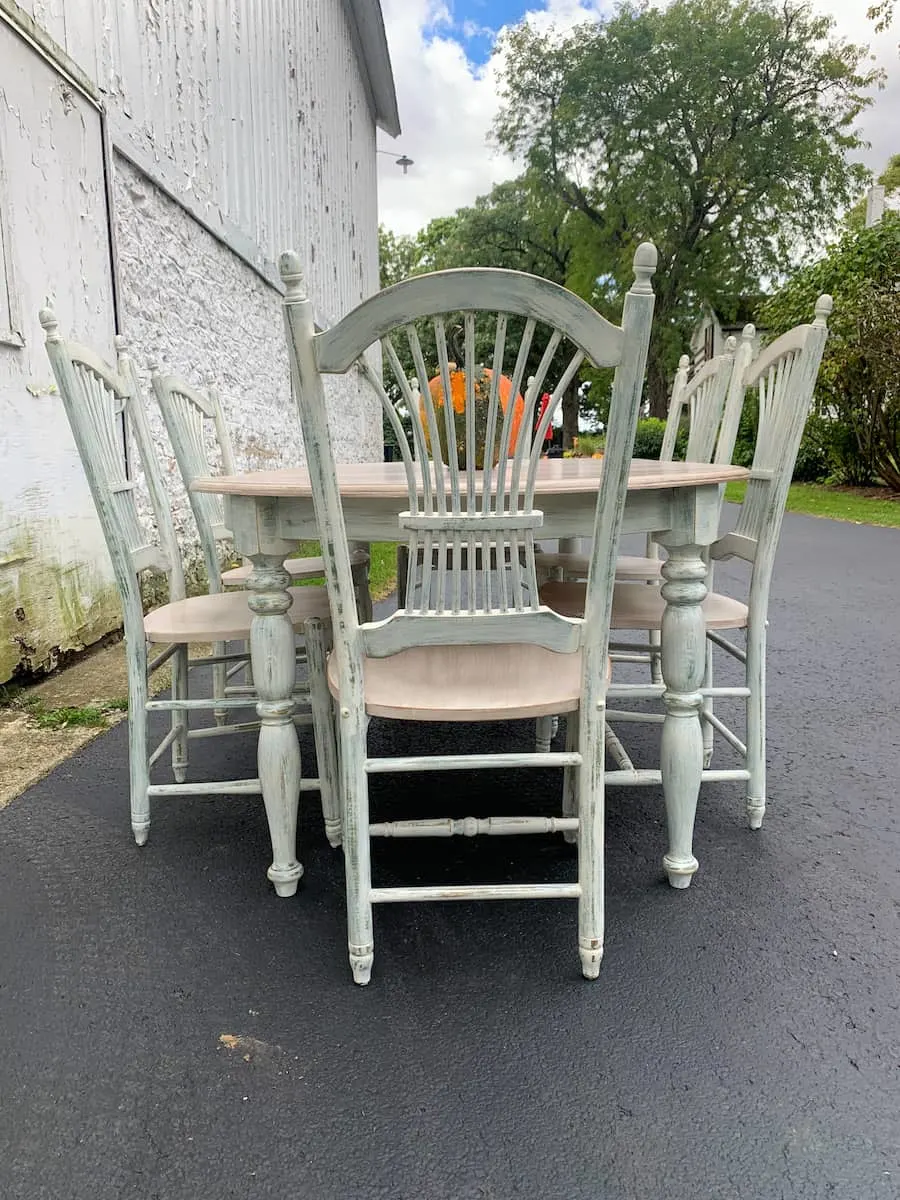
For this project, I made over a glossy wood kitchen table and chairs. I was able to do it without applying any primer, and without needing to use an orbital sander or a sanding block.

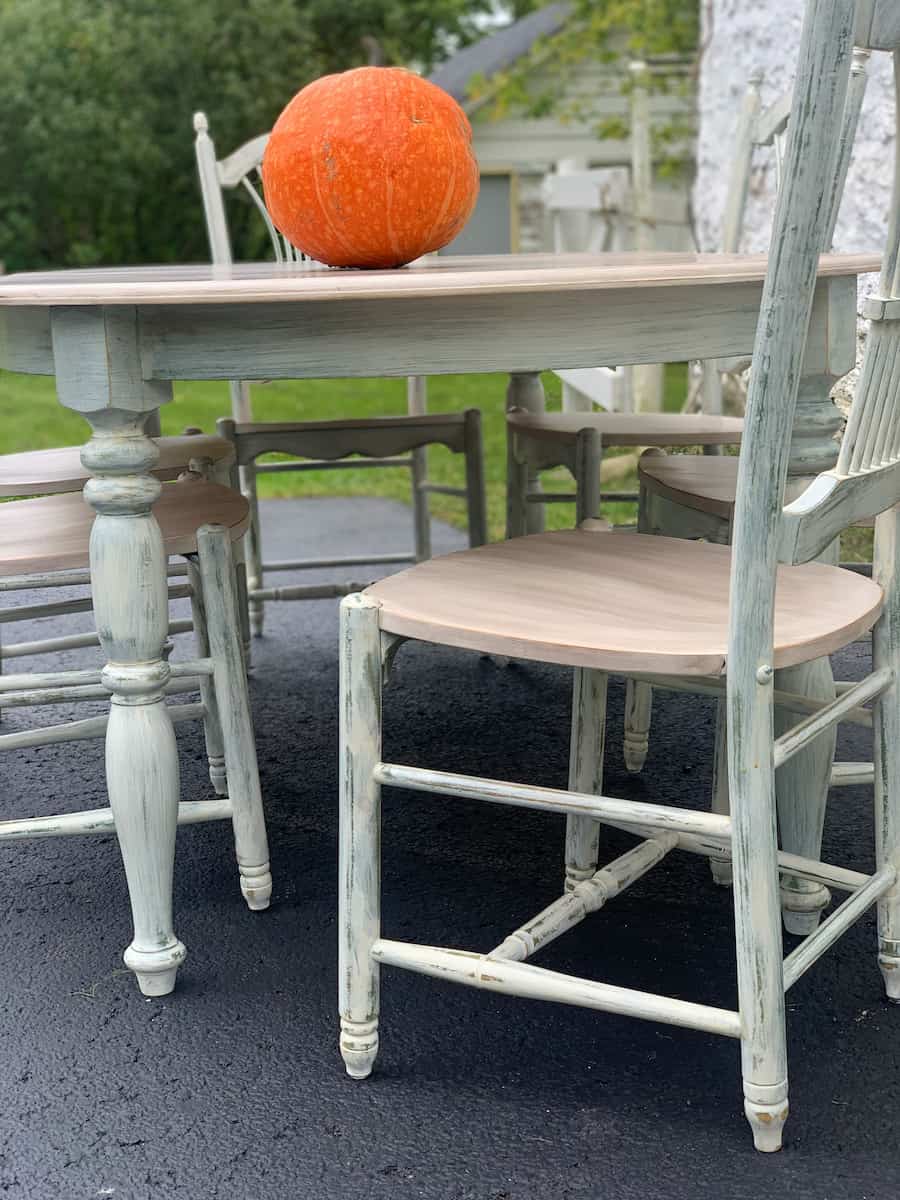
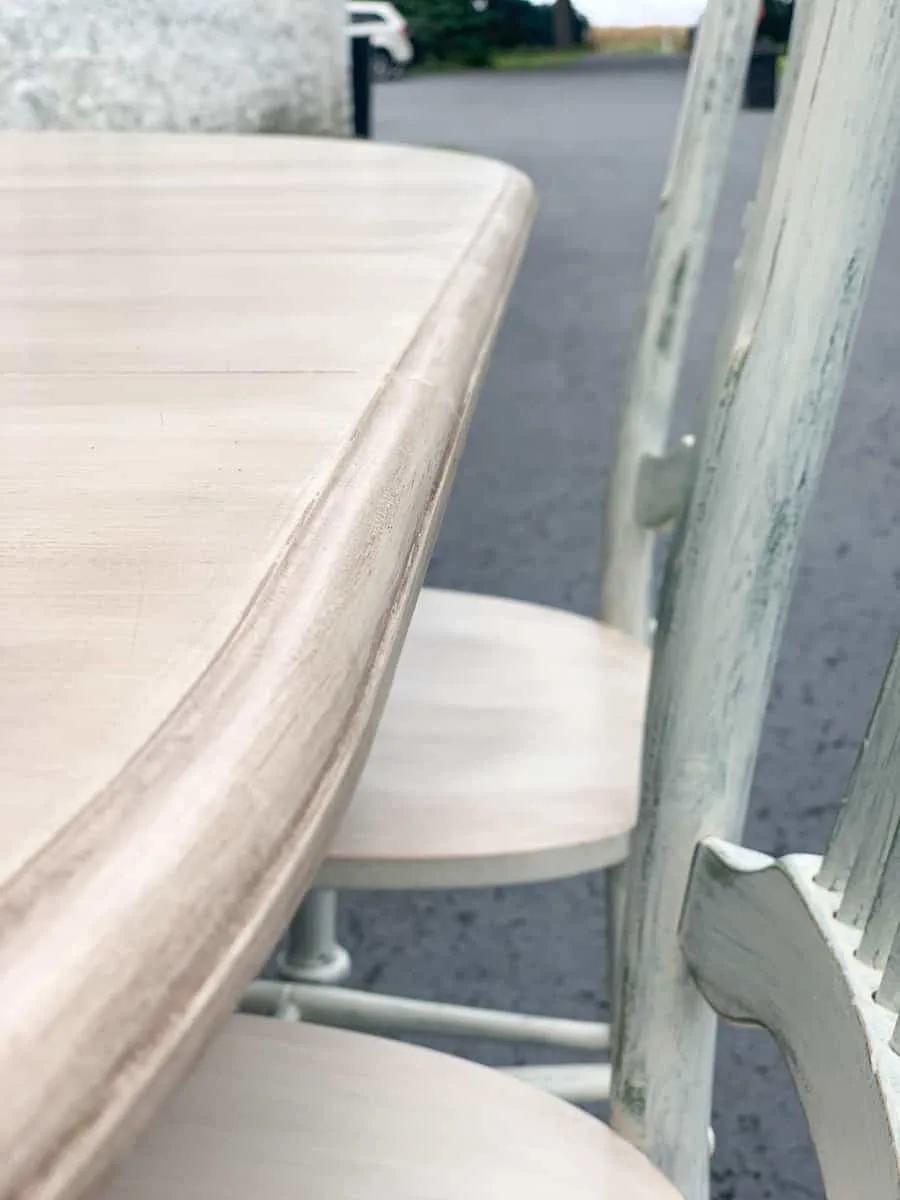
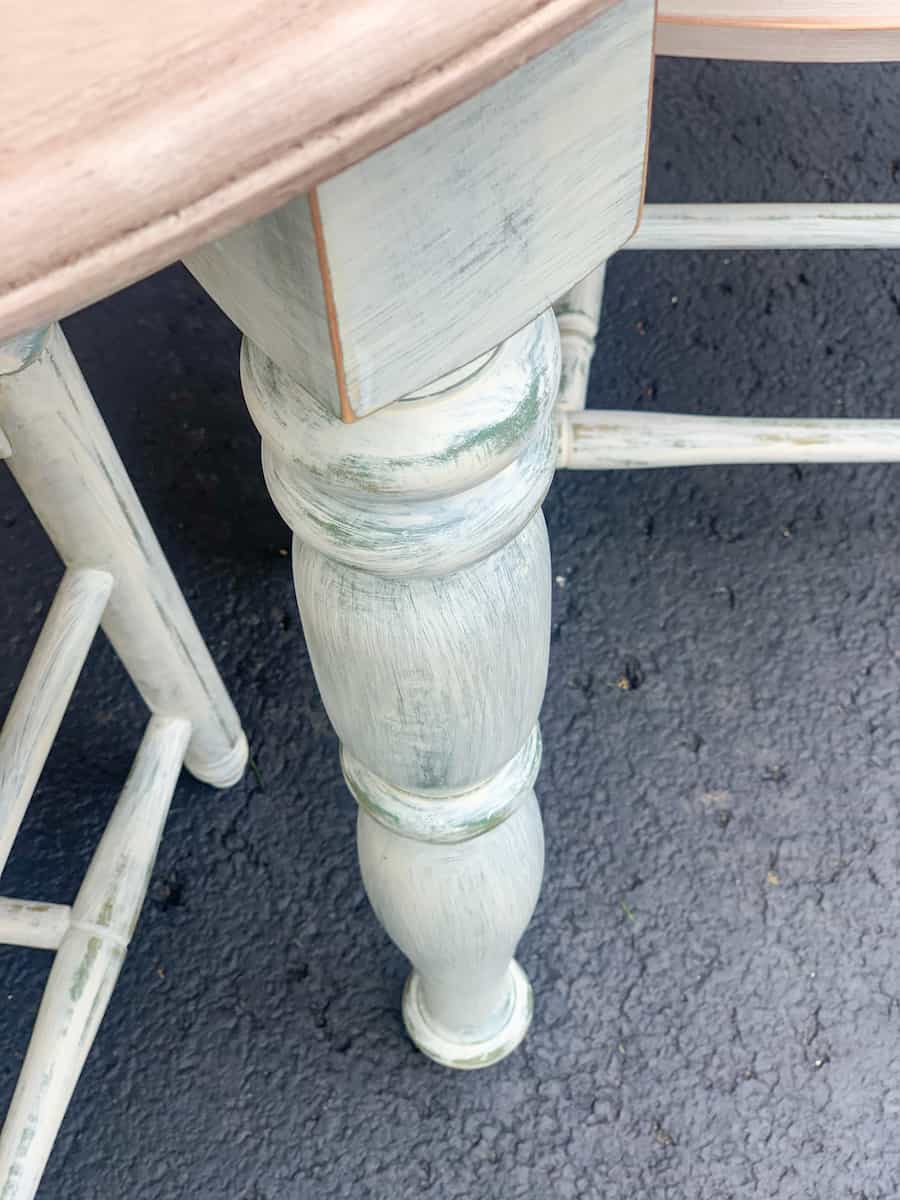
I did add a lot of farmhouse charm to the kitchen table set, so I used multiple layers of paint and decorative wax to achieve the weathered and aged look.

However, if you just want a solid coat of paint, just follow the directions for the first paint color. Then you can stop before moving onto the second decorative top coat.
There are a variety of ways to refinish furniture. Check out my tutorial on how to distress furniture with vaseline for a chippy paint finish.
I also shared my tips on how to distress furniture with chalk paint.
If you are just starting to do thrift store furniture flips, you will want to see my beginner’s DIY furniture makeover. And, be sure to check out these 7 important things to know before buying used furniture. It can save you a lot of time and trouble.
Helpful Tips
- You don’t have to do the many layers of detail that I did on the table. You can just choose one coat of paint and that’s it.
- Sand paper is a material in this tutorial, however it is only used for light distressing if desired. Sanding is not required to remove varnish or a glossy finish. And you do not need to do their entire piece of furniture.
- Choose whatever complementary colors that you like. If you are distressing, choose a darker shade underneath and a lighter shade on top. When you distress with the sand paper, the darker shade will show through.
Easy Way to Paint Furniture without Sanding or Priming
Supplies
- Dixie Belle Burlap Chalk paint (first paint color)
- Dixie Belle Buttercream Chalk paint (second paint color)
- Dixie Belle Best Dang Furniture Wax, Clear
- Dixie Belle Best Dang Wax, Brown
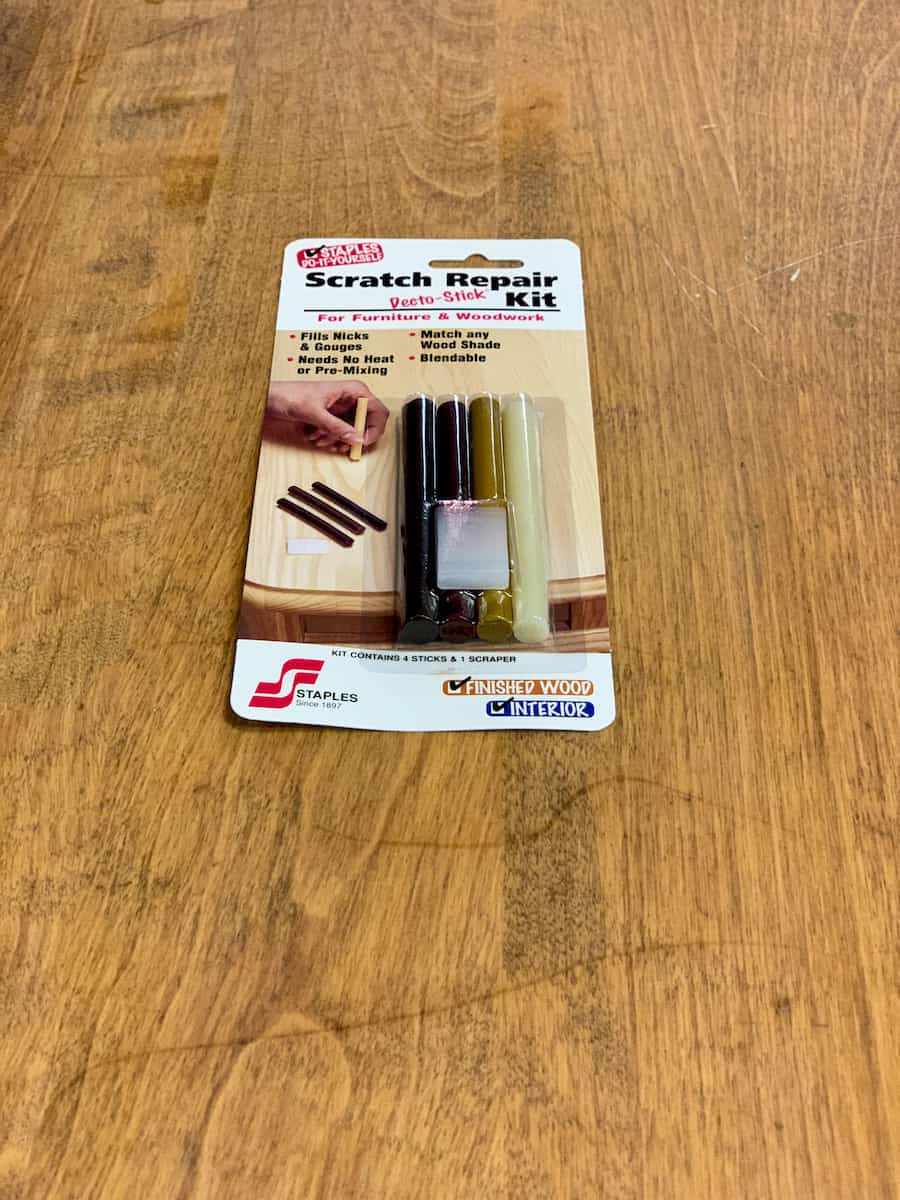
- Scratch Repair Kit (optional)
- Misting spray bottle
- 220 grit sandpaper and/or sanding block
- 3 Natural Bristle Chalk and Wax Paint Brushes (this three-pack gives you the right amount for what you’ll need)
- Lint Free Cloths
- Drop Cloth
- Plastic Fork
- Solo Cup
- Paper plate
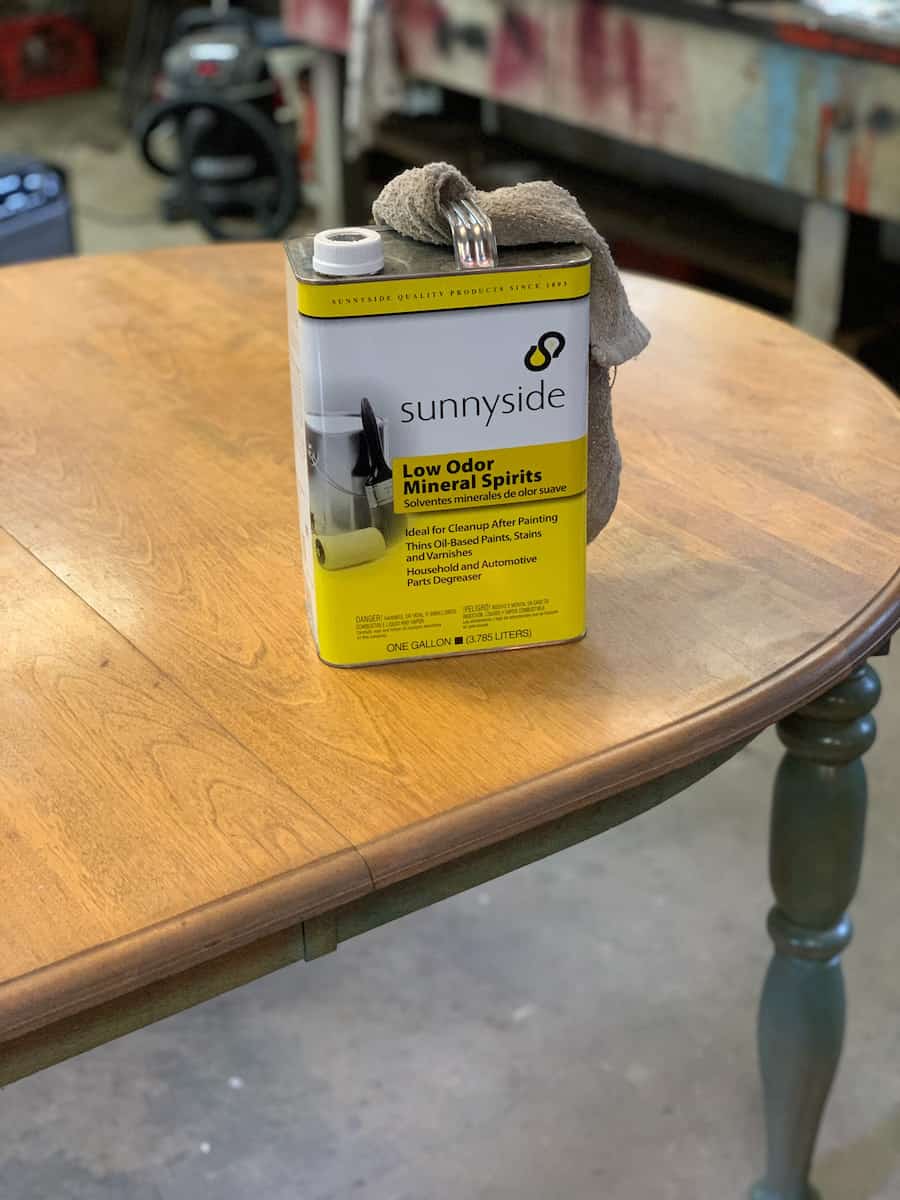
- Mineral Spirits
Directions
Prepping
Place furniture in a clean work space. If working in a garage be sure to sweep or blow all dirt and debris out of the area you will be working in. Lay a drop cloth down to ensure paint does not drip and ruin your flooring.
Take one lint free cloth and dampen with mineral spirits. Clean the entire piece of furniture with the spirits to remove any debris or oils that may be on the surface.
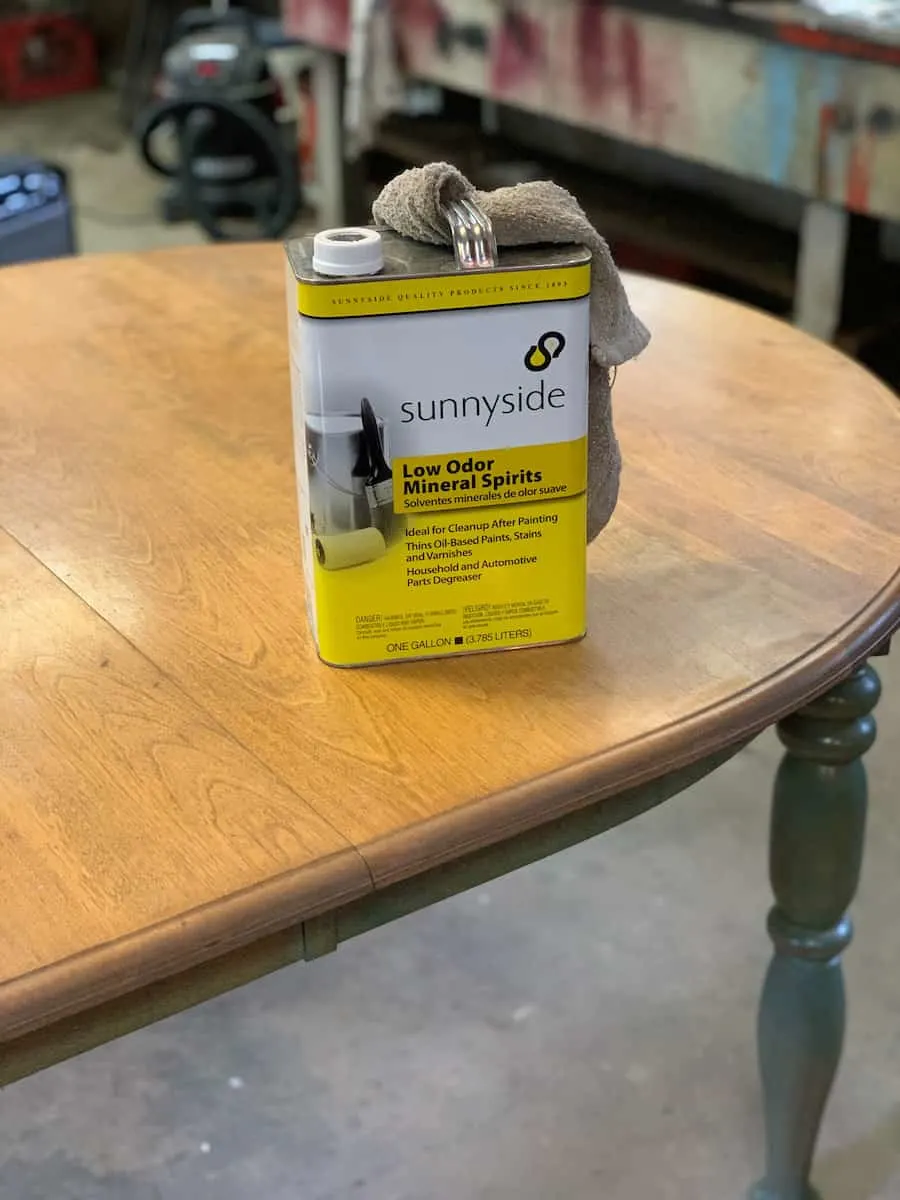
Be sure to wipe down anywhere you will be painting. It is advised to wear a mask or be sure you are in a well ventilated area.
Fixing Scratches
Get a simple scratch repair kit. They are easy to find.
Select the crayon that best matches your wood finish. Don’t worry if there is one that doesn’t exactly match your finish, as that is rare. You can blend colors together to get the perfect match.
Begin by pressing the wax crayon into your scratch. Color and press in all directions to make sure you fill the scratch in with the wax.
Once completely colored in, use the plastic scraper that comes with the kit and remove any excess wax around the scratch. You will do this by dragging the scraper over the scratch to remove extra wax that is above or outside of the scratch. You will want to leave the surface as smooth as possible.
Using a lint-free cloth, rub the wax into the wood. Be sure to press the wax into the scratch.

Painting
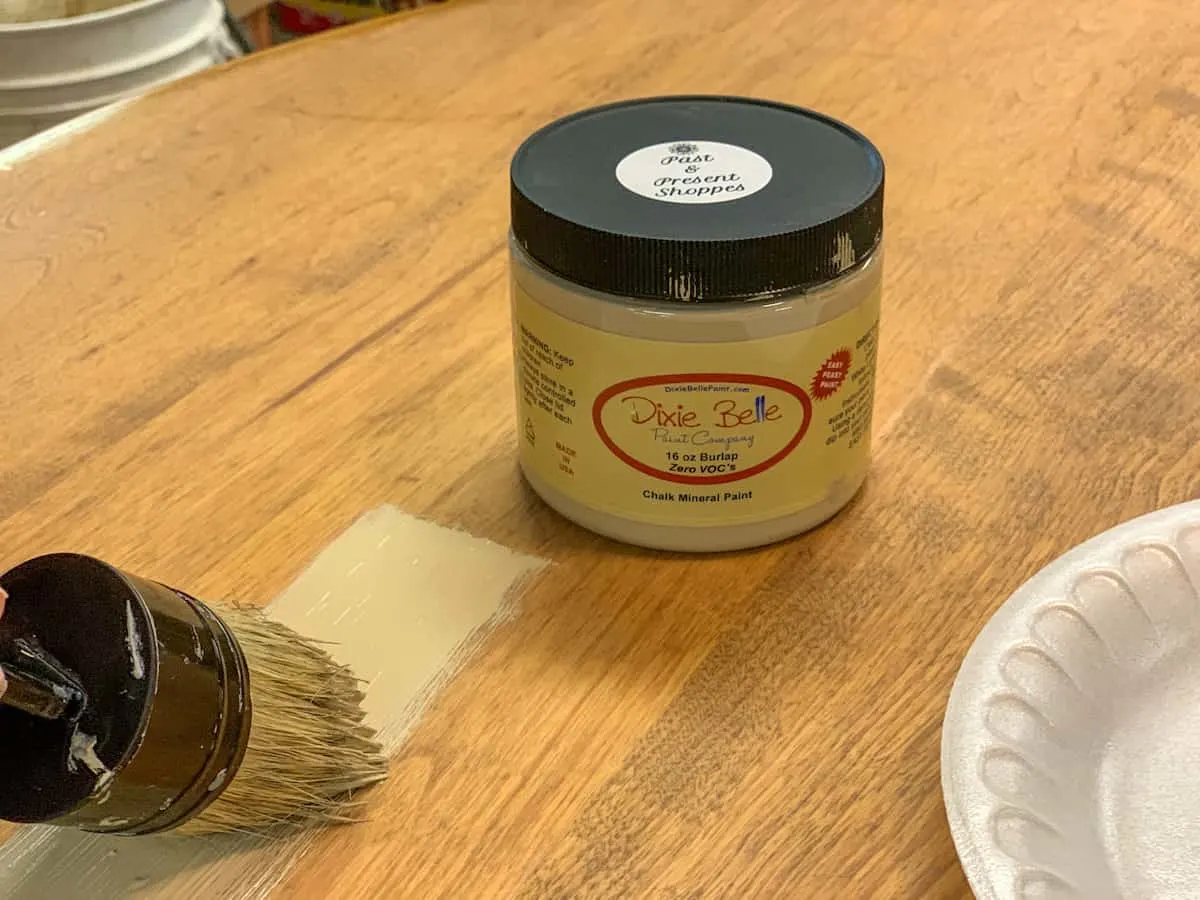
Shake your Dixie Belle Burlap Chalkpaint for 30 seconds (your first paint color).
Pour the chalk paint onto a paper plate. You just need a little bit, you can always add more later.
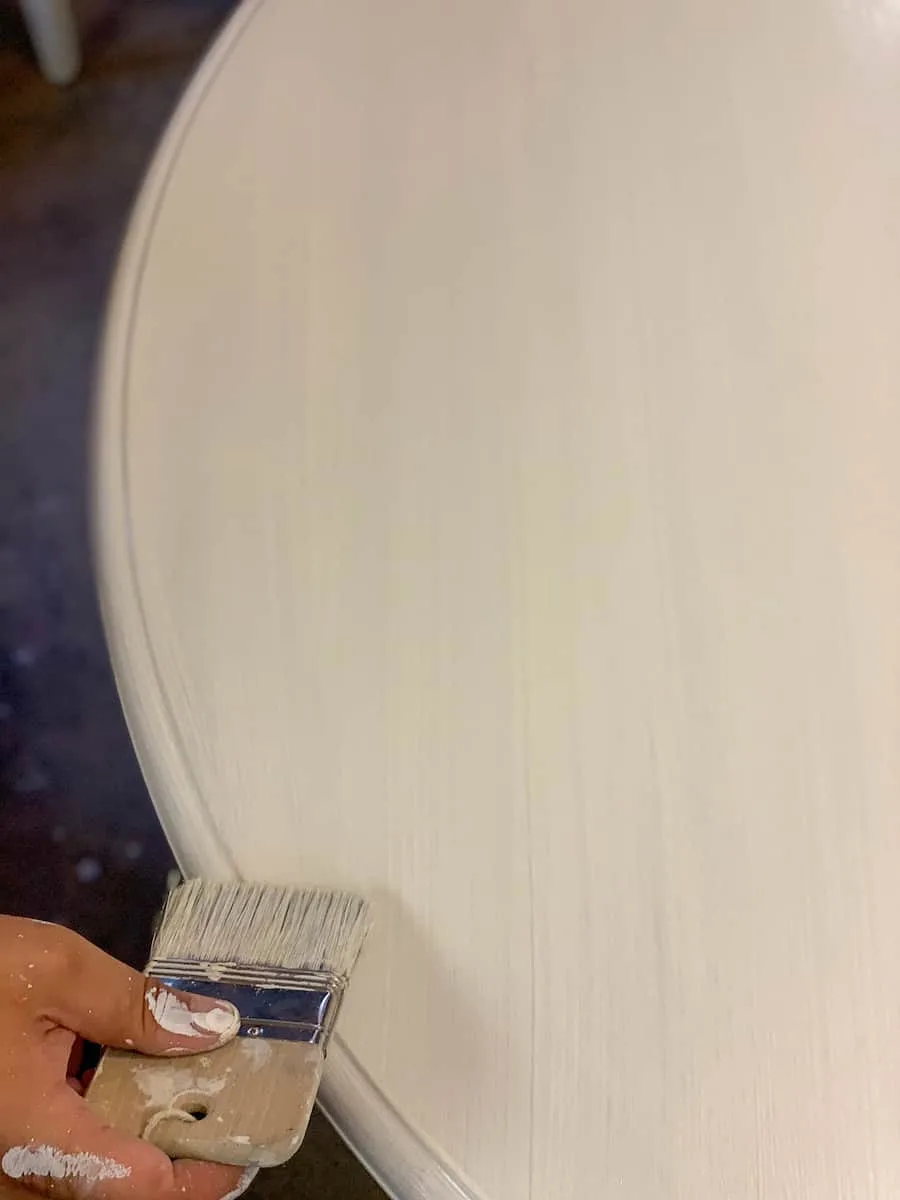
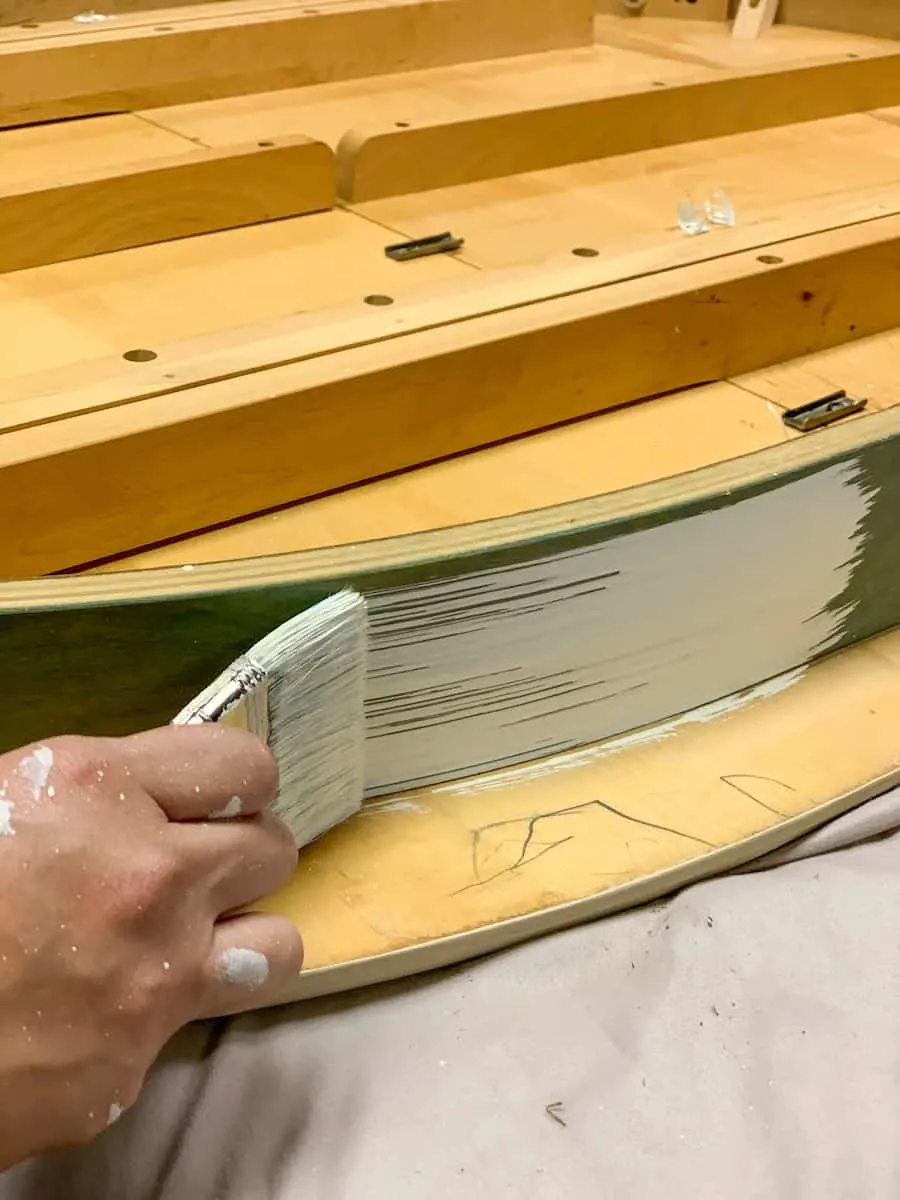
Using a natural bristle chalk paint brush, start painting the top of your table. Work the paint brush strokes in the same direction of the wood grain. Paint the entire piece.
Don’t worry if paint looks streaky right now. It won’t be after it dries.

Let dry for 1 hour.
Apply a second coat of paint, the same as you did in the previous step.
Let cure for 24 hours. This will depend on the weather and humidity. More humidity means it could take longer to dry.
If necessary, use 220 grit sandpaper to lightly sand any areas of paint drips or build up. Use another lint-free dust cloth to remove any debris if you sand.
Decorative Wash Finish
Shake your Dixie Belle Buttercream Chalkpaint for 30 seconds (second paint color).
Pour the paint and water using a 50/50 ratio into a solo cup. For instance , ¼ cup paint and ¼ cup water. Mix the paint and water together thoroughly with a plastic fork.

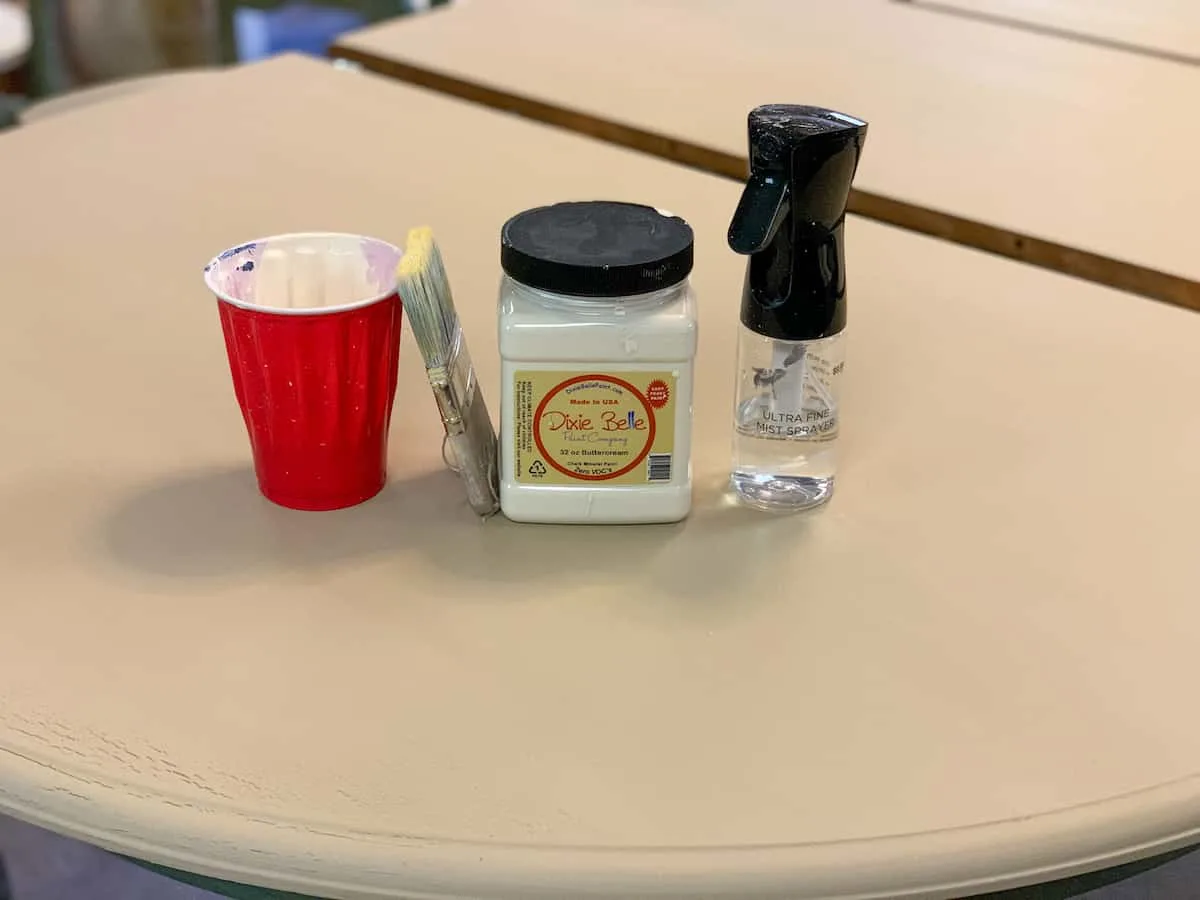
Using a natural bristle chip brush, start painting the top of your piece. Paint in the same direction of the wood grain. Be sure to use light strokes as well as long strokes.
Mist your paint with your misting spray bottle to keep the paint moving over your piece as it starts to dry. Move the paint with your misting spray bottle as much as you can before adding more of the Buttercream wash.

Let dry for 30 minutes.
Flip piece (if necessary) and paint underneath with Dixie Belle Buttercream Wash. Be sure to focus on any edges or areas that might be visible to ensure full coverage.

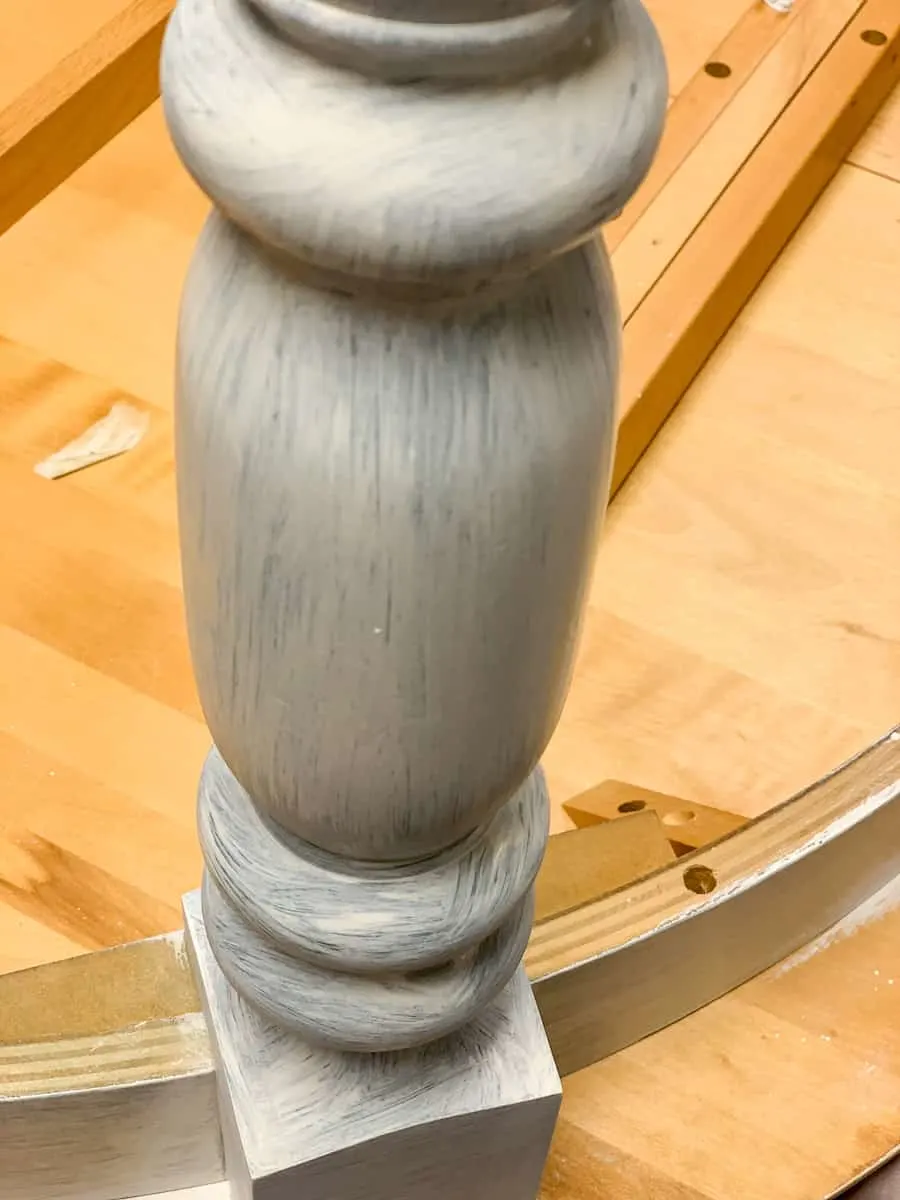
Now paint wash the legs and any areas of your table that was previously painted with the 50/50 ratio. Be sure to focus on any edges or areas that might be visible to ensure full coverage.


Let dry for 30 minutes before touching. Let cure for 24 hours before moving on to the next step.
Adding Decorative Wax Finish
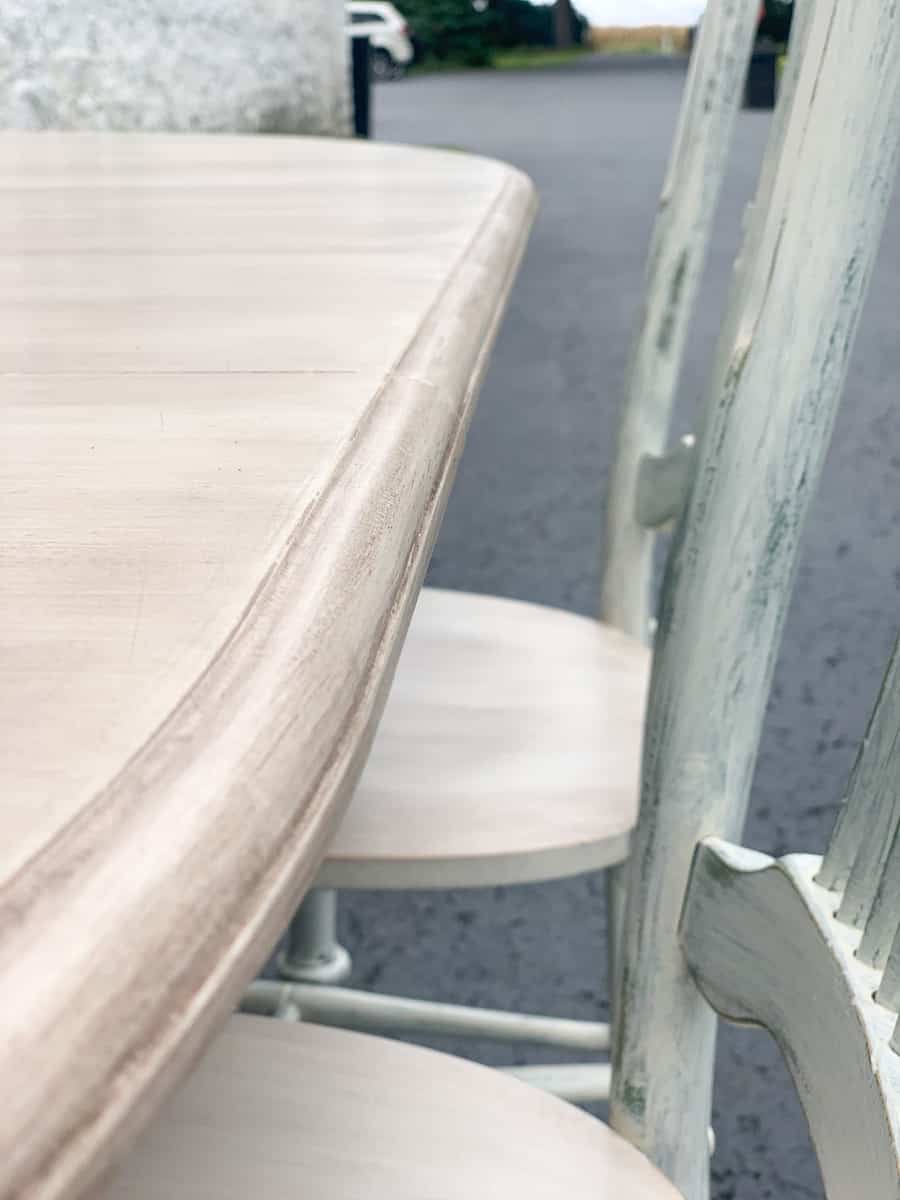
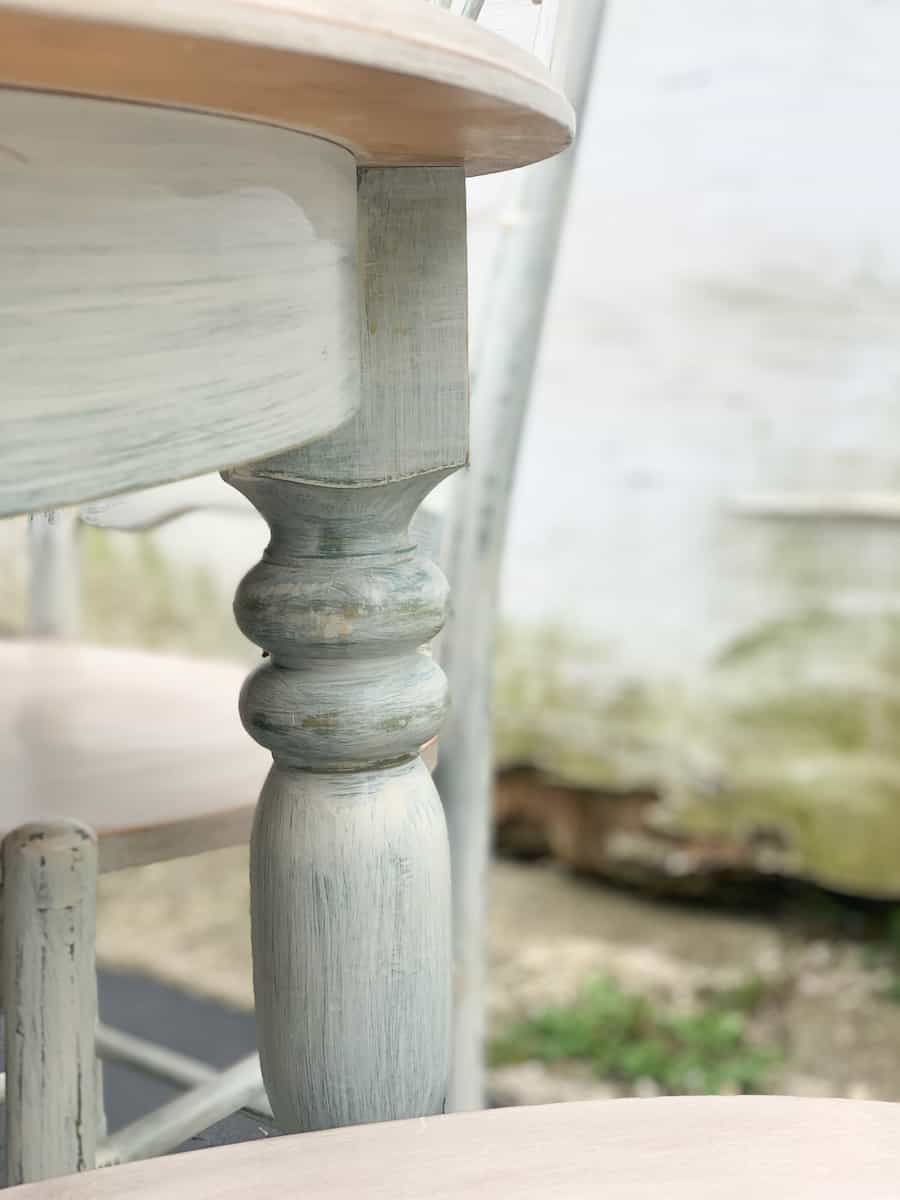
Using 220 grit sandpaper, lightly sand the entire piece. The best places to distress paint are on the corners, legs, and edges of the table.
With a lint-free cloth, remove all dust particles from the sanding process.

Set a timer for 15 minutes. Start the timer when you begin applying wax in next step.
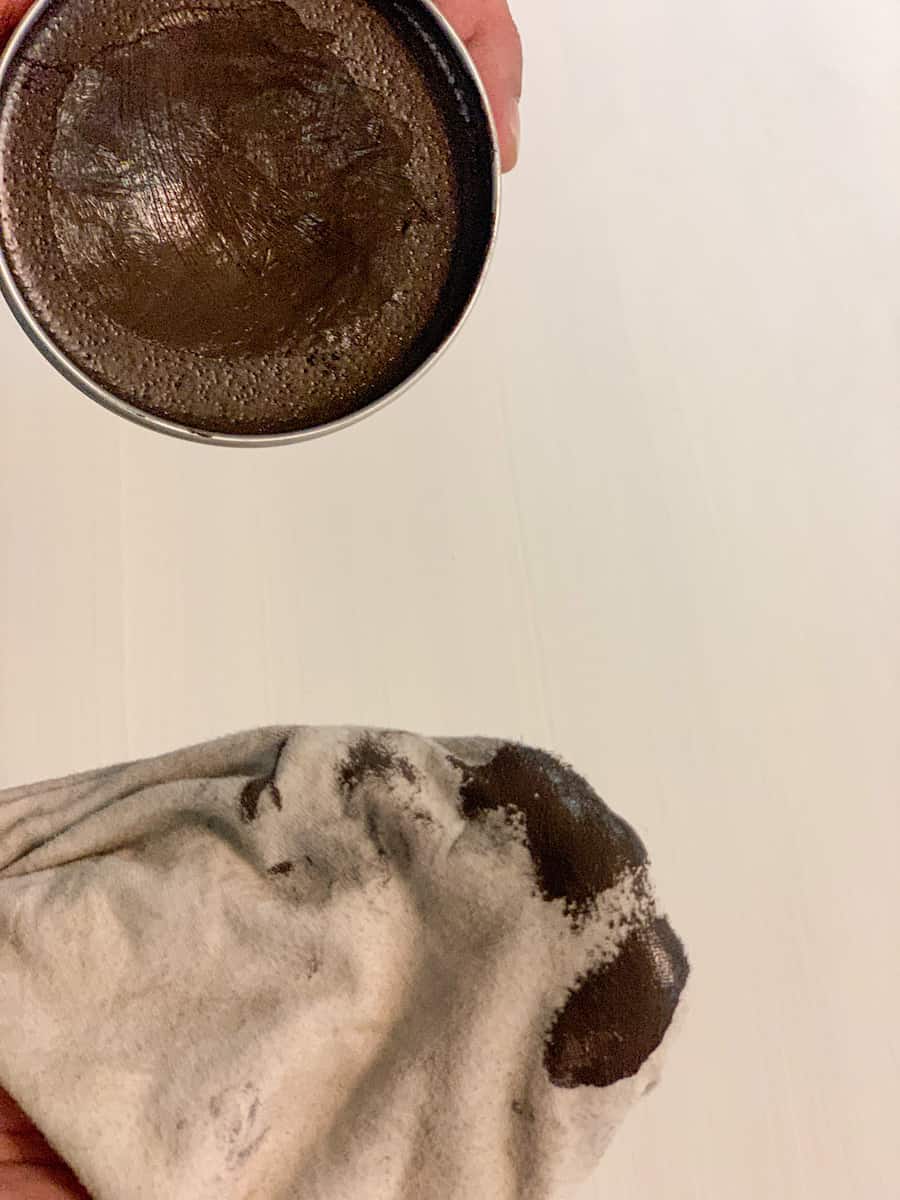
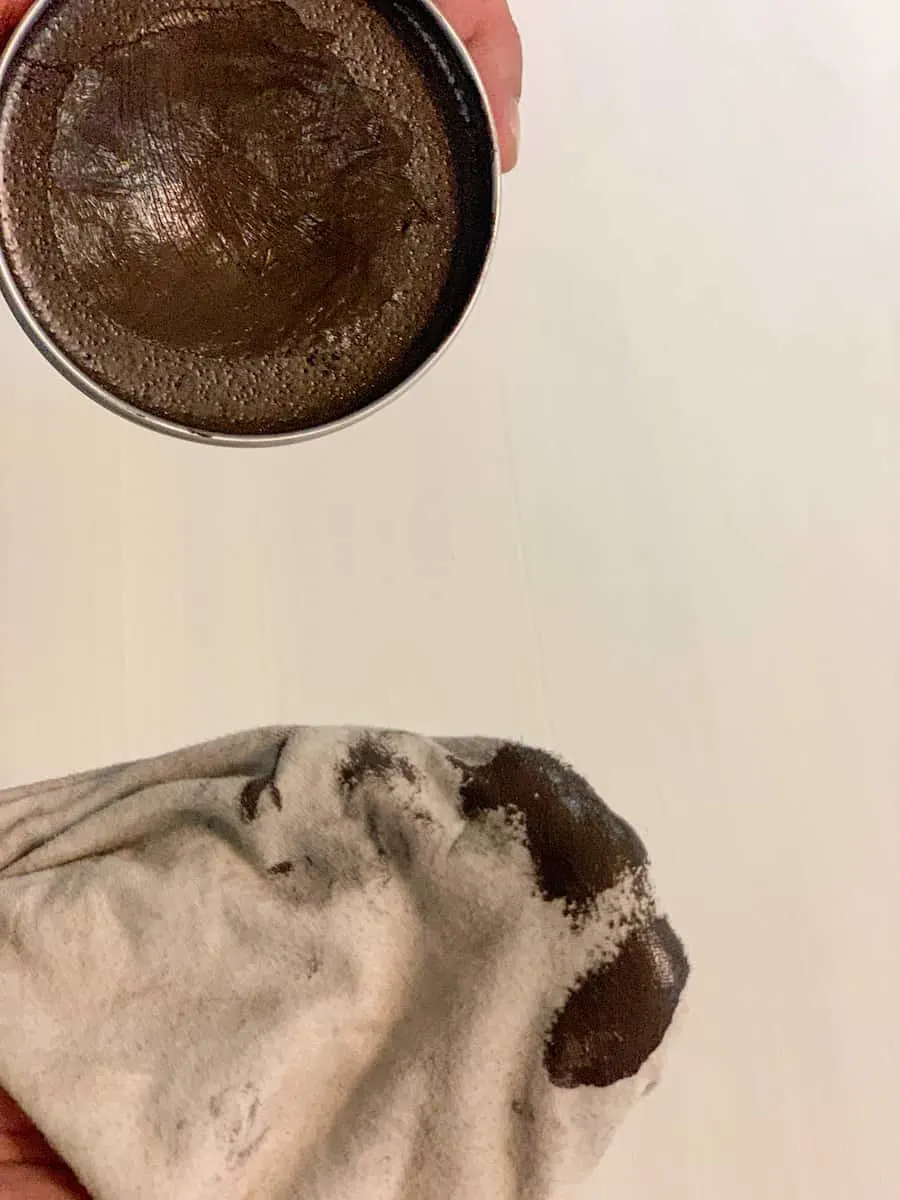
Using your natural bristle wax brush and Dixie Belle Best Dang Clear Wax, apply a thin coat to the entire piece. You can dip your brush right into the tin. Work quickly.
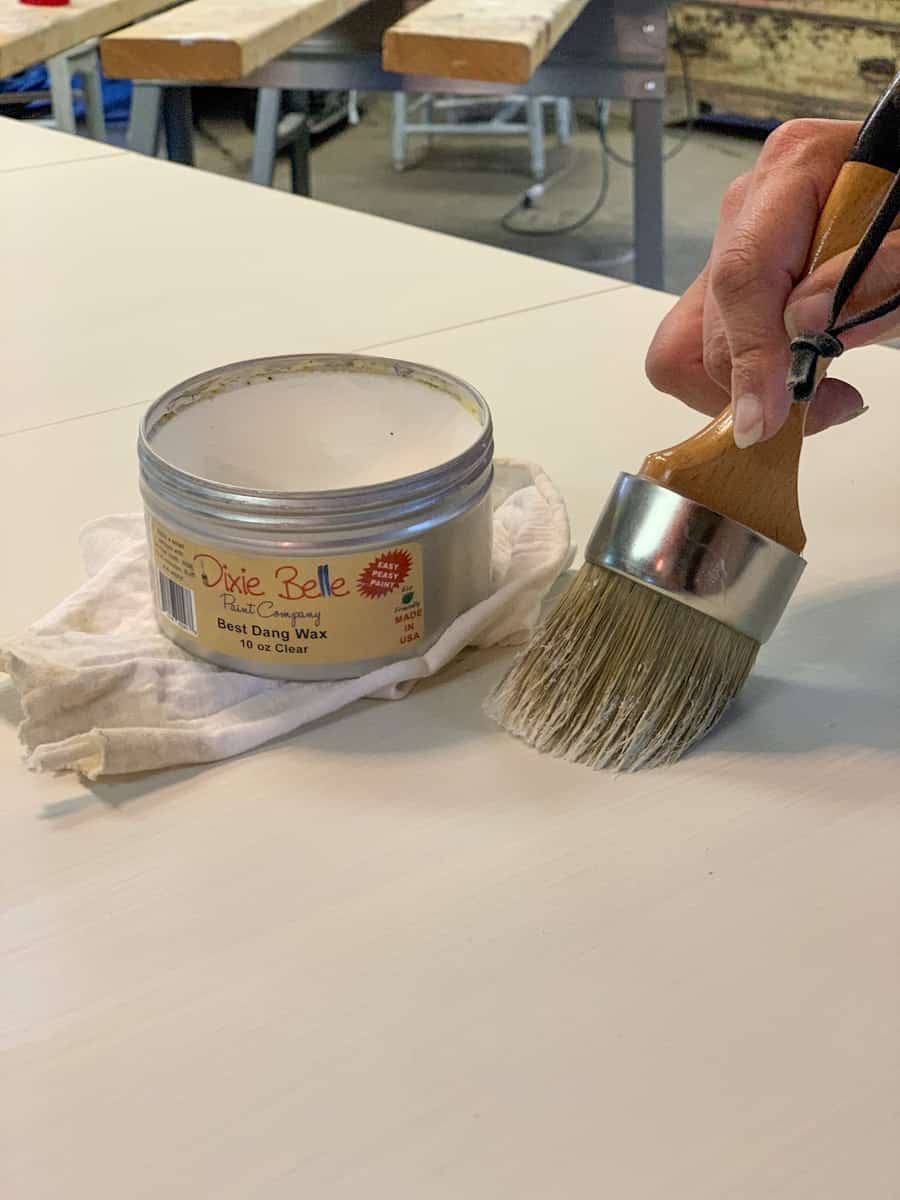
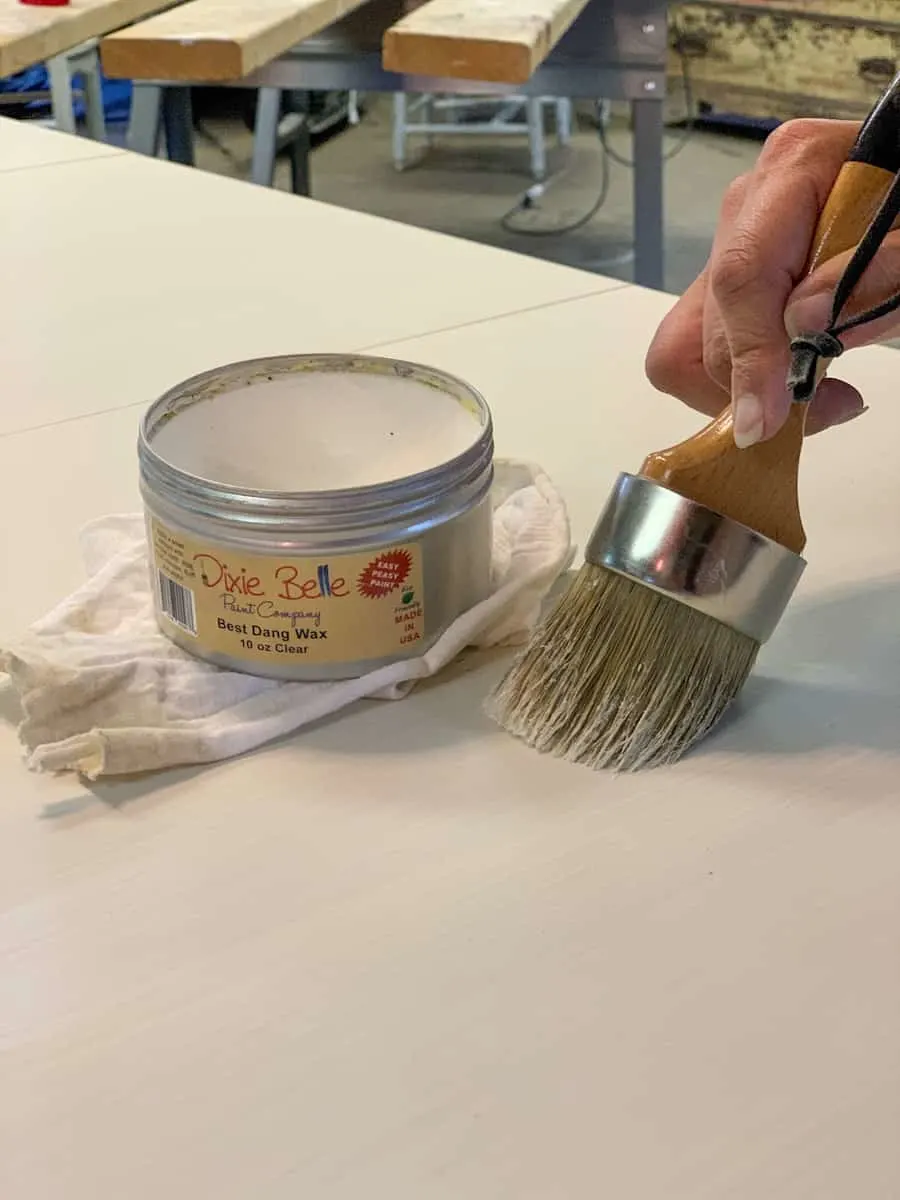
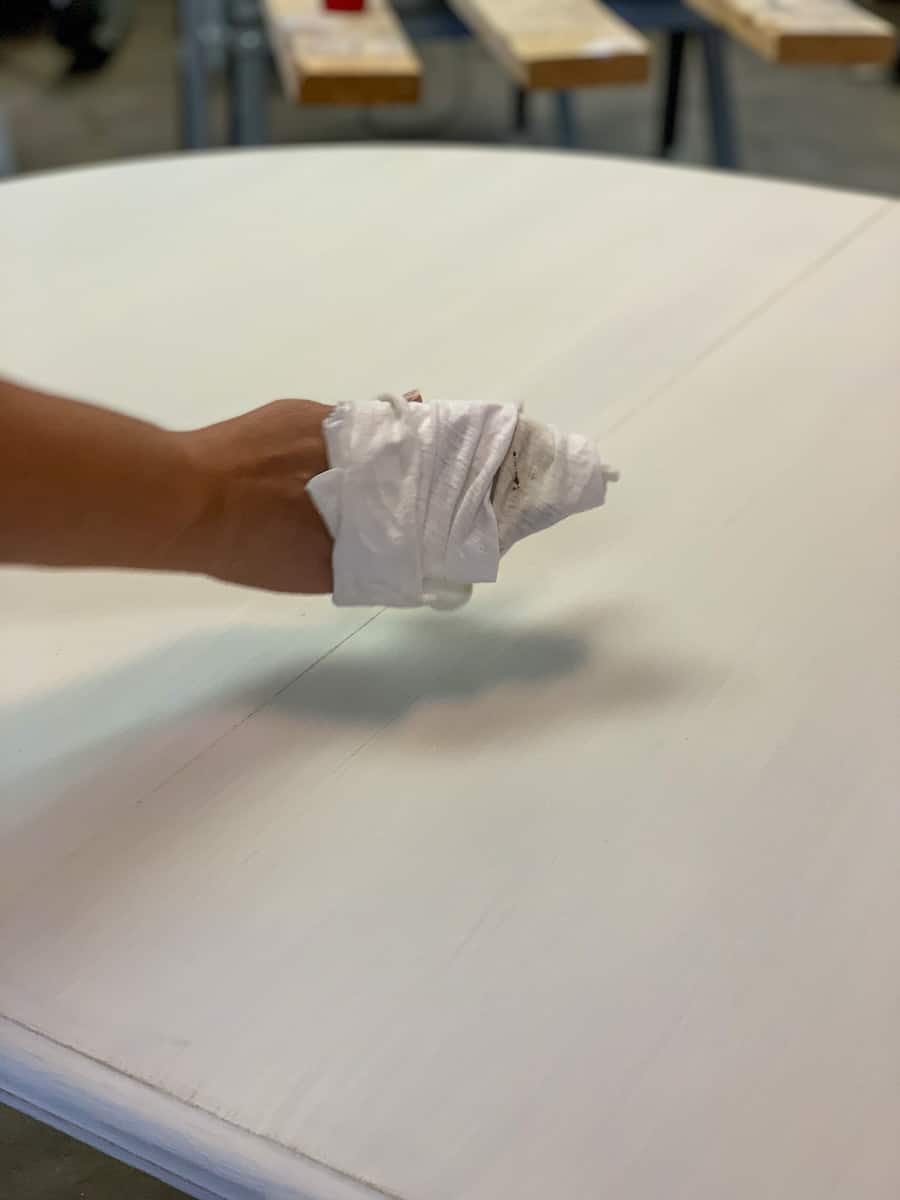
Once the timer goes off you can start to rub in your wax. Start with the area that you applied first and then continue towards the area that you did last. Using another lint-free cloth, rub your wax into your piece. Be sure to rub in all directions and press the wax into the wood.
If you’re not sweating you’re not doing it right! This takes a lot of elbow grease and arm strength.
Let dry for 1 hour.
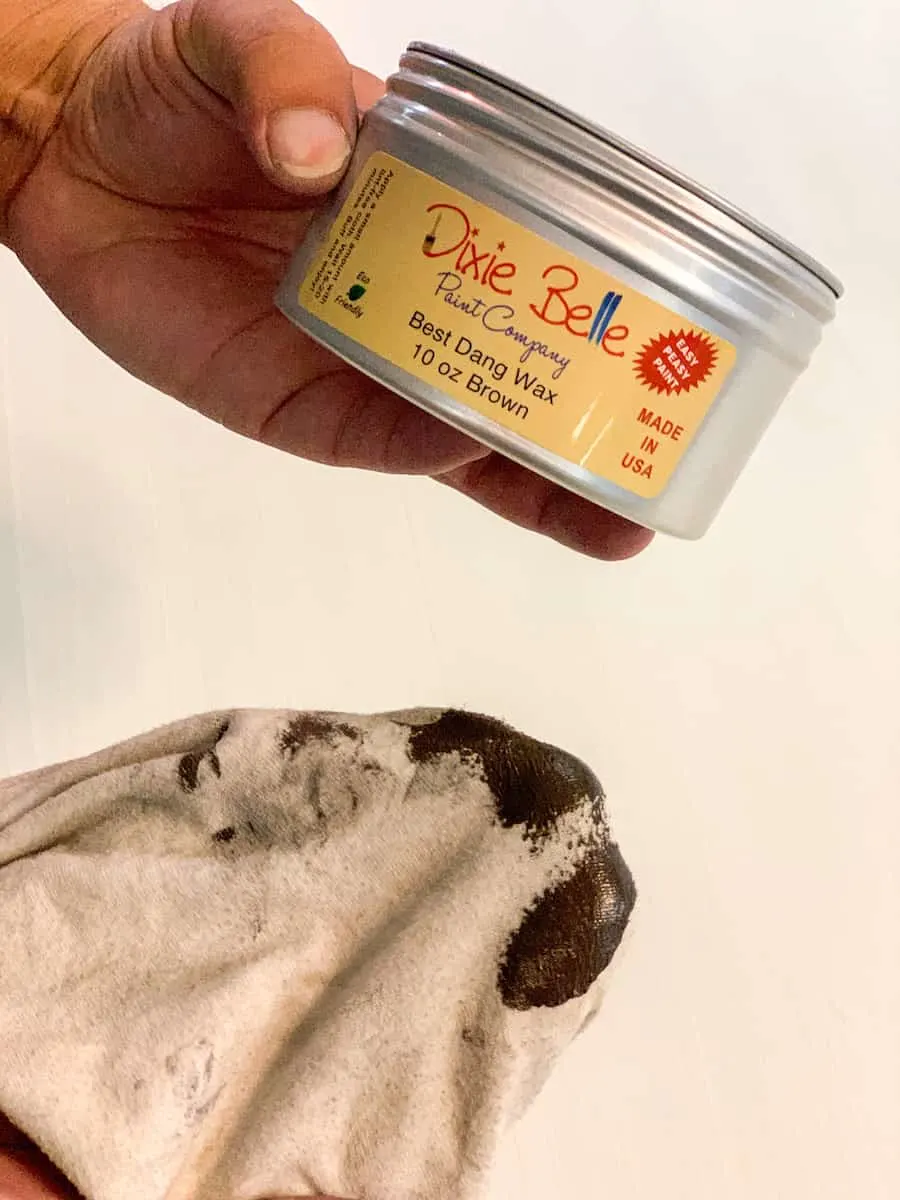
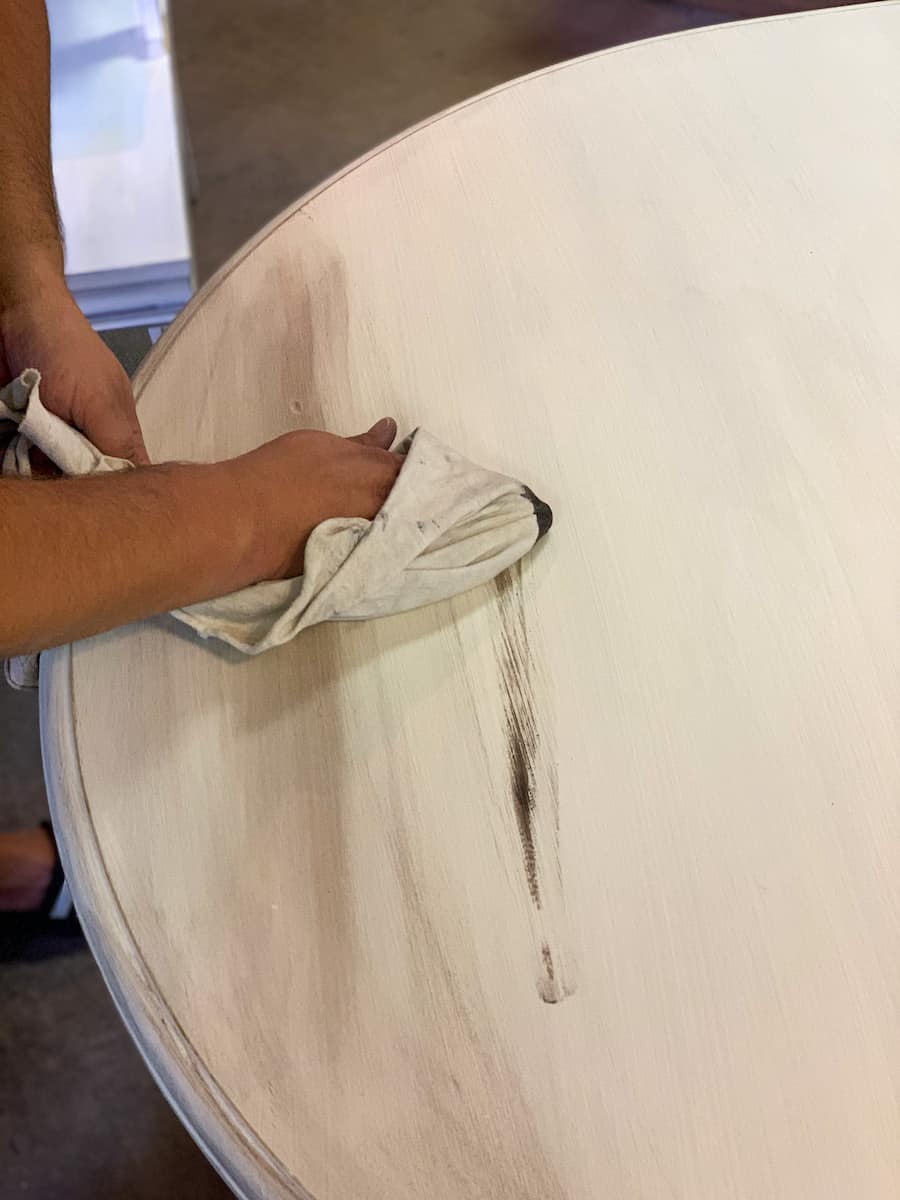
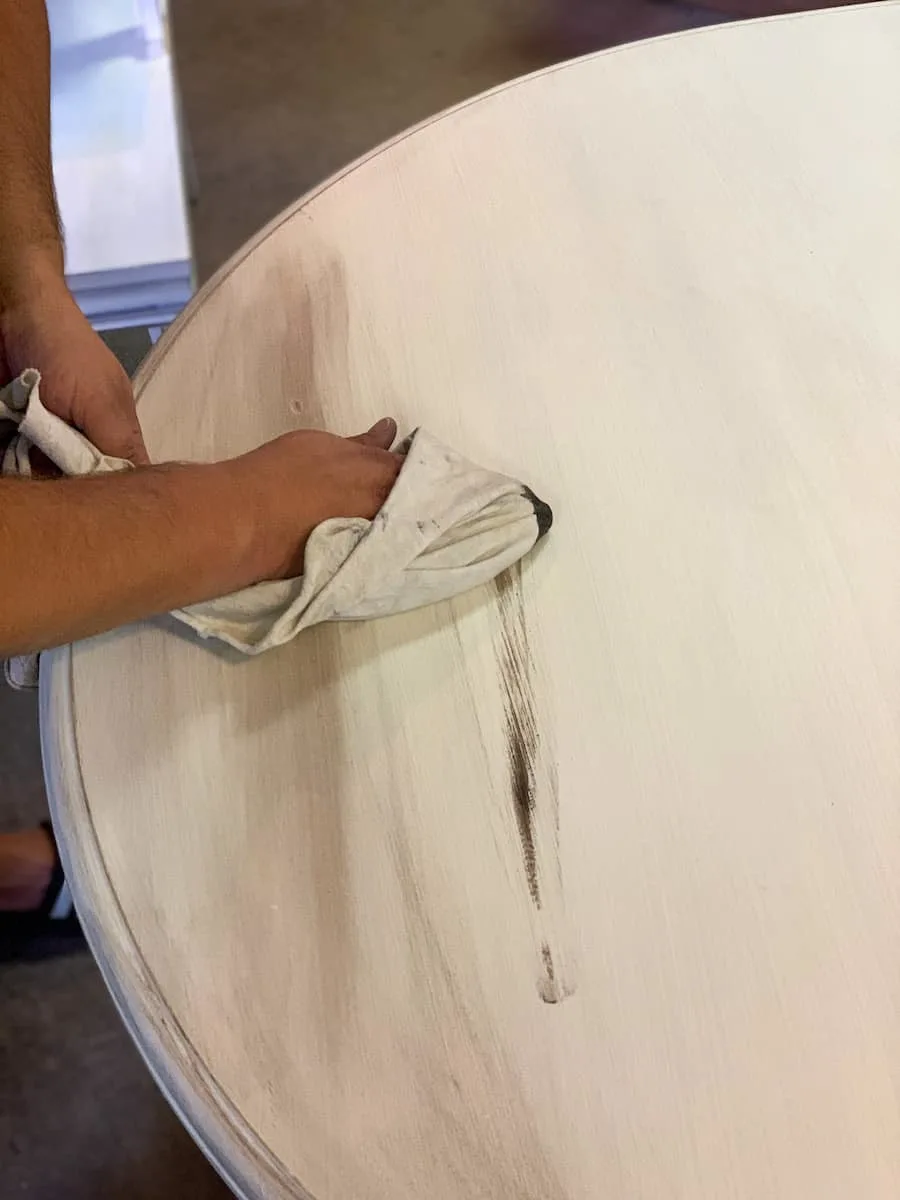
To add even more depth and detail, dip a lint-free cloth into the Dixie Belle Best Dang Brown wax. Using your finger underneath the cloth, rub the brown wax into any areas that you want to add accents to. On this piece I chose to accent the top of the table. There is no wrong way to do this!

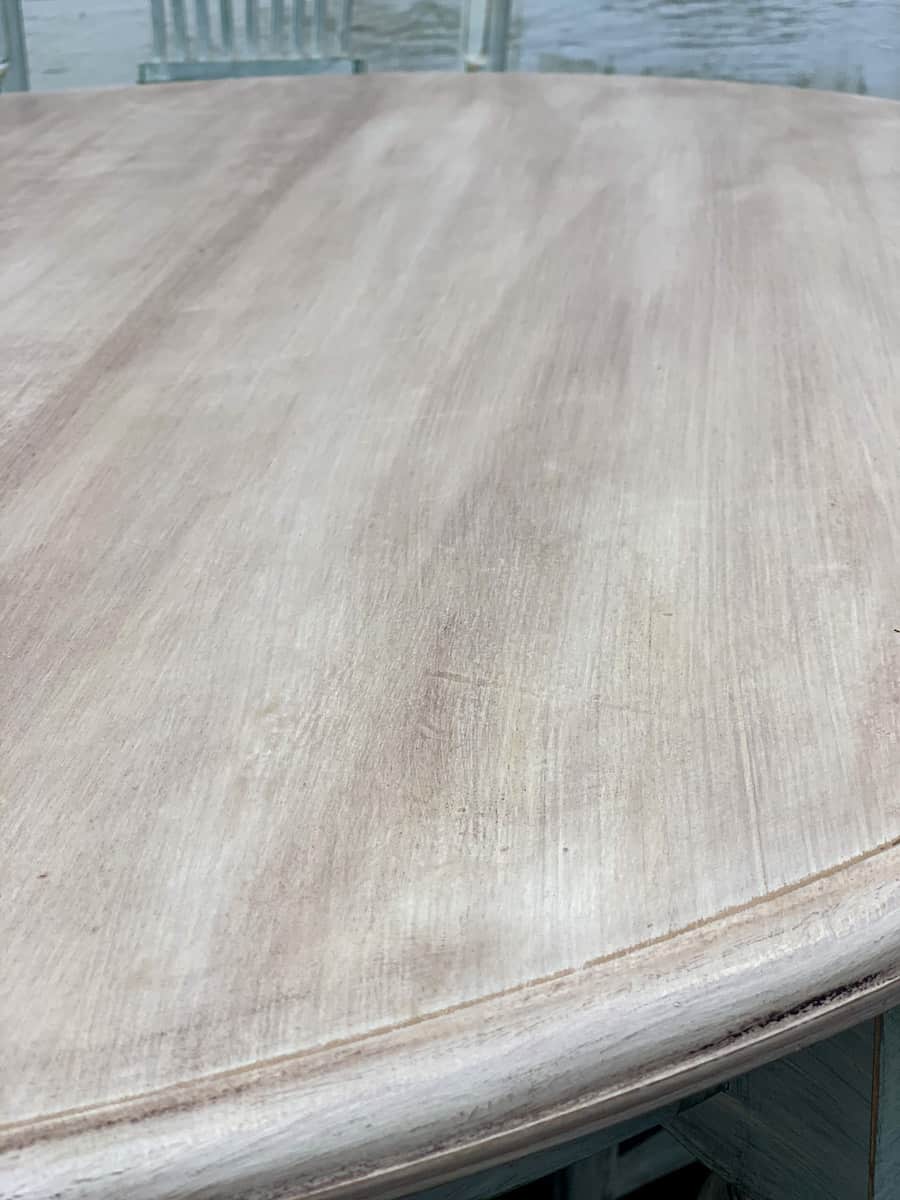
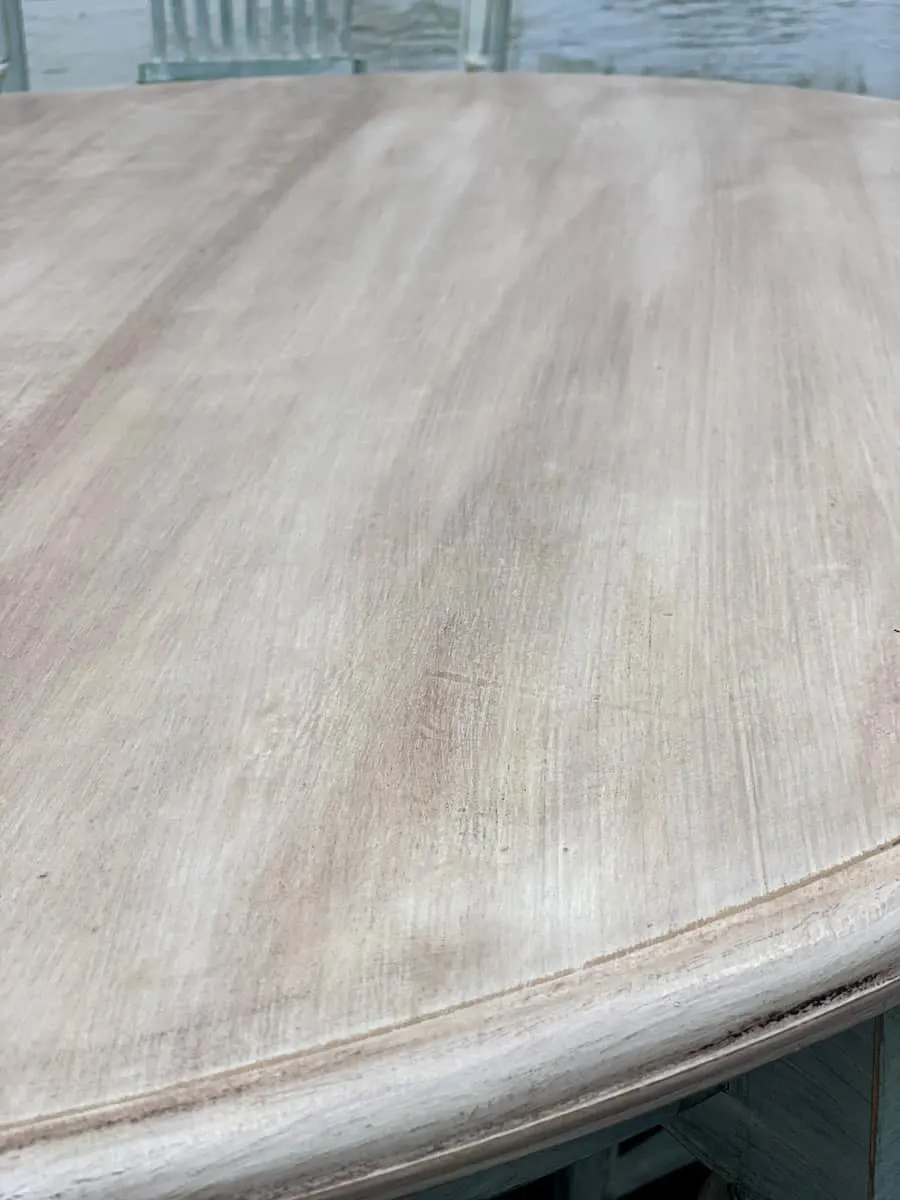
Let the finished furniture piece cure for 24 hours.
The full cure time is 30 days. You can gently use your furniture after the first 48 hours, but ee sure not to clean or drag anything across your furniture before 30 days is up.
Cleaning Up
Clean all chalk paint brushes immediately after use with water. If buildup occurs you can gently clean with mineral spirits.
Place wax brush in a ziplock bag. No need to clean your brush as long as you only use the same color wax with the same brush. Place in a ziplock bag immediately when you’re done using.
Double check to make sure all left over paint and wax is tightly sealed.
Be sure to Pin these instructions of how to paint furniture without sanding or priming to save for later!


You might also like this easy tutorial for how to add legs to cube storage units to add style to inexpensive furniture.
