
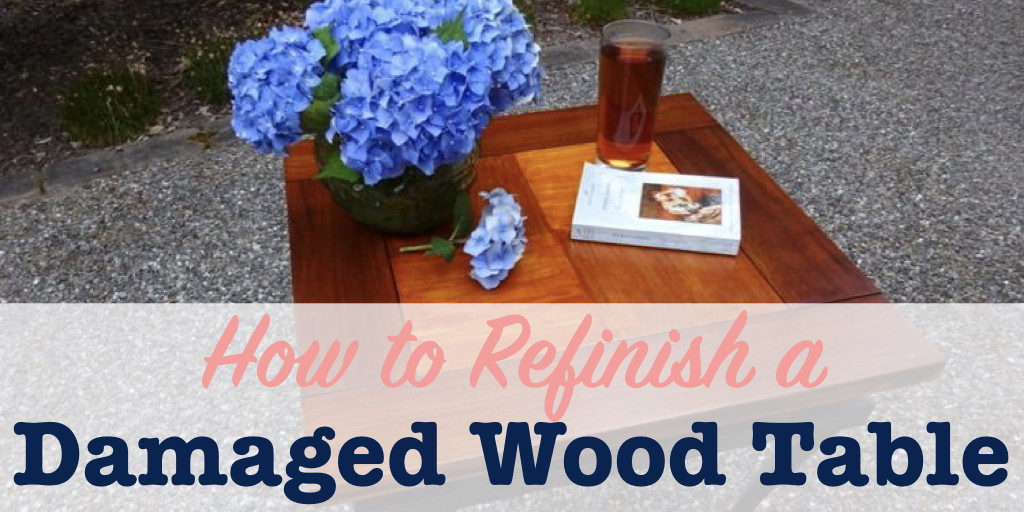
In this post: See how easy it is to refinish a damaged wood table with these DIY steps and a little patience.

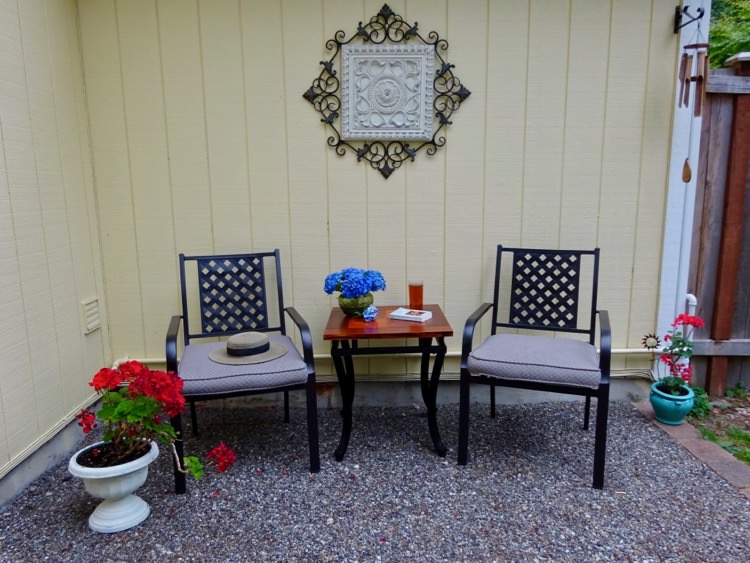
After finishing my backyard makeover, I’ve slowly been adding outdoor furniture pieces. It’s nice to have different places to sit around the yard, depending on whether I want to be in the sun or the shade.
In one of the seating areas, I had chairs, but no table. I needed a place to set a drink while relaxing with a good book!
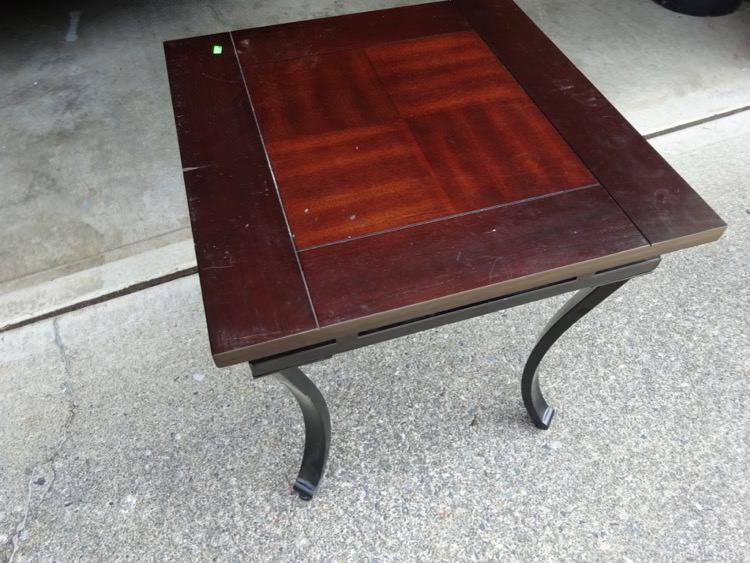
So, I picked up a scratched and damaged wood table at a thrift store (my favorite place to shop). After a little makeover, it was perfect for what I wanted.
-

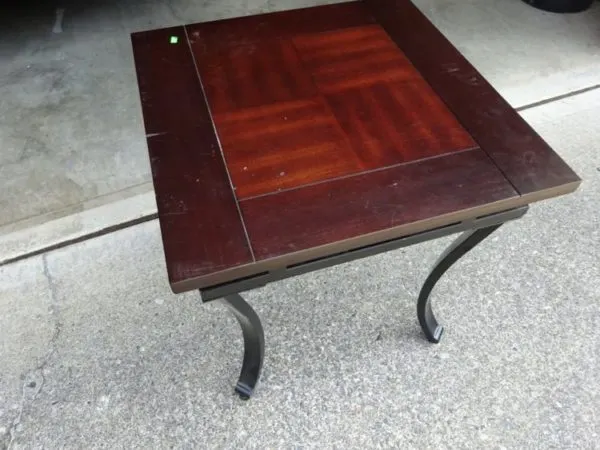
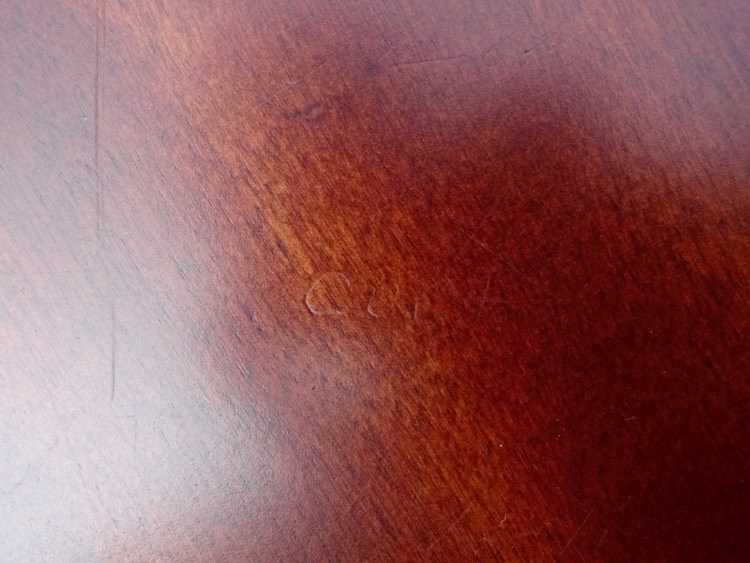
- A damaged wood table from a thrift store.
-

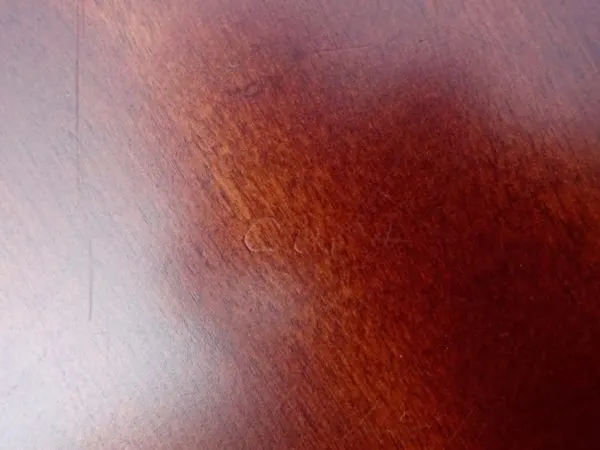
- Someone named “Curt” had left his mark…
The process I used to refinish a damaged wood table is the same for any similar project. You can use these steps to update a dining table that’s seen better days, or a side table that’s been abused by kids or pets.
All you need is a little patience, and these DIY steps.
Refinish a Damaged Wood Table
[disclaim]
MATERIALS TO REFINISH A WOOD TABLE
- Electric sander
- Steel wool
- Wood stain (I used Cabot Australian Timber Oil in Mahogany Flame)
- Varnish (I used Minwax Helmsman Spar Urethane in satin finish)
[/disclaim]


1. Check the wood quality
The very first thing you should do is look at the bottom of your table. You’re checking to see if the top is a veneer, or if it’s real wood all the way through.
If the bottom has the same wood grains and patterns as the top, it’s real wood all the way through, and you have no worries.
More likely these days, as was the case for the table I purchased, the top will be a veneer. A veneer is a thin layer of nice wood, glued on top of a much less expensive wood product.
All that means for this project is that you have to be careful not to sand too deeply, and go all the way through the veneer. If you have a really deep scratch, you may not be able to sand it all the way out. Watch for signs of cheap wood showing through as you’re sanding.
2. Sand off the old finish
If you’re a lot more patient than I am, you can do this all by hand. I chose to use my electric sander.
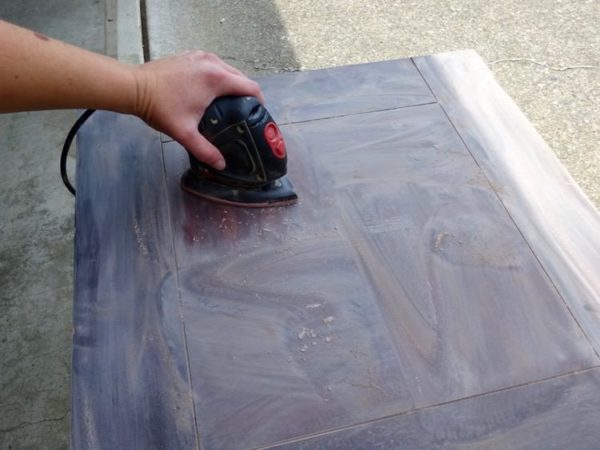
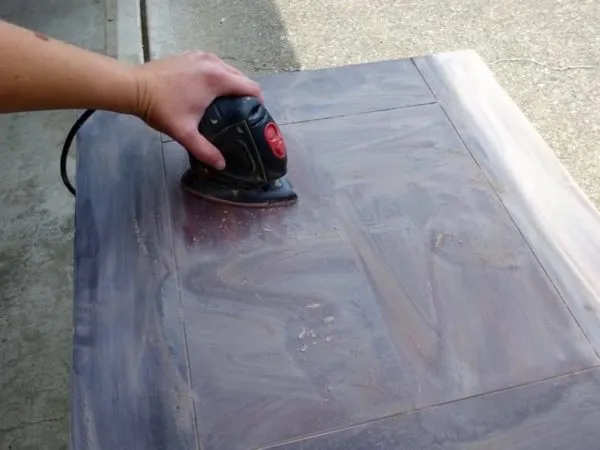
Start with a courser grit sand paper, and sand out all of the scratches and damaged spots. Move the sander in the direction of the wood grain as much as possible.
Try to get off all of the old finish as well, so your new finish will go on smoothly. Be patient and do this part well. It will really make a difference in your finished project.
Make another pass with a finer grit paper to smooth out the surface.
-


- Use a brush to clean off the sanding dust.
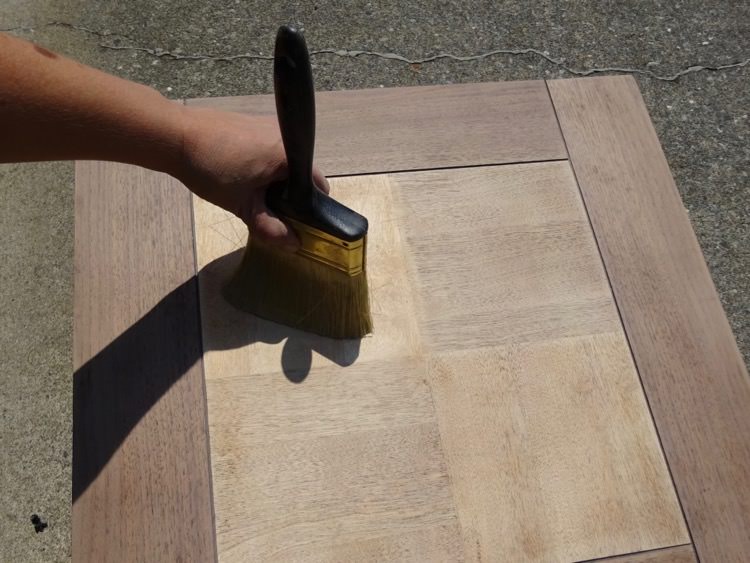
-


- Wipe the surface with a damp cloth.
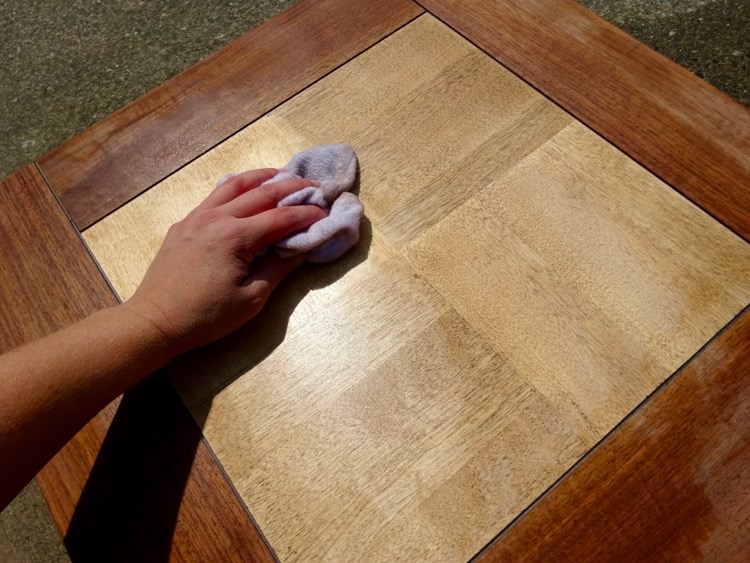
When you’re finished sanding, brush off the dust (I used a big paintbrush for this). Then use a damp cloth to clean the surface well. You don’t want any sawdust in your new finish.
3. Stain the wood
Once the surface is smooth, clean, and dry, you can apply the stain. Follow the application instructions on the can.

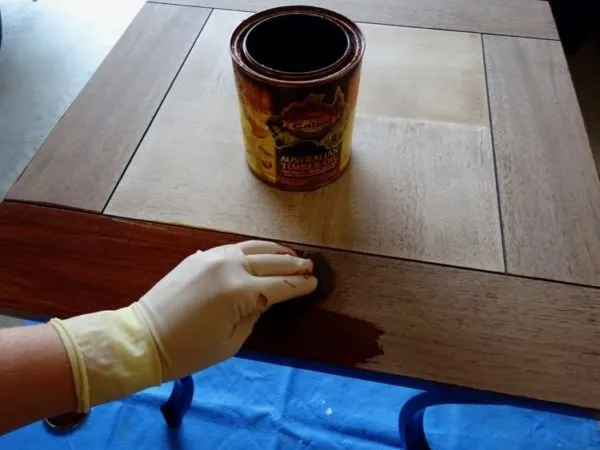
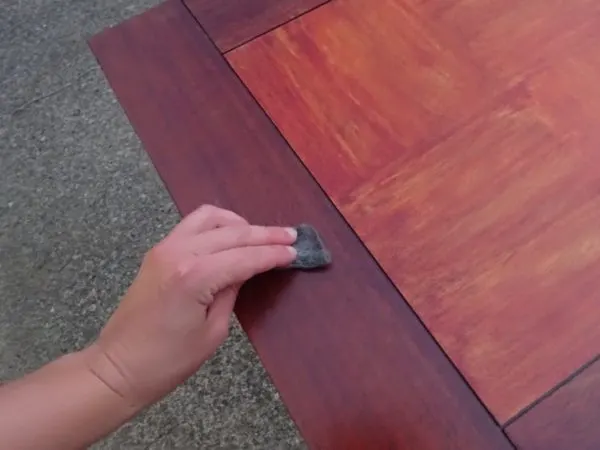
I applied my stain with steel wool, and wiped off the excess with rags.
Allow the stain to completely cure according to the instructions on the can before continuing to the next step.
4. Apply varnish
Varnish helps protect the wood from water and other damage. I chose an outdoor varnish, because I wanted to use my table outside.
Once again, just follow the application instructions for the product you choose. I applied mine with a paint brush.

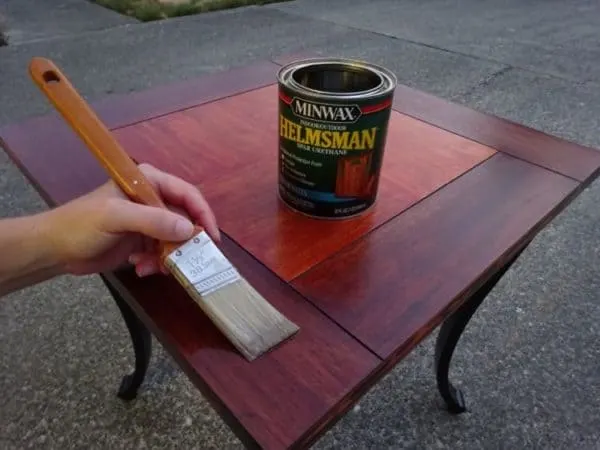
I chose to apply a couple coats of varnish, since the table was going to be outside.
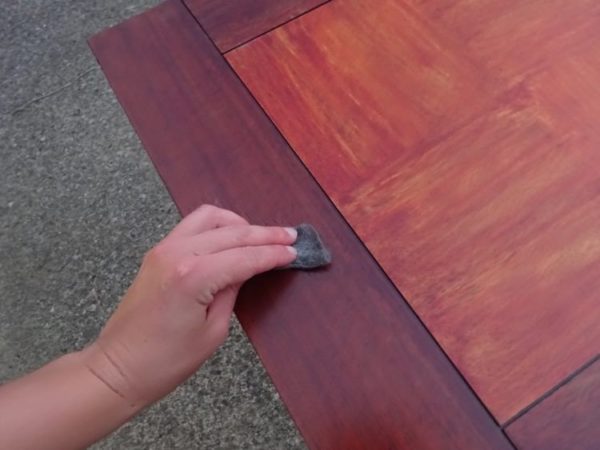
If you apply multiple coats, very gently sand the surface with steel wool between coats to get the best application.
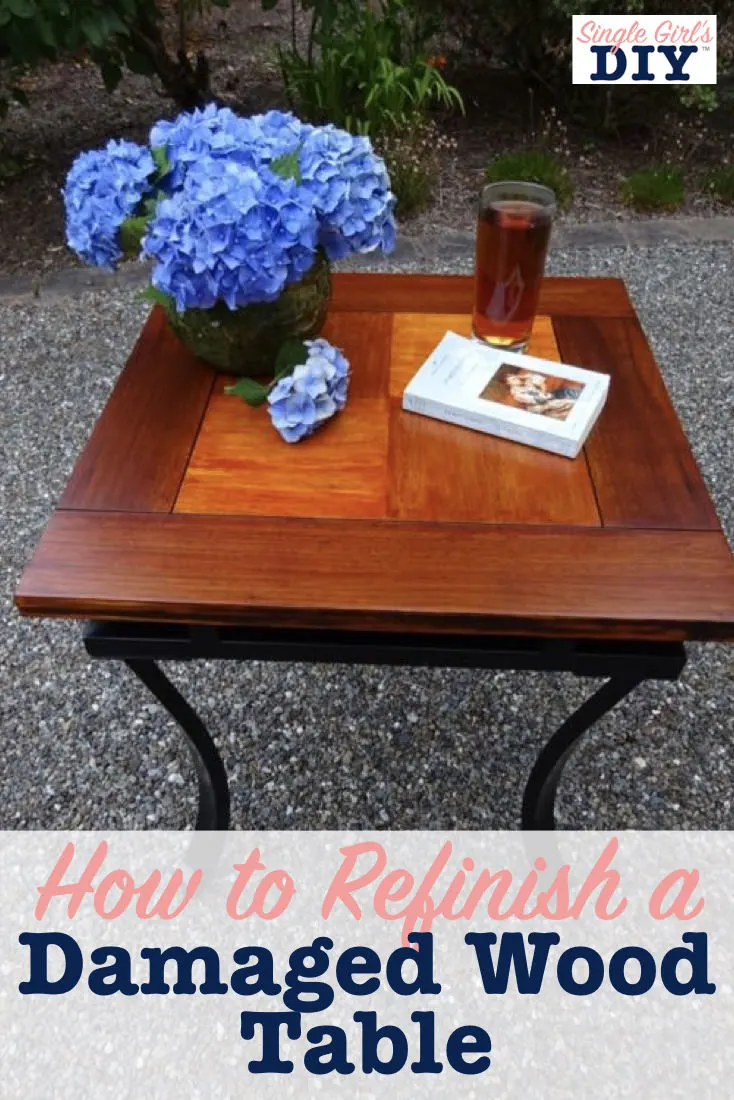
5. Enjoy your beautiful refinished wood table
With those easy steps, and a little patience with each one, I ended up with a pretty wood table for just a few dollars.

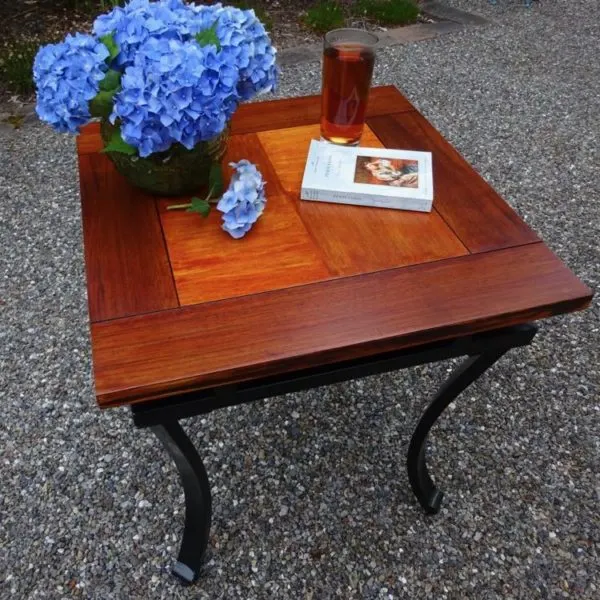
Now it’s the perfect spot to set down my glass or my book on a summer afternoon.
If you’d like to see the rest of my backyard, and the unbelievable makeover I accomplished on a tiny budget, but sure to check out this post:


Tina
Thursday 28th of March 2019
Nice job!
Jenny
Sunday 31st of March 2019
Thanks, Tina!