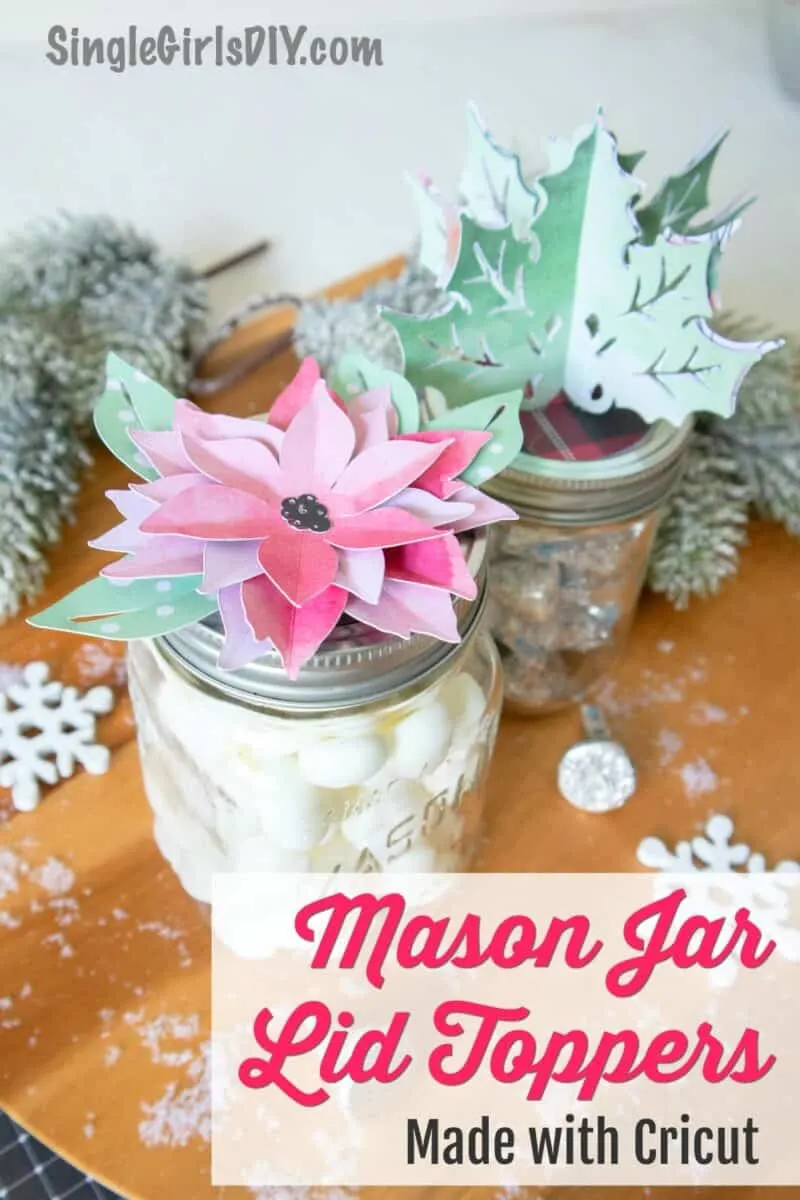
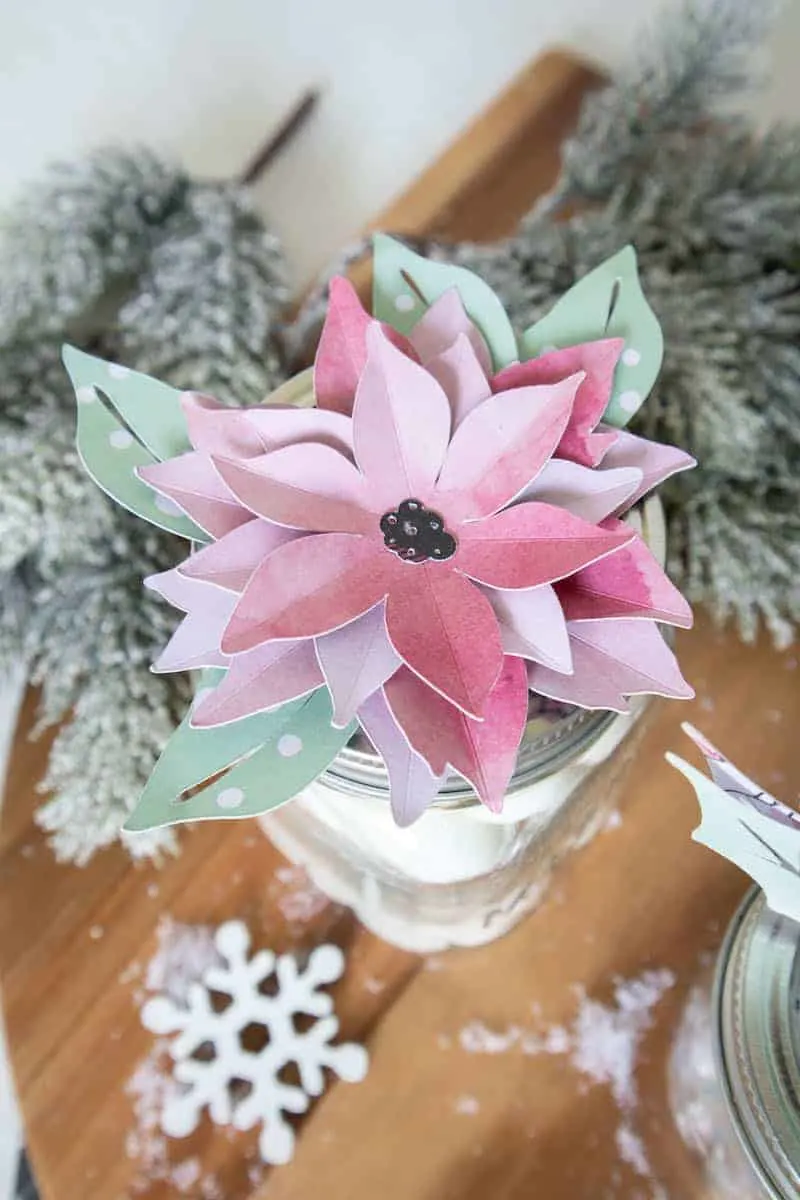
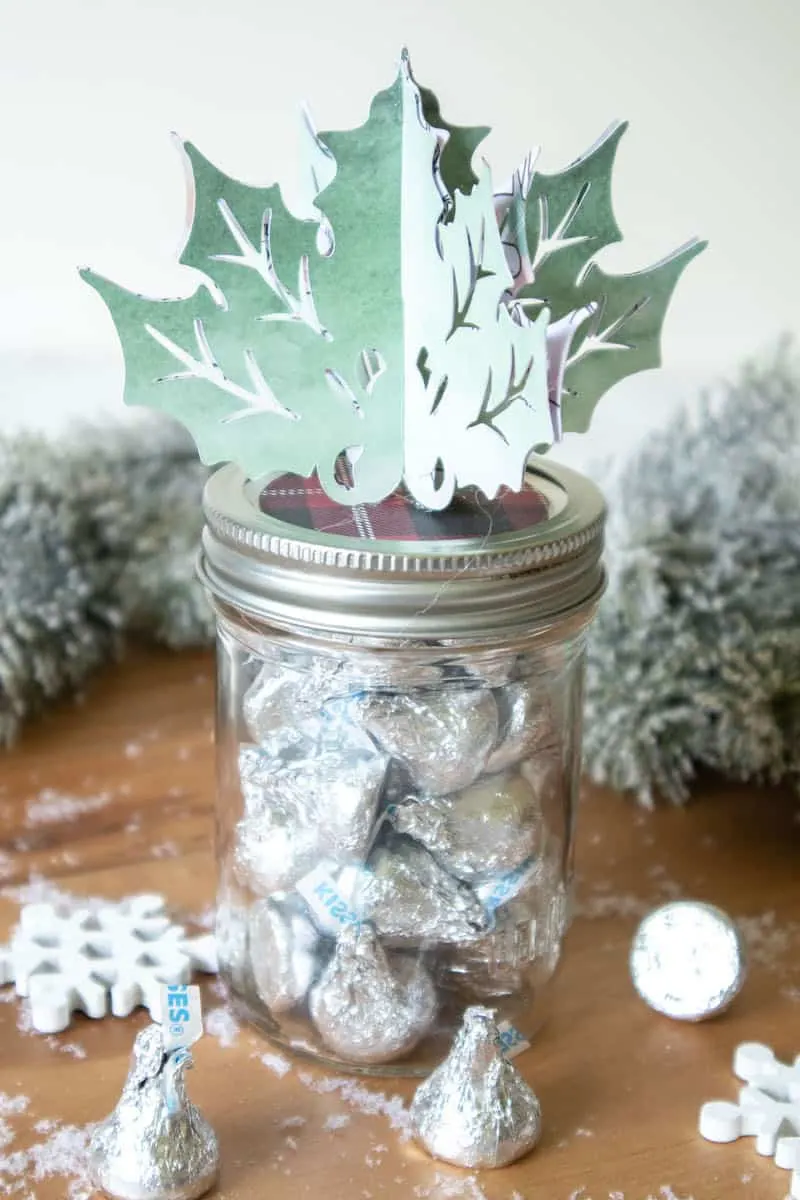
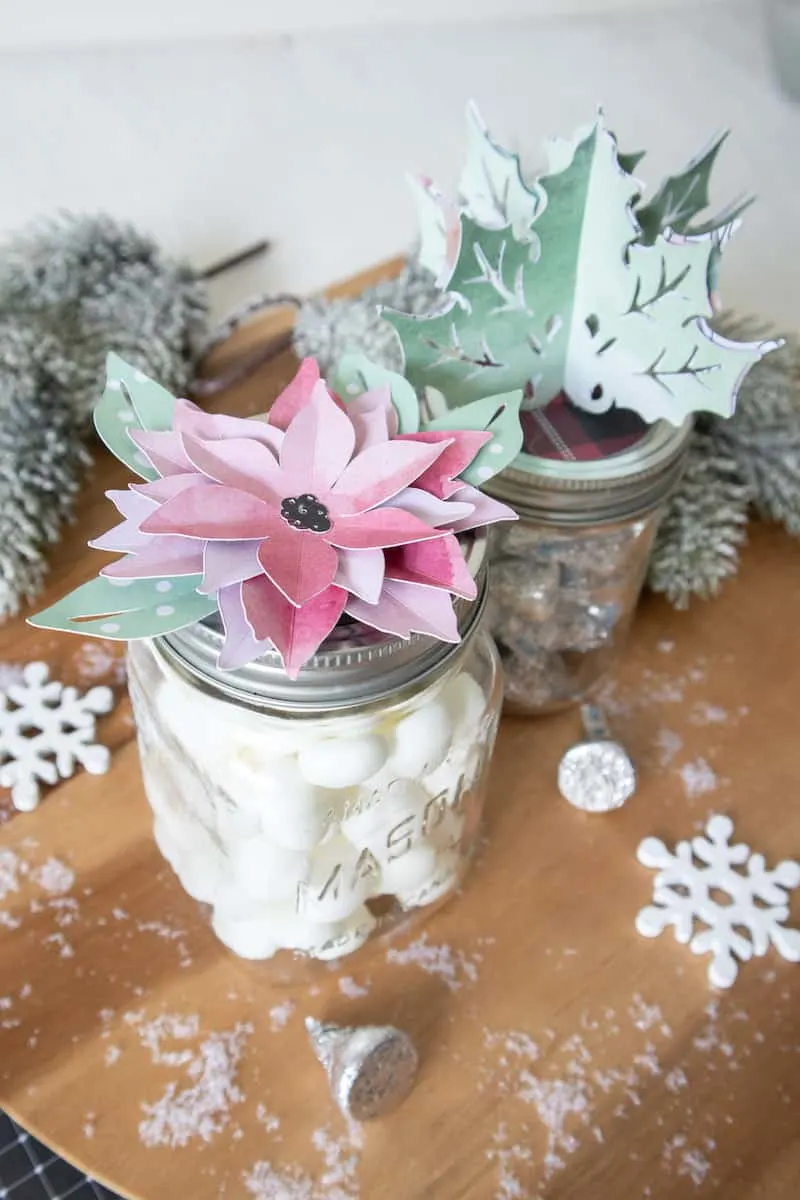
This Cricut craft makes stunning Christmas Mason jar toppers in a poinsettia and holly pattern. Perfect last minute gift for friends, coworkers and neighbors!
Anyone else love the versatility of mason jars? Not only can you get them cheap, but you can make look fancy in a jiffy!
Which is why I love the Cricut templates in Design Space. You can easily make these stunning Christmas mason jar lids to make your gift look more expensive than it is!
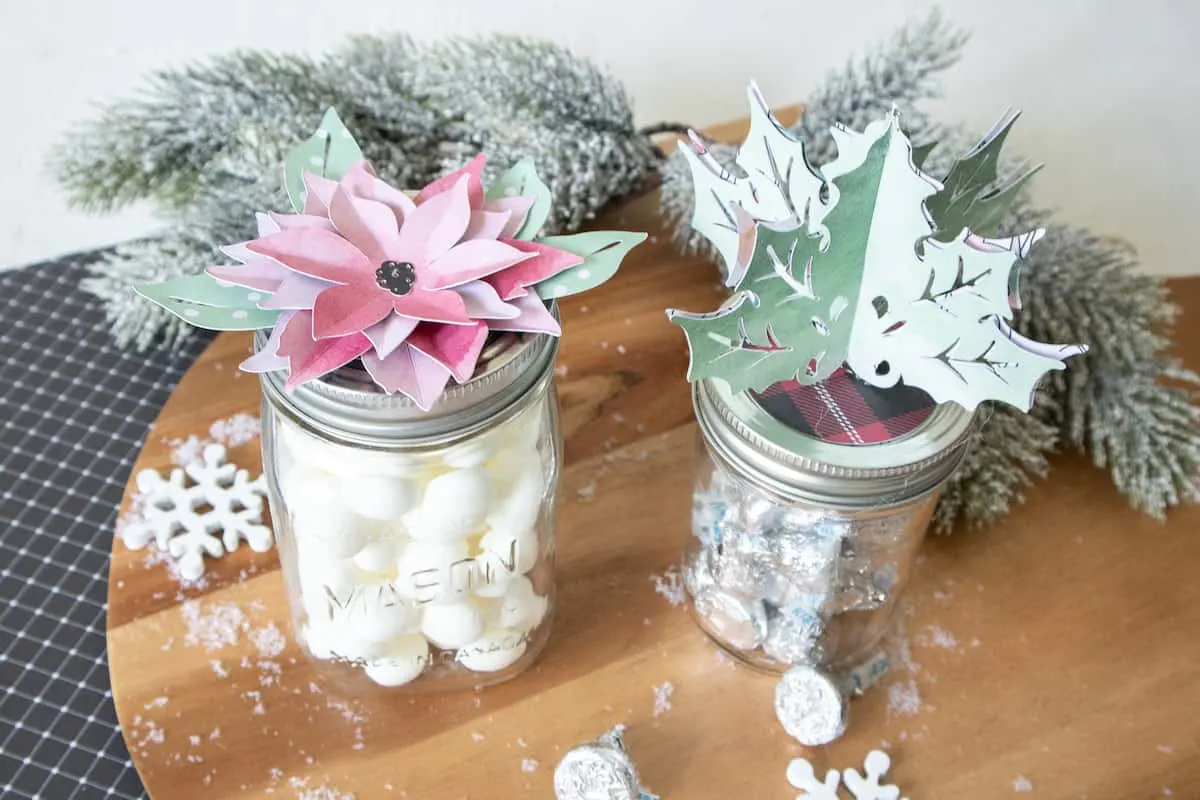
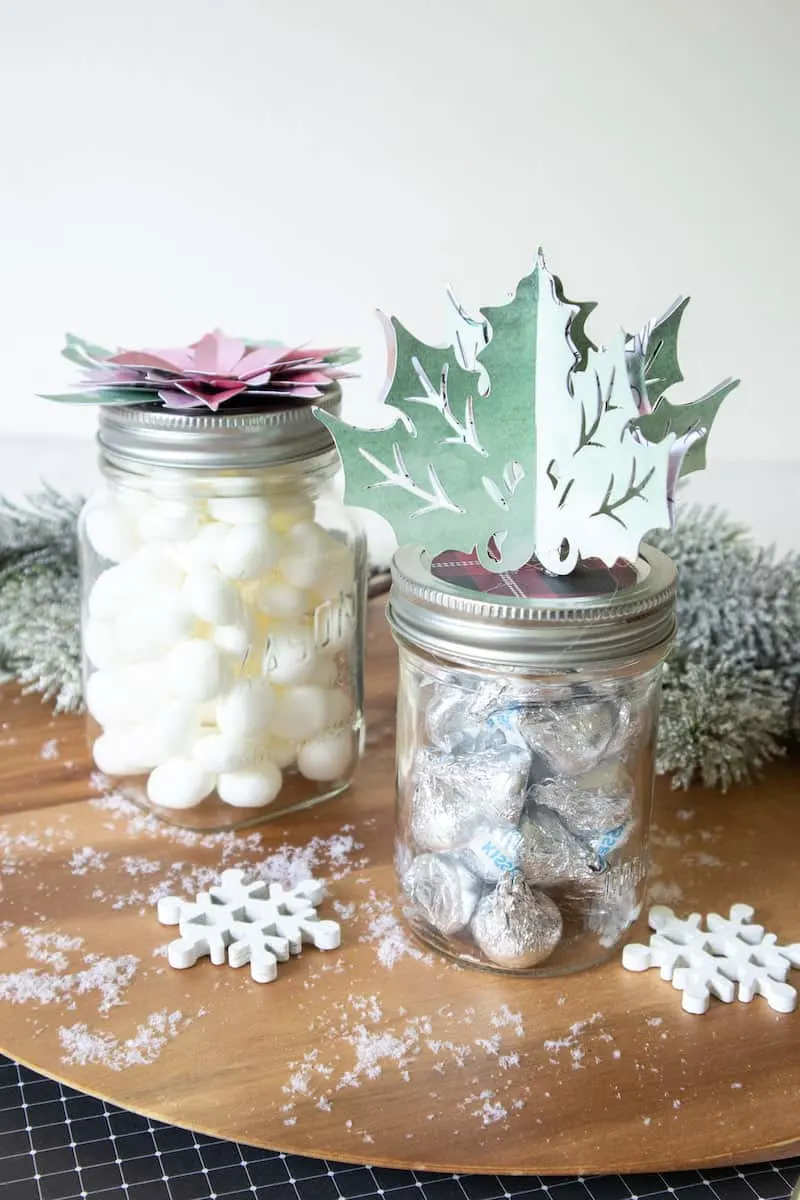
A jar of candy is a nice Christmas gift. But you can really give it a WOW factor with these glass jar topper ideas. Seriously, they will talk about how beautiful the jar is before they realize there is Christmas candy in it!
Our DIY Christmas Popcorn Jar is also simple yet festive with our free printable gift tags.
If you want even more mason jar crafts, be sure to see my other DIY ideas:
How to Make Christmas Mason Jar Lid Toppers
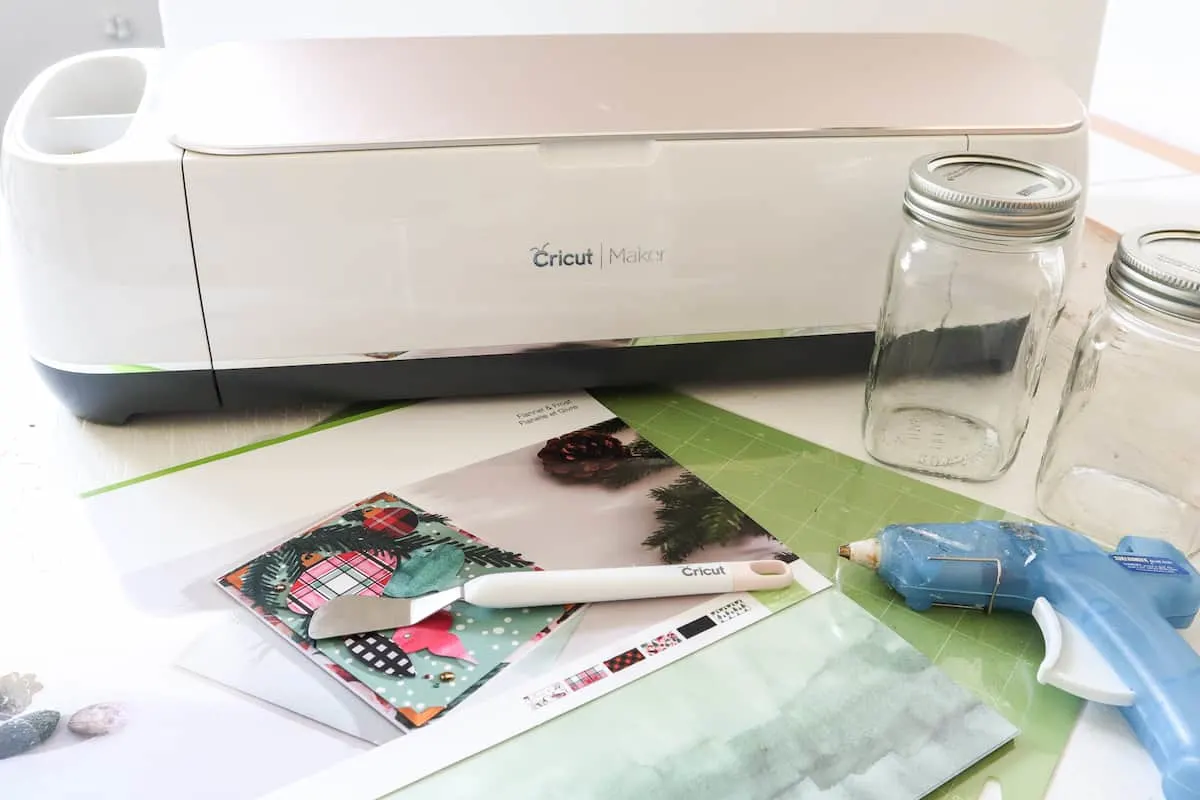
Materials
Makes One Poinsettia and One Holly Jar Topper
- Poinsettia template in Design Space, #M5258CA
- Holly Stand Up Icon in Design Space, #M524F76
- Cricut Maker (or other Cricut cutting machine) with Fine Point Blade and Scoring tool
- Cricut Standard Grip Mat
- Cricut Deluxe Cardstock paper in Flannel & Frost
- Glass Jar with lid, 8oz
- Spatula
- Hot glue gun and glue sticks
Directions
Uploading the Poinsettia and Holly Patterns
Open Cricut Design Space. Click on the “+” sign to start a new project, opening up a blank canvas.
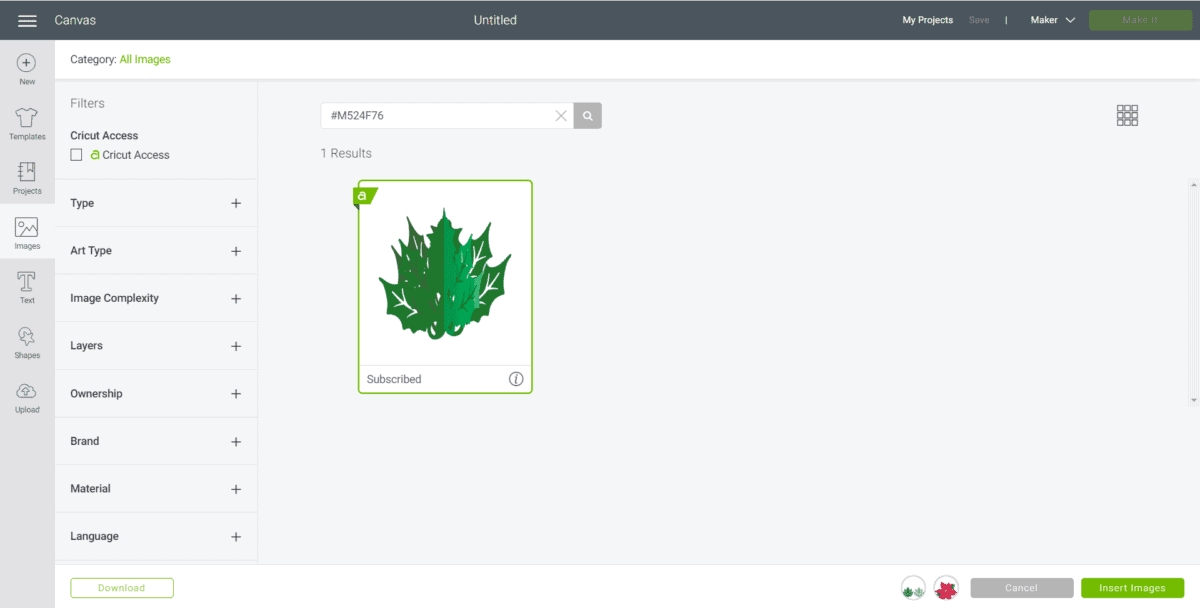
Click on the Images button from the toolbar.
Search #M5258CA and #M524F76 and then click on the images to insert the pattern on the canvas. Maintain the sizes.
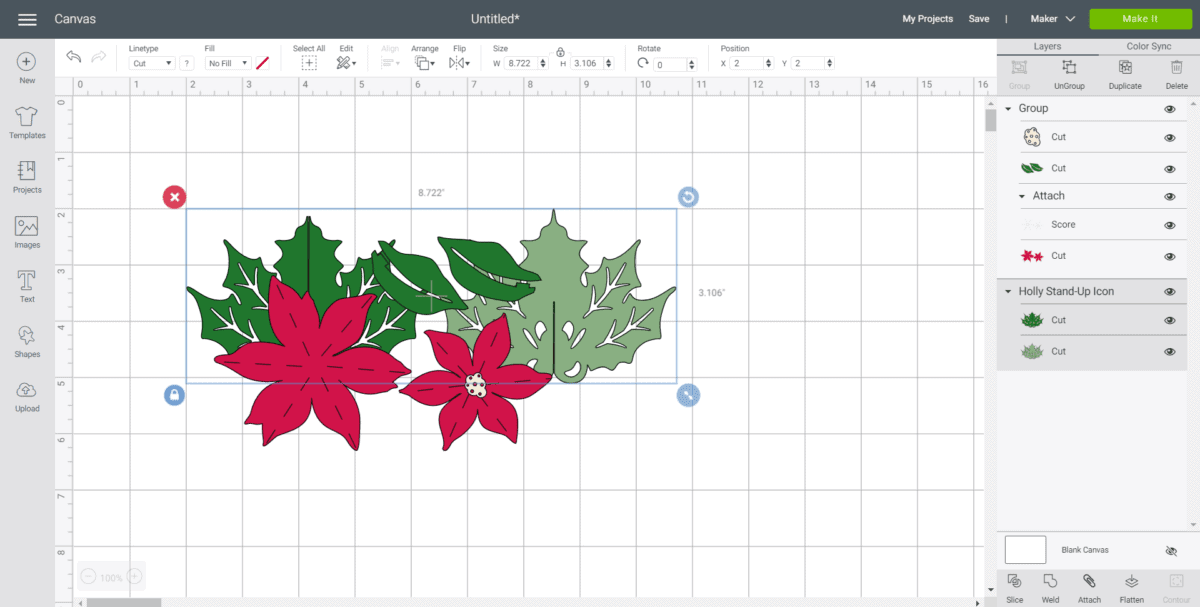
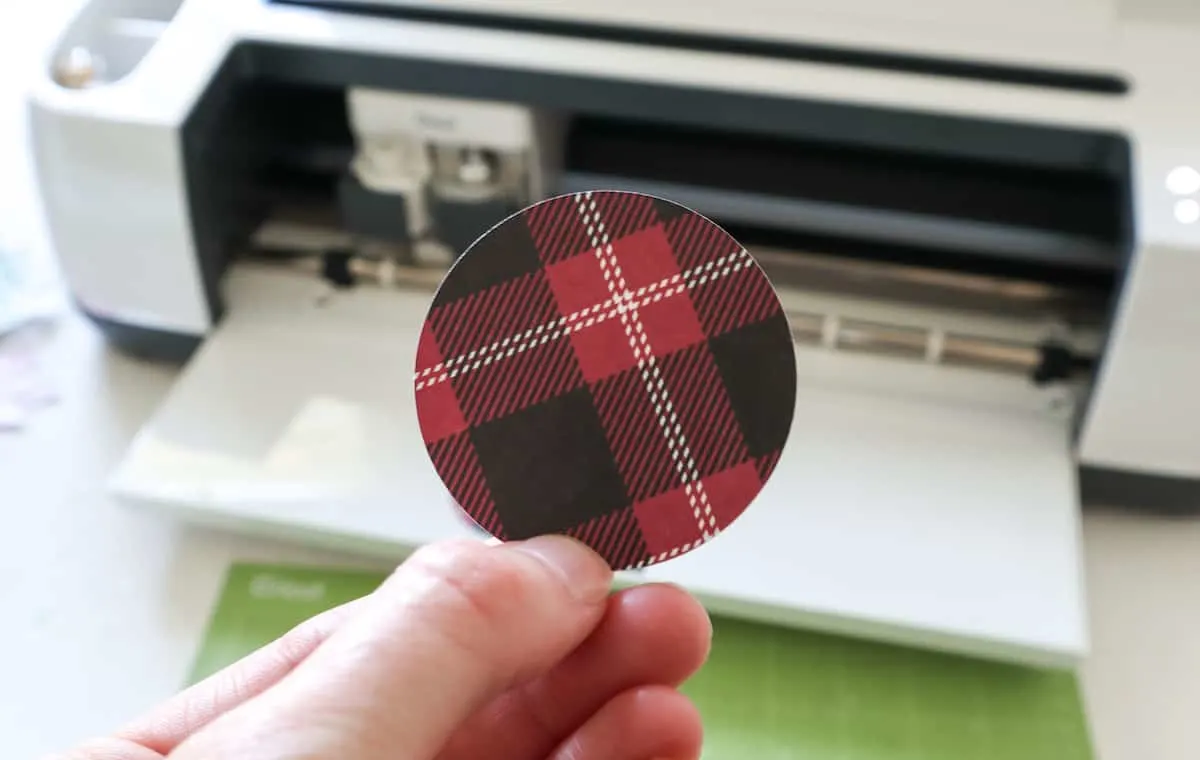
Click on the Shape button from the toolbar. Insert circle and size it to 2” across or whatever the diameter of your jar lid.
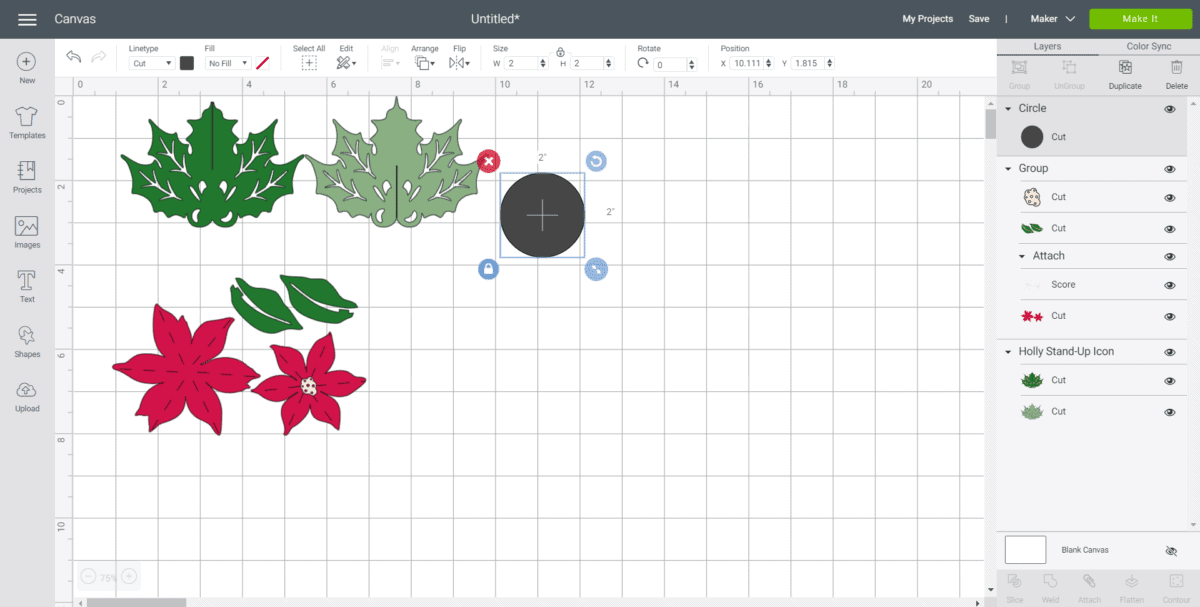
Duplicate all pieces (except for the small centerpiece of the poinsettia flower).
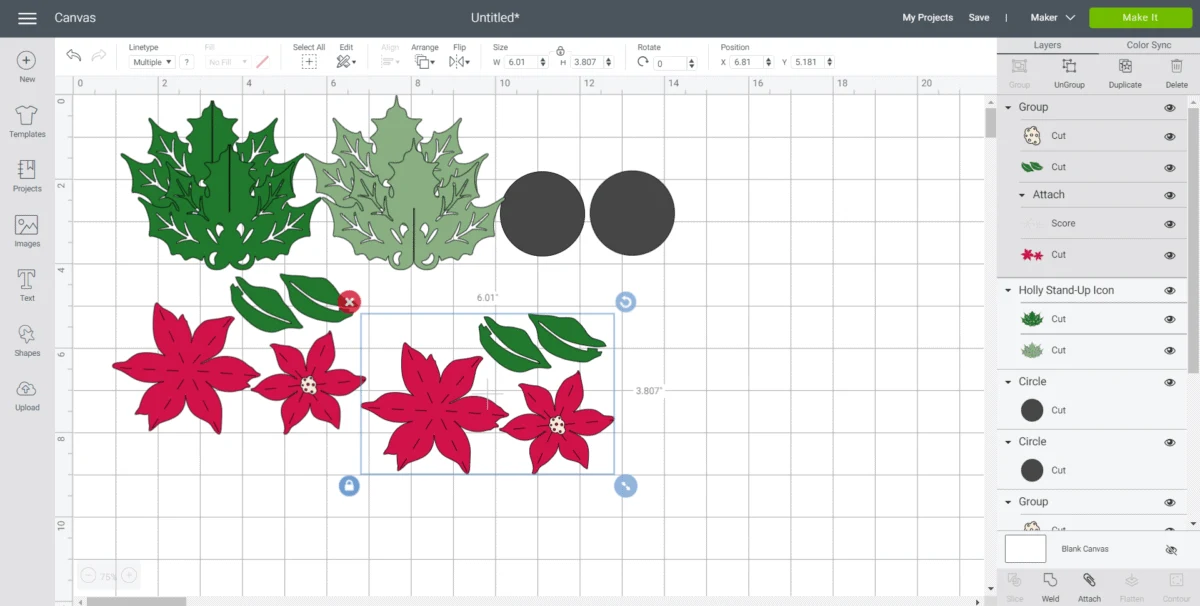
Flip the second set of holly images horizontally creating a mirror image of the first set.
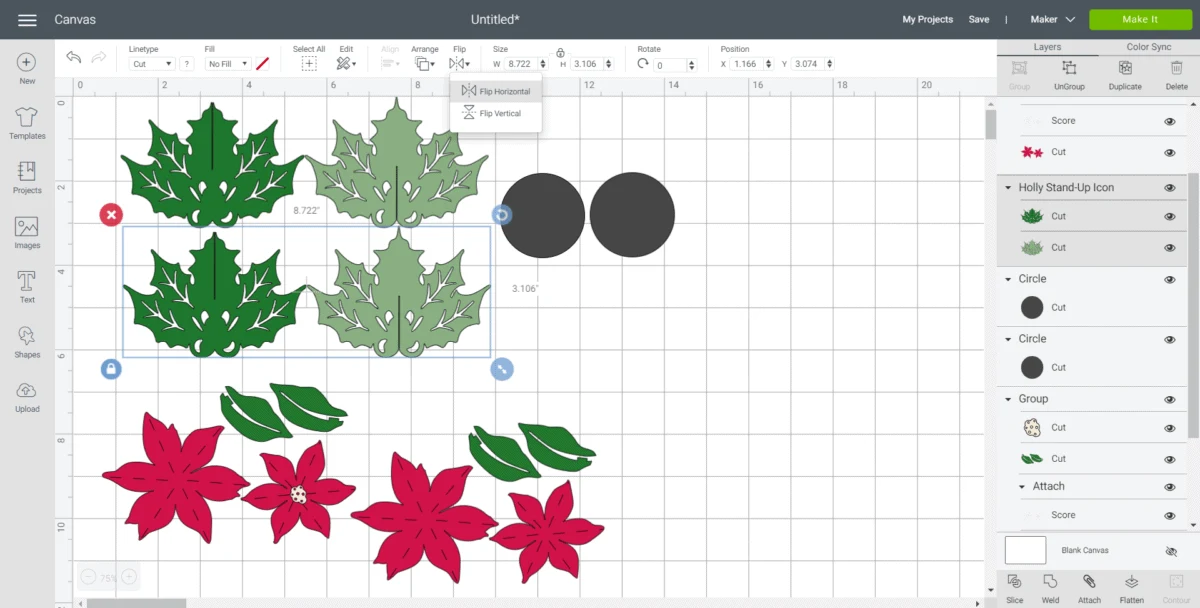
Move to the color sync tab to see all the pieces sorted by color.
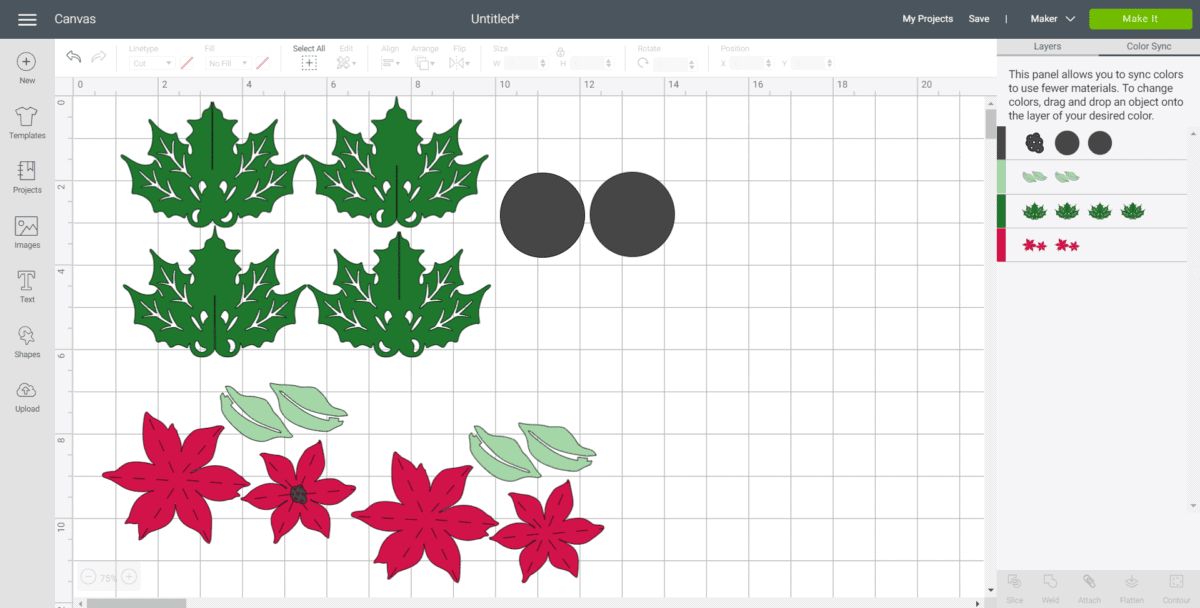
Change the color of the centerpiece to match the circle shapes.
Change the color of the poinsettia leaves to light green.
Change the color of the holly leaves to dark green.
Cutting
With the machine set to Cricut Maker, select “Make It” in Design Space.
Set material type to Medium Cardstock, choosing the appropriate weight based on your paper.
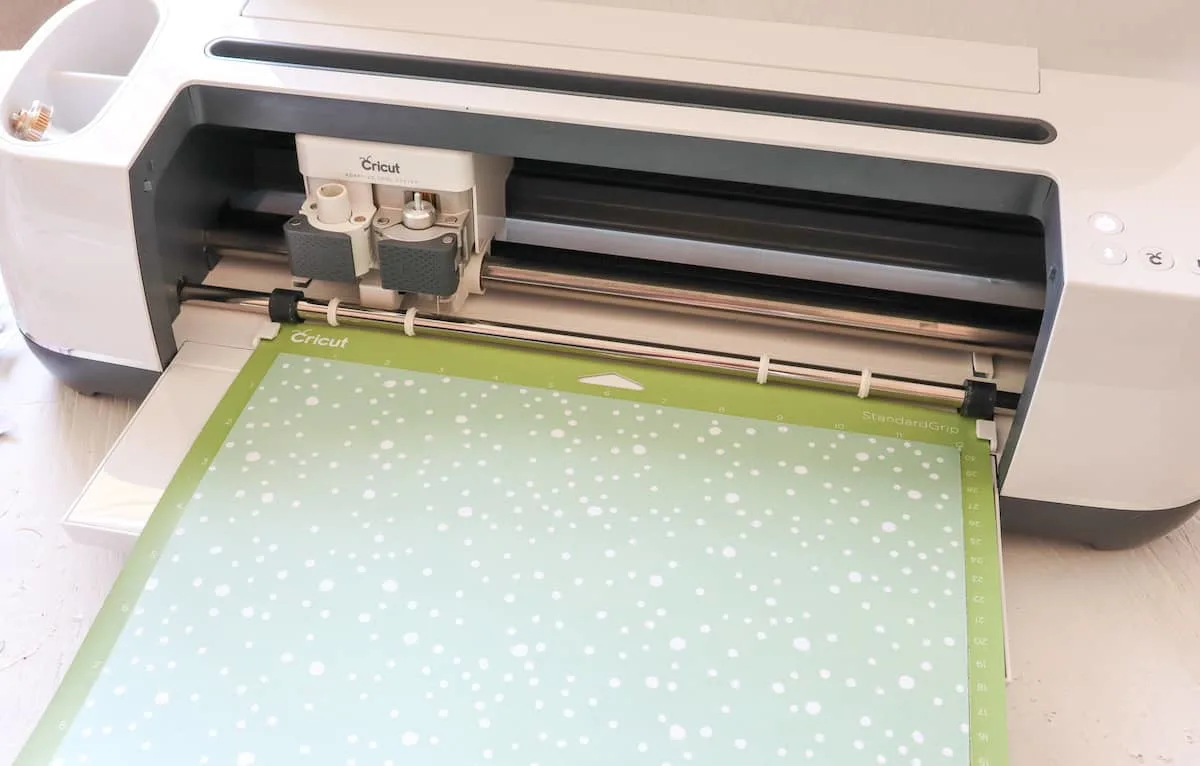
Place the first paper color onto the mat.
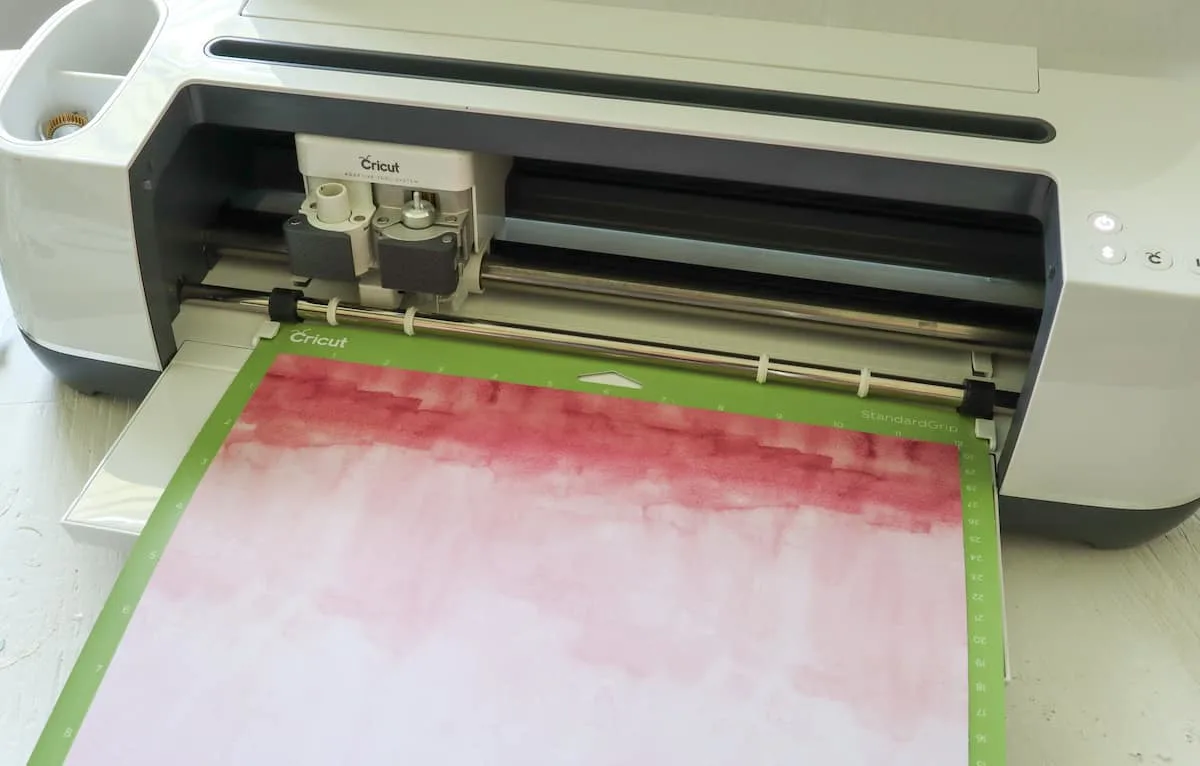
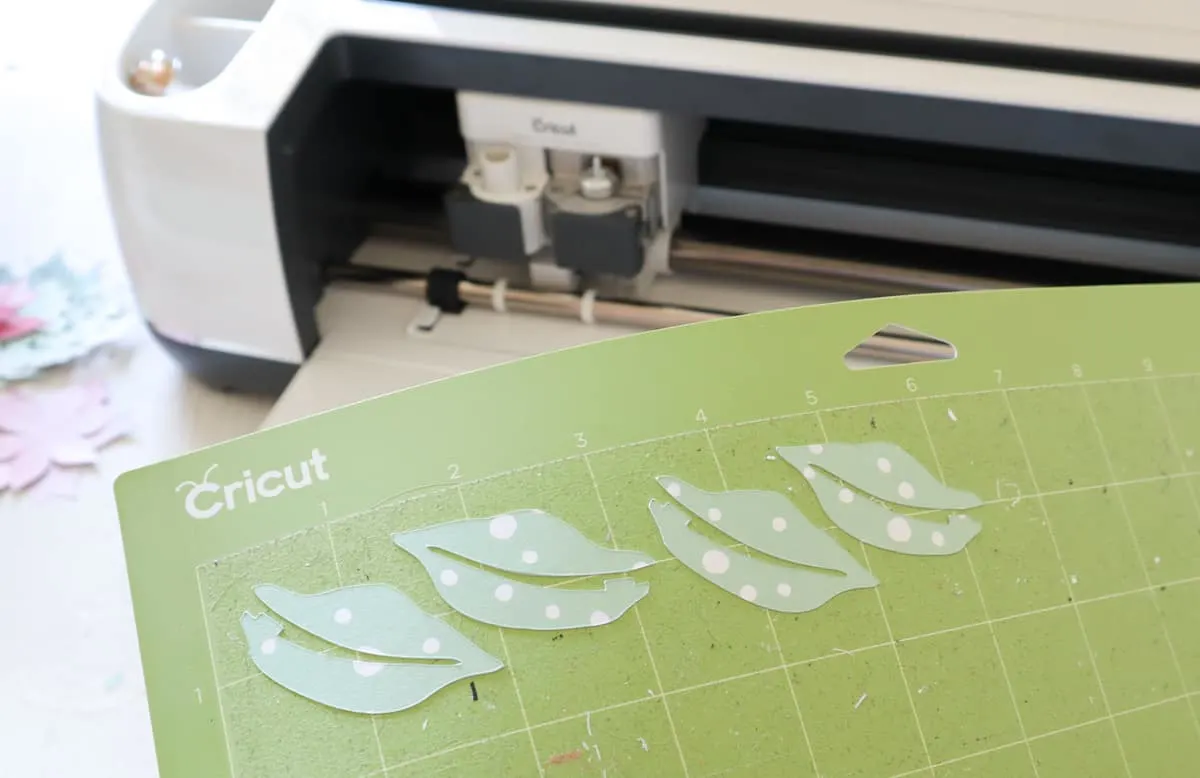
Follow the prompts for loading cardstock paper into Cricut Maker and cutting. When cutting is complete, unload the mat from the machine.
Using a spatula tool, remove the cut pieces from the cutting mat.
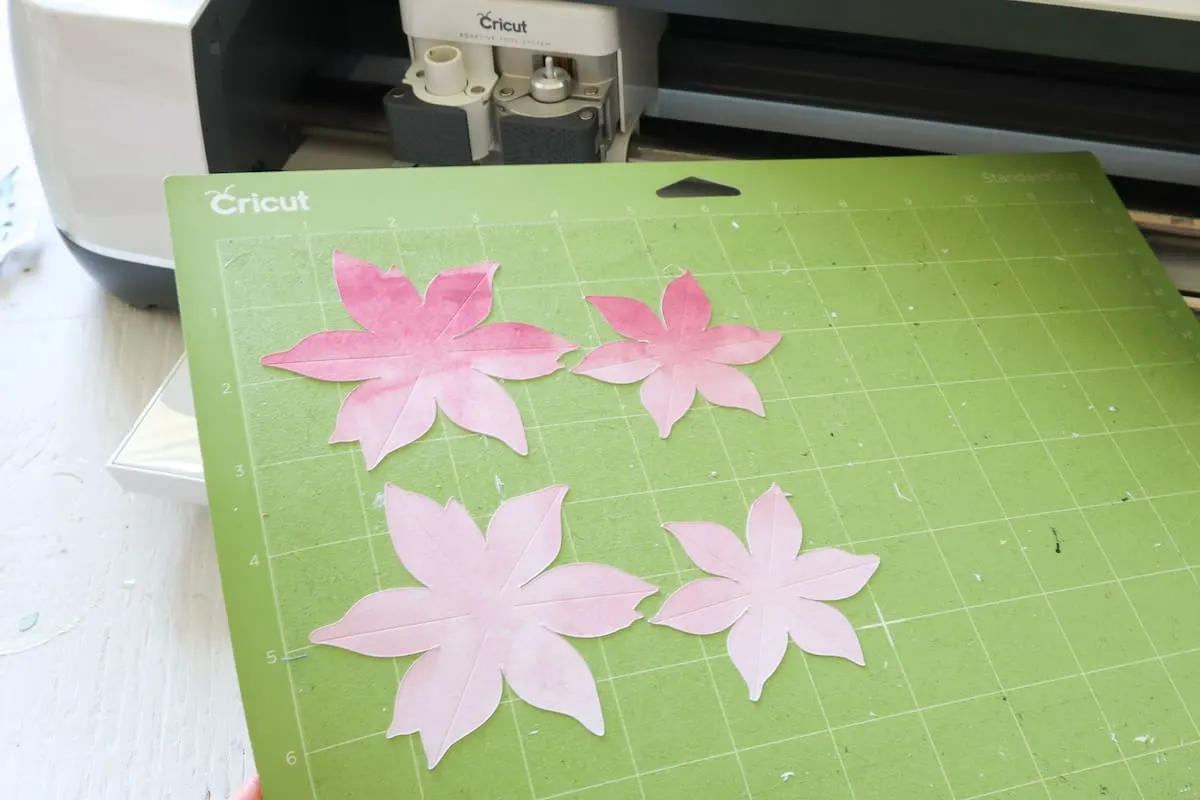
Repeat for the rest.
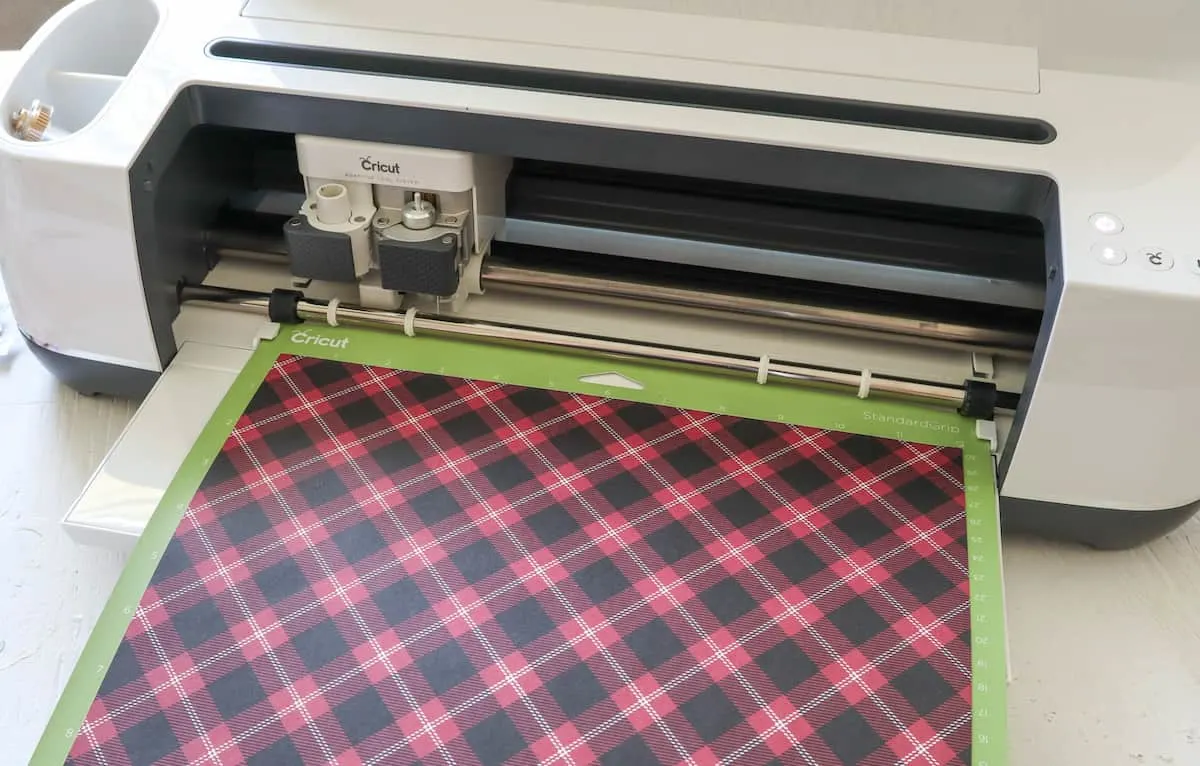
Assembling the Paper Poinsettia & Holly
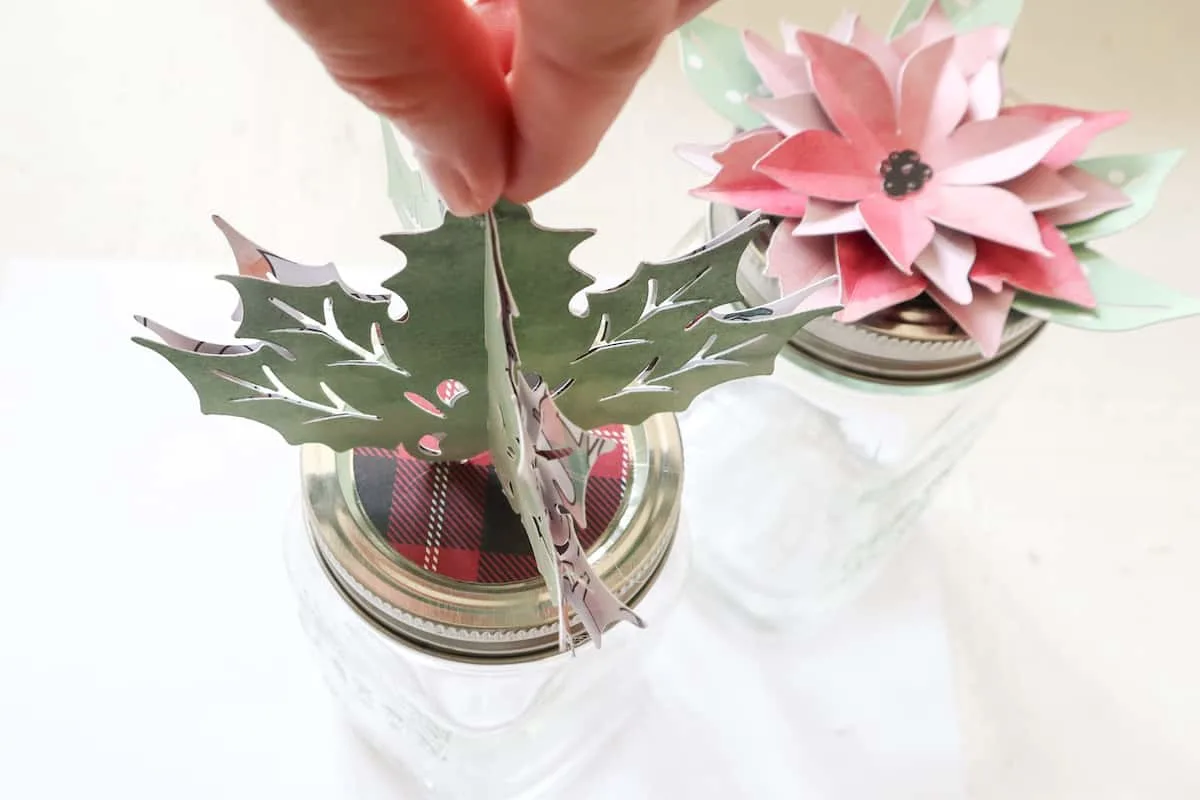
Place the holly pieces back to back (see reference pictures below).
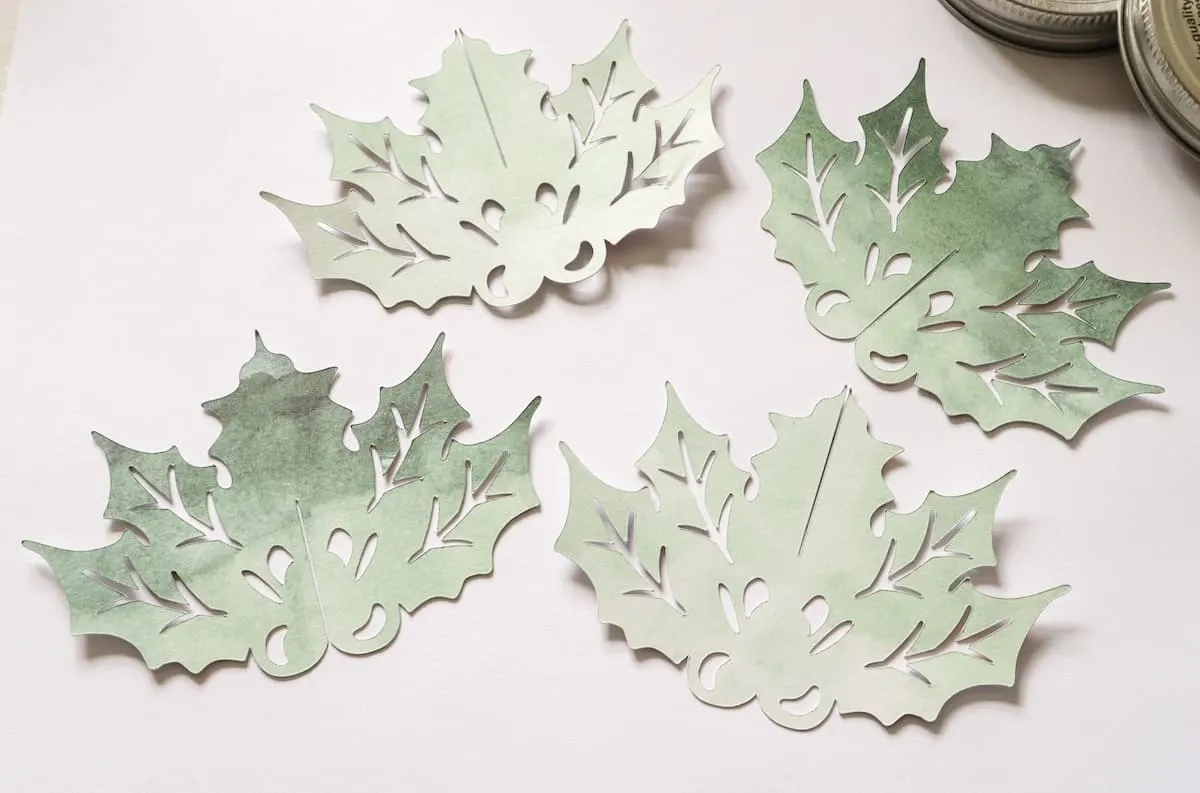
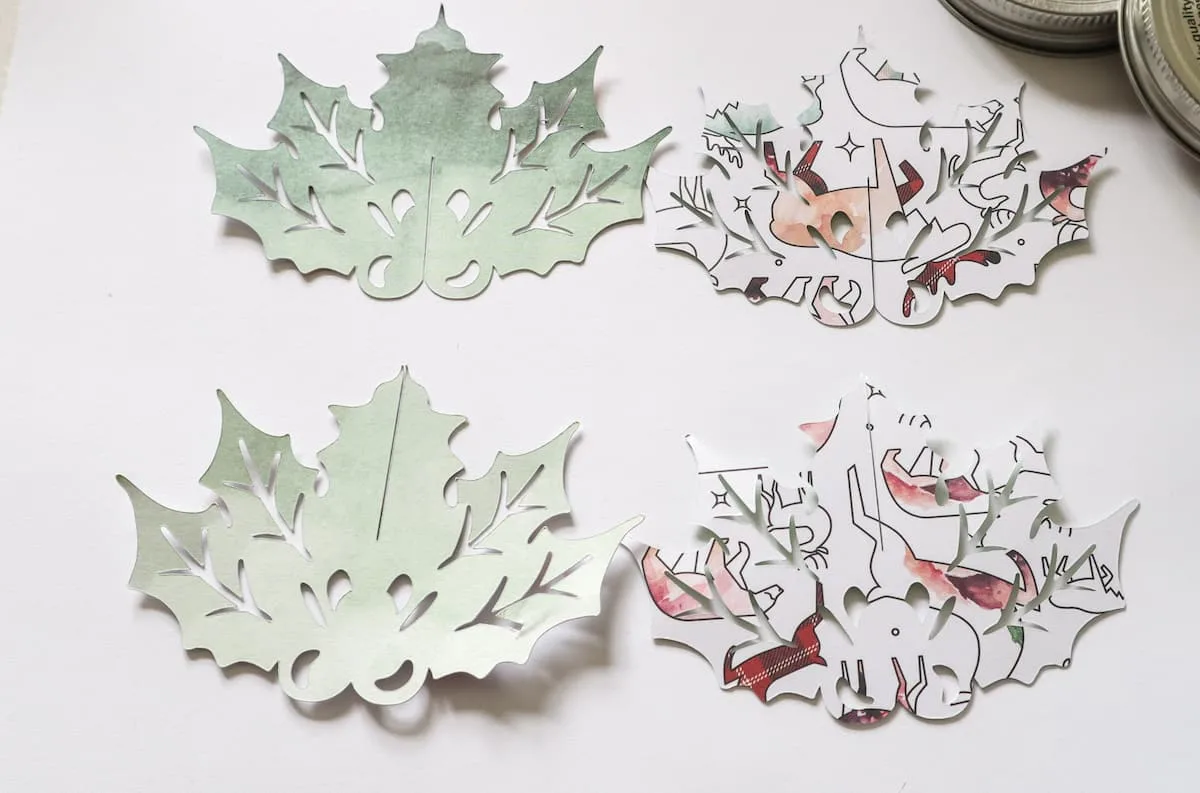
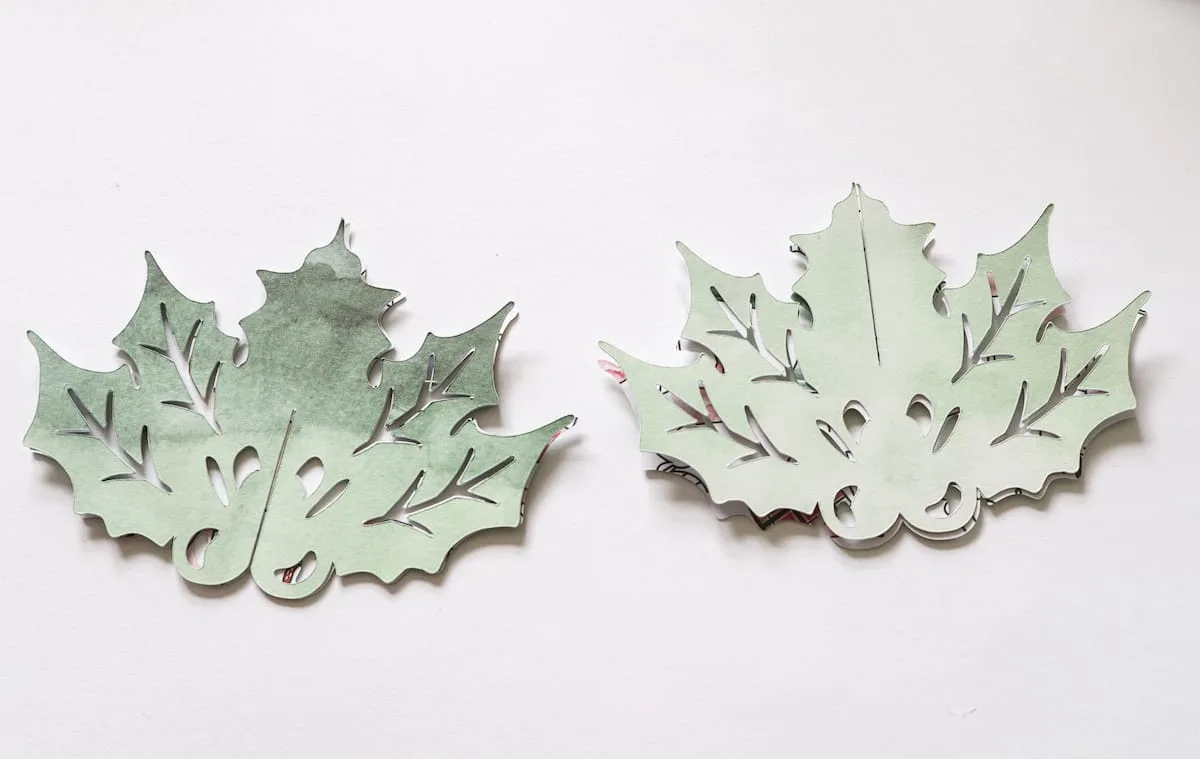
Insert the pieces along the center slits to form the 3D holly shape. Glue the tops and bottom edges in place to help hold secure.
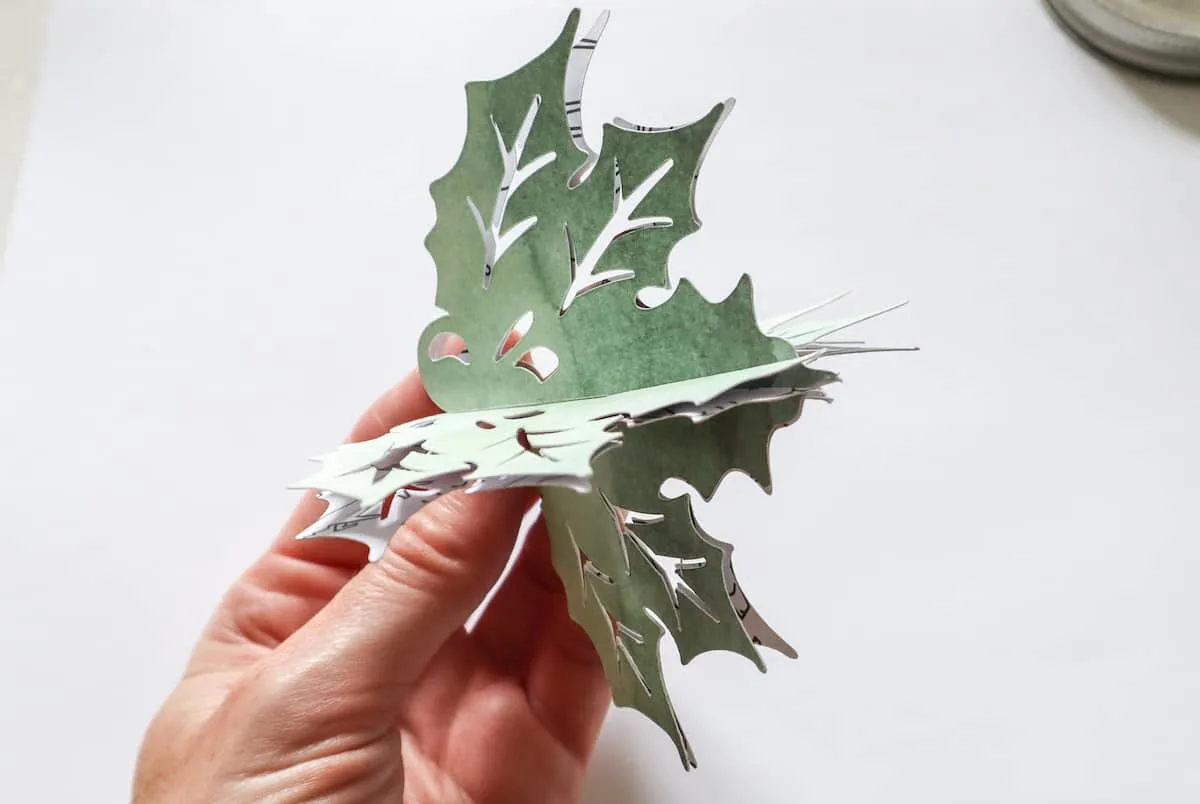
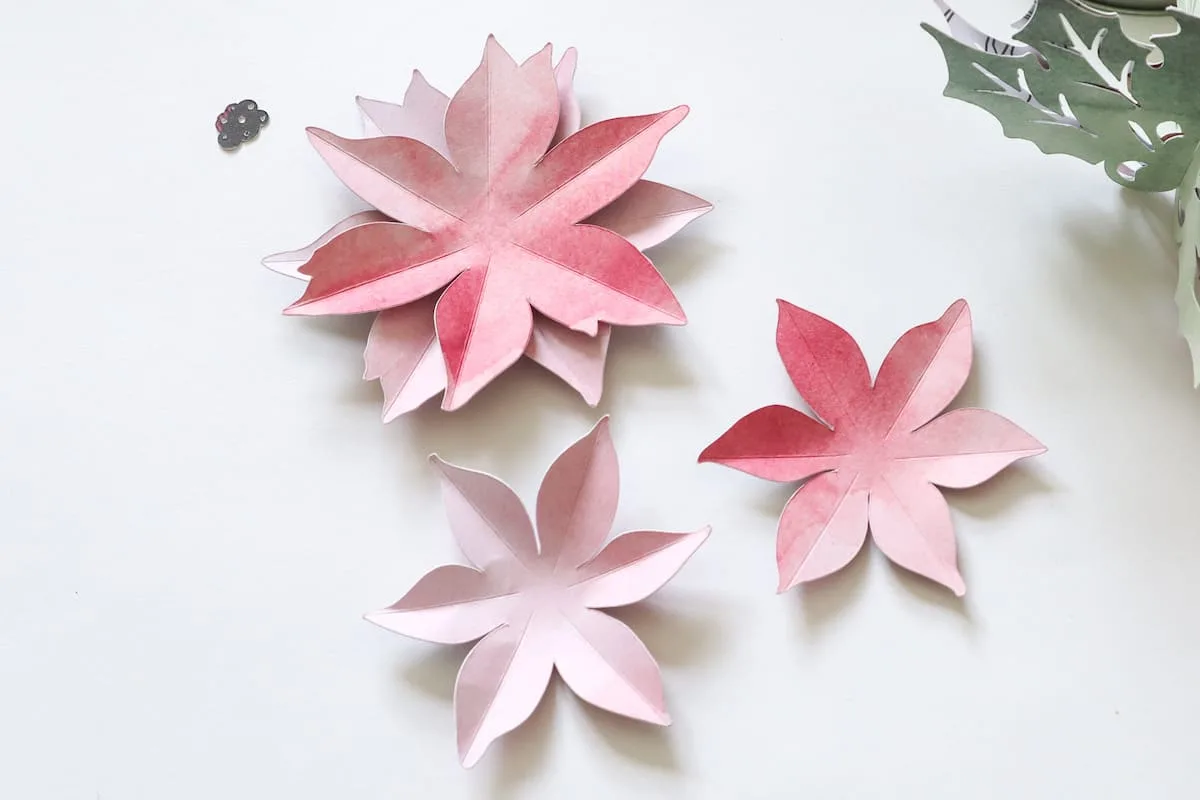
Fold the poinsettia pieces along the score lines.
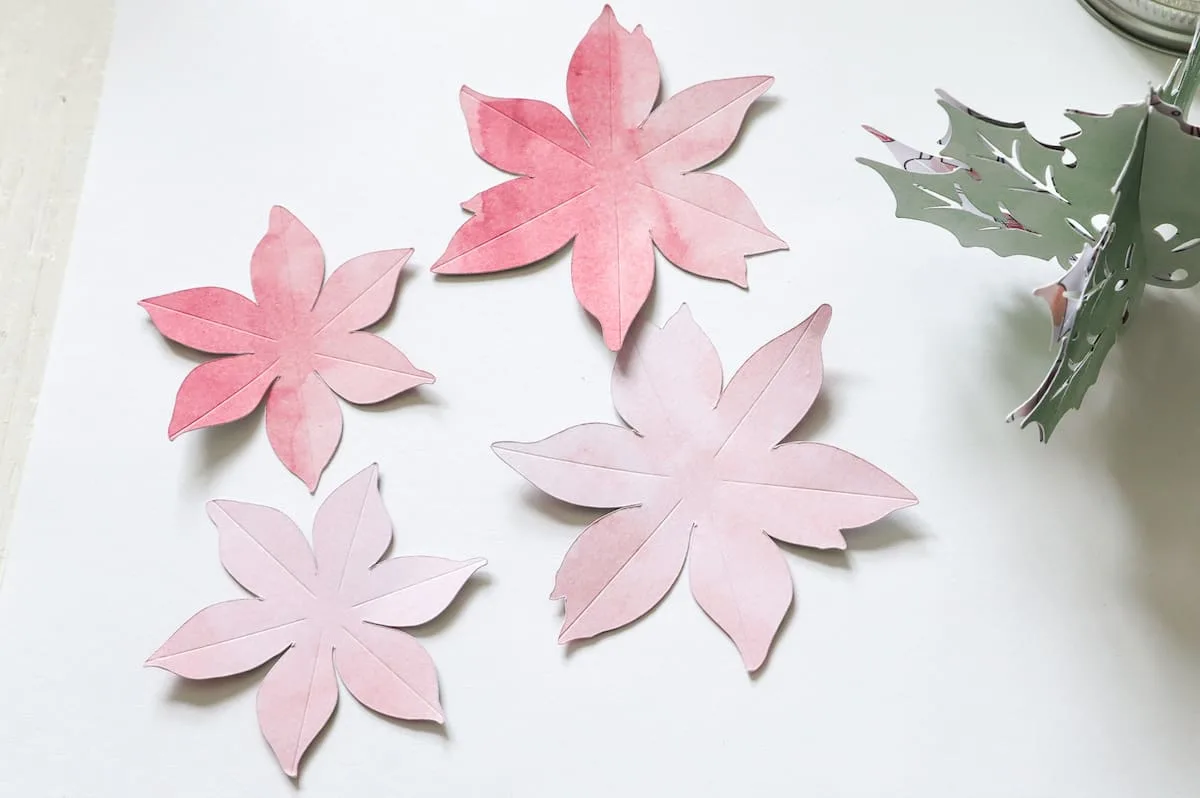
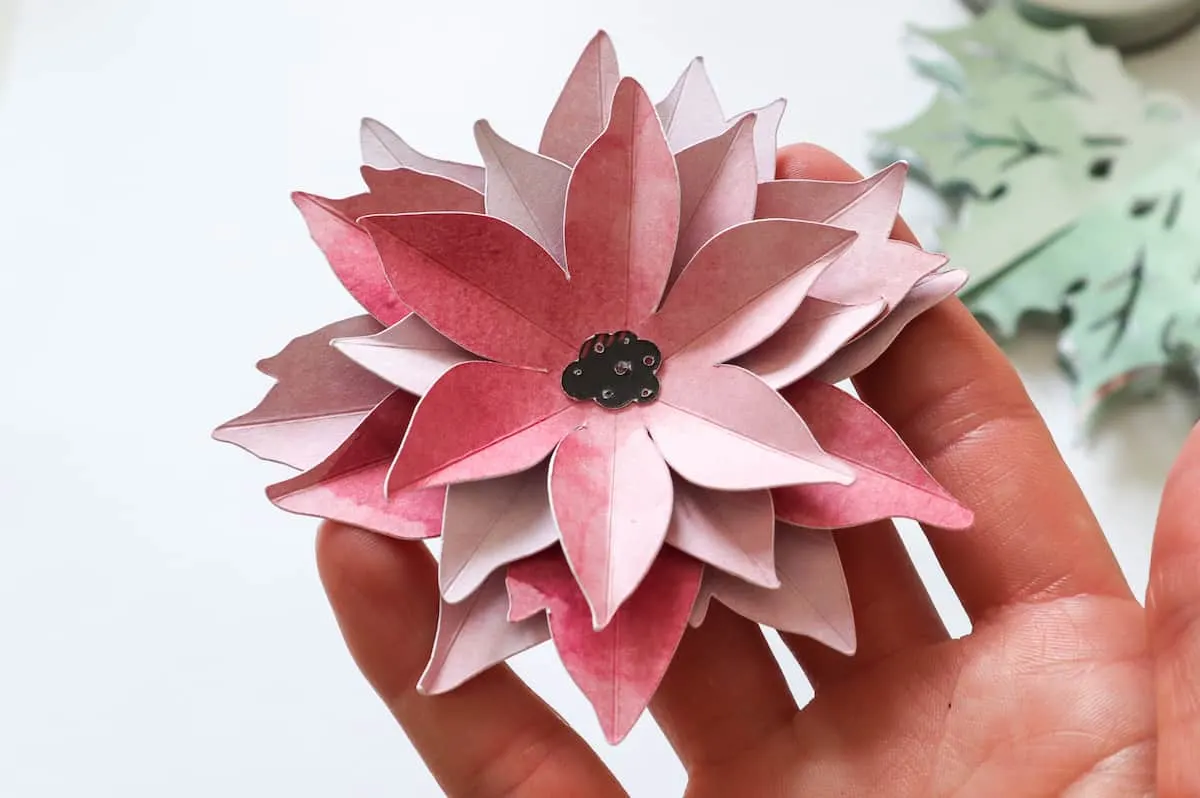
Stack the poinsettia pieces with the largest at the bottom, rotating the direction of each petal piece and gluing together each layer at the center. Glue the small centerpiece in the middle.
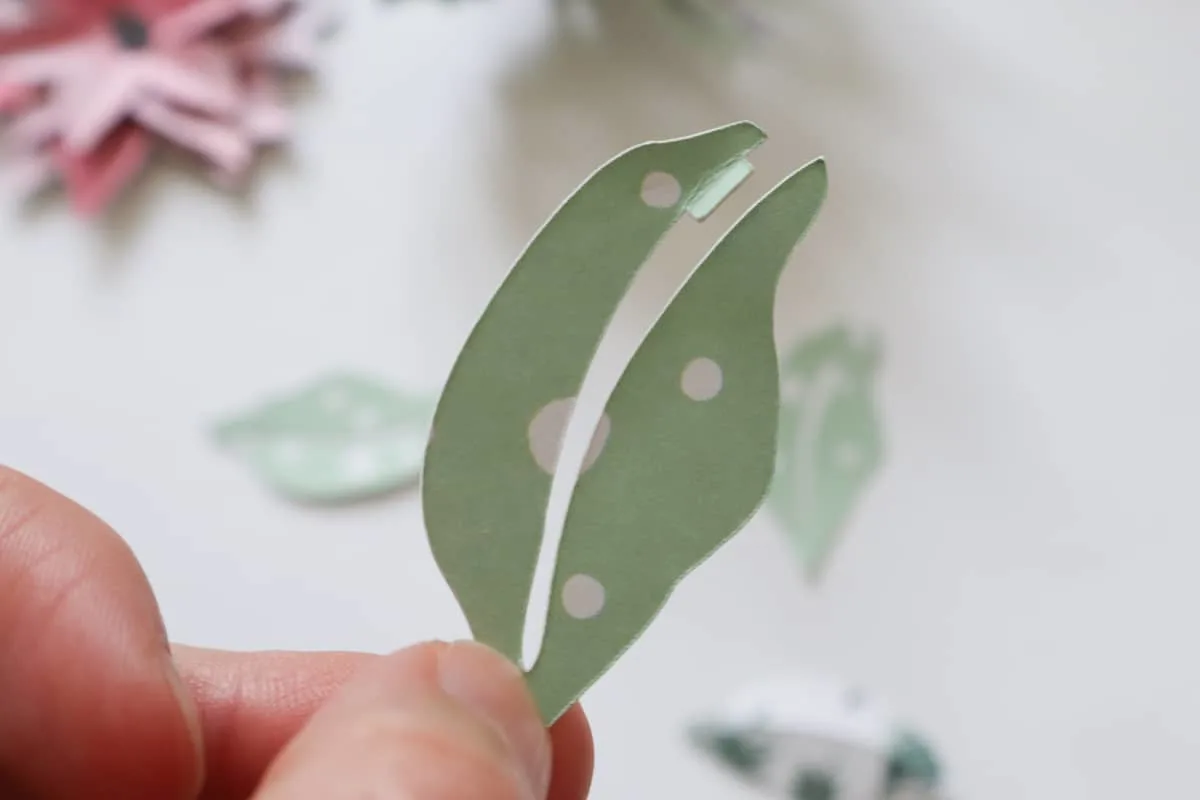
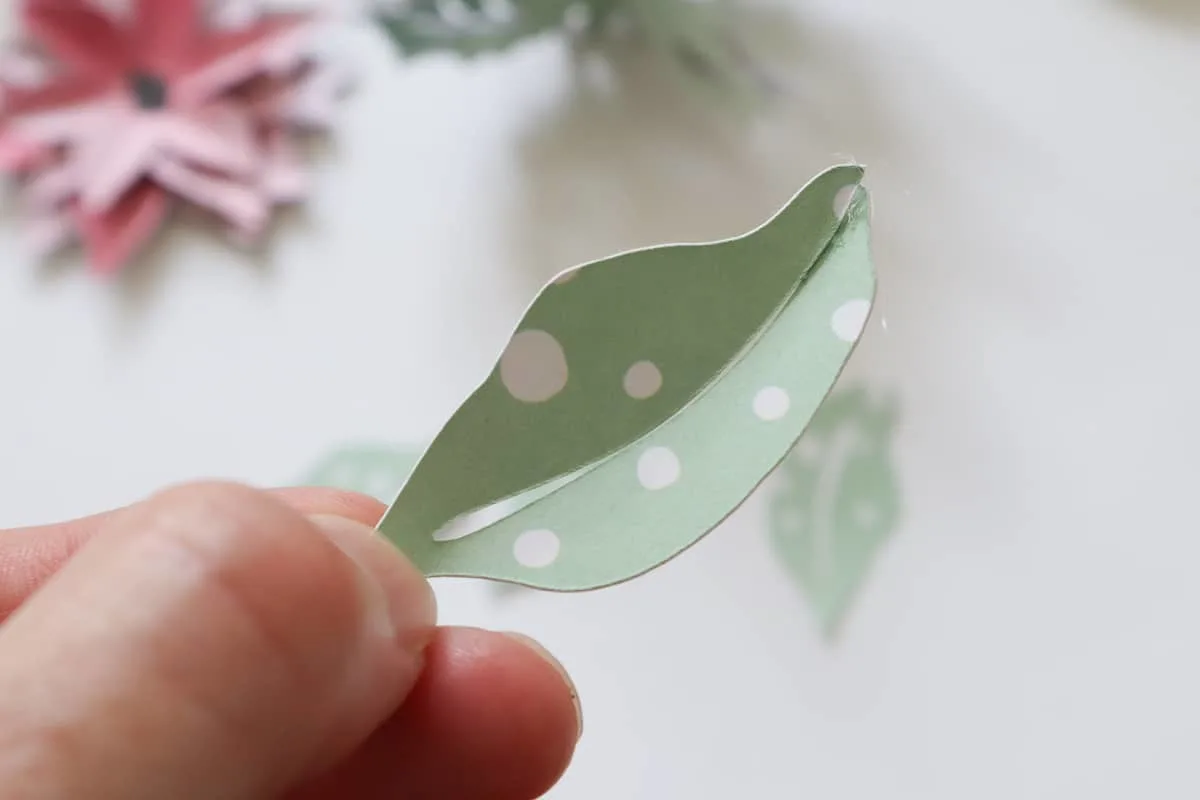
For the poinsettia leaves, fold the tab and apply a bit of glue to the tab. Align the adjacent edges tucking the tab towards the back to form leaf shape.
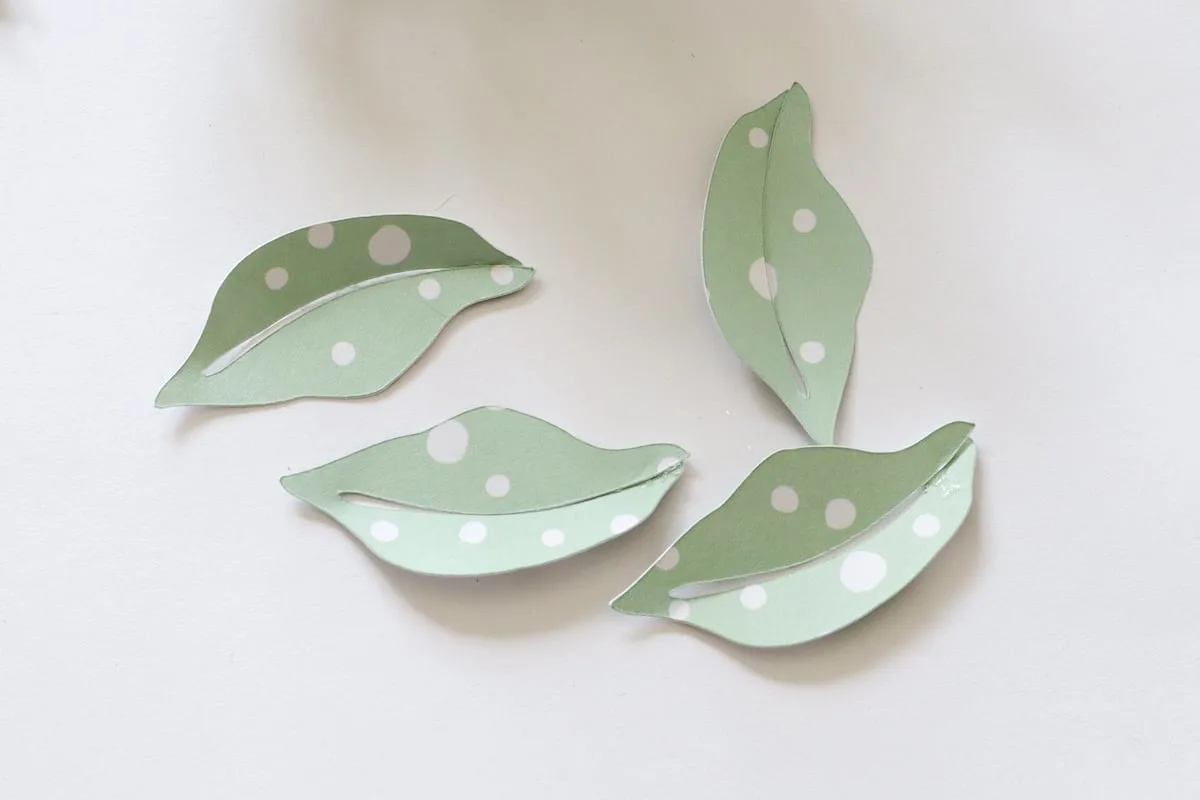
Assembling the Mason Jar Toppers
Glue the circle pieces to the tops of the lids.
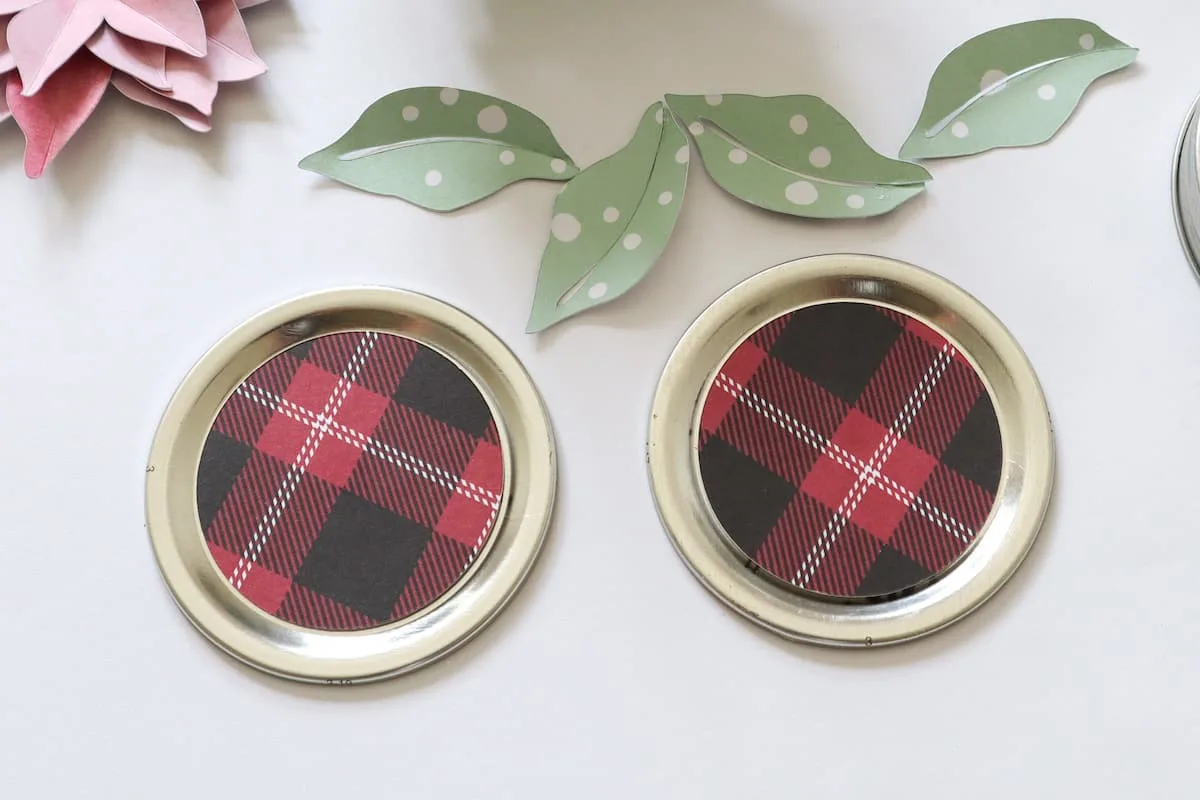
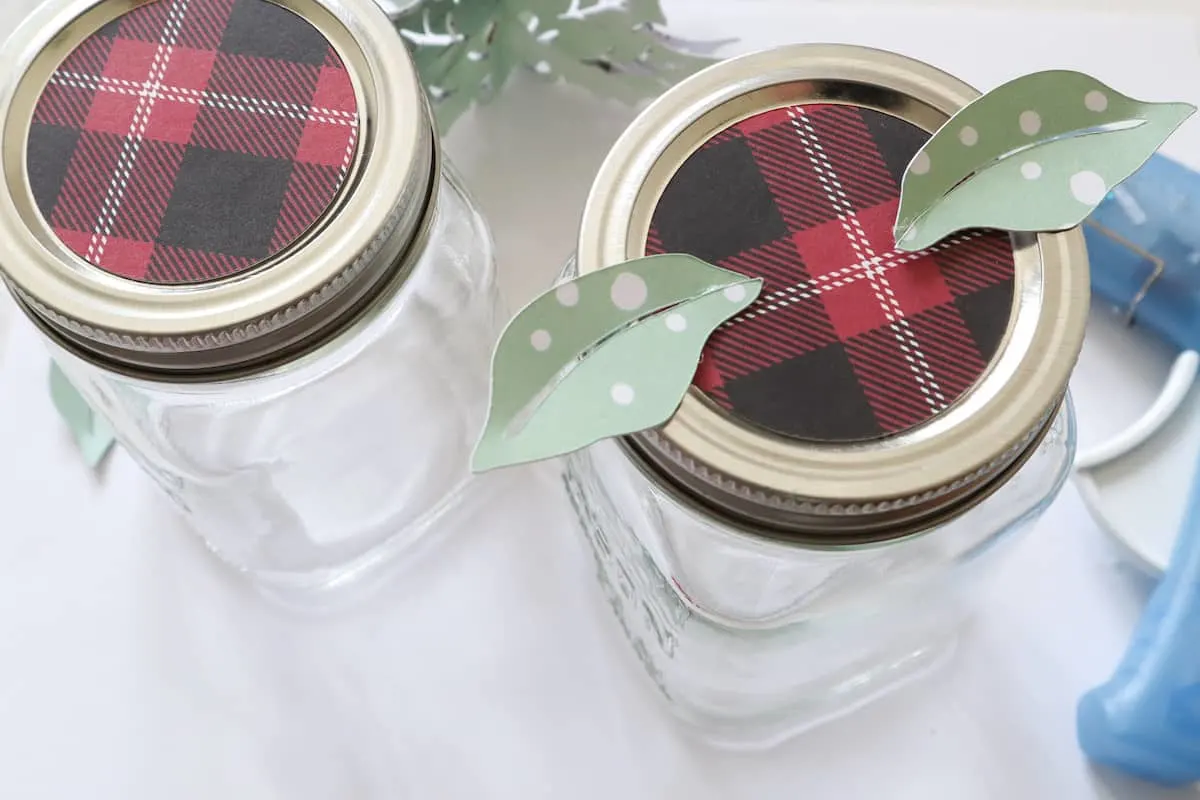
Glue the poinsettia leaves to one of the lids.
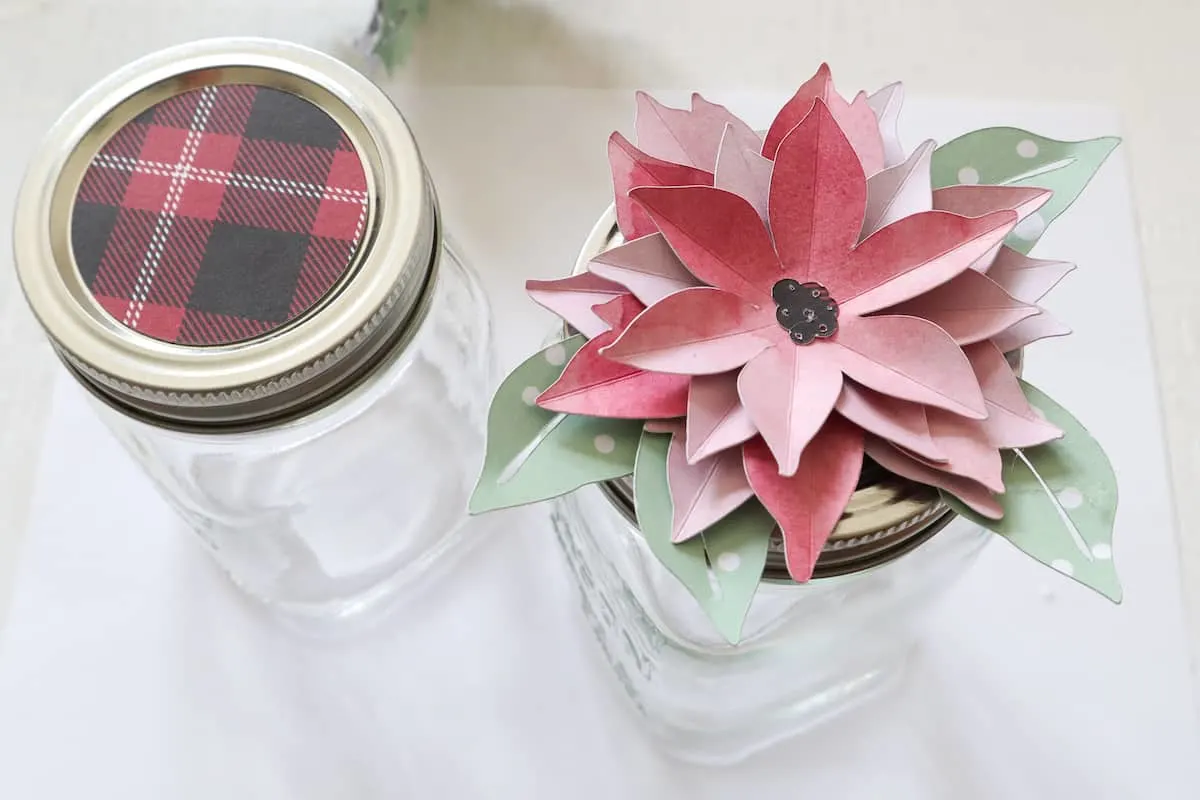
Glue the poinsettia bloom to the center of the lid.
Glue the holly to the top of the other lid.
Fill jars with treats and tie with twine or other decorative ribbon.
Gingerbread Decorating Printables
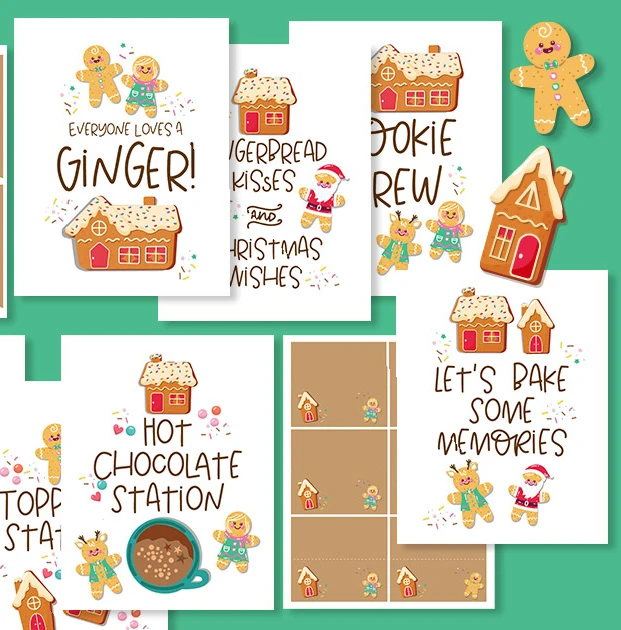
Love cute Christmas printables? Then be sure to get our fun gingerbread decorating signs, gift tags and cookie banner!
See more details of this cute party pack in the Single Girls DIY library!
You might also be interested in these Christmas crafts:
- 3D Felt Christmas Trees
- Reversible Wood Snowman Blocks
- Wood Slice Christmas Ornaments with Vinyl
- Quick and Easy Christmas Crafts
- How to Make Wooden Reindeer
- Snowman Christmas Crackers
