


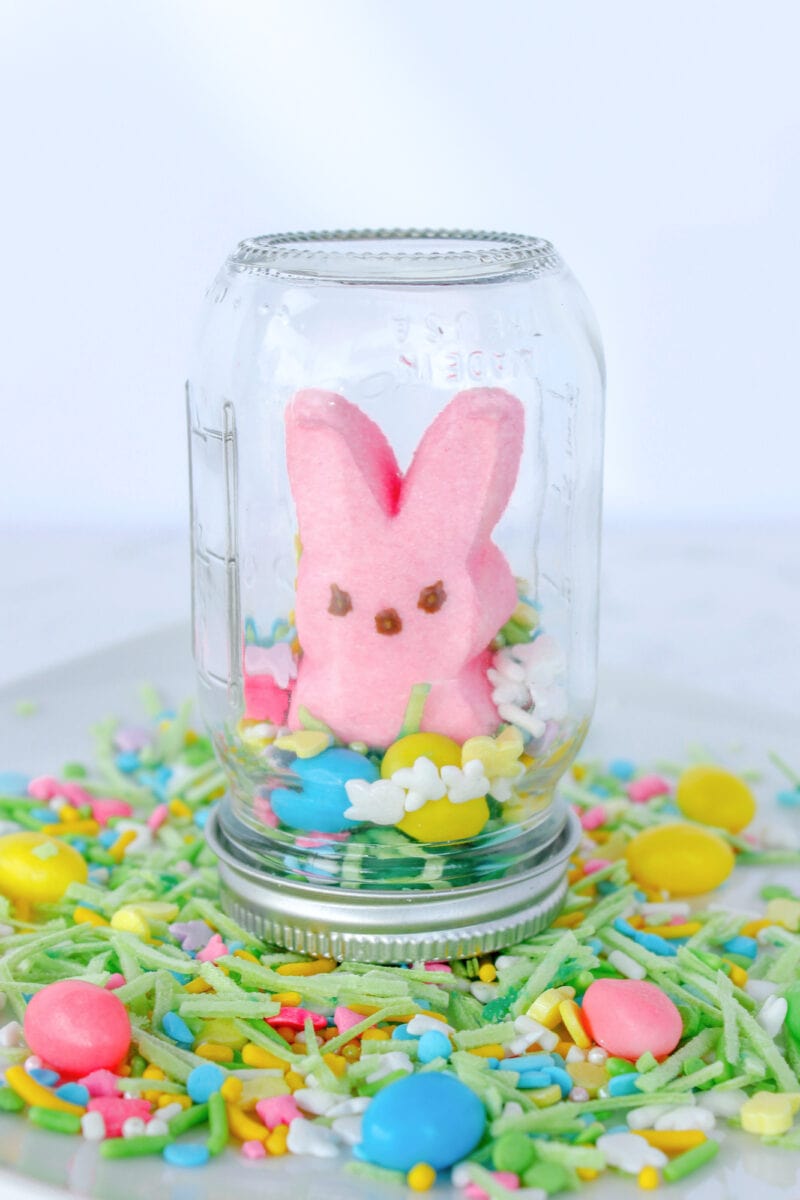
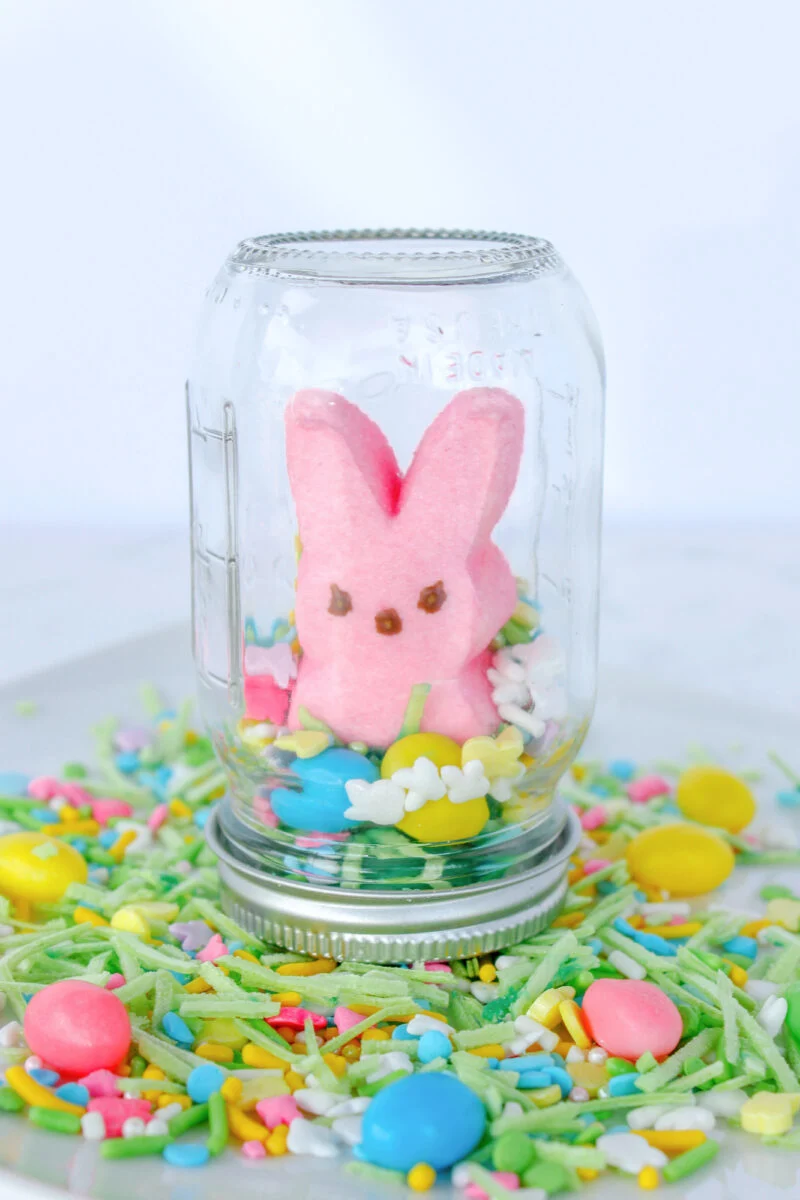
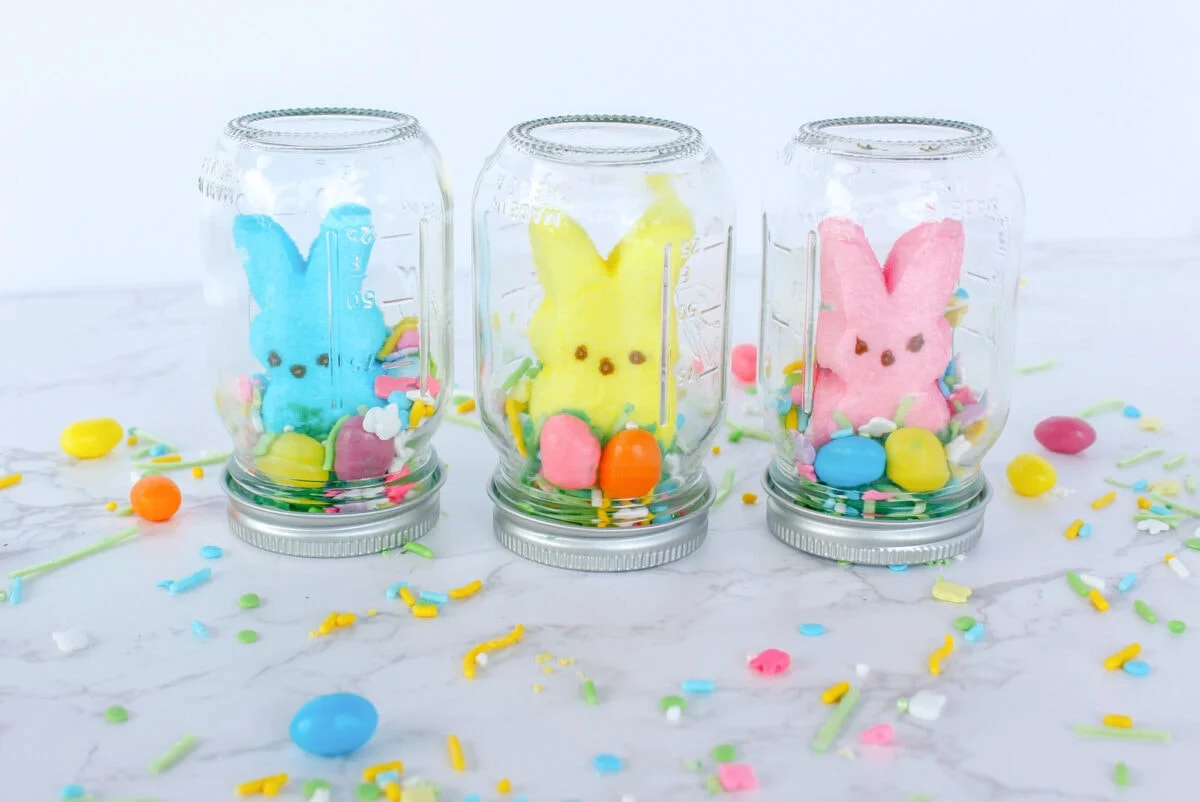
Our easy Easter snow globes are the perfect table setting for an Easter dinner or brunch. These colorful candy snowglobes look great as table decorations, and they can be eaten as a sweet treat, too!
After the candy is eaten, the miniature mason jar can be reused. I absolutely love these jars because they are perfect for small amounts of spices and candies, or use them for storing small items such as buttons or beads. They are such a cute size!
If you love mason jar crafts like I do, be sure to see our easy DIY Easter mason jars.
You could also make these cute Peep place holders for a really cute pair at each table setting!
DIY Edible Easter Snowglobes
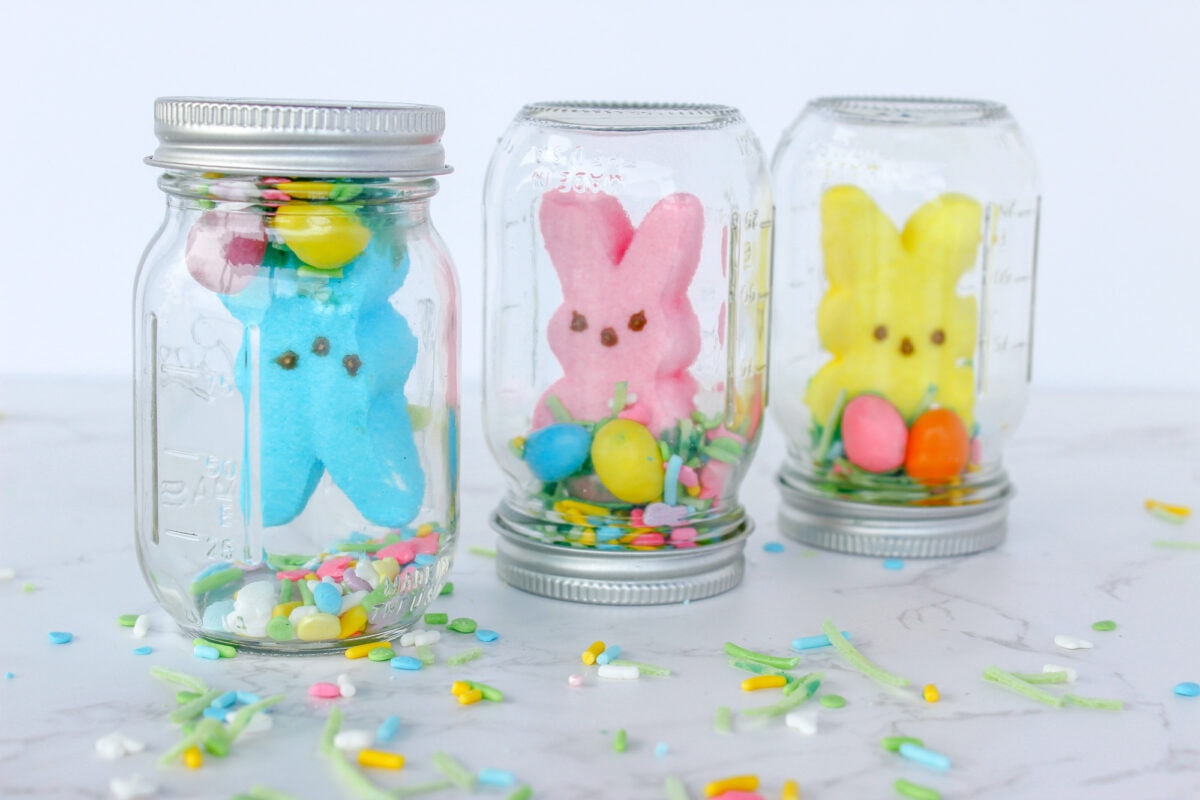
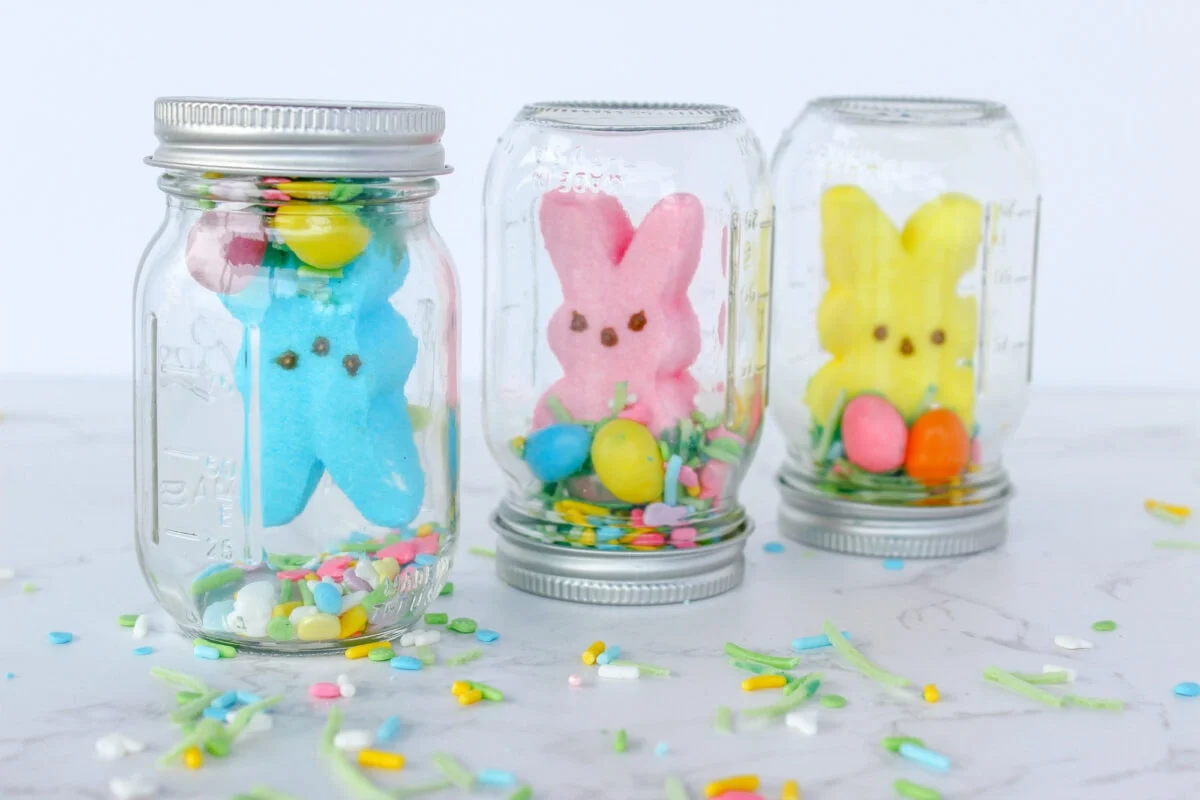
This tutorial makes three snow globes.
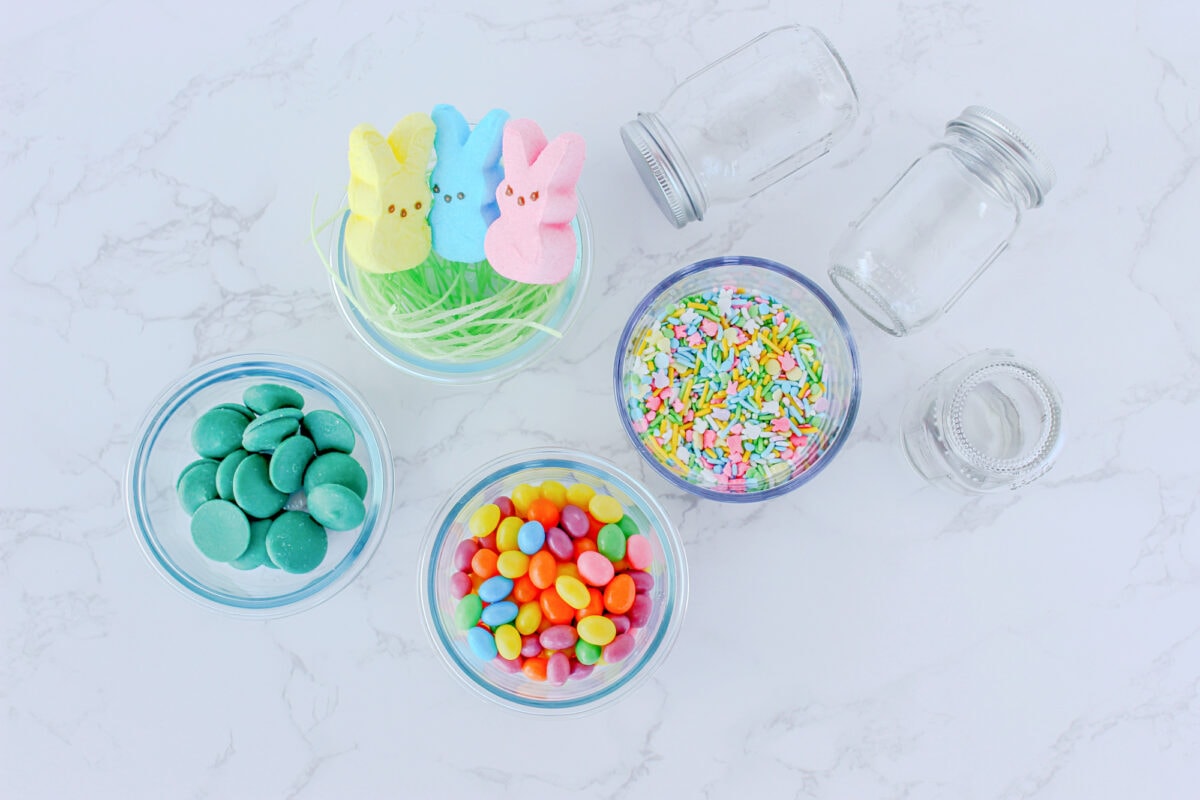
Supplies
- 3 Peeps bunnies
- ½ cup Green Candy Melts plus 6 extra candy melts, unmelted
- Edible Easter Grass
- 3 Teaspoons Easter Sprinkles
- 6 Small Candy Eggs, such as jelly beans or chocolate robins eggs
- Three 4 oz Mini Ball Jars

Directions
Clean the mason jars and lids and then let dry completely.
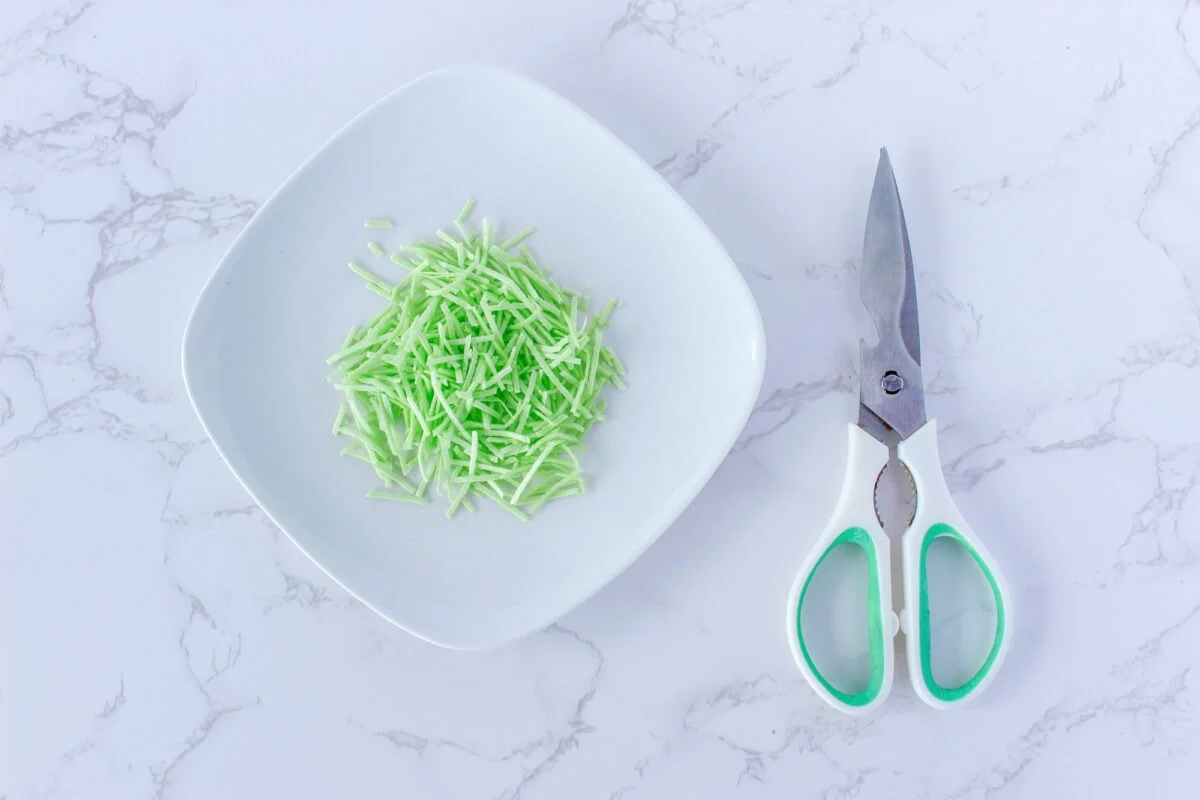
Cut the Edible Grass with kitchen sheers into small grass sized pieces.

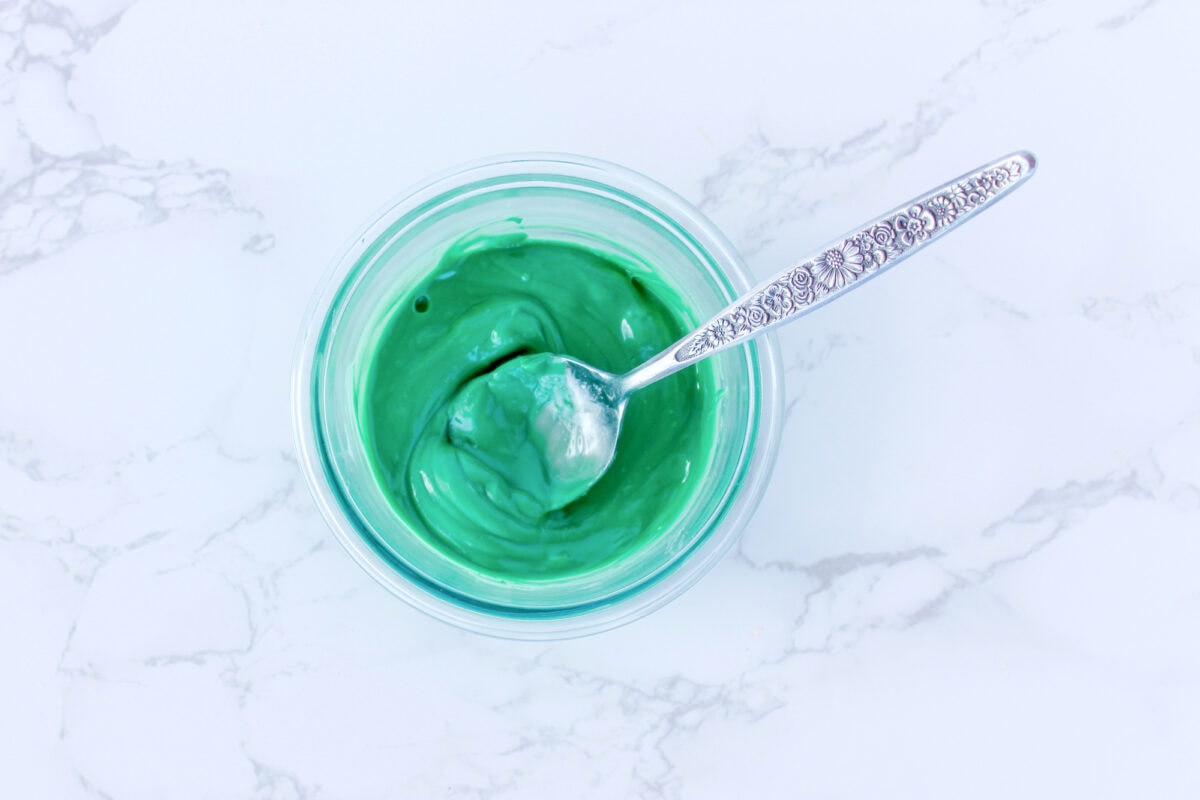
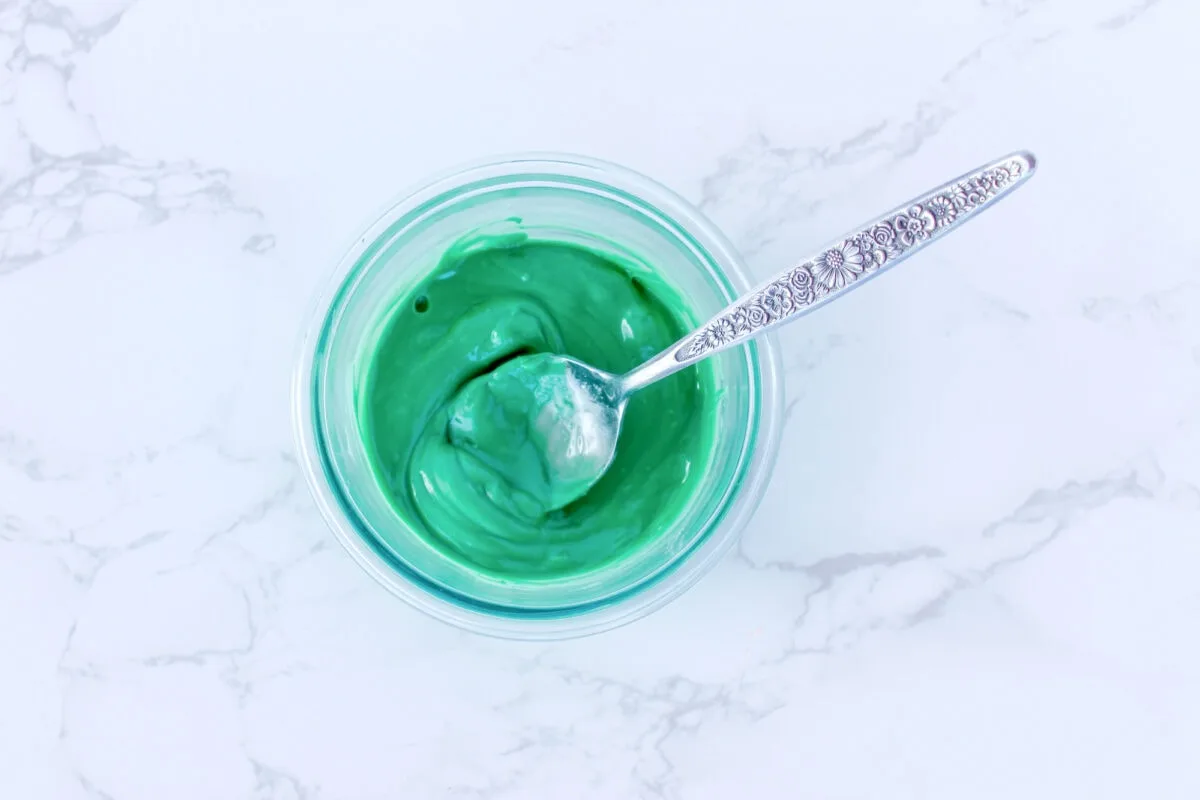
Melt ½ cup of the green candy melts in the microwave in 15 second intervals. Stir in-between each session and do not over heat or the melts can burn.
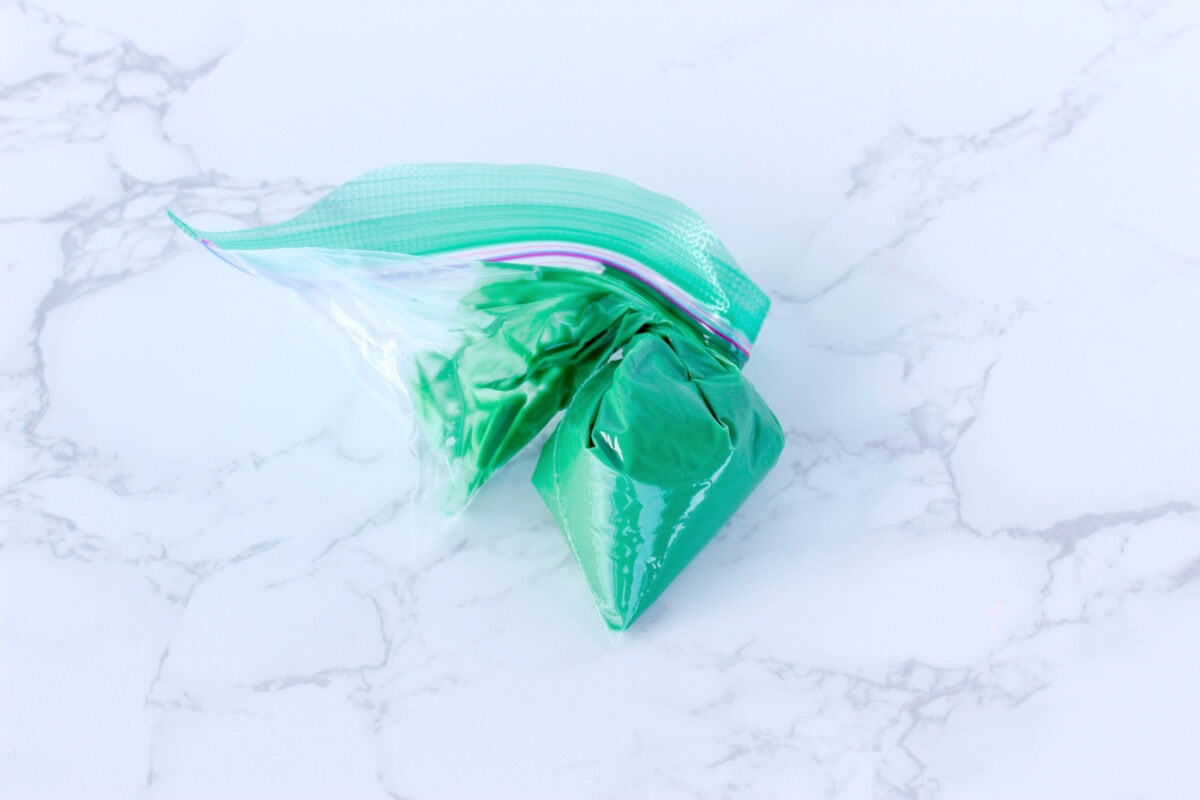
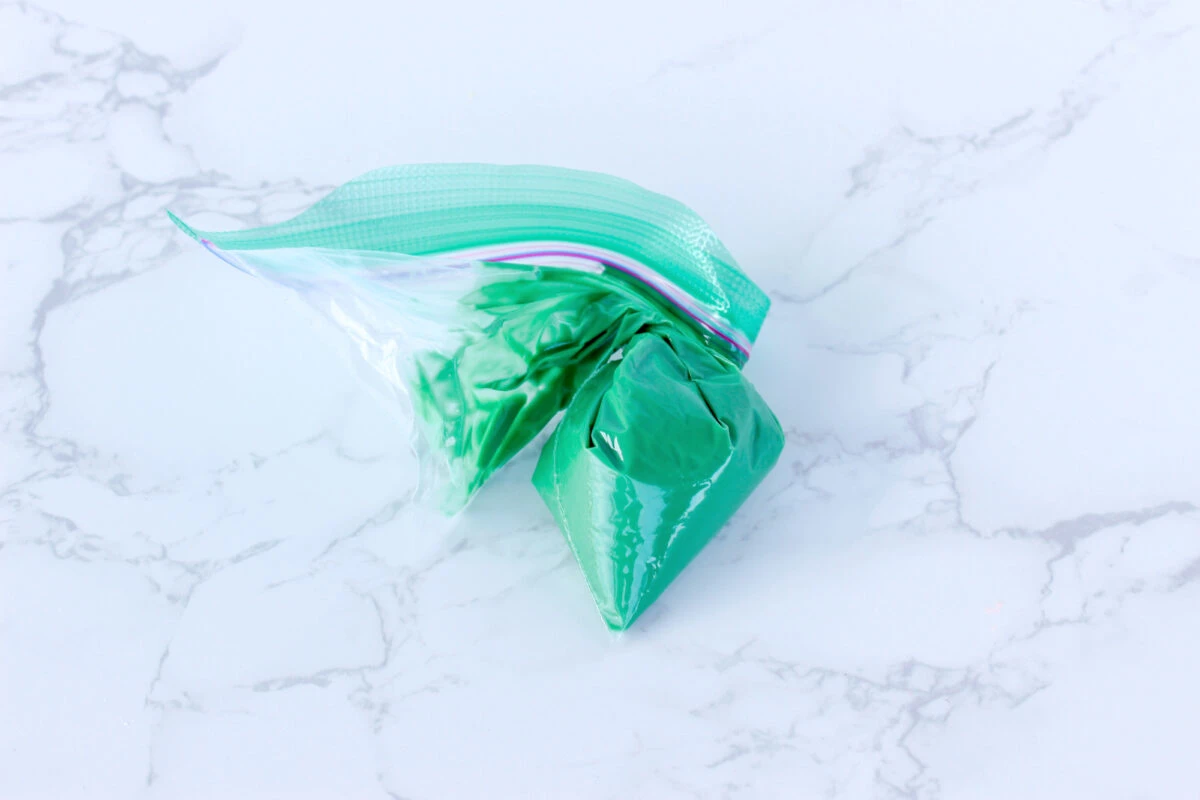
Pour the melted candy melts into a sandwich-size zip top plastic bag. Cut a little piece off of the corner so that the candy melts can be squeezed out.
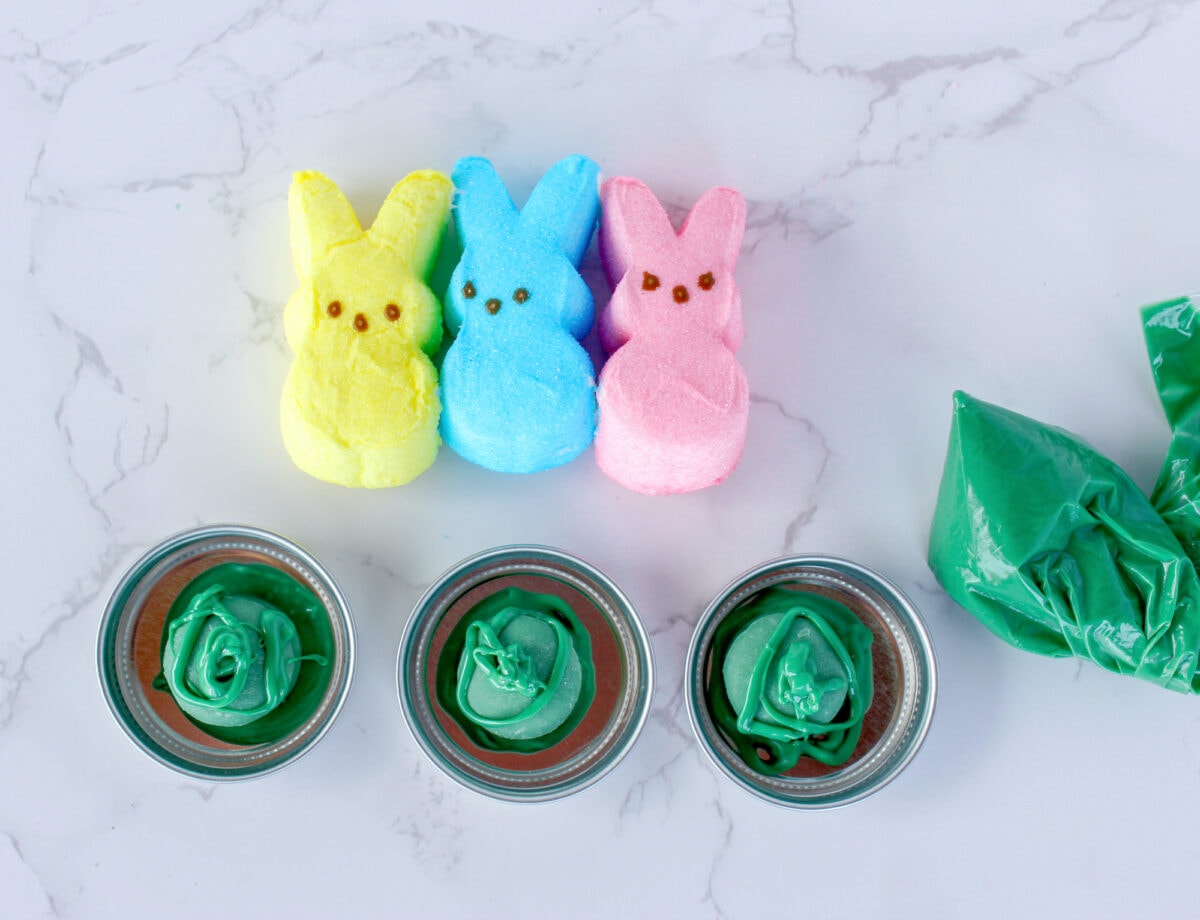
Squeeze a small amount of the melted green candy melts onto the center of a lid. Then place an unmelted candy melt on top of the melted chocolate.
Squeeze a little more of the melted green candy melts onto of the candy melt wafer, then add another candy melt wafter on top of that, for a total of two candy melts stacked up on the lid.

Squeeze a little melted chocolate onto the top of the second candy melt. Gently place a peep on top of the melted chocolate, pressing down slightly.
You can place the lid and peep into the freezer to harden and solidify quickly, if needed. Just make sure that the peep remains upright and vertical in the freezer. You do not want it to start sliding off the candy melt.
Once the Peep is attached with hardened chocolate, squeeze a little more melted chocolate around the bottom of the Peep.
Gently add grass pieces to the base of the Peep, slightly pressing in the edible Easter grass into the melted chocolate to secure. Keep the grass towards the center of the lid, without too much of it going towards the edges.

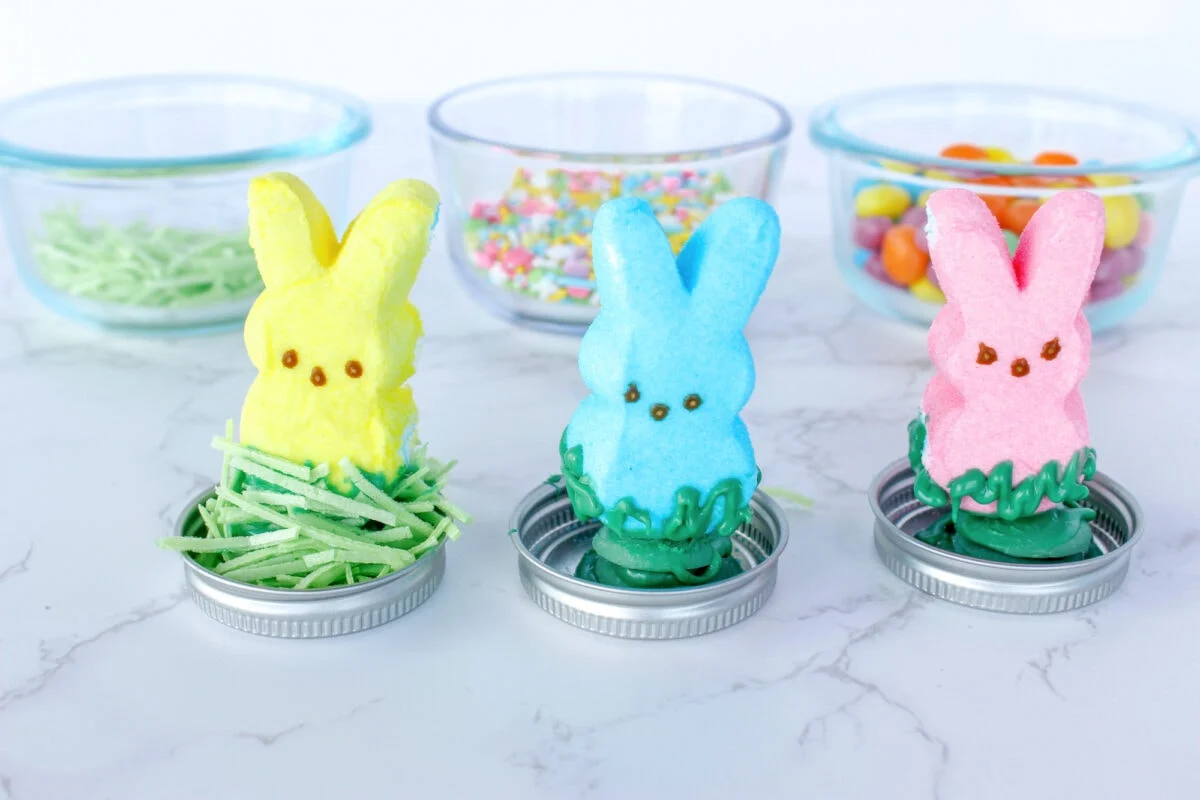
Choose two small candy eggs for each snow globe. Add a little melted chocolate to the back of the egg and press onto the grass.
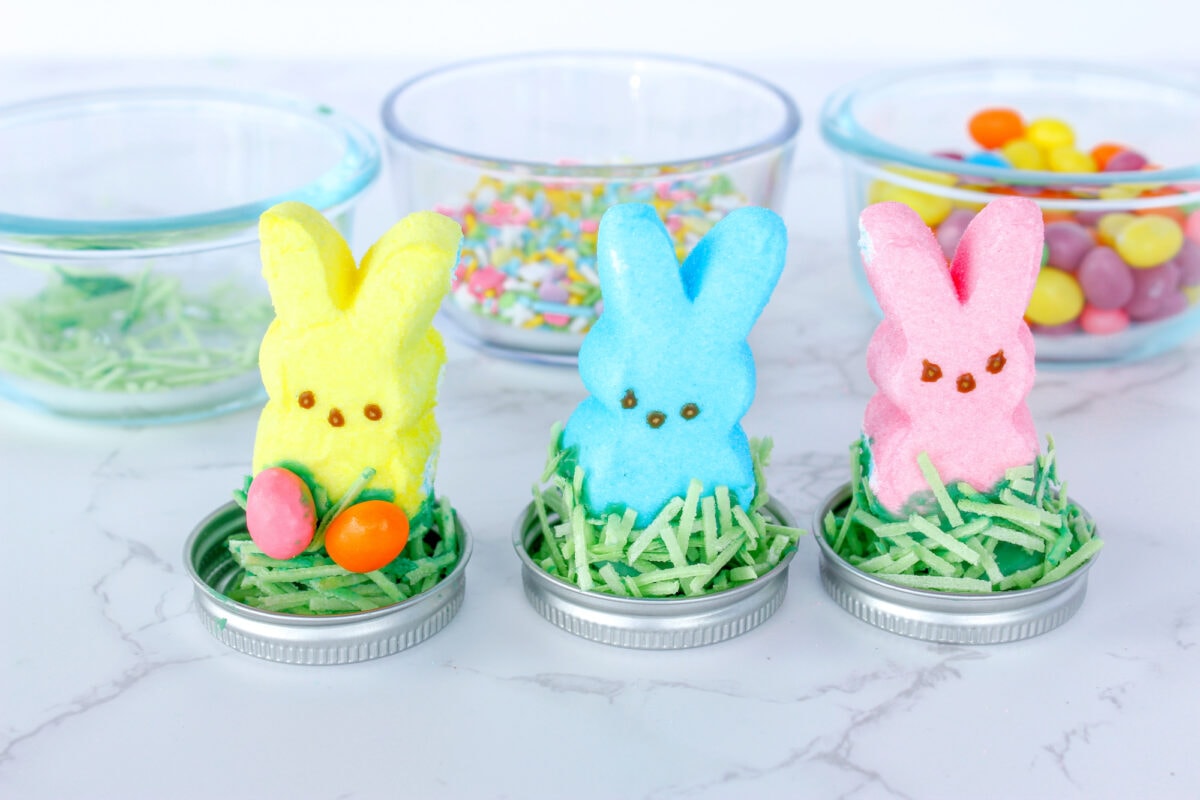

Repeat the steps for every Easter snow globe you make. Allow the candy to harden and dry before moving on to next step.
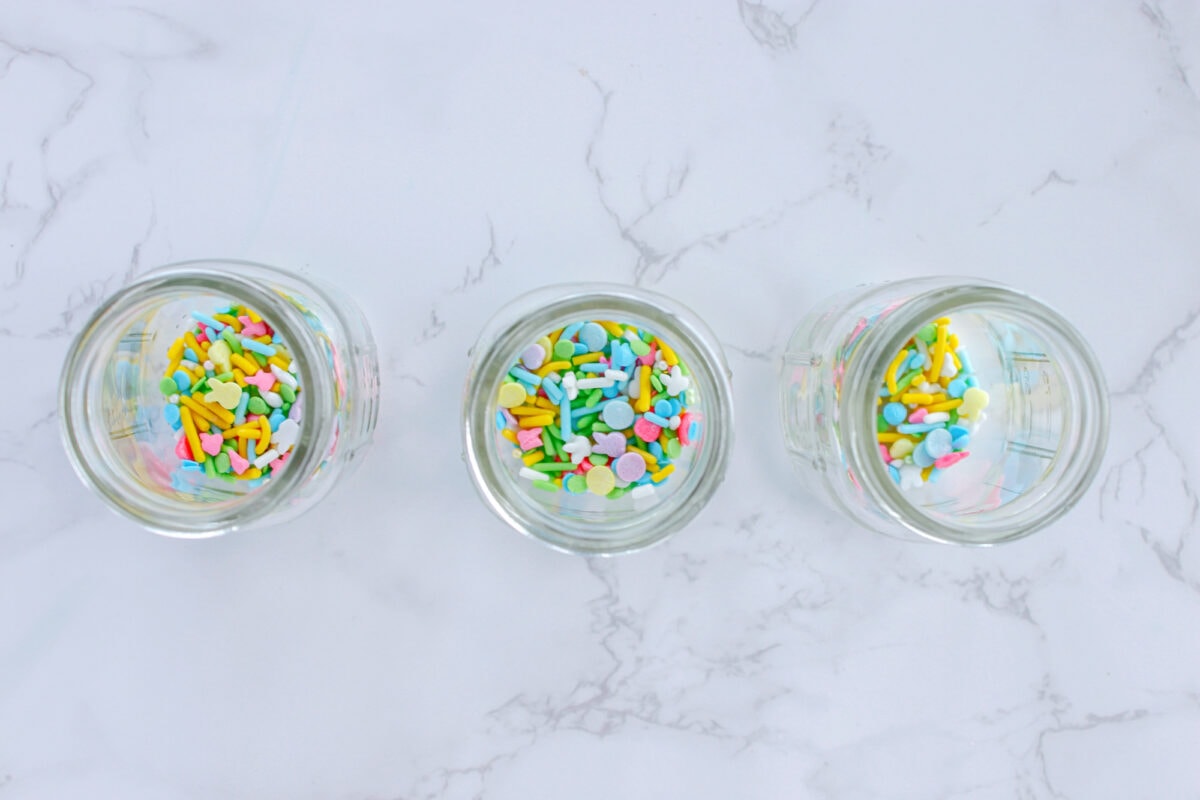
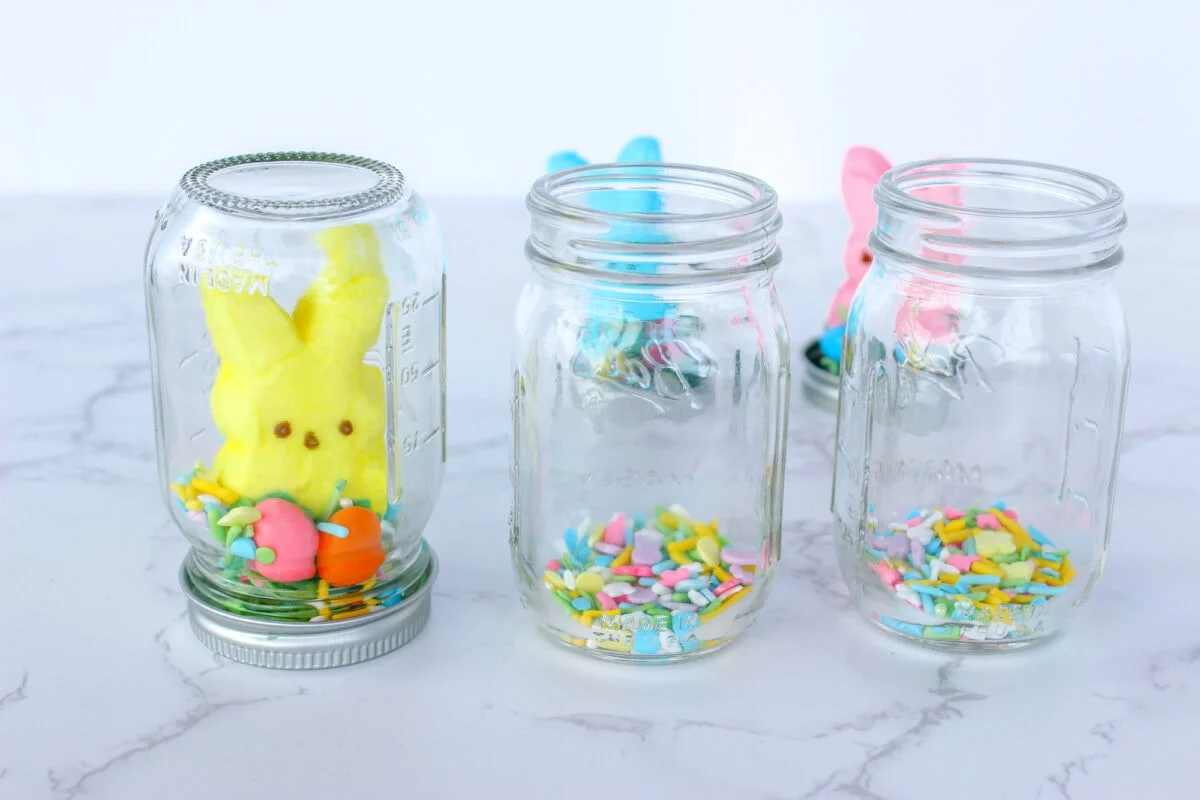
Place a teaspoon of Easter sprinkles in the bottom of each glass jar. You can add more, if you would like.

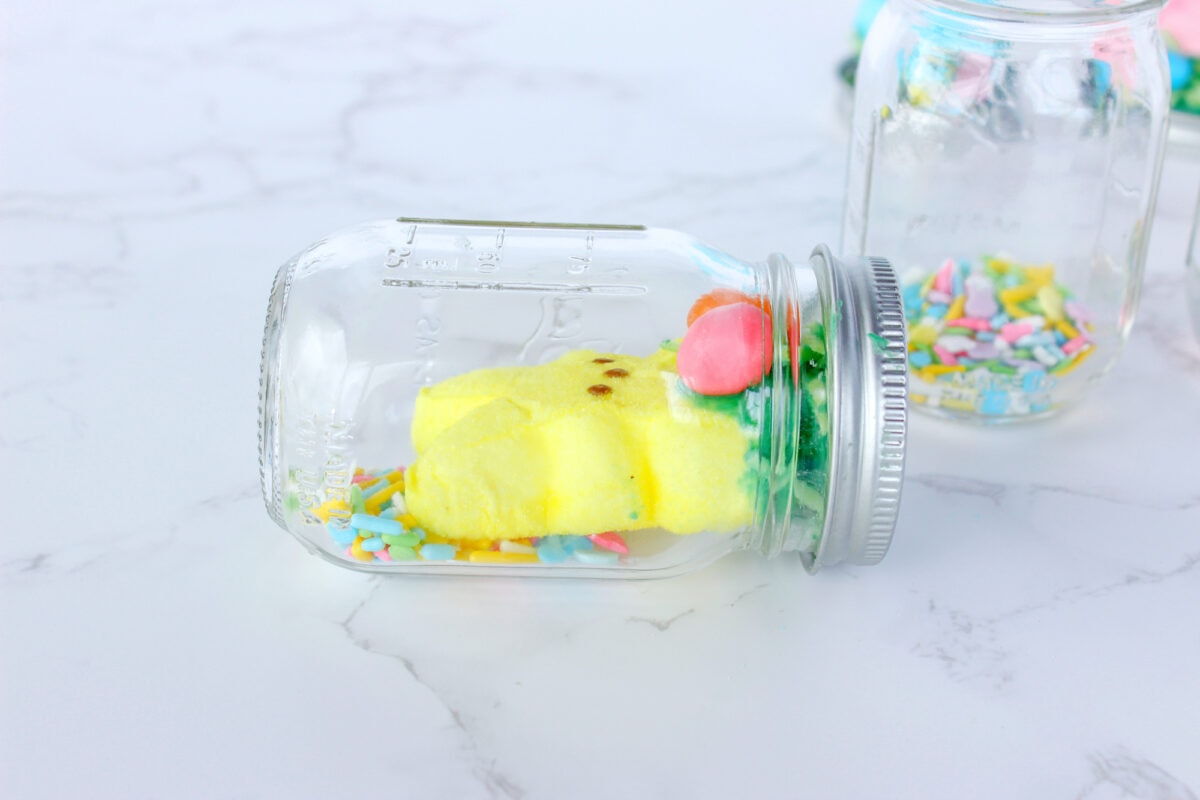
Gently lay each jar on its side without spilling the sprinkles out.
Lay the peep and lid sideways, then gently push the Peep into the jar.

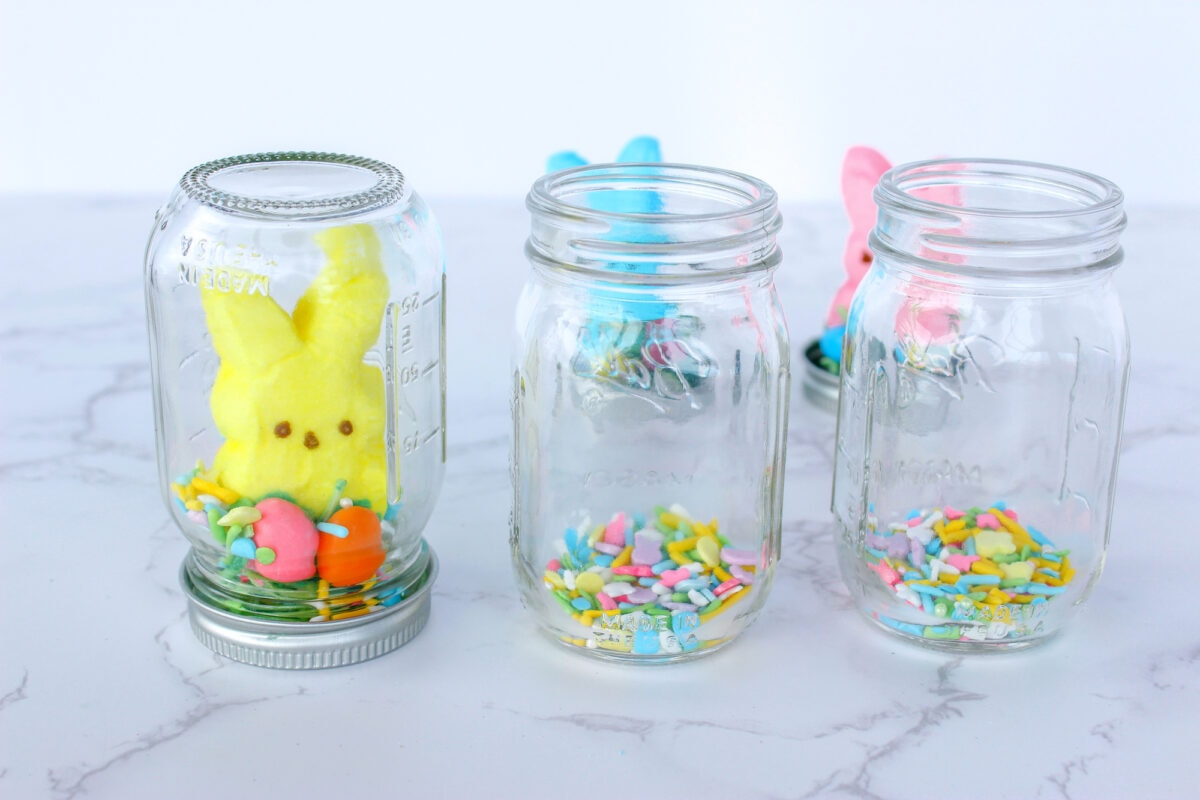
Screw on the lid and gently shake the jar to distribute the sprinkles.
Helpful Tips I Learned From Making These Snow Globes
- If your chocolate gets too hard, empty the ziplock bag back into the bowl and reheat in the microwave in 15 second intervals.
- If the chocolate seizes up and is too thick and gloppy, you could also just add a little bit of coconut oil, stirring in between. That should bring the chocolate back to the right consistency.

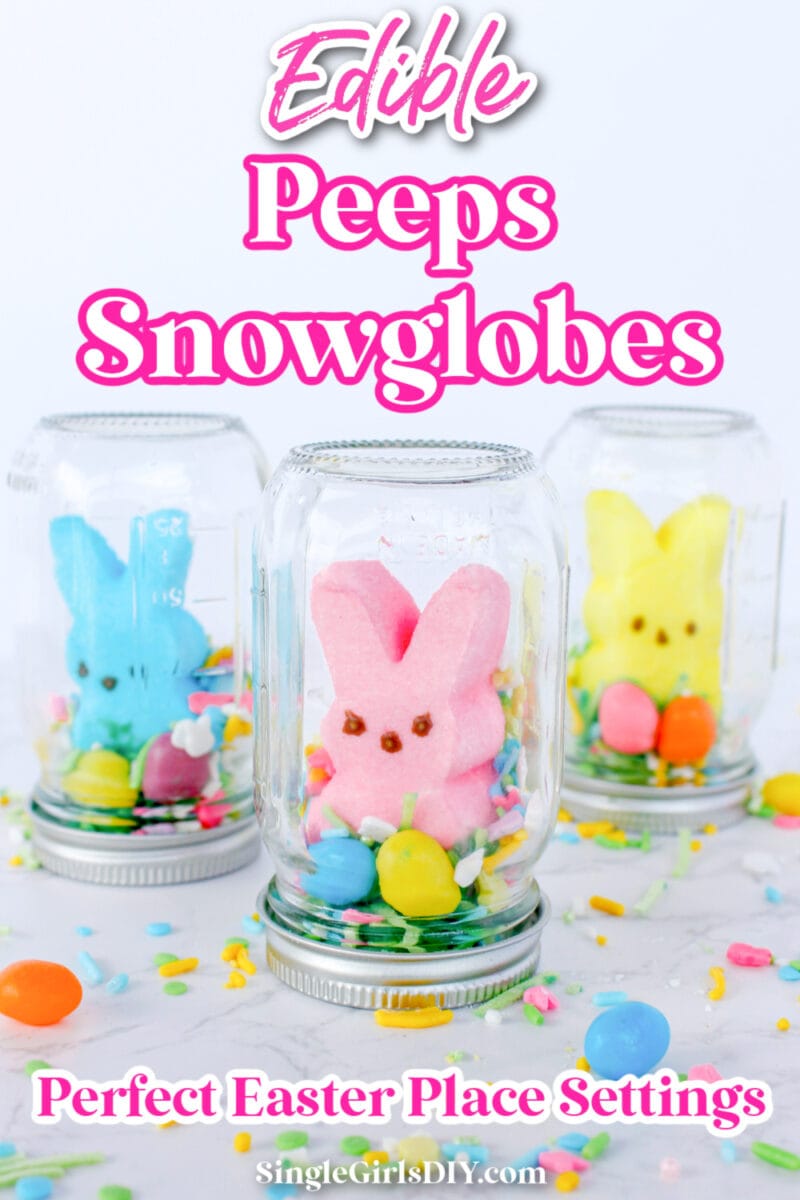
Pin this idea to save for later!

If you love these iconic Easter candies, check out these Peeps recipes, too:
