
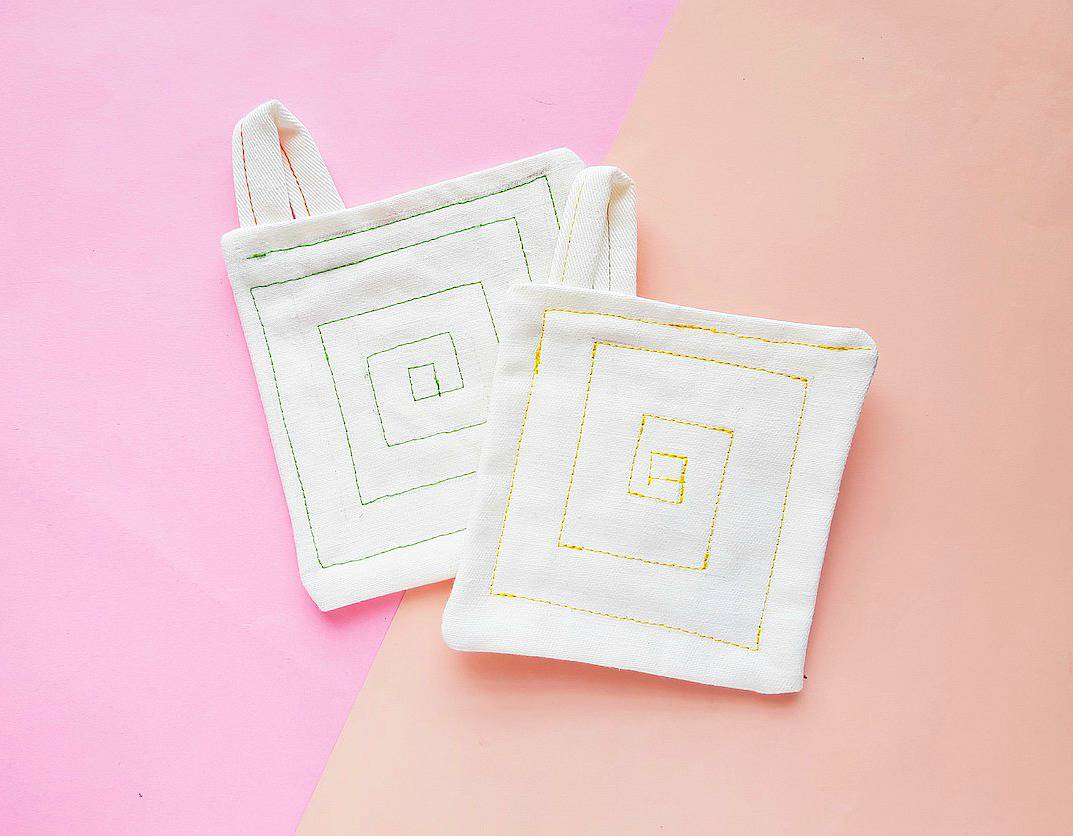
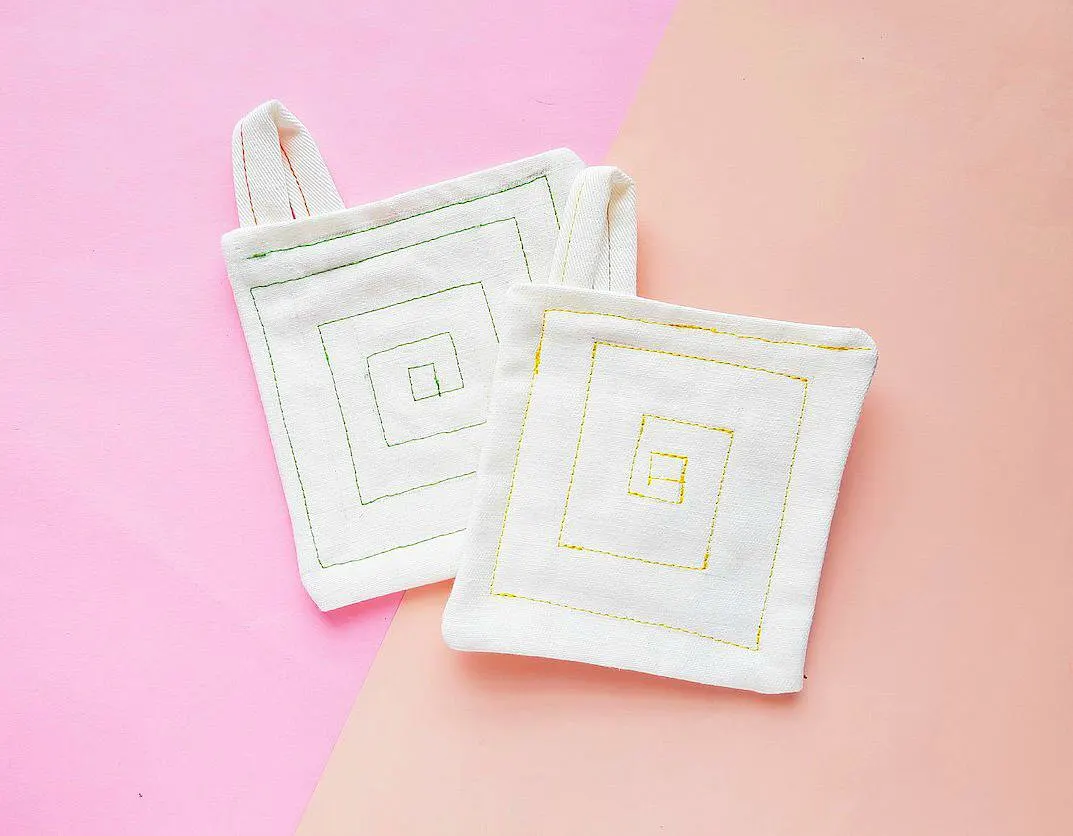
Easy beginner pattern for how to sew a pot holder from drop cloth fabric scraps without using binding.
Drop cloth fabric is having its day in the sun. It’s cheap, easy to find, comes in large sizes, and can be used for everything from making roman shade curtains to slipcovering chairs with drop cloth like I did.
With all of these drop cloth crafts that you might be doing, chances are you’ll have some fabric scraps. So why not make a few pot holders?
This is an easy pot holder pattern for beginner sewing. It is made without binding. And these are also made without batting, although you can easily add it. (See the FAQs below for helpful tips.)
Want easy sewing patterns? Then be sure to check out my post on how to make a throw pillow cover in six easy steps.
How to Sew a Drop Cloth Pot Holder
Supplies
- Thick cotton fabric (drop cloth, denim, canvas, etc.)
- Fabric marking chalk or pencil
- Thread for a sewing machine (this will be visible, so make it a color you want to see)
- Sewing machine (a cheap and tiny sewing machine like this one works great, too)
- Ruler
- Scissors
Instructions
If your drop cloth isn’t already washed and dried, do that first. It can shrink, so you want it to shrink with the first wash before you start sewing with it.
Trace two same-size squares on your fabric and cut them out using scissors. Figure out how large you want your pot holder to be, then add ½ inch on each side of the square for the hem. (You can add more or less depending on what line on the sewing machine you might use when lining up your fabric to sew.)
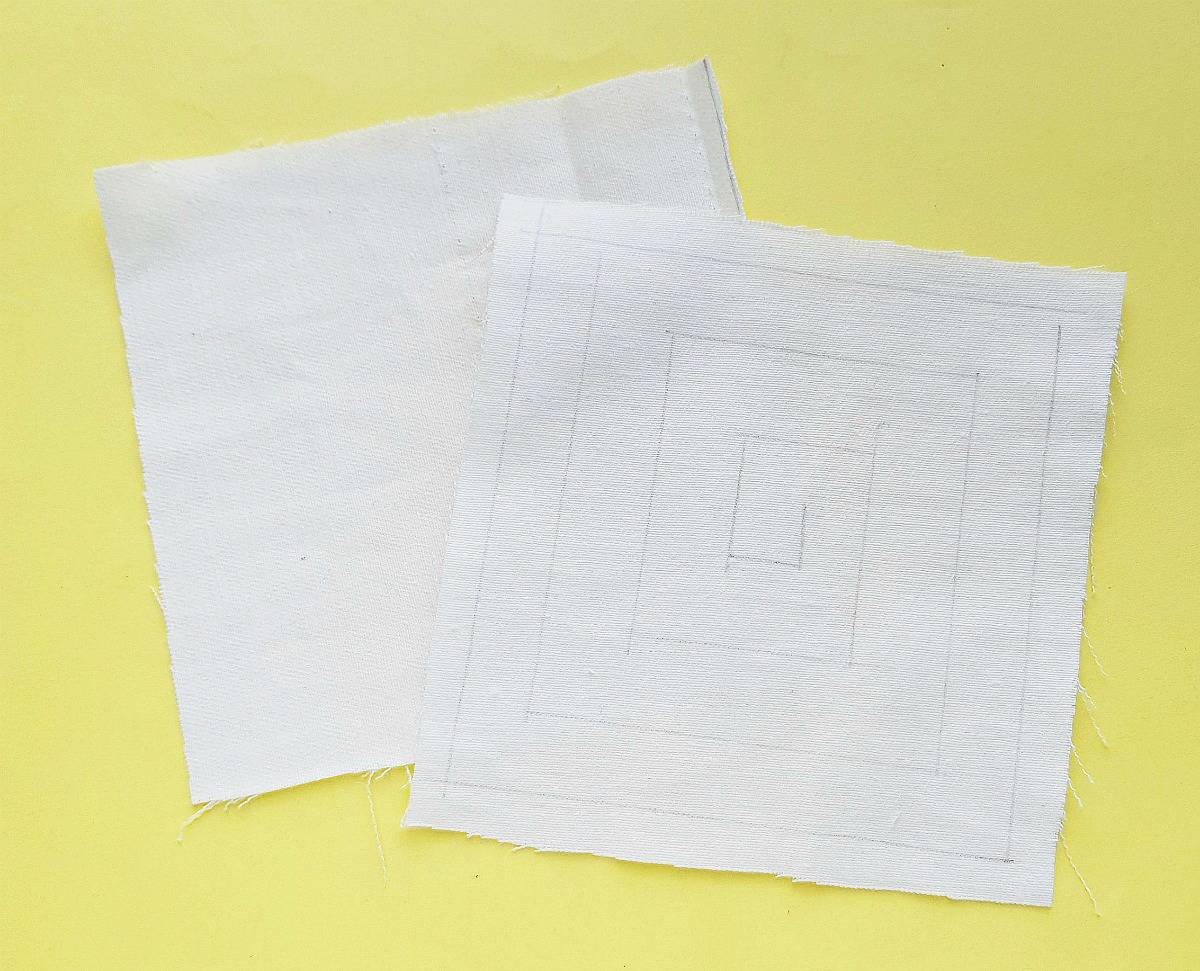
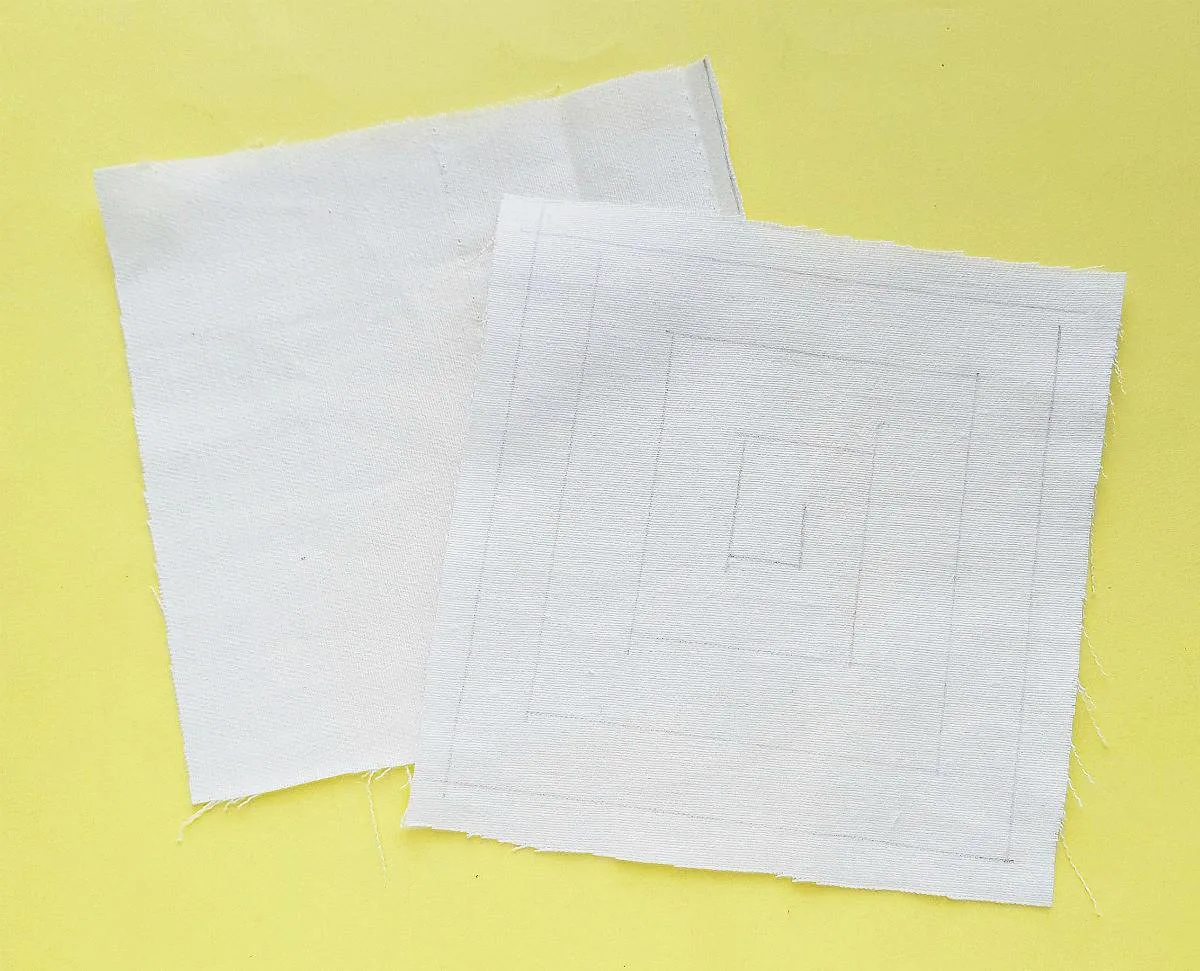
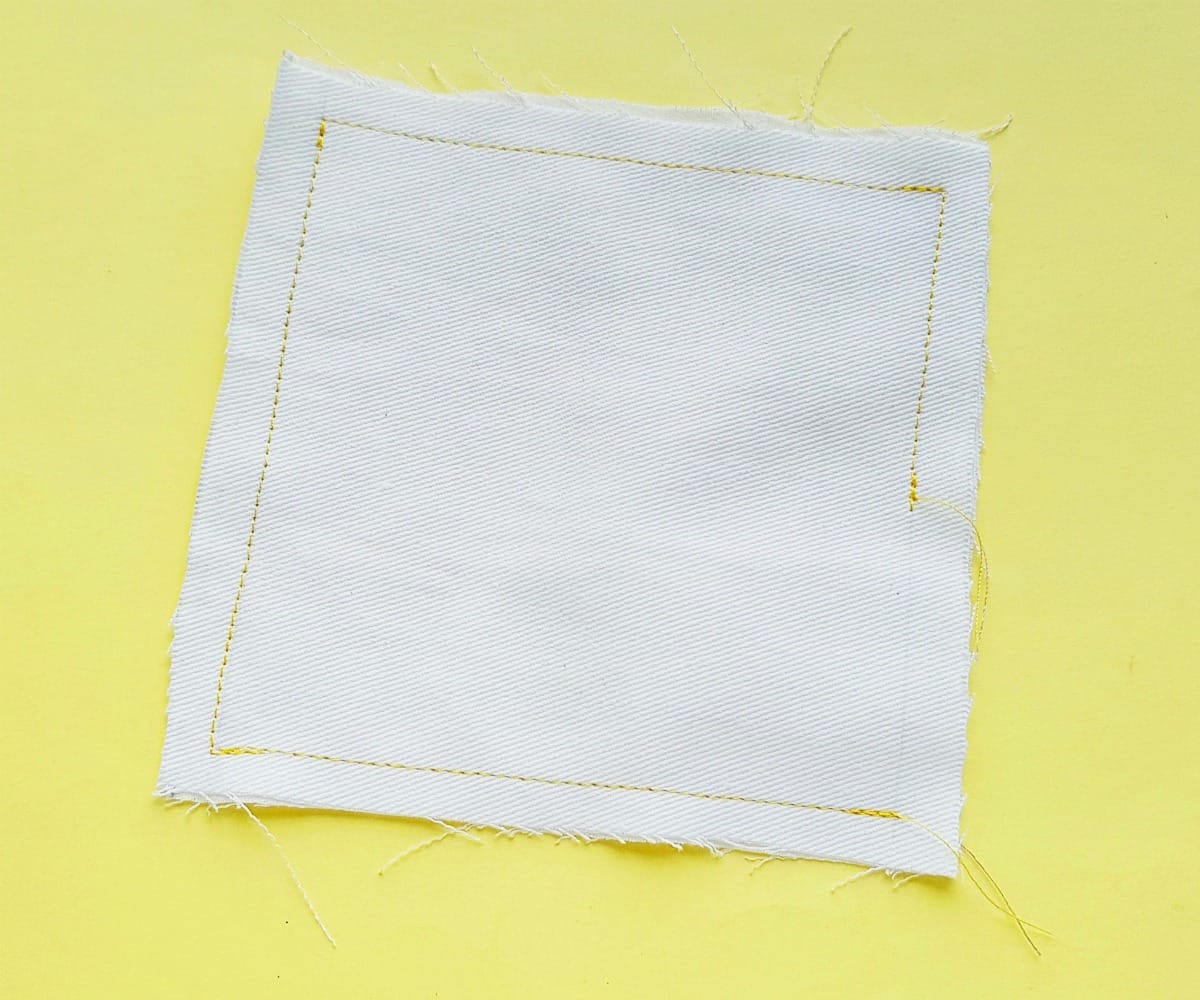
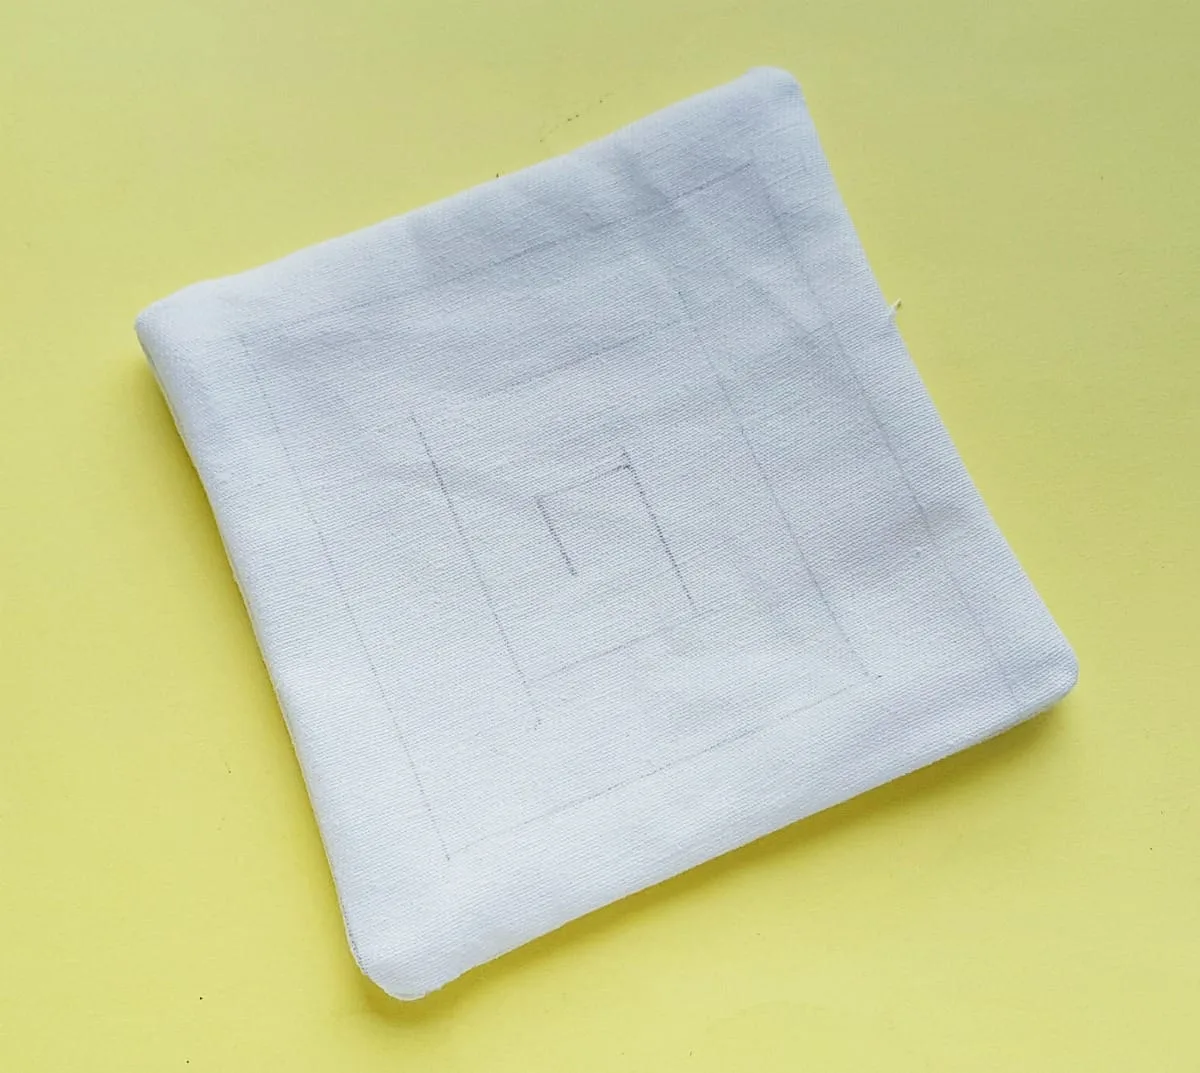
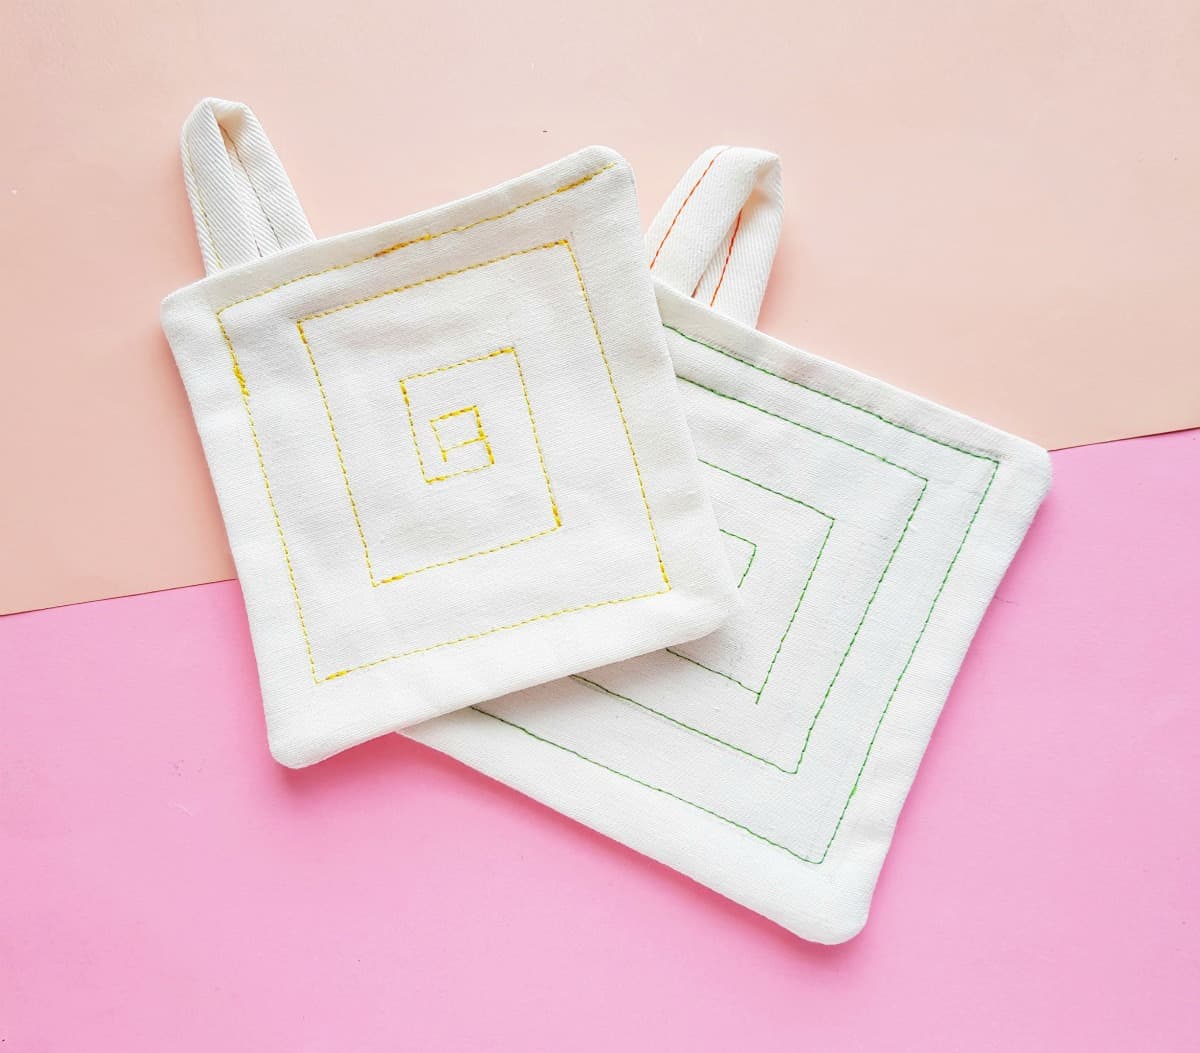
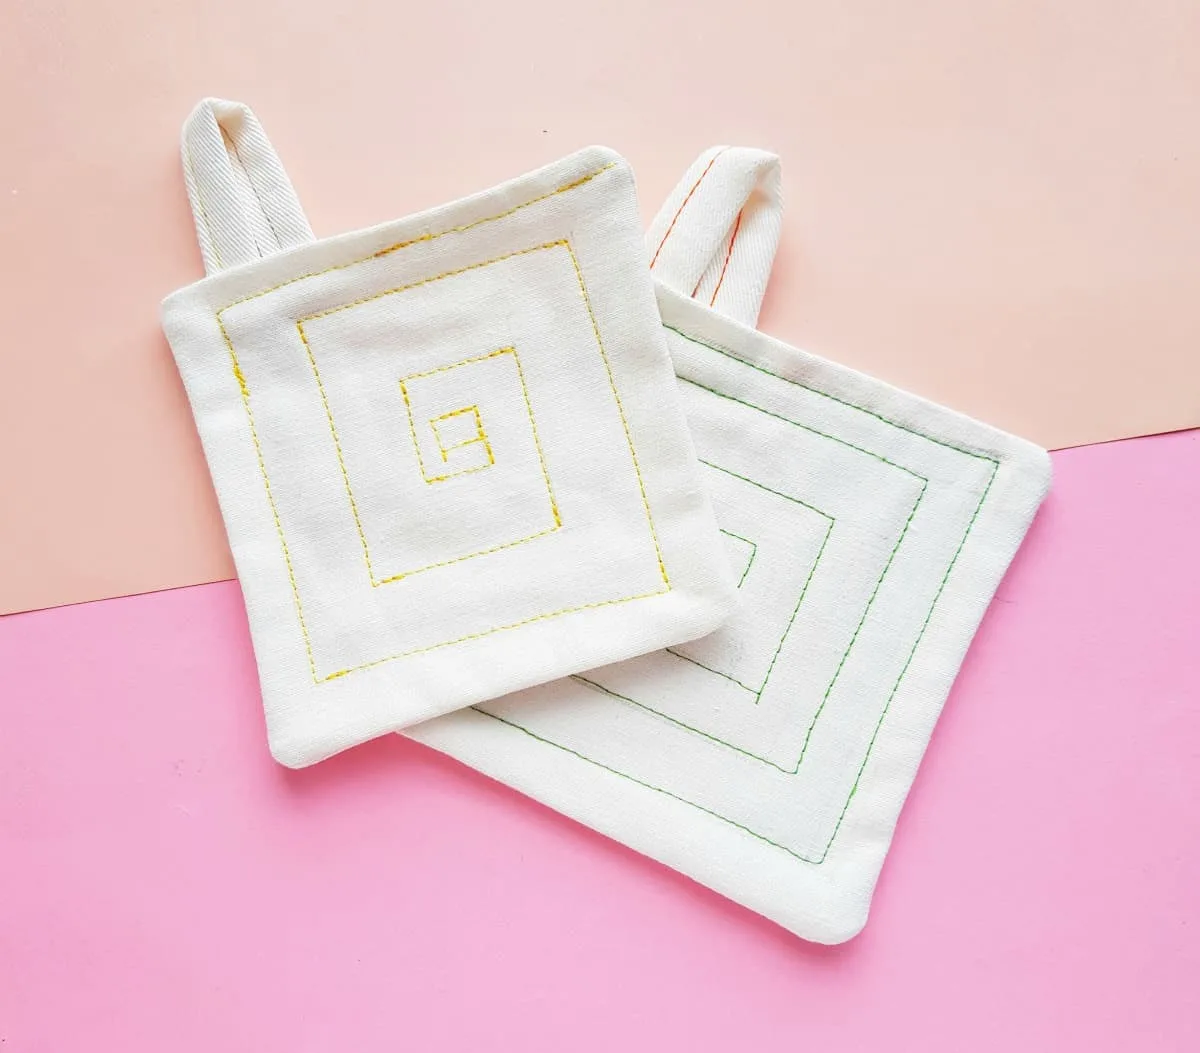
Trace a pattern on one square that you would like to embroider (this is optional). I used a ruler to make a square maze pattern, because it is easy to do with a sewing machine.
Place the 2 square fabric cutouts together and line up their edges. Place the side with the traced pattern inwards, laying downward on the other piece of dropcloth.
Sew along the 4 sides of the square to stitch them together, sewing about ½ inch from the edge for the hem (or whatever distance you would like based on your measurements).
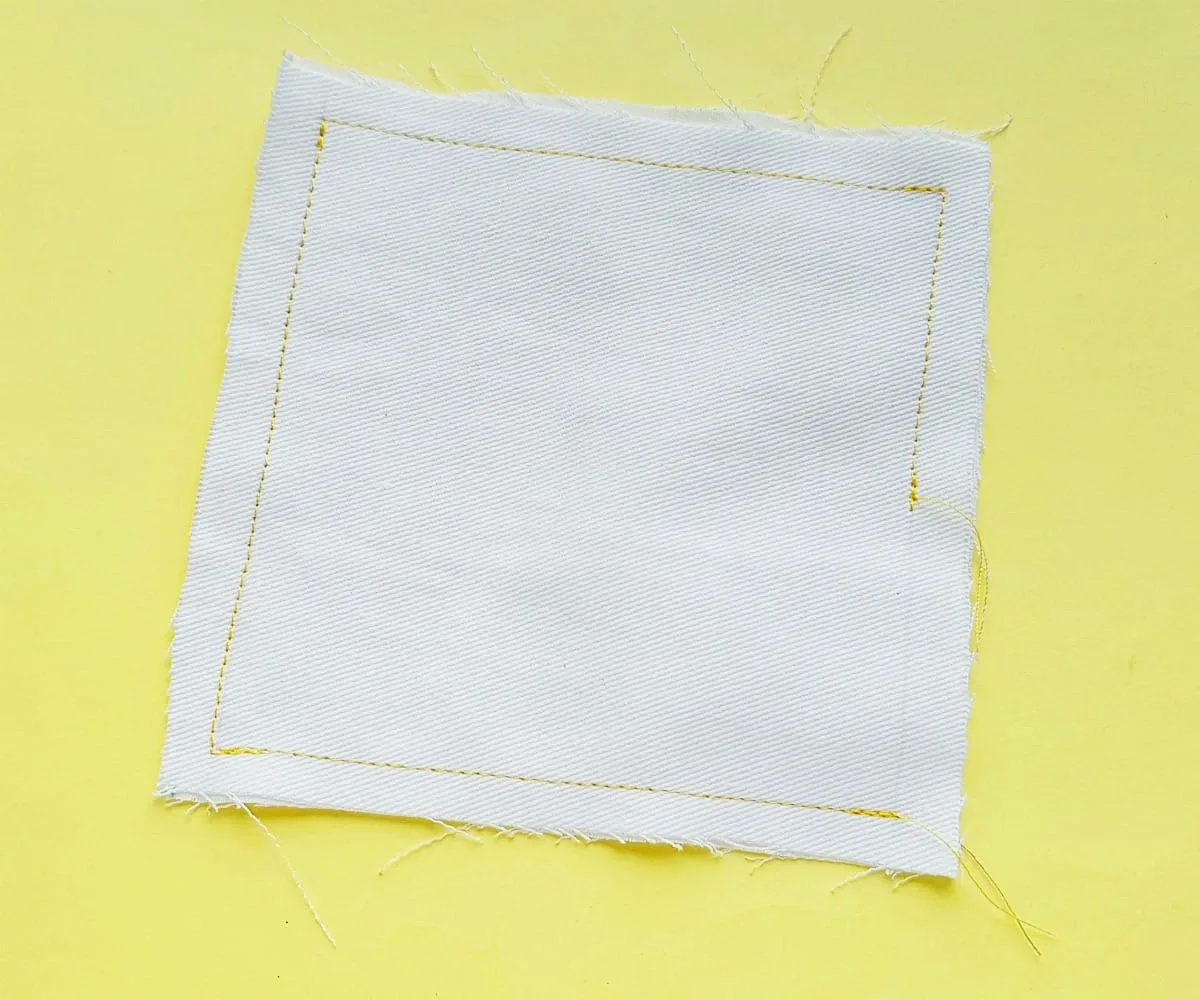
When you start sewing the fourth side of the square, make sure to keep a small opening that you will not sew closed, about 2-3 inches. It’s easier to leave the opening at the corner.

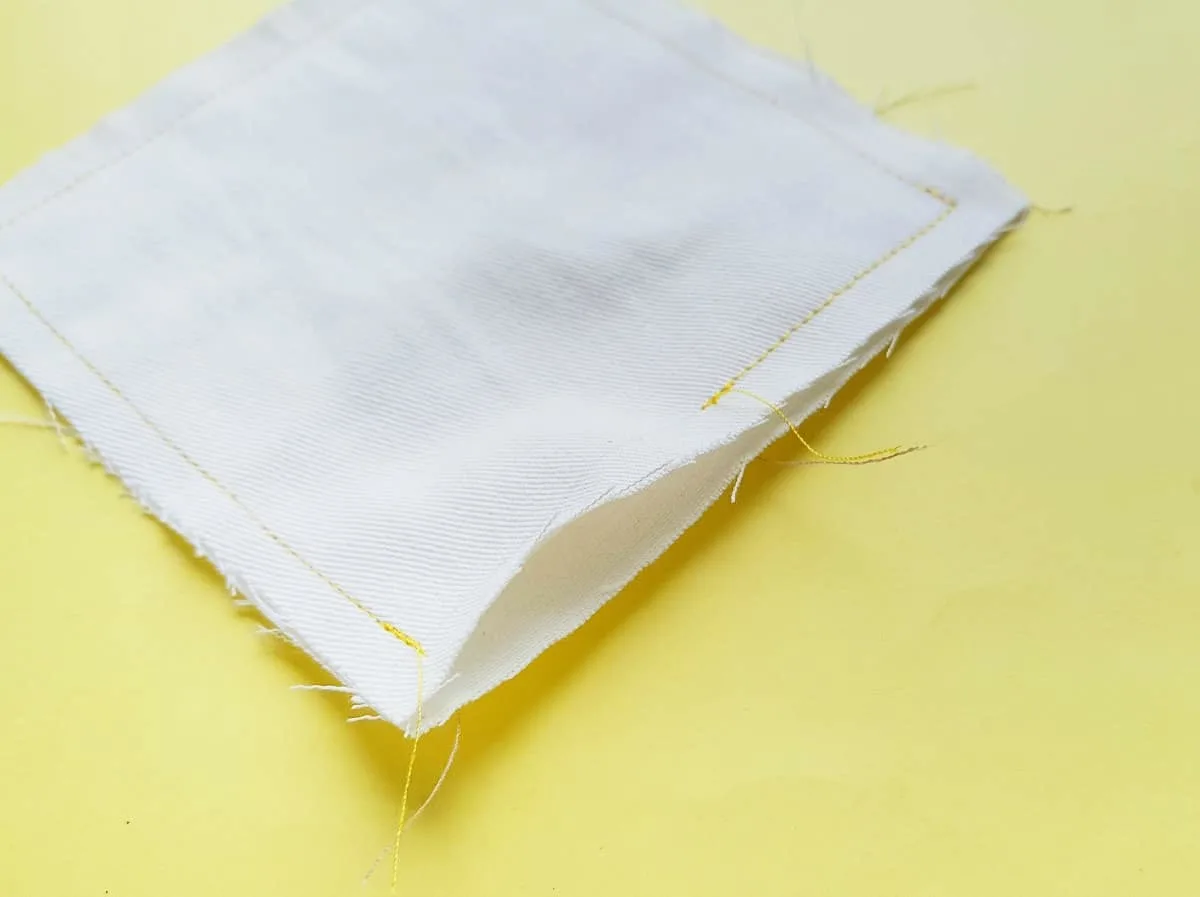
Turn the right side of the sewed fabric out through the small opening.
After you turn the pot holder inside-out, fold under the open side’s edge inside the pot holder and use a pin to keep it in place if you want. (I did not use a pin in the picture below.) This will look like a “finished” hem but is not yet sewn.
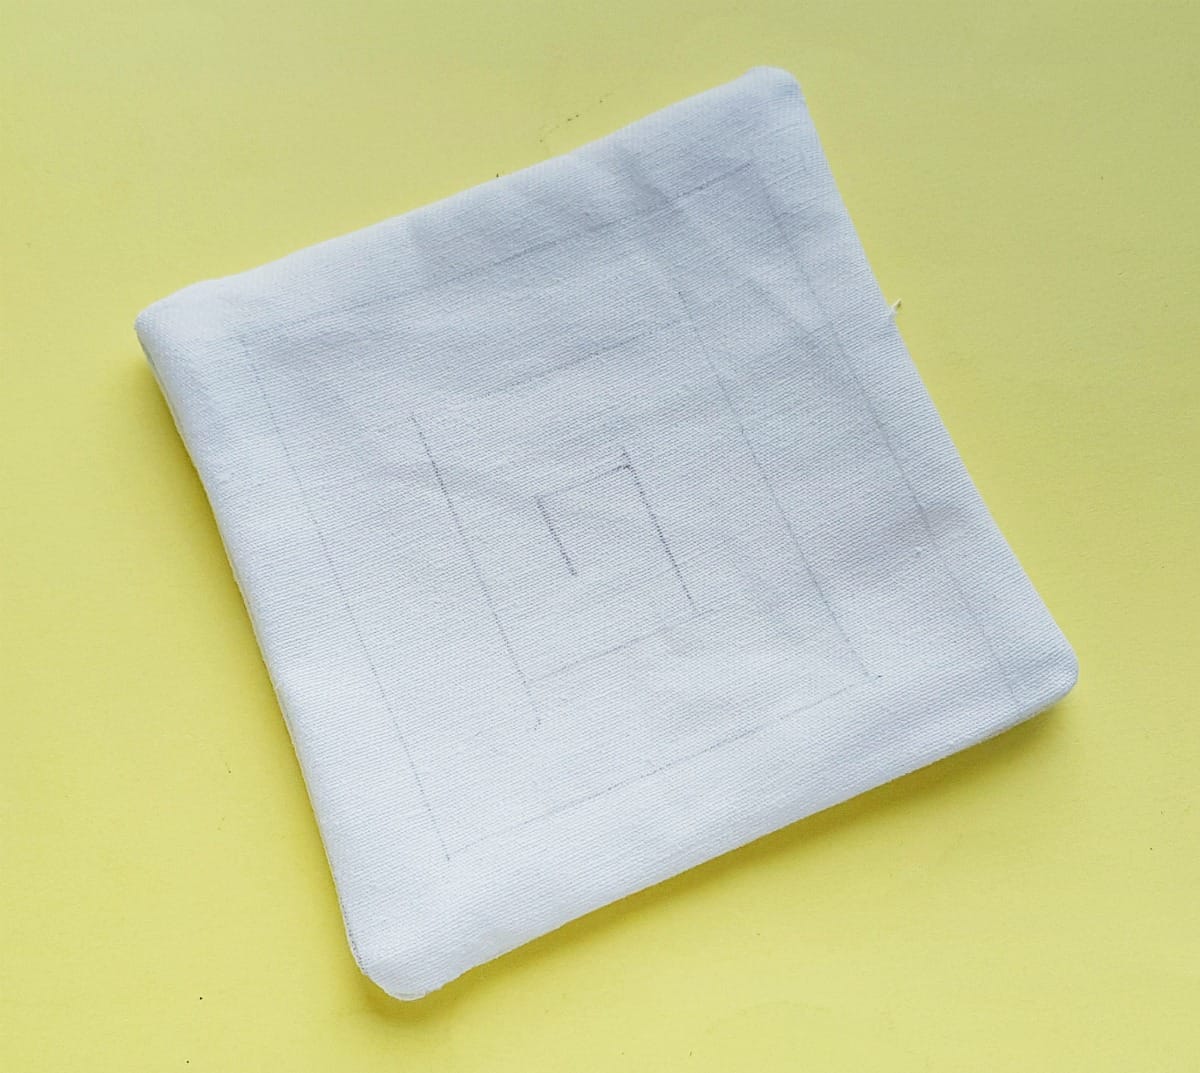
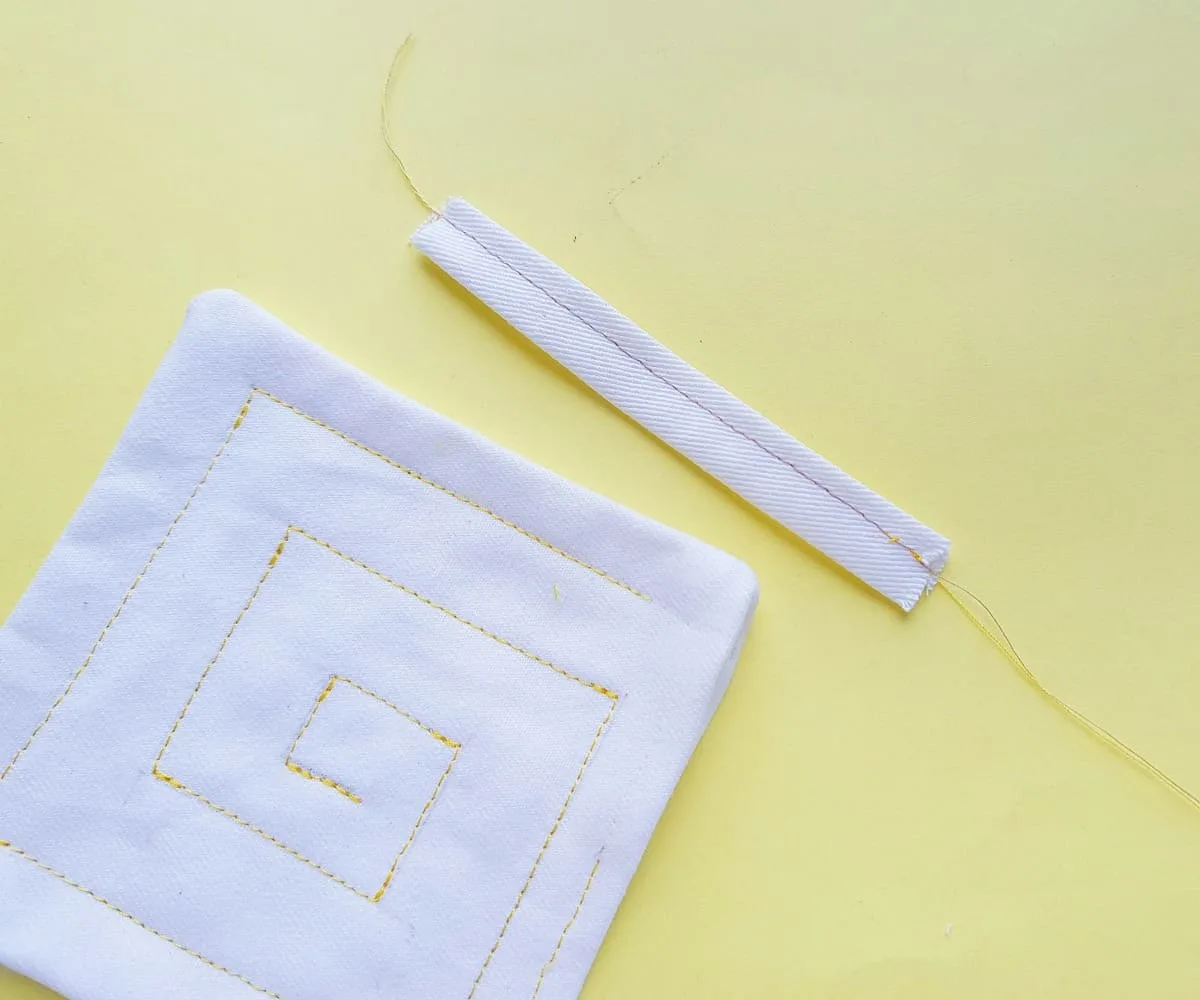
Sew along the pattern. Start with the outermost edge of your design, and just sew along the line. If you do straight edges like this pattern, you will need to pick up the foot of the sewing machine and readjust the fabric several times.
To make the loop handle, cut out a small rectangular scrap piece of fabric (about 1.5 X 4 inches).
Fold the longer side edges of the fabric inwards to meet in the middle. (You are folding ¼ of the width inwards from each edge.) Then fold it in half, bringing the folded edge together. This will have the unfinished edges inside, with the folded fabric on the edges now. Sew along the open edges.

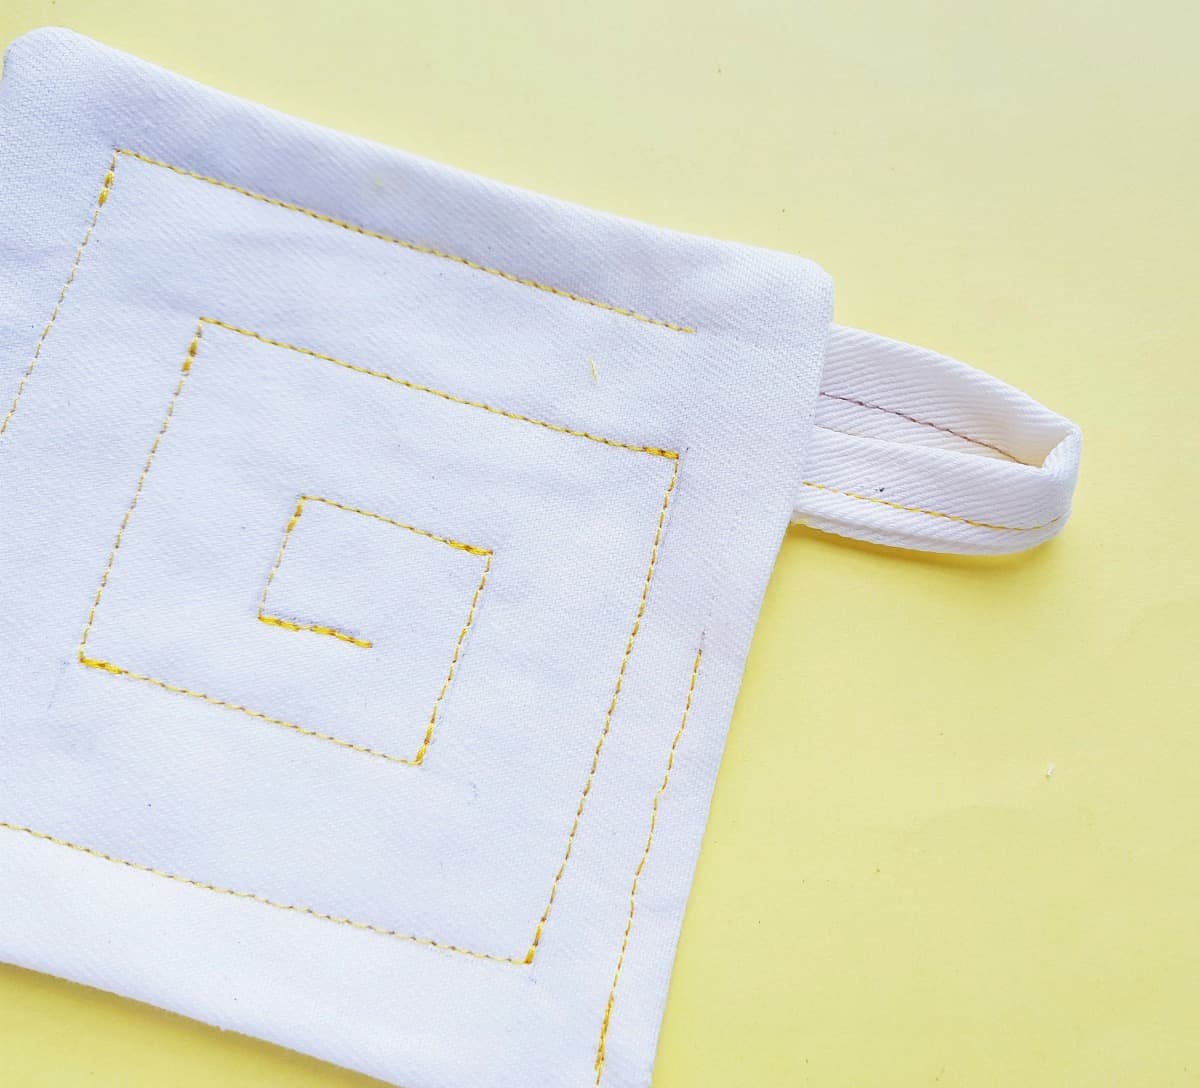
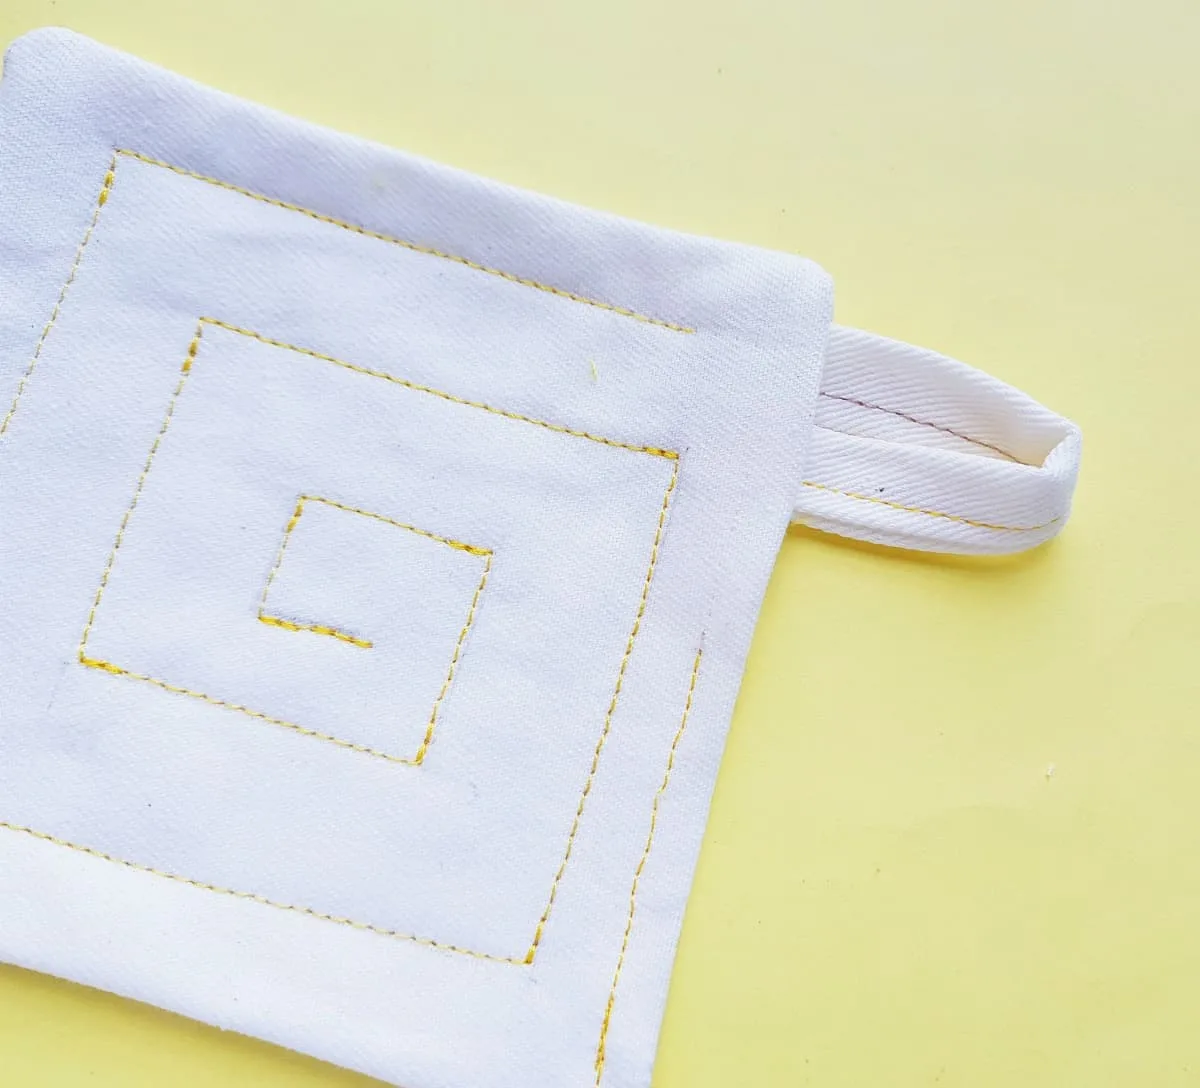
Fold the loop handle into half (lengthwise) and put its open ends into the small opening of the pot holder. If you have pinned the pot holder together, you’ll need to remove the pin to do this. You can insert the loop and then pin again until you sew. Using the sewing machine, sew over the opening to secure the handle and the pot holder together and finish off the edge.
Frequently Asked Questions
How Do You Bleach Drop Cloth?
Drop cloth is often natural or light brown in color. If you like the whiter, lighter look, here’s a great tutorial on how to bleach drop cloth.
Can I Add Batting to the Pot Holder?
Yes! You can cut a piece of batting to insert into the pot holder.
Cut the batting to fit the edges of the pot holder once the hem has been sewn. For instance, if you measured a 6 X 6 inch pot holder then added ½ inch on each side to allow for the hems (so each side was then 6 ½ inches), you would only cut the batting to be 6 inches on each side.
You can sew the batting to the backside of one of the fabric squares. When you turn it inside out then the batting will be inside.
Or you can cut the piece of batting and insert it into the pot holder after you have turned it inside out. This is a little more cumbersome, but you can do it. You’ll have to flatten it out by gently pushing it down and into the corners using the eraser-side of a pencil before you sew up the final seam.
Do I Have to Use a Sewing Machine?
No. You can hand stitch this pot holder pattern if you don’t have a sewing machine. (Although an inexpensive hand-held sewing machine like this one might be the answer to save you time and let you sew more!) You will need to stitch very close together, though, to keep the hems secure and really hold the pot holder handle inside.
Does it Have to Be Square?
Nope! You can make your pot holder any size or shape you’d like! So you could make a longer rectangle, a triangle, a circle, anything! Just cut two identical shapes and sew them together using the instructions above.
Here’s some more great sewing ideas:
- How to Sew a Throw Pillow Cover in Six Easy Steps
- How to Sew Burp Cloths in 20 Minutes of Less!
- How to Make Roman Shades from a Drop Cloth
- Slipcover for an Upholstered Chair Out of Drop Cloth
- Reusable Bowl Covers
- How to Make a Purse Scarf
- How to Sew a Double Sided Minky Blanket
