
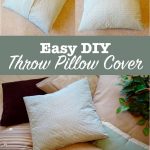

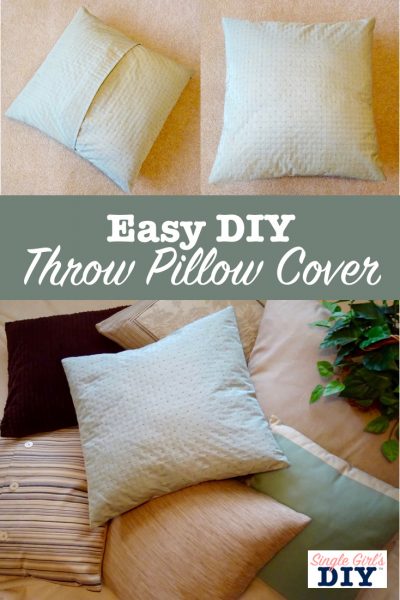
How to make removable throw pillow covers for inexpensive pillow forms.

Do you love changing your throw pillows often? I know I do! But I don’t always want to buy new pillows, when all I want to do is change the cover.
Plus, storing throw pillows when you’re not using them (such as for a holiday season) takes up a lot of space!
Which is why I love these DIY throw pillow covers so that I can easily change the look of one pillow many times throughout the year.

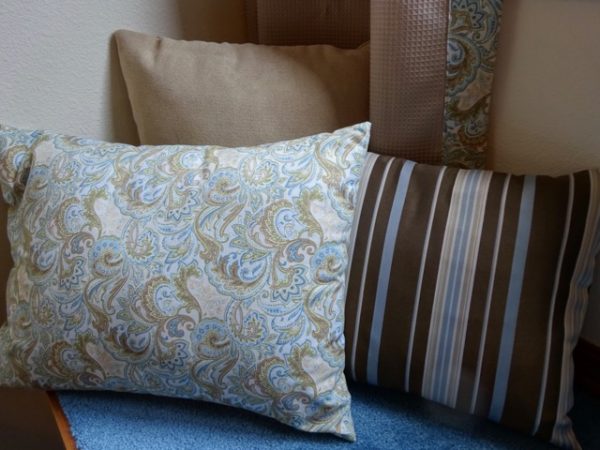
Changing your throw pillows can really change the look of a room. For instance, imagine a couch with pastel pink and white pillows. It instantly makes you think of Spring or a girl’s room, right? Now think of the same couch with navy striped pillow covers, or bright red and green covers.
It’s the same space, but it makes you feel different moods when you see the fabrics and patterns.
So that’s why it’s so empowering to know how to make your own throw pillow covers. You can instantly and cheaply change the look of a room.


Don’t worry. If you can sew a straight line, you can make a homemade throw pillow cover!
We’ve got so many more Easy Things to Sew! Be sure to see more fun ideas!
What Types of Pillows Should I Use?
This DIY project is so great because you can use what you already have, and make it better. You don’t have to buy a new pillow form.
Reuse throw pillows you already own, even if you hate the look. Because you just need the form, you don’t care about what it looks like outside.
Or go to a thrift store and buy inexpensive throw pillows. Usually they are not pretty, but for $1-2 you can get some great throw pillow forms.
You can also buy pillow forms if you want a fresh start. Especially if you’ve had a dog drooling on the pillows or they’ve been in a musty room. You just don’t want to worry about mold or dust mites in the stuffing.
There are some specialty pillow form sizes that I love. Such as this lumbar support pillow which is great for supporting your back AND being stylish.
Or, get super big pillow, such as this 26″ X 26″ size, and they can double as floor seating.

If you prefer to watch a video on exactly how to sew this cover with no zipper, watch my YouTube video below:
How To Sew a Throw Pillow Cover
Materials
- Pillow form (or use a pillow you already have)
- Fabric – For an 18″ pillow form, you will need about ⅔ yard of 44″ wide fabric
- Scissors or rotary cutter
- Ruler
- Iron
- Sewing machine (even a surprisingly tiny sewing machine will do!)
Directions
1. Measure the pillow

If you buy a pillow form, the dimensions will be on the packaging and you can skip this step.
Common pillow form sizes are:
- 16″ X 16″
- 18″ X 18″
- 20 X 20″
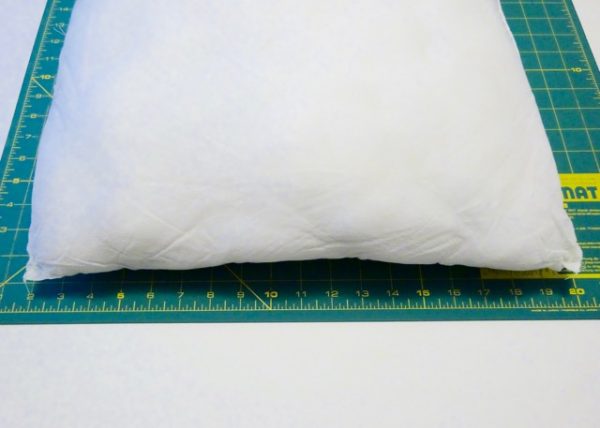
If you are using one of your own pillows, here’s how to measure the size of your throw pillows:
- Lay the pillow on top of a ruler or yard stick.
- Smoosh it out a little, and eyeball the widest point. It’s OK to under estimate a little. This makes your pillows look plump. (I would call this one 18”)
- Measure both length and width.
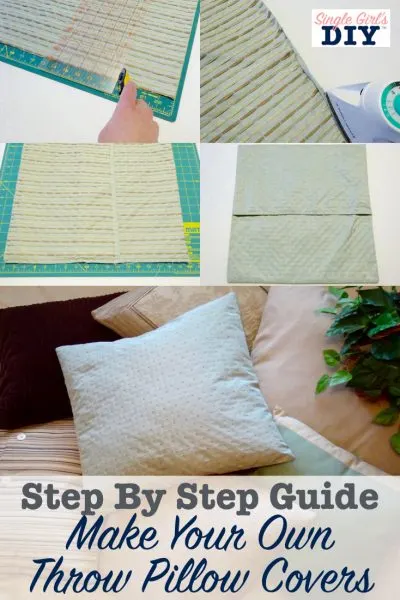
2. Cut the fabric

The amount of fabric yardage you will need will depend on the size of your pillow. Here’s how to measure for throw pillow covers.
You will need a single piece of fabric with these dimensions:
- 1x pillow width + 1”
- 2x pillow length + 4”
For example, for my 18″ x 18″ pillow, I cut the fabric to 19″ x 40″.
Which means that I took the width of the pillow (18 inches) and added 1 inch to it to get 19 inches. Then I doubled the size of the pillow length (18 inches X 2 = 36 inches) and added 4 inches to get the 40 inches measurement.
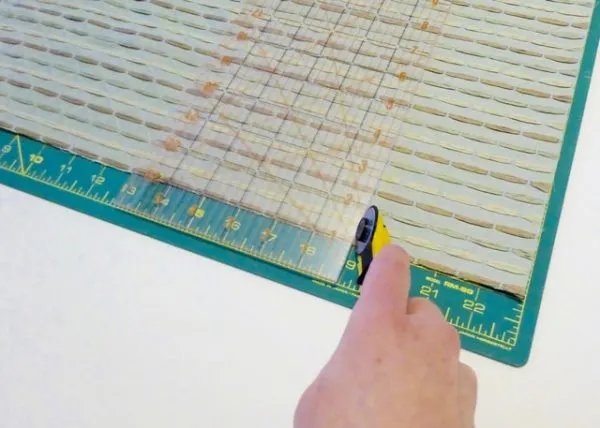
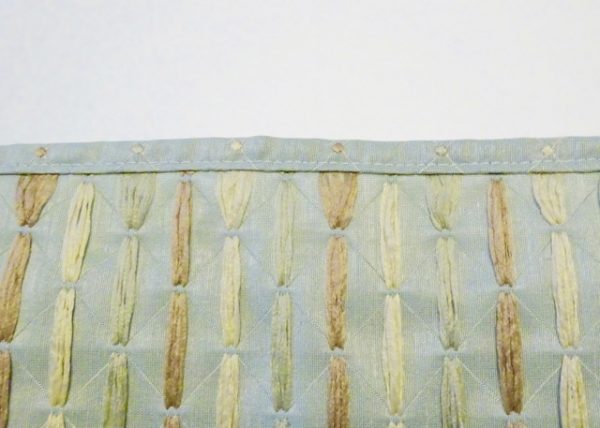
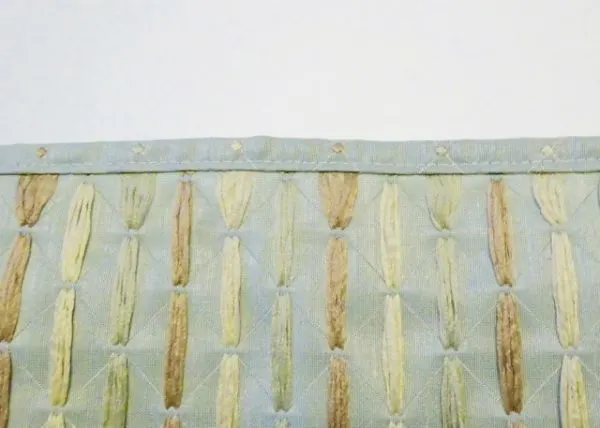
3. Finish the short edges
The pillow cover is going to wrap around the pillow. The short edges will overlap and have a finished opening. To make these finished edges:
- On one short edge, fold under ¼” to the wrong side of the fabric.
- Fold under ¼” again, so the raw edge is completely tucked inside the fold. Press with an iron.
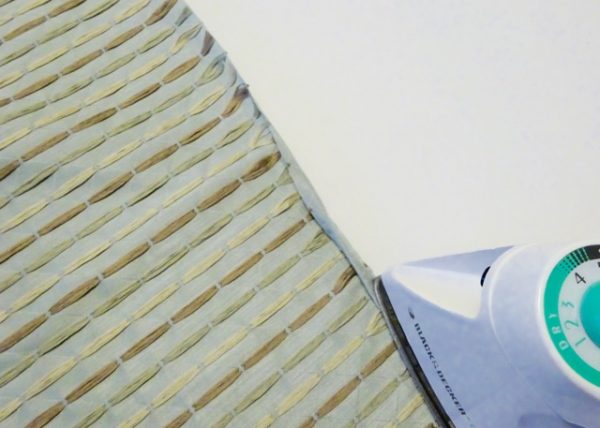

- Stitch close to the inner edge to hold the seam closed.
- Repeat on the other short edge.
4. Stitch the long edges
Now it’s time to finish the long edges, to make your removable pillow case.
- Lay your fabric out on a flat surface, right side up.
- Fold one of the short edges in toward the center, so the wrong side of the fabric is now facing out on that end.
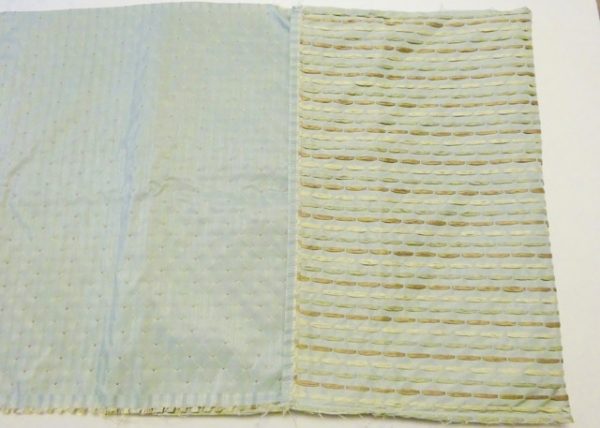
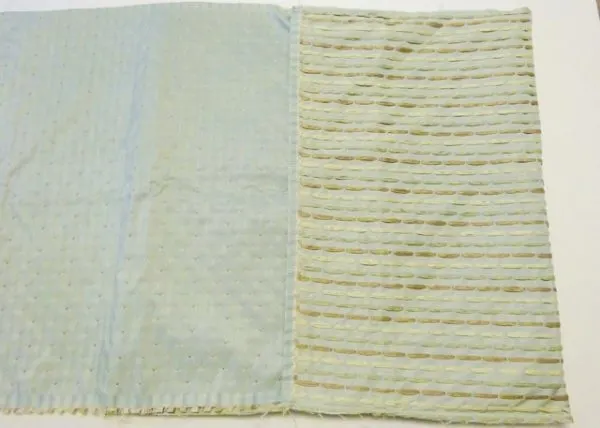
- Use your ruler and the measured length of the pillow to determine where to fold the other side. The short edges will overlap at the back by a couple inches. For my example pillow, I measured 18″ from the first fold to know where to make the second fold. The length of the fabric between the folds will match the length of your pillow form.
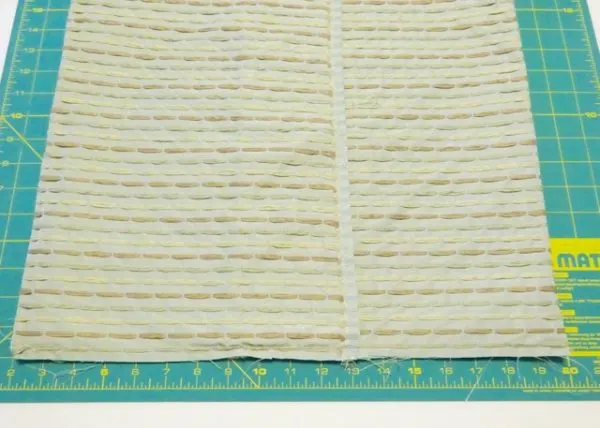
- Pin the long (unfinished) edges in place.
- Stitch along both sides, ½″ from the edge. Back stitch at the places where the short edges meet to add a little reinforcement.
5. Turn the cover
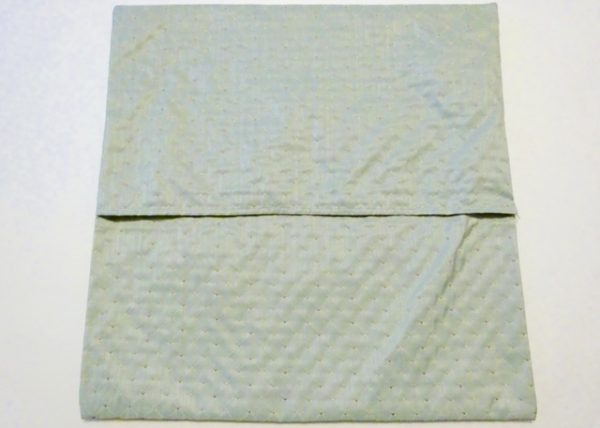
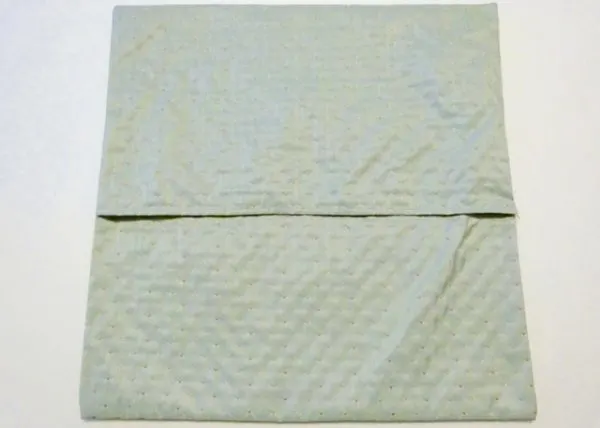
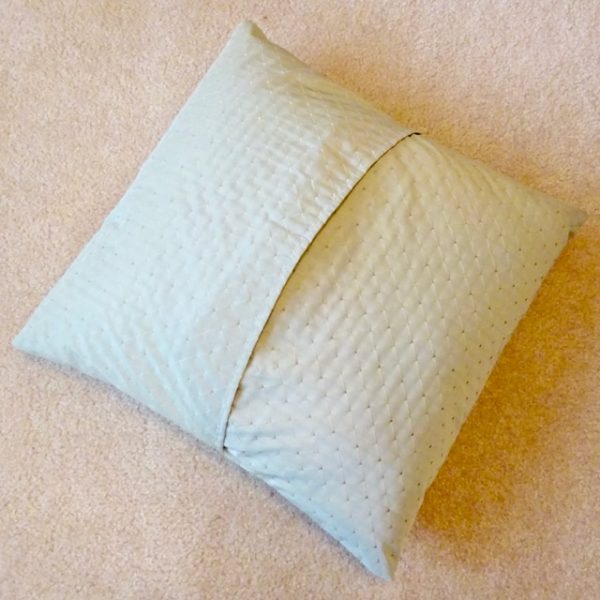
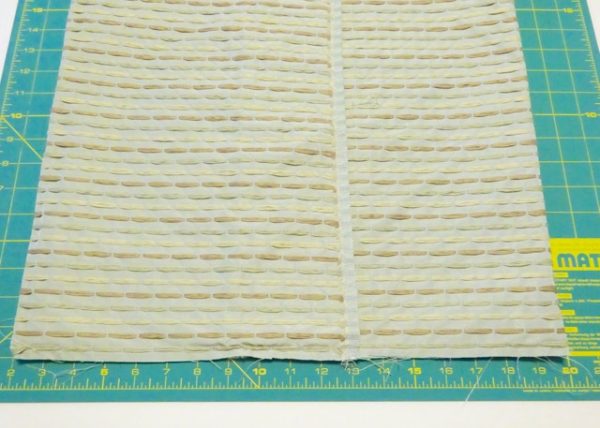
Once the final edges are sewn, you’re ready to flip the cover right side out. Use your fingertip to push out the corners.
This cover will now slip easily on and off your pillow like an envelope. No zippers or buttons required, just a bit of squishing to get it to fit.
If you do feel comfortable sewing a zipper, you’ll want to check out how to sew a pillow cover with a zipper.
Be sure to see our tutorial on how to sew a reading pillow with a book pocket as well as how to sew drawstring gift bags, too.
Change Your Pillow Covers Often
Knowing how to make removable throw pillow covers lets you customize your home throughout the year. Especially for the different seasons and holidays.
You can keep a box in a closet or under your bed full of removable throw pillow covers that you’ve made. Or store them in a linen closet. It won’t take up that much space. Simply change out the cover as you decorate for each holiday.
This is a great way to update your decor on a small budget.
Check out our 30 Free Easter Sewing Patterns for more beginner sewing projects!


Marsha
Wednesday 12th of November 2025
I just made this slip cover for Christmas and it was so easy, your instructions along with the video was easy to follow. I don’t have a sewing machine, so I hand stitched it with a back stitch. It turned out awesome! I plan on making more.
Kimberly
Wednesday 12th of November 2025
I am so happy to hear that, Marsha! Glad these instructions helped you!
Mary
Tuesday 18th of February 2025
Came out great thanks
Kimberly
Saturday 1st of March 2025
You're welcome!
Carol
Thursday 30th of May 2024
I loved your tutorial because you made it so easy to follow! I can do this, Thanks so much!
Kimberly
Thursday 30th of May 2024
Thank you so much, Carol!!!
Jennie
Thursday 15th of December 2022
Thank you so much for this tutorial! I whipped up two of these in no time! I used my current pillows, and made the covers in a red satin fabric to make them festive for Christmas!
Kimberly
Sunday 18th of December 2022
Jennie, I love that! Sounds so festive! Enjoy!!!
Jean
Monday 27th of June 2022
Thank you for this tutorial! I have made several pillow covers now it is so easy! I change the pillows in my guest rooms with the holidays and seasons! It is super fun to make and gives my home the update I like having on a regular basis.
Kimberly
Friday 1st of July 2022
Thank you, Jean! I agree, I like changing out my pillows covers with the holidays, too!