


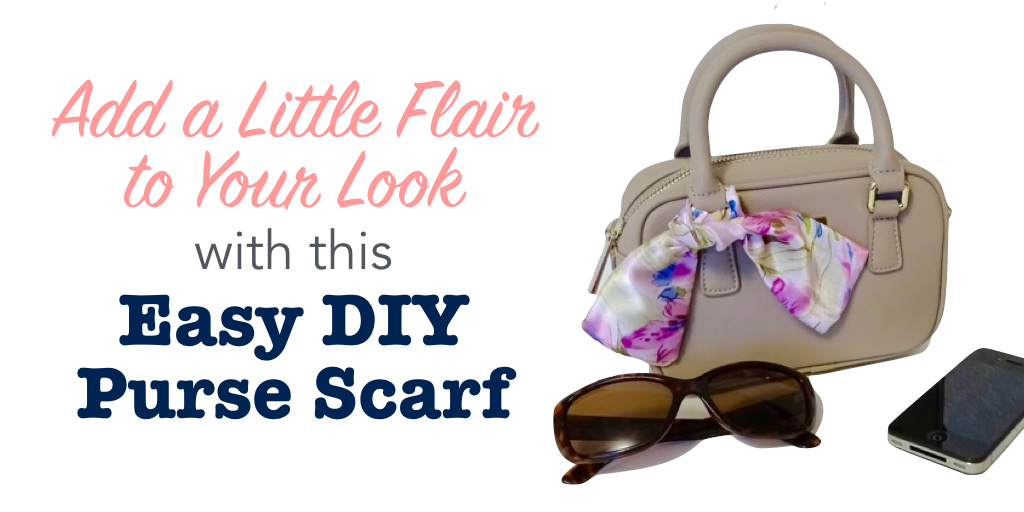
You already know you can add extra style to your outfits by adding accessories. But have you ever thought about accessorizing your accessories? You can with a purse scarf!
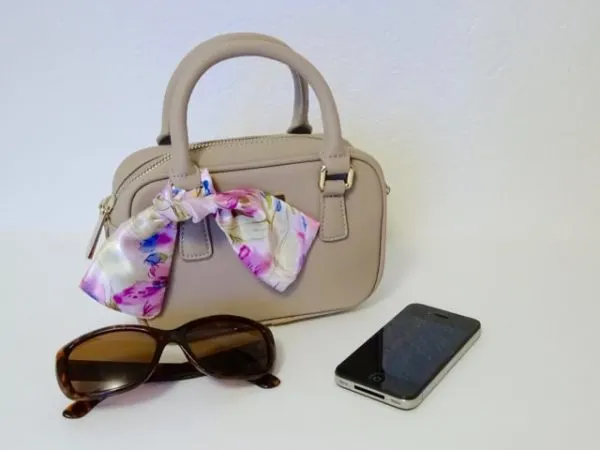
I recently bought a small summer purse, and it felt like it was lacking something. While the purse was functional, it was just a little blah. So, I added a pop of color with fabric, giving it just that perfect little style kick it needed.
Check out how I used scrap fabric to make this easy DIY purse scarf for the handbag handle. You’re going to want at least one for every season!

How to Sew a Purse Scarf
Supplies
- Fabric (About 15” x 6”)
- Sewing machine
- Matching thread
- Pinking shears
- Iron
Directions
1. Choose your fabric
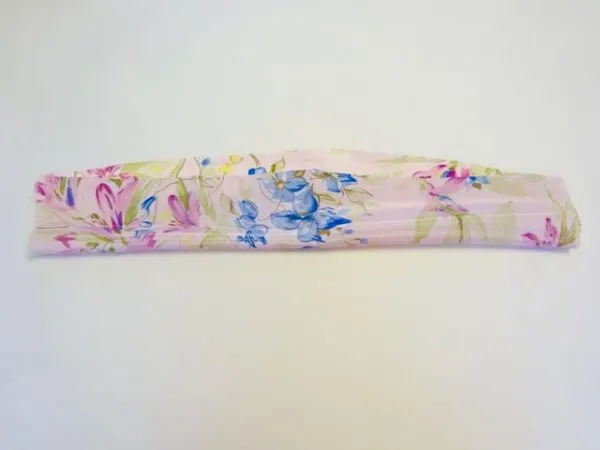
I went hunting through my fabric supplies to find a piece I could use. This was left over from a dress I made, so it wasn’t cut into a perfect rectangle. That doesn’t really matter for this project.
My fabric piece was about 15” long by 6” wide. I did not bother to trim it straight, but you can if you want to do so with your piece.
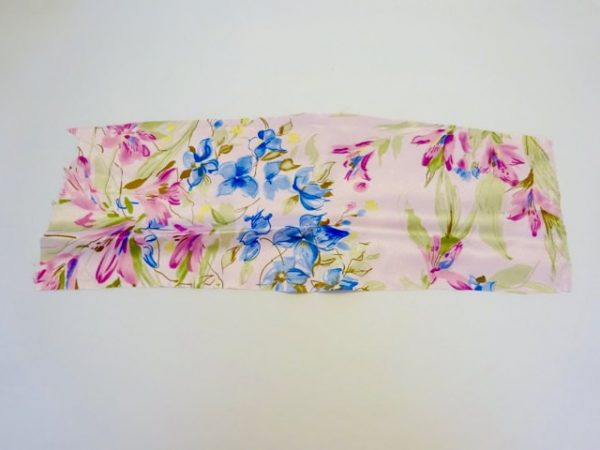
If you don’t have a scrap you can use, check out the remnants bin at your local fabric store. You might also find a piece of fabric or a scarf at a thrift store, or you can repurpose an old piece of clothing.
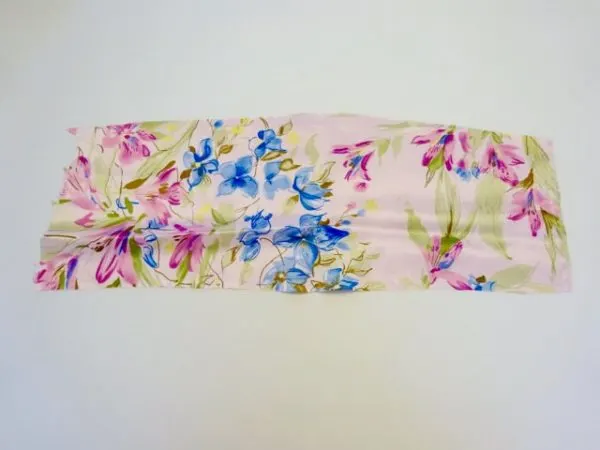
2. Fold the right sides together and stitch the edges
Fold your fabric piece in half the long way, with the right sides together. (You should be looking at the back side of the pattern.) Since I didn’t trim my scrap piece to the perfect shape, I just kind of eyeballed it.
Now, stitch around the edges, using a zigzag stitch. I sewed straight lines, staying at least ½” away from the edge of the fabric.

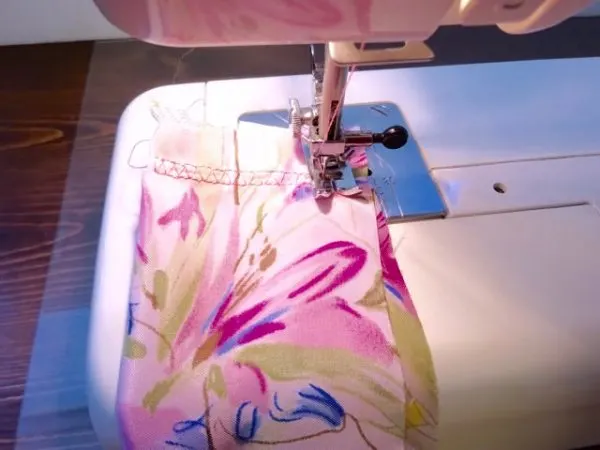
Sew around three sides, leaving about a 1” opening on the fourth short side.
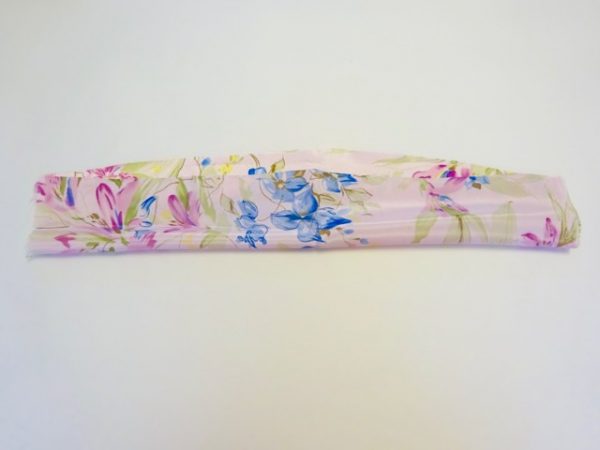
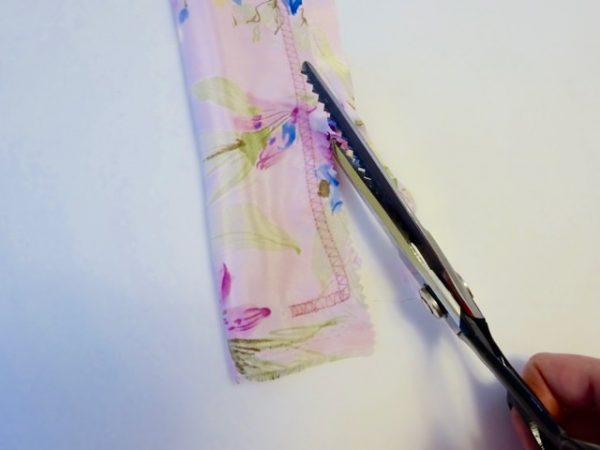
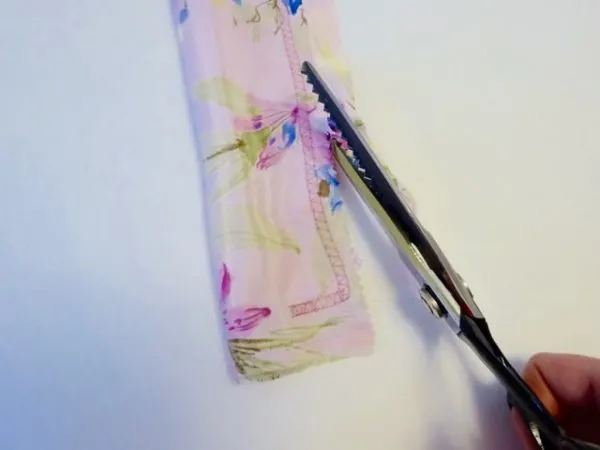
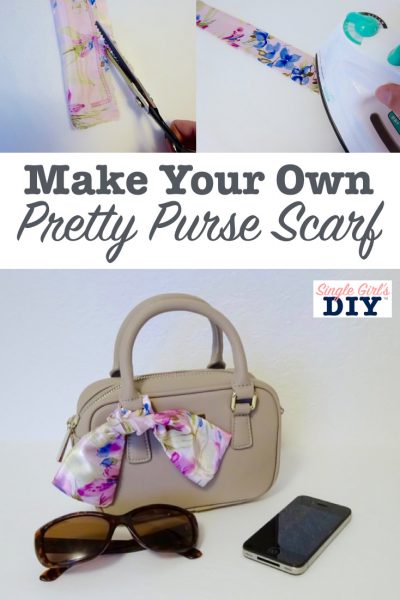
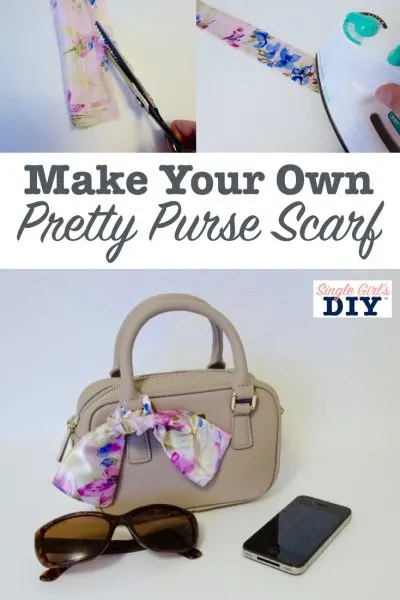
3. Trim the edges and turn the scarf right-side out
I cleaned up the uneven edges of my fabric scrap by trimming them after sewing the seam.
Use pinking shears to cut at least ¼″ from the stitching. (Leave more fabric near the opening.)
Use your fingers to start pushing the fabric through the 1” opening that you left. This will turn the seam to the inside, and the pretty side of the fabric will now be facing out.

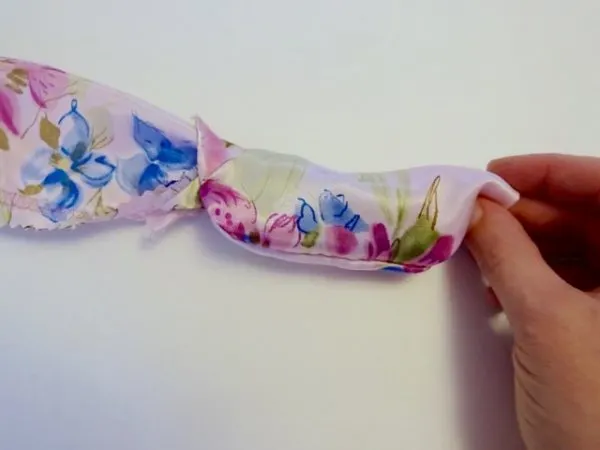
Turn the whole scarf through itself, and then tuck in the raw edges at the end.
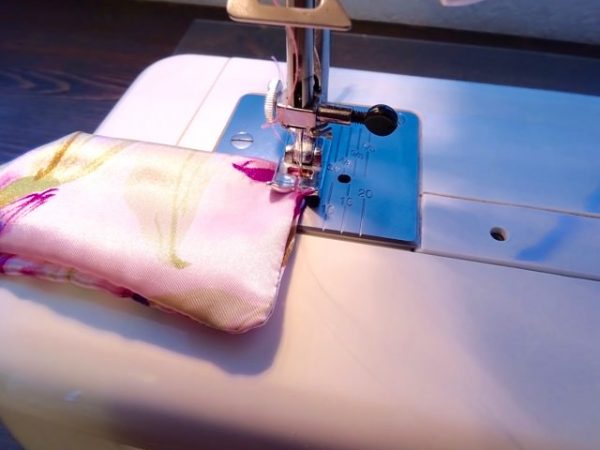
4. Stitch the end closed
If this was for something other than a purse scarf, I might have made the effort to hide my stitches. In this case, I just used a matching thread to stitch the open end shut.
To close up the end, make sure your raw edges are completely tucked to the inside. Put the scarf back onto your sewing machine, and stitch as near as you can to the edge, in order to close off the opening.


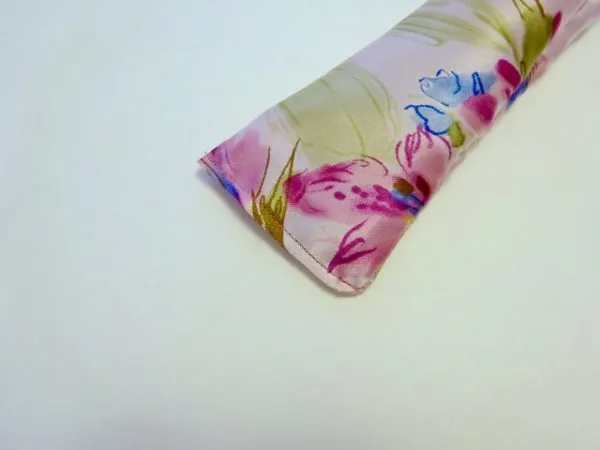
5. Iron the scarf flat
At this point, you have a shapeless tube of fabric. Press it flat with an iron.

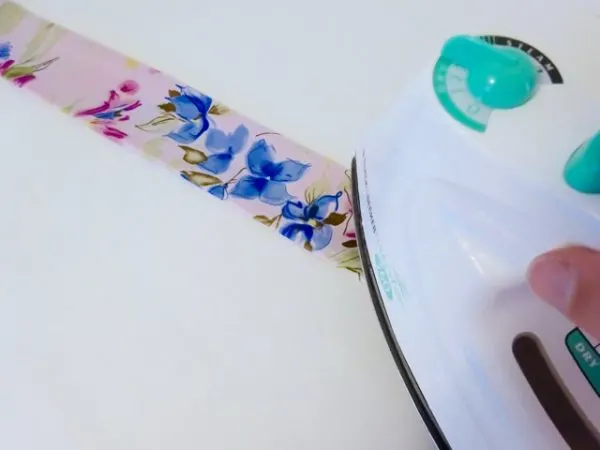
Smoosh the scarf out as flat as you can on your ironing board. Push it around until you get the seam as open as it will go. Then just press it with your iron to make a nice, flat band of fabric.
5. Tie on Your Handbag Handle
I tied my scarf to one of the handles on my purse with a simple square knot. This keeps it from flopping around and getting in the way.

These custom scarves are also great on:
- Backpack
- Luggage
- Briefcase
- Ponytail
Make them in a variety of different fabrics to complement any outfit.
Want to save this idea for later? Be sure to Pin It!
Why not make one of these easy DIY faux leather coin purses for your handbag, too?
And, if you have a lot of fun accessories, you might like these tips about how to keep accessories organized.

Delaine
Wednesday 12th of June 2024
My 15 inches are definitely shorter than yours. I could barely tie a knot. Will try again a few inches longer.
Kimberly
Thursday 13th of June 2024
The great thing about this sewing project is that you can definitely customize the length!