


Not all sewing projects need to be hard! In fact, you should make them as easy as possible when you can. That is why I love my time-saving hack of how to sew a double sided minky blanket.
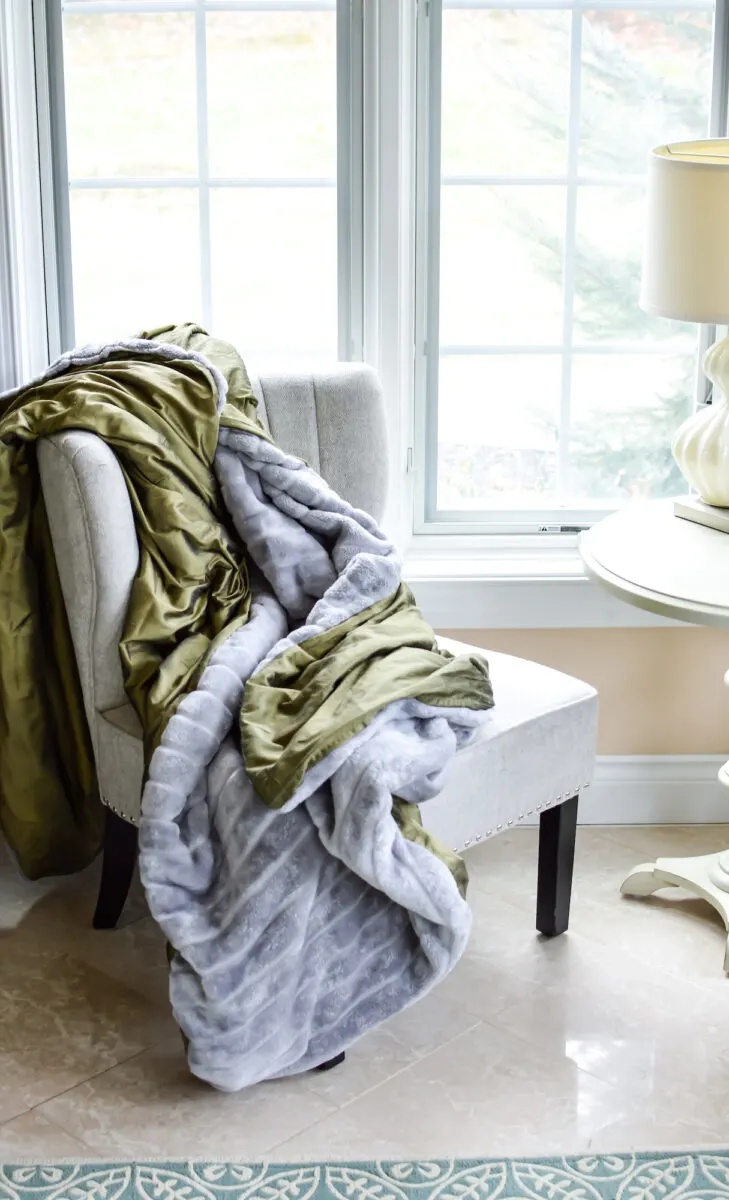
I made this gorgeous throw blanket with store-bought items. All I needed to do was customize them a bit for a wow-worthy gift!
This double-sided blanket take just 7 steps to make. Use pre-made curtains and a store-bought blanket to save time and frustration while sewing this project.
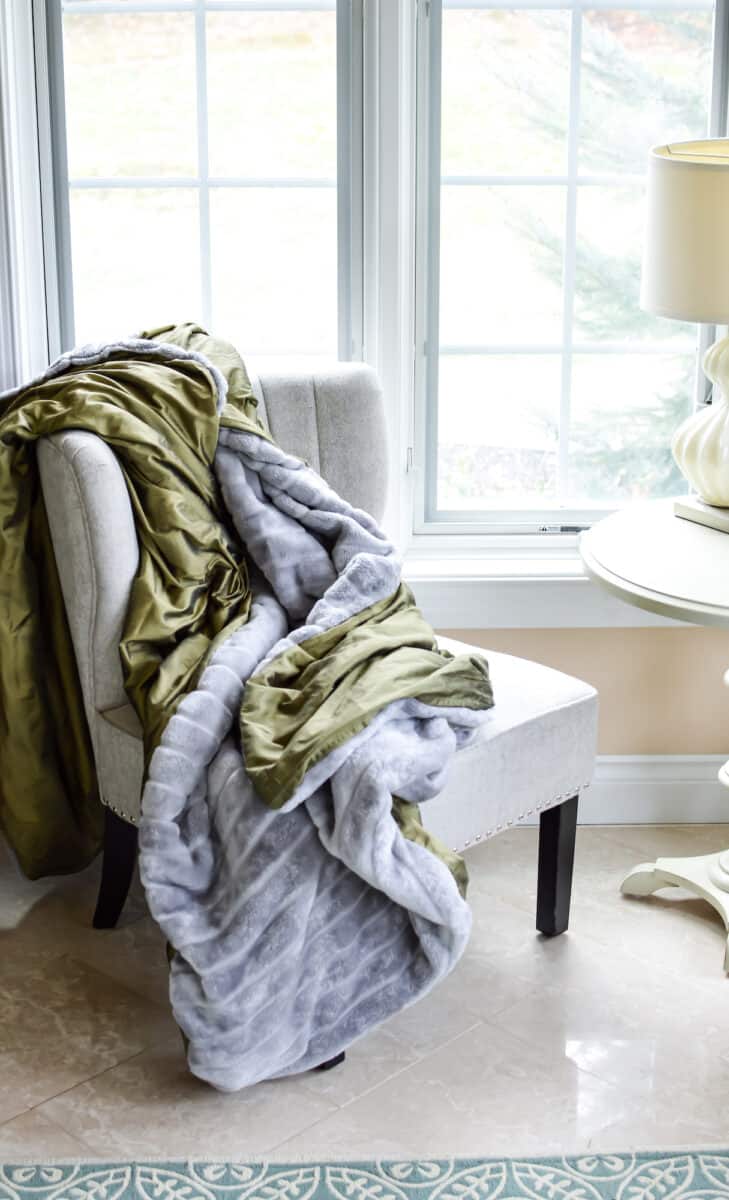
This craft project started because I had two curtain panels that I’ve loved for many years, but they do not fit the windows in our new home. I also had an extra blanket, too.
Why not combine the two into a piece that I love?

You can also do this project with a fleece blanket, too. And feel free to change the types of curtains to a cotton or polyester fabric if you find a color or pattern you like.
If you are curling up to read a book, you might want to sew a reading pillow, too!
Related Posts:
- How to Sew a Reusable Drawstring Gift Bag
- How to Sew a Burp Cloth (in 20 minutes or less!)
Using Curtains to Make a Blanket
- You can use any size curtain that you would like to make a double sided blanket. It is easier to have curtains that are larger than the blanket that you will be using. That way, you can cut off or hide extra curtain fabric more easily than cutting a minky blanket down to size.
- The edges of your curtains and blanket don’t need to match exactly. There might be some excess (as seen in my pictures below). As long as you sew a seam where the smallest piece has at least a ½ inch seam allowance, the other piece can be bigger. The extra will be hidden inside the blanket when you turn it inside out.
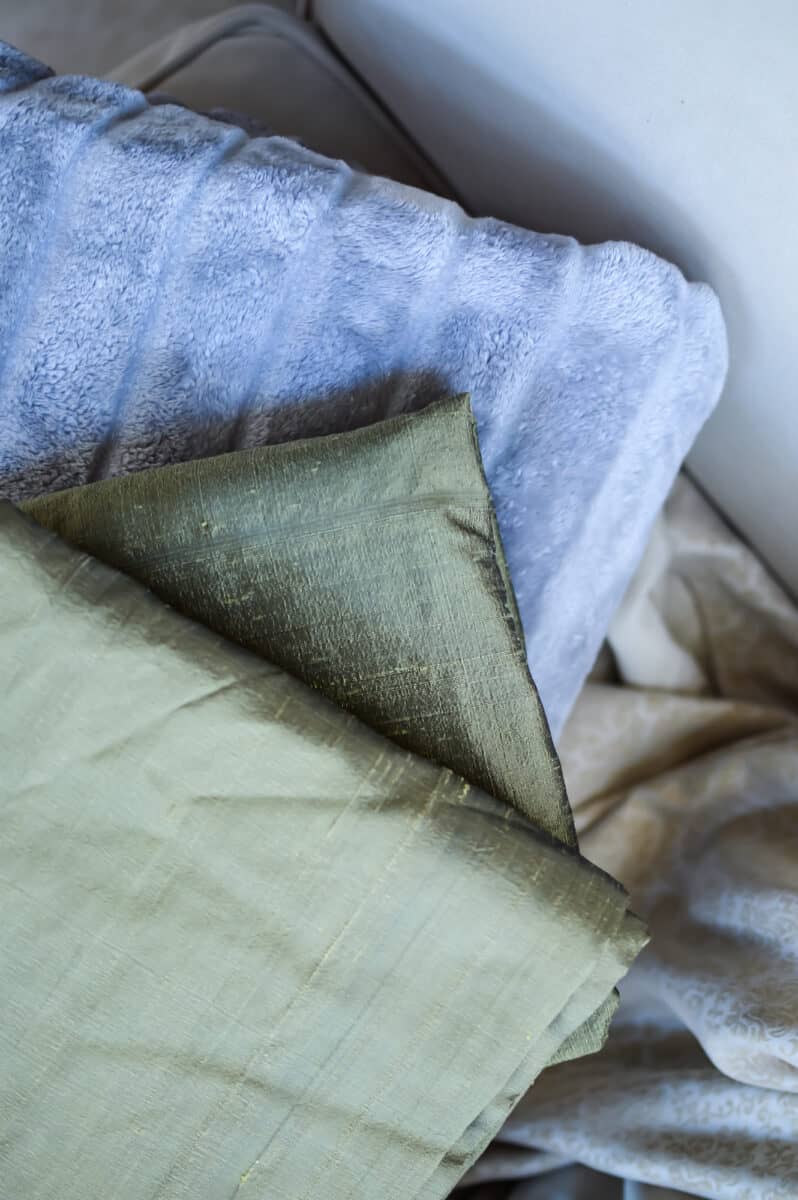
- I used curtains that had a cotton backing. I left the lining on the curtains to add extra weight and a more luxurious feel. There is no need to remove a lining or backing from the curtains you are using.
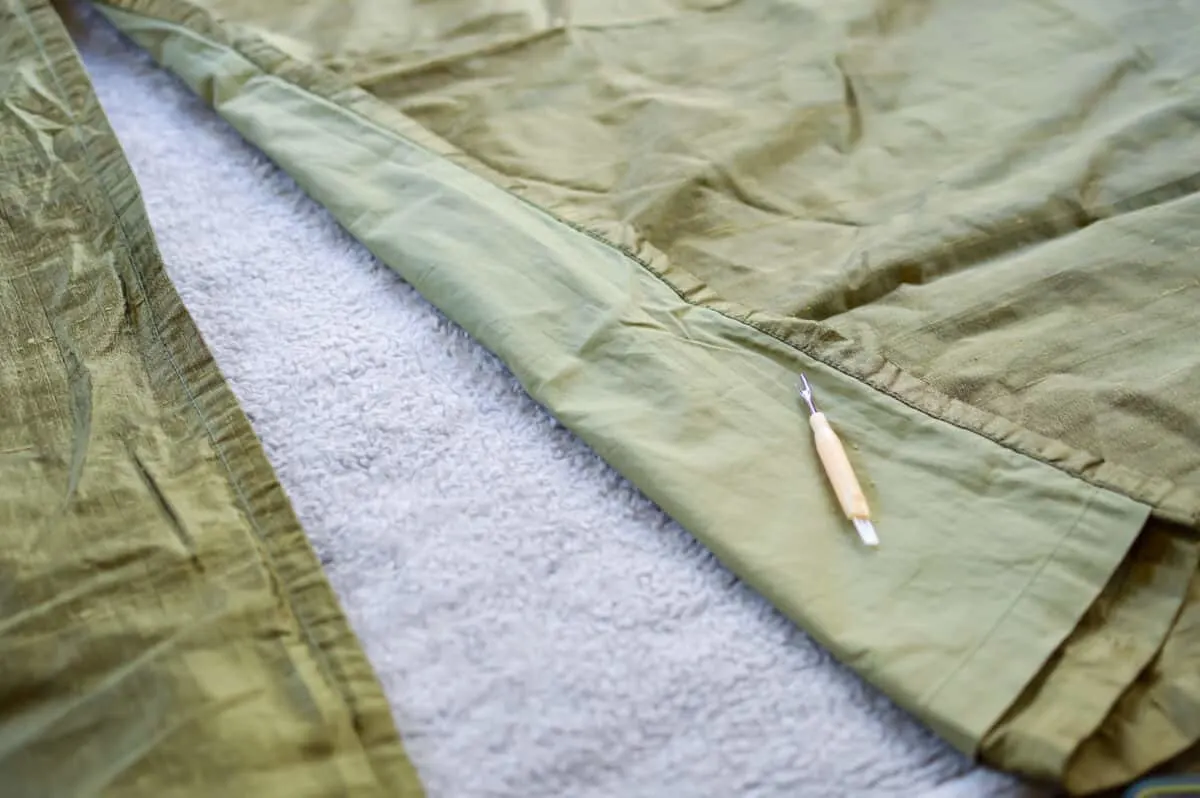
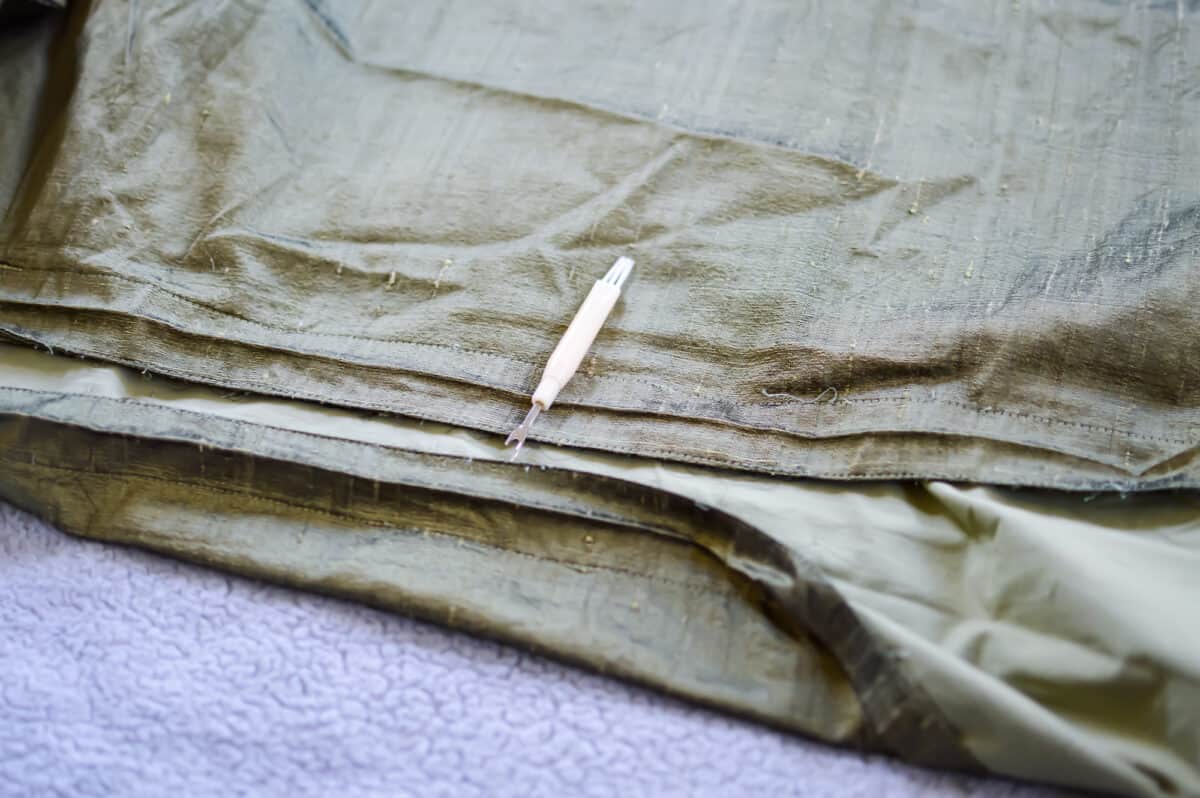
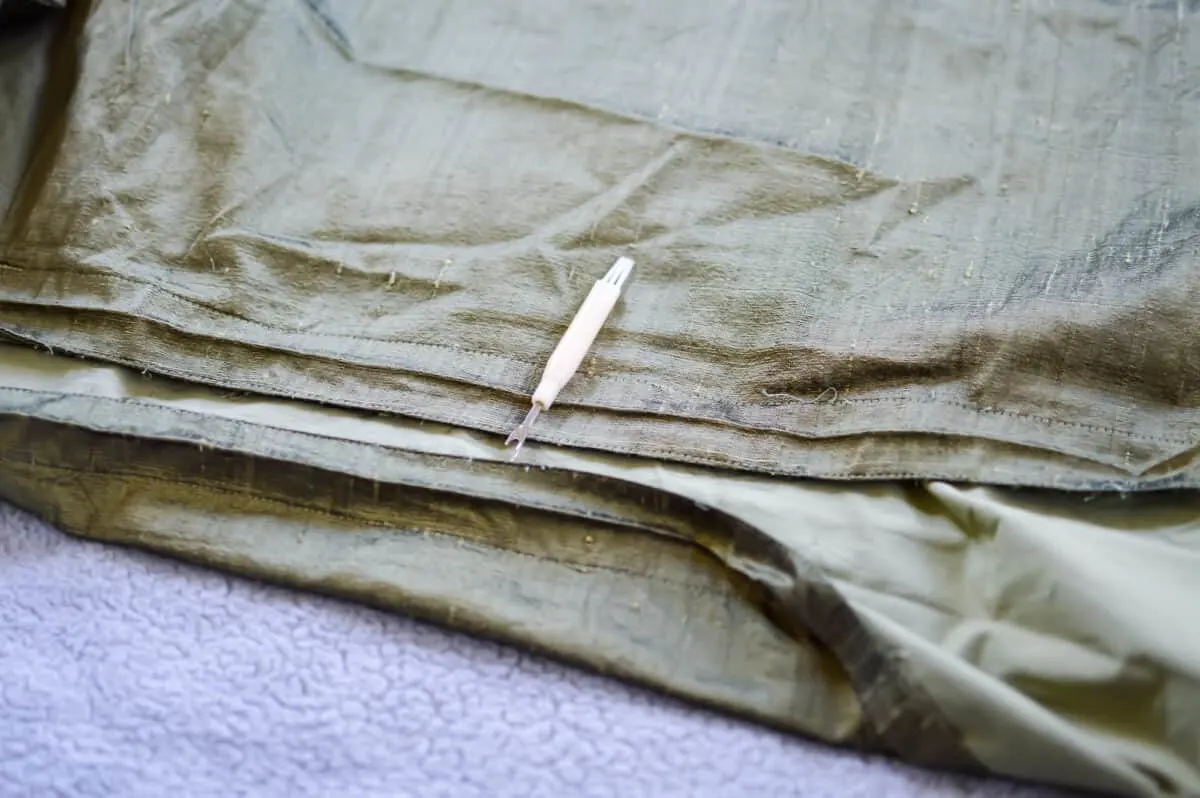
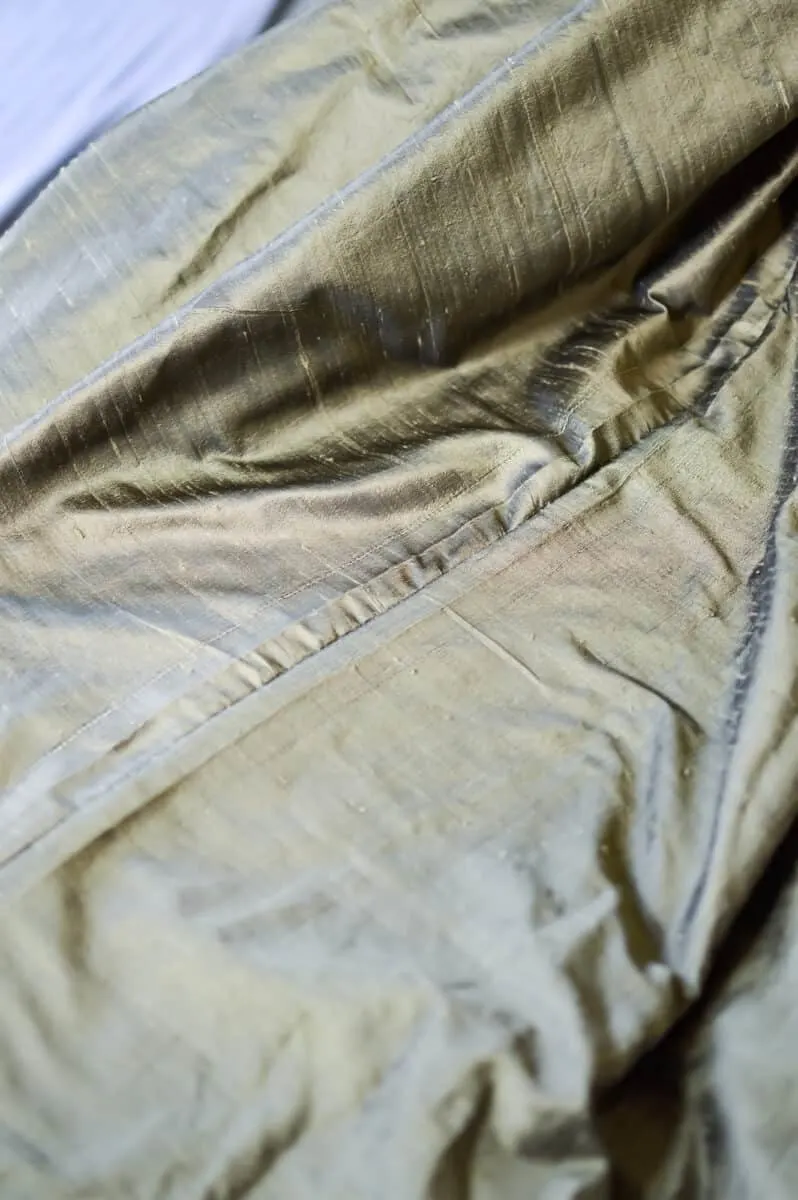
- I wanted as much of the green silk fabric as I could get from my curtains! I used a seam ripper to open up all four of the vertical side seams on the longest edges of the curtains (they are usually large on curtain panels). Then I ironed the once-folded seams flat. Doing this step gave me almost 10 inches more of the silk fabric from the four seams!
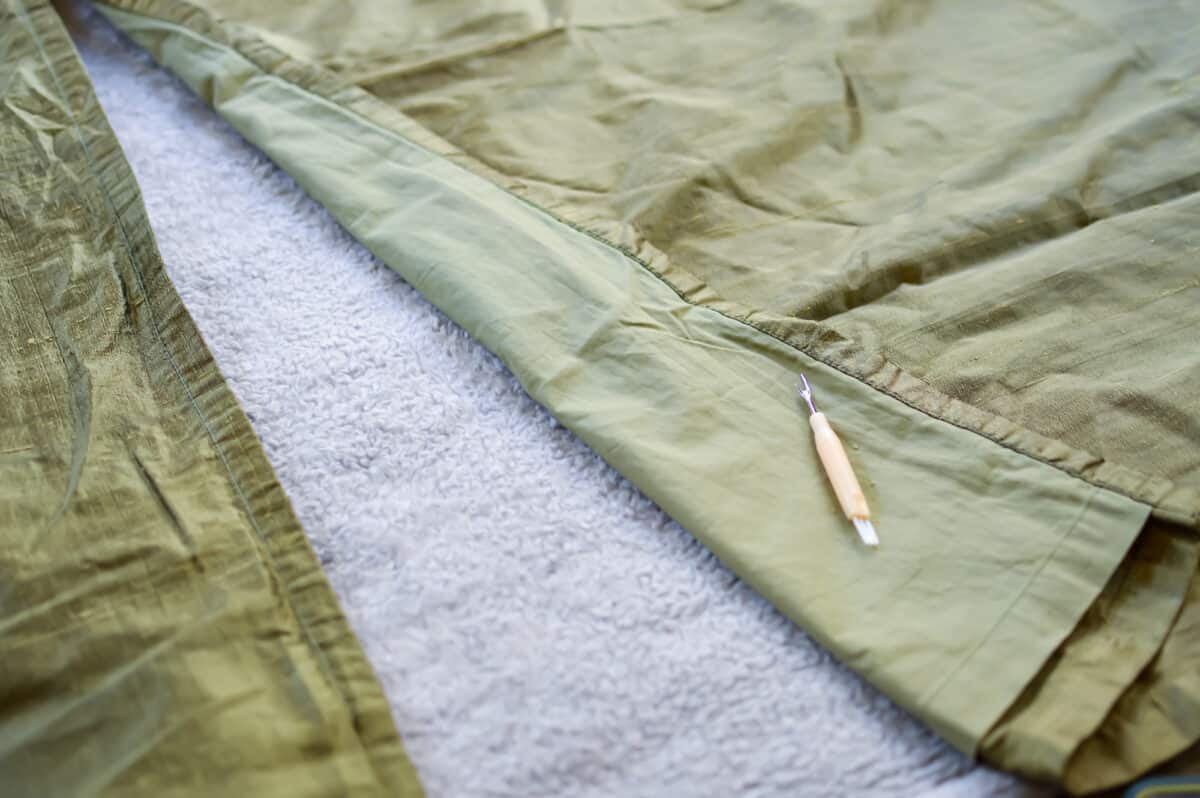
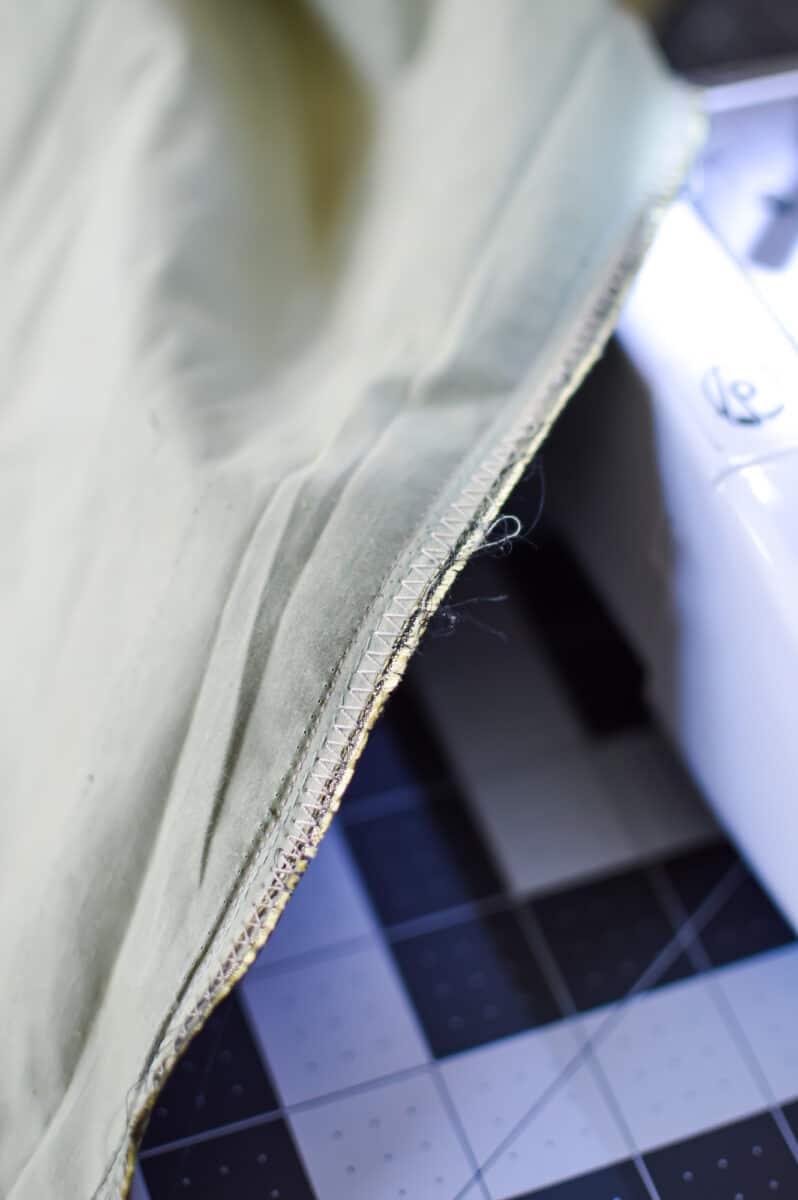
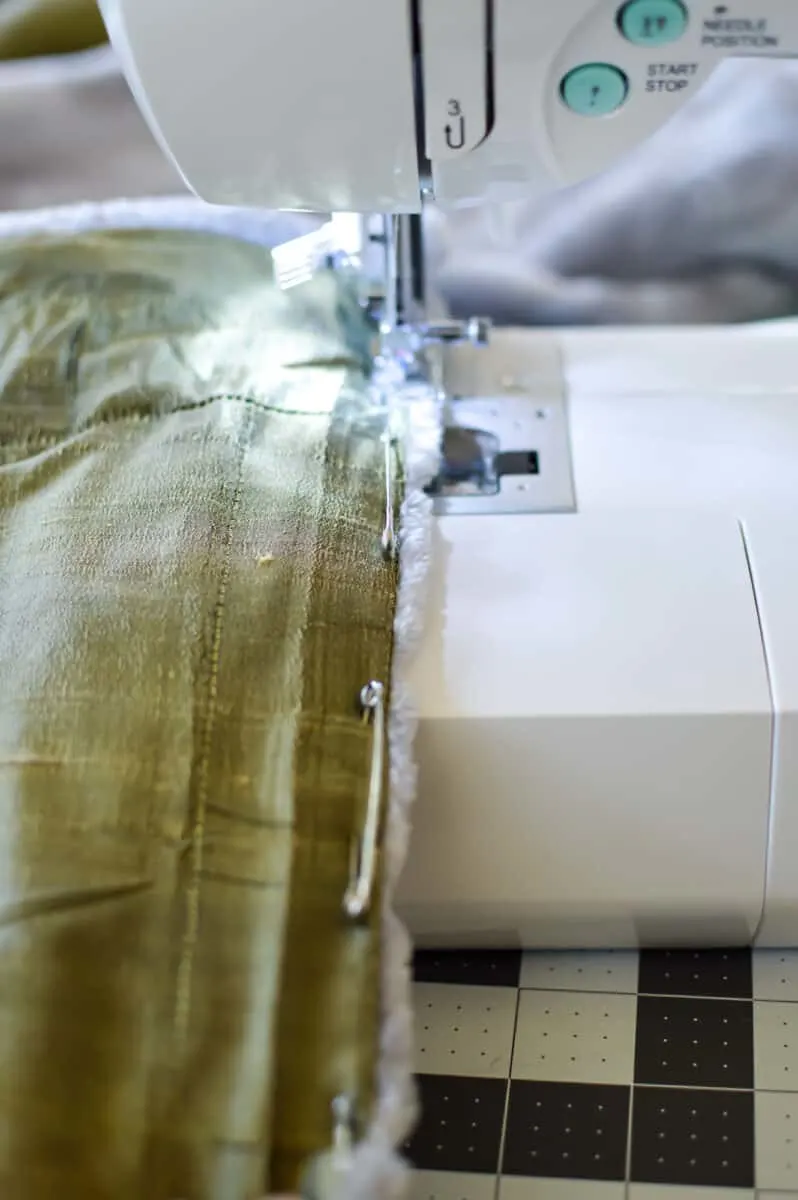
My project uses silk fabric curtains. Silk can ravel very easily.
To prevent unraveling, I used a straight stitch on the sewing machine. Then I used a zig zag stitch over that to prevent any fraying on the seams. This step isn’t necessary for every type of fabric.

How to Sew a Double Sided Blanket
Supplies
- Two curtain panels (Mine were 80 inches long and 40 inches wide)
- Plush blanket (Mine was 82 inches by 88 inches)
- Thread
- Safety pins
- Scissors
- Sewing machine
- Iron and ironing board
Directions
Step 1
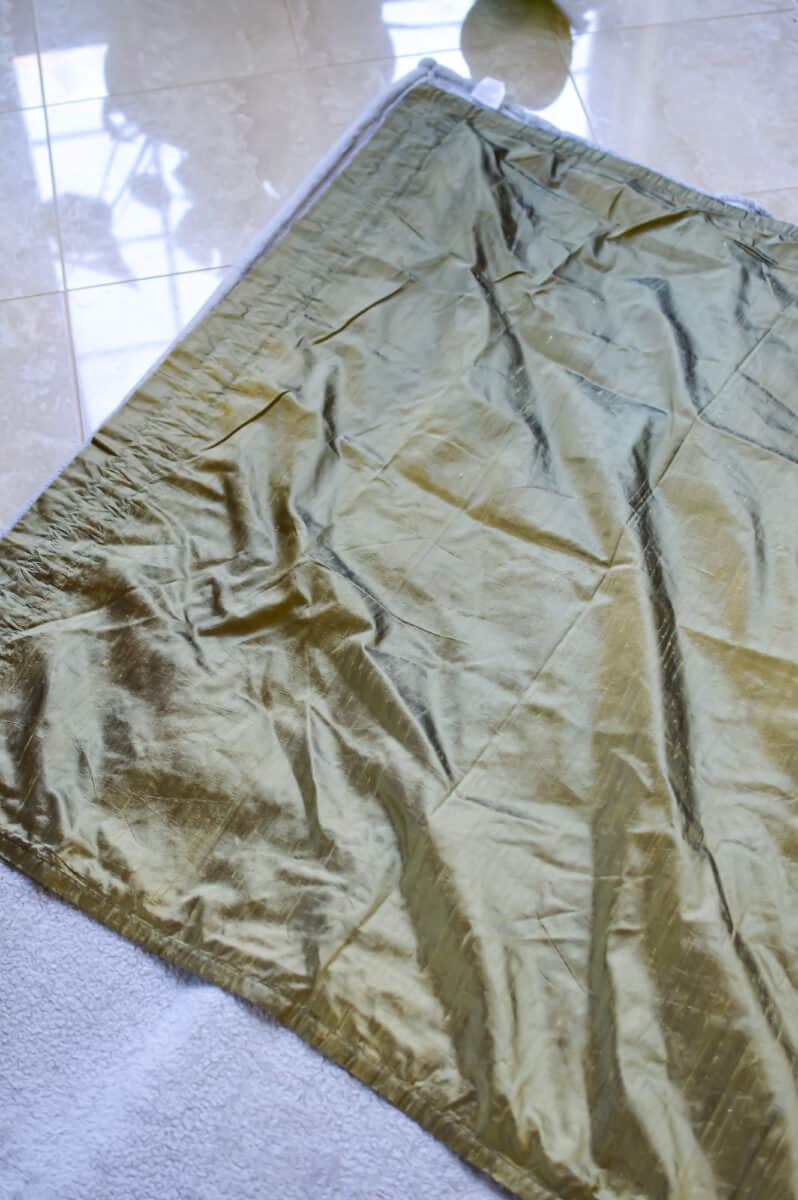
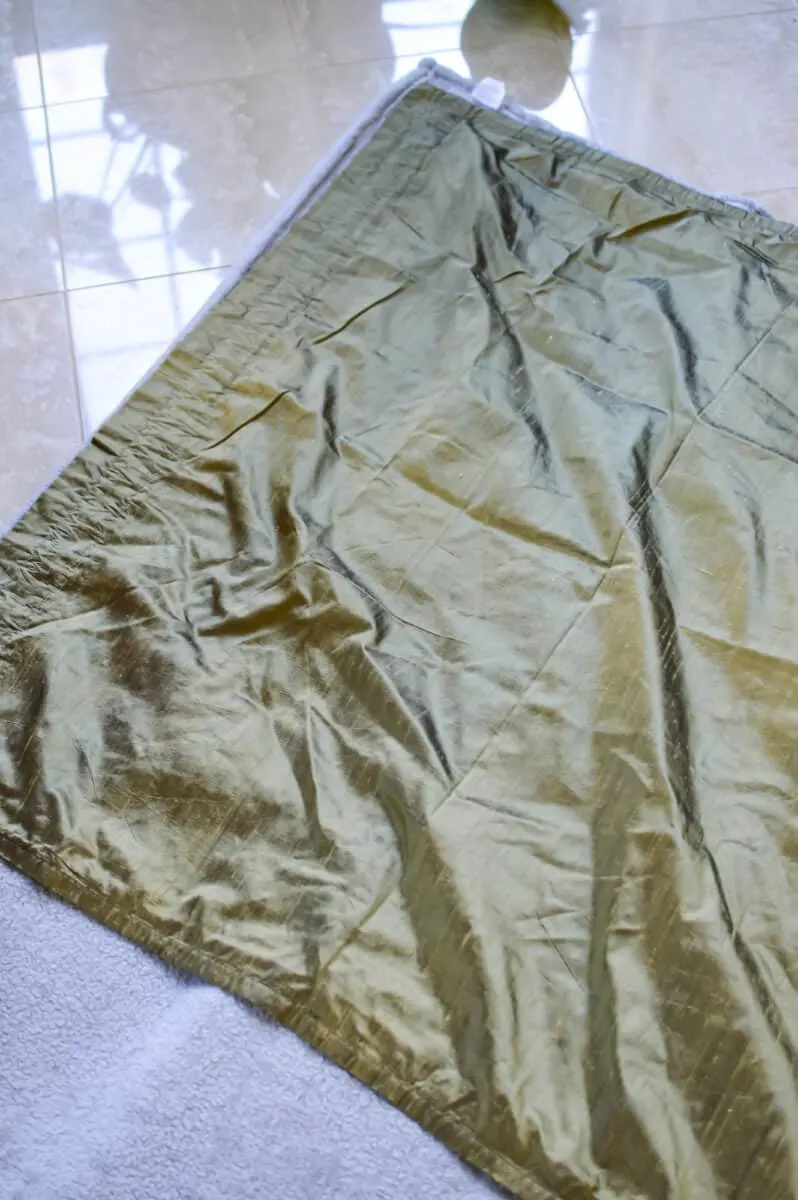
Iron the creases out of the curtains if necessary.
Lay out the blanket so it is smooth on a table or floor. Then place the curtains side by side on top of the blanket. Adjust and rearrange the curtains on top of the blanket so that you have the best fit and position.
Step 2
Place the two silk curtain panels with right sides together. Pin them together if needed. Sew them together vertically on the longest edges, with a ½ inch seam allowance. When you are done with this step and you unfold the silk piece it should look like an opened book.

Step 3
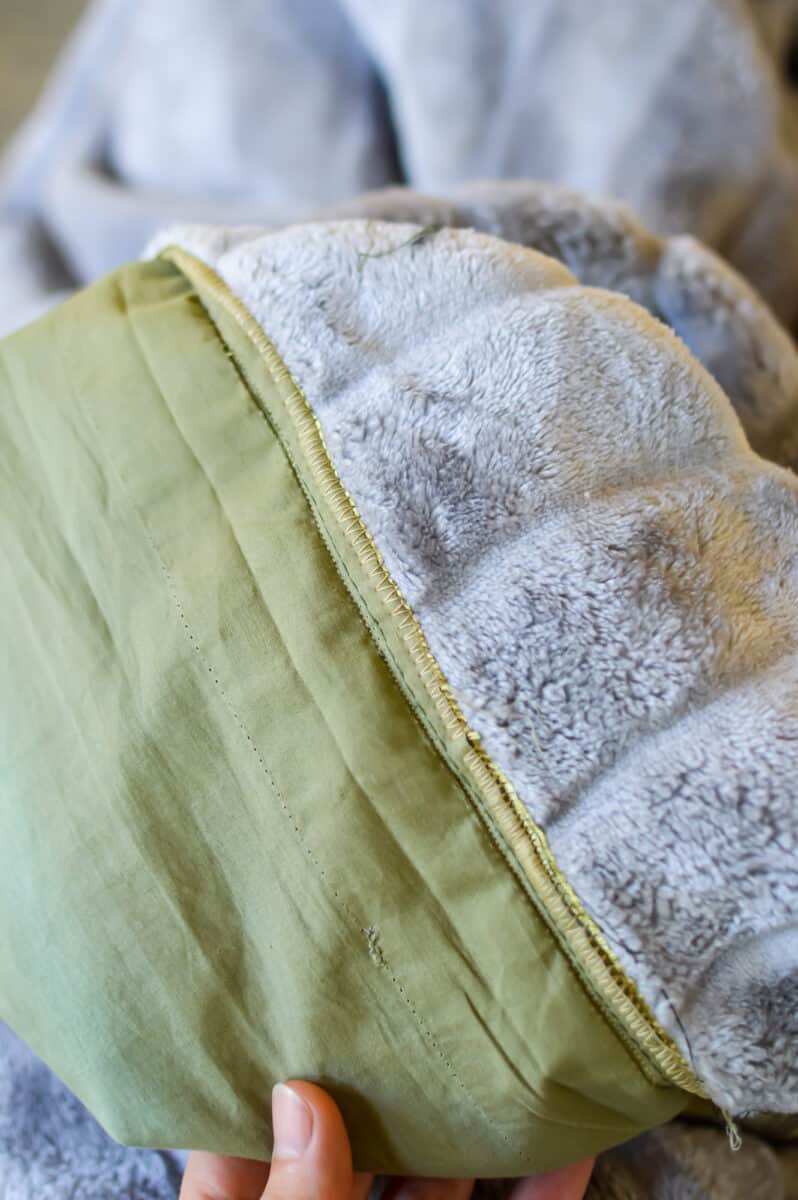
Lay out the blanket, right side up, and then place the sewn-together large curtain piece on top of the blanket with right side down, so that the right sides of both pieces are facing each other. Use safety pins to hold them in place. I have found that standard size straight pins will likely not work as well with such a large and bulky project.
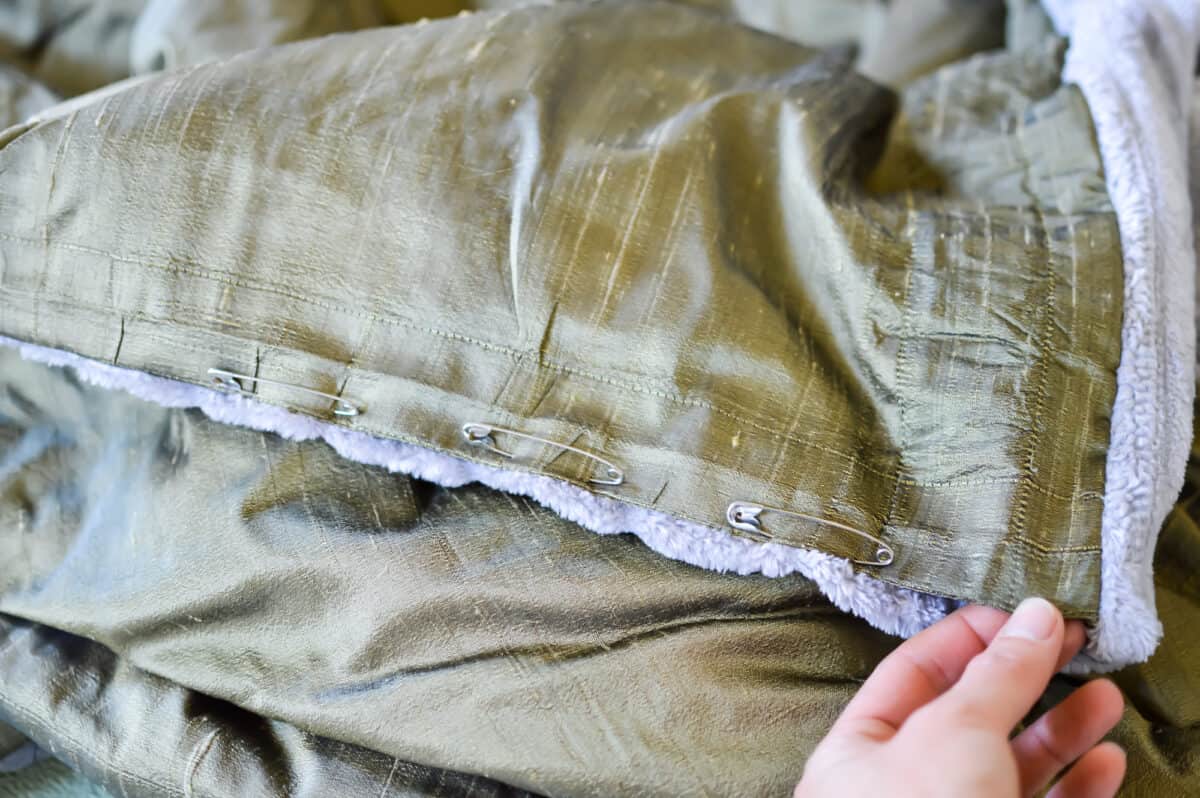
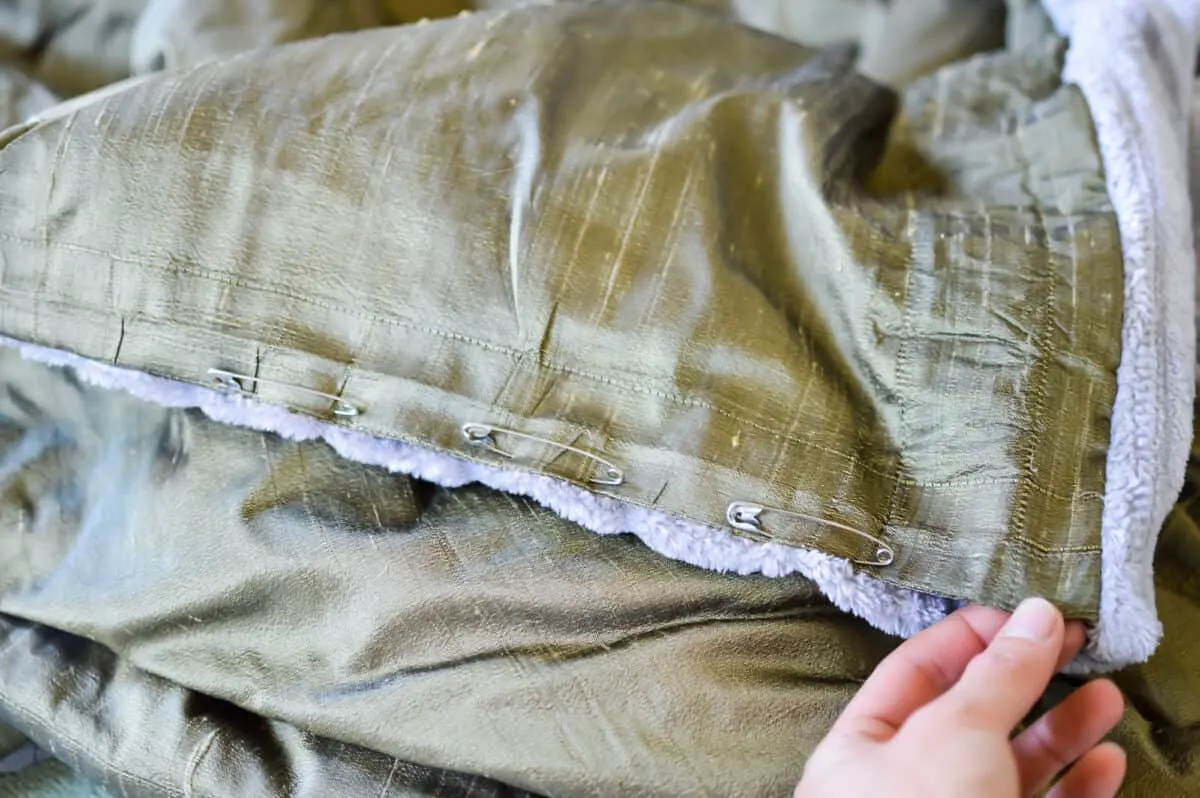
Keep in mind, your curtain panel and your blanket panel might not be the same size. That’s okay. As you can see in the next step, my blanket was larger than my curtain panel so there is more of it in the seam. When the blanket is turned inside out, this won’t show.
Step 4
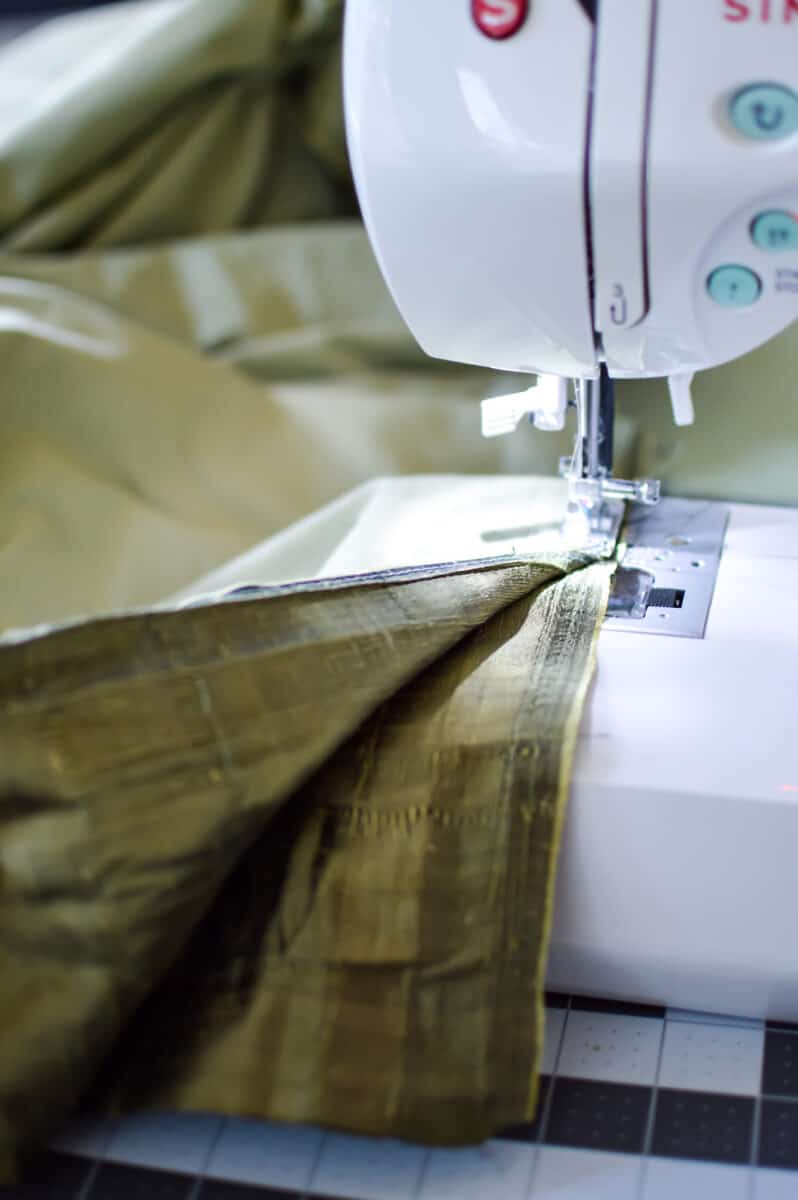
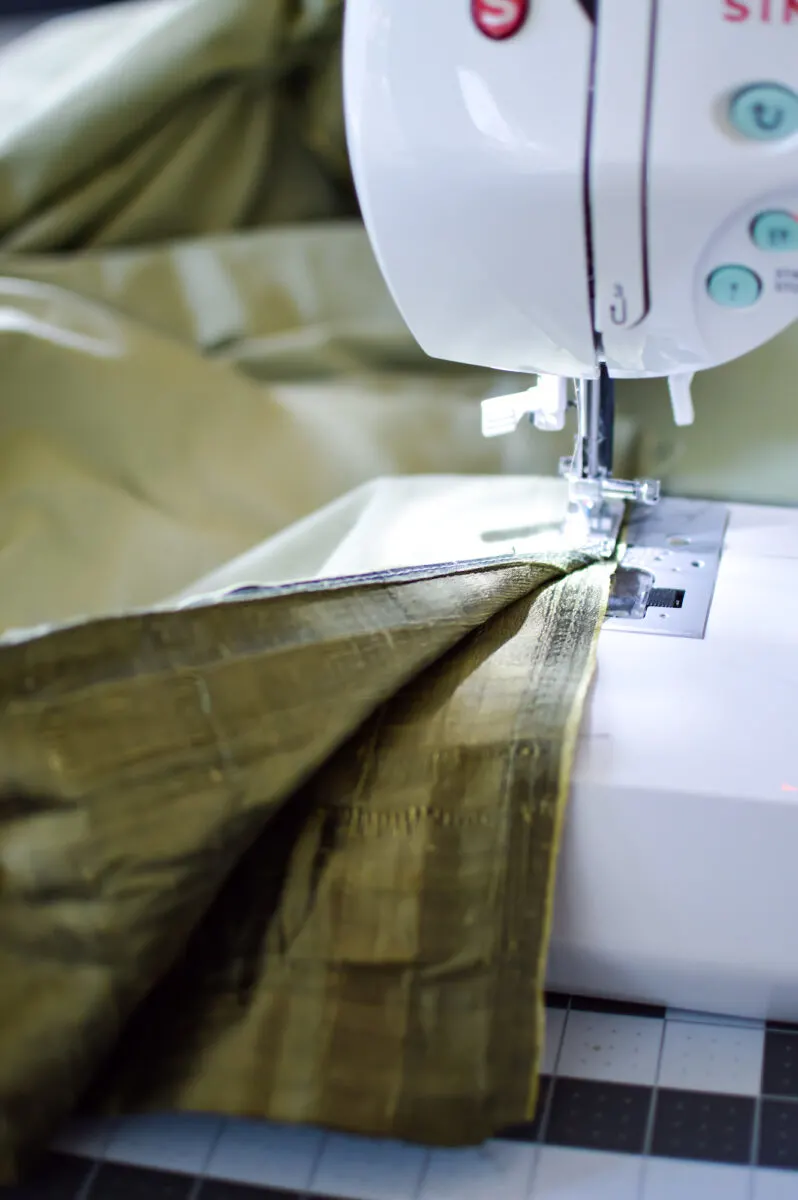
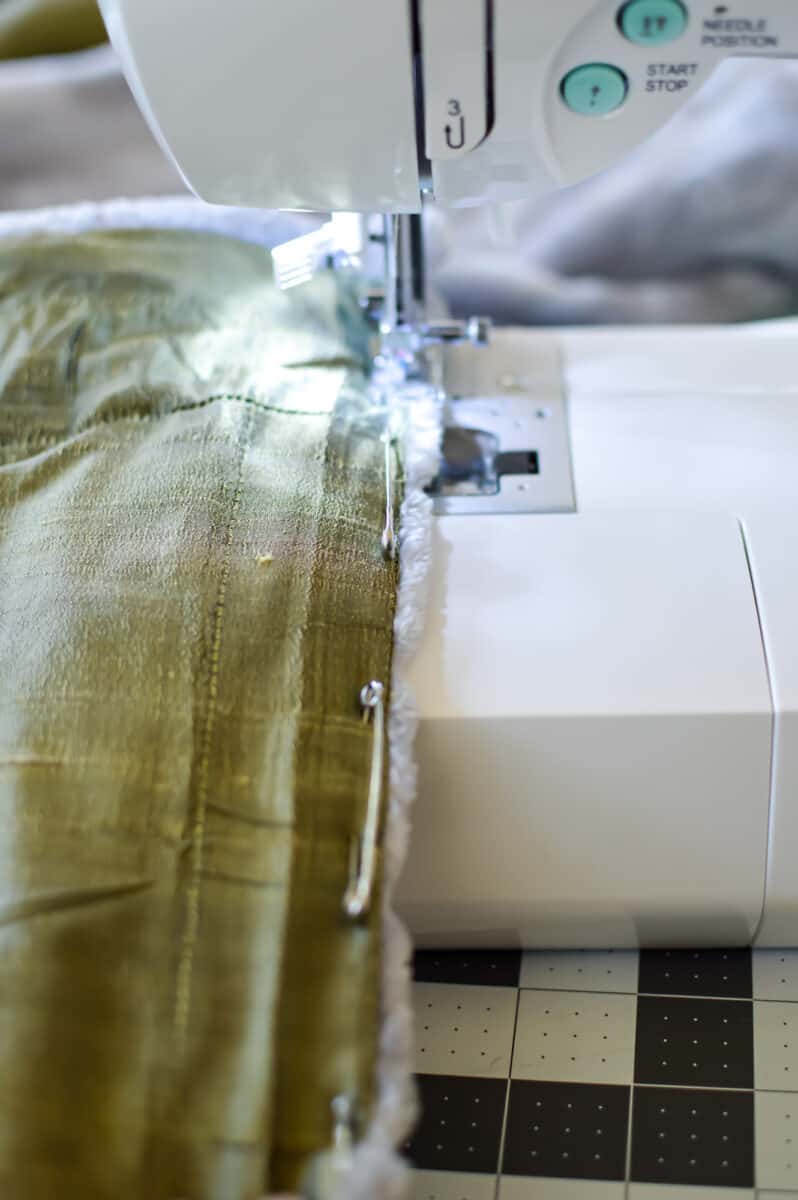
Sew one side at a time together using a straight stitch with about a one inch seam allowance. Start with one end and sew three sides together. Then, on the fourth side, sew most of the seam, but leave about a 12-inch wide opening so that you can flip the blanket right side out.
Step 5
Go back over all four sides, expect for that last 12 inches, and add a zig zag stitch on top of your original stitching to reinforce the silk fabric. (Do this step if you are using curtains with a fragile or delicate fabric that might unravel easily. Otherwise, you can skip this step.)

Step 6
Flip the blanket right side out. Use the eraser end of a pencil to push out the corners.
Step 7
Fold under and in the edges of the 12 inches of open material. Pin if it will be helpful. Carefully sew the opening closed. I used the sewing machine for this, as well, and did a double straight stitch as close to the edge as possible for a discrete finish.
If you’d like, you could sew it closed by hand.
It looks amazing wrapped up as a gift! Be sure to use a thick, wide ribbon if you are gifting this to friends or family.
This double-sided minky blanket looks great at home. Make coordinating accessories with these easy throw pillow covers with no zipper.
See all of my sewing projects for even more ideas.
This post originally appeared on EasyThingstoSew.com
