I love an easy wreath to make for the front door. Which is why I love this bundt pan pumpkin wreath that just takes a little bit of hot glue to put together. Seriously, it just takes minutes!
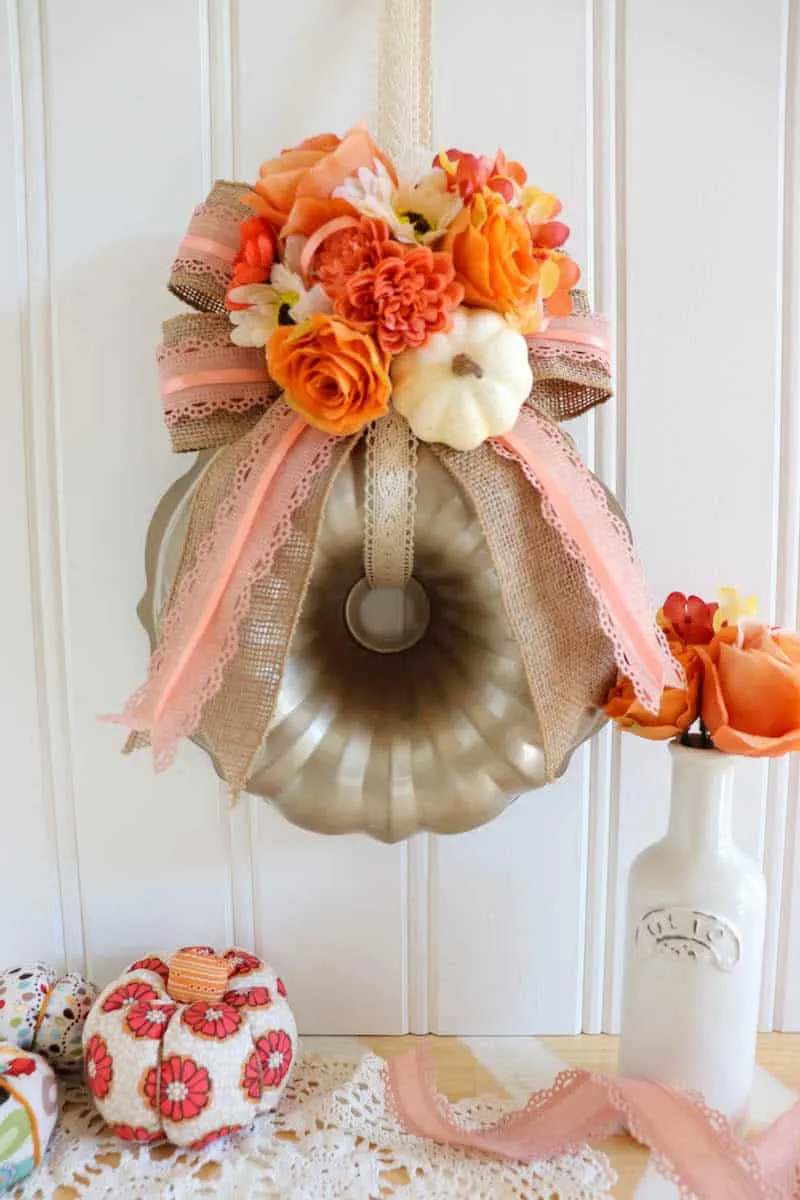
Fall Wreath from a Bundt Pan
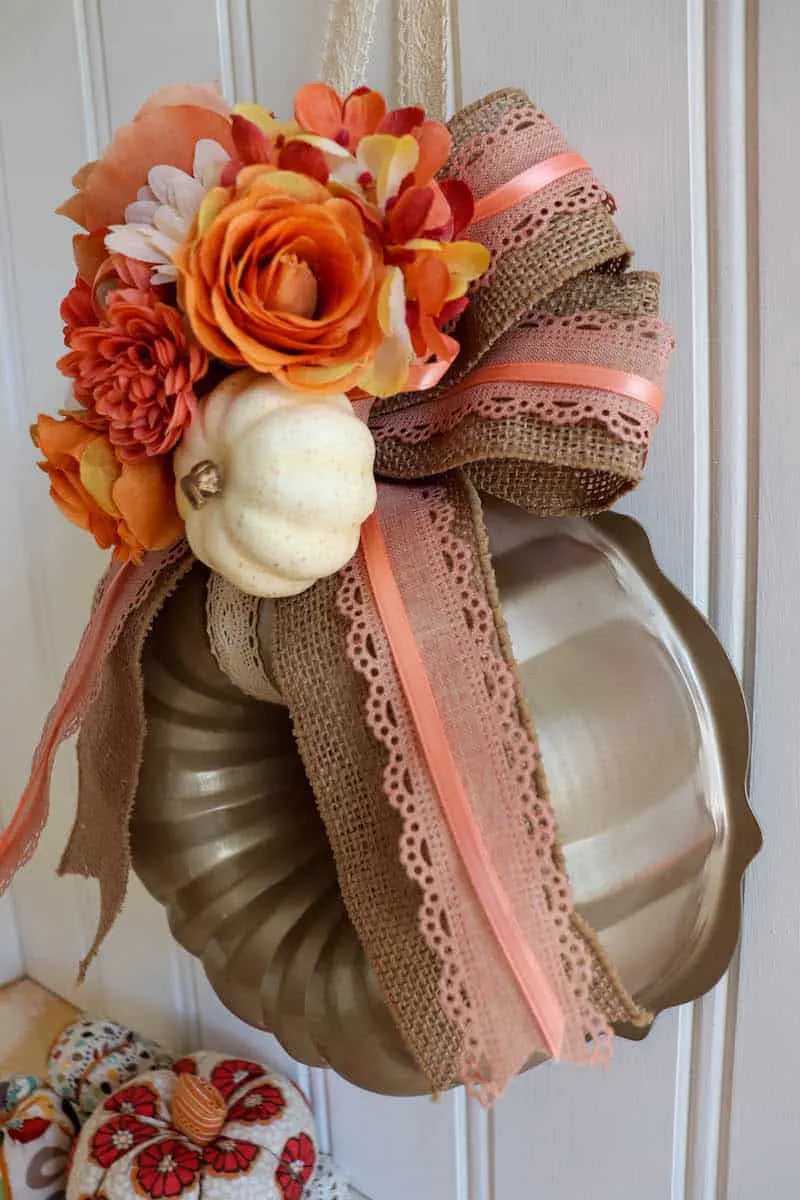
I love this wreath because it sort of looks like a pumpkin, but definitely looks like Fall! It’s kind of like a classy version of a pumpkin that’s not too orange and goes with a more subtle autumn color scheme.
That’s not to say that I don’t like the bundt pan spray painted a bright orange, too. I’m kind of torn as to which version I like better. So pick one that makes you happy!
This is a fast, fun, Easy DIY project that you can do while watching Netflix and sipping on a pumpkin latte. There are only 4 steps. So let’s get started!
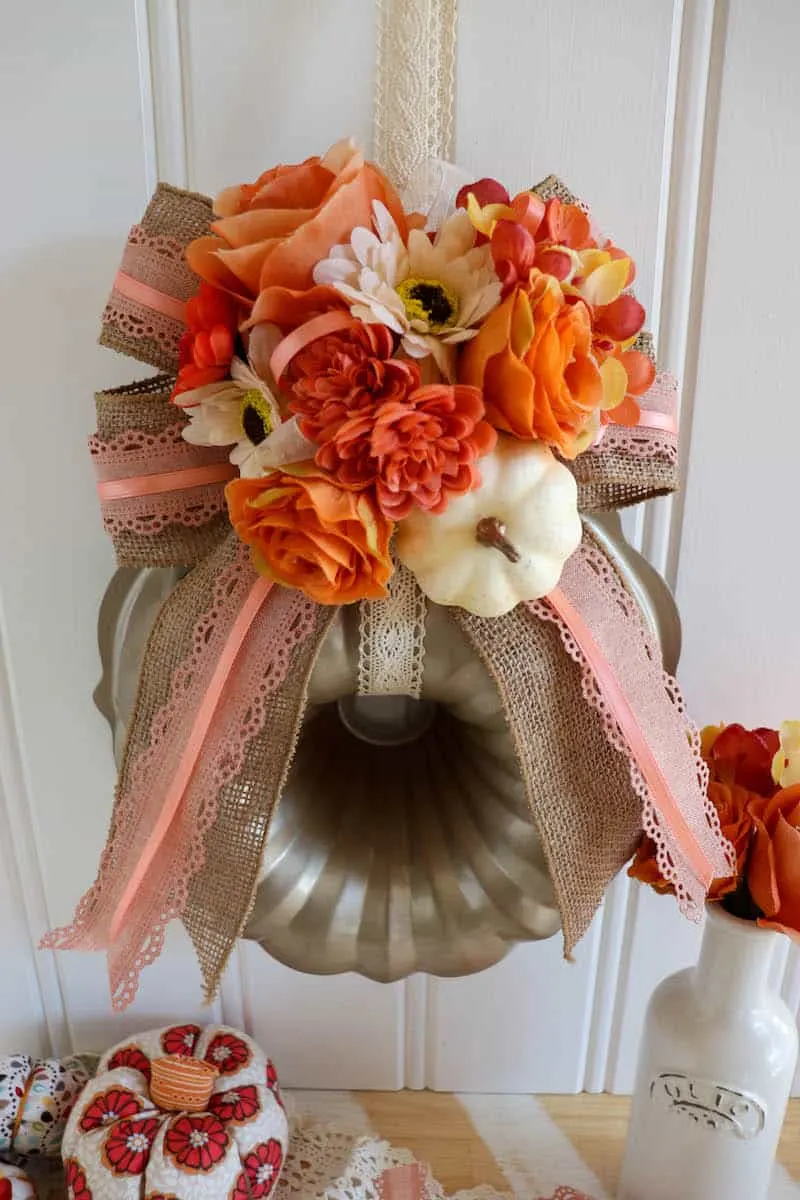
This wreath is so simple to make you’ll have plenty of time to try some of my other fall crafts, too!
You might also like my elegant square autumn wreath made from tree branches from my yard!
Helpful Tips Before You Get Started
You can literally make this wreath in just minutes. But keep these helpful hints in mind before gathering your supplies to save you time and money.
- Try finding a bundt pan at a thrift store, garage sale or even a dollar store.
- Have a bundt pan at home? Go ahead and use that if you’d like. You don’t have to spray paint the pan, which means you could take off all of these decorations after the season is over and use it for baking a cake.
- Bundt pans are inexpensive on Amazon, but make sure you choose the right size and pattern. Many are smaller than the 10″ bundt pan I used, so be sure to get one like this teal pan. In fact, I absolutely LOVE the mint color of this pan and am thinking about using it just like it is without spray paint!
- This copper bundt pan is the right size and wouldn’t even have to be spray painted!
- You want a universal spray paint with a paint and primer that will stick to metal and adhere to any fancy enamel coatings that might be on the outside of the pan. I like Rustoleum for coverage.
- Choose any color scheme that you want, or that you already have faux flowers for. For instance, all creams and tans could be pretty. Or go bold with even brighter oranges and yellows. Dollar Tree is a great place to get some cheap silk fall flowers.
- I used a variety of ribbons for different colors and textures, which really makes the wreath pop on the front door. You don’t need to use so many ribbons.
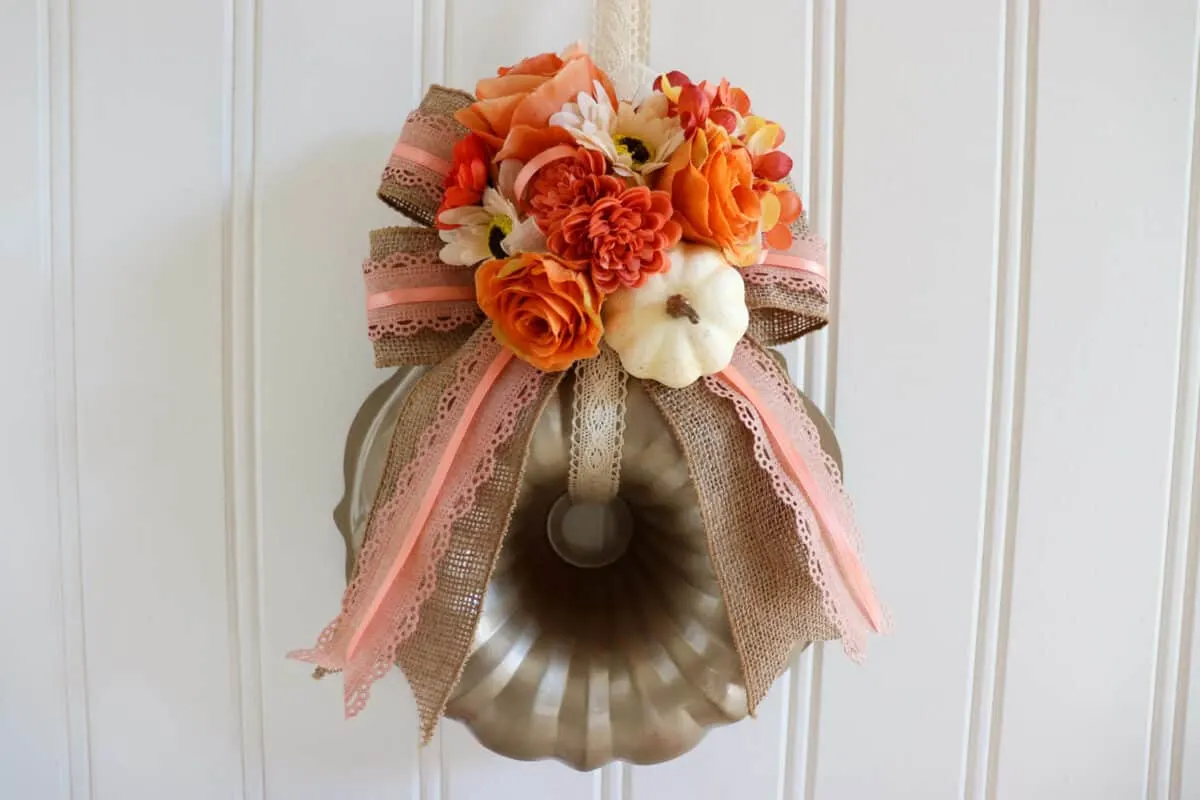
How to Make a Pumpkin Bundt Pan Wreath
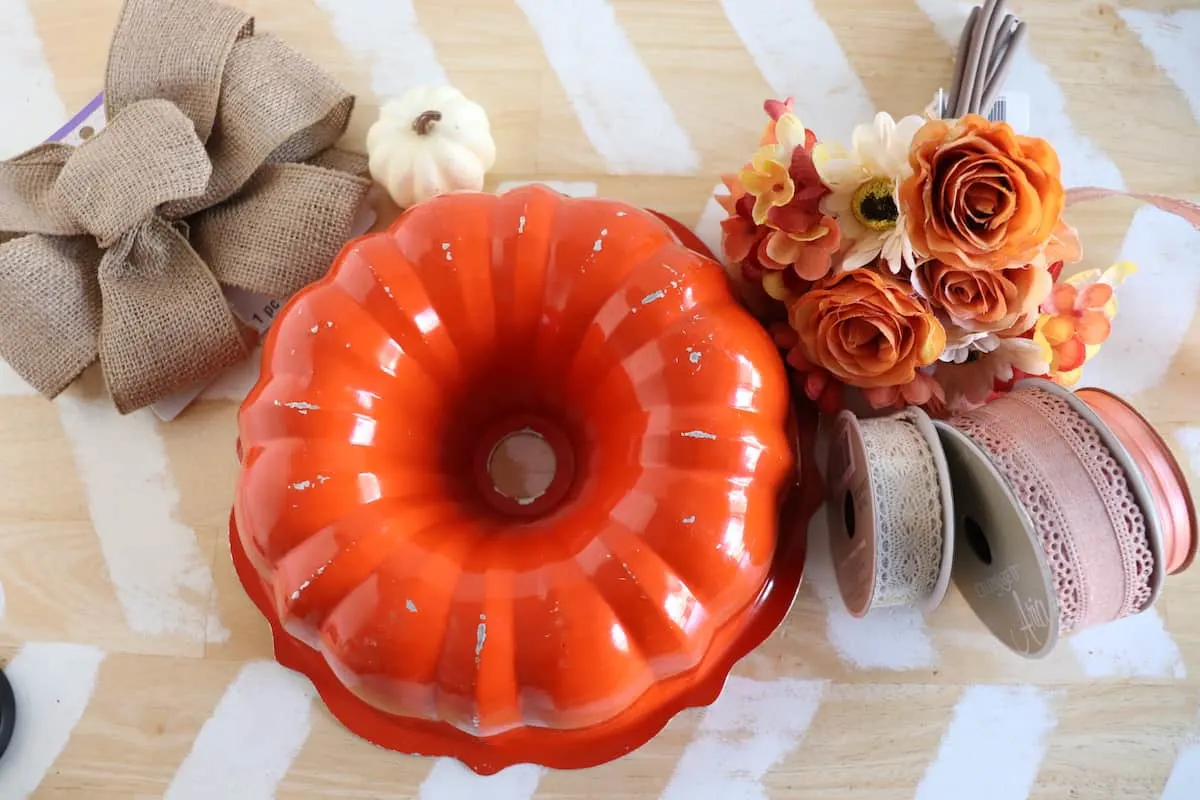
Supplies
- 10” bundt pan
- Spray Paint (I used Rustoleum Champagne Mist)
- Pre-made 6″ burlap bow (or make your own bow with this easy tutorial)
- 2” white foam pumpkin
- Faux fall flowers (a variety of about 10-12 stems)
- Two types of ribbon (I used 2 complimentary shades and styles)
- Ribbon for hanging
- Scraps of ribbon for embellishments (optional)
- Hot glue gun and sticks
- 3” round of cardstock
Instructions
Step 1
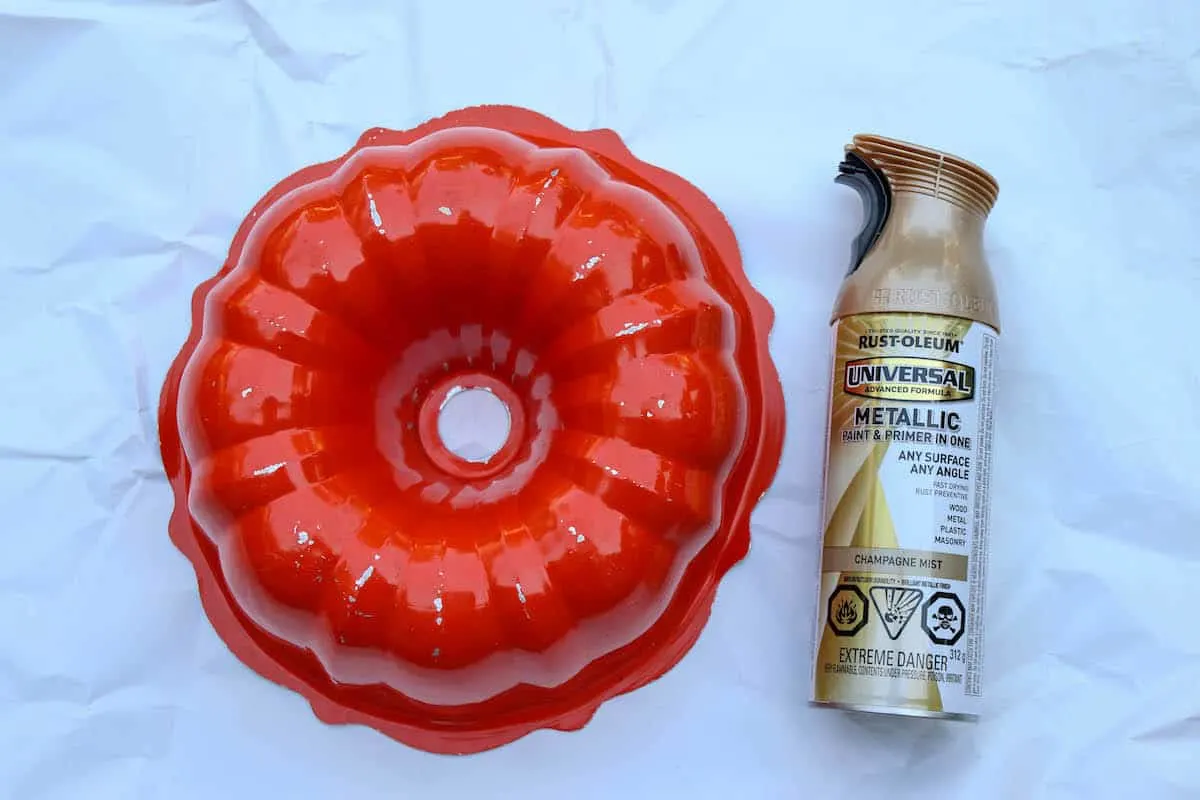
Spray a thin layer of paint to completely cover the outside of the bundt pan. There is no need to paint inside the pan. Let dry completely.
If needed, add another layer of paint, but you shouldn’t have to with the primer and paint combo.
Step 2
Add extra detail to your pre-made bow by gluing on pretty ribbon.
Cut pieces of ribbon that are the same length of the loops of the bow (no need to take apart the bow). Hot glue the ribbon on each loop, making sure the ends are tucked in the knot in the center and can’t be seen.
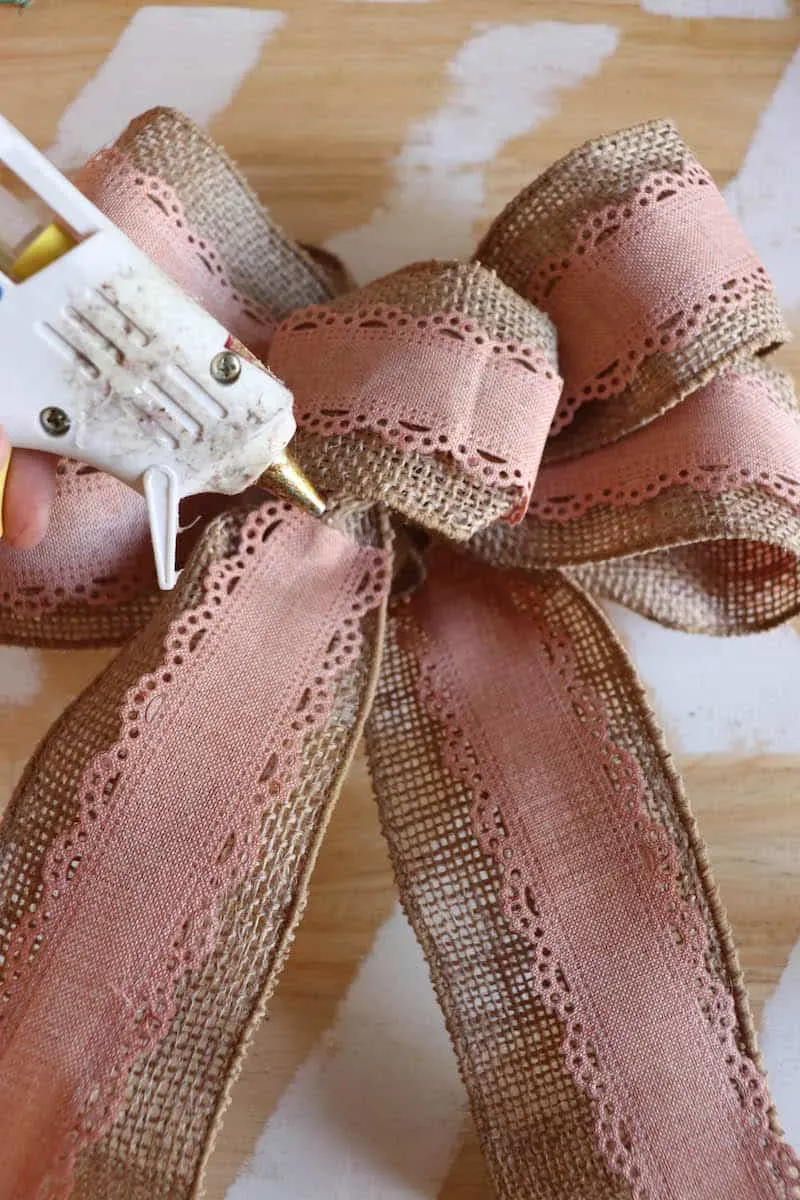
Though it doesn’t show it in this picture, I also added a thinner piece of ribbon on top of this ribbon for a double layer effect.
Here are easy instructions for making a bow with wire ribbon.
Step 3
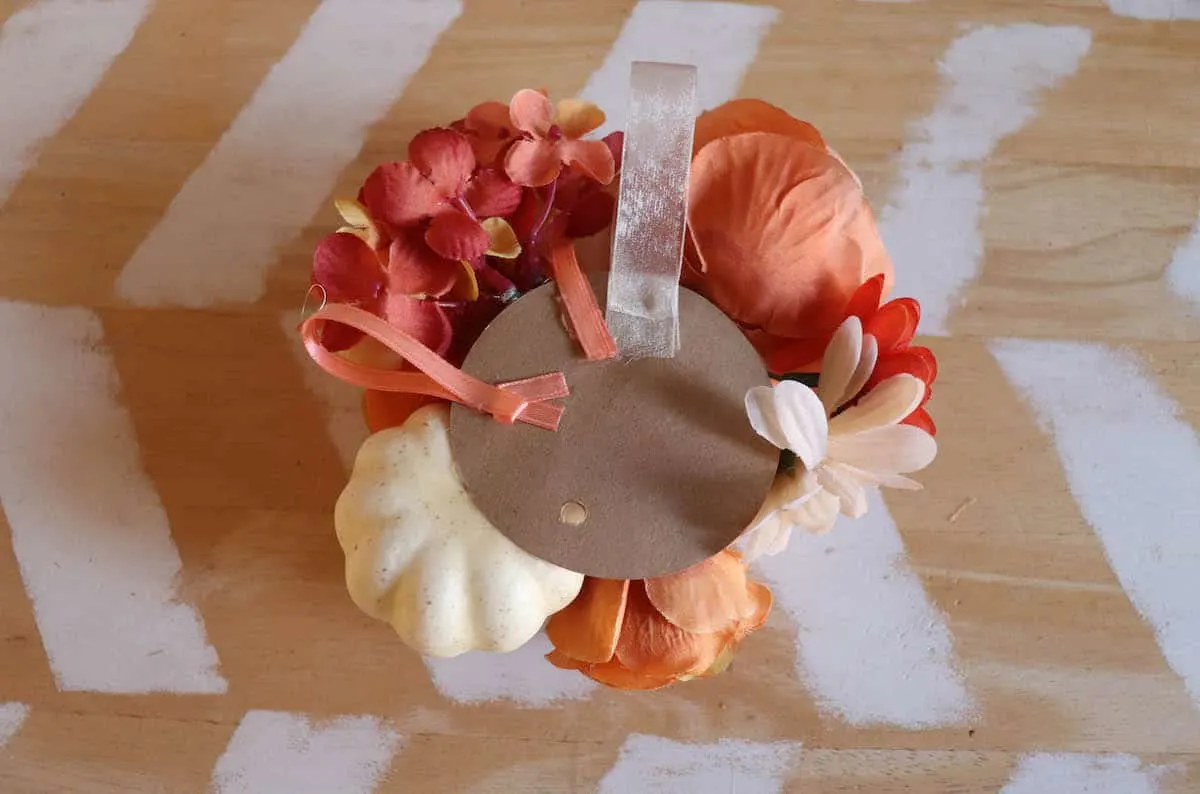
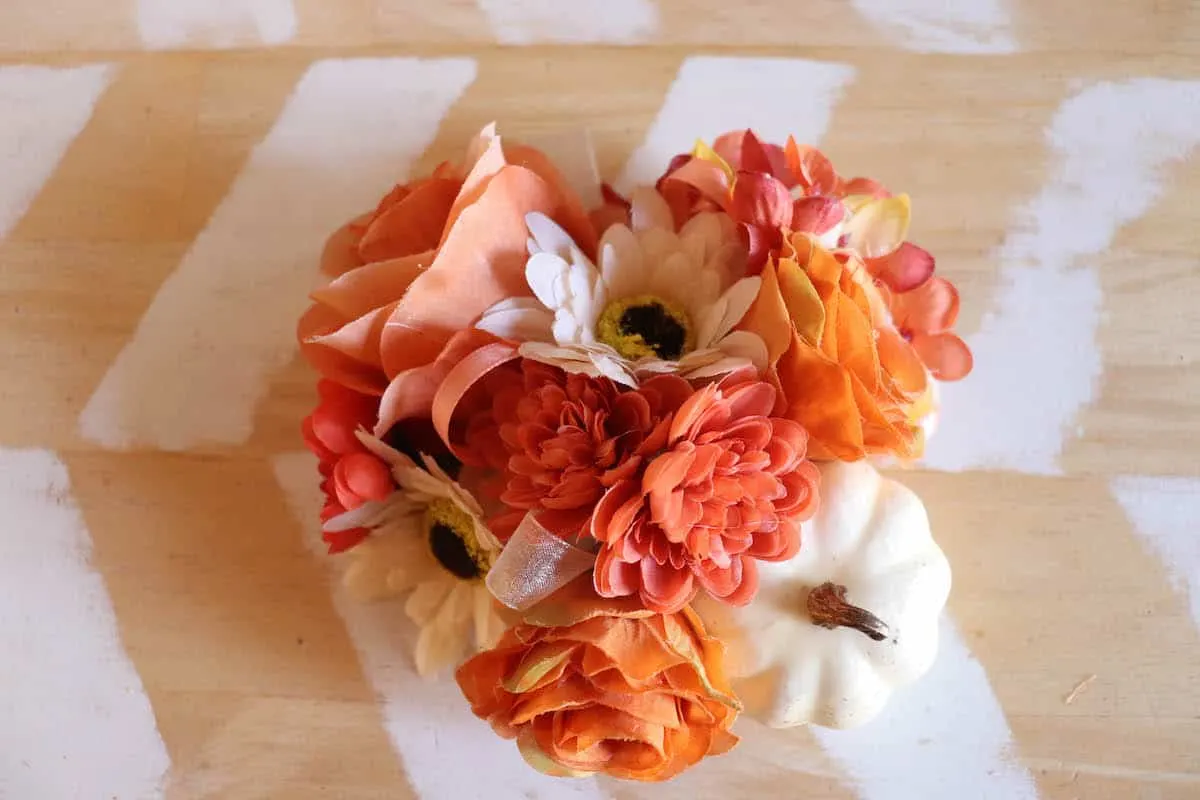
Make the lush floral centerpiece for the top of the wreath. It’s easier to glue all of the flowers to a cardboard circle, rather than to the wreath itself. This way they won’t flop over.
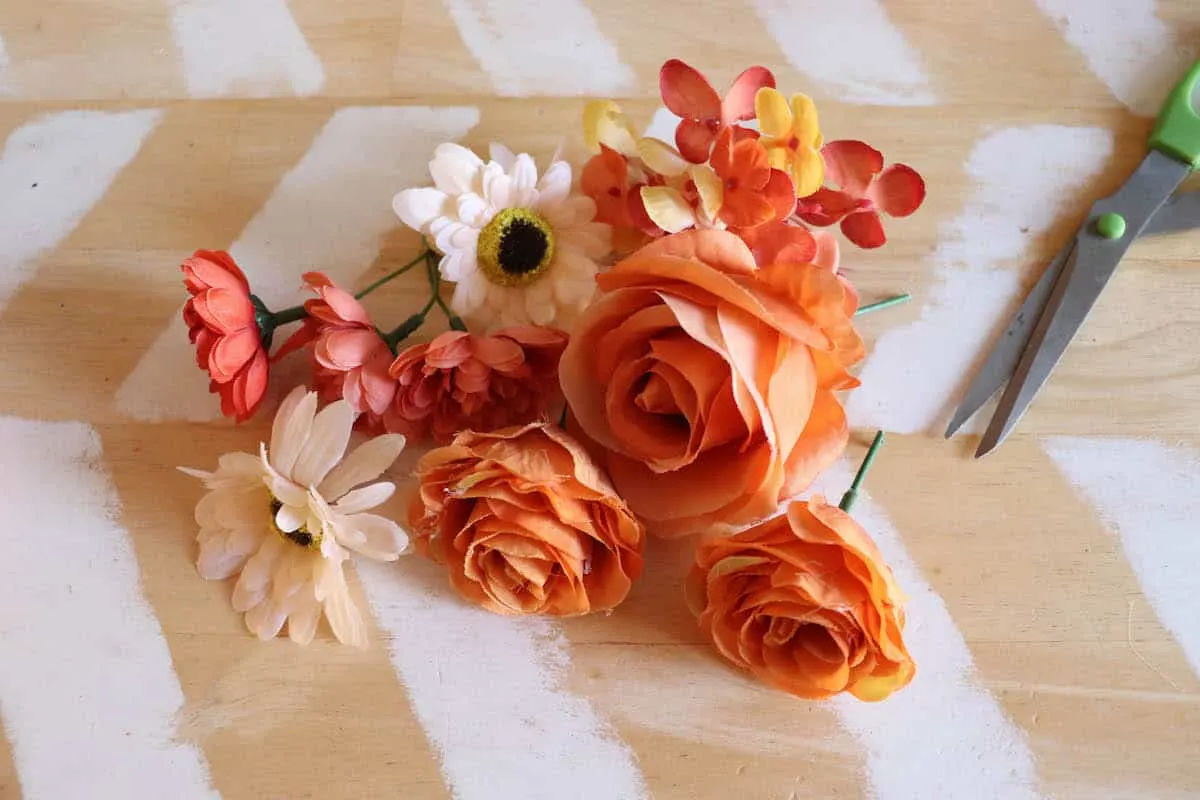
Cut each flower stem to about 1 ½ inches (doesn’t have to be exact).
Glue the flowers to the cardboard, bending the stems as necessary to get them to lay flat on the cardboard circle.
Play around with the flowers until you get a combination that you like before you begin gluing. Start with your biggest flowers first. Glue your foam pumpkin onto the cardboard circle. Then fill in the gaps with your smaller flowers.
If you would like, you can add some loops of ribbon in with the flowers, too. Cut about 3 inch sections of ribbon (can be one type or a variety of colors) and make into a loop. Tuck the ribbon in-between flowers and hot glue the cut ends down on the cardboard.
You can also glue ribbon loops to the back of the cardboard circle, too, to stick out around the edges.
Step 4
It’s time to put everything together. First, glue the back of the cardboard circle to the front of the bow, just underneath all of the loops. You want it to be really lush and full.
Cut a long piece of ribbon to hang the wreath with. Consider where you want the wreath and how long the wreath hanger will need to be. Loop the ribbon around the center of the bundt pan and bring the edges up. Tie a knot with the cut edges.
Attach the bow to the bundt pan wreath. You can hot glue the base of the bow to the very top of the bundt pan.
However, if you are considering reusing the bundt pan for cooking or another type of wreath, you could attach the bow to the wreath hanger instead (just be sure to secure the flower bunch firmly to the ribbon with a lot of hot glue so that it doesn’t flop over).
Get Your Fall Gratitude Journal Now!
Fall is a time to rest, reflect and be grateful. This printable planner and journal pack will help you capture your memories, and plan for the busy season ahead.
If you are interested in using unusual items to make a wreath, then you will love my easy cowboy hat wreath!
Or for an easy dollar store decoration for the front door, check out this farmhouse pool noodle wreath.
I think you’ll also like my dried flower wreath using flowers from the garden.

