


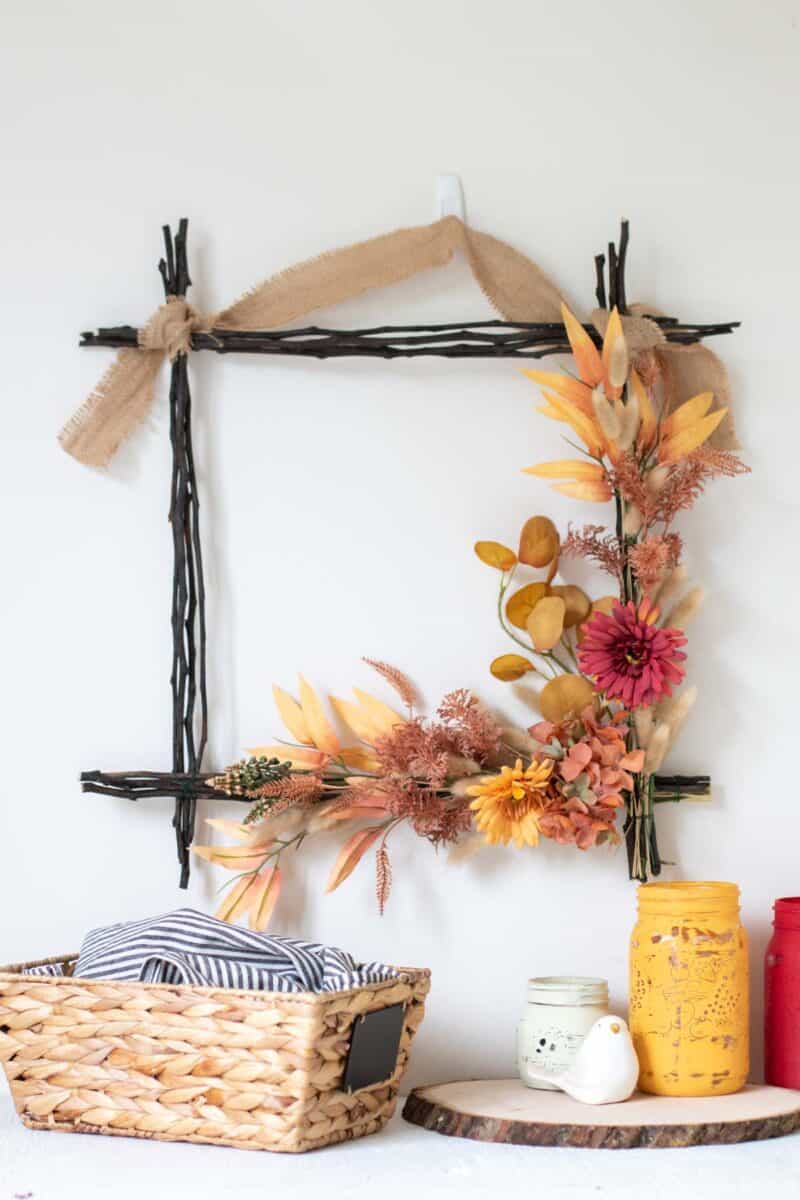
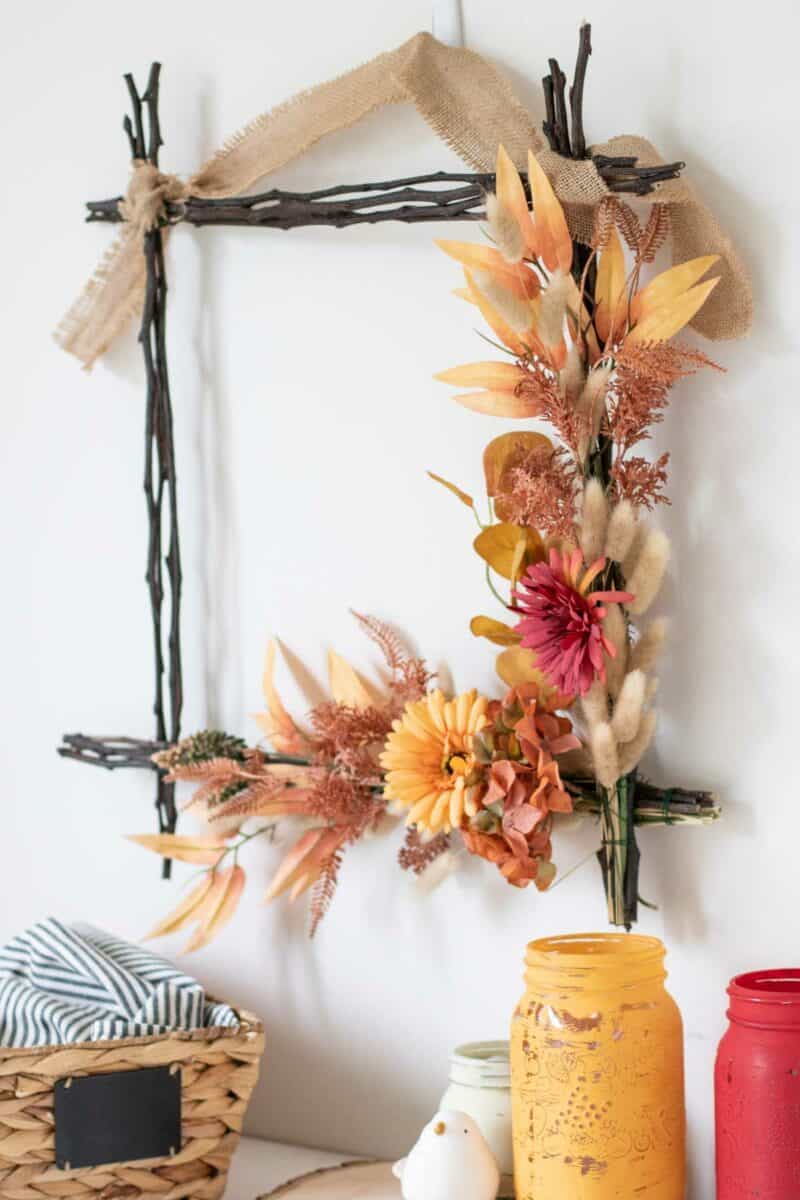
If you’d love a rustic modern fall wreath for your front door, this DIY square wreath is the answer!
The square design will capture attention from the moment that you hang it up. What your guests won’t realize is that it is super easy to make this square wreath yourself using tree branches from your backyard!
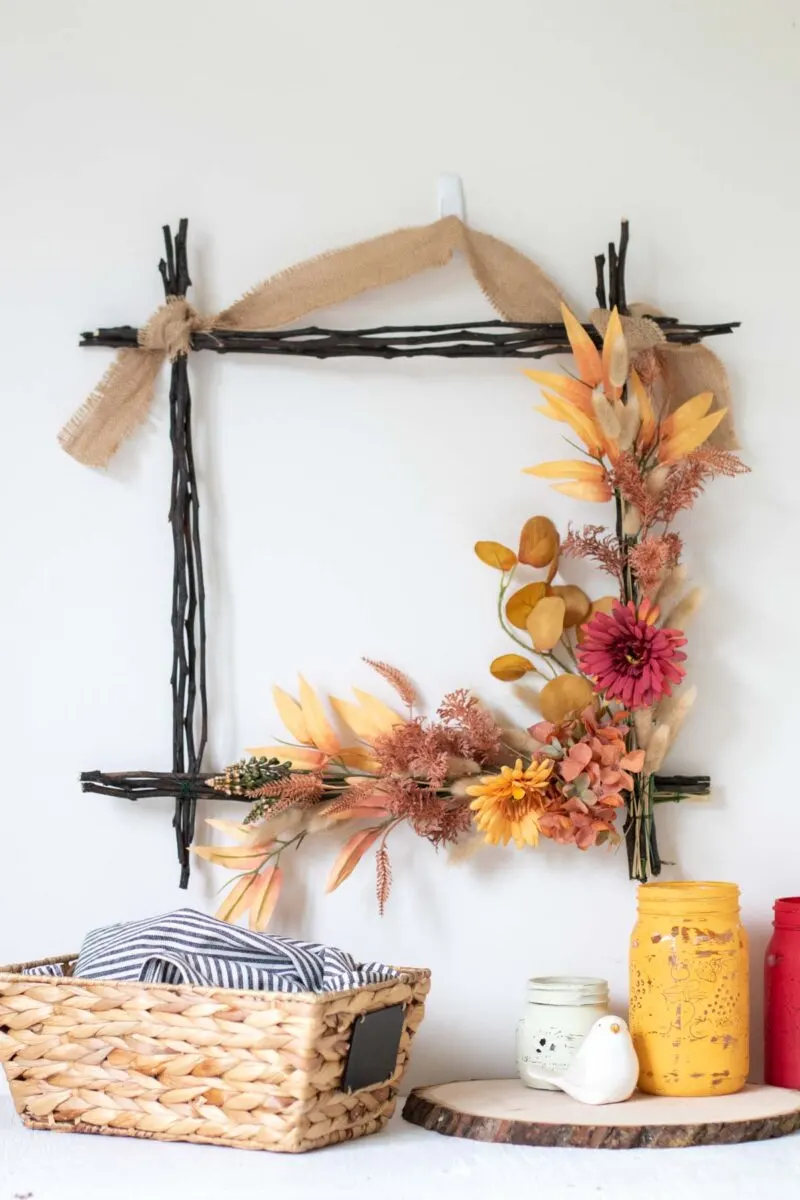
Adding a floral swag to this homemade wreath is easy to do, too. I chose this fall flower bouquet available on Amazon that has all of the flowers and color palettes already matched. All I had to do was secure them to the branches.
This bouquet is among the nicest faux floral bouquets that I’ve seen. It is very real looking! Other reviews also rave about how gorgeous these fake flowers look!
P.S. I used this same bouquet and flowers to also make this cute cowboy hat wreath. You will have enough supplies to make both!
These flowers would also look great in my upcycled picture frame flower pocket for autumn.
This is an elegant autumn wreath that transitions well from Fall to Thanksgiving.
In fact, you could change the flowers out to something more seasonal after Thanksgiving by simply undoing the floral wire and adding holiday florals instead.

Another great autumn decoration for your home is this DIY Pumpkin Bundt Pan wreath. You could use the same flowers for both projects because they come in a two-pack!
How to Make a Square Wreath for the Front Door
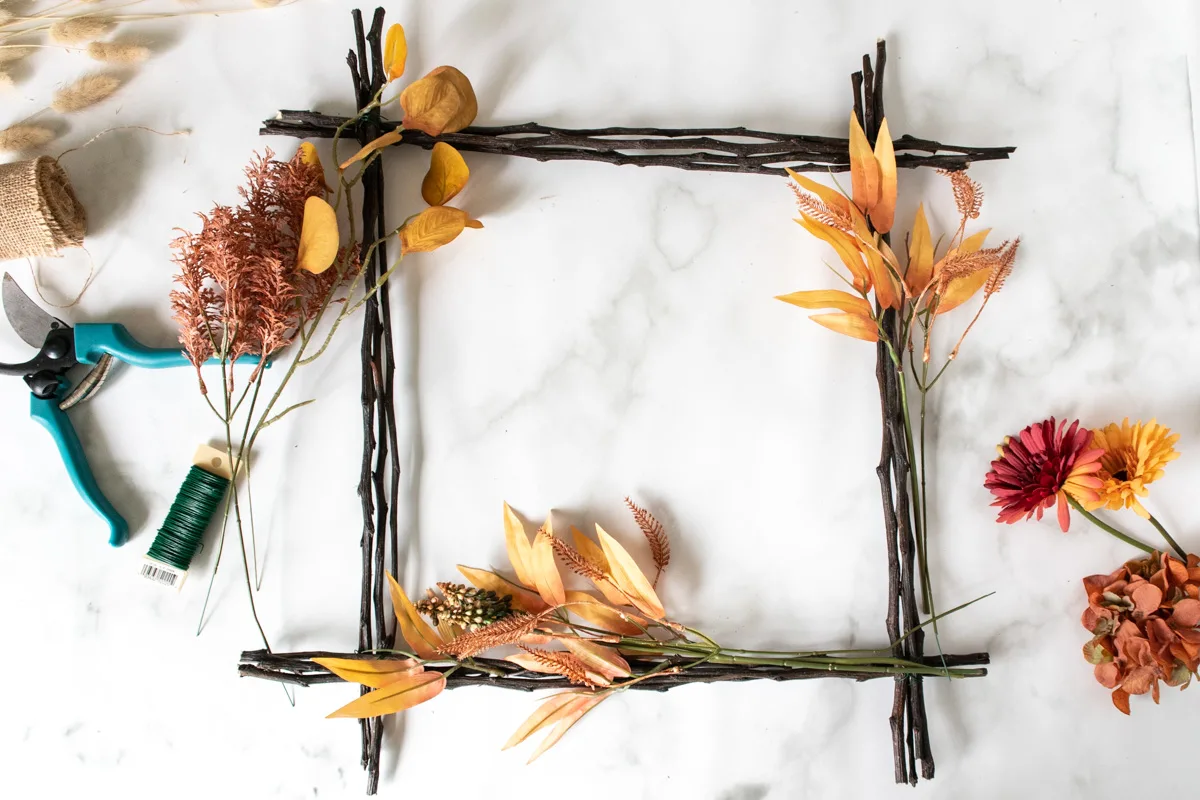
Supplies
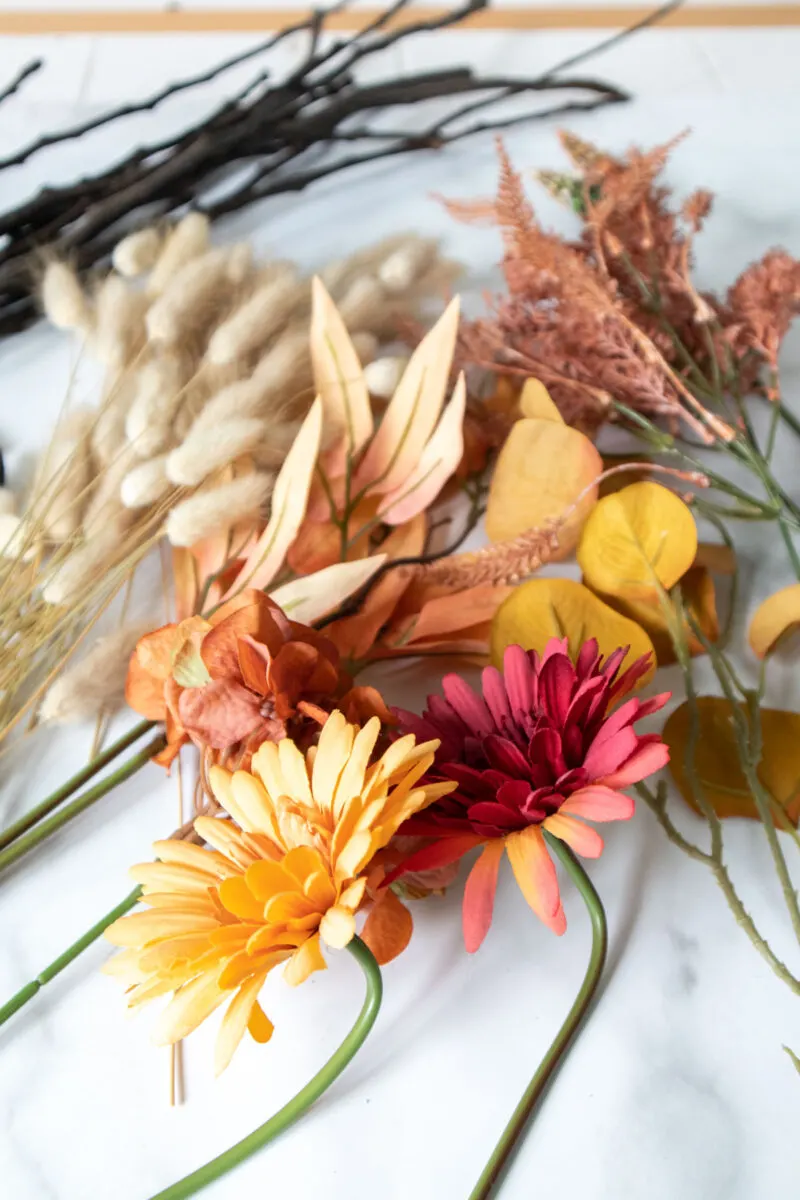
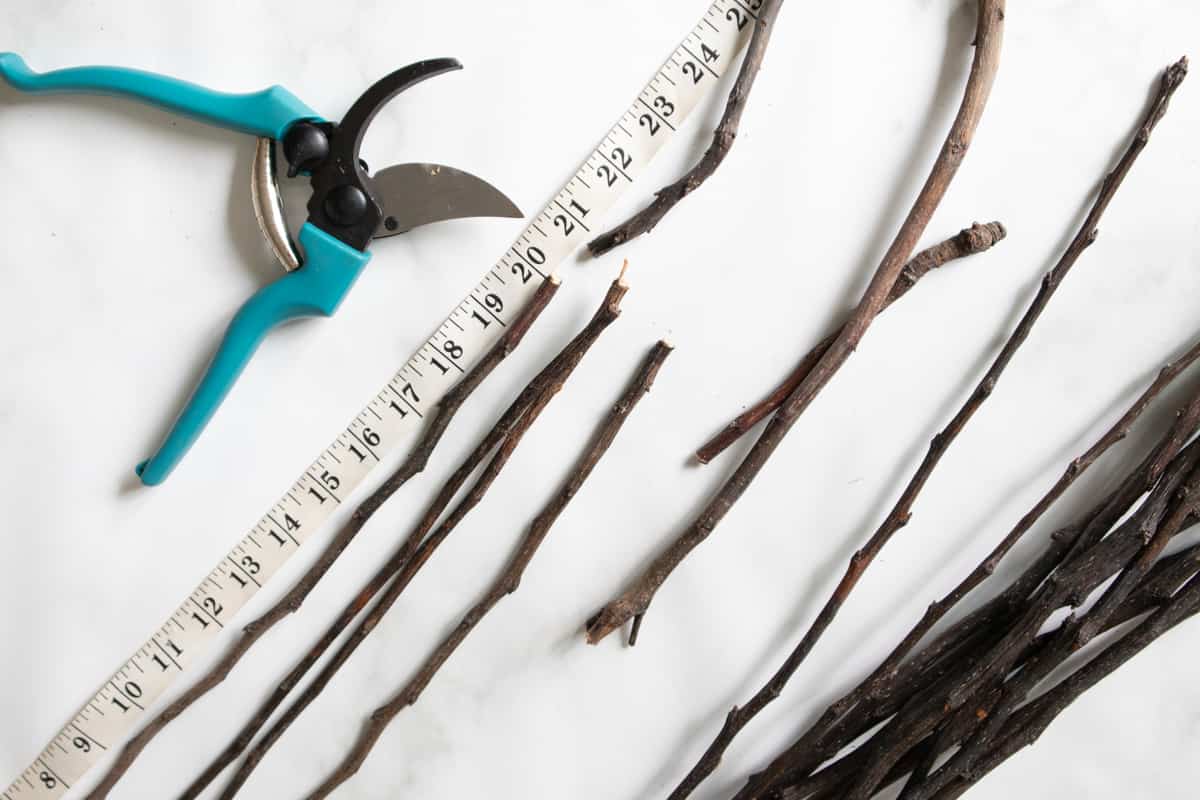
- 16 branches, each measuring at least 20” long x 1⁄4” thickness (I used sticks cut from a pear tree)
- Silk Floral Stems (I used this pre-made fall wedding bouquet in Orange color scheme for the flowers that are guaranteed to look great together)
- Natural Dried Lagurus (also known as Pampas grass)
- Gardening Shears
- Floral Wire
- Burlap Ribbon

Instructions
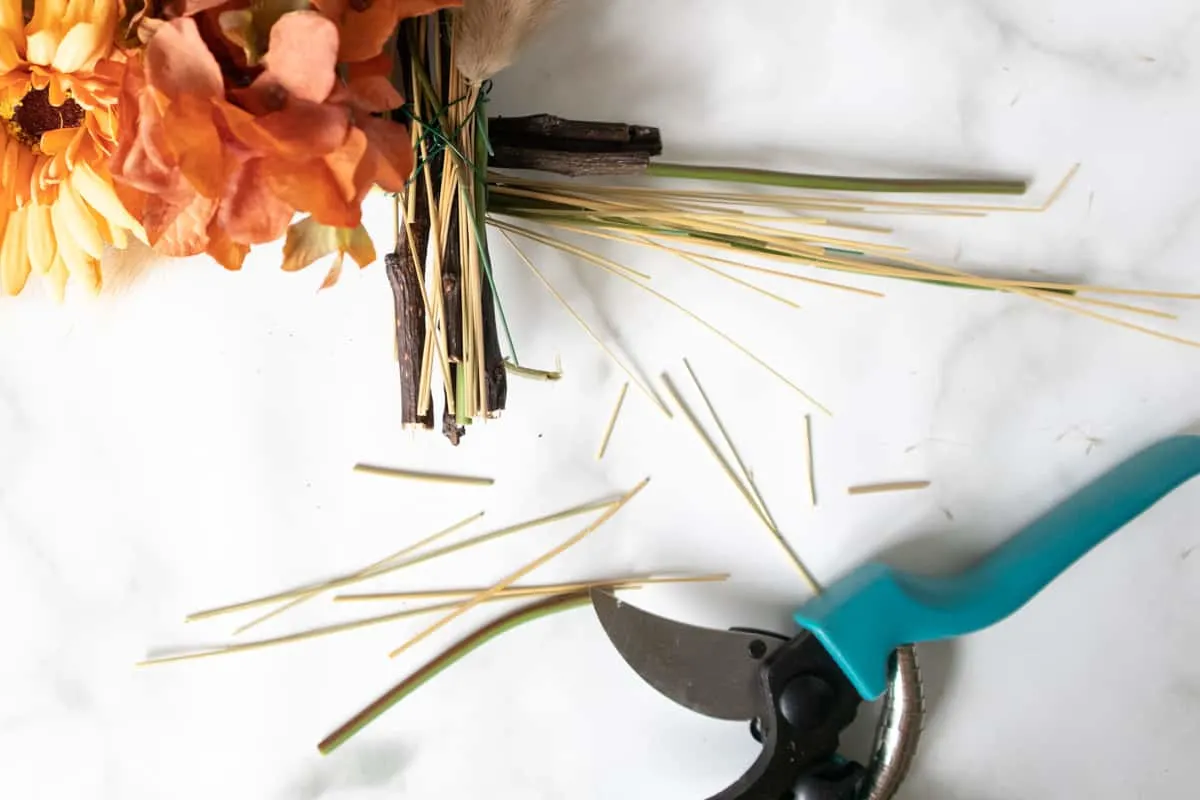
- Using gardening shears, cut all of the branches to 20” long.

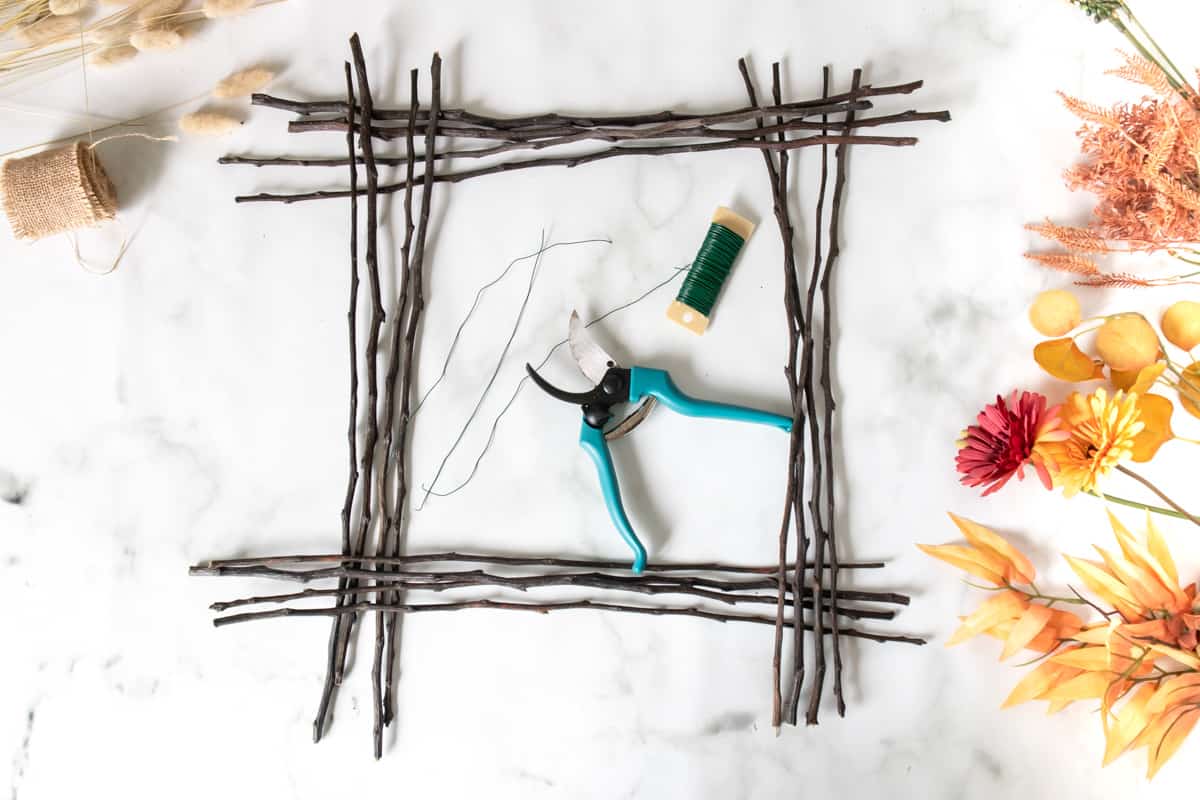
2. Divide the branches into 4 piles. On a flat work surface, lay out the branches to form a square shape overlapping the ends by 2”. Alternate the ends of the branches with one end placed above and one end placed below the intersecting branches.

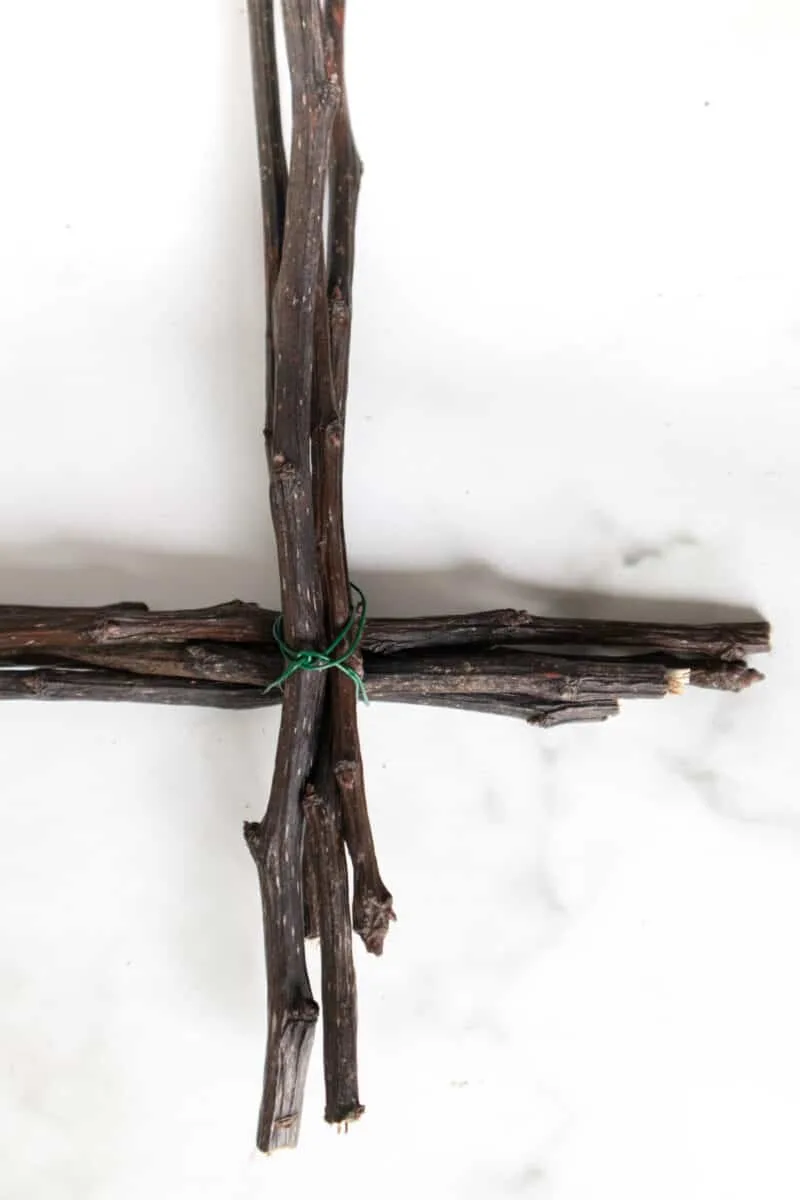
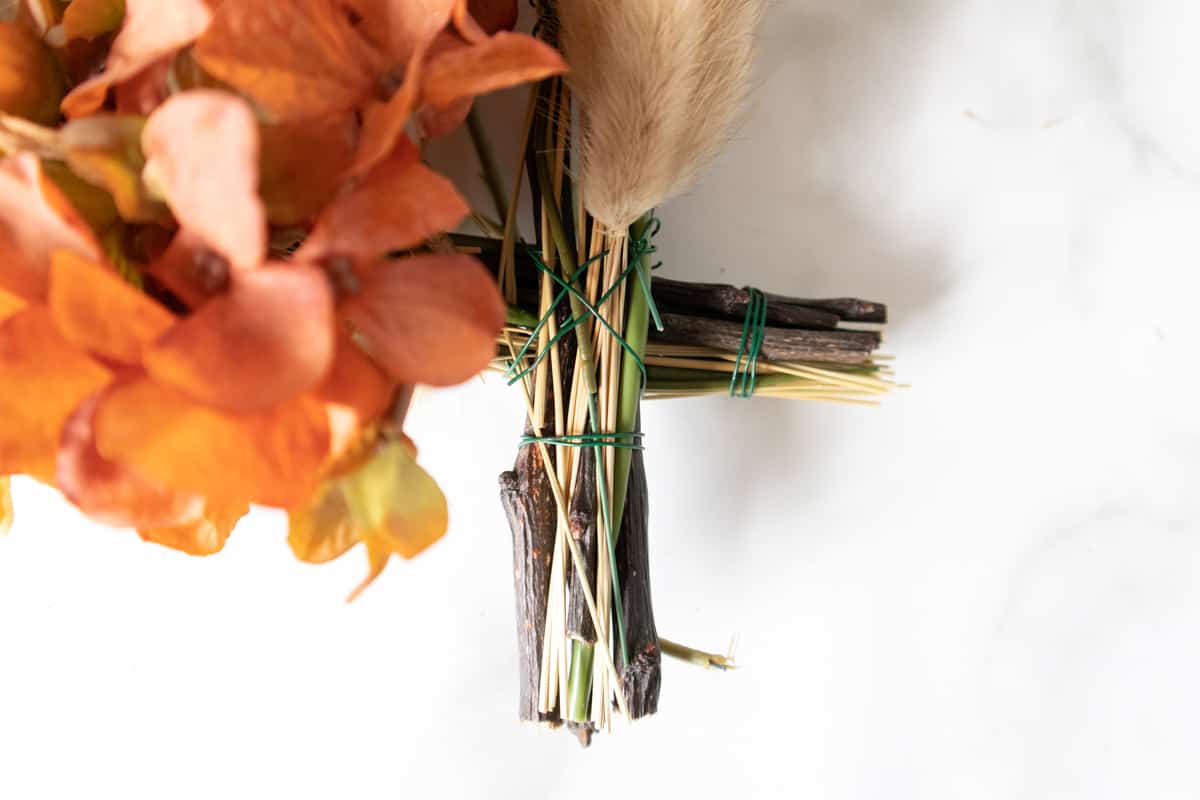
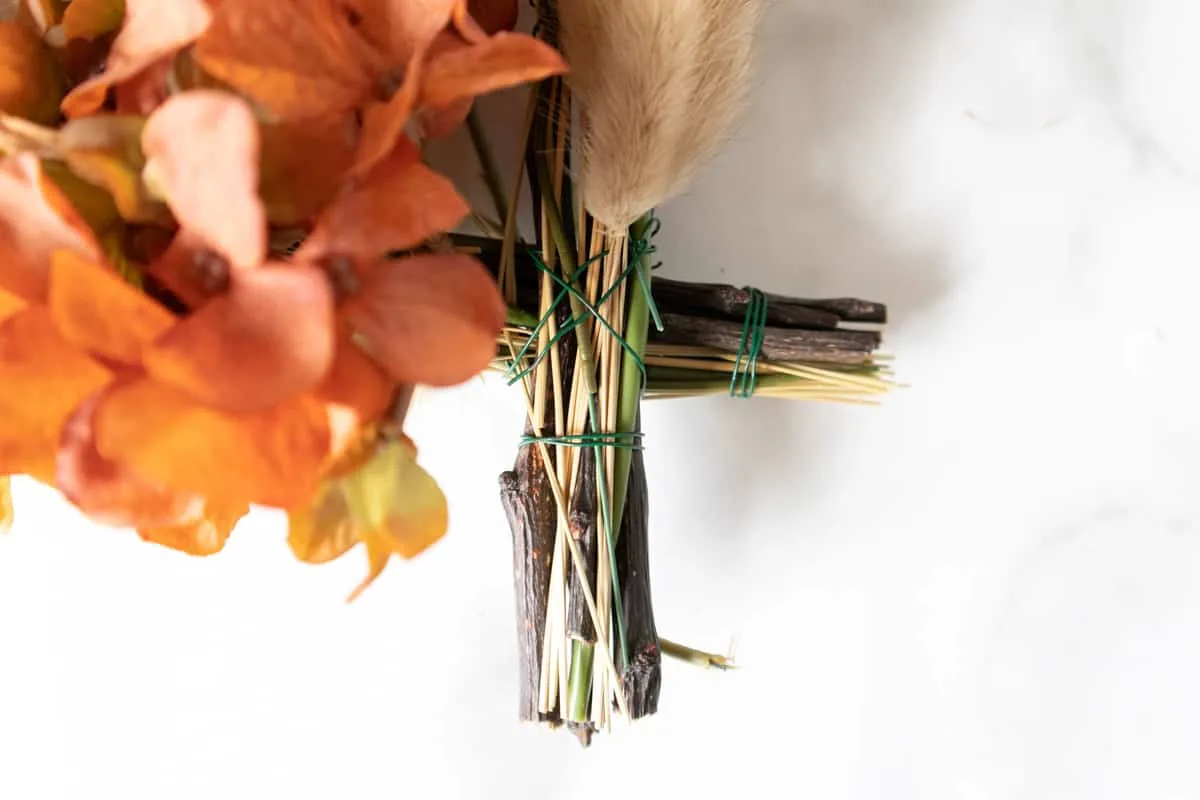
3. Cut pieces of floral wire to 8” long and wrap the wire around the intersecting corners in a criss-cross pattern. A second set of hands to hold the branches in place helps with this step!
Repeat with all of the corners until the square wreath is formed.

4. Place the longer leafy sprigs from the bouquet on top of the branches on the bottom and right hand side.
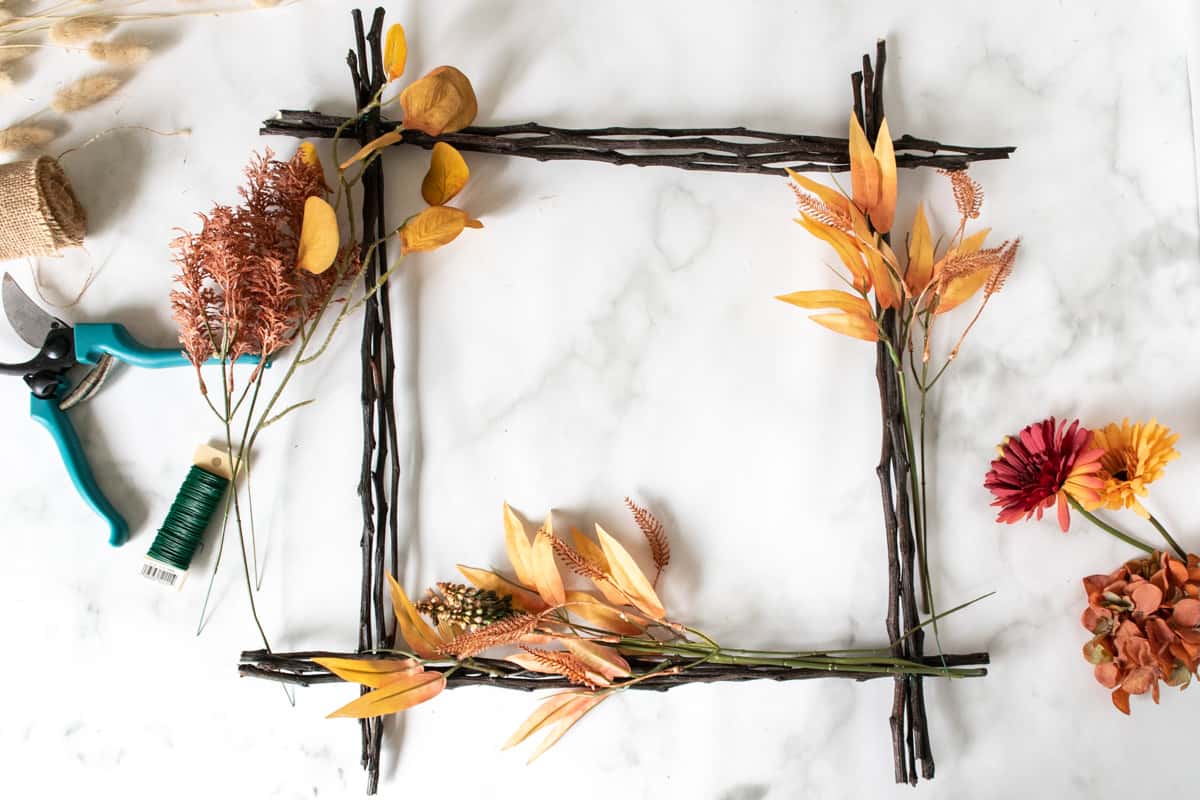
Secure the leaves to the wreath form with wire.

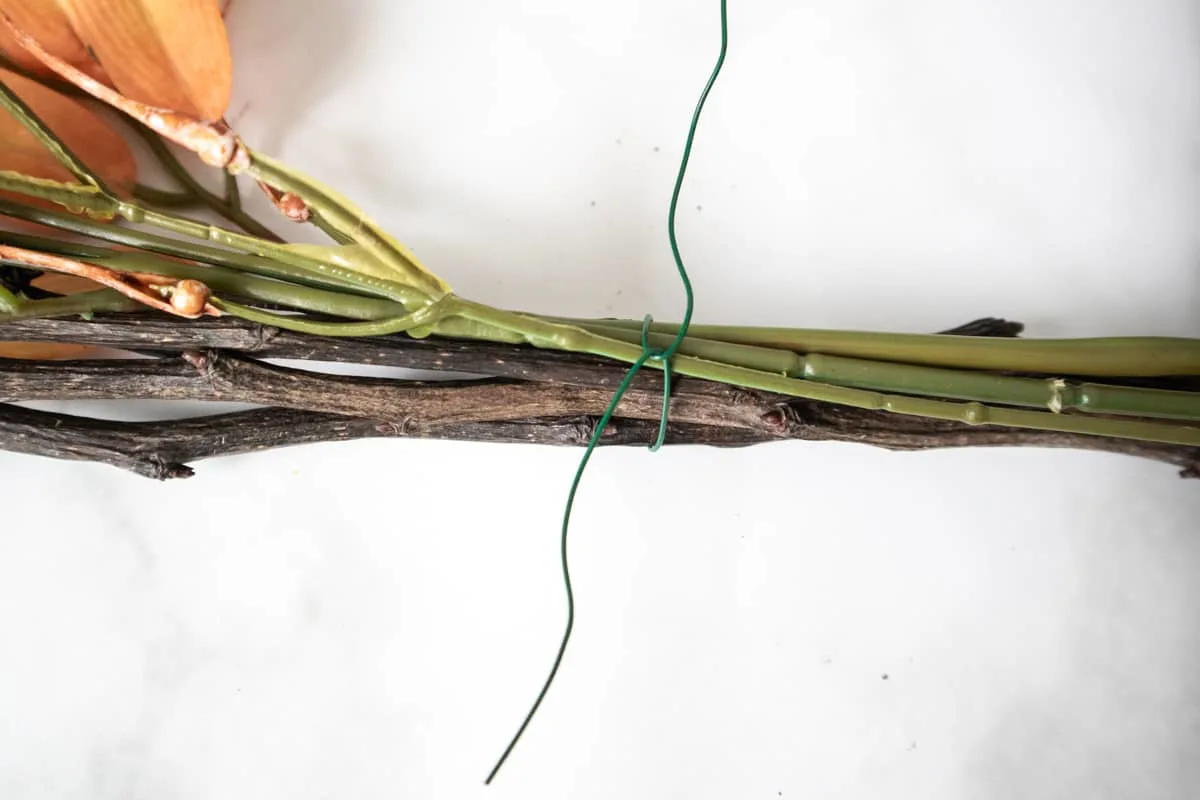
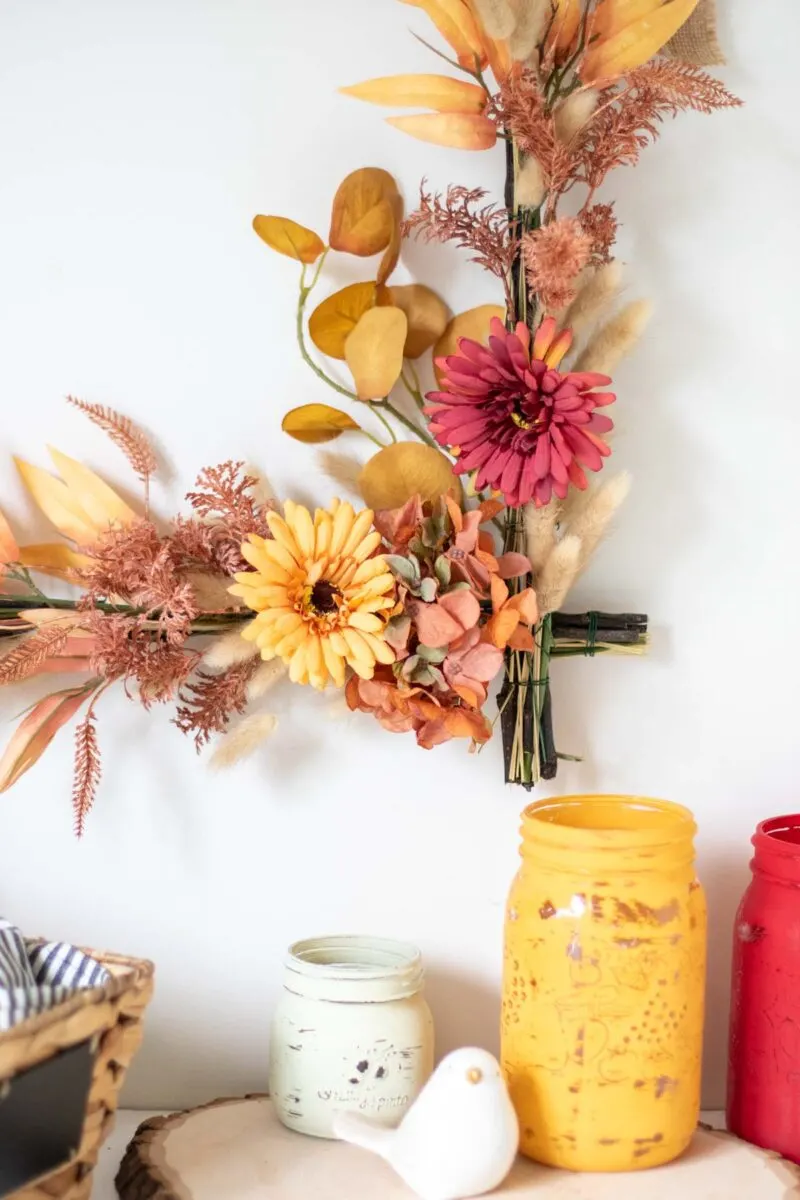
5. Continue to layer on some more leafy sprigs and some pampas grass. Working towards filling the bottom right corner. Secure the cluster with more floral wire.
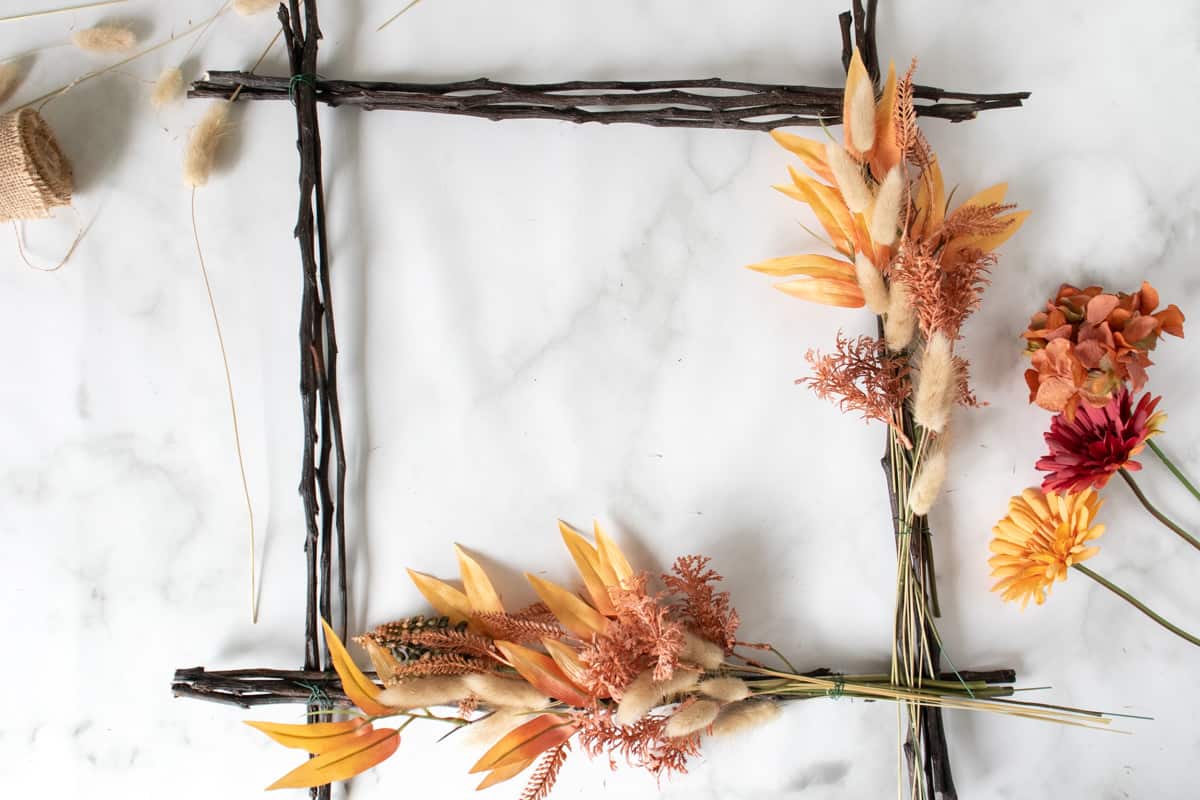

Lay the gerbera flowers on top as you get closer to the corner. Place one gerbera on either side of the corner and secure them with wire.
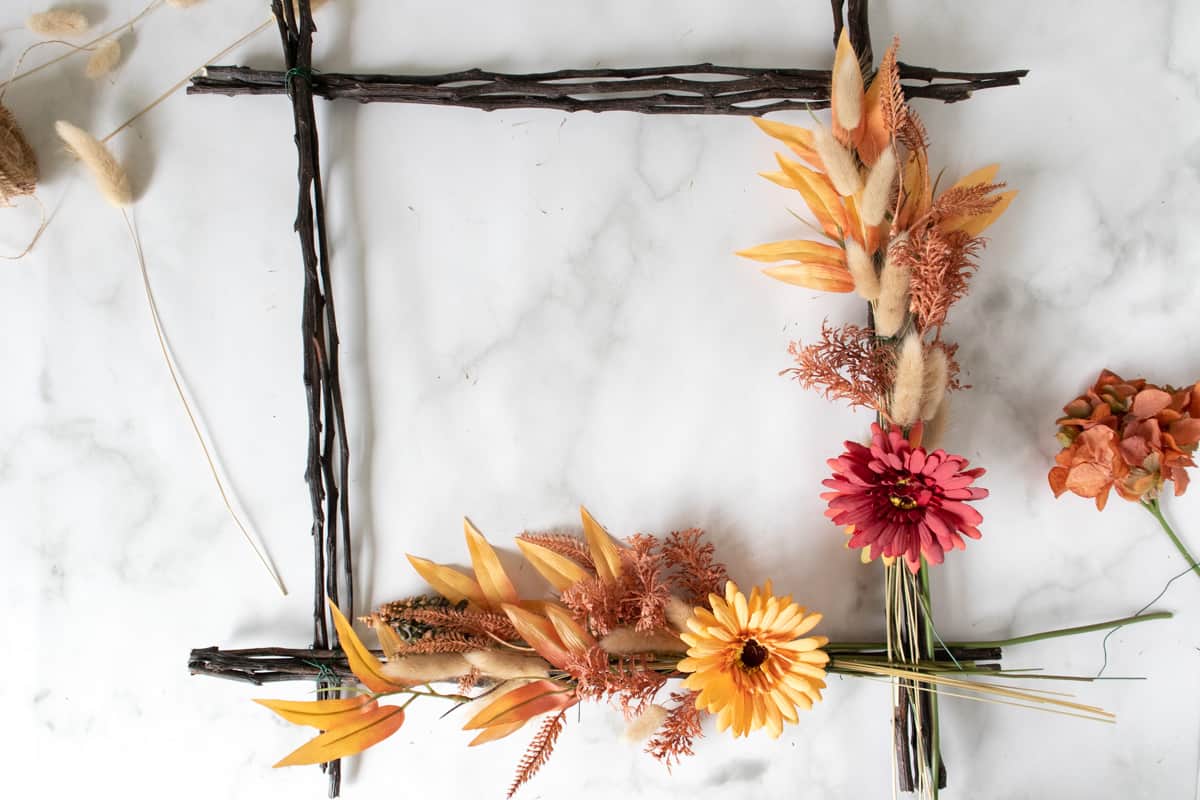
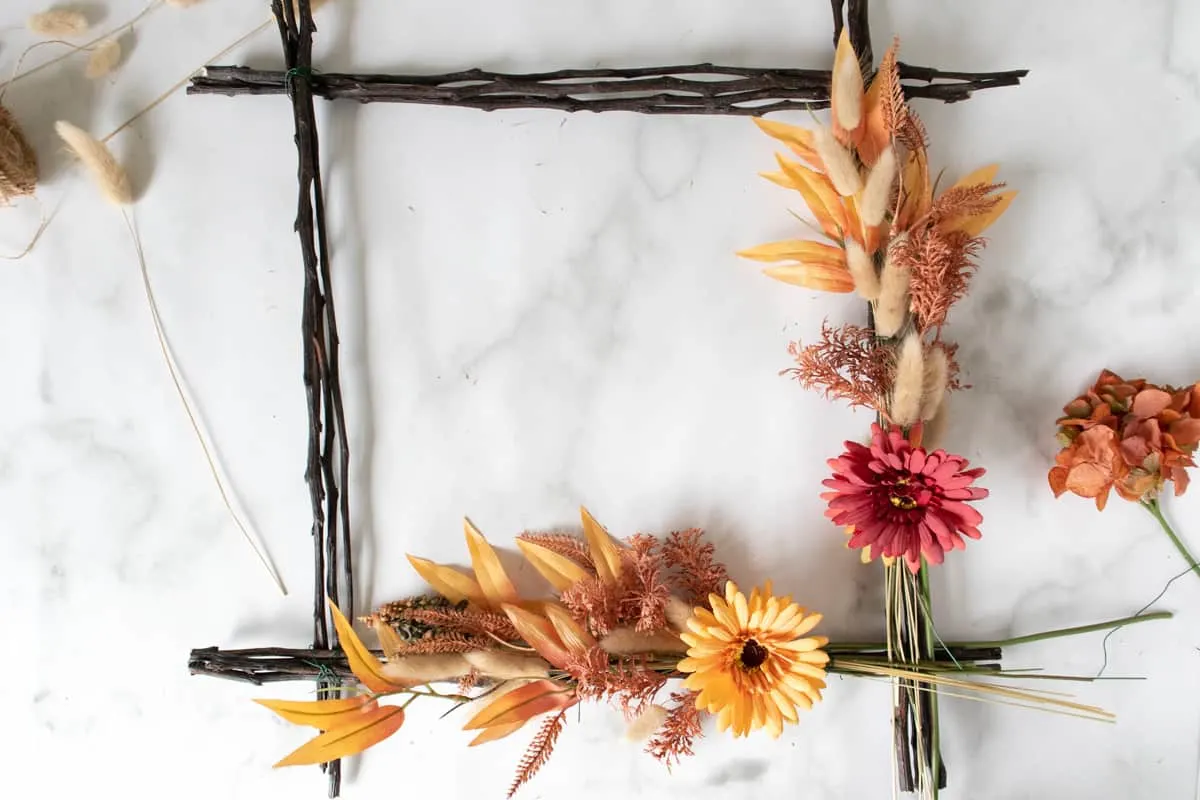
Add some more faux florals and pampas grass in the corner for more fullness.


6. Trim the longer ends of the floral stems and pampas grass. Wrap floral wire around the loose ends to hold to the wreath form.

7. Cut a piece of burlap ribbon about 30” long and tie both ends to the upper corners of the wreath.
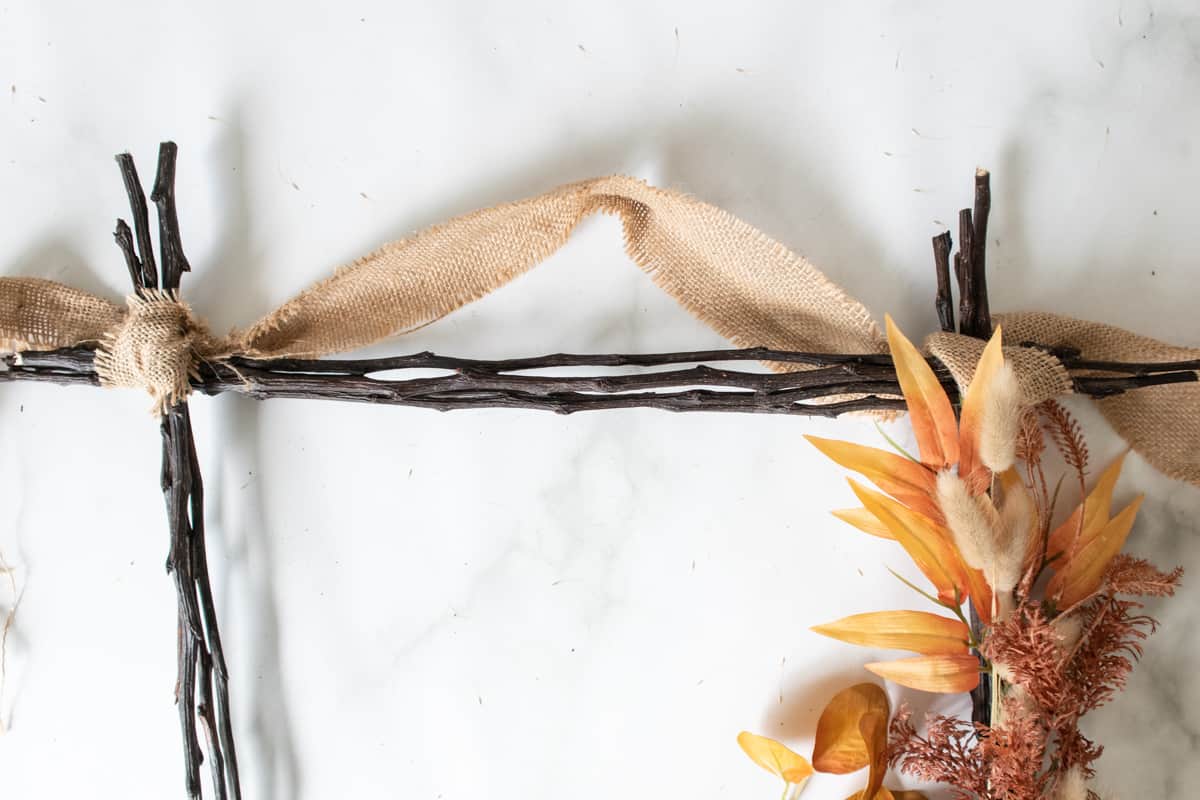
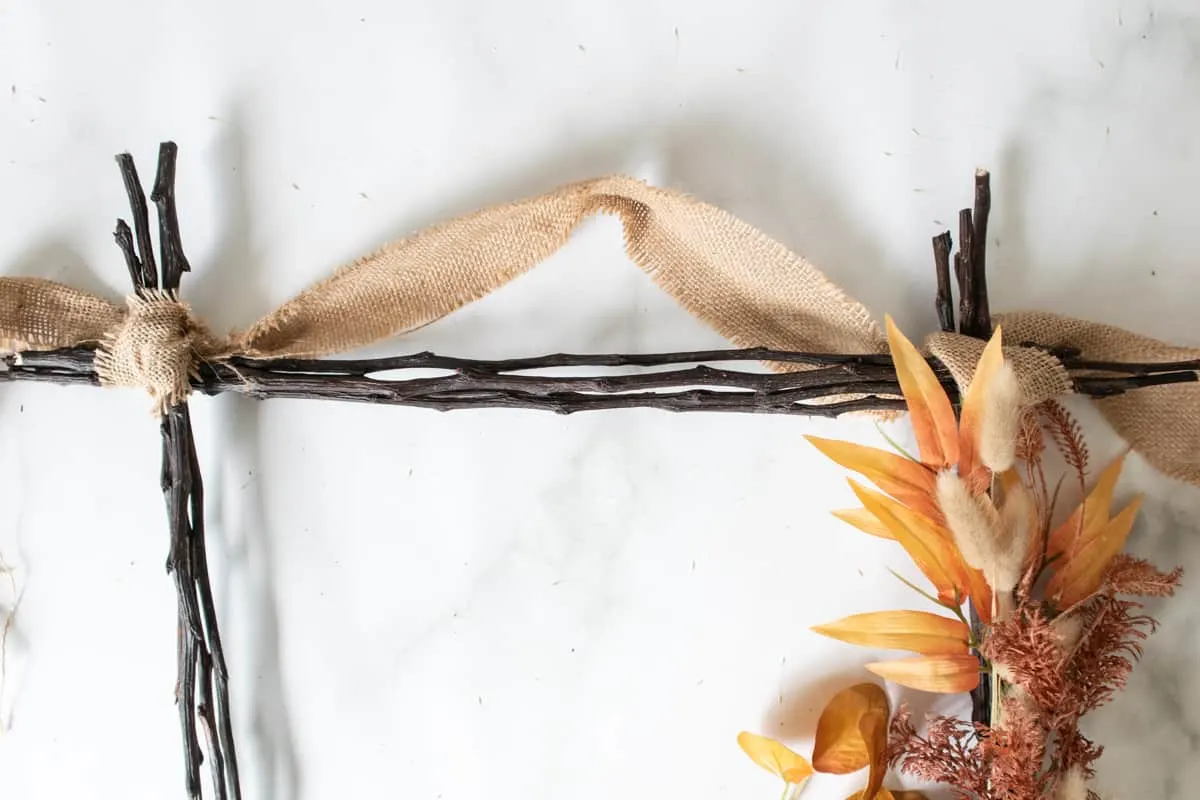
Hang on a wall or your front door. Because there is more weight on one side of the wreath than the other, place the hook off center to balance the weight while it hangs.

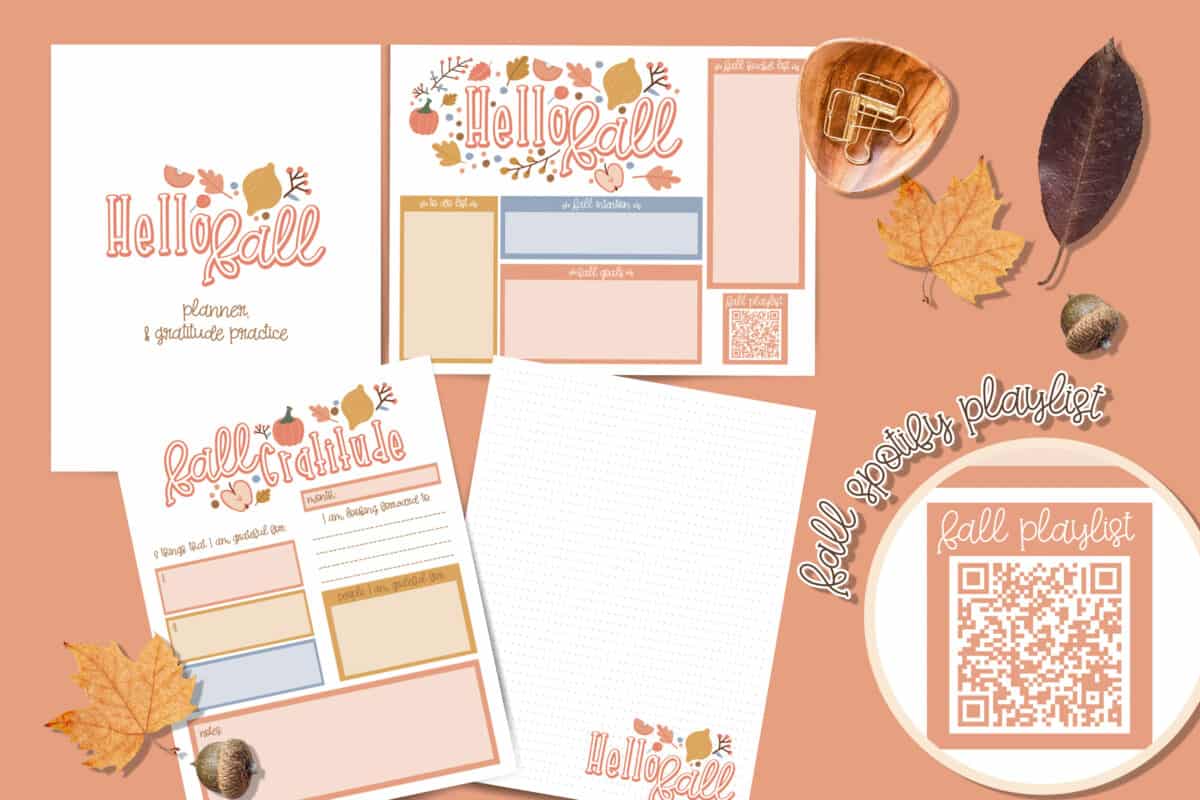
Get Your Fall Gratitude Journal Now!
Fall is a time to rest, reflect and be grateful. This printable planner and journal pack will help you capture your memories, and plan for the busy season ahead.
I’ve used tree branches before to make an inexpensive farmhouse stick frame and rustic twig stars.
You might also like my dried flower wreath that I made with flowers from my garden, too.

Jen
Saturday 16th of December 2023
Definitely doing this next fall! Love the rustic look and unusual shape.
Kimberly
Saturday 16th of December 2023
Thanks, Jen! I like the square shape wreath, too!
Deirdre Henry
Tuesday 8th of November 2022
I love this wreath. It is so different to the usual round ones. If I could get the lovely flowers I would have a go at making this. Thank you for the tutorial. Deirdre
Kimberly
Thursday 10th of November 2022
Thank you so much, Deirdre!