
I love watching flowers growing in my garden all summer. When the blooms start to fade, I wish there was a way to extend their beauty and keep them a little bit longer. Do you feel the same way, too?
With these easy instructions of how to make a dried flower wreath, you can save flowers from your garden to make a beautiful wreath for your door. Even better is that it won’t cost you much money!

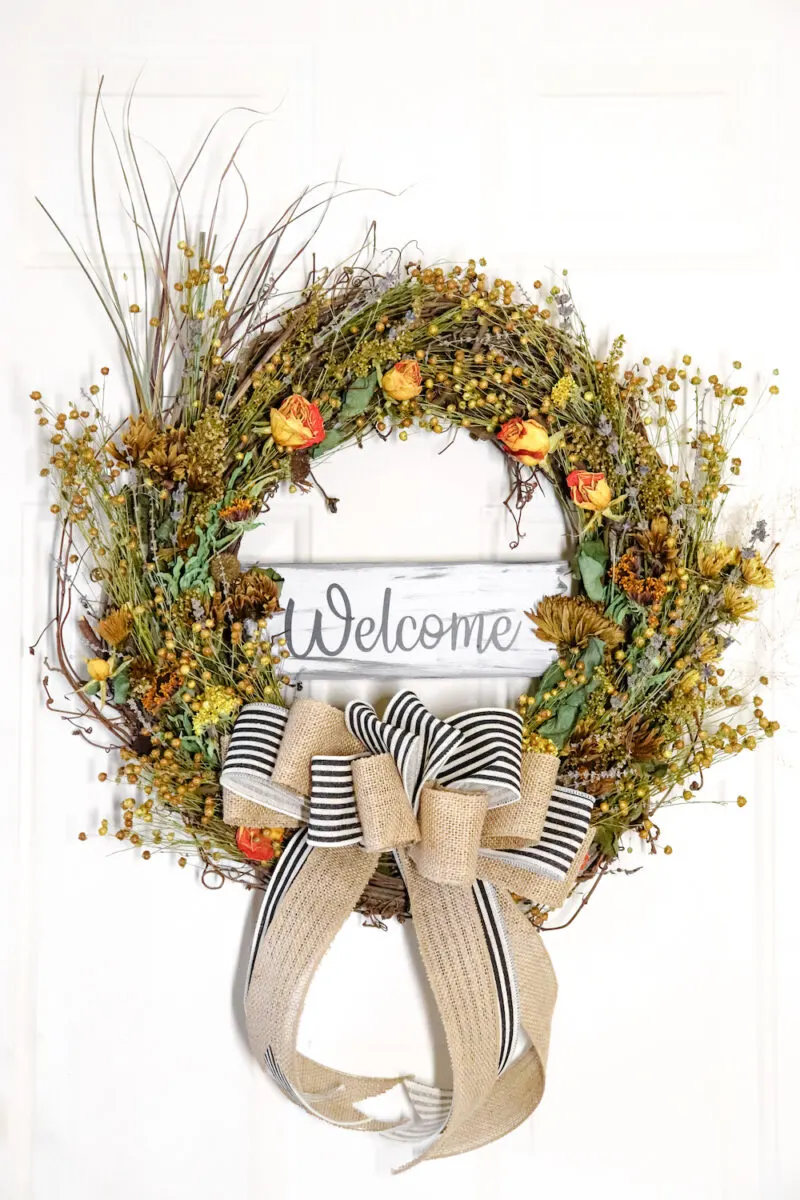
This colorful wreath is enhanced with a big bow and a welcome sign tucked into the wreath.
You can make the wreath without the Welcome banner made with a Cricut. You don’t need to add a bow, either. But these are variations that I added that make the wreath on my front door even more beautiful and welcoming!


Wondering the best ways to dry flowers from your garden? Here’s a great tutorial sharing 5 different methods for drying flowers.
You could use dried flowers to make this modern square fall wreath, too. And I used pampas grass and same faux floral flowers to make this easy cowboy hat wreath.
What Types of Dried Flowers Are Best for Wreath Making?
You will want dried flowers with sturdy stems that retain some color when the petals are dried.
Some examples are:
- Roses
- Blanket Flower (straw flower)
- Lavender
- Yarrow
- Cone Flowers
- Salvia
- Baby’s breath
- Astilbe
- Coreopsis
- Statice
- Celosia
- Hydrangea
- Globe Thistle
- Echinacea
- Craspedia balls


What Herbs and Greenery Are Best for Wreath Making?
Tough, sturdy plants that have texture and visual interest are best to add to wreaths to fill in space. You will want to use herbs and plants such as:
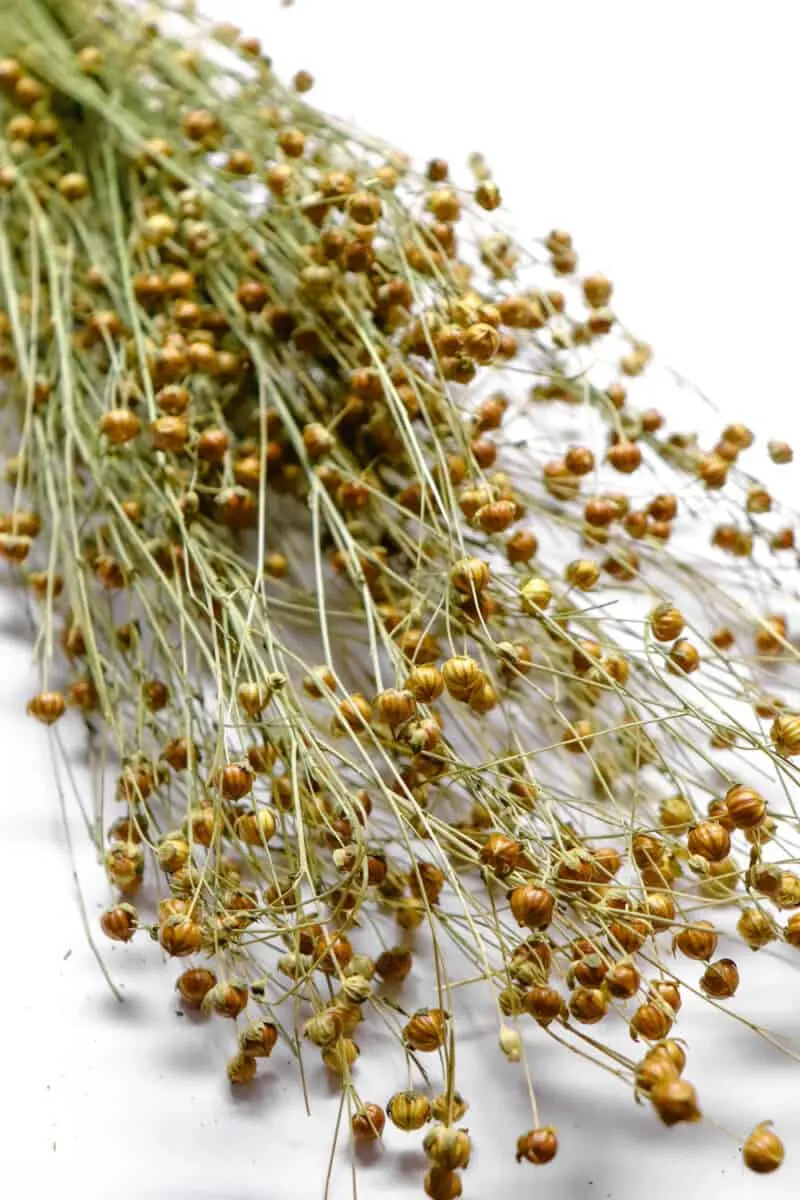
- Flax
- Sage
- Amaranth
- Rosemary
- Eucalyptus
- Wheat stalks
- Cotton stems
- Pampas grass bunny tails

You might also like my other super easy DIY wreaths:
How to Make a Dried Flower Wreath
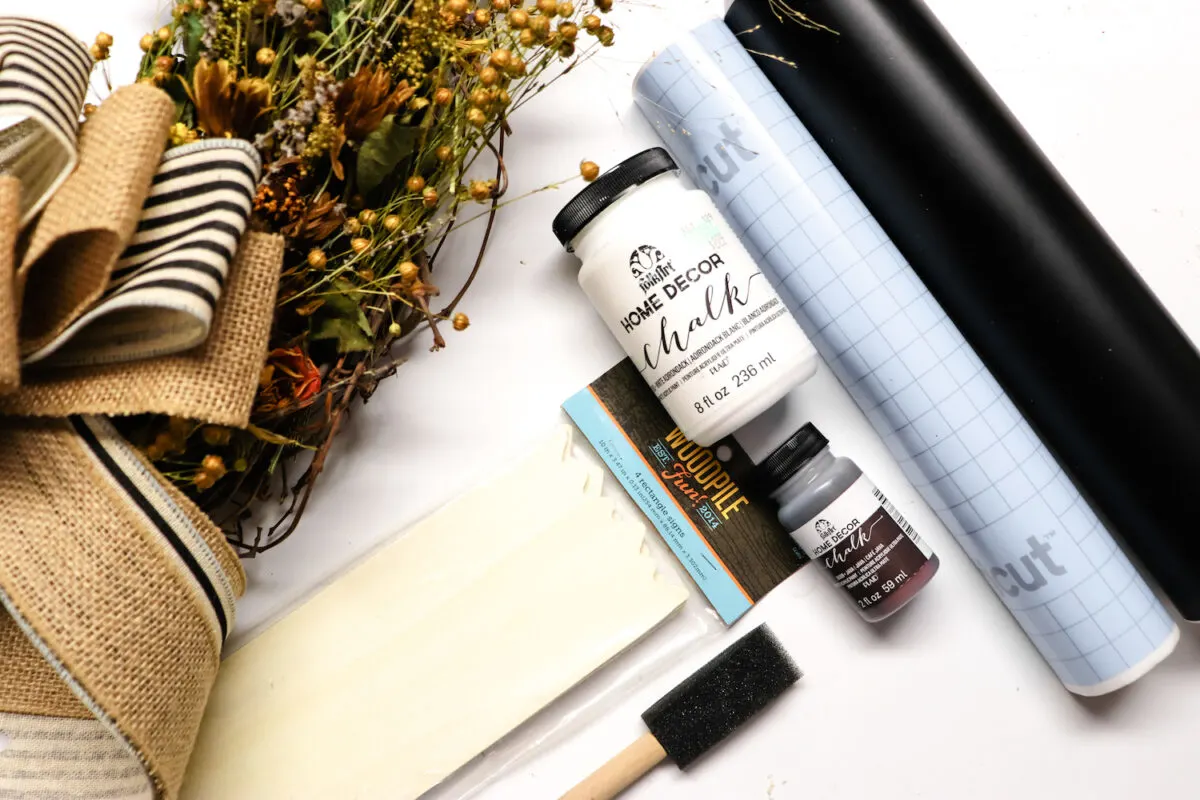
Supplies
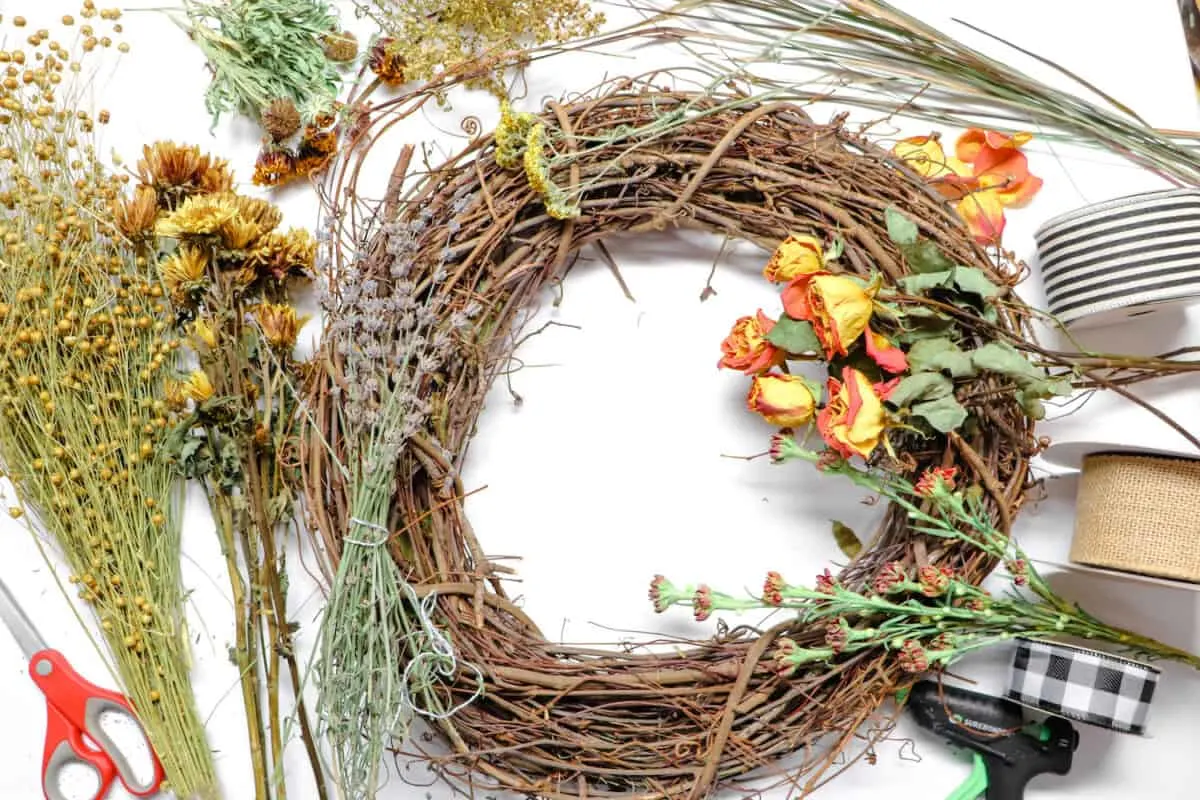
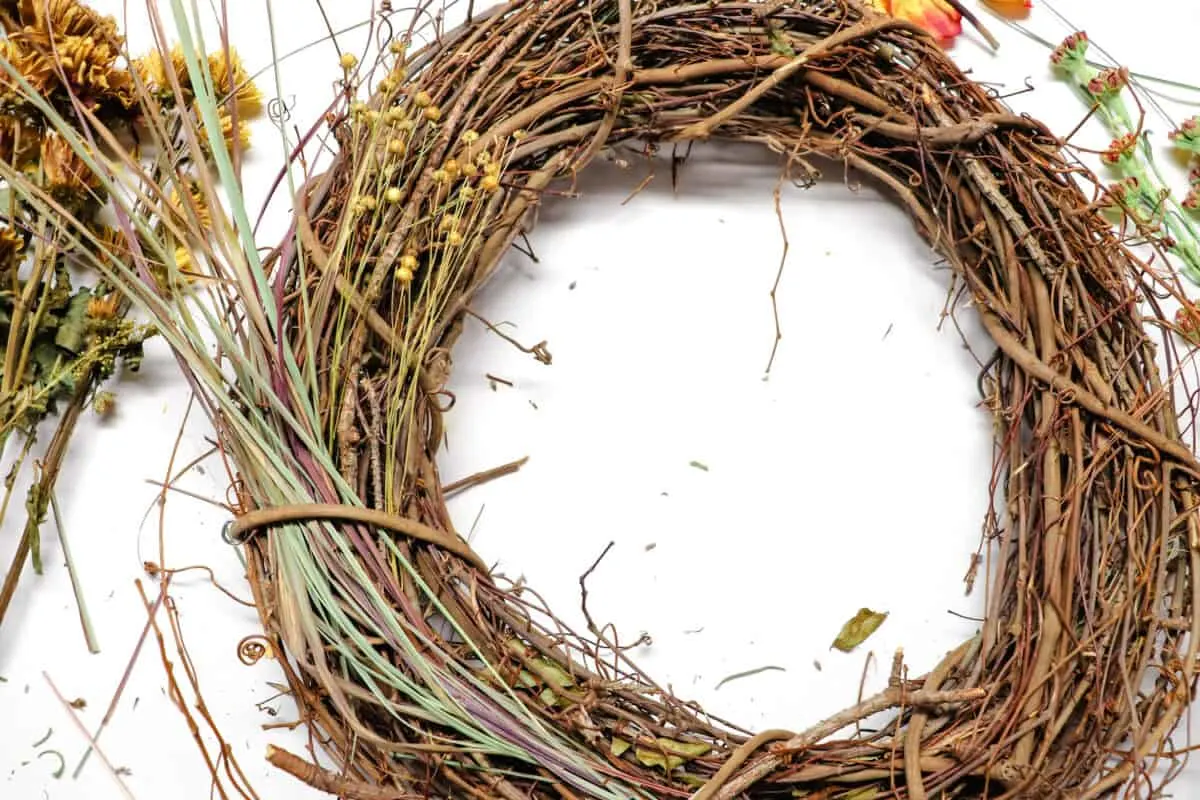
- Grapevine wreath form, 14”-16”
- Dried flowers ( I used lavender, roses, yarrow, flax, cone flowers, sage, coreopsis and echinacea) I purchased my dried flax bundle from Hobby Lobby. If you don’t have flowers in your garden, you can buy a variety of dried flowers with long stems online.
- Scissors
- Hot glue gun and glue sticks
- Floral wire

Optional Supplies
- Ribbon Bow for a Wreath (here’s how to make a bow for a wreath; it’s the bow that I used in this DIY project)
- Pipe cleaner
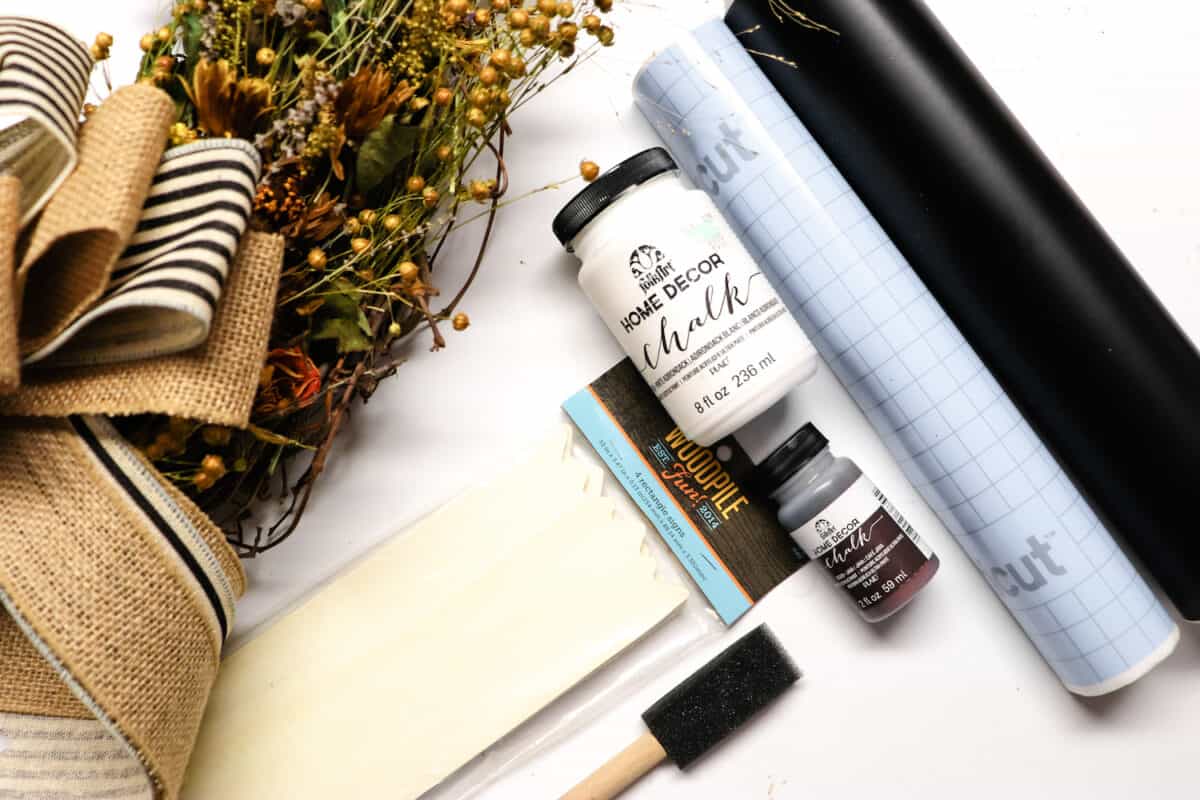
- Free Welcome SVG file
- Unfinished wood sign
- Cricut machine
- Permanent Black Vinyl
- Transfer tape
- Craft Paint, white and brown
- Foam brush
Instructions
Step 1
Decide which part of your wreath you want to be the top. Create a loop with floral wire for hanging and attach it to the wreath.
Step 2
Start tucking the dried flowers into the grapevine wreath. You will want to use your base layer, which you might call your foundation florals, first.
These are the flowers that can add texture and fill in the space to make it look lush and dense. But they might not be the most colorful flowers.
I used dried flax and dried coreopsis as the foundation and wove them into the grapevine.

You can see that the dried coreopsis flowers don’t have color, and they almost look like dried berries. They add a visual interest to the back of the wreath.

If you are using a bow, you don’t need to add flowers to where the bow will be placed.
Step 3
After your base layer of dried florals have been tucked into the wreath, it is time to start adding the rest of the dried flowers. Tuck in the stems into the grapevine wreath.


This does not have to be perfect. There’s no right or wrong way! Keep in mind that you want it to look just as carefree as a wildflower garden. So don’t make it too perfect!
Add as many flowers as you’d like. I chose to have a thick carpet of flowers on my wreath. You could do a more minimal design with just a few.
Use a hot glue gun as needed to keep the flowers in place.
Step 4
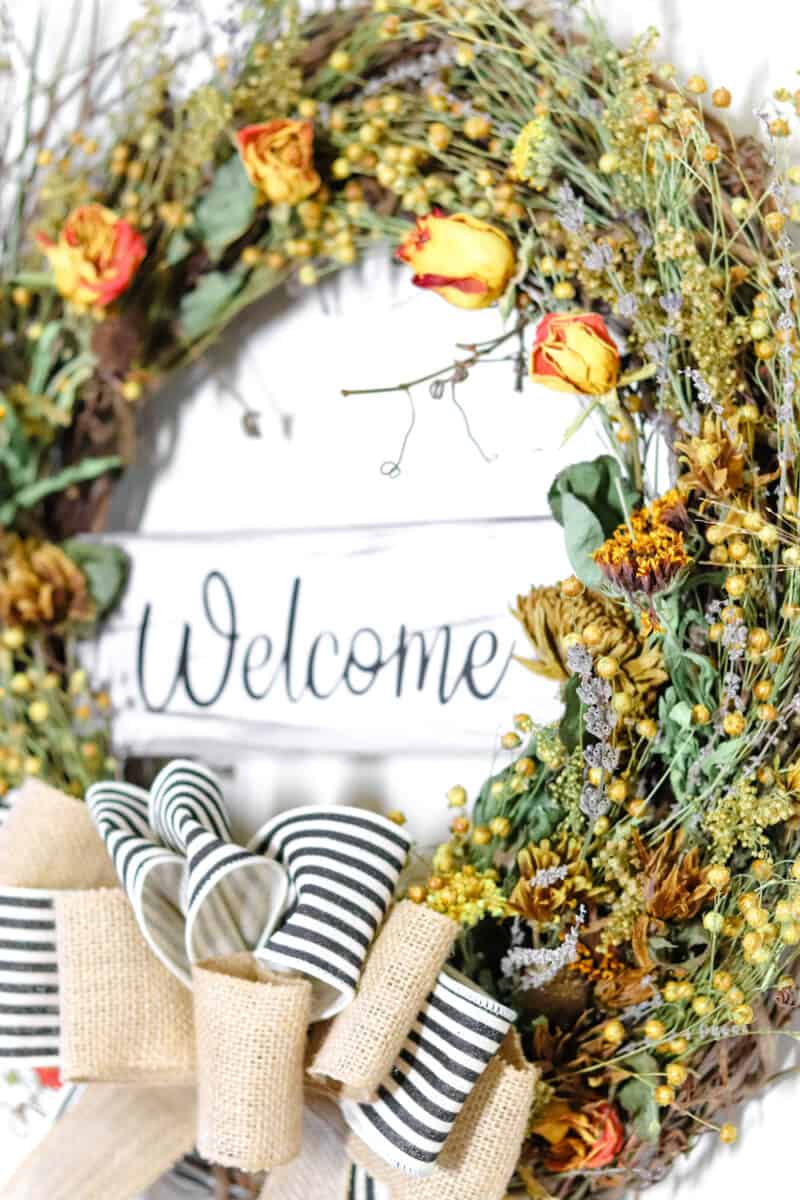
Add your bow to the wreath. You can attach it with floral wire or a pipe cleaner.
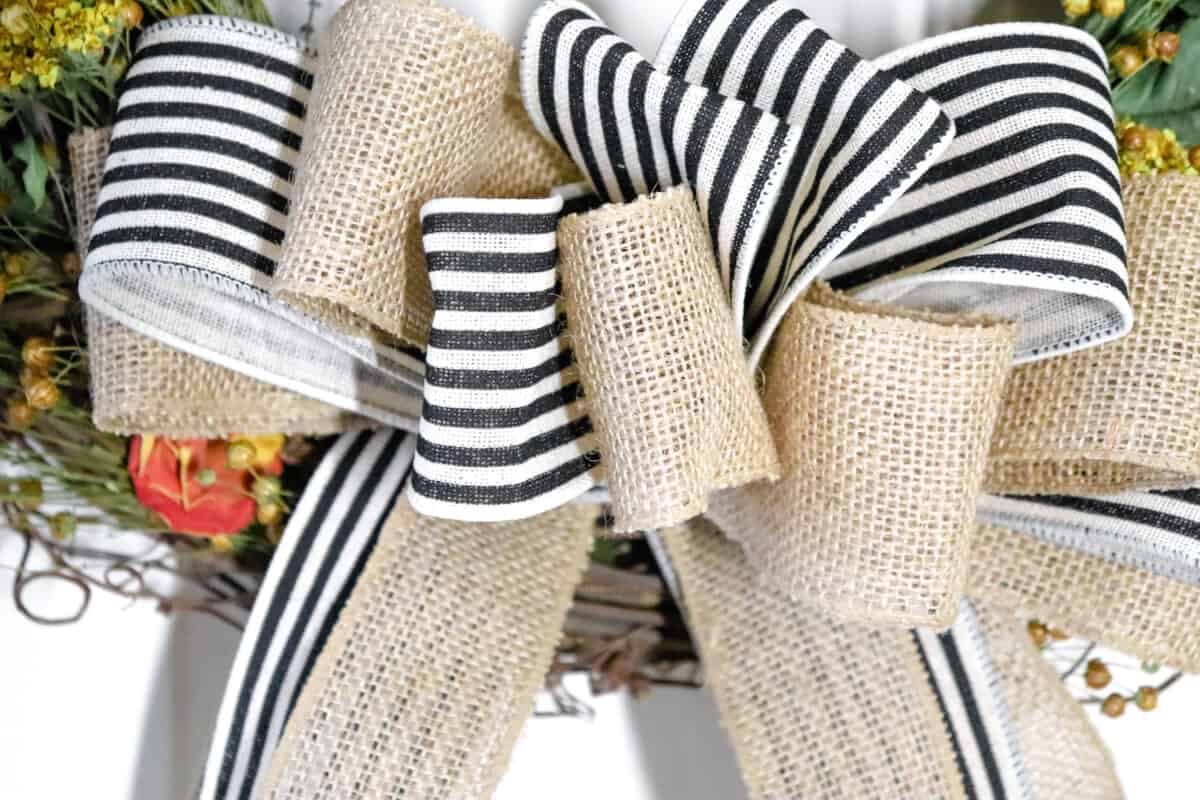

Tuck in more dried flowers around the bow.
Step 5
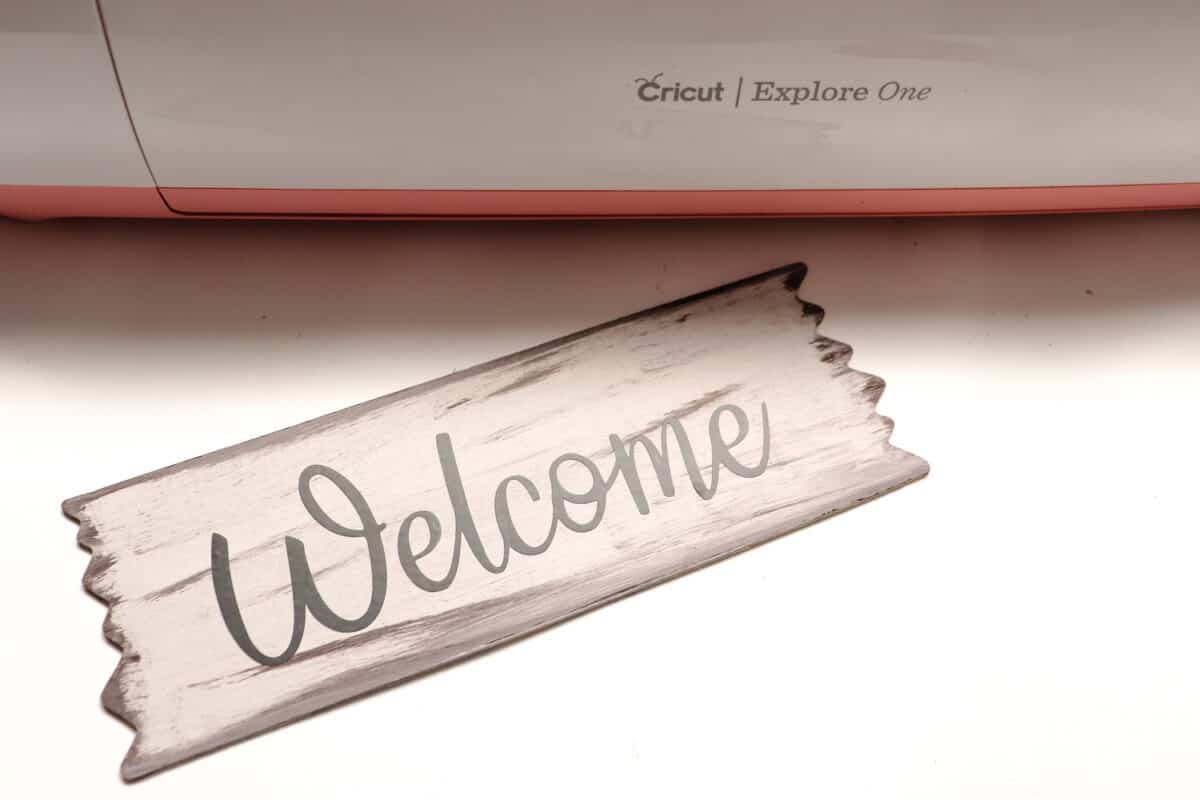
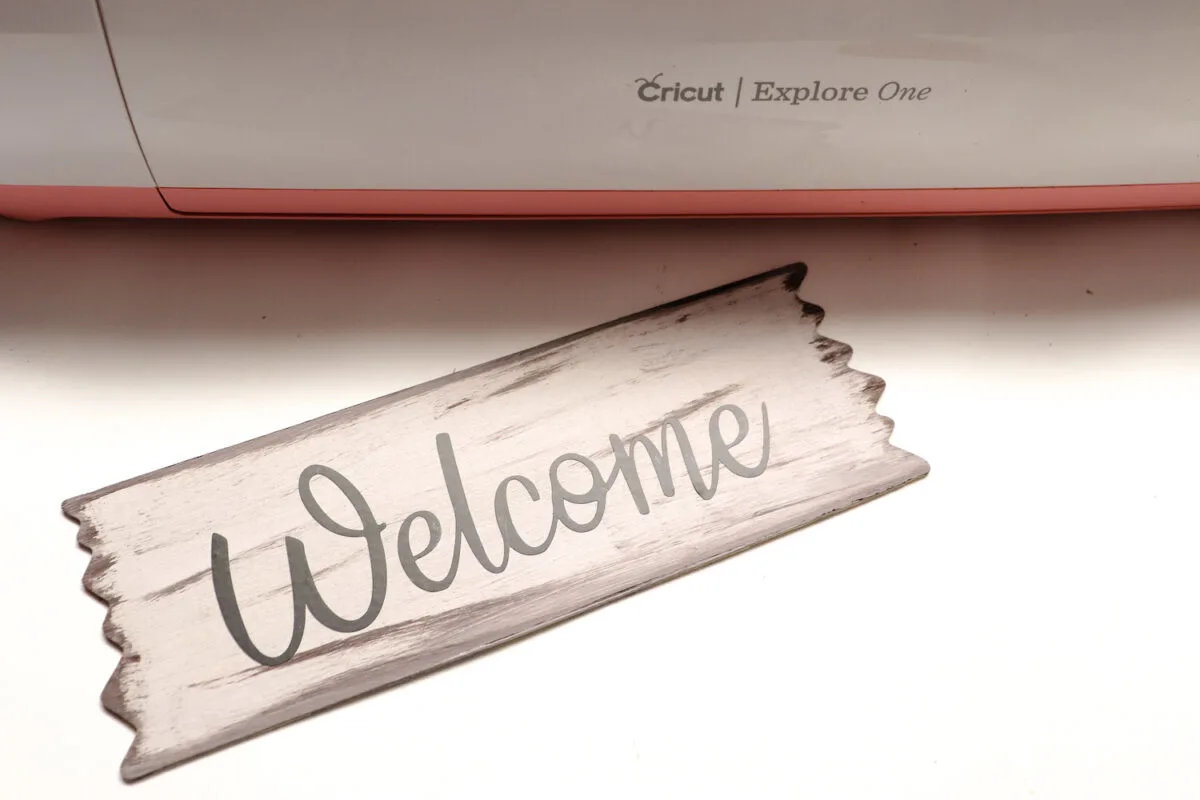
If you’d like to make a welcome banner for the wreath, paint an unfinished wood sign. I combined brown and white paints to make an off-white color with some pigments showing through.
You can choose whatever color that you like. Chalk paint works well, too.
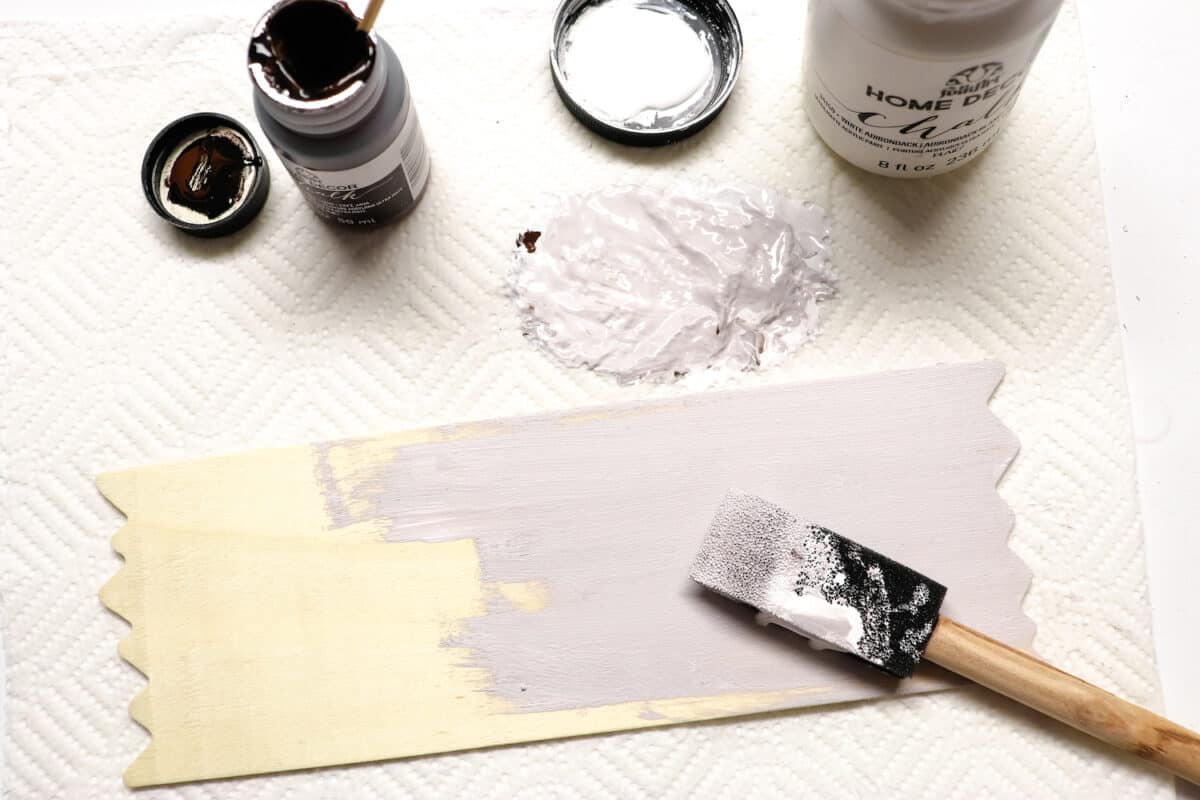

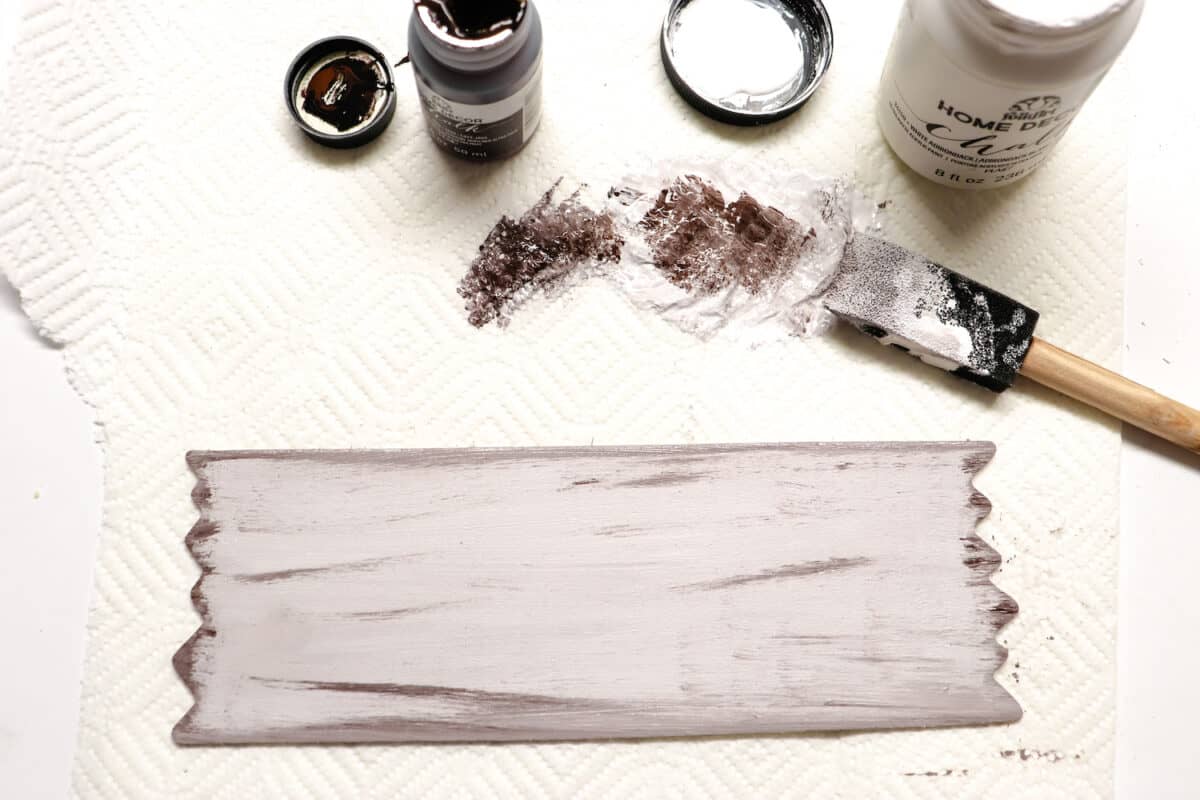
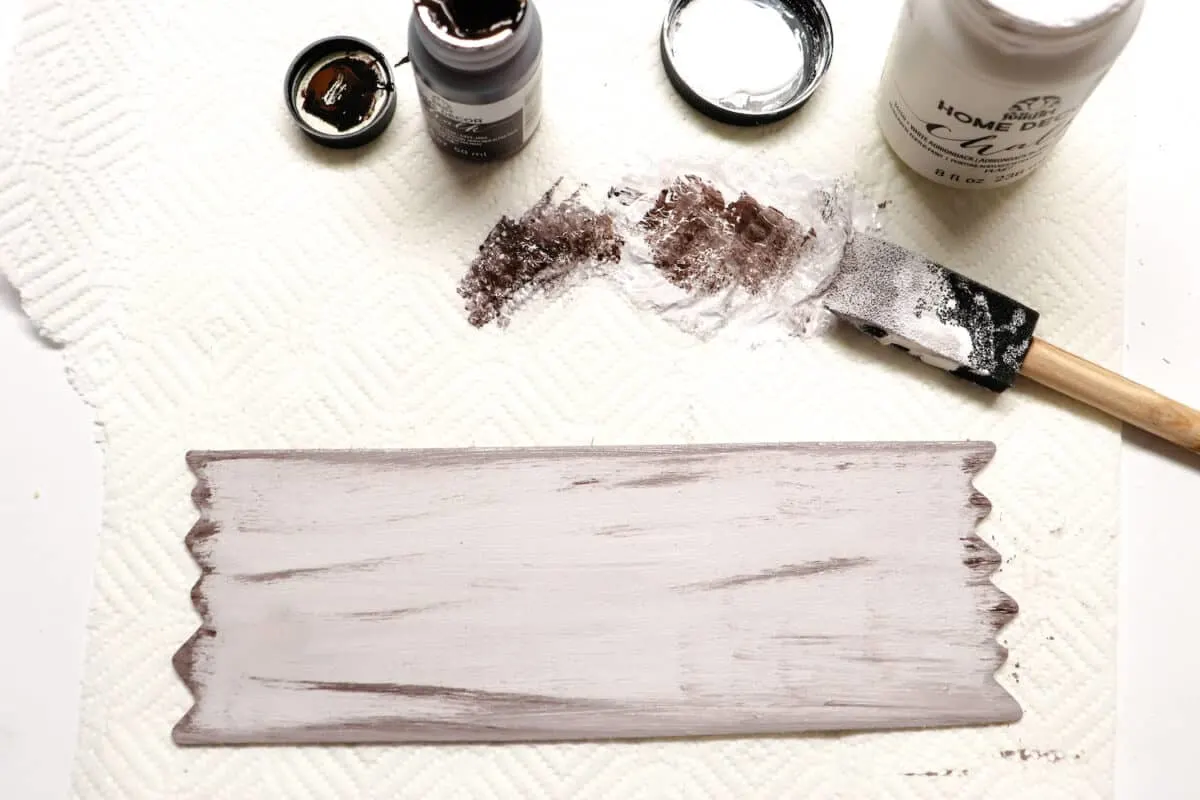
Make the wood sign look weathered and rustic by painting the edges with brown paint. Lightly drag brown paint in random places for a distressed look.
Step 6
Upload your Welcome SVG file to your Cricut. Cut and weed the vinyl.
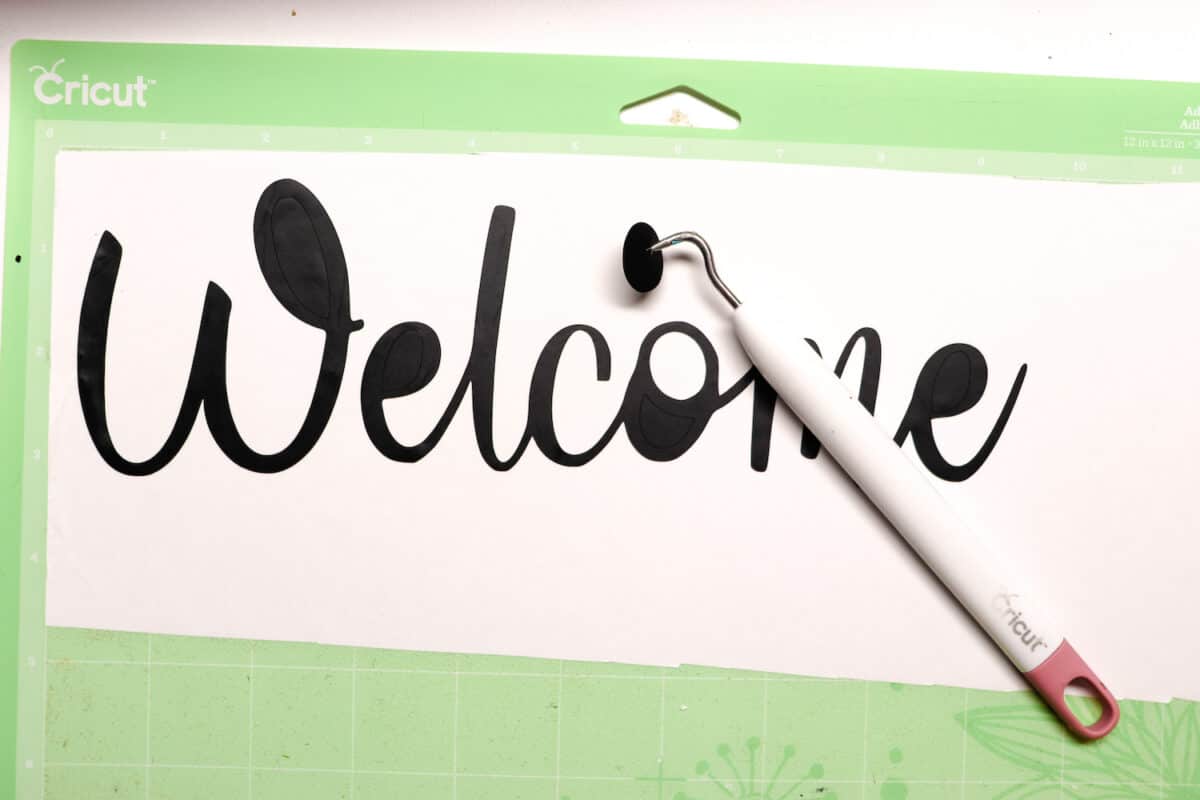

Apply transfer tape to the word. Center the vinyl transfer onto your painted sign and carefully smooth into place.
Step 7
Tuck the sign into the center of your wreath towards the back, behind the flowers. You might be able to keep it attached by tucking the edges into the grapevine. If not, you can hot glue the sign to the wreath in then back.


FAQs
Do I Need to Use a Grapevine Wreath?
A grapevine wreath is the easiest to use since you can tuck dried stems into it. However, you can use any wreath form you’d like. You would need to attach the dried florals with hot glue, floral wire, twine, push pins, etc.
What If I Don’t Have Any Floral Wire?
No problem! Make a wreath hanger out of extra ribbon or yarn. I also like to make a hanger out of strong fishing line so that it isn’t noticeable when hanging from a hook.
I’m No Good at Making Bows! What Else Can I Use?
You don’t have to add a bow to your wreath. But if you like the look, you can buy pre-made bows! These are often found in the floral department or wreath department of craft stores.
Ready made wreath bows are also available online. This burlap wreath bow looks a lot like the one that I made for this wreath!
How Long Will My Dried Flower Wreath Last?
Dried flower wreaths can last for months or years with proper care. Factors that will affect how long your wreath will stay pretty include humidity level, wind, rain or moisture, pests that eat the dried flowers, and proper storage.
Most dried flower wreaths will last an entire season, which is several months long. If you hang your wreath indoors, it will last much longer.
A preserving spray could help extend then life of the dried flowers, especially if they have sentimental value and you want to keep them as long as possible.
Want to save this project for later? Be sure to Pin It on Pinterest!
See more of our DIY wreath ideas to decorate your front door all year long.
