


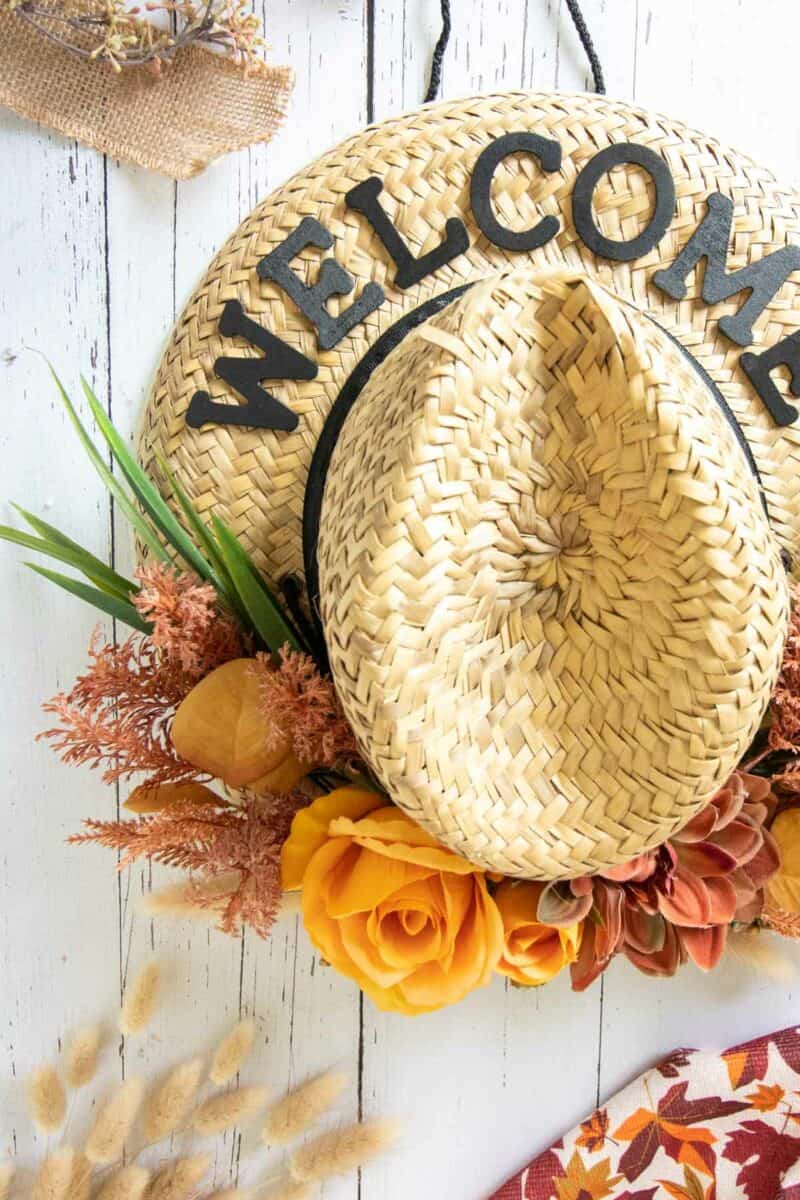
Our cowboy hat wreath is the perfect way to happily greet guests to your door!

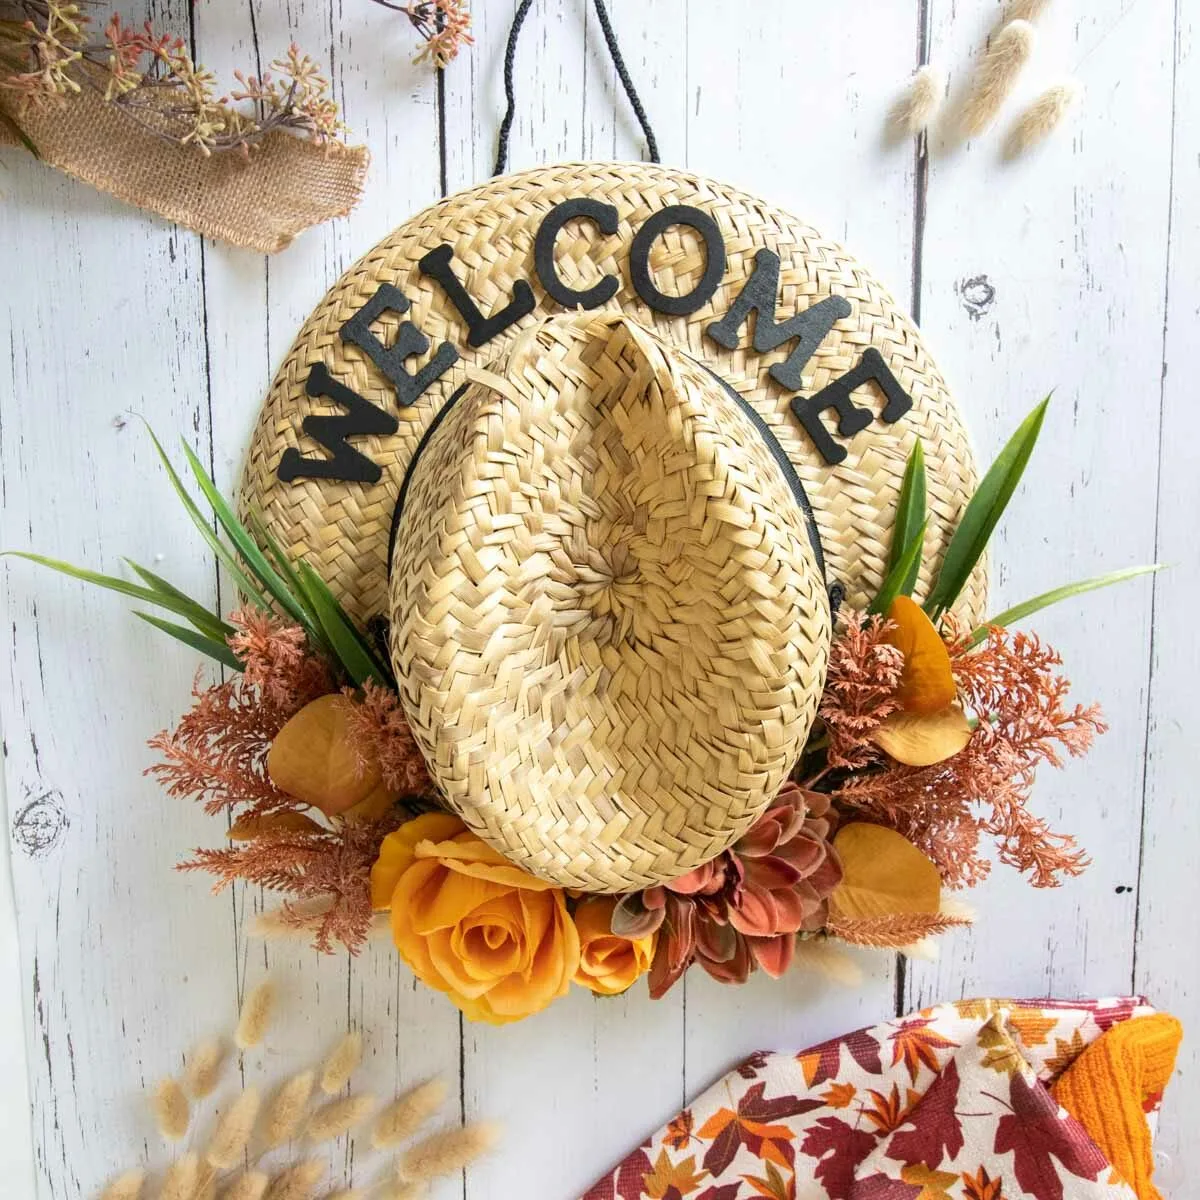
I used a wicker version of a classic cowboy hat style to make this Welcome wreath. Using a hat as a wreath form is an easy way to make your own wreath. You don’t have to worry about how to attach flowers or decorations to a wire wreath form. Instead, you simply glue onto the hat.
I also really like how three dimensional this wreath is. While most wreaths lay flat on the door, this wreath really stands out. It makes a big statement, and aren’t we all looking at that for a wreath?
This hat would also look cute hanging on the back of a chair, on a garden rail or on a fence post. The possibilities are endless, since it will look great anywhere you would normally hang a hat.

The flowers and pampas grass that I used in this wreath are the same supplies that I used for my DIY square Autumn wreath. Since you get a two-pack of floral bouquets, and more than enough pampas grass, you can make both stunning wreaths.

If you love repurposing items, be sure to see what I did with a wicker hat, too! I turned a hat into a wicker basket and a boho-style vase.
How to Make a Straw Cowboy Hat Wreath
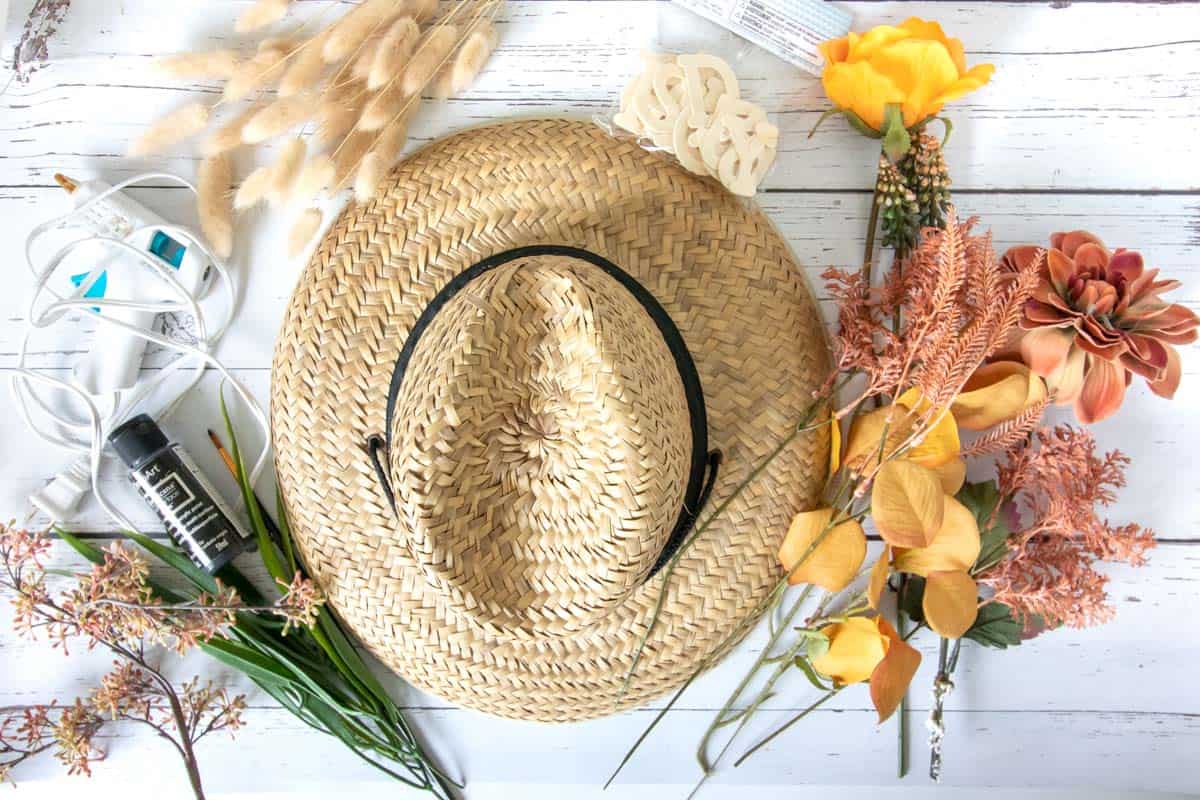
Materials
- Wicker hat (cowboy hat style), approximately 14” wide x 16” long
- 1” wide ribbon in black (or use the band that’s already on the hat)
- 1.75” high wood letters to spell out “WELCOME”
- Faux Flowers (I used this 2 pack of Fall Flowers)
- Natural Dried Lagurus (also known as Pampas grass)
- Scissors or Wire Cutters
- Multi-surface paint in black (I used DecoArt Americana Multi-Surface Satin in Black Tie)
- Paint brush
- Hot glue gun and clear glue sticks

Directions
Step 1
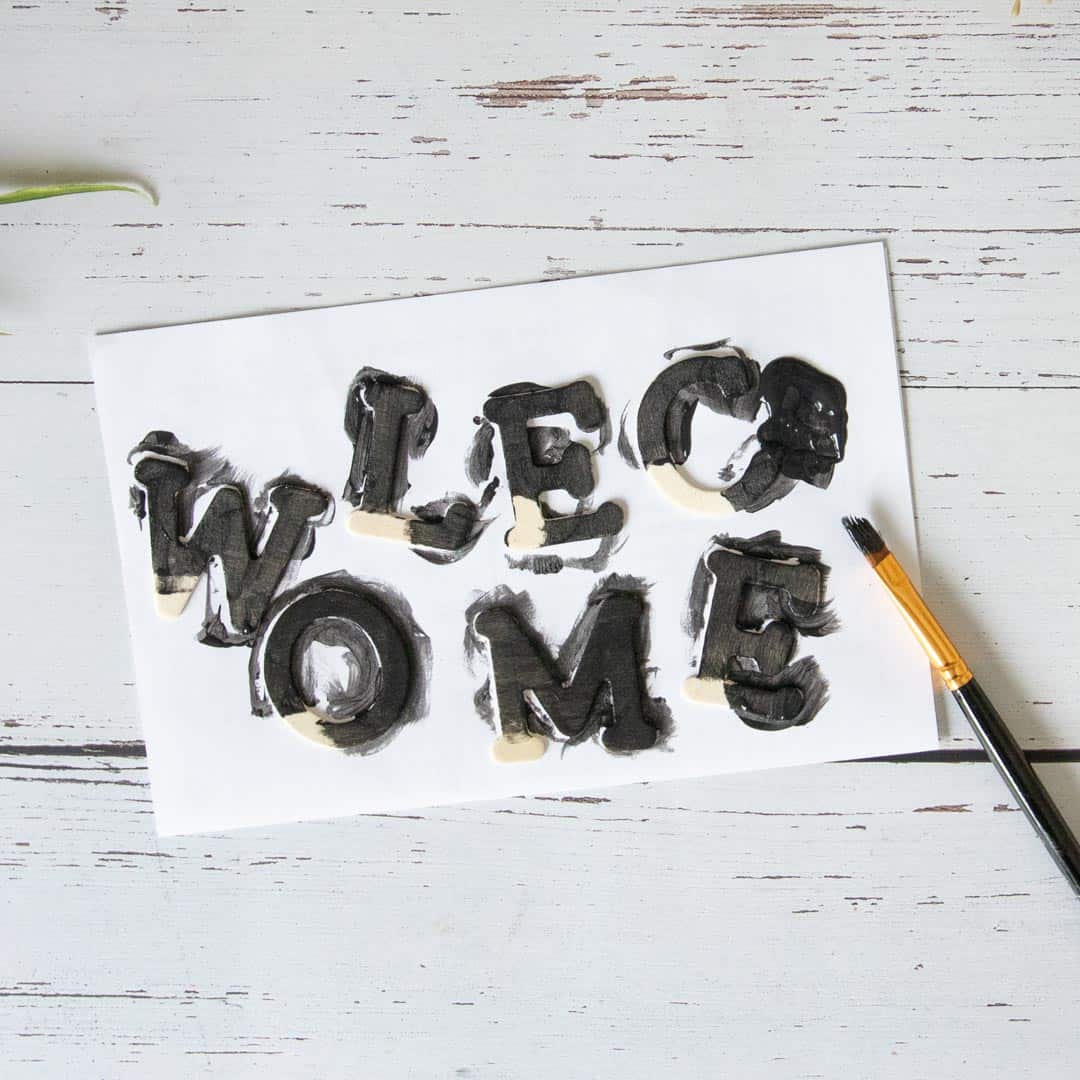
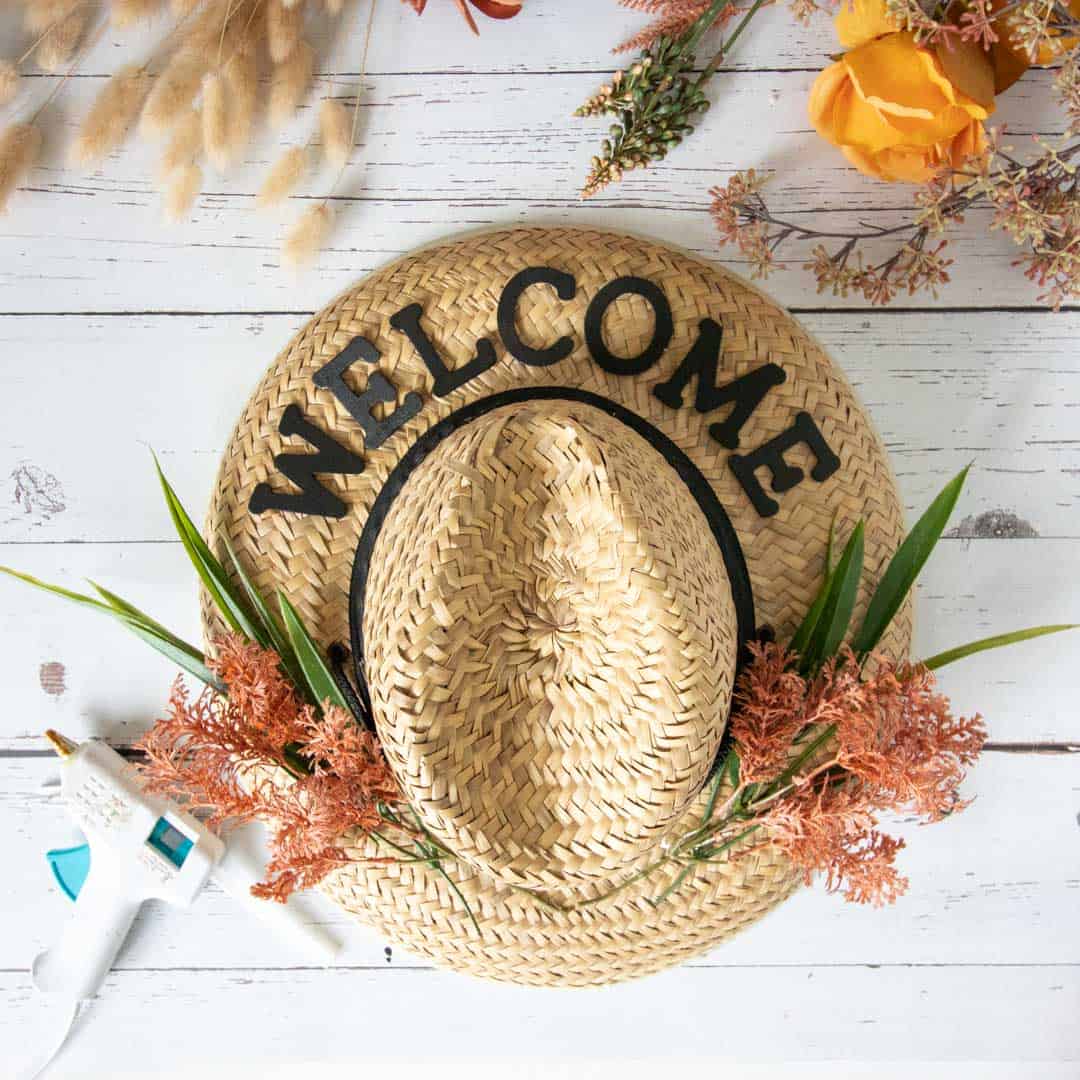
Paint the top surface and sides of the wood letters in black paint. Let the paint dry fully.


Step 2
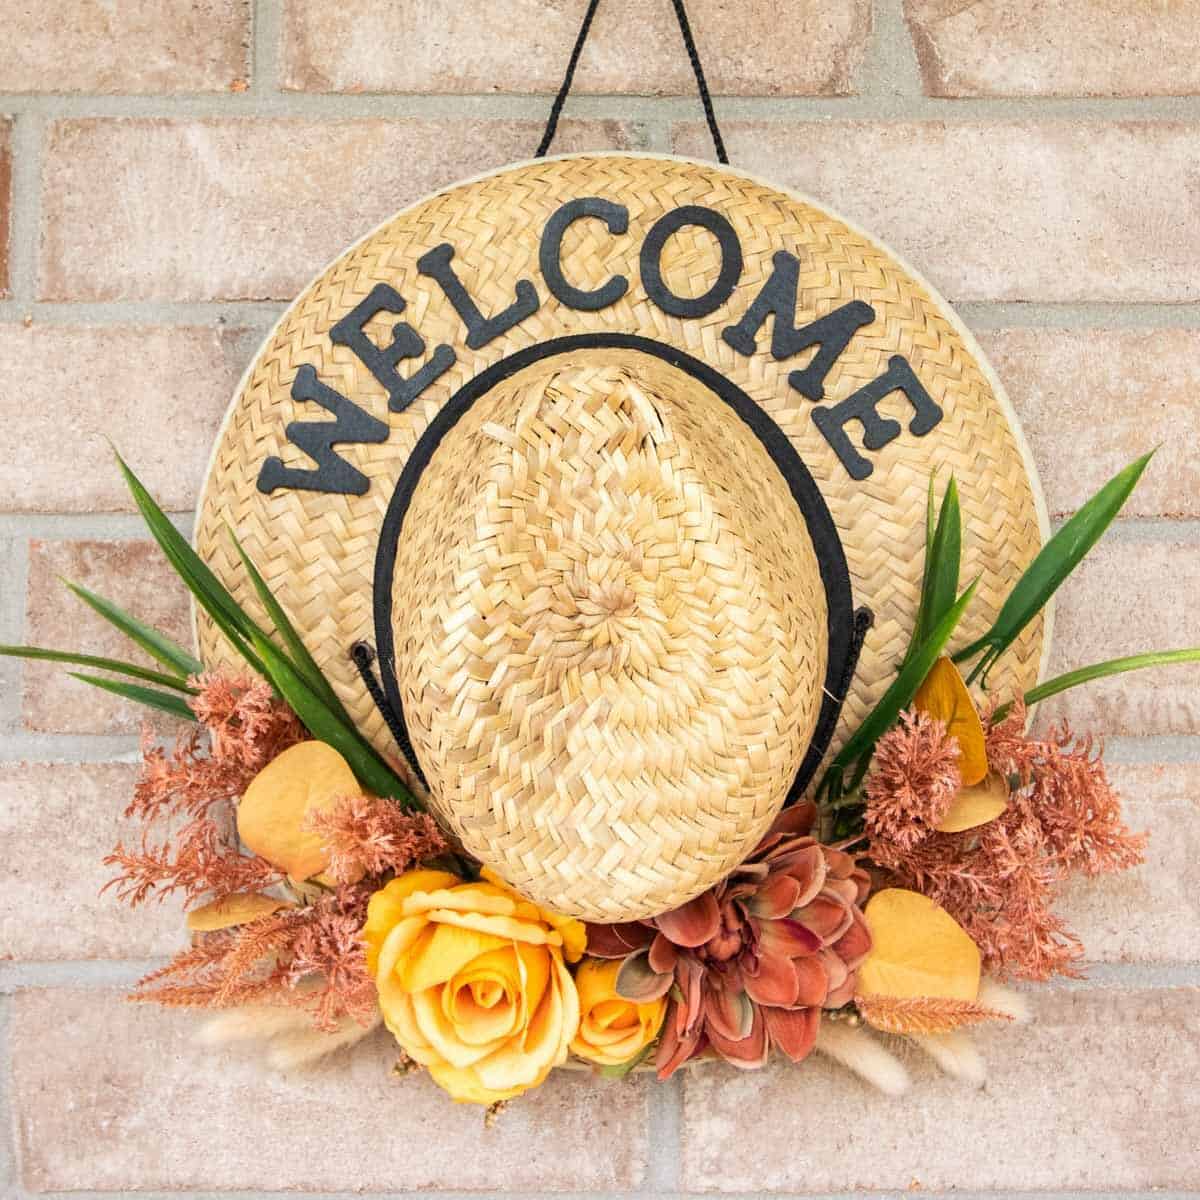
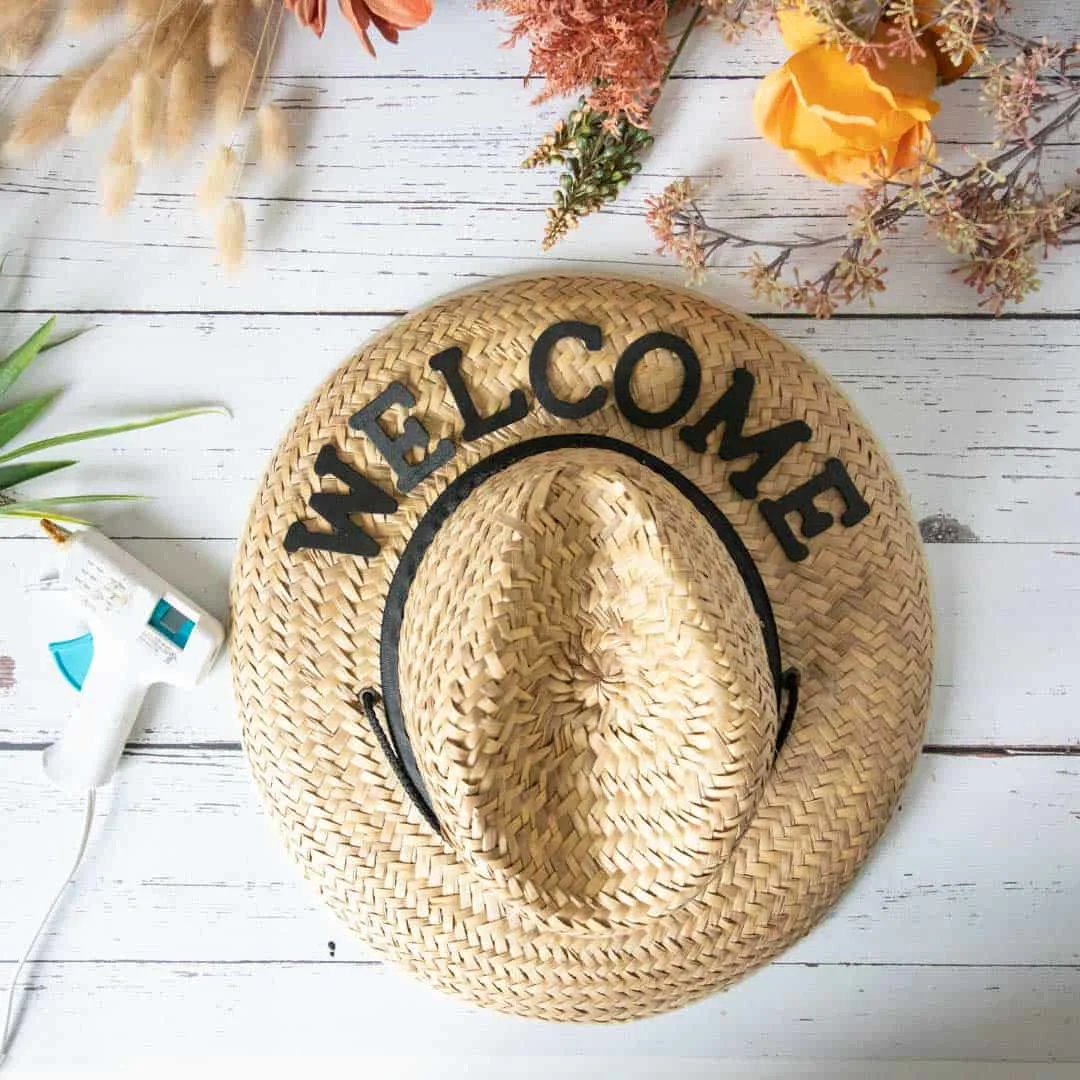
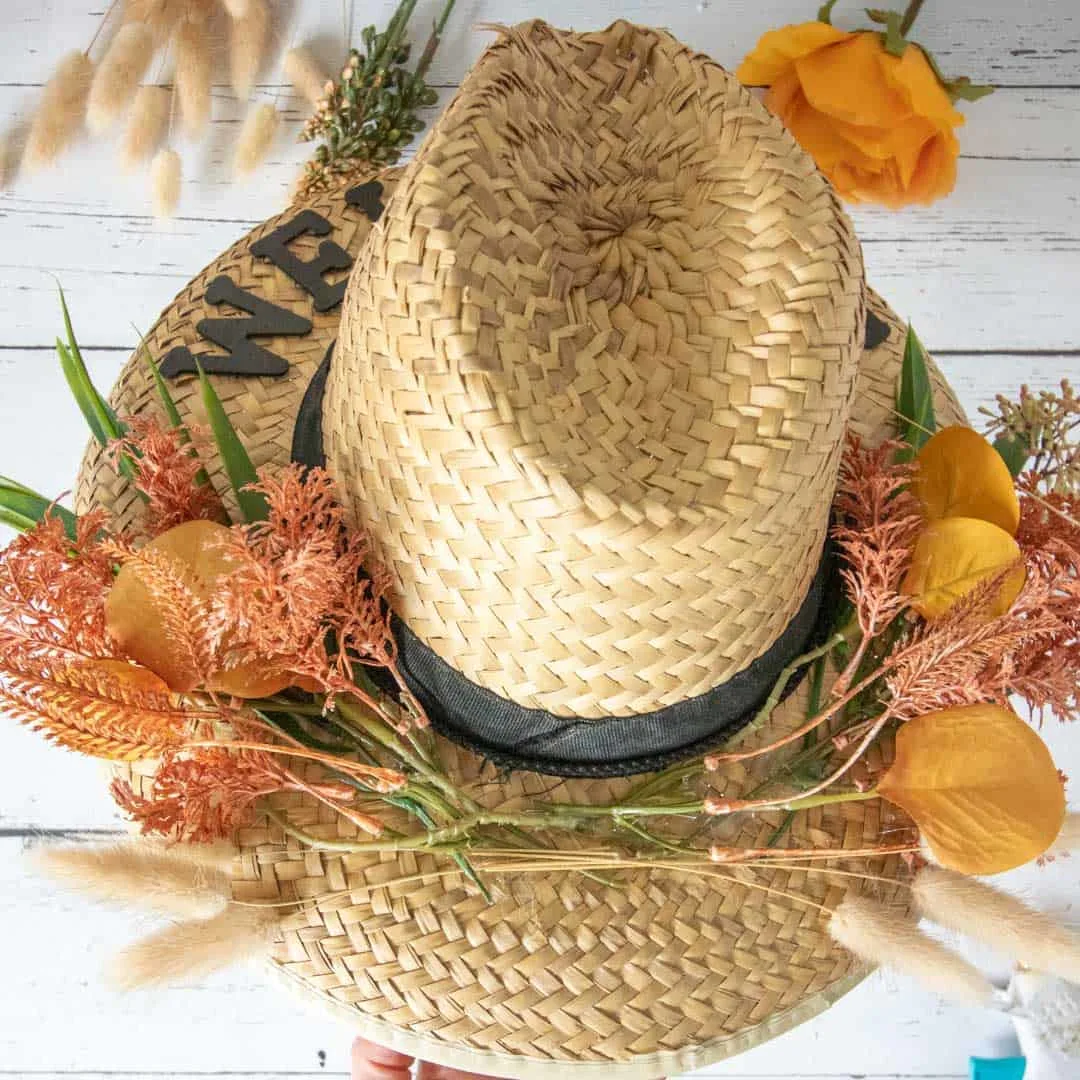
If you want to change the ribbon around the brim of the hat, now is the time to do it. You can cut off any old brim that is on the hat, and glue your ribbon around the base. (A picture of the brim is below on my finished wreath.)
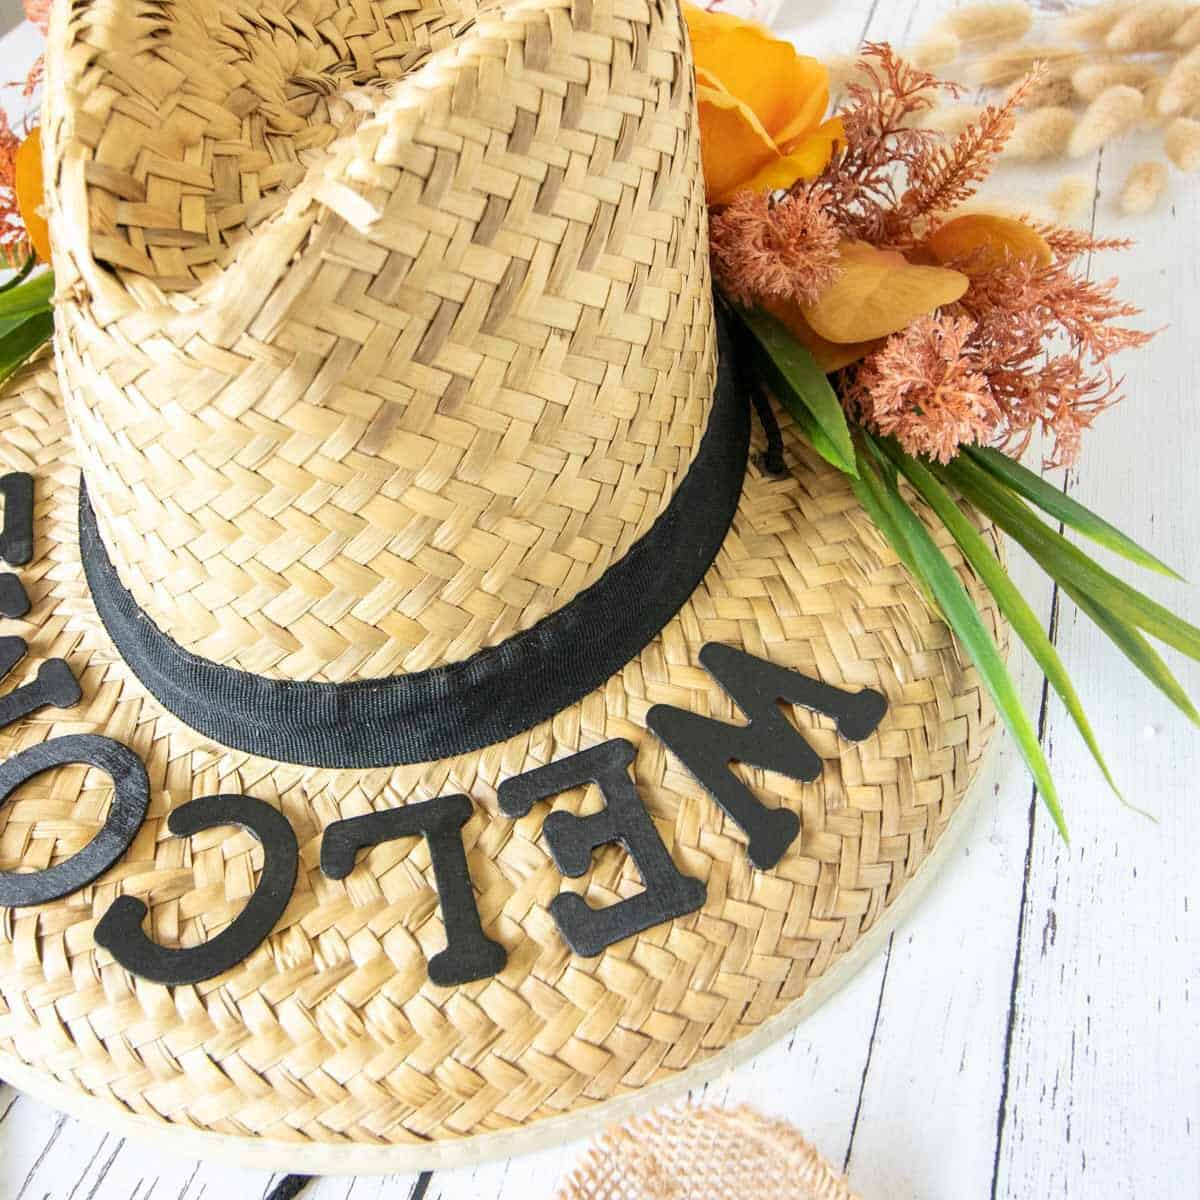

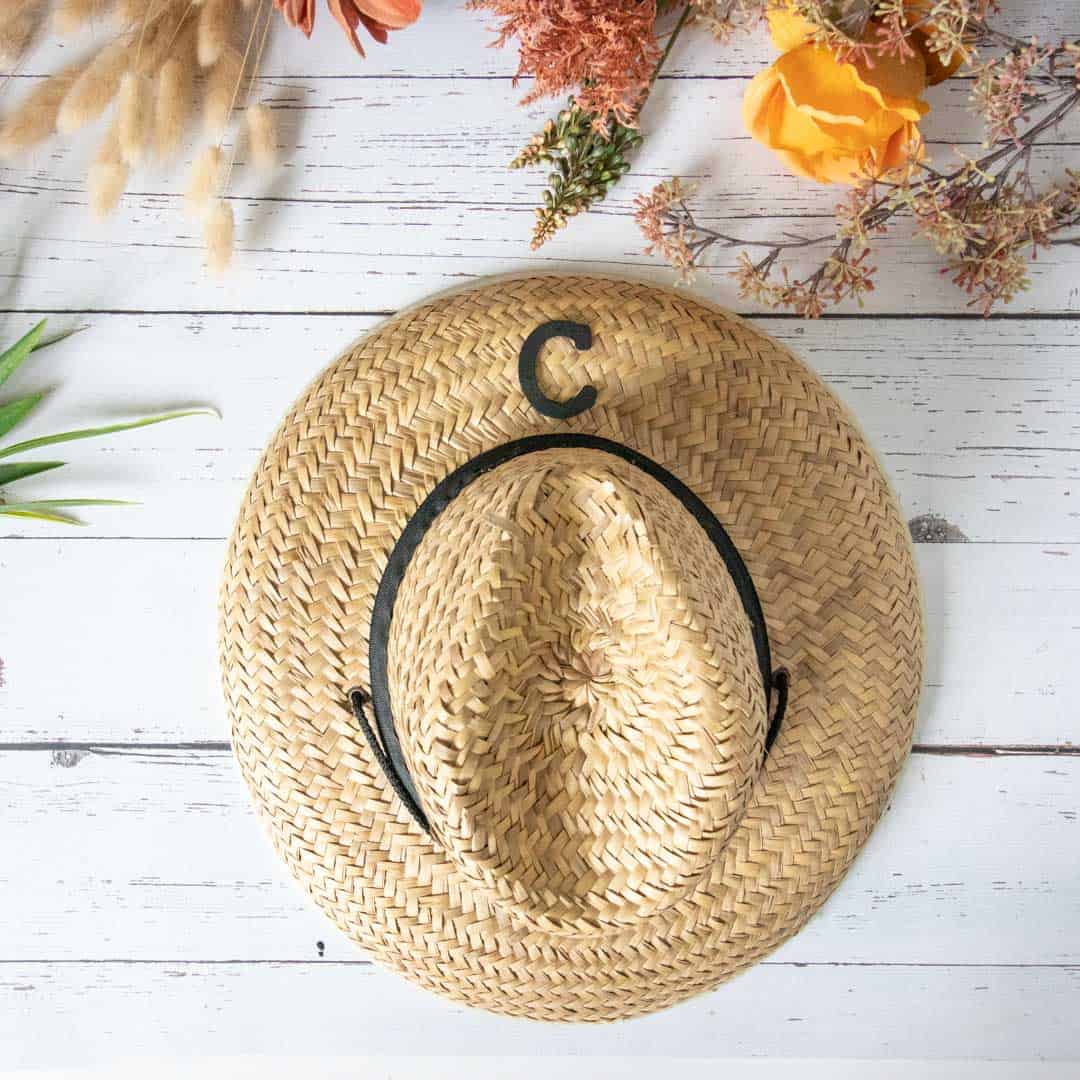
Place the wood letters on the upper half of the straw hat, spacing them evenly apart.
Start with the letter “C” at the very top of the hat (probably just above the indent of the crown of the hat) and work outwards to each side from there.

Hot glue the letters directly on to the hat.

Step 3
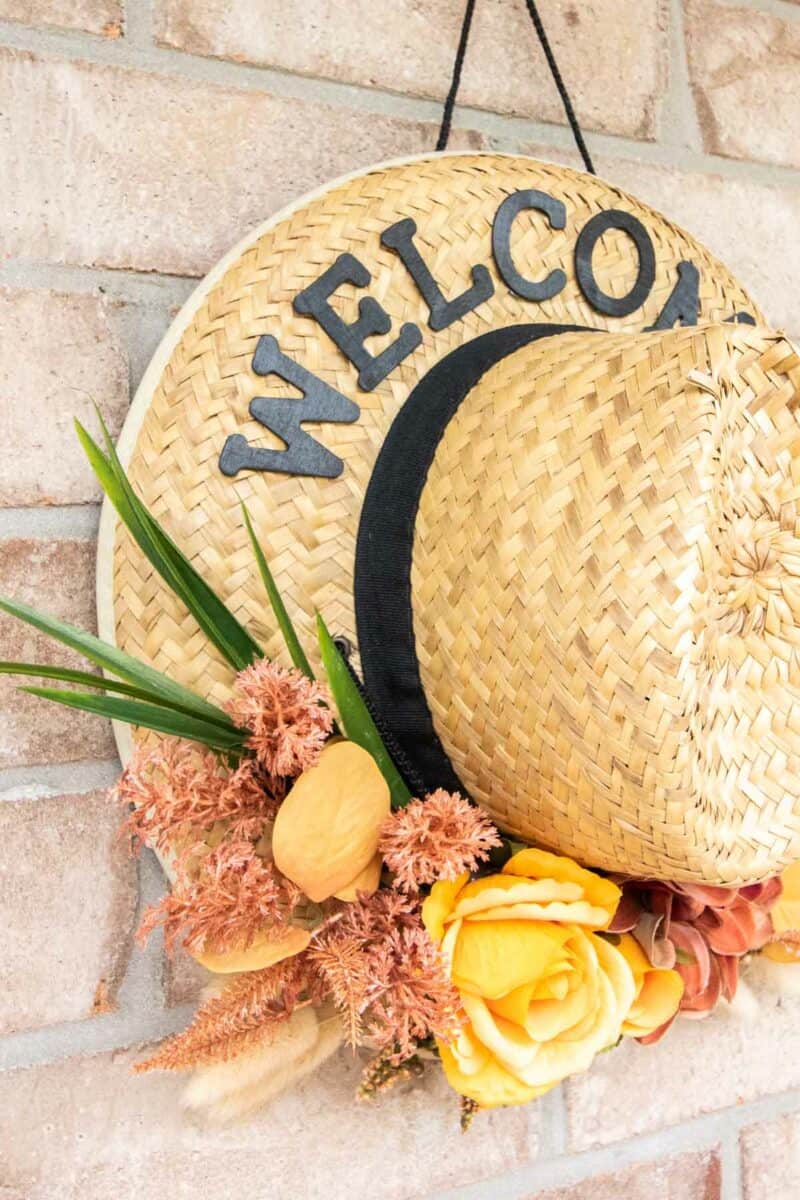
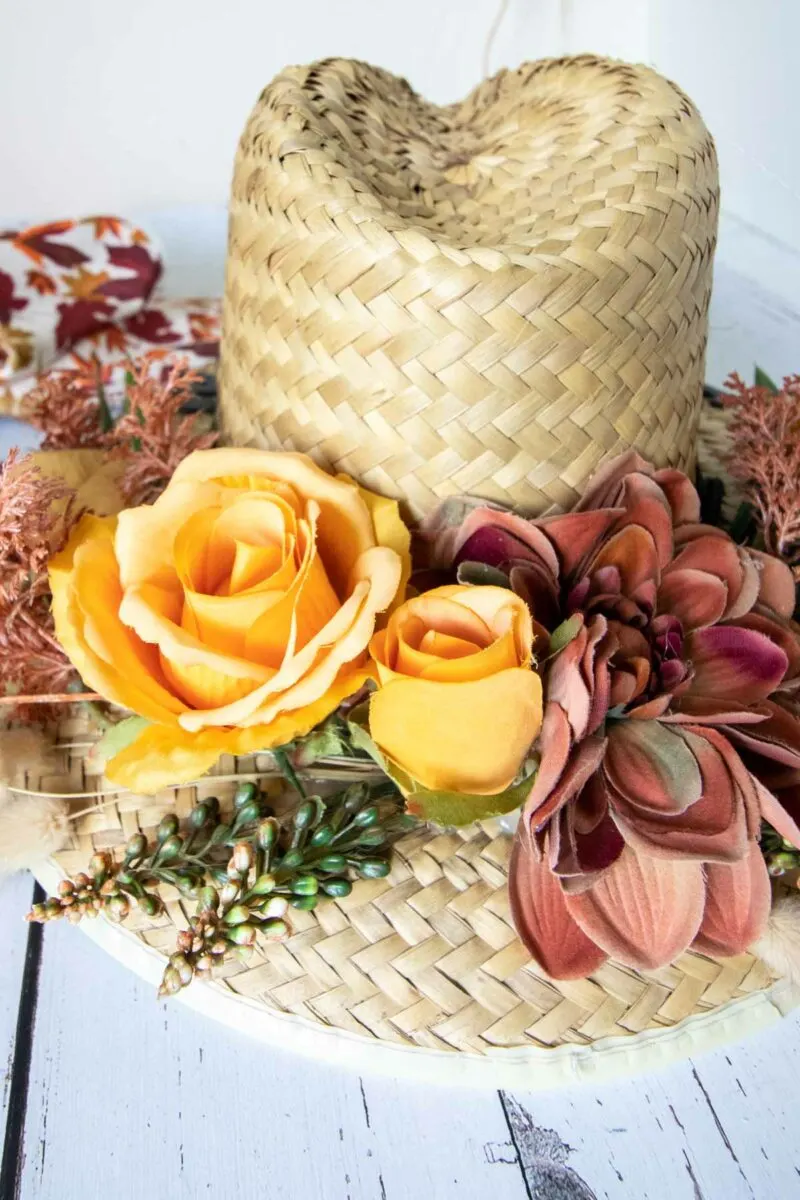
Begin placing the faux foliage around the lower half of the hat.
Start with the thicker leafy branches. Balance them on both sides and have the stems meet in the middle. Glue them in place.


Layer on the other colored foliage pieces, balancing them on both sides. Cut the stems shorter as needed to meet the ends in the middle.

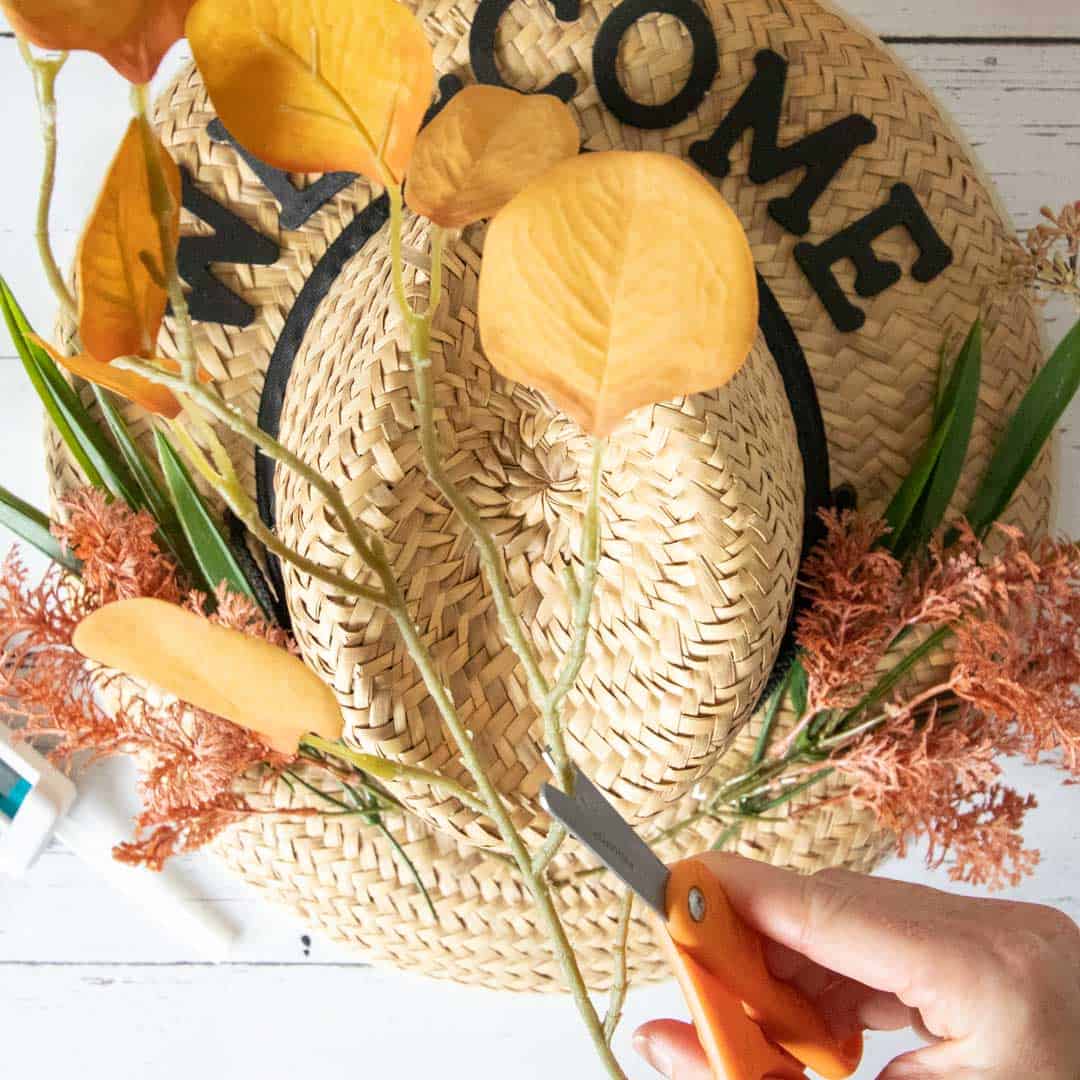

Insert and glue 3 pieces of pampas grass on either side.

Continue layering on the remaining faux foliage until you get closer to the center.
Step 4
Cut the stems off the roses and large floral mum completely.
Glue the back side of the florals and stick them to the straw hat at the bottom between the foliage.
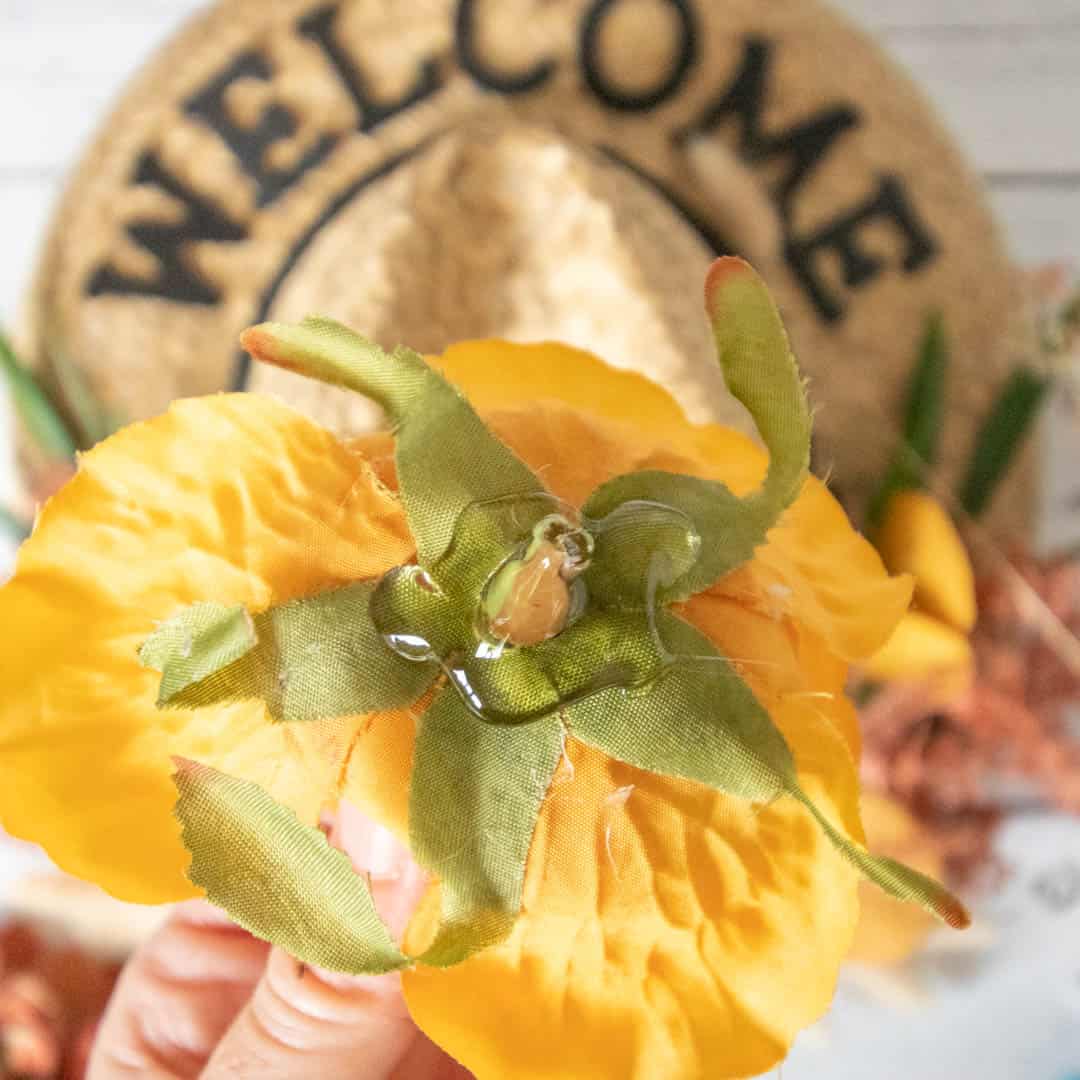

You will want to use these large flowers to cover any of the stems showing on the bottom of the hat, or fill in any empty spaces.

If there is a neck tie attached to the hat (as there was on mine), it might be long enough to use as a hanger for the wreath.
If there wasn’t a neck tie, you can glue ribbon to the back of the brim underneath the Welcome letters to be a wreath hanger.
Or, you can just hang the hat on a large hook.

Pin This Idea to Save for Later!


This is just one of our easy DIY Wreaths. Be sure to see these ideas next:
- easy Sunflower Clothespin Wreath
- farmhouse pool noodle wreath
- mini tin tile pumpkin wreath
- DIY bundt pan wreath
