


This DIY wooden gift tag sign is the perfect decoration to add to your mantel, or to tuck beside presents underneath the Christmas tree. The simple wood working project is easy to make and doesn’t have to require any power tools.
There are so many places you could display this cute Christmas sign in your home. If you add a gift tag ribbon, you could even hang this on the wall. It would be great in a vignette on the front porch, in your living room, or anywhere you want to add a touch of magic.


The easy to make sign is also a great gift, too! It’s perfect as a hostess gift for holiday parties.
If you like simple wood working signs (that don’t use a lot of power tools!), you might also like my Home for the Holidays Sign, this farmhouse style hanging wood scroll sign, or these cute wooden shutters decorated with buffalo plaid mittens.
This farmhouse rustic Blessed Christmas Tree Sign doesn’t require wood working. It uses Dollar Tree supplies, instead!
All of my projects have free printable templates or SVG files to use.
Helpful Tips for Making This Wooden Sign
- I bought my craft wood at Hobby Lobby. You can buy craft wood – which is thinner than traditional lumber – at craft stores and even some hardware stores.
- Instead of staining, you could paint the wood. It would be pretty in a red or green color.
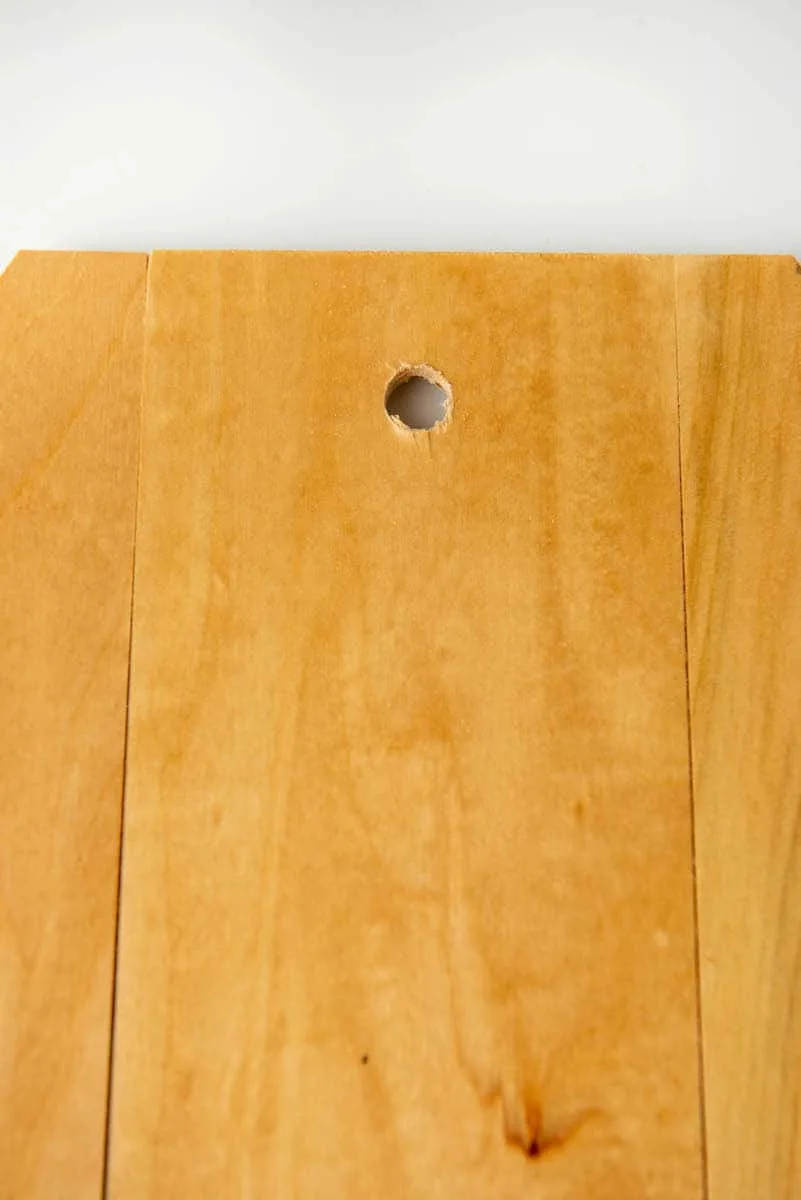
- I used a drill for adding a hole to the top of the sign. If you don’t want to use power tools, you could simply glue a hang tag to the back of the wood, instead of drilling. Or don’t add the string.
- While I used a craft knife to cut the thin wood, you could use a table saw or a hand saw.
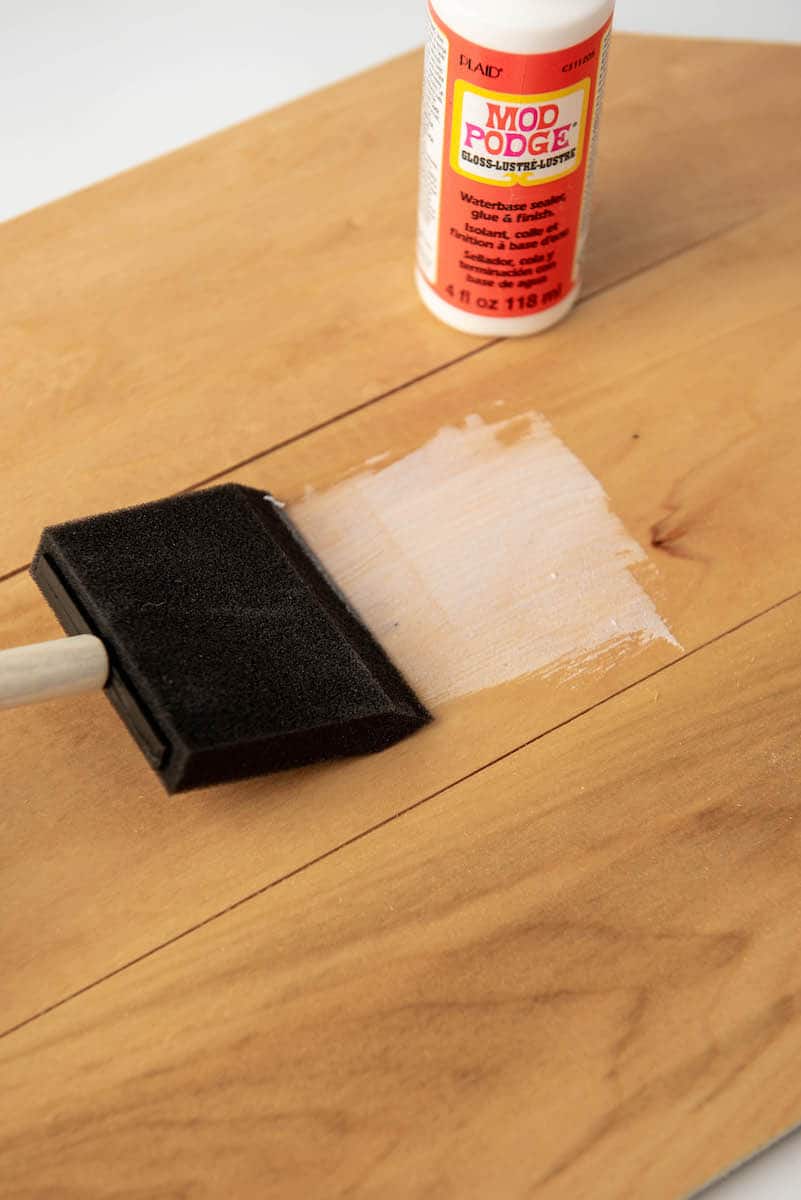
- Mod Podge will give the wood the grit and texture needed for the vinyl to adhere. Some craft wood is very smooth, so the Mod Podge can help.
- If you have trouble removing the transfer paper from the vinyl on the wood, a blow dryer can help.
- Instead of a scraper tool, you could use an old gift card to smooth the vinyl.


If you love pretty gift tags, be sure to see my Christmas popcorn gift tags for easy gifts in a jar!
And you will definitely want to get one of these 9 Free Printable Gift Tag Designs!
How to Make a Large Wooden Christmas Gift Tag Sign
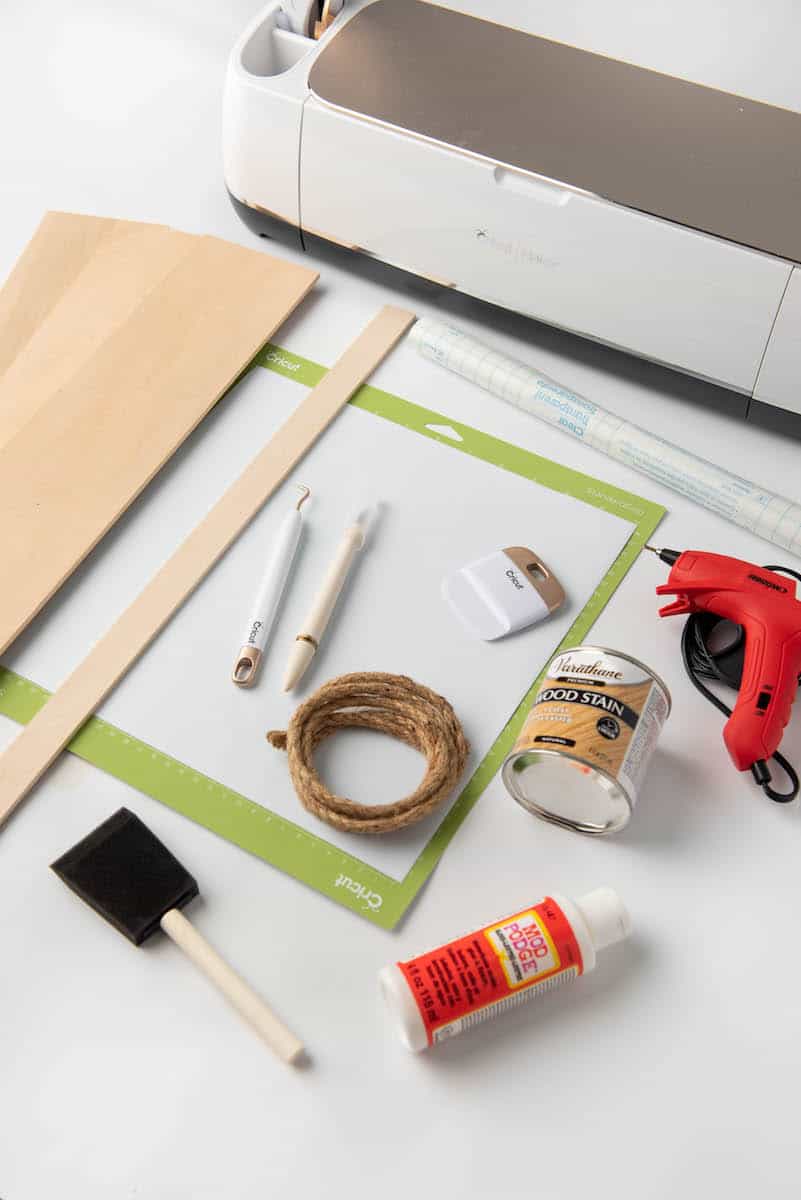
Supplies
- Free Believe in the Magic of Christmas SVG file
- (3) ⅜” x 4 x 18” wood pieces (Face)
- (2) ⅜” x 1” x 12 inches wood pieces (Back Support)
- Wood Craft Knife or Utility Knife
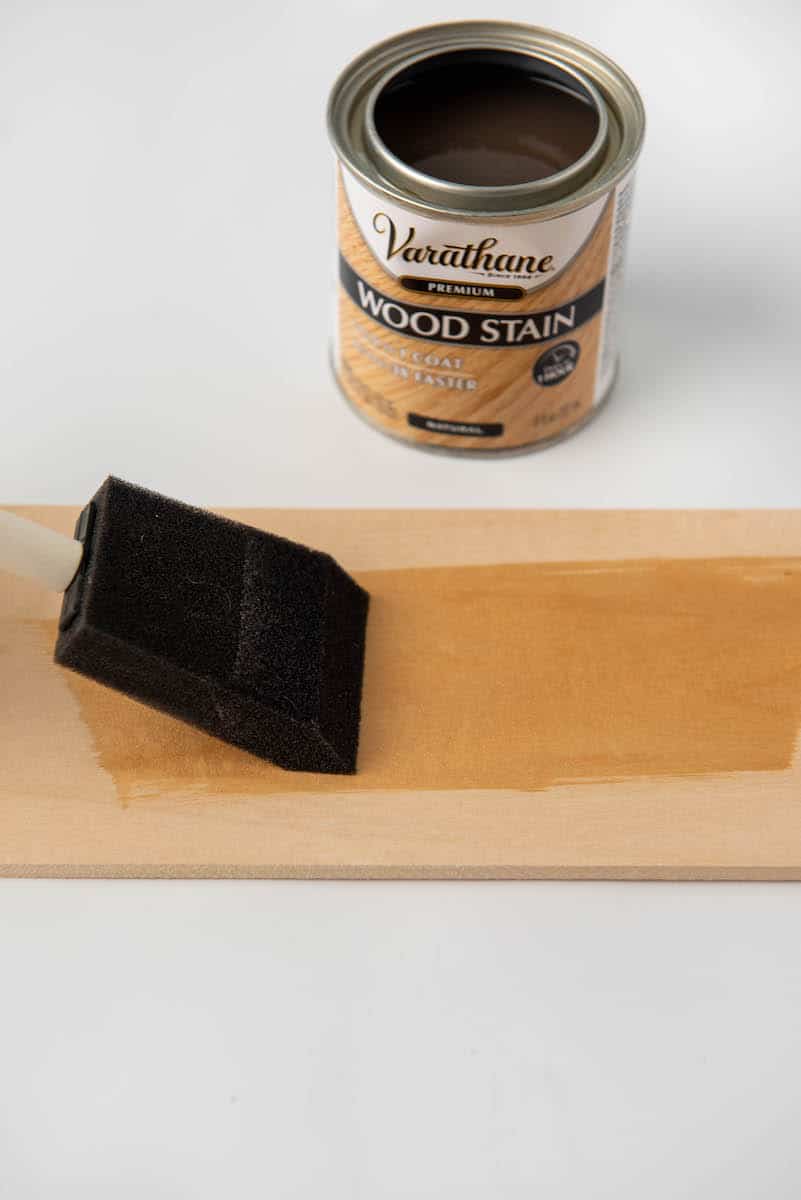
- Stain (I used Varathane Premium Natural wood stain)
- Mod Podge
- Sponge brush or paint brush
- Hot Glue Gun
- Thick Jute String
- Drill (Optional)
- Cricut or other cutting machine
- Blue or Green Grip Mat
- Weeding Tool
- Scraper Tool
- Oracle 651 Vinyl (White)
- Transfer Tape
- Christmas floral stem

Directions
Step 1
On the face boards, cut the outside corners on a diagonal. Cut one inch from the inside corner and 14 inches from the bottom of the sign. Cut is from the inside to the outside of the sign on both sides.


Step 2
Stain or paint the wood. For a lighter color, wipe off the stain quickly. For a darker color, wait a little bit before wiping off the stain.

Step 3
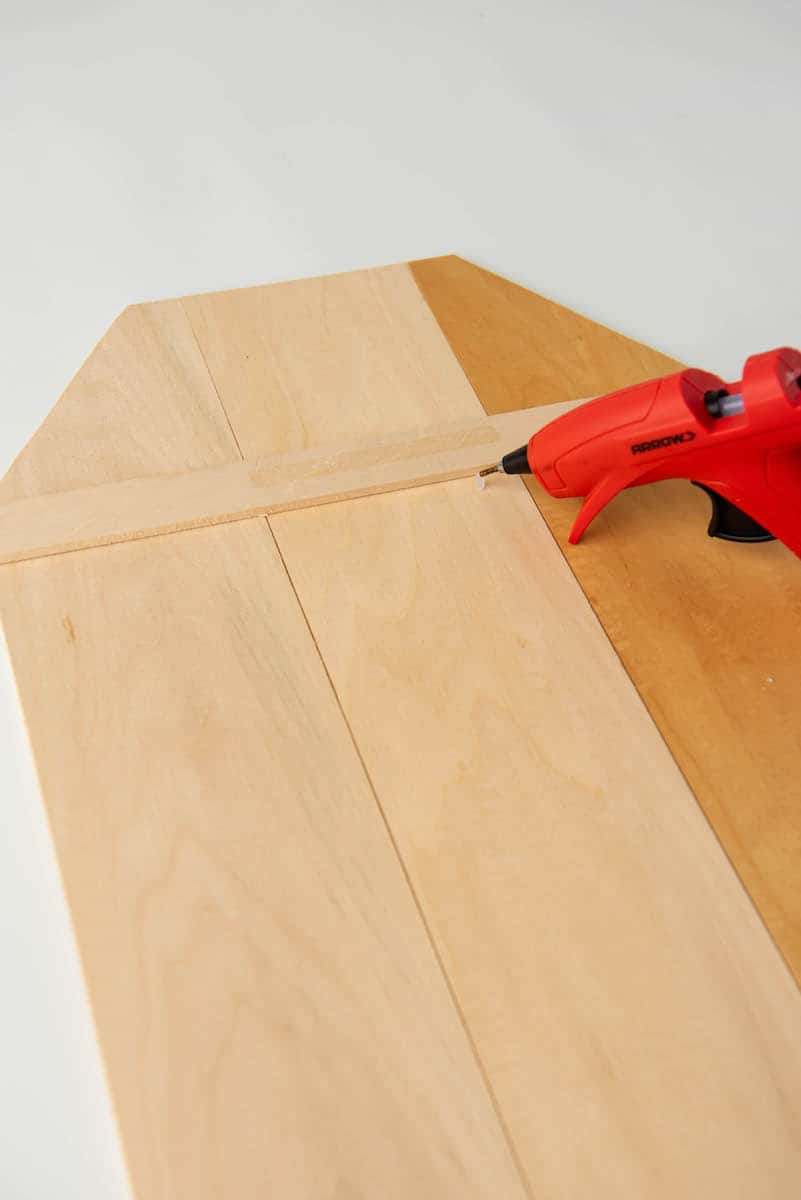
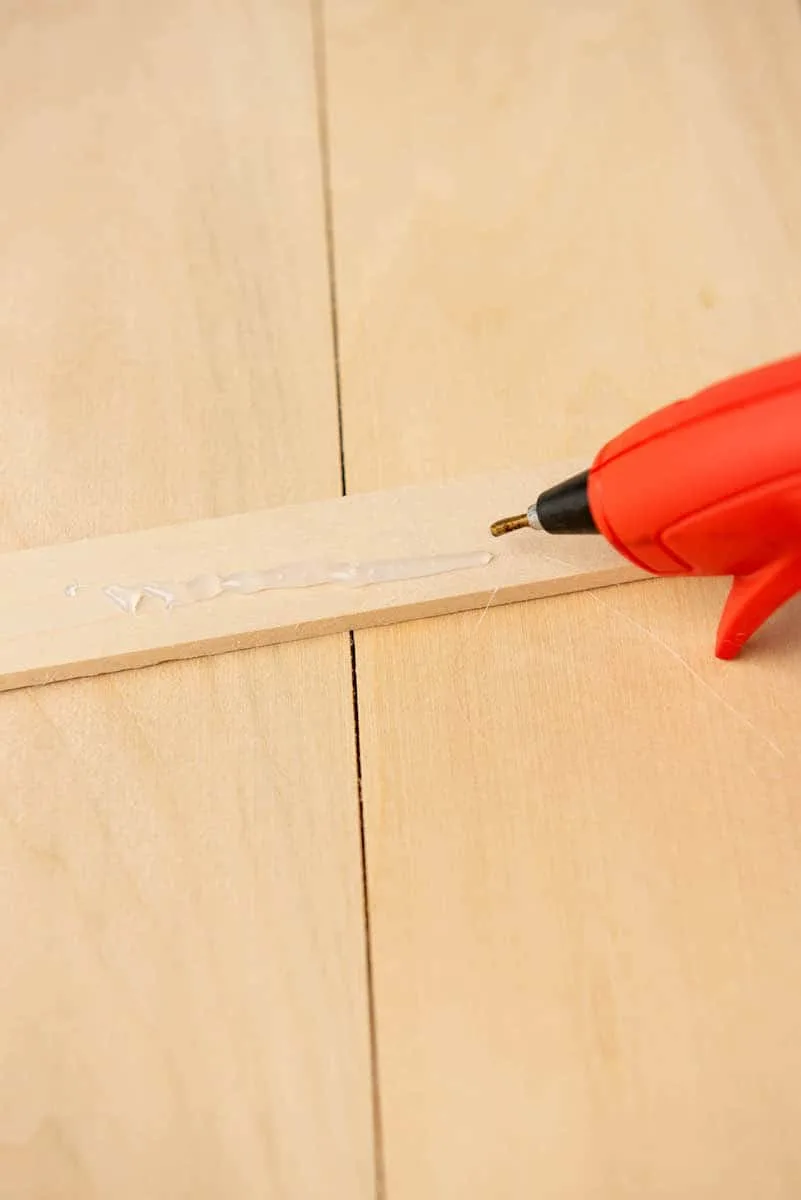
Place face pieces of wood flat on a surface, with edges touching together. Glue the back support pieces to the back of the face pieces of wood, both on the top and the bottom of the wood tag. Make sure the edges match up and there is no overlap.
I glued the back support piece about 4 inches from the top, and about 2 inches above the bottom for support.


Step 4
If you’d like to drill a hole in the sign for a hanger, find the center of the gift tag. Drill a hole in the center large enough to fit the twine or ribbon you’d be using.

Step 5
Apply a smooth, thin layer of Mod Podge with a sponge brush. Be sure that each stroke goes in the same direction each time. Allow to dry completely before applying vinyl in the next step, otherwise the vinyl won’t transfer well.
Step 6
Load the SVG files into Design Space.


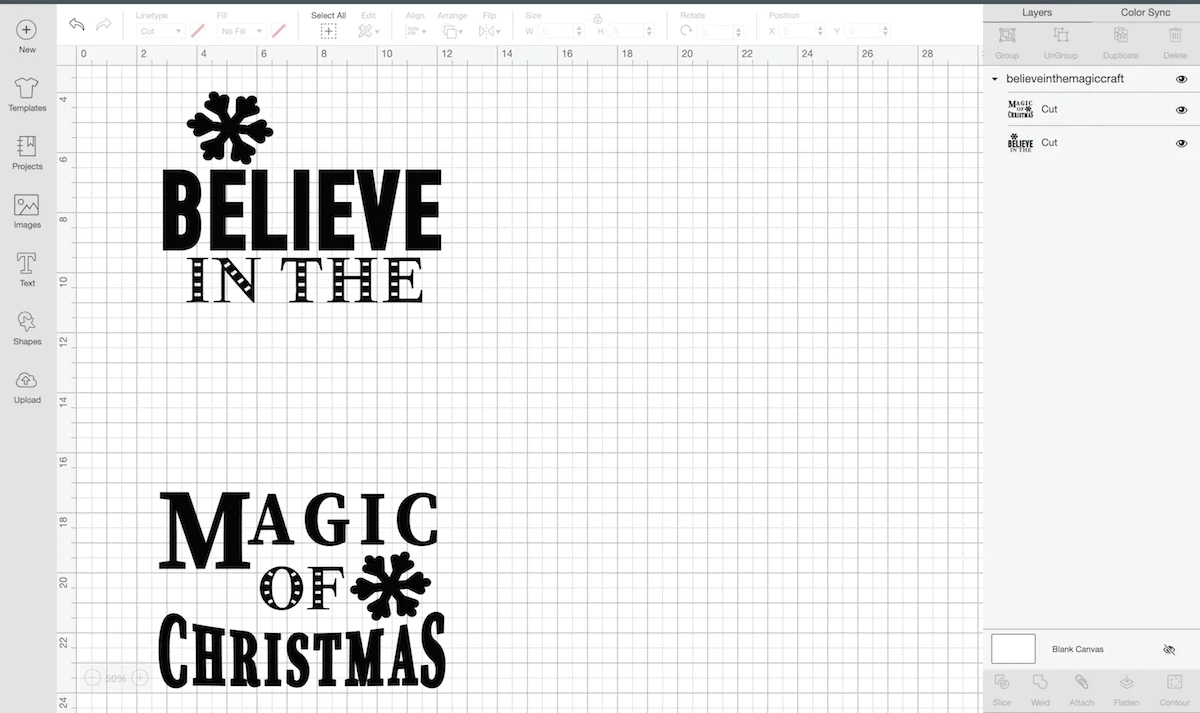
Hit the Make It button.
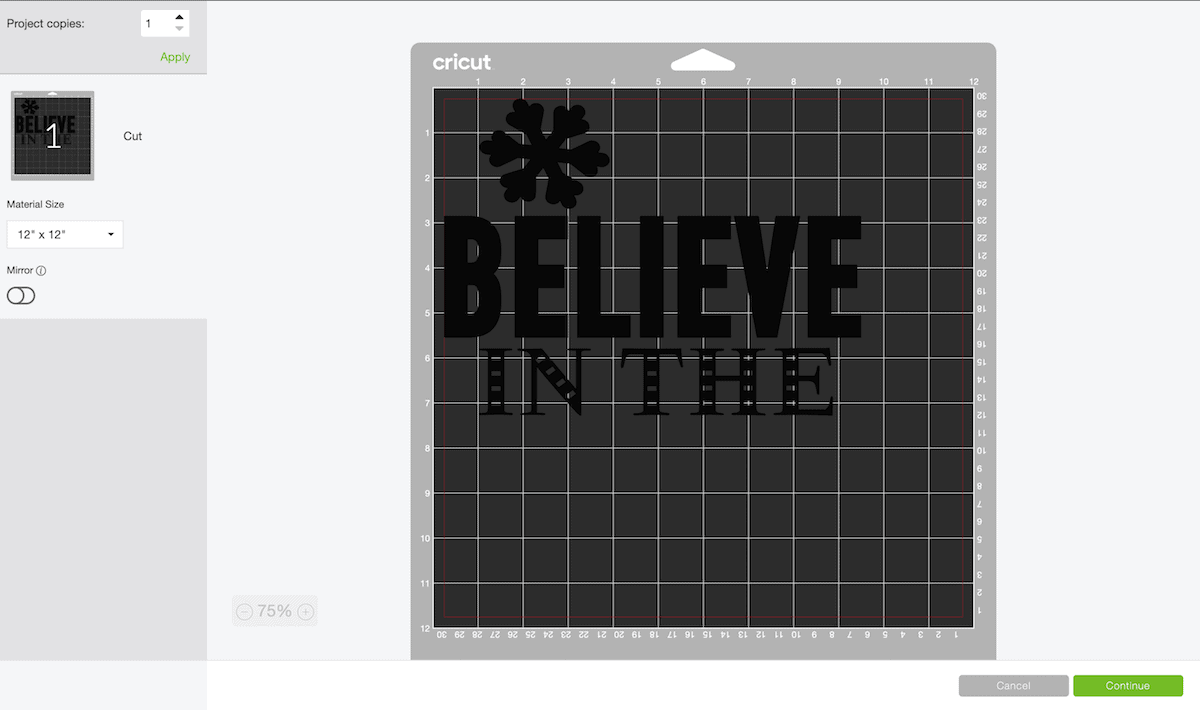
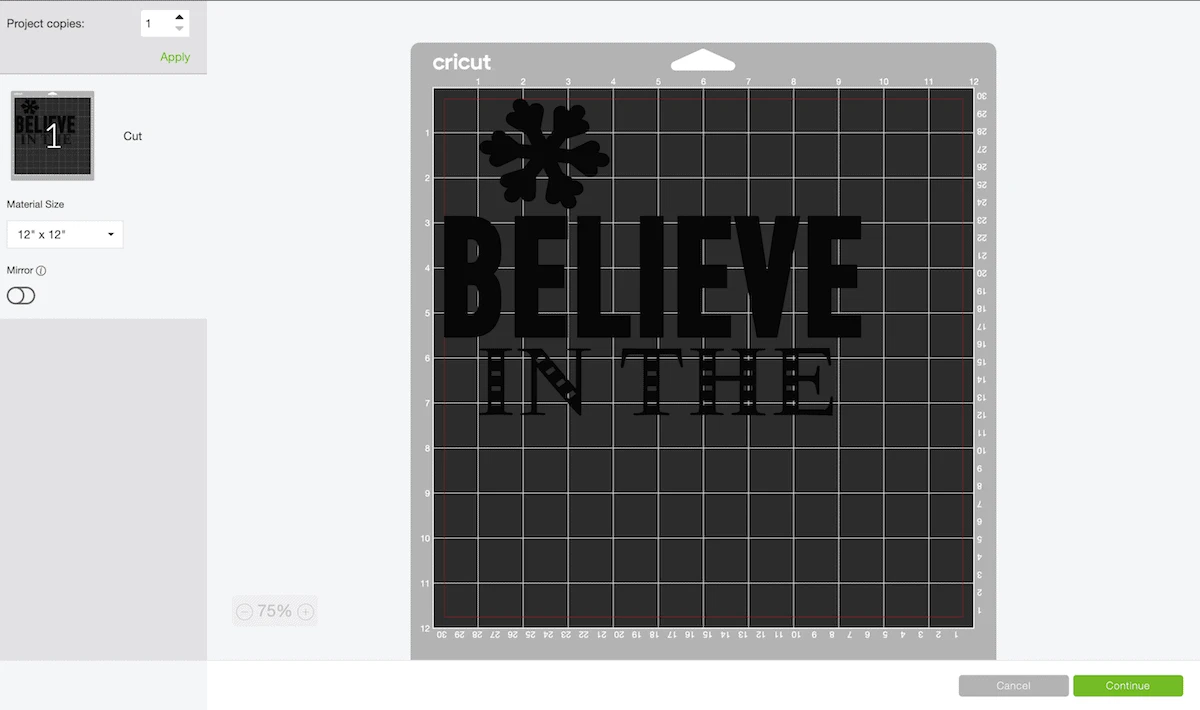

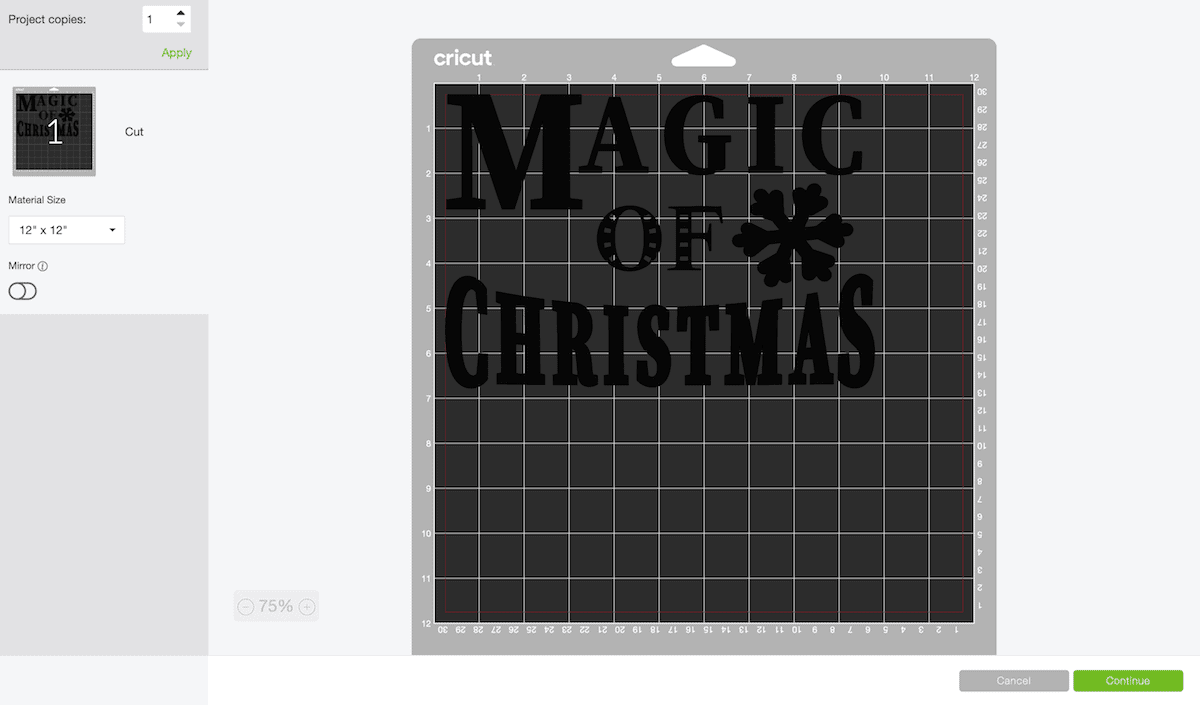
Apply vinyl to cutting mat. Load the mat into the machine.

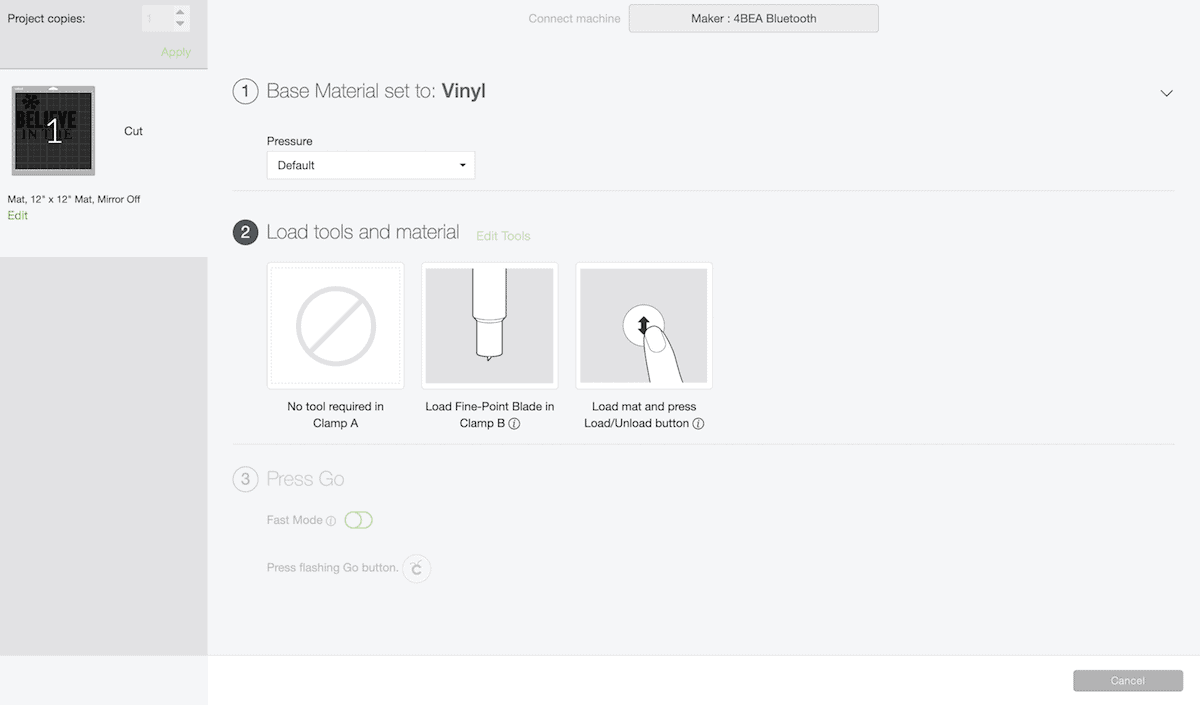
Once sized accordingly, adjust your machine’s setting or material dial to vinyl. Load the vinyl into your machine on the cutting grip mat and hit “go”.


Step 7
After the cut is complete, pull the extra vinyl away from the letters using a weeding tool.


Step 8
Apply transfer paper to the vinyl.


Step 9
Now decide where to apply the vinyl. Center the two vinyls on the wood sign. “Believe” should be about 5 inches down from the top of the sign. “Christmas” should be about 1 ¾ inches up from the bottom of the sign.
Apply pressure with your scraper tool over the entire design. Carefully remove the transfer paper, allowing the vinyl to adhere to the wooden sign.


For the letters that go over a crease in the wood sign, you can use a craft knife blade to make a small slit on the crease.
Apply another layer of Mod Podge over the vinyl to seal it.
Step 10
Add the jute rope through the hole, if you drilled one. If you’d like to add decorative Christmas florals to the sign, glue them on now.
Be sure to see all of my Christmas DIY crafts!
