


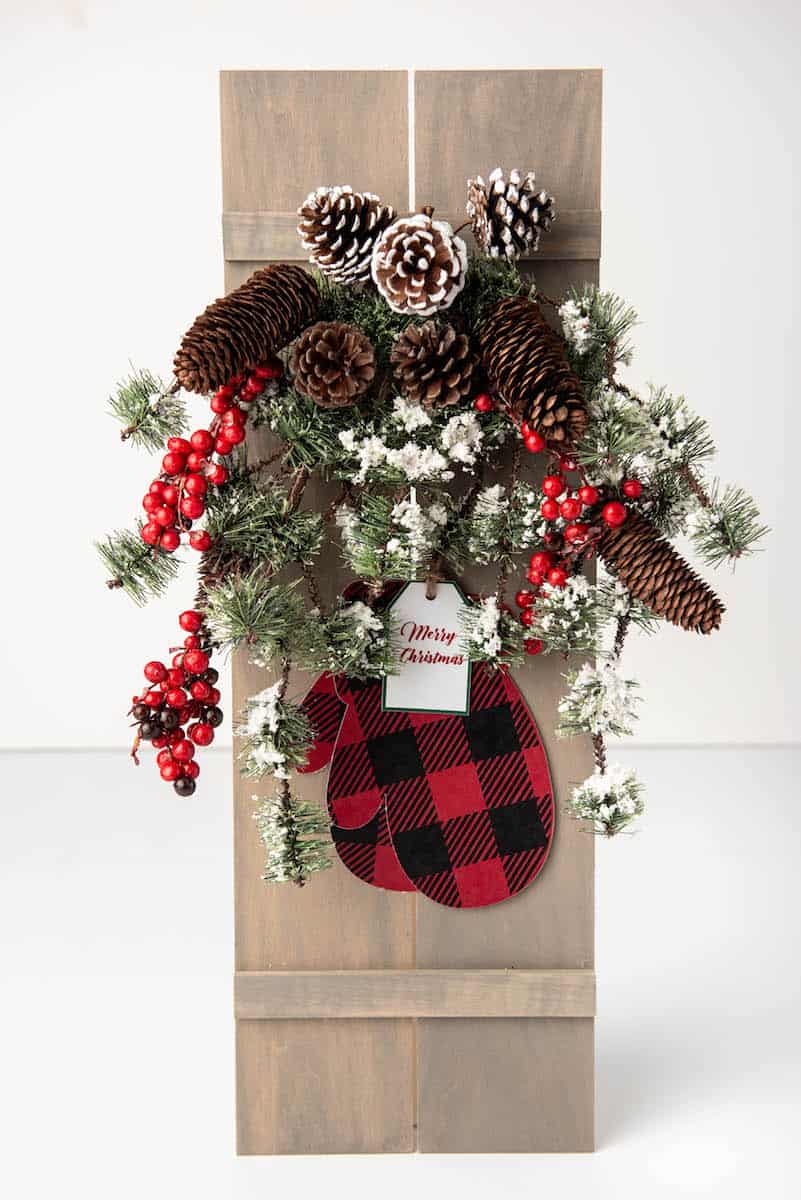
This festive Christmas decoration is so easy to make, but looks like it took a lot of effort. This DIY Christmas Shutters decoration with buffalo plaid check mittens is glued together without any need to tools or nails.
If you are like me, then you love making homemade Christmas decorations. Or making pretty gifts for friends and family. This cute decoration is great for either your own home, or to give as a gift. (It makes a wonderful hostess gift!)
You don’t need any wood working experience, so don’t worry. This craft wood is thin and easy to work with. You could use a utility knife to cut it into the right dimensions. Then just hot glue together.

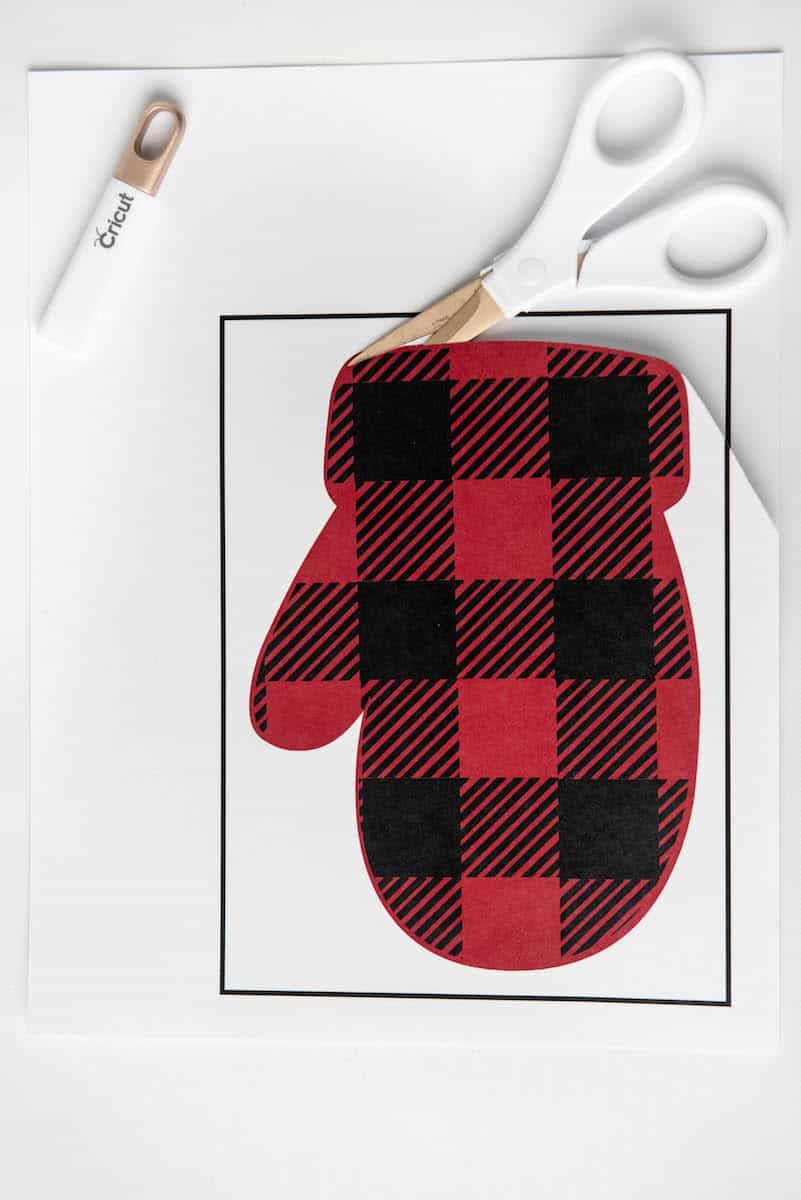
You can print off the mittens and gift tag on your home computer and use scissors to cut them out. Or you could send the file to a copier center (such as Staples) to have it printed on glossy card stock if you’d like.
I had mine printed at FedEx on 110-lb card stock.
If you like simple wood working projects, you will also like my Home for the Holidays sign and this farmhouse Christmas scroll sign. You will also want to check out this fun oversized wooden Christmas gift tag sign.
You might also like my no-sew farmhouse mittens ornaments!
Helpful Tips for Making the Sign
- You can find craft wood at Hobby Lobby. Most craft stores and hardware stores will have wood in sizes you can use.
- If you need to cut the wood, a utility knife will often work on thin wood. Or you can use a saw.
- If you’d like, you could paint the wood rather than staining it.

How to Make a Christmas Shutters Decoration with Buffalo Check Plaid Mittens
Supplies
- Free Printable Mittens & Christmas Gift Tag PDF Template
- (2) 3/16” x 4” x 24” pieces of craft wood
- (2) 3/16” x 1” x 8 1/4” pieces of craft wood (the exact measurements will depend on how much of a gap you leave in Step 3)
- Craft knife or utility knife
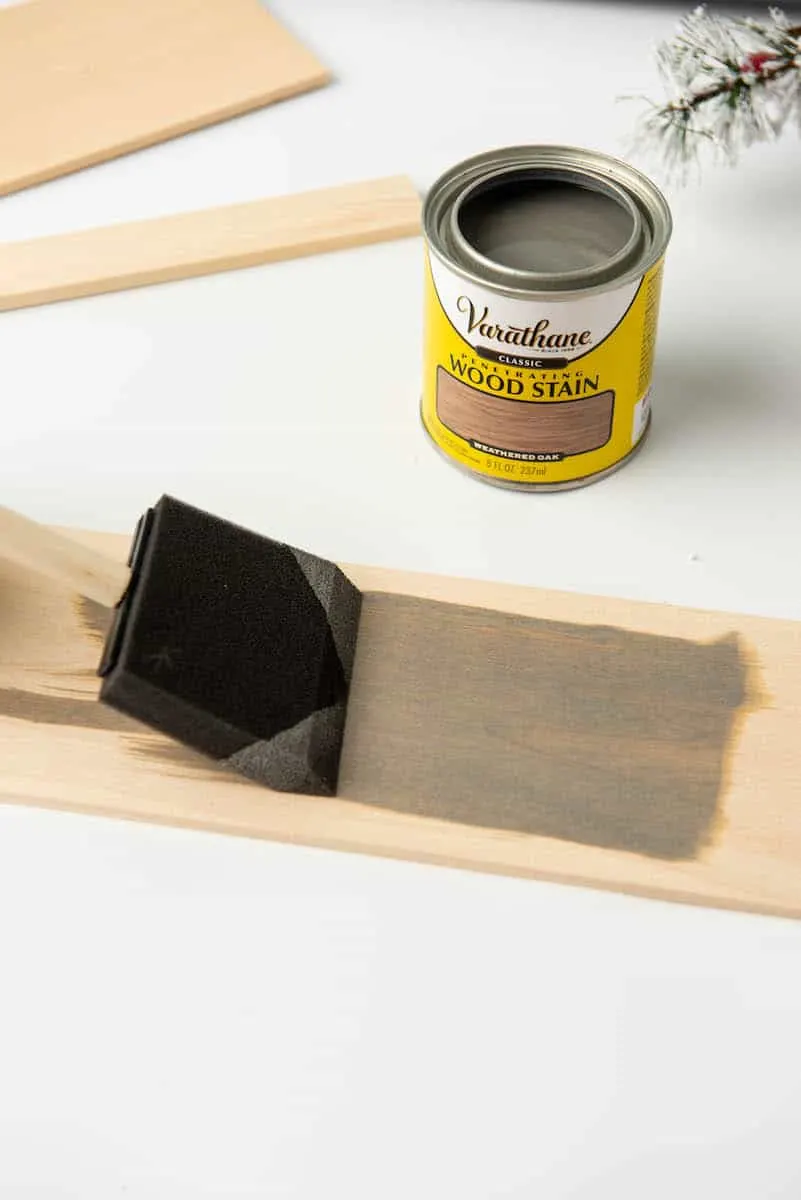
- Stain (I used Varathane Classic Weathered Oak)
- Sponge brush or paint brush
- Rag for wiping off stain
- Hot Glue Gun
- Thin String
- 2 Christmas Stems (make sure these are thick and full; otherwise, you might need more stems to make it appear full)
- Picture hangers for back of sign (optional)
Directions
Step 1
Stain the wood with a sponge brush. For a light color, wipe off the stain soon after you apply it to the wood. For a darker finish, leave the stain on for longer before wiping it off with a rag.

Step 2
Print out the PDF (or have it printed at a copier store). Cut out with scissors.

Step 3
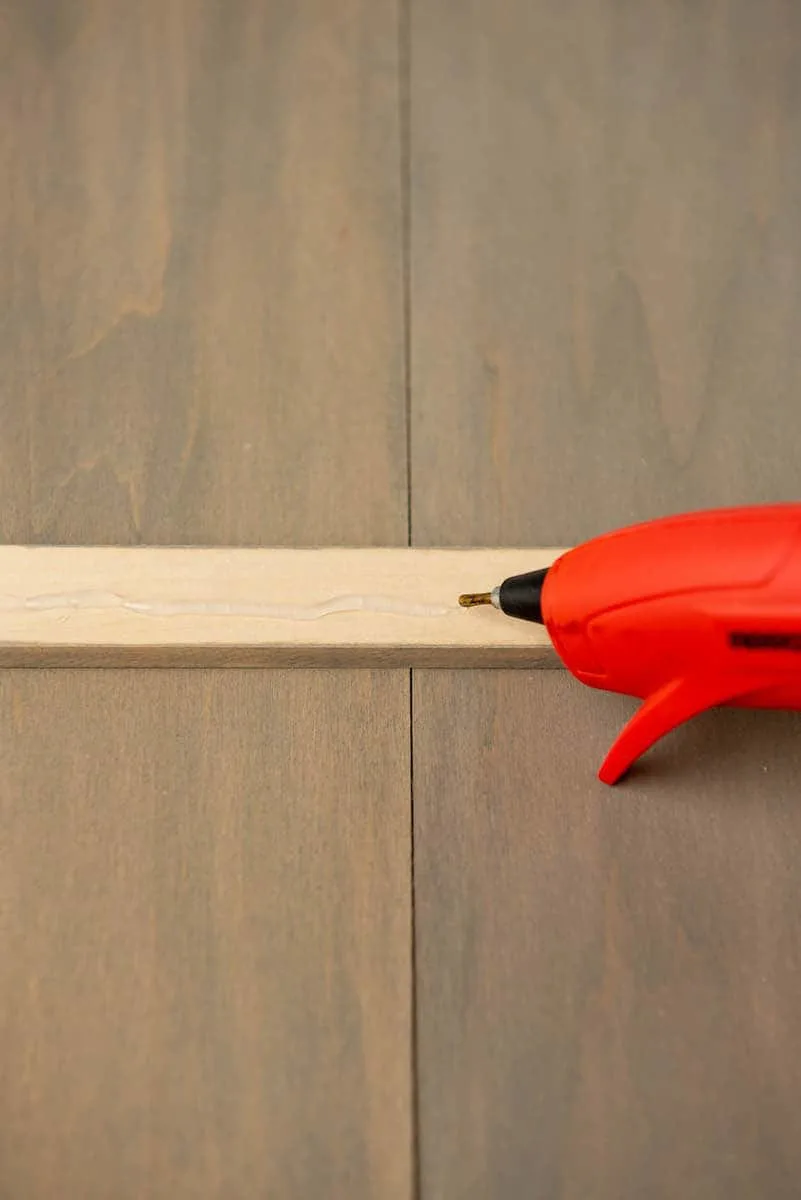
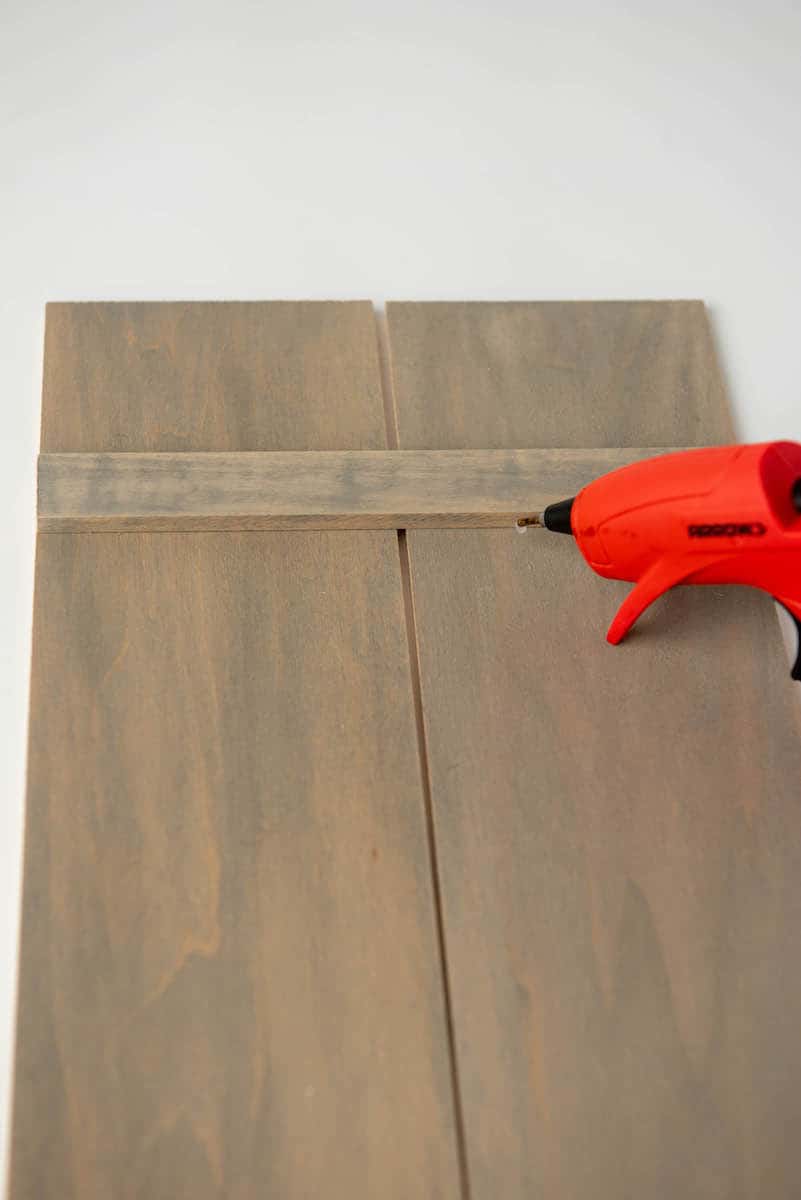
To assemble the sign, place the two larger base pieces of wood on a flat surface. Keep a small gap in between the two pieces.
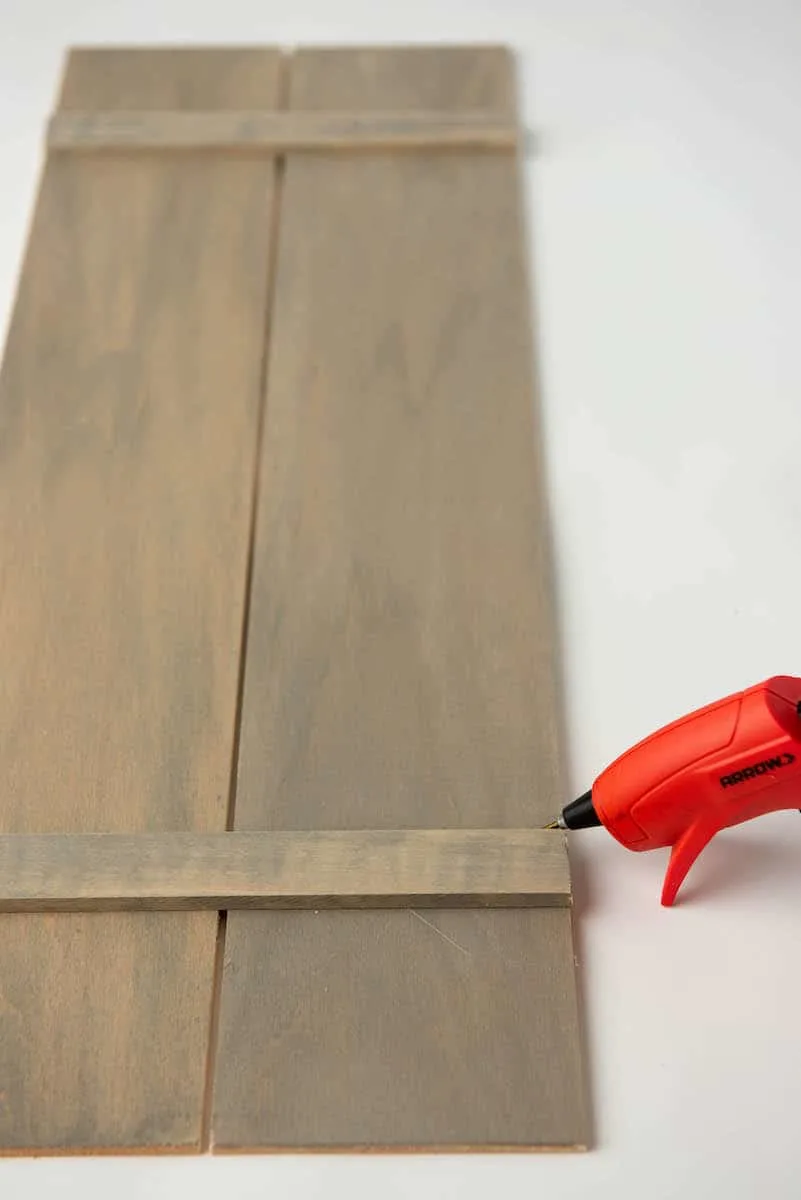
Place the horizontal pieces of wood at least 3 1/4 inches from both the top and the bottom of the sign. Glue the wood so that it fits from edge to edge. Hold in place until dried and secure. This will become the front of the sign.


Step 4
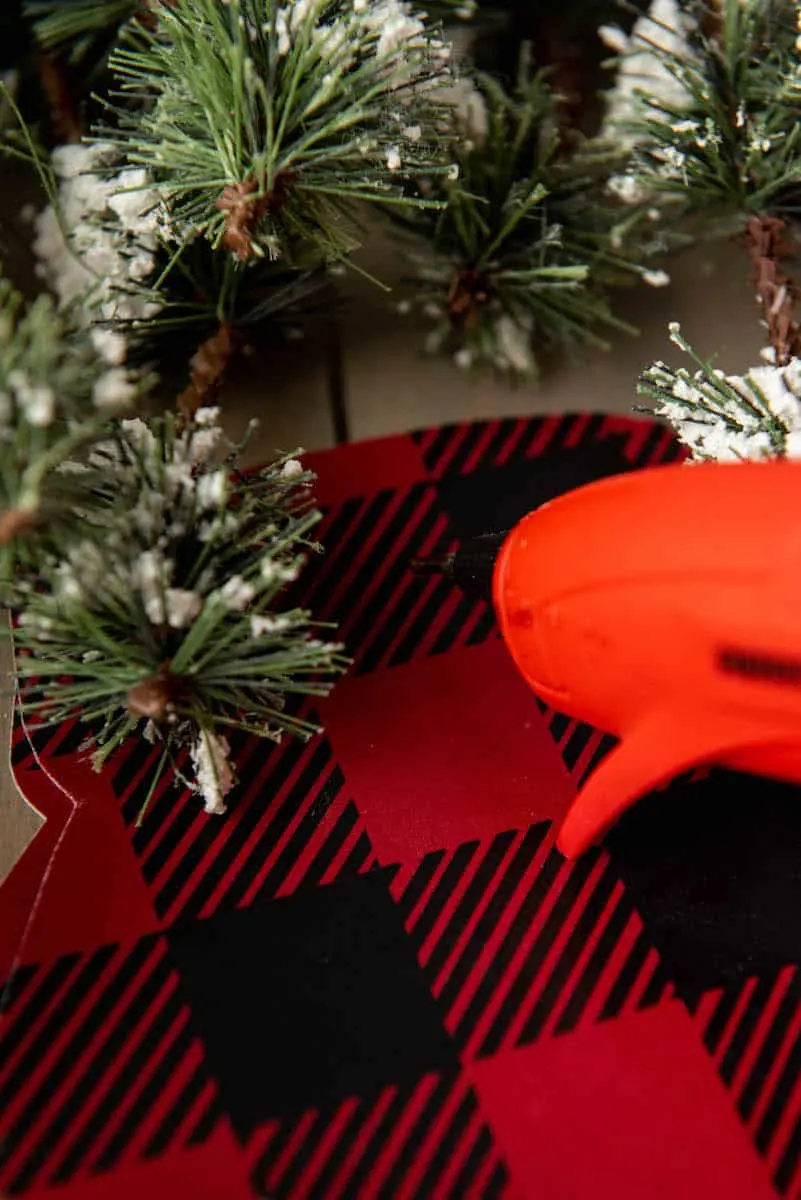
Arrange the two Christmas stems in an upside down V shape from the top piece of the horizontal wood. Glue them to the top horizontal wood piece.


Step 5
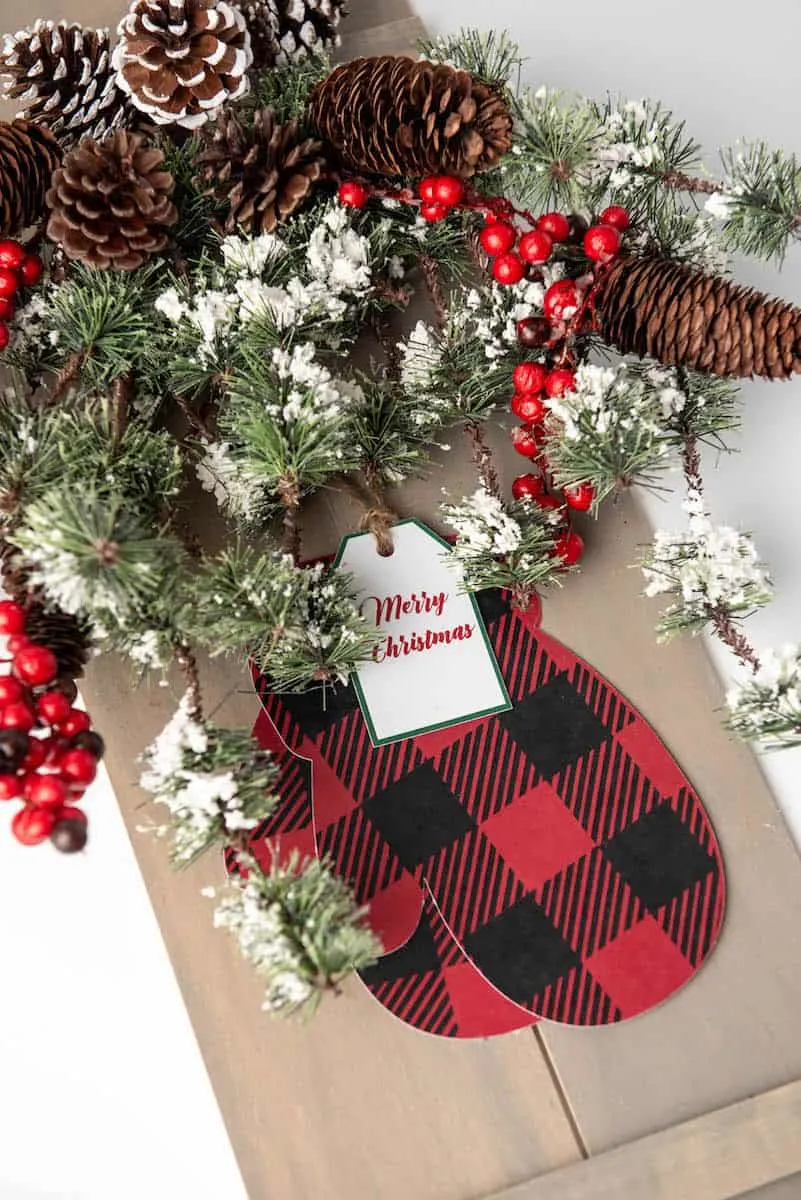
Glue the cut out mittens together as a pair. You will want one mitten sticking out a little towards the side so that you can see both mittens displayed (look at the picture for reference).
Then, glue the pair of mittens to the center of the sign in-between the Christmas stems.

Step 6
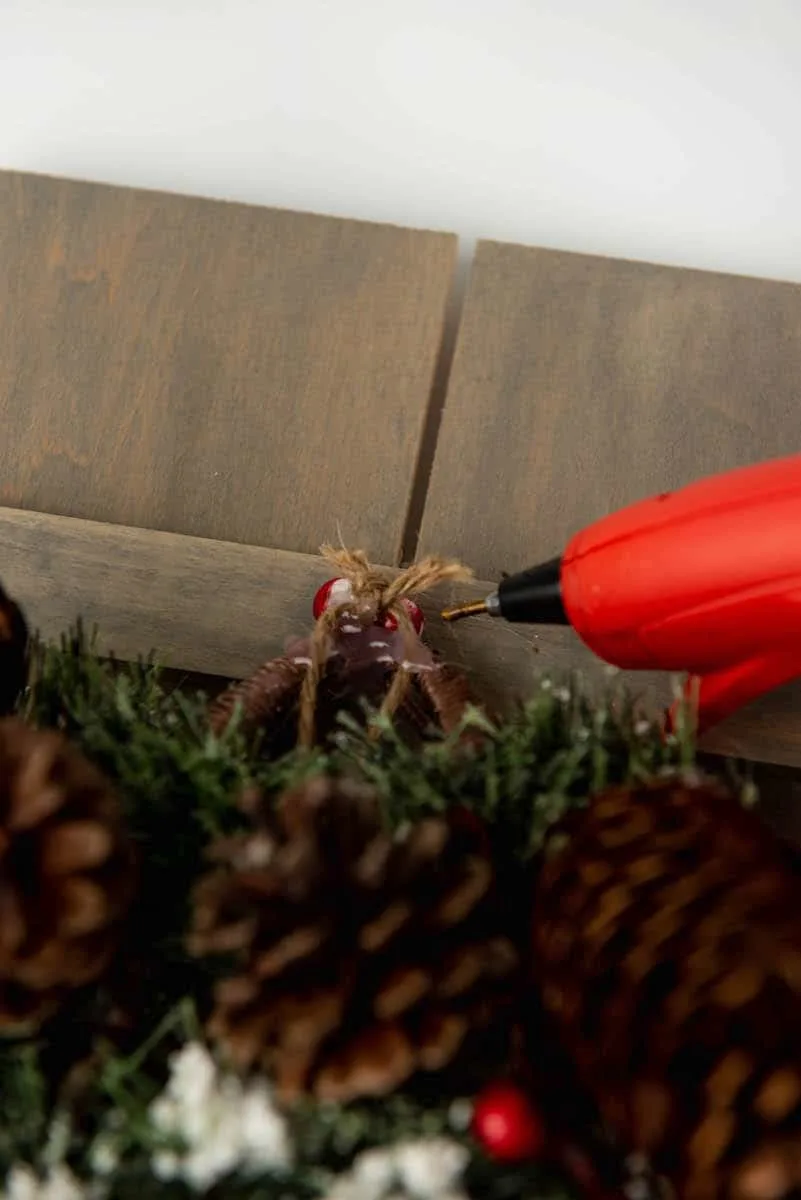
Cut out the Christmas tag. Decide how much twine you will need to hang it from the top of the mittens to a place where you like it. Double that length so that you can make a loop to hang with.
Be sure there is a hole in the Christmas gift tag. String the twine through the hole and knot together. Glue the knot under the greenery to hang it.

If you like this fun Christmas Shutters decoration, be sure to check out my easy rustic Christmas tree sign, too.
Be sure to check out all of our DIY Christmas crafts!
