


A rolling plant stand makes it easy to move potted plants to sunny locations or move them to avoid damaging weather, such as hail or rainstorms.
This DIY Plant Caddy is a very easy beginner woodworking project. In just a few steps you can build a sturdy rolling plant stand for all of your potted plants.
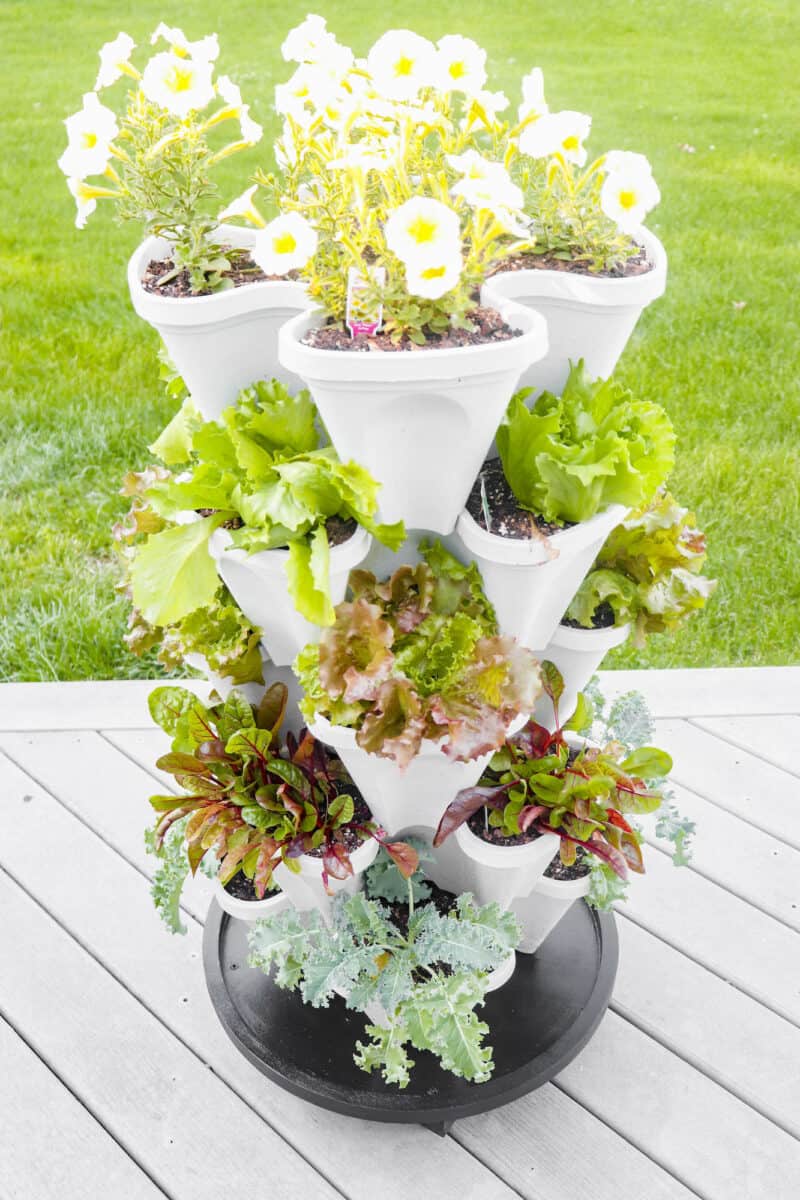
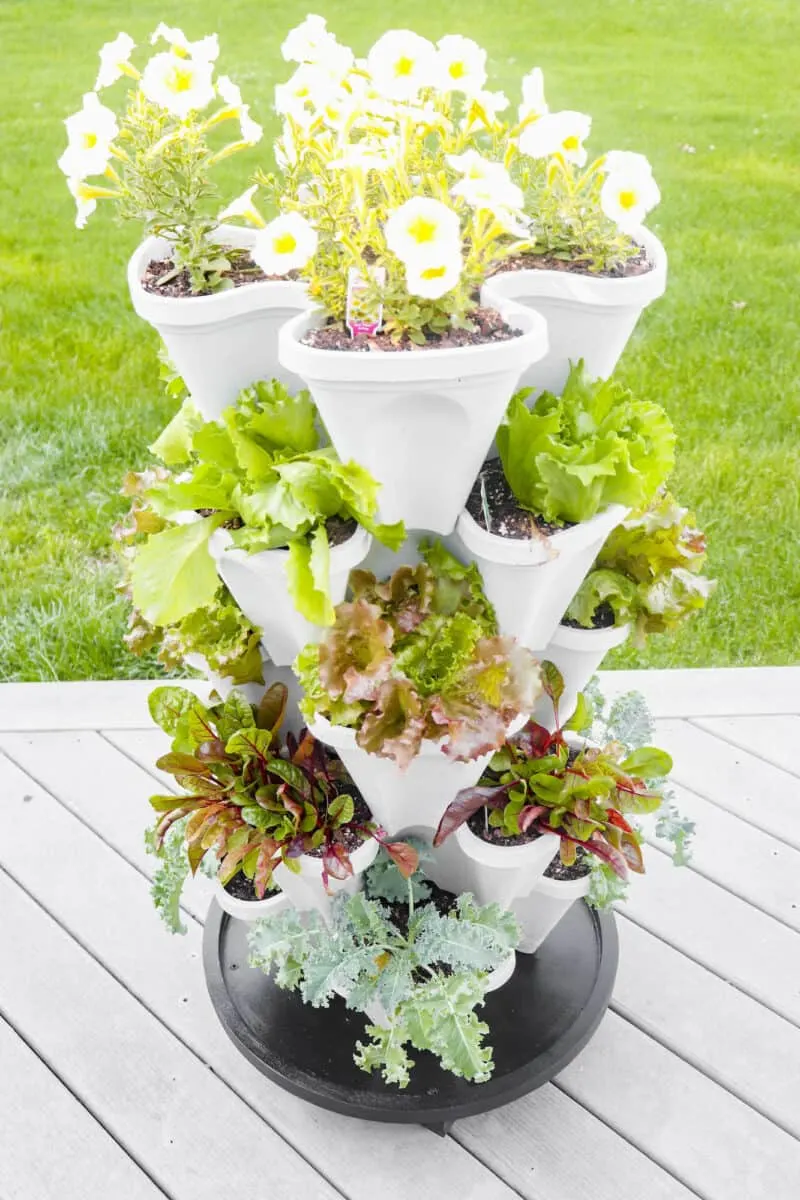
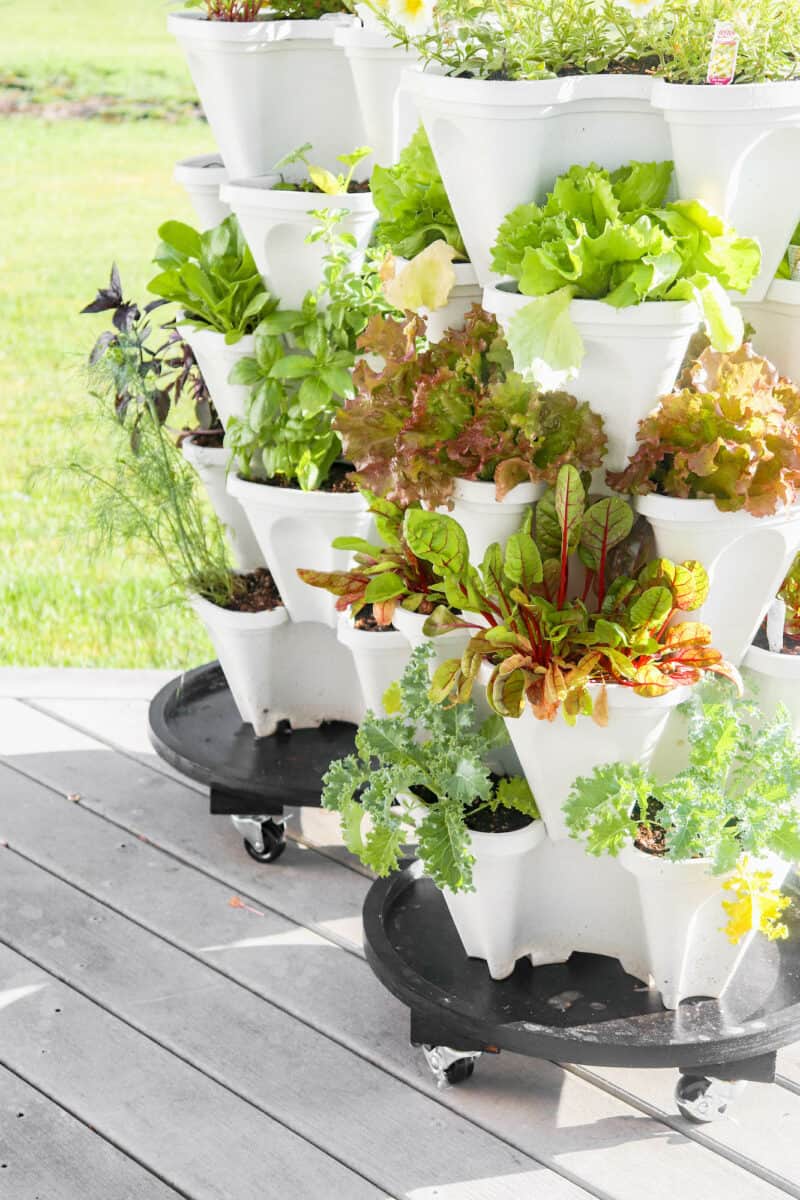
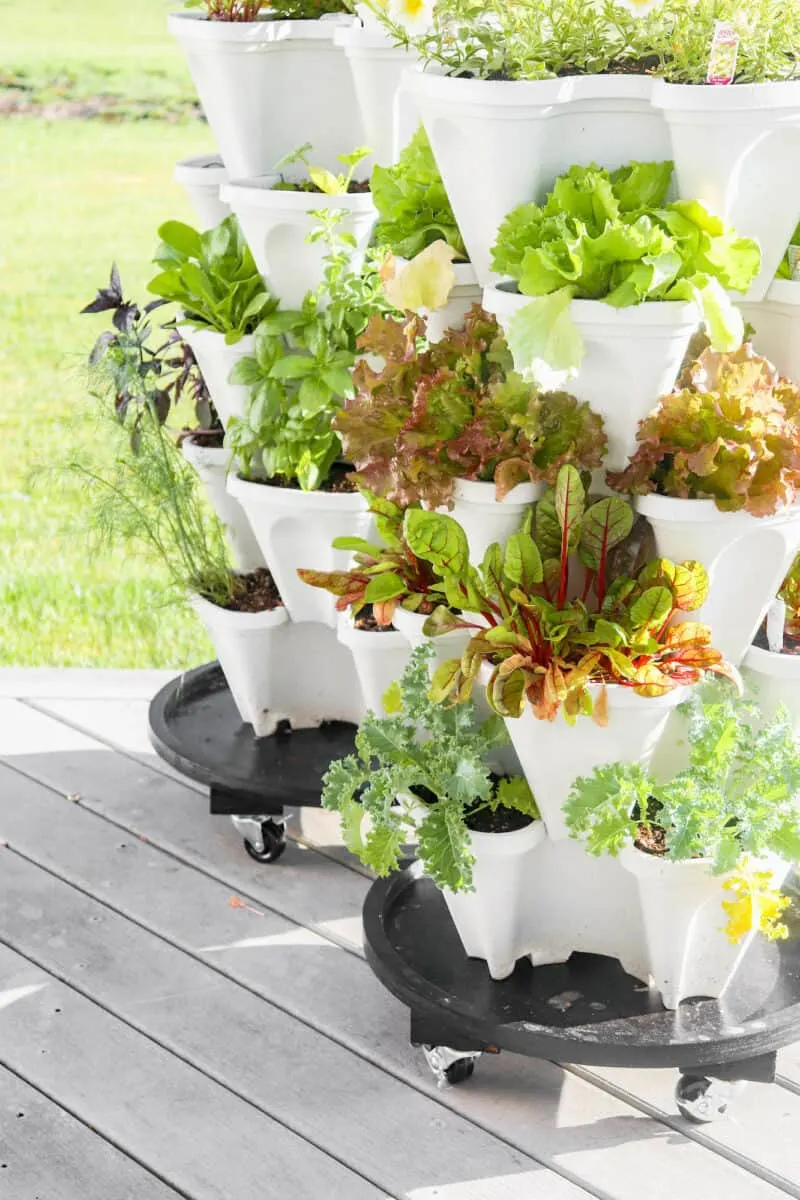
We made our plant caddy on wheels into a DIY vertical planter by using nesting pots that maximize growing space by going up. We were able to plant multiple plants in a small footprint of space. It is the perfect solution for small patios, balcony gardening or gardening in an apartment.
While we chose to make a DIY vertical garden tower, you can use this plant stand on wheels for a large pot that would be too heavy to move otherwise.
You can reduce the weight of large planters by using one of these clever ways to fill a large planter and use less potting soil!
This plant caddy with wheels is perfect for pots with small trees, such as a Meyer lemon tree, or large decorative flower containers.
Related Posts:
- How to Harvest Cosmos Seeds
- How to Save Nasturtium Seeds
- How to Harvest and Dry Yarrow
- DIY Weed Killing Spray

How to Make a Plant Stand on Wheels
Supplies
- (4) 2″ Swivel Plate Castor Wheels – 90-lb load capacity
- Wood Round Tray or Sign – 20″ diameter
- 2″x4″ Wood cut into two 13 ½″ pieces
- 25 Wood Screws (16 for the castor wheels, 8 for the 2×4’s and 1 extra)
- Screw Gun
- Black Paint
- Paint Brush
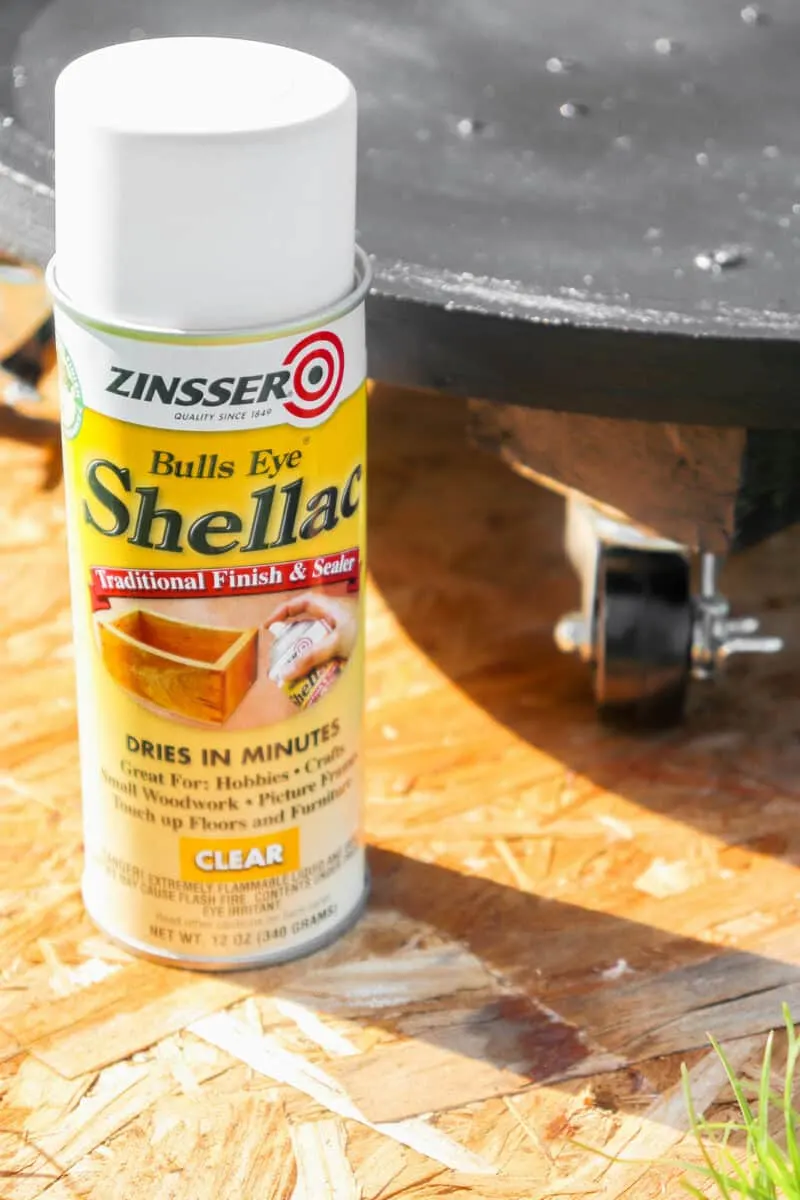
- Clear Shellac Spray
- Cardboard, tarp or old sheet for painting
- Vertical Planter pots


Instructions
Step 1
Attach two of the 13 ½″ pieces of 2×4 wood onto the back side of the wood round tray, parallel and set as close to the edges of the wood round tray as possible without extending beyond the edge. You will be driving the wood screws in through the top of the tray and into the 2×4 pieces below.


Step 2
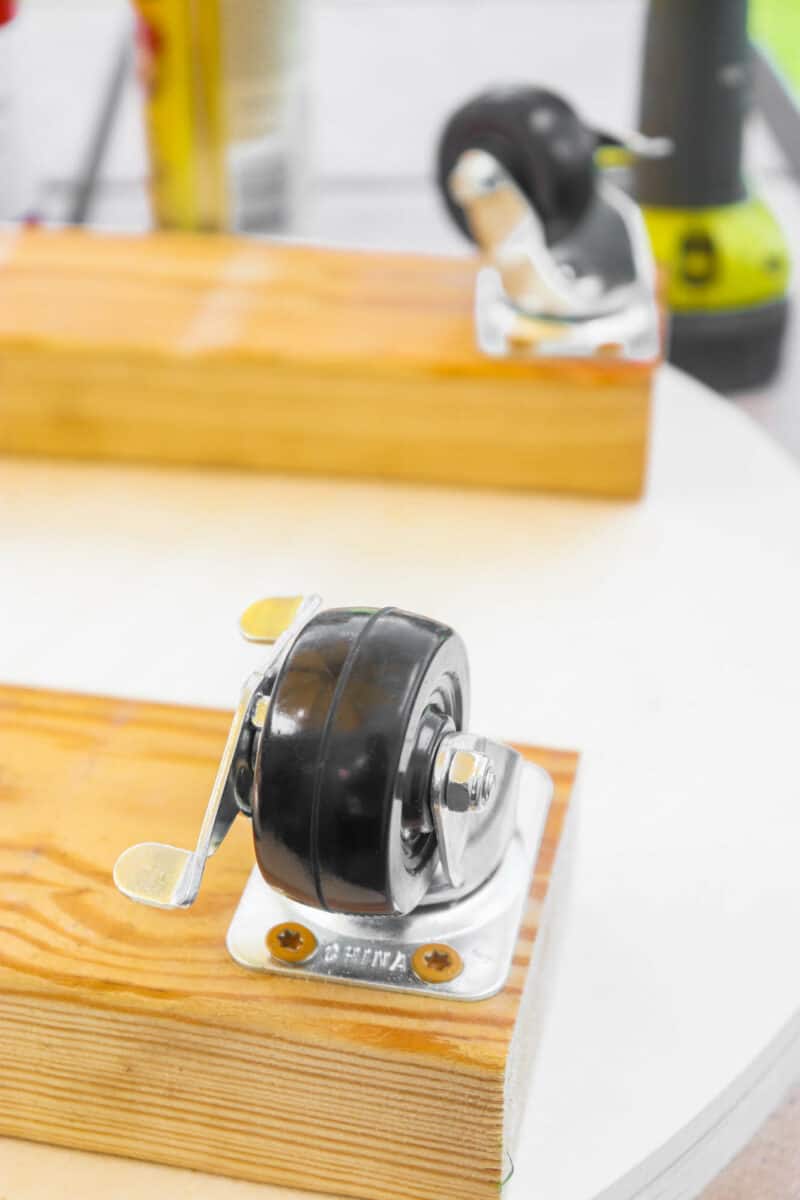
Secure 4 wood screws into each 2×4 piece, making sure to leave space for the castors to be screwed into place at the end of each 2×4 piece.
Use the wood screws to secure the castor wheels into place at the edge of each 2×4.
If you bought the swivel plate wheels then it will not matter which way you put these on.

Step 3
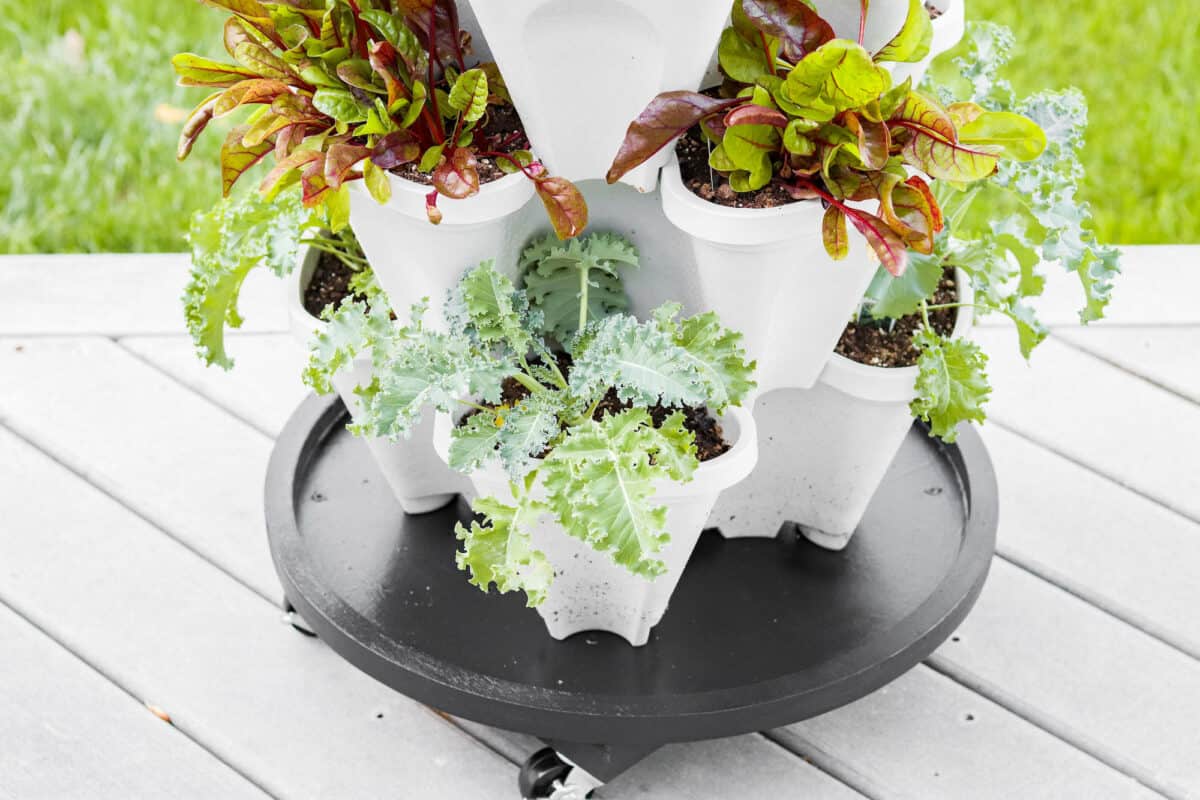
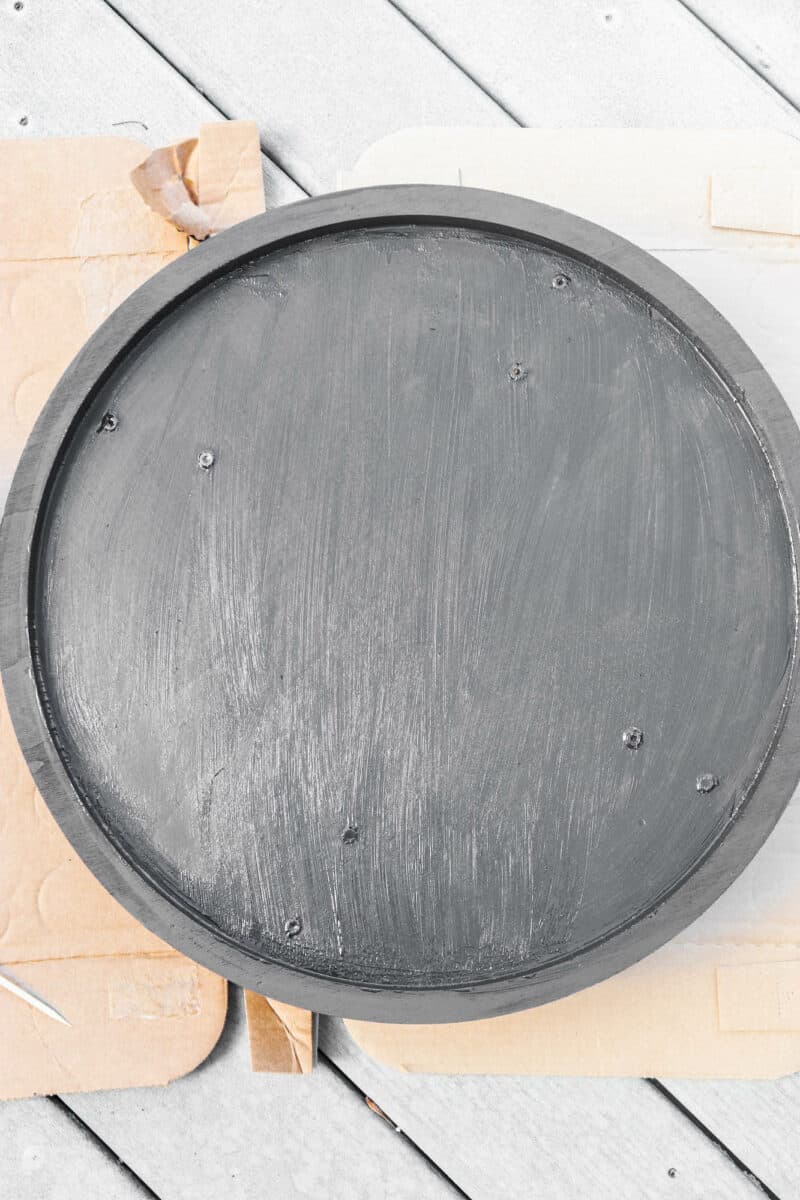
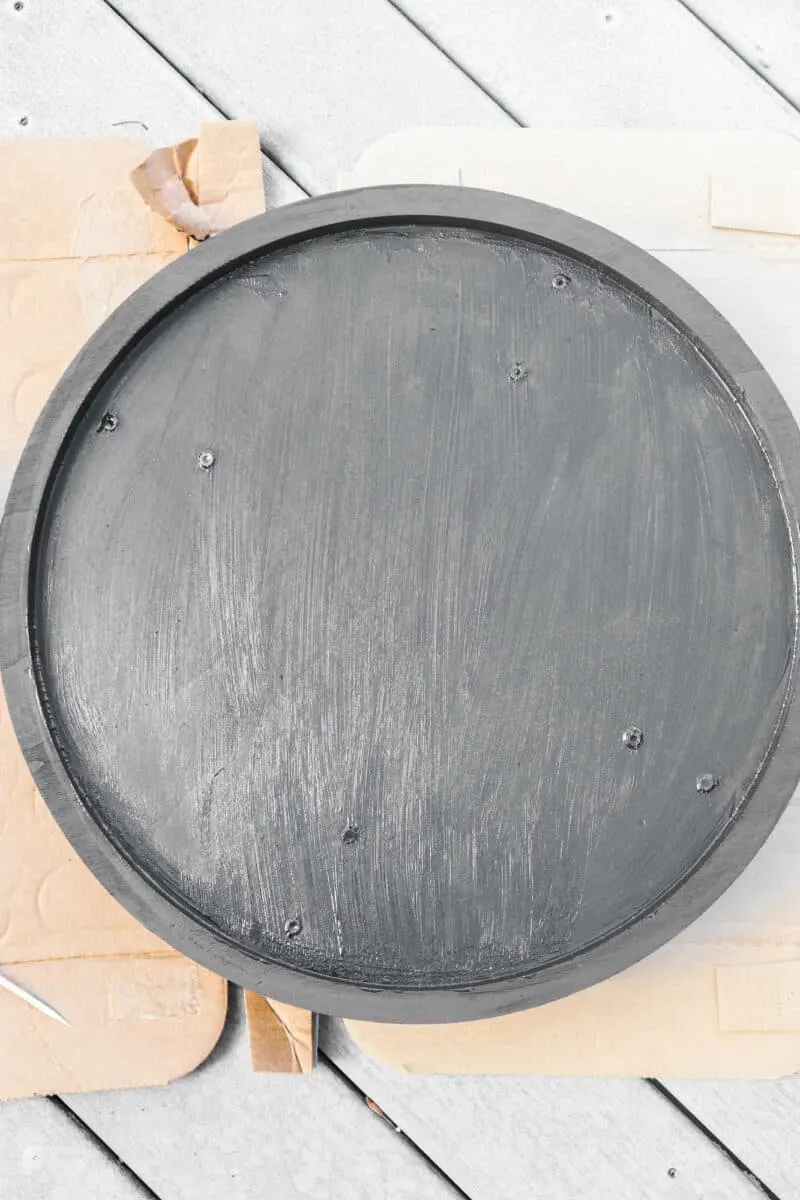
Paint the underside of the planter base with several coats of black paint, allowing to dry in between each coat.

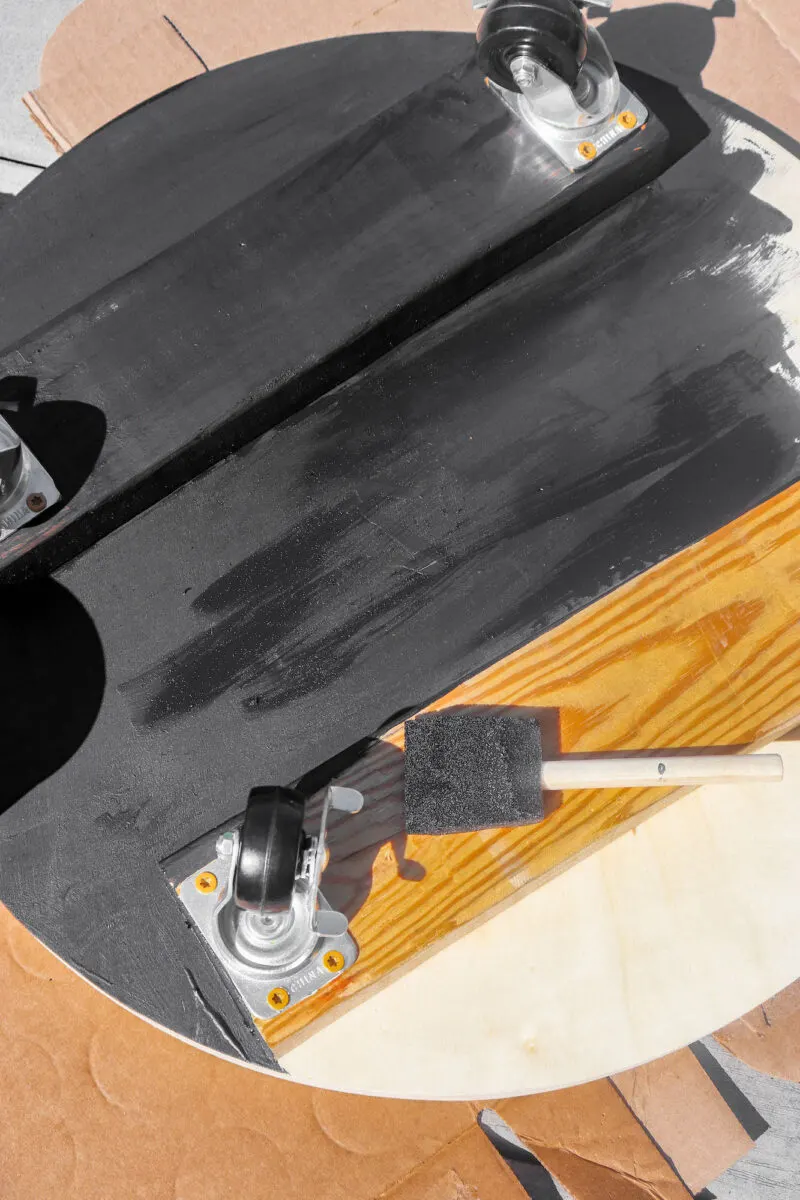
Then flip the plater base over and paint the top with several coats of black paint, allowing to dry in between each coat.
Step 4
Use the extra wood screw to make numerous holes in the planter base to allow for drainage when watering your vertical planter as well as when it rains.
Step 5
Spray several coats of Shellac on the bottom side of the planter base, allowing to dry in between coats.
Then spray several coats of Shellac on the top side of the planter base, allowing to dry in between coats.

Step 6
Assemble your vertical planter by stacking nesting pots together to form a tower.
Fill each compartment with potting soil, along with seeds or starter plants.
If you like this easy DIY rolling plant stand with wheels, be sure to check out our other gardening DIY projects, including:
- How to Make Wildflower Seed Pops
- DIY Clay Garden Markers
- DIY Trash Can Plant Pots
- How to Make an Air Plant Holder
- DIY Felt Seed Packet Gift Holders
- DIY Basketball Planter
