
Have you fell in love with the look of an oversized large flower planter? Or maybe you just really need a larger pot to fill the space on your porch or patio. I know that I have several places that demand a large pot to look really nice.
Potting soil is heavy and expensive and such a waste to fill space in a large planter where the plant roots won’t reach. I’ve found these are the best ways to fill the bottom of a large planter to save money and reduce the weight of the pot.
Most plants in a very large pot do not need all of that soil. Here is how to fill the space without needing to buy soil.
Decide Which Plants You Will Use First
You cannot decide how much soil to replace in a very large plant container until you know the types of plants it will be holding.
If you are planting daisies or petunias, those root systems are very shallow and will not need much soil. However, a small tree such as a topiary or Meyer lemon tree will require much more soil as the root system is larger and will grow down into the pot.
If you are not familiar with the root systems of the plants that you would like, contact your local garden center to ask questions. Or research the plant online to get an idea.
Need inspiration for your garden? Check out my beautiful backyard makeover on a budget.
Be sure to get a free copy of my Outdoor Living Area Inspiration Guide, too!
Will You Need to Move the Pot After It Is Filled?
If you will need to move the plant container after it is filled, such as to move it indoors during the winter, then you will want to be very aware of its weight. However, if you are planting the pot and it won’t be moving, you will not need to take weight into consideration.
Large clay or ceramic pots can be very heavy on their own. Once you add potting soil and plants, they can be too cumbersome to move without removing all of the soil. Or you will need a hand truck to move them.
Lightweight plastic or fiberglass pots (many that resemble porcelain or concrete) are easier to move. Again, once they are filled with soil and pot fillers, they can be difficult to easily pick up. So plan ahead for your needs.
How to Fill the Space in a Large Container
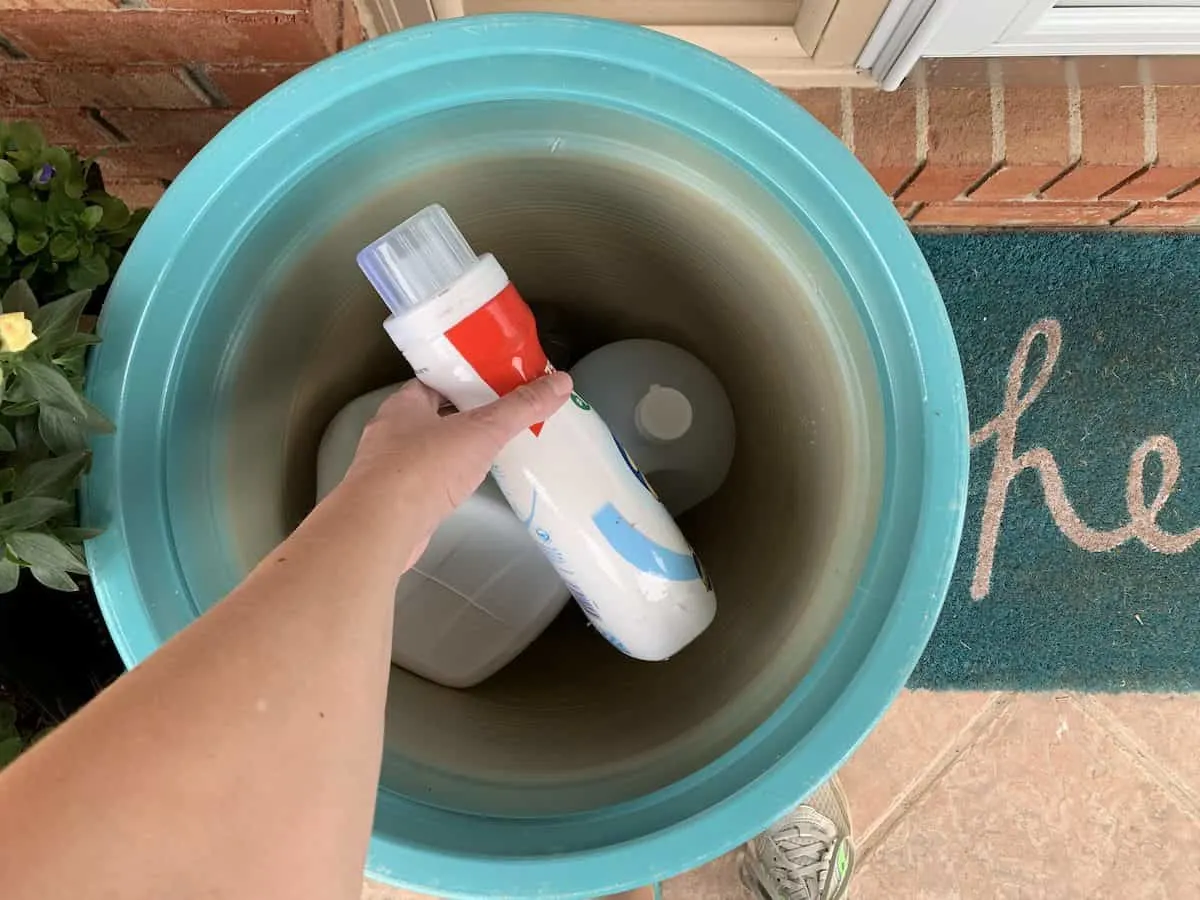
Once you are ready to plant, you will want to first add the pot fillers. You can add either lightweight or heavy pot fillers into the bottom of your pot.
If you choose to use lightweight fillers, but are concerned about the container tipping over, it is wise to add a heavy rock or a brick on the bottom first. Then add lightweight fillers on top.
Make sure that there are drainage holes in your pot before filling. If there are not, the water will not be able to drain and your pot will become a muddy mess.
You may add fillers up to the space where you will be adding potting soil to accommodate the plant’s roots. Before adding potting soil (not garden soil or soil from the ground, because it is full of weed seeds and not sufficient nutrients when taken out of the ground), decide how to prevent the potting soil from falling down in-between the fillers below.

I have used old potting soil to fill around the plastic containers in my large garden pots. This soil is not good to support plant growth, but is fine to fill in the gaps that the roots won’t touch.
Or, you can add landscape fabric over the fillers to prevent much potting soil from falling down. When doing this, keep in mind that the weight of the soil on top will cause the landscape fabric to sag underneath, especially around the corners.
Whatever you use as the buffer between the potting soil and the base of the container must be permeable to allow water to drain through. Do not use a large plastic bag or piece of plastic to prevent the soil from falling down to the bottom of the pot, unless there are holes drilled in it.
Lightweight Pot Fillers for Containers
If you want to keep the pot lightweight, these are the best pot fillers. Happily, many of them can be reused and recycled from your trash, saving you money.
- Plastic milk jugs (not cartons)
- Laundry detergent containers
- Water bottles
- Plastic soda bottles
- Contact solution bottles
- Protein powder containers
- Plastic pots turned upside down (such as the planting pots that you get with the plant at the garden center)
- Aluminum Cans (make sure the opening is pointed downward, otherwise the can will fill up with potting soil as you add it)
- Packing peanuts (Make sure that these peanuts are not the biodegradable kind – see tip below. Styrofoam peanuts work best. It is wise to secure the peanuts in a plastic bag and then add to the pot, otherwise the Styrofoam gets everywhere and is difficult to remove if you ever repot the plant. Trust me, I know from experience!)
- Styrofoam blocks (Source these from packaging materials. Again, it’s best to wrap this in a plastic grocery bag first so that the small bits of Styrofoam don’t break down and get into the soil.)
- Cut up pool noodles (the kind that are sold in the Dollar Tree and used for water play)
🌱 Helpful Tip: Not sure if your packing peanuts are the eco-friendly kind that dissolve (most used in America are now water soluble)? Take a few peanuts and put in a bowl or zip-top bag with water. After a few hours, see if they are dissolving. If they are, do not use them in your planters!
Do not use metal containers, such as coffee tins, as they will rust.
See how I filled my large, tall flower containers with recycled fillers in my video below:
Short Term Pot Fillers
If you are planting a seasonal flower container, you can use natural pot fillers that will decompose over time. By the time you change out your seasonal plantings, the fillers will likely not have decomposed. However, for long term pots, the fillers will decompose, leaving you with holes in your base which can cause air pockets for the roots or cause your potting soil to cave in.
Keep in mind, these decomposing pot fillers could change the soil pH as they break down, too, which could affect the plants in the long term.
These short term, biodegradable fillers are:
- Leaves
- Tree branches
- Crumbled paper bags
- Newspaper (bunch it up in your hand to take up as much space as possible, rather than just adding in flat sheets)
- Cardboard
- Pinecones
- Wood chips or mulch (here’s how to get free mulch!)
Do I Need to Wash the Containers First?
It isn’t necessary to wash the outside of the containers, unless they are sticky or messy from the product that was inside.
However, it is a smart idea to thoroughly wash or rinse the inside with hot water. Especially if drinks were inside. Once dried inside, tightly seal the container back up before using.
Should I Fill the Containers With Water to Make Them Heavier?
No. If you are looking for heavy pot fillers, choose the options below. Adding water to a container and then sealing it can allow mold or algae to grow inside the container.
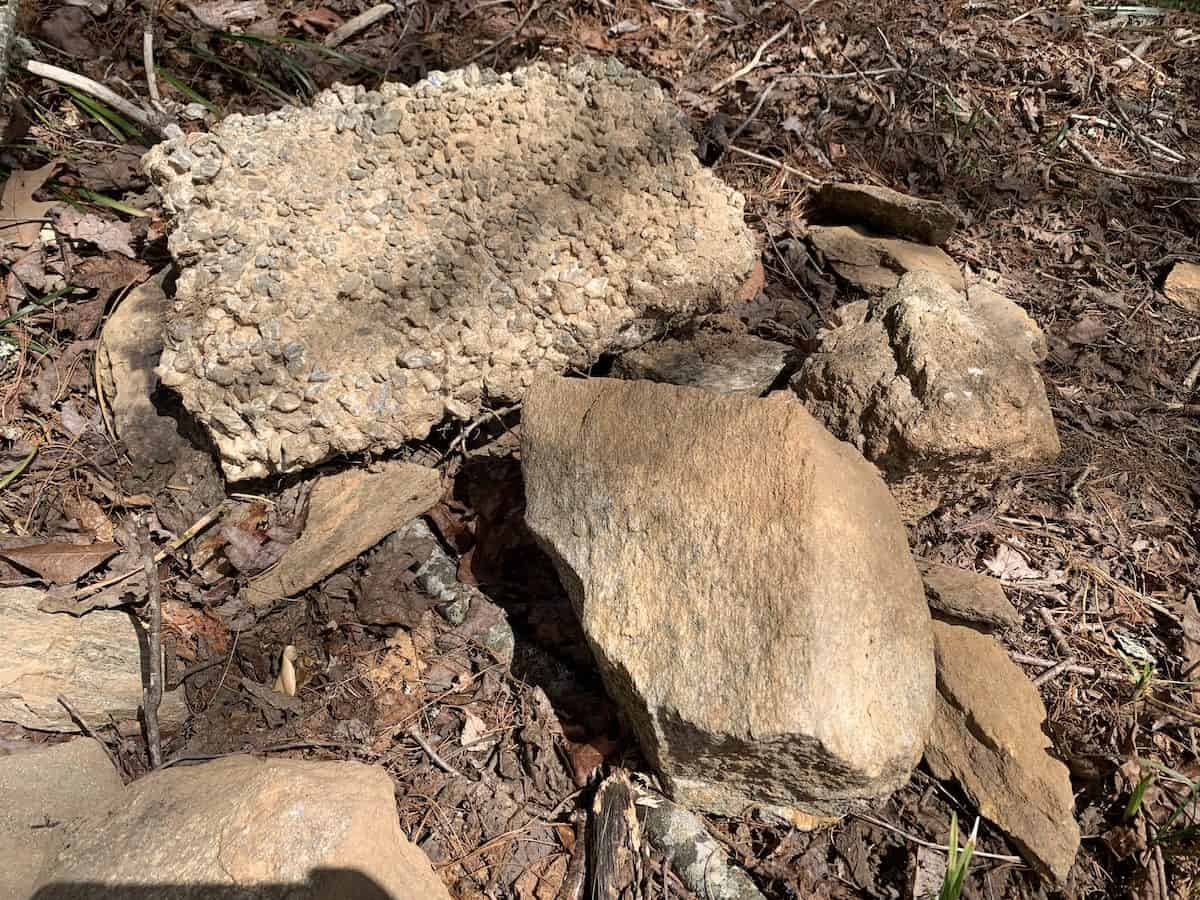
Heavy Pot Fillers
If you want to make sure that your pot doesn’t move at all, choose a heavy weight pot filler. This is smart if you are worried about animals knocking over your container or live in a very windy area. Or are worried about theft of the pot.
Great fillers are:
- Cinder block
- Bricks
- Large stones
- Stumps or wooden logs
- Broken ceramic pots

Bloem Ups-a-Daisy Planter Insert
You can also invest in a reusable Ups-a-Daisy Planter Insert. These brilliant inserts will fit all types of pots, and allow you to only use a small amount of potting soil, while there is nothing but air underneath. These are great if you are concerned about the weight of a large planter.
Looking for more money saving ideas? Here’s some budget-friendly tips for making large flower containers.

Vicki
Tuesday 29th of April 2025
I have some filtering charcoal used for a water filter. Could I use this as filler below the soil level?
Kimberly
Monday 30th of June 2025
I think that the activated charcoal would absorb the water and nutrients out of the soil.
Hazel Gully
Saturday 22nd of March 2025
Thank you. I just love googling for help and getting exactly the information I wanted - how to fill up a big planter without using so much potting soil.
Sue
Saturday 2nd of March 2024
I use small prescription bottles. People have so many and are always asking how to use them rather than recycling.
Kimberly
Thursday 14th of March 2024
Great idea, Sue! Perfect for smaller pots, too.
CD
Monday 17th of April 2023
I wonder if the pool floats would... float? Like say in a rain storm and ruin the surface of your flower display?
Kimberly
Thursday 20th of April 2023
Not with the heavy soil on top of them.
Tina M
Monday 29th of March 2021
This is a perfect Use for all those empty single use K cup coffee pods!
Single Girls DIY
Saturday 3rd of April 2021
Ha ha! You could use those in the bottom of a small container!