

These DIY wildflower seed bombs make the perfect wedding favor, party favor or small gift. Not only are they cute, but they will also help the environment by adding wildflowers for pollinators where they are planted.
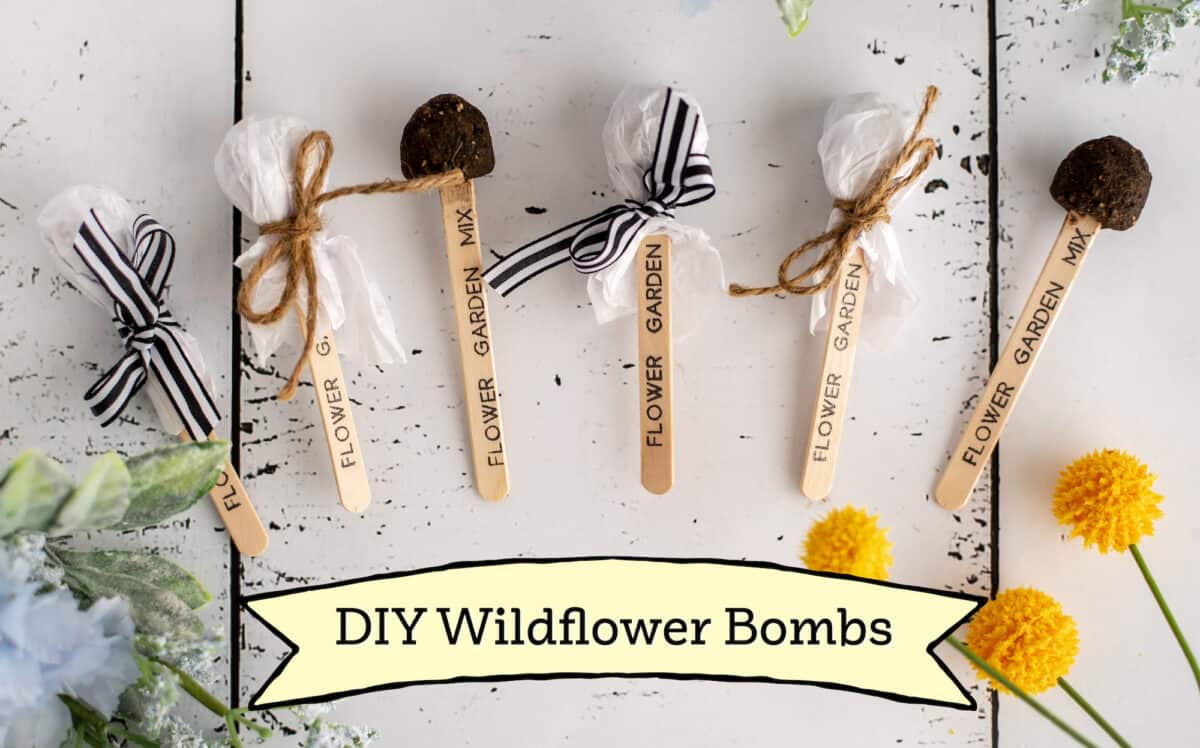
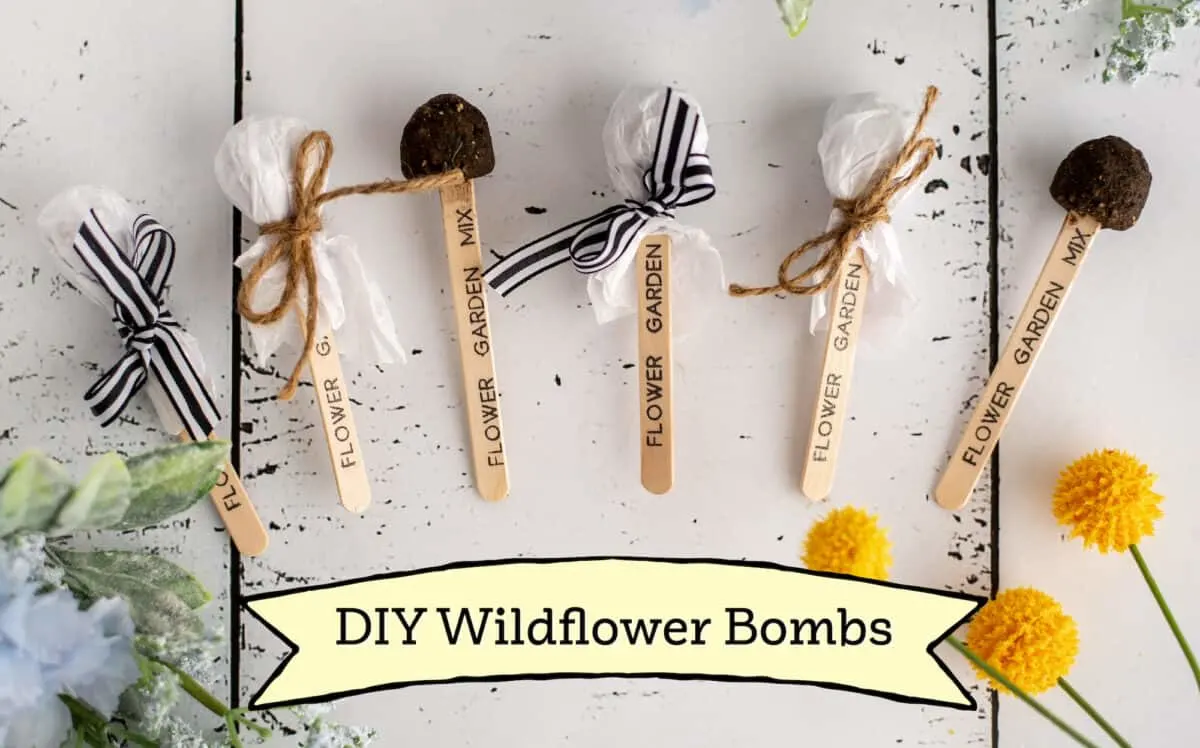
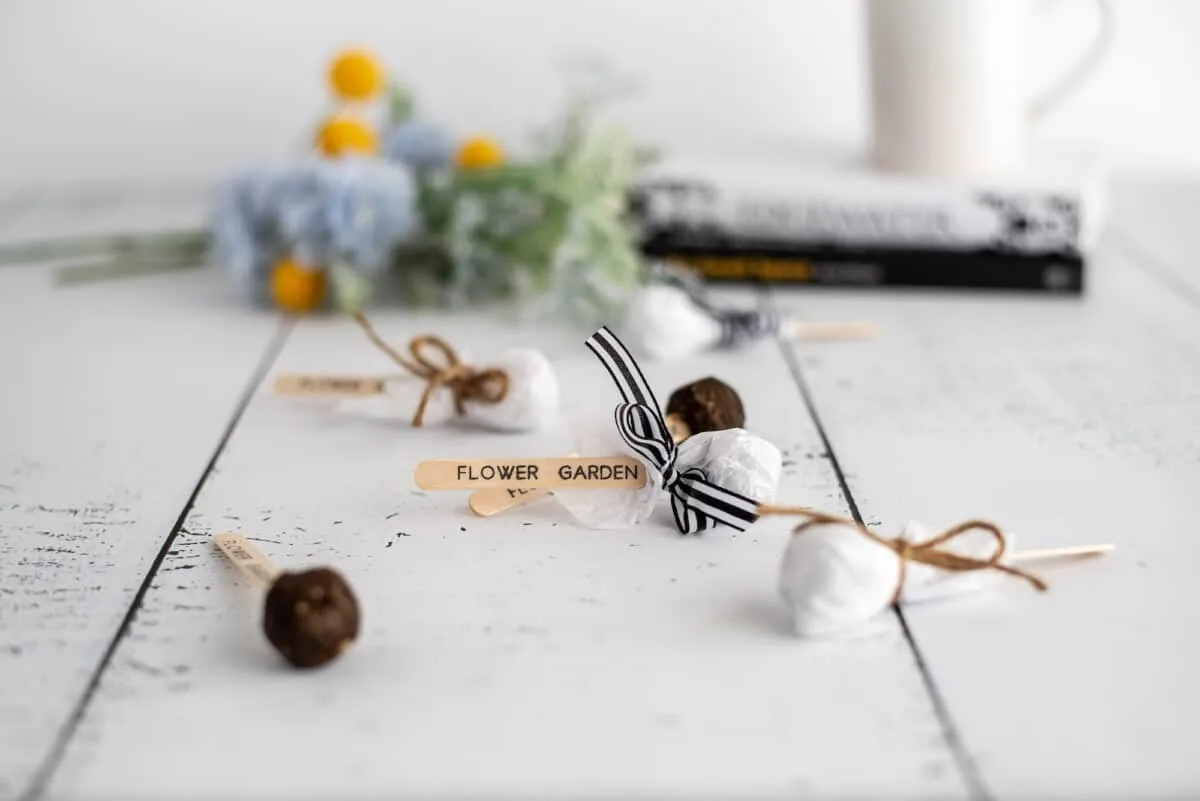
My seed bombs are created to be put on a stick, which then works as a garden marker! You might call them seed pops because they look similar to lollipops! Making them this way makes it easier to wrap up and make pretty.
FAQs About Seed Bombs
Why Do I Need Clay for Seed Bombs?
Bentonite clay is used in the mixture to hold the ingredients together so that it can form a ball. The natural clay will easily decompose in the earth when planted.
How Many Seeds Should I Use?
You want to use enough seeds so that there is a very high chance of flowers actually growing from the seed bomb. Definitely add more than just a few seeds per ball!
You will want the soil, clay and seeds mixture to be thick with seeds, but not so full that the soil and clay don’t mix together. Too many seeds and you will have a crumbly ball that won’t hold together.
For a very special gift, you can harvest seeds from your garden to use in these seed bombs. Check out these tutorials for the quick and easy ways to harvest seeds from your flowers this year:
- harvest cosmos seeds
- how to harvest yarrow seeds
- how to harvest nasturtium seeds
- how to save Guara seeds
- how to save coneflower seeds
What Type of Seeds Should I Use?
Seed bombs can use any type of seed that you want. Wildflowers are among the most popular because they are easy to grow and don’t need a lot of care after adding the seeds to the soil. Be sure to pick wildflowers that are native to the region.
Not all wildflowers are the same. Some seeds will work in dry conditions out west, while others are better in the hot and humid south. If you are buying seeds in a local store, chances are they are selling what works in your area. If you are buying seeds online, be sure to check which zones they will grow in.
Flower seeds are the most popular to use. Lavender seeds would be perfect to use. Or try zinnias or cosmos, which aren’t wildflowers but grow easily.
Can I Increase This Recipe to Make More?
Yes! You can make as many seed bombs as you like. Just make sure to always keep the seed bomb recipe to a 1 to 1 ratio of soil to clay.
How to Use Seed Bombs
Dig a shallow hole in your garden or a planter filled with potting soil. Place the seed bomb inside and lightly cover with soil. You can gently break apart the seed bomb to cover more surface area, if you would like. Water gently and keep moist, but not wet.
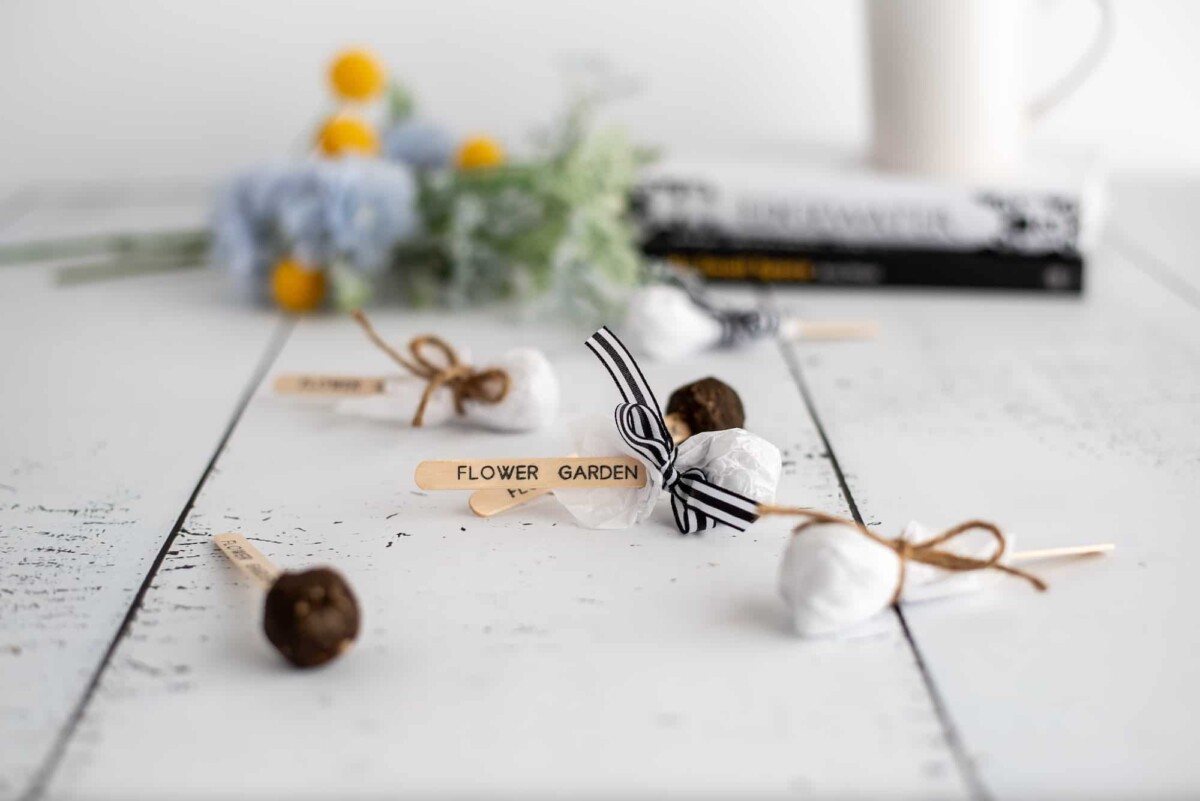
These seed pops come with a garden marker. Placing the marker in the soil where you put the seeds will help you to remember where they are. You might also want to make these clay garden markers for your plants.
Helpful Tips
- We used normal white tissue paper to wrap the seed pops as party favors. If you are making these well in advance of your party, though, you might want to use a paper wrap that has a coating that won’t be affected by the dampness in the seed mixture. Consider parchment paper, decorative wax paper squares or floral bouquet wrapping paper.
- I used seed packs bought at a home improvement store to make a few seed pops. If you are making a lot, consider buying wildflower seeds in bulk.

How to Make Wildflower Seed Bombs on a Stick
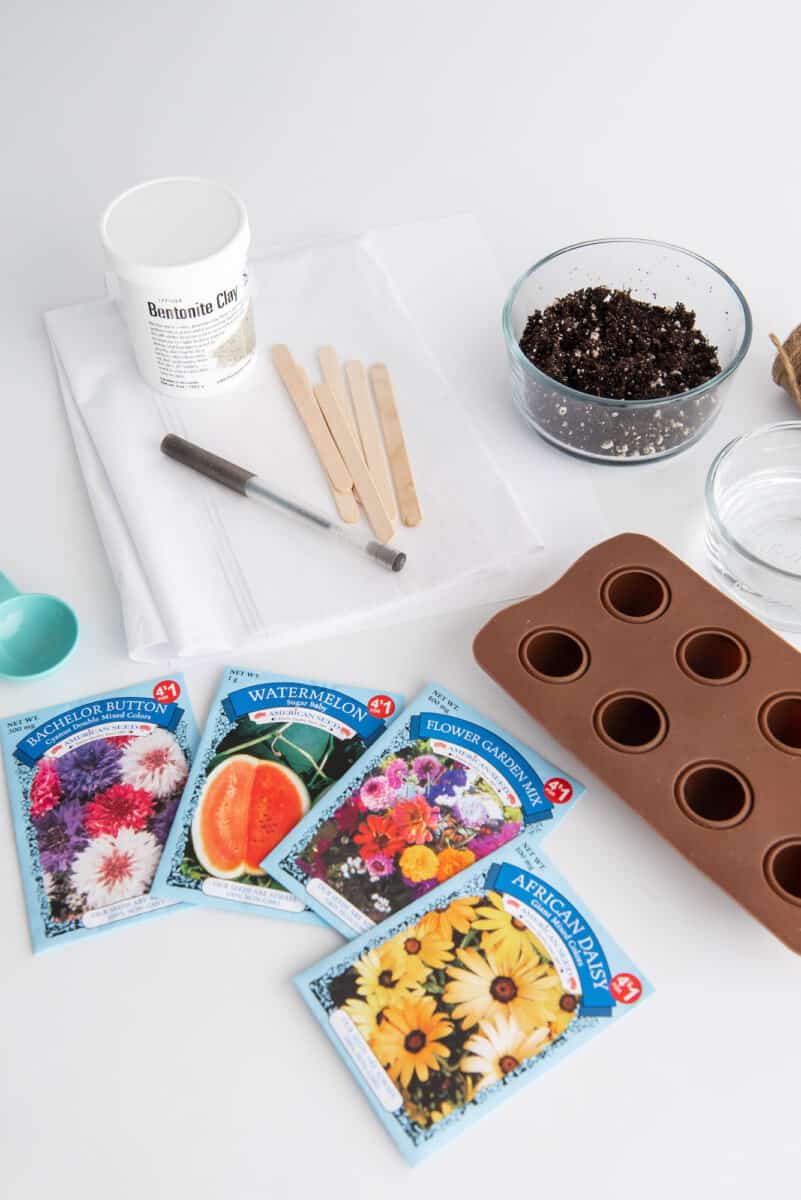
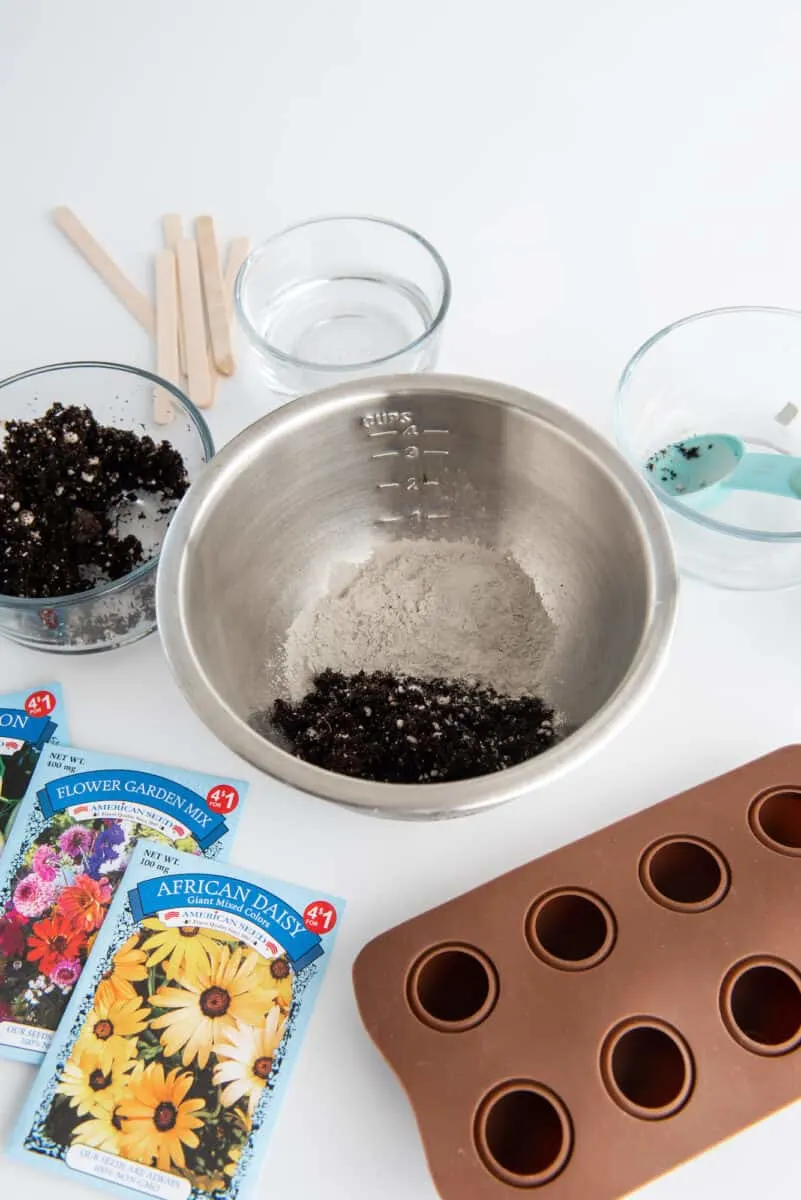
Supplies
- Wildflower seeds (I absolutely love Botanical Interests seeds and have had a lot of success with them, however Dollar Tree seeds can be used, too)
- Soil or compost (½ cup)
- Bentonite Clay (½ cup)
- Craft sticks
- Round ball silicone mold (or any shape you’d like)
- Water
- Tissue paper
- Scissors
- Pen or Sharpie Marker
- Ribbon or Twine

Directions
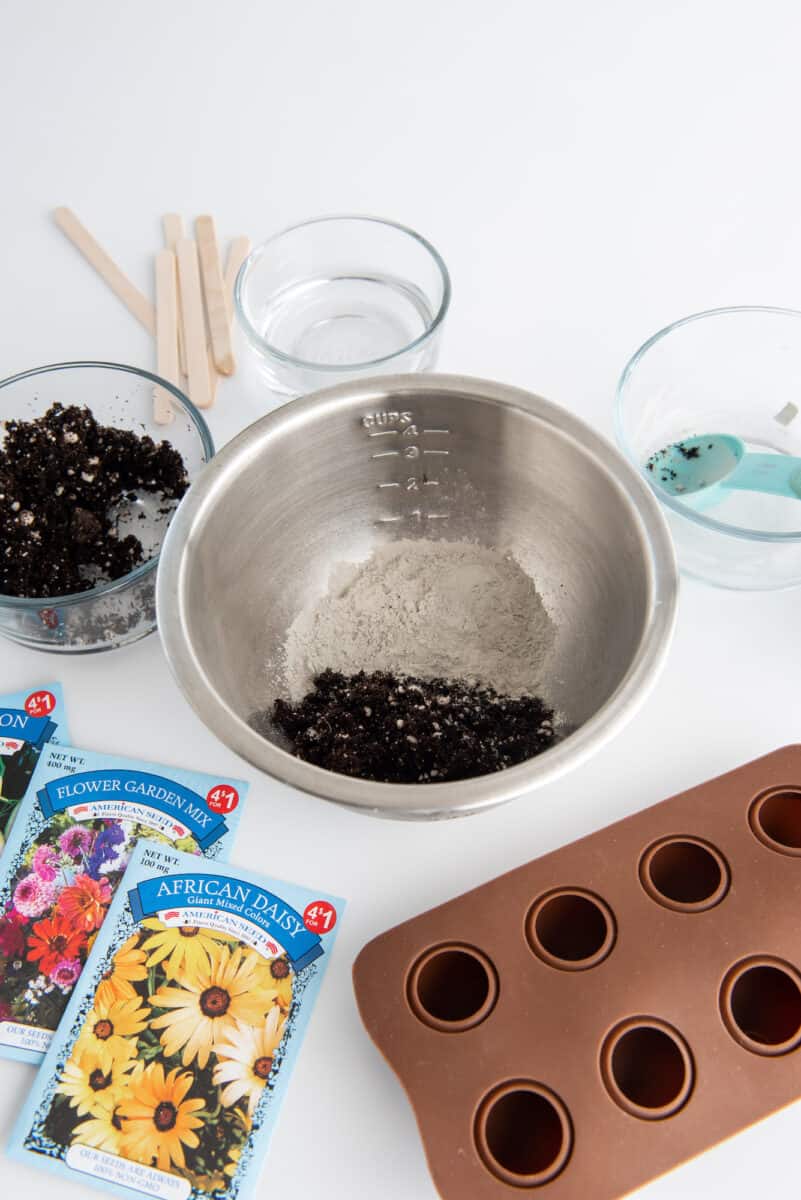
Step 1
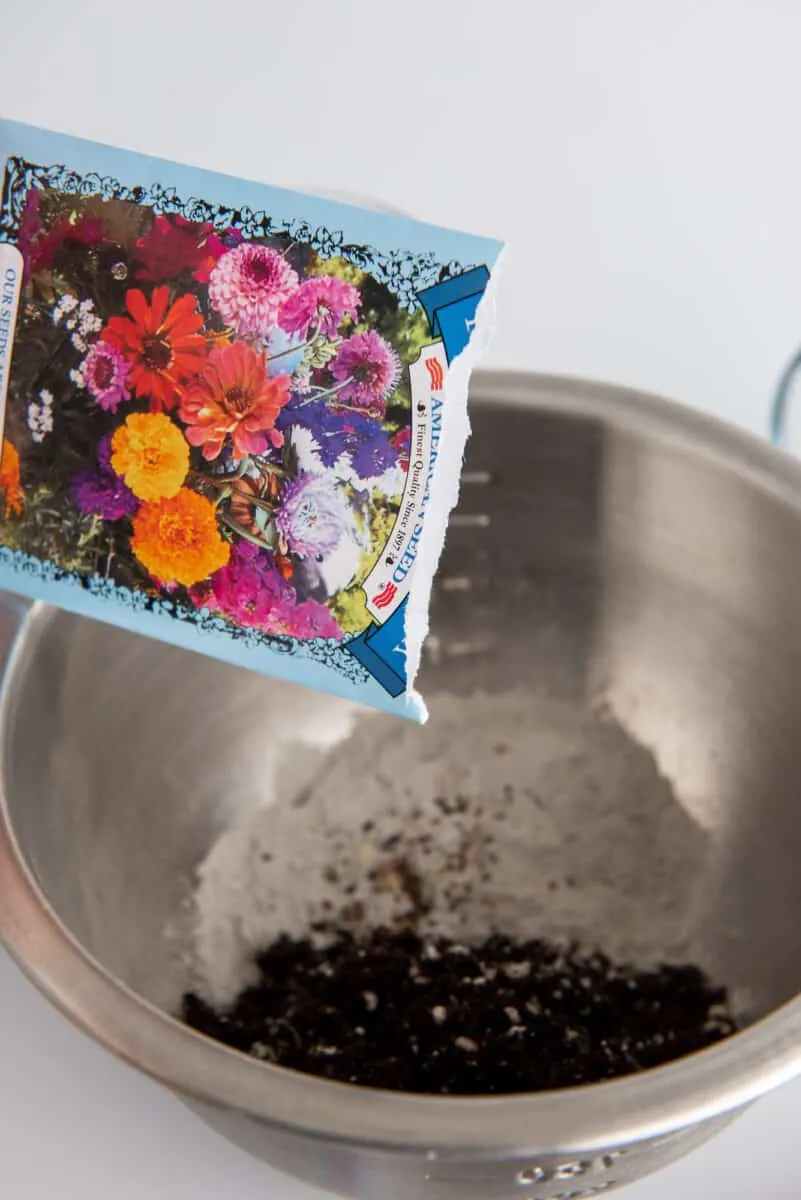
Put the soil or compost in a mixing bowl. Add the bentonite clay and the seeds.
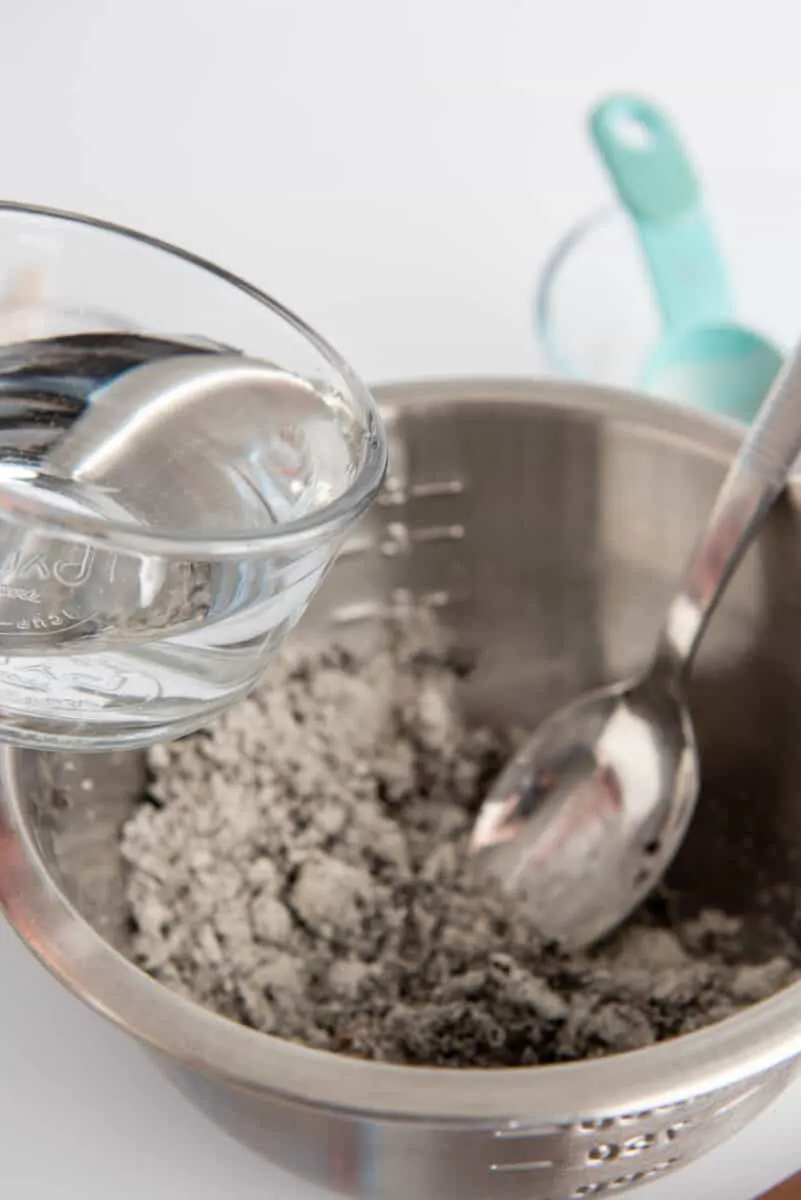
Slowly add water and stir together. You want the mix to have the consistency of play doh.


Step 2
Add the mixture to your silicone molds. Be sure to pack in the mixture tightly.
Step 3
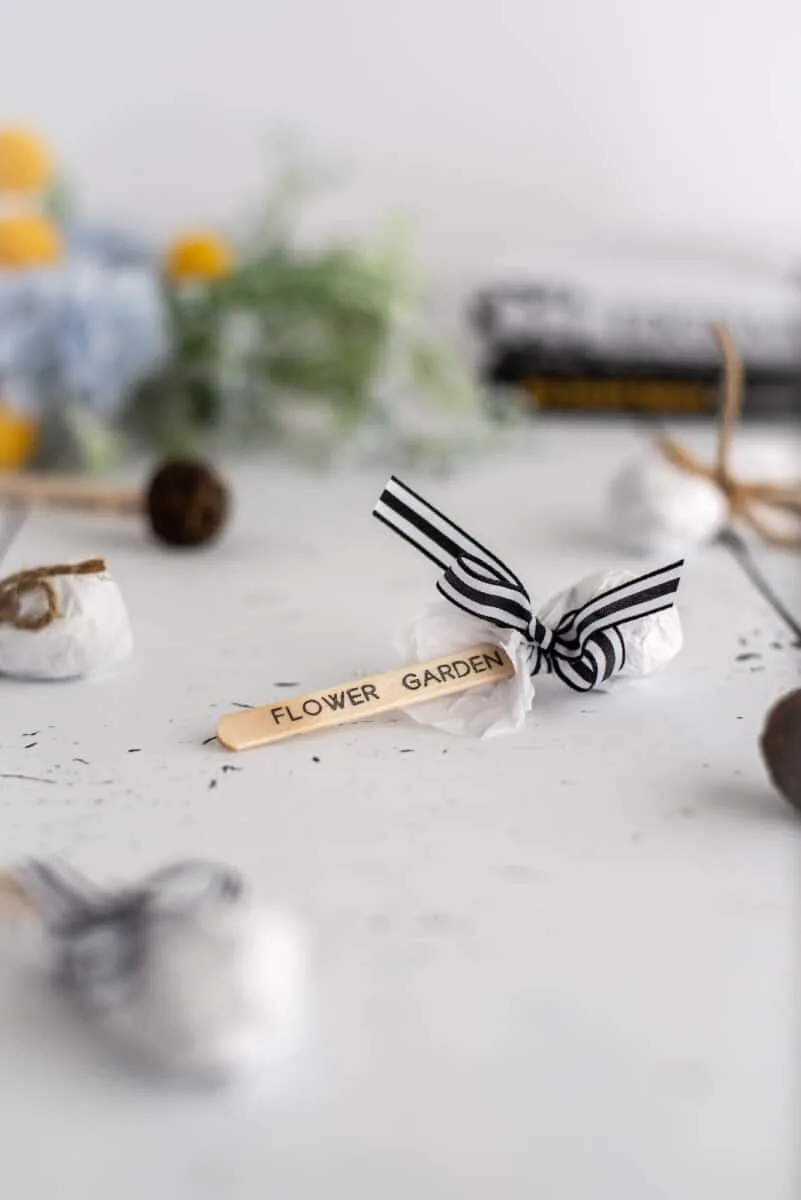
Write the type of the seeds on the craft sticks with a marker. Leave about ½ inch of empty space on the bottom of the stick so that you can insert it into the wildflower bomb.
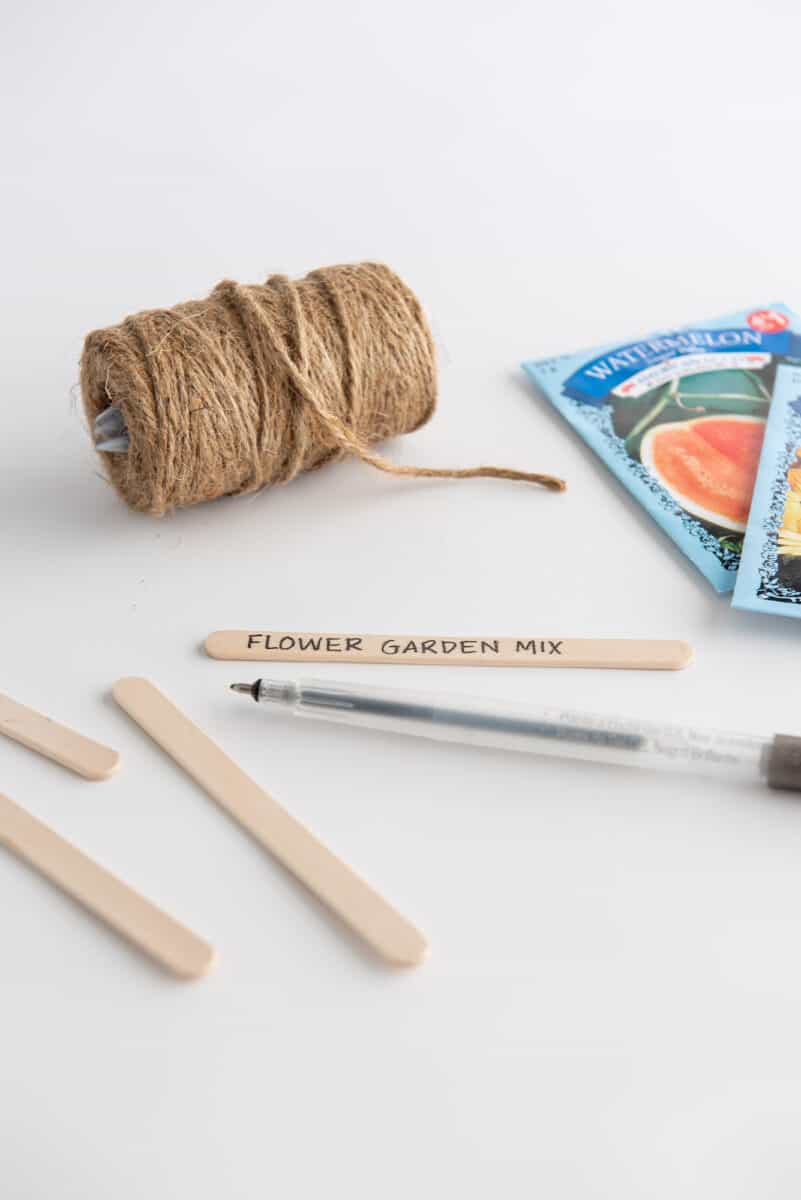

Alternatively, you could write a different type of message, such as “Bee Happy” or “Grow Good Vibes.”
Step 4
Insert the markers into the seed bombs while wet in the silicone mold.
Allow the seed pops to dry and harden. This should take 24-48 hours depending on weather and humidity levels.

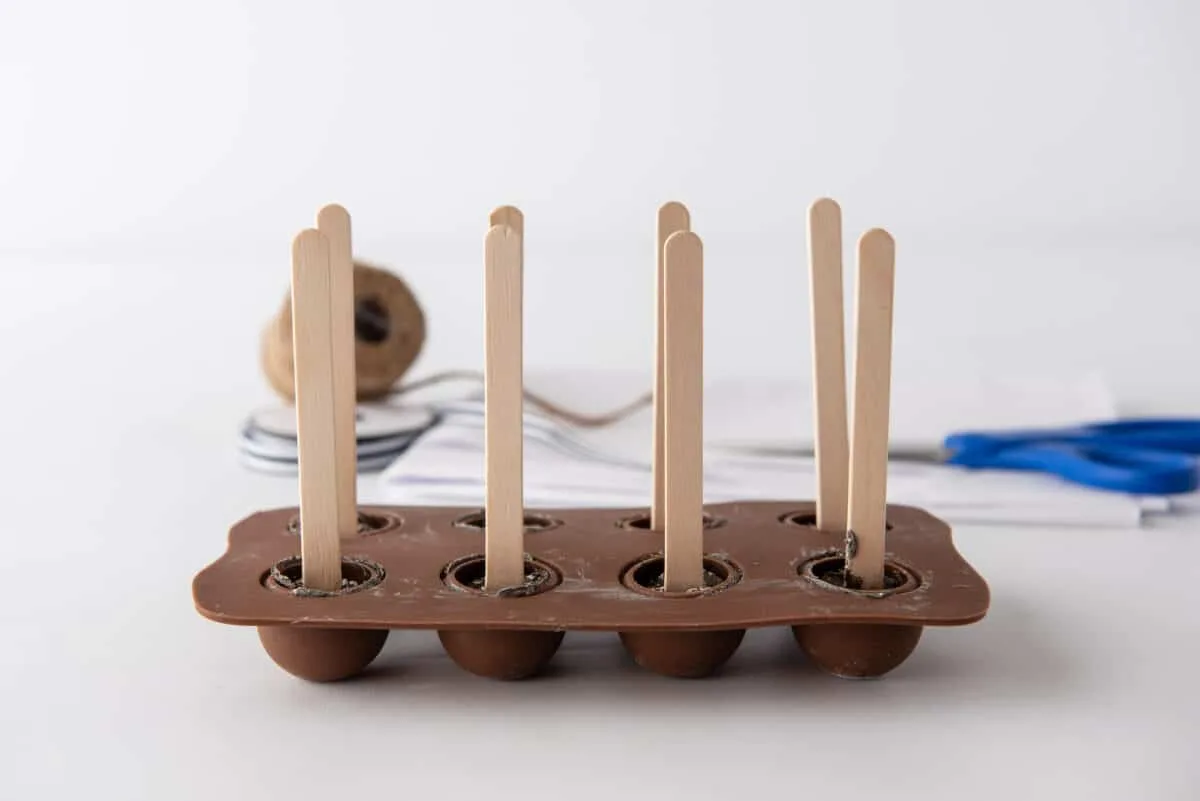
I would not suggest drying outdoors, as birds and animals could try to eat the wildflower bombs for the seeds!
Step 5
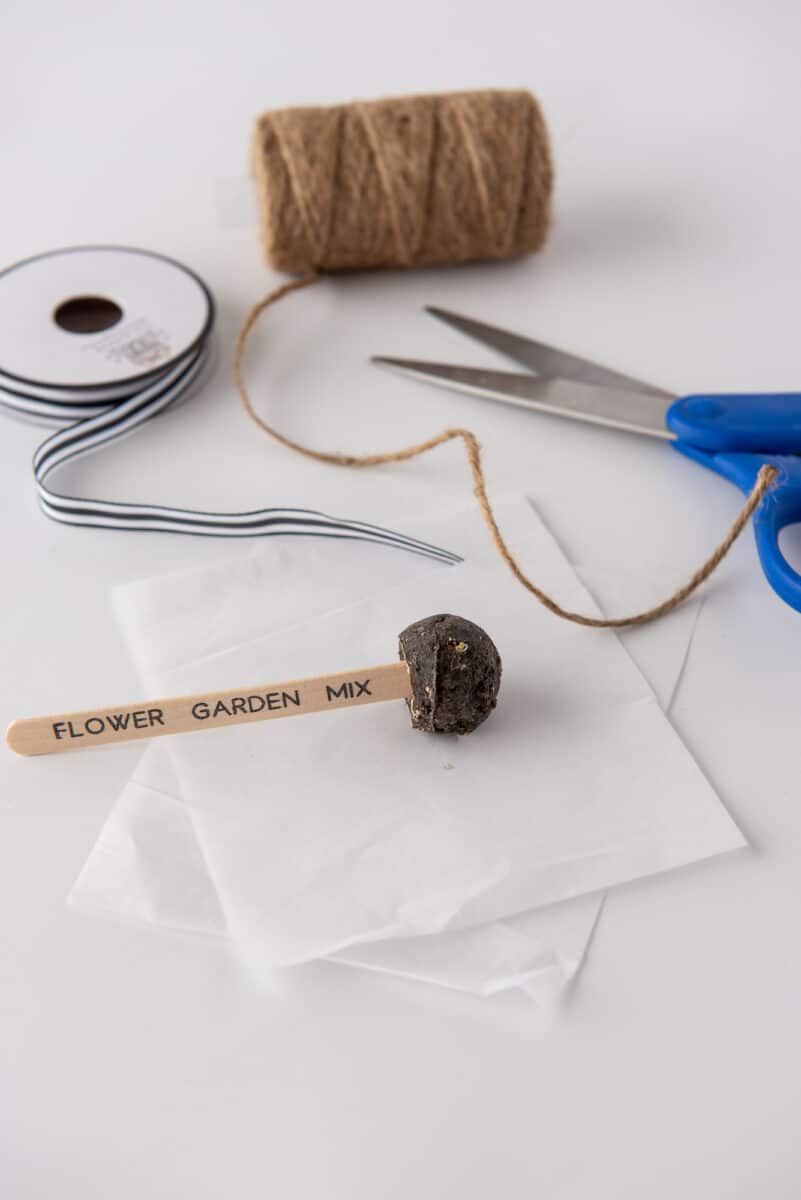
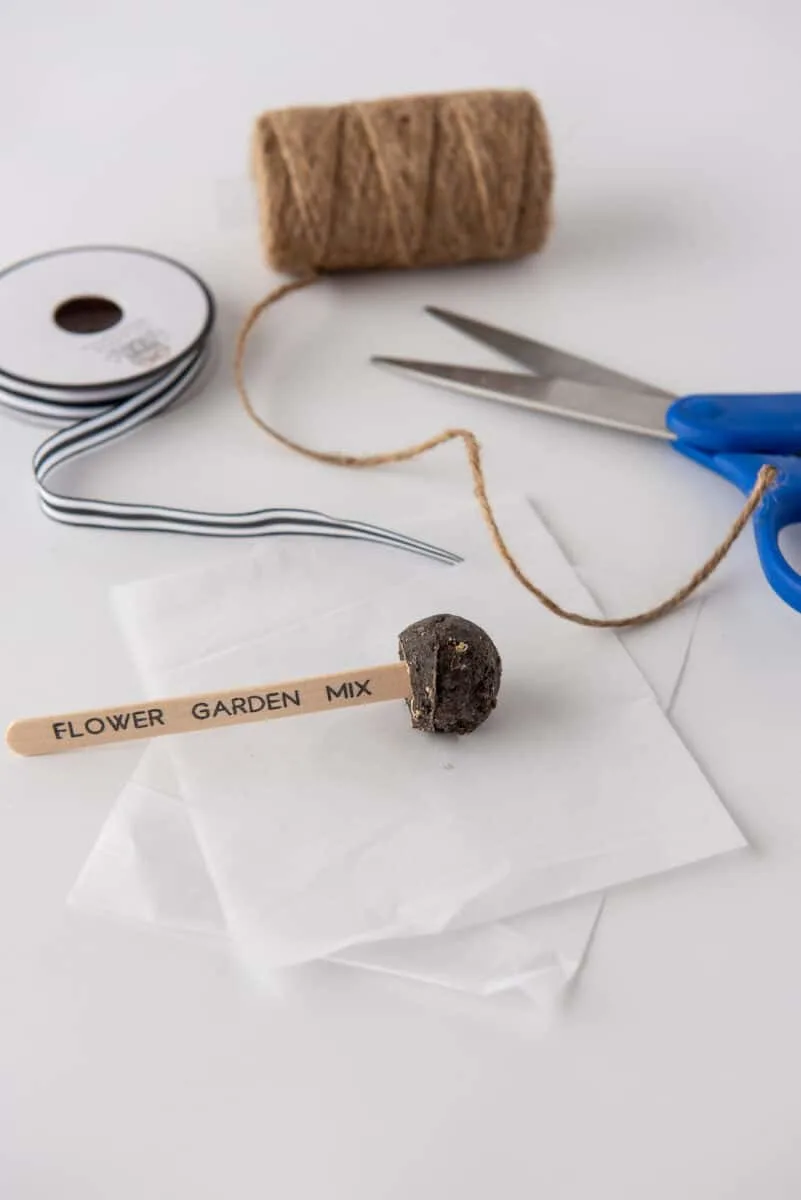
Gently remove the seed bombs from the silicone mold. They might not be completely hard and solid, because they do need to decompose in nature, so keep that in mind.
Wrap the seed pops with tissue paper around the wildflower bomb and tie with ribbon or twine to secure.
Be sure to save this idea for later so you can find it! Pin it to Pinterest, share on Facebook or add to Flipboard.
Another fun way to gift seeds are these easy DIY seed packet gift holders.
If you love garden crafts, be sure to see these next:
