

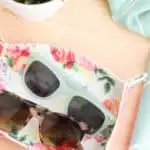
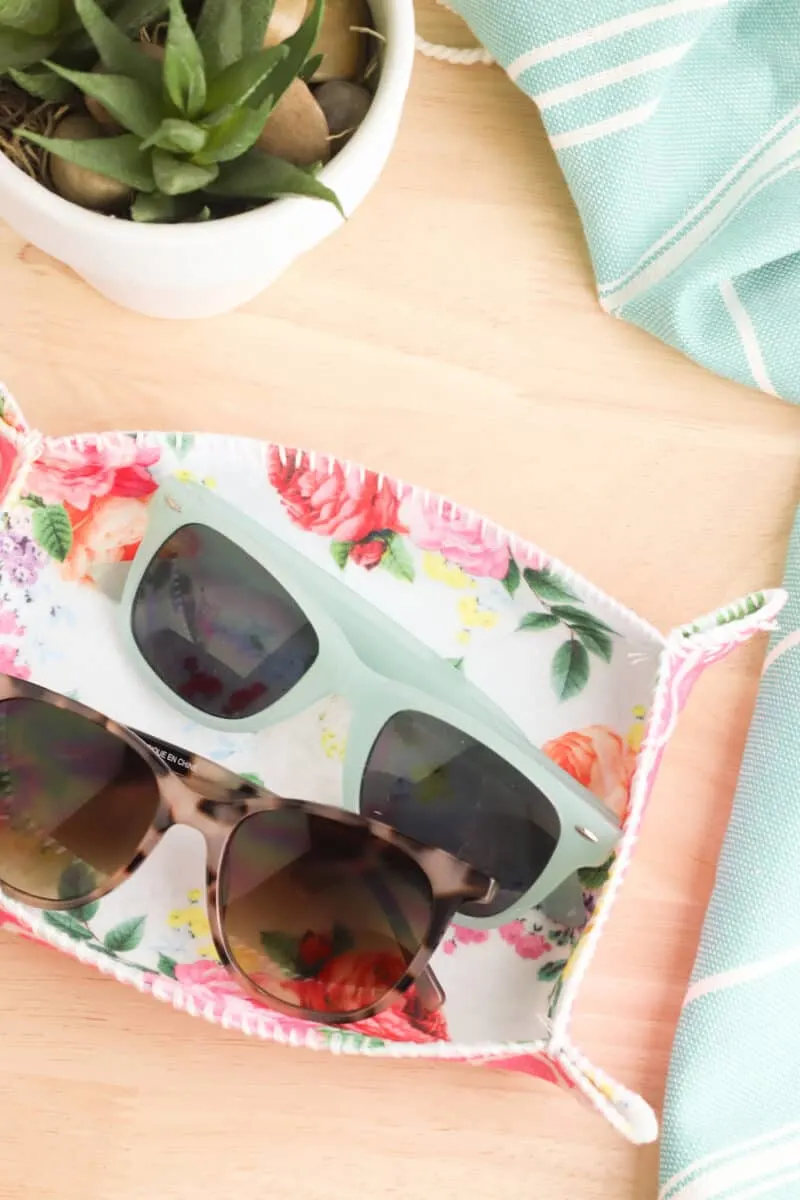
This has got to be one of the easiest sewing projects that I’ve shared so far! This feminine hand stitched valet tray is made in just four easy steps with materials that cost less than $5!
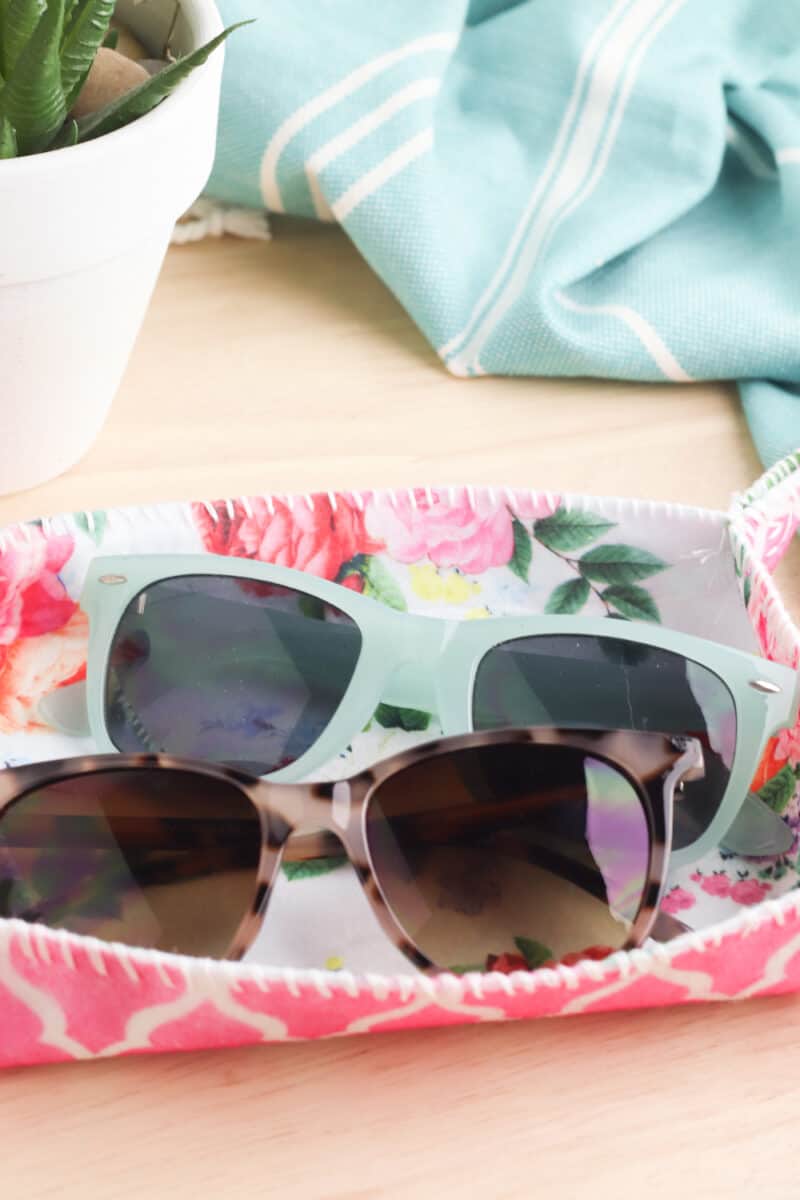
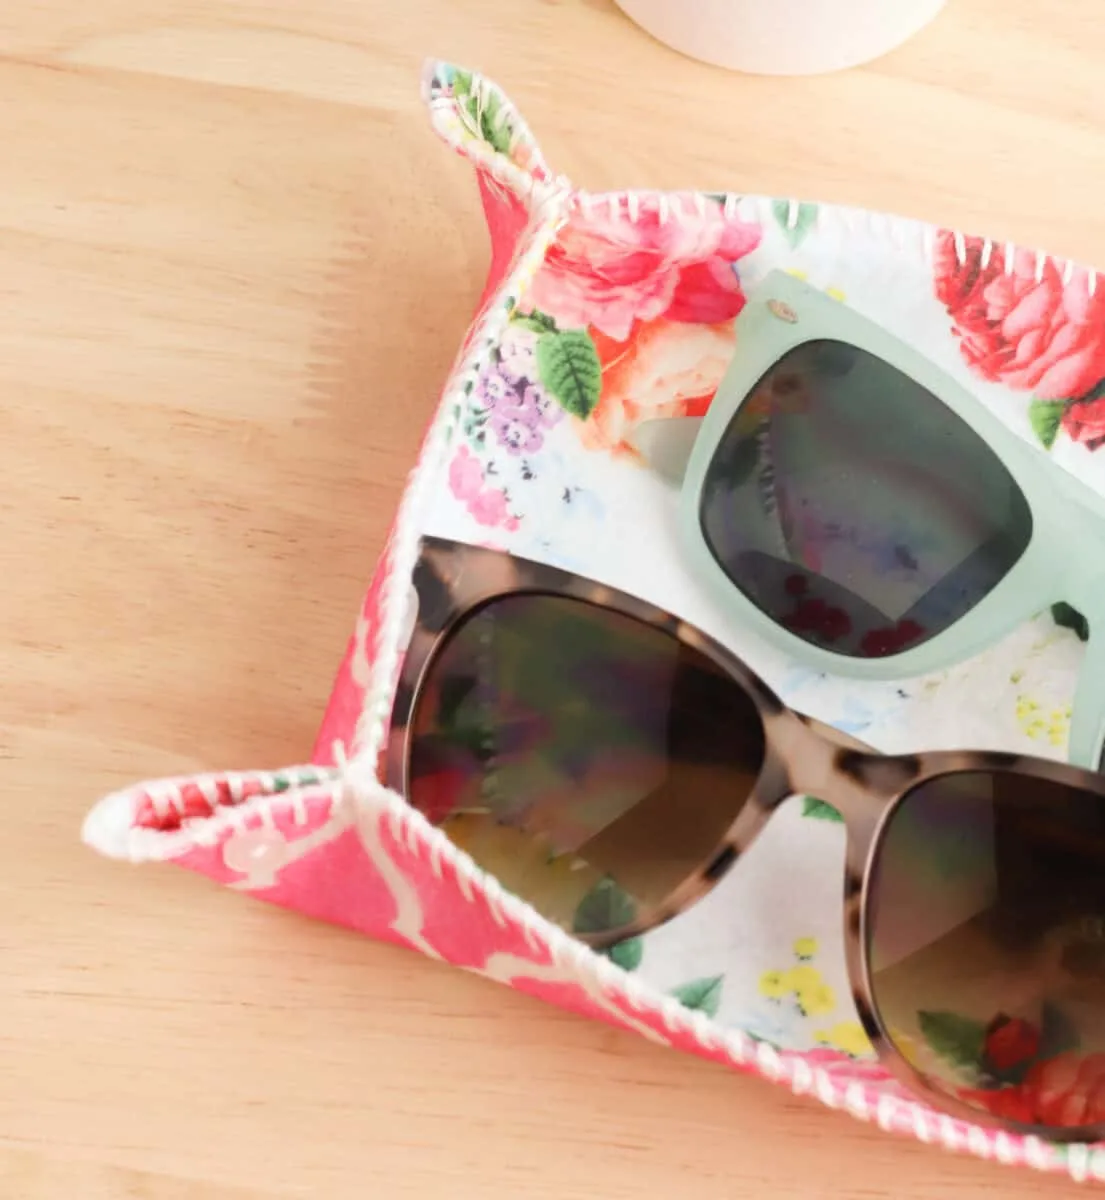
If you want a pretty place to store your sunglasses, watches or jewelry, these valet trays are perfect for you.

They are also great for an entryway if you are always misplacing your keys and wallet. Just put all of your things in this pretty tray when you walk through the door.
If you have been scared to try a sewing project because you don’t have a sewing machine, then this DIY felt tray is for you! You just need a needle and thread and a super simple hand stitch technique.
Why not make quite a few of these to store accessories in your closet and drawers?

They make great gifts, too! Especially if you fill the tray with some homemade treats before gifting!
This tutorial can also be found on EasyThingstoSew.com.
How to Make a Felt Valet Tray
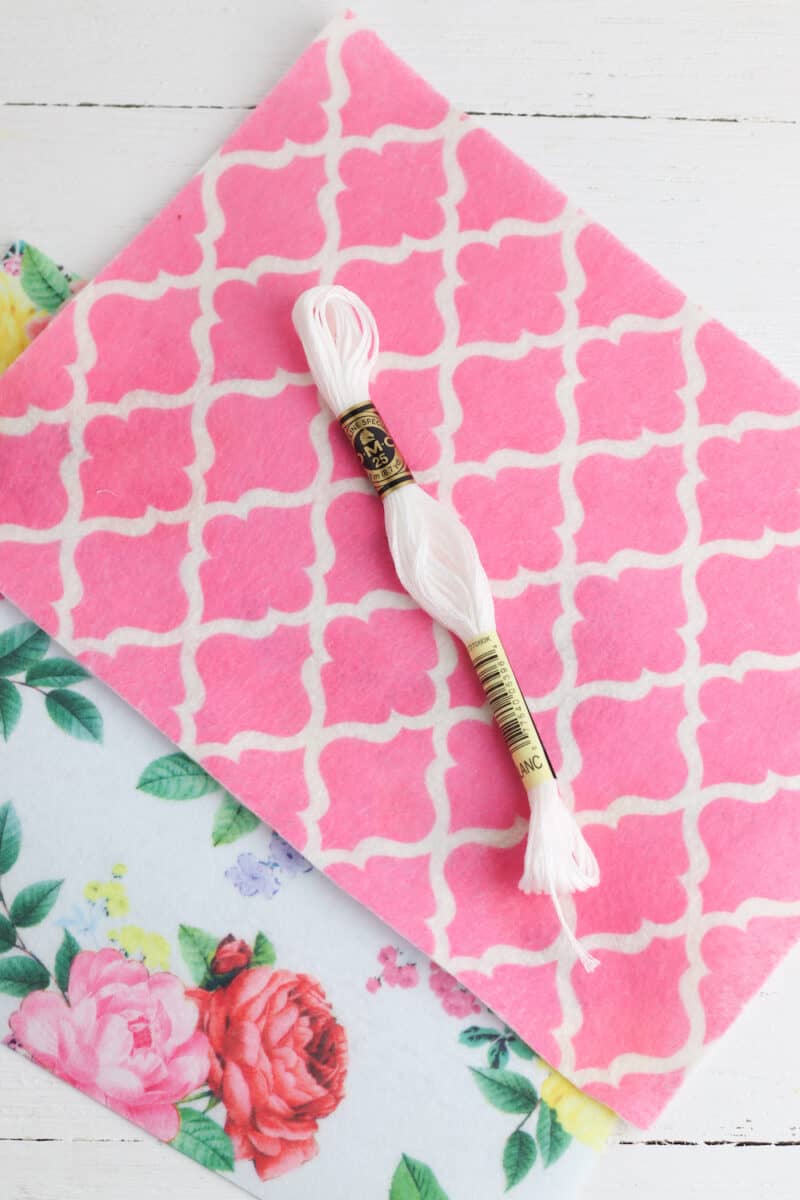
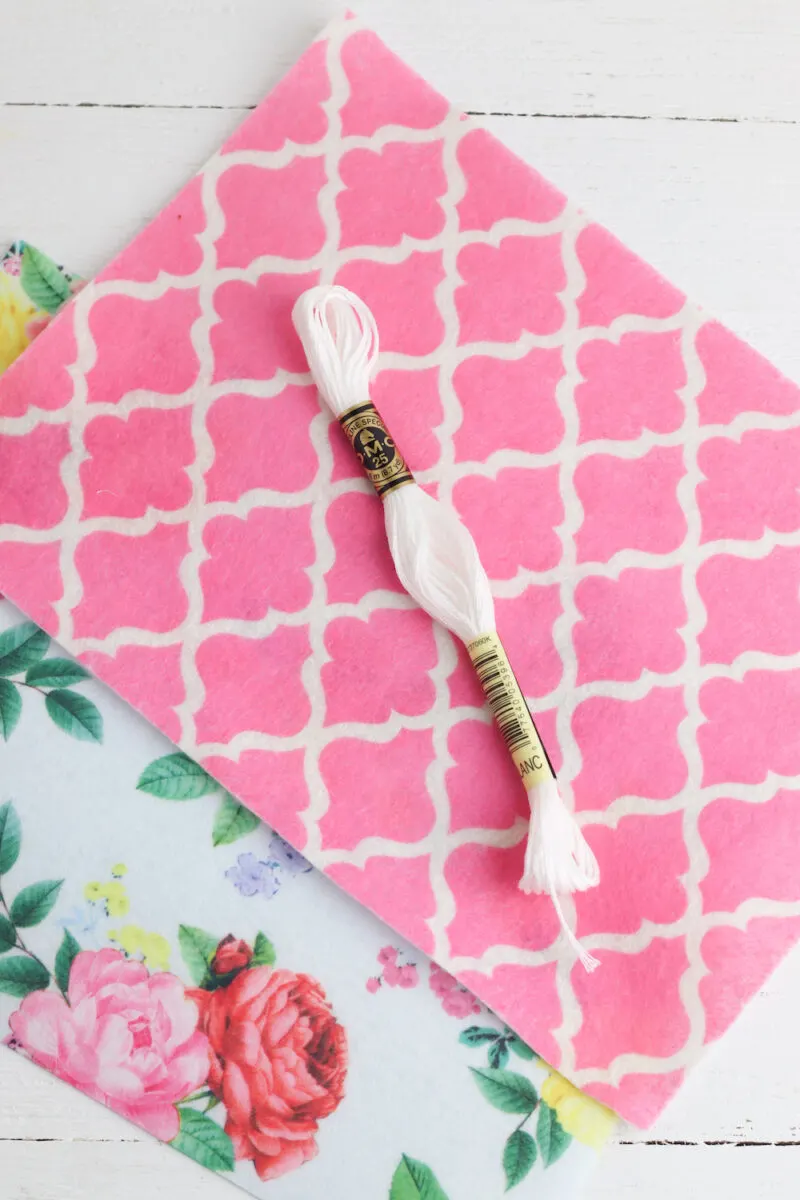
Supplies
- 2 pieces of patterned felt (here’s some cute felt on Etsy)
- Embroidery thread
- 4 small buttons
- Embroidery needle
Instructions
Step 1
Trim the felt to the size you would like your tray to be, keeping in mind that you will be pulling up the ends slightly. You could make a square valet tray, or a rectangular size.
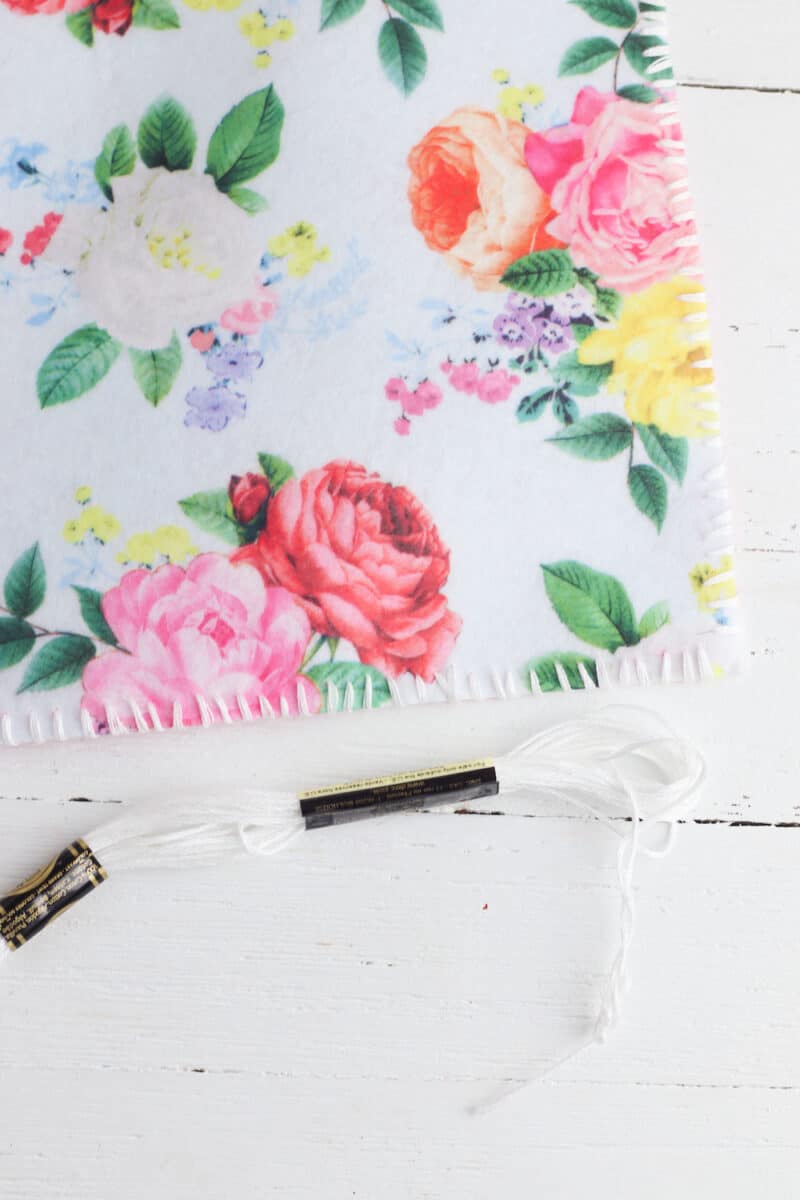
Step 2
Stack the two felt pieces on top of each other, wrong sides together, with both patterns facing outward.
Sew the pieces together with a whip stitch by looping the embroidery thread over the edge of the fabric.

Step 3
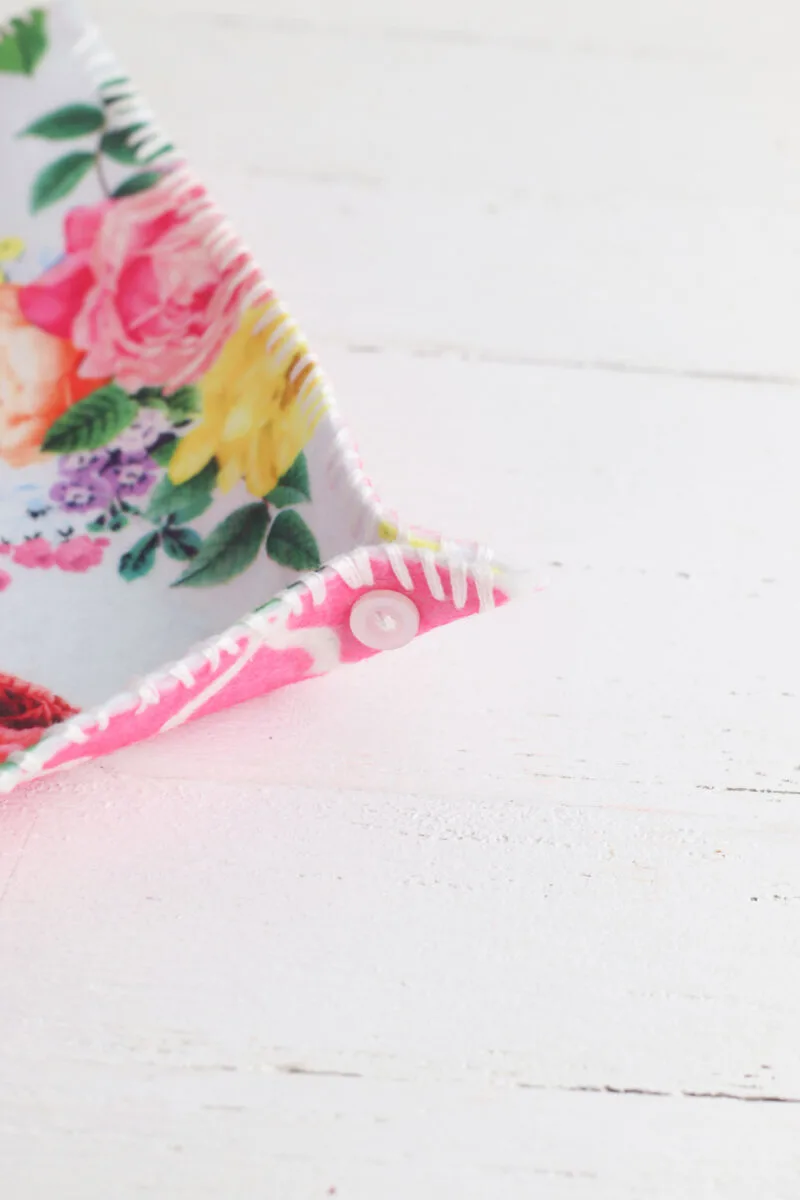
Put a button on the side of one corner and thread the needle through to prepare for stitching.

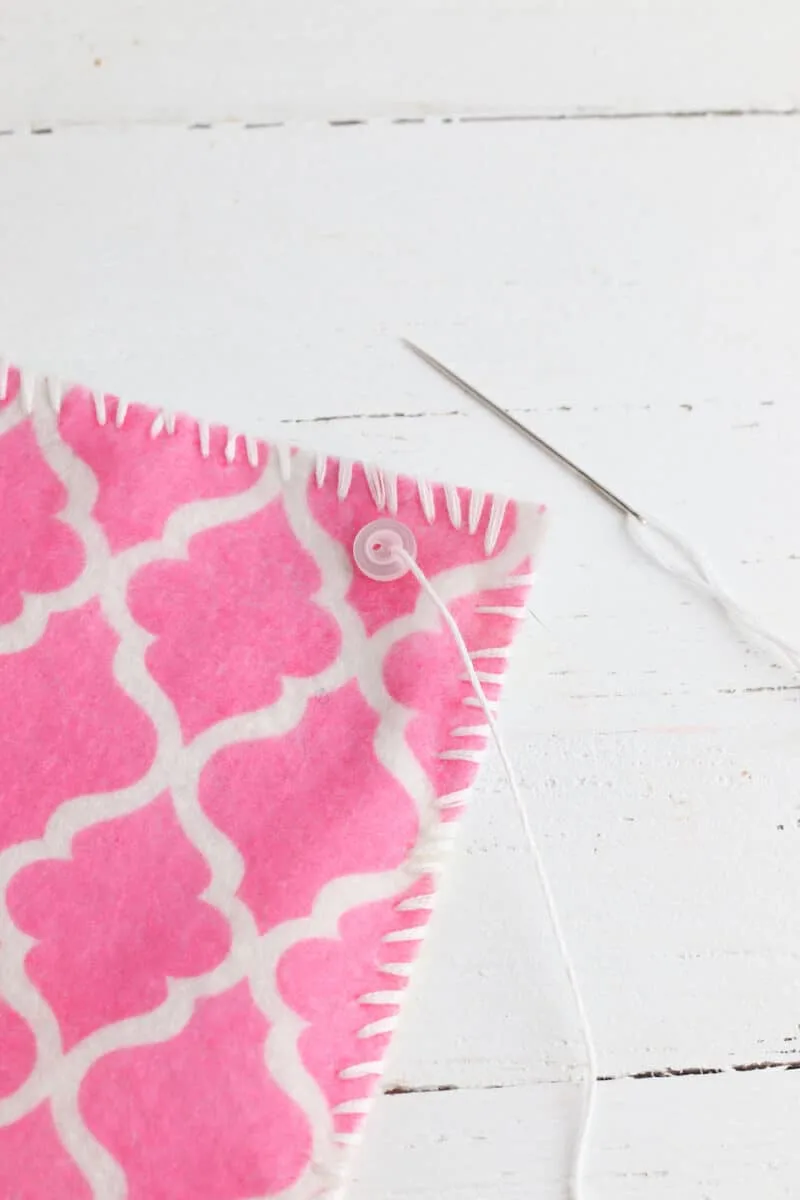
Pinch the sides of the corner together and hold with your hand or pin to hold.
Sew the button on the corner, threading the needle through each side of the corner to catch both sides and hold them together. When the corners are secure, knot the thread and cut off the excess. Repeat the process on each corner.
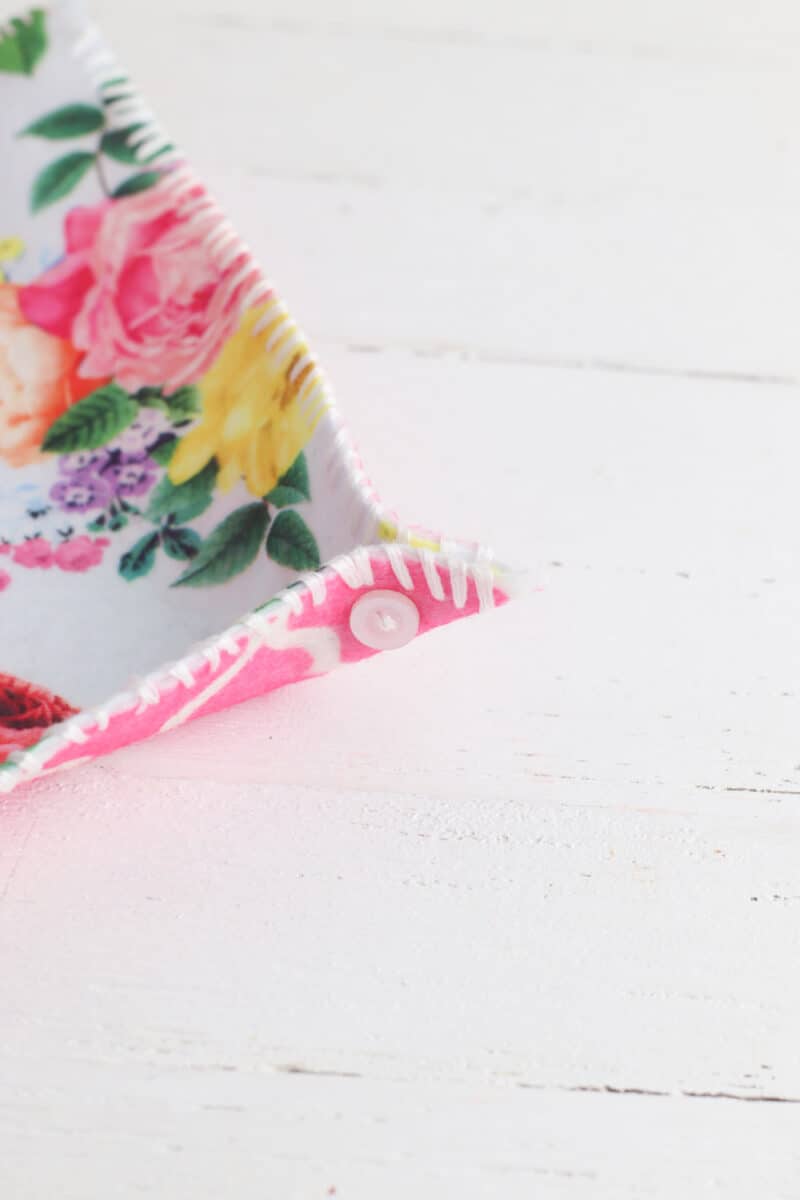
Step 4
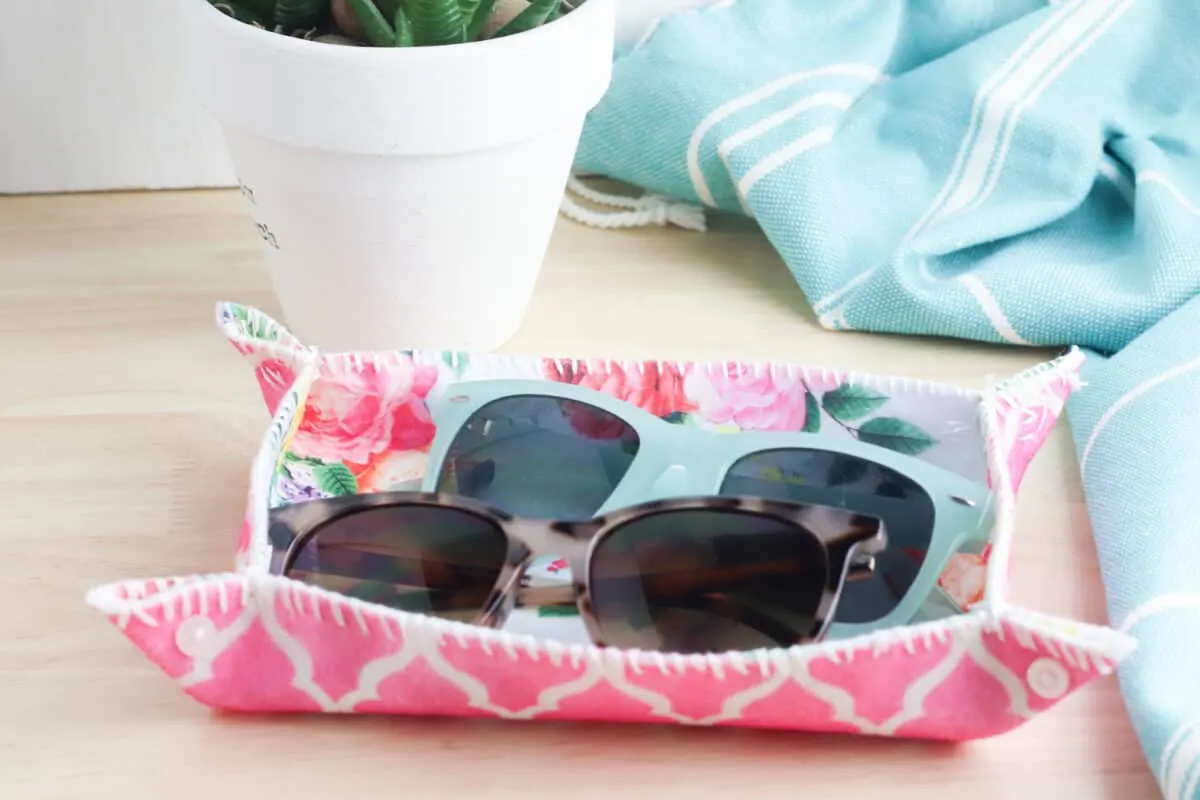
I decided after making these that I wanted a more squared-off corner for the tray.
I pinched the corners together again and hand stitched them together about a half inch from the button. I just did a few stitches to keep the sides together. I didn’t sew down the entire length of the fabric, as you can see in the photos below.


You don’t have to be afraid of sewing! Here are more easy things to sew!
Why not try making a chic purse scarf, too, as a fashion accessory?
If you have a sewing machine, you’ll love the 5 simple steps for how to make a throw pillow cover.
