

Looking for some cheap DIY backyard makeover ideas to make your landscape and patio more functional and beautiful?
I was too.
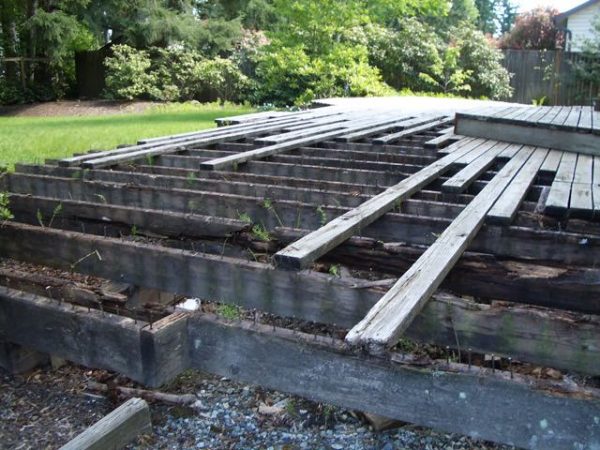
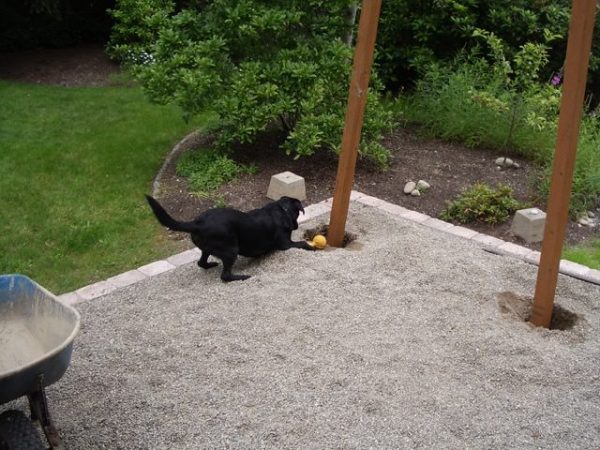
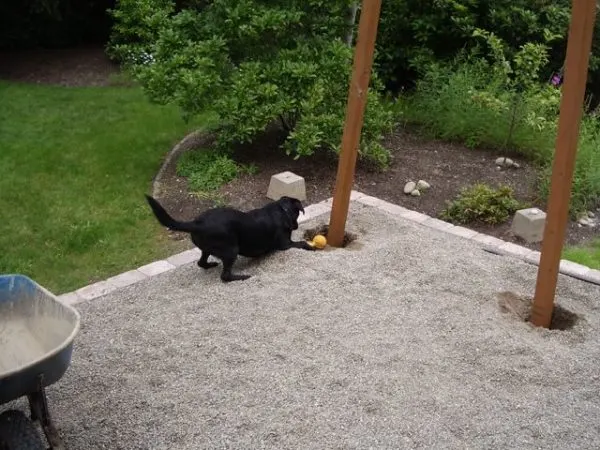
When I bought my house, the backyard looked like this:
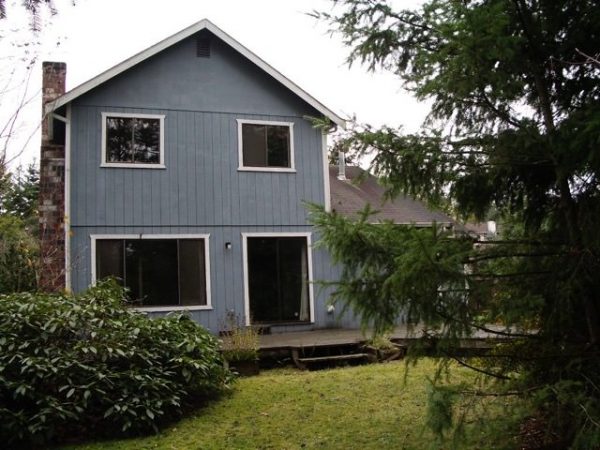

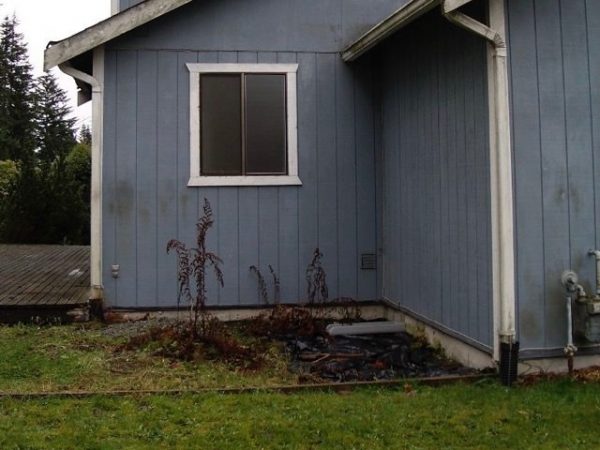


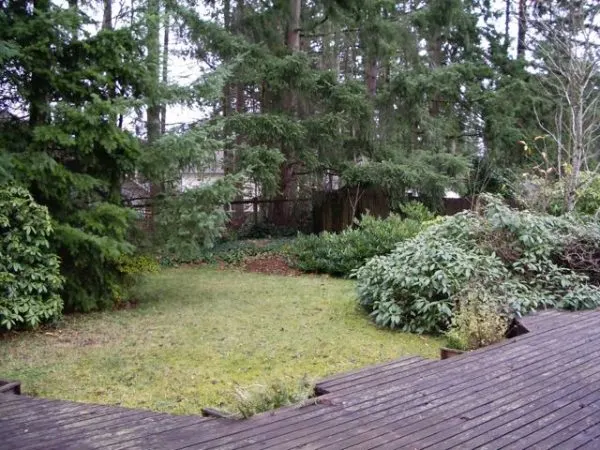
Overgrown shrubs, plenty of weeds, and a rotting deck.
Money was tight, so I carefully researched options for a cheap backyard makeover. Plus, I did some creative planning.
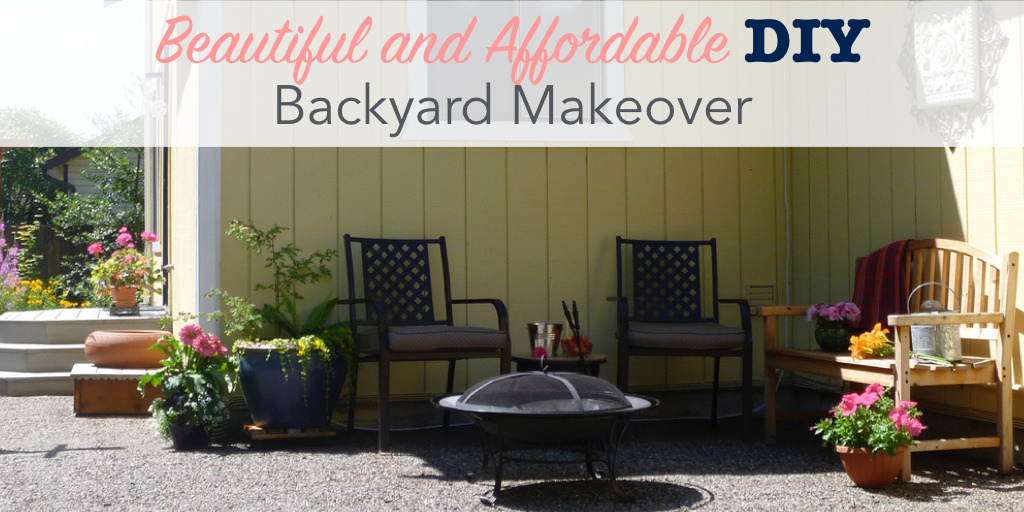
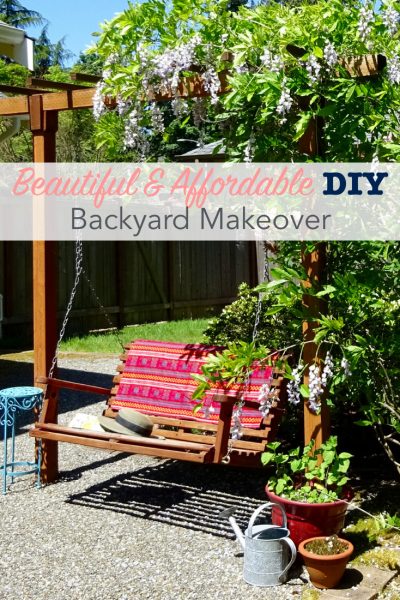
After some serious DIY, I ended up with this:
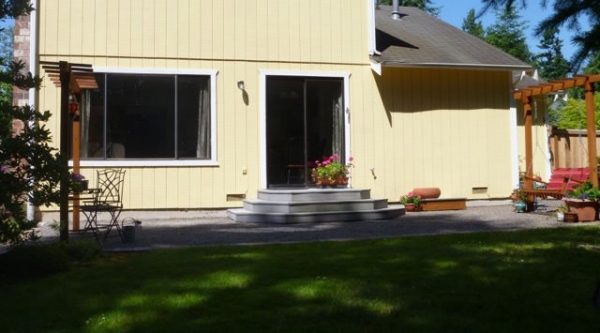


See how I turned my overgrown backyard into a beautiful oasis without spending more money than I had.
Removing the Old Deck
I started my project by removing the existing wood deck. As I pulled off the decking boards, I could see how badly rotted the beams underneath had become. This project was getting done just in time.
The debris was hauled away by a local junk removal company.


Initially, I thought I wanted to replace the deck with a stamped concrete patio. But, when the first quote for concrete came in over $30,000, I didn’t even bother pursuing that option further.
I also looked into pavers, and flagstone, but costs and site preparation work were prohibitive for such a large area. Gravel seemed to be the most cost-effective solution, but I didn’t want pebbles spreading all over the yard.
While browsing a garden forum one day, I came across a product called Klingstone Paths. It’s a binding product for rocks, that creates a hard surface, but still allows water to flow through. Cost effective and environmentally friendly. This was my solution.
Klingstone Paths are used at Old Colonial Williamsburg to make ADA compliant paths that look historical. I was intrigued and glad I found this product.
Laying Down Pavers and Pea Gravel
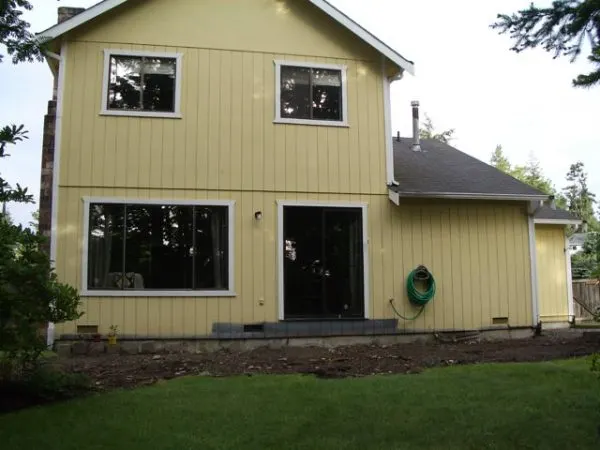
Once the deck was gone, I leveled the space with just a rake and a shovel. Since I was going to be installing a water-permeable surface, the grading didn’t have to be perfect.
Next, I planned out the perimeter. The patio would have a different footprint than the deck.
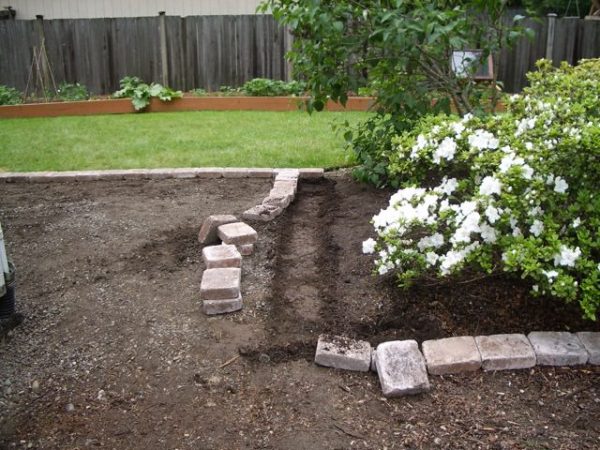
I took a measurement of the perimeter of the new patio space to the home improvement store. Once I chose an edging stone, I used this measurement to calculate how many edging pavers to purchase.
Total perimeter length ÷ Length of each paver block = Number of pavers needed
After digging out the ground slightly, I set the pavers in place, sticking up enough to contain a bed of about two inches of gravel.
I was careful to put them in straight and even to each other.

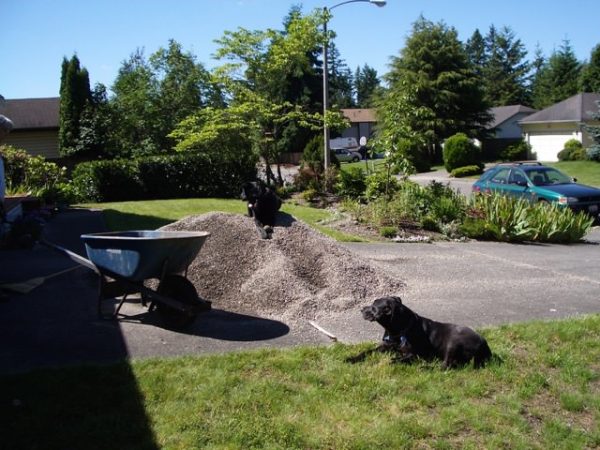
With the edging in place, next came a truckload a pea gravel. With help from my mom and the dogs (of course), we moved this in a seemingly endless number of trips with the wheelbarrow from the front yard to the back.
Then we raked it out smooth.

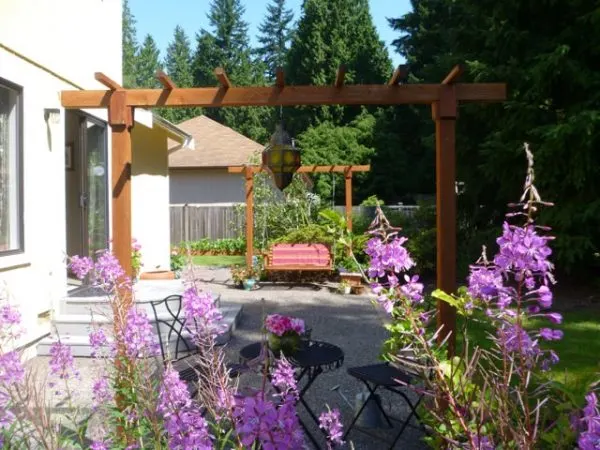
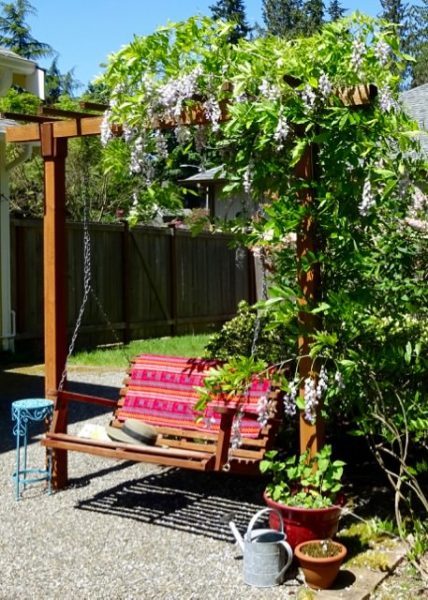
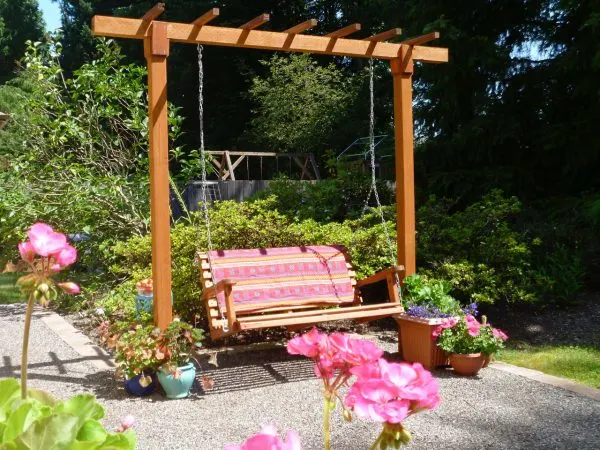
Adding a Pergola
Adding pergolas at either end of my new patio created a tiny bit more privacy, and added interest.
I built one at each end of the patio before sealing the gravel surface.
Then I planted climbing wisteria and trained it across the top. I put the wisteria in the ground, but I could have also used a large flower pot for a climbing plant. After a couple years, this is my favorite spot in the yard.

If you want to make a pergola for your own yard, be sure to check out how I made a simple DIY Pergola without woodworking patterns. It has step-by-step instructions and a full materials list.
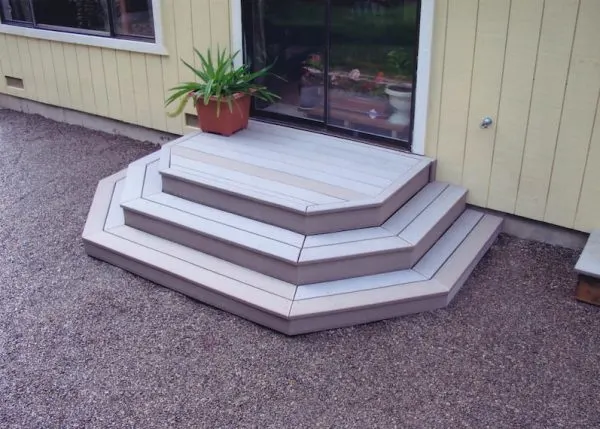
Building the Steps
To get from the sliding glass door to the patio level, I created steps with a tiered design, with angled corners, to allow easy access to the whole space.
My mom and dad both pitched in to help build this design. A contractor friend also added some finishing touches.
We used wood framing and engineered decking boards. The engineered boards were a splurge, but it was a great decision.


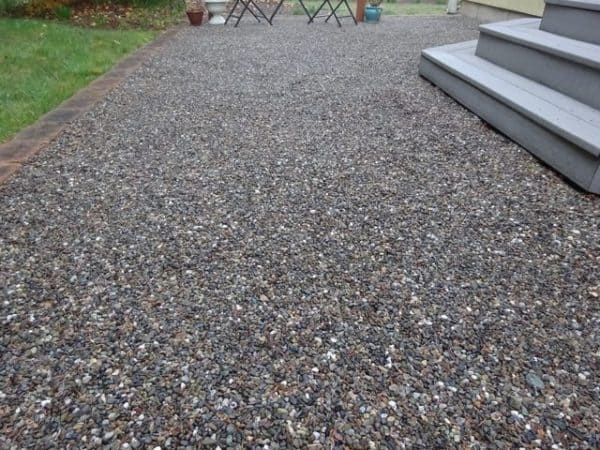
Sealing the Surface with Klingstone
Once the building work was done and the gravel was smoothed, it was time to apply the binding product. I don’t have any pictures of this process, because I did it all by myself one evening. It was a little harder than I expected, but still doable.
First, I rented a lawn roller and filled it with water. I used this to compact the gravel.
Then, following the manufacturer’s directions, I used a watering can to spread the Klingstone binding product. (It didn’t work quite as easily as I imagined it would, and I had to run out to the store to buy another plastic watering can mid-project.)
Working in sections, I completed the process in a couple hours. The binder needs to cure during a period without rain, so I had to choose my timing carefully around the Seattle weather.
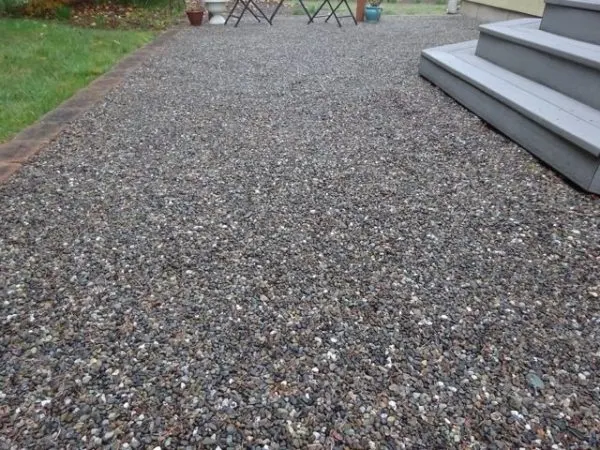
The finished surface is solid like concrete, so the pebbles don’t get scattered all over the yard. It is also easier to walk on than loose gravel. The best part is that water flows right through, so I never have to worry about drainage.
For more details on the patio, check out my post on Concrete Alternatives and the steps that I took for my backyard makeover.
Creating Outdoor Living Spaces
Excited to make the most of my new space, I hung a swing from one of the pergolas. At the other end of the patio, I hung a colored glass lantern over a table and chairs bistro set.
These became perfect spaces for reading a book, and enjoying a summer meal. These outdoor tin can drink holders were perfect to make to have a drink nearby!

At the side of the house, there is a perfect little nook for a fire bowl. It is now a fun place to roast marshmallows with the family.
Colorful potted plants soften and brighten the space. Here’s how to save money if you want to plant large flower containers.
You might want to consider adding some lavender plants to prevent mosquitoes. Or plant pretty flowers from harvesting cosmos seeds each year.
And if you are adding a lot of pots to your patio or porch, here are some great pot filler ideas to save money on the cost of potting soil.
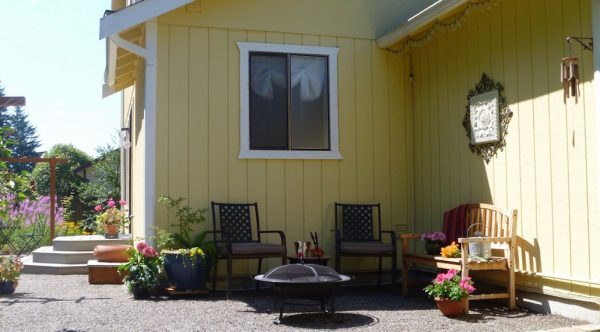

I had some wind chimes already, as you can see in the photo. But these DIY tin can wind chimes would be cute, too.
I am happy that I didn’t repeat my no-water front yard in the backyard. I like having grass and places to walk easily with bare feet.
Using free wood chips could have been an option for walkways or the yard, but they would have needed to be replaced often.
Transforming a blank space into something beautiful is the best part of the project. There are so many fun ways to make your yard both pretty and functional.
Project Budget
From prying up the first deck boards, to finally relaxing at the fire pit, this project took a couple months to complete. And it cost under $3,000.
Here is my backyard makeover cost breakdown:
| Wooden Deck Debris Removal: | $420.00 |
| Edging Pavers: | $174.39 |
| Gravel (4 cu. yds.): | $186.15 |
| Steps & Pergola Materials: | $745.42 |
| Klingstone (30 gal.): | $1,122.74 |
| Lawn Roller Rental: | $14.00 |
| PROJECT TOTAL: | $2,662.70 |
Compared to a $30,000 concrete patio estimate, this DIY patio project was definitely a makeover done on a dime. And the result is fantastic.
My budget was extremely tight, but the final result was everything I had hoped for. Cutting back the overgrown shrubs, and installing the patio made the space usable. But it’s the extra touches like pergolas, blooming plants, colorful pots, seating, a swing, and a fire pit that really make the space special.
Want to bookmark some of my ideas? Be sure to Pin This project to save for later and refer to when you are redoing your backyard.

Don’t forget to download your free copy of our Outdoor Living Idea Guide to help inspire your own backyard transformation.


If you like this, you should check out my front yard makeover using no mow lawn alternatives.

Lucie
Thursday 25th of May 2023
Kimberly, Such a smart lady. I paid copious amounts to have a gravel walkway from the shed in the back to the front yard. I wanted to be able to run my mower on the walkway. I expected pea gravel, but got larger (actually beautiful) rocks. You are right, it is hard to walk on and the mower won't roll on them. This Klingstone looks like the perfect solution. My question is, did you update that price for 2022?
Kathy
Tuesday 13th of February 2024
@Kimberly, I see you have dogs. I also live in Seattle. My dogs are tearing up my lawn. Thinking of doing gravel with the stay spray. Does it get destroyed by the dogs or is this stuff pretty tough. I have two big golden retrievers. Thx Kathy.
Kimberly
Friday 9th of June 2023
Thanks, Lucie! The prices are what was paid at the time the project was done. They haven't been updated.
Liza Gallagher
Tuesday 11th of May 2021
My daughter and I along with my 13 year old Grandson are going to try this patio. It will be a work in progress but so excited! I will post before and after pictures in a few months! Lol thanks for the great idea, I’ve been wanting a patio for such a long time but the cost was just to much!
Single Girls DIY
Monday 7th of June 2021
Liza, That sounds great! Please do share your before and after pics!
Janet
Saturday 6th of February 2021
Your re-do is lovely. It’s been a while since you did your backyard. How is it holding up? When I redo my backyard I want to do it once, enjoy it and not have to worry about it. Yours is wonderful to look at now I just want to know if it’s worry-free.
Single Girls DIY
Monday 8th of February 2021
Janet, Yes it has been worry free! There never is going to be one answer where you don't ever have to worry about weeds or other stuff again. But as far as maintenance, it's about as carefree as you can get while out in Mother Nature!
Scarlet
Monday 2nd of November 2020
This is really cool! My husband wants to do a firepit area and I love this affordable, pretty option for the ground. I am pinning this right now to share with him. I appreciated learning about this new option as a patio area and also learning about the costs of the option with the breakdown. So useful!
edwin
Friday 18th of September 2020
Nice