How to Make a Simple DIY Pergola
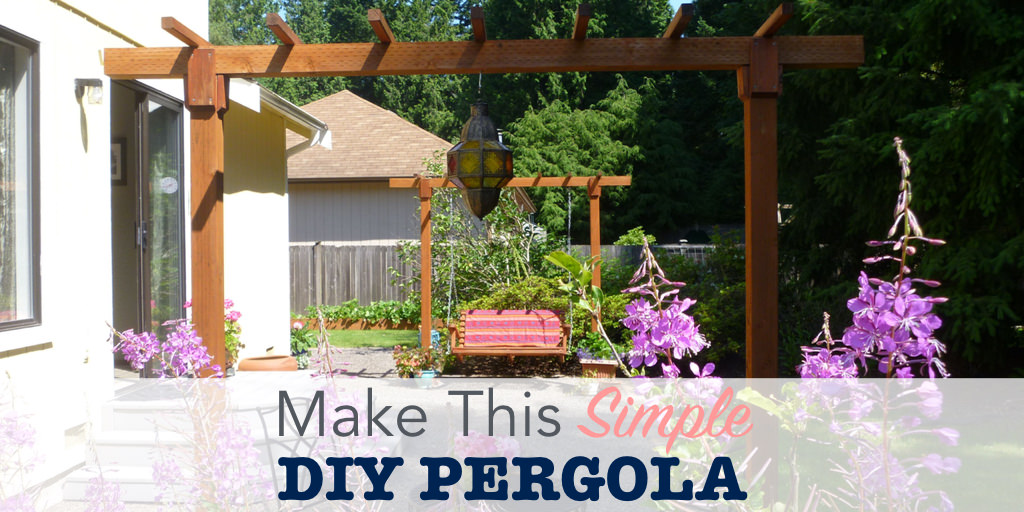
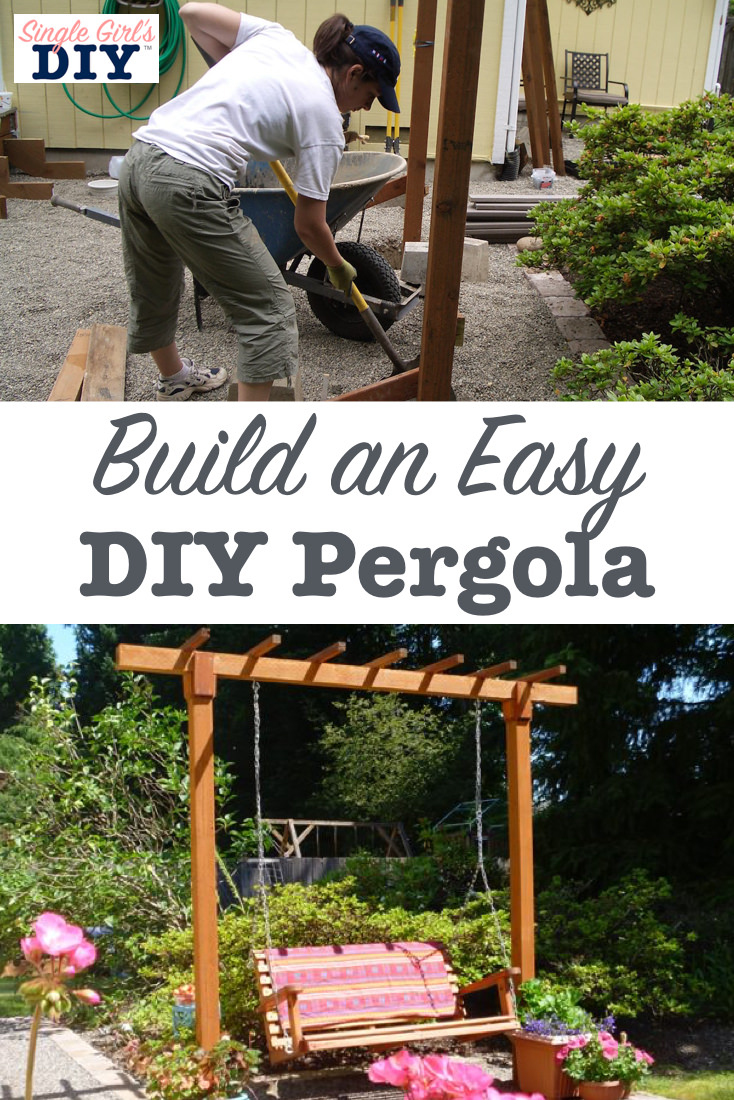
Want a simple DIY pergola to make for your backyard or patio? Then you’re in luck! Because this easy single post pergola can be made without any plans!
Follow this simple tutorial to make your own free-standing pergola for your patio (or anywhere else in your yard). It’s just one of the ideas in our free Outdoor Living Guide.
This easy DIY pergola was built on a budget, too. So don’t think you need to spend a fortune to make a big statement in your backyard. I can assure you, it didn’t cost anywhere near the cost of this pergola!
EASY DIY PERGOLA TUTORIAL

MATERIALS TO BUILD A SIMPLE PERGOLA
- Two 10′ treated 4″ x 4″s for upright posts
- One 8′ treated 4″ x 4″ for top beam
- Two brackets for top beam
- Seven 2′ sections of 2″ x 2″ for cross pieces
- Small pieces of ½″ x 4″ to cover brackets (optional)
- One bag of concrete mix
- Posthole digger
- Post level
- Measuring tape
- Saw
- Screwdriver and screws
- Hammer and nails
As far as DIY projects go, this is a pretty easy one that will make a big impact. If you can dig holes, and make straight cuts through a board, you can build this simple pergola.
This is a single post pergola, so you can put it anywhere you want. Here’s the instructions how to do it:
1. Dig Two Holes
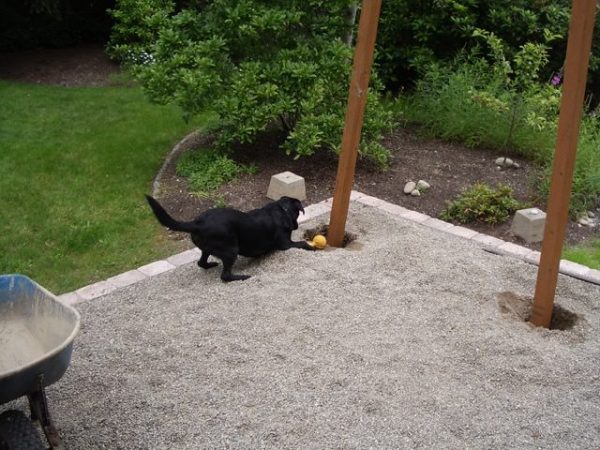
Once you’ve chosen the location for your pergola, use a posthole digger to make two holes for the side posts.
The holes should be 2′ deep, and 6′ apart. This will make the finished height of your pergola 8′ tall.
2. Level the Side Posts
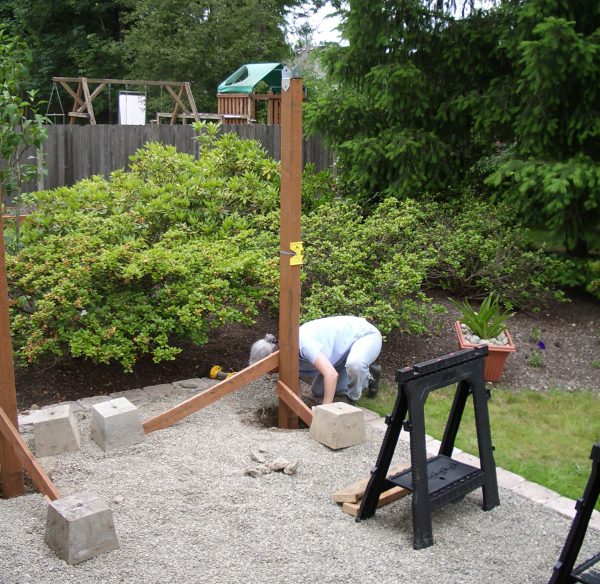
When the holes are both about the same depth, put the side posts into the holes. Use a post level (which is different than a normal carpenters level – a post level wraps around the post) to make them plumb in both directions. Temporarily secure them upright with a couple braces made from scrap lumber.
Your two holes are unlikely to be exactly the same depth, or your ground might slope. Here’s how to make sure your top beam will be level:
- Make a pencil mark on one post. It doesn’t really matter where. I made mine about waist height.
- Hold up a board between the two posts. Put one end of the board on the pencil mark.
- Using a carpenters level (which is different than the post level), hold the board level and make a matching mark on the second post.
- Measure from the pencil marks to the top of each post. The lengths will likely be slightly different. For example, one might be 57″ from the pencil mark to the top of the post, and the other might be 59.5″.
- Use your saw to trim the longer post.
After cutting, repeat these steps to verify that the tops of the posts are level with each other.
3. Pour the Concrete
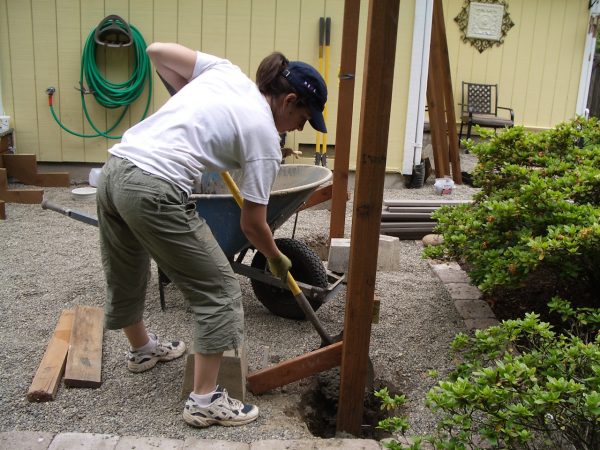
With the posts leveled and braced in the holes, mix up a bag of concrete according to the package directions.
Put half the mix into each hole. Use the post level to recheck that the posts are plumb in all directions, and then allow the concrete to set.
Once the concrete has set, fill in the remainder of the hole with dirt.
4. Attach the Cross Bars
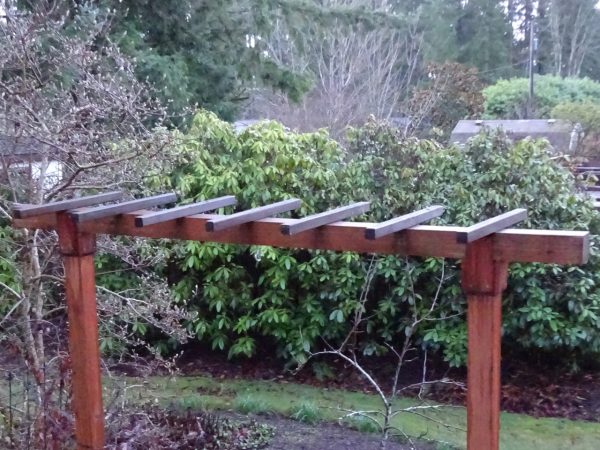
Cut seven two-foot sections from a 2″ x 2″ board to use as cross bars. These create extra support for plants that will grow across the top.
Mark the top beam at one-foot intervals, and then attach a cross bar at each mark using screws.
5. Install the top beam
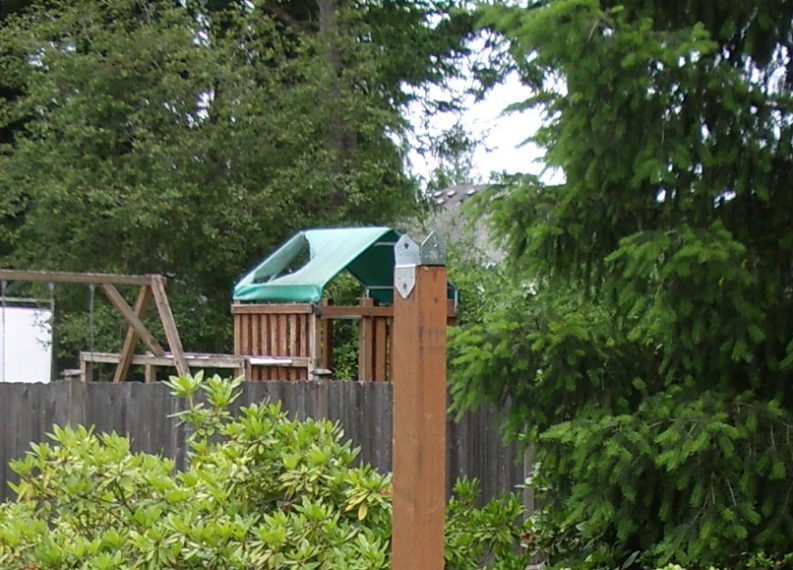
Put a bracket on the top of each side post, and then lift the top beam into place.
Measure from the outside edge of each post to the end of the top beam. Adjust as necessary to make the length equal on each end before you nail through the holes in the bracket to secure everything.
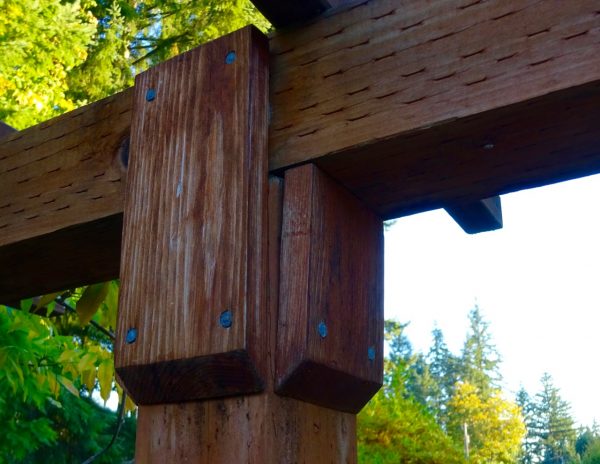
I didn’t like the look of the exposed brackets, so I covered them with short pieces of ½″ x 4″ board. By setting the blade of my circular saw at an angle, I was able to cut beveled edges.
Enjoy Your Do It Yourself Pergola
My backyard used to be an overgrown disaster. It is now a beautiful outdoor living space. Here’s my entire backyard makeover on a dime.
The rock patio is a favorite, too. Here’s a great resource of budget-friendly concrete alternatives that I considered using.
I built two of these single post pergolas in my yard. Under one, I have my bistro set and a hanging lantern, for an outdoor dining space.
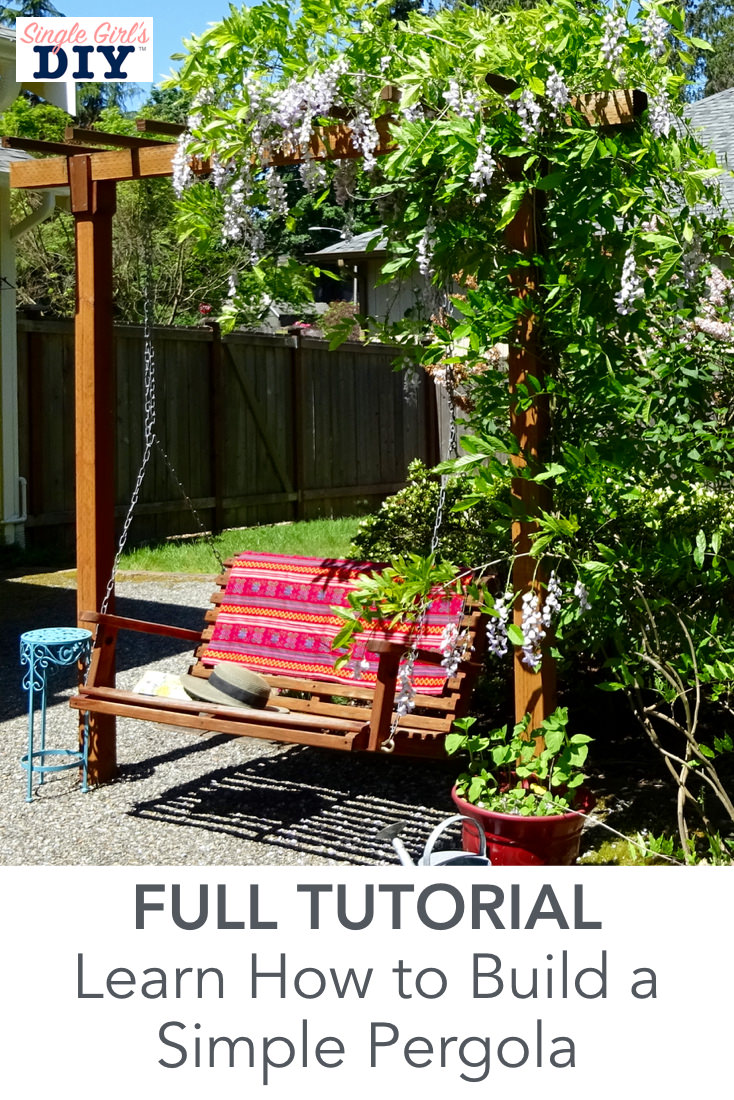
A swing hanging from the second pergola has become my favorite spot for summertime reading. I’ve surrounded it with large flower containers full of colorful blooms (here’s some money saving tips for putting together large flower pots, including some of the best pot fillers to save money on potting soil.)
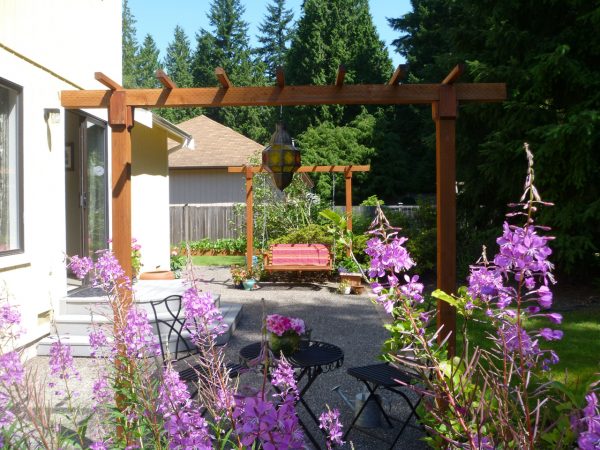
Your handmade pergola can become a structure for climbing plants, such as wisteria, clematis, or morning glory vine. Over time, it turns into a beautiful screen for shade and privacy.
Download your free copy of our Outdoor Living Idea Guide to get more ideas and inspiration for transforming your backyard into your sanctuary.
Pin This idea to save for later!



Hi Jenny!
This looks awesome but I thought I’d read about the building of the swinging chair as well ! Did you build it yourself? If yes, how? and how did you fix it to the pergola?
Thanks for your answer!
Hi Marion,
Thank you! I did not build the swing myself. I was lucky to find it in the bargain section of the home and garden store. It came with two eye-bolts with hooks, which I screwed into the cross beam of the pergola. The chain for hanging easily slips into the hooks. I put it out during sunny weather, and take it down during the winter.
Sorry I don’t have an awesome how-to for making the swing. Maybe a future project. Or if you make your own, we’d love to have you share it!
Every weekend i visit this web page, as i wish for enjoyment, for the reason that this this web site conations genuinely good information.
You ought to take part in a contest for one of the most useful blogs on the net.
I will recommend this blog!
Hi! Do you know how much weight this holds?
Hi Traci, no I don’t know how much weight it holds.
Thank you so much for making this project feel accessible to me! It’s easier with a friend for part of it 🙂 I used three 60lb bags of concrete, not sure what size screws or nails you used. I bought screws and no nails probably unnecessary, but ya know 😉 1 1/4 inch #9 to fasten the horizontal top post to the verticle posts and 3 1/2 inch #9 to attach the 2×2’s to the 4×4. The Post Leveler was awesome and inexpensive, so even if you don’t use it again, it makes this whole thing so.much.easier! Posts went in today, the rest will be done when its not raining again.
Awesome! Let me know how it went! Super glad you are doing it and getting it done!