
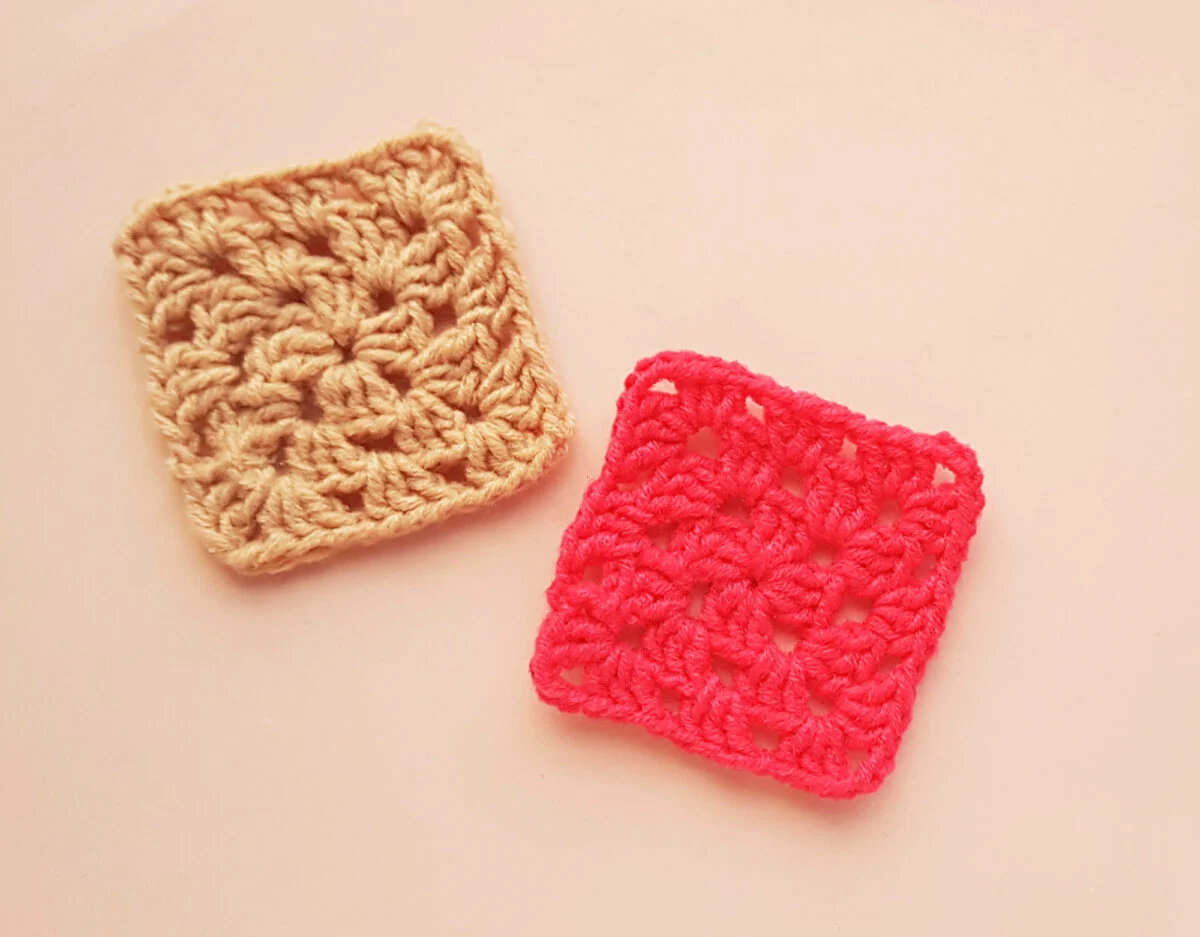
There is something very comforting about wrapping up in a crocheted granny squares blanket. It reminds you of visiting your grandparents at their home, with the brightly colored blanket draped across the back of the couch. I always think of it as nostalgia or holding onto memories from a time past.

Today, people that are young enough to never have known the strangely comforting feel of a scratchy acrylic yarn crocheted granny square blanket are wanting to recreate the look for themselves. It’s called “granny chic” or “grandmillenial style.” And a new generation of crocheters are being born!
Whatever your age and whatever your reason, I want to pass down the basic steps of crocheting granny squares to you. These shabby chic squares of woven yarn make great blankets and pillows, as well as using them to appliqué clothing or hats.
You could try making my crocheted daisies, crocheted flowers with loopy petals or crocheted sunflowers to get a feel for crocheting before deciding to make granny squares.
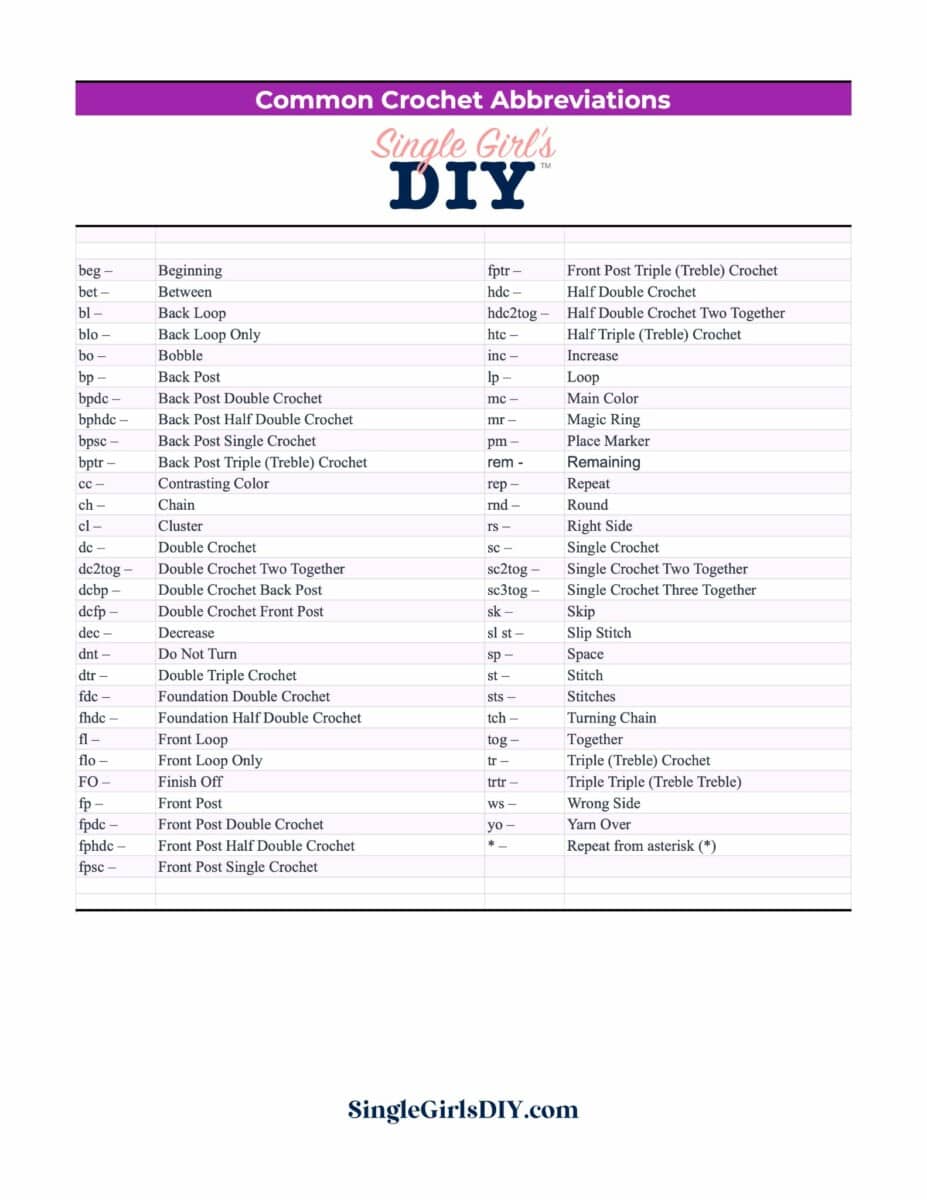
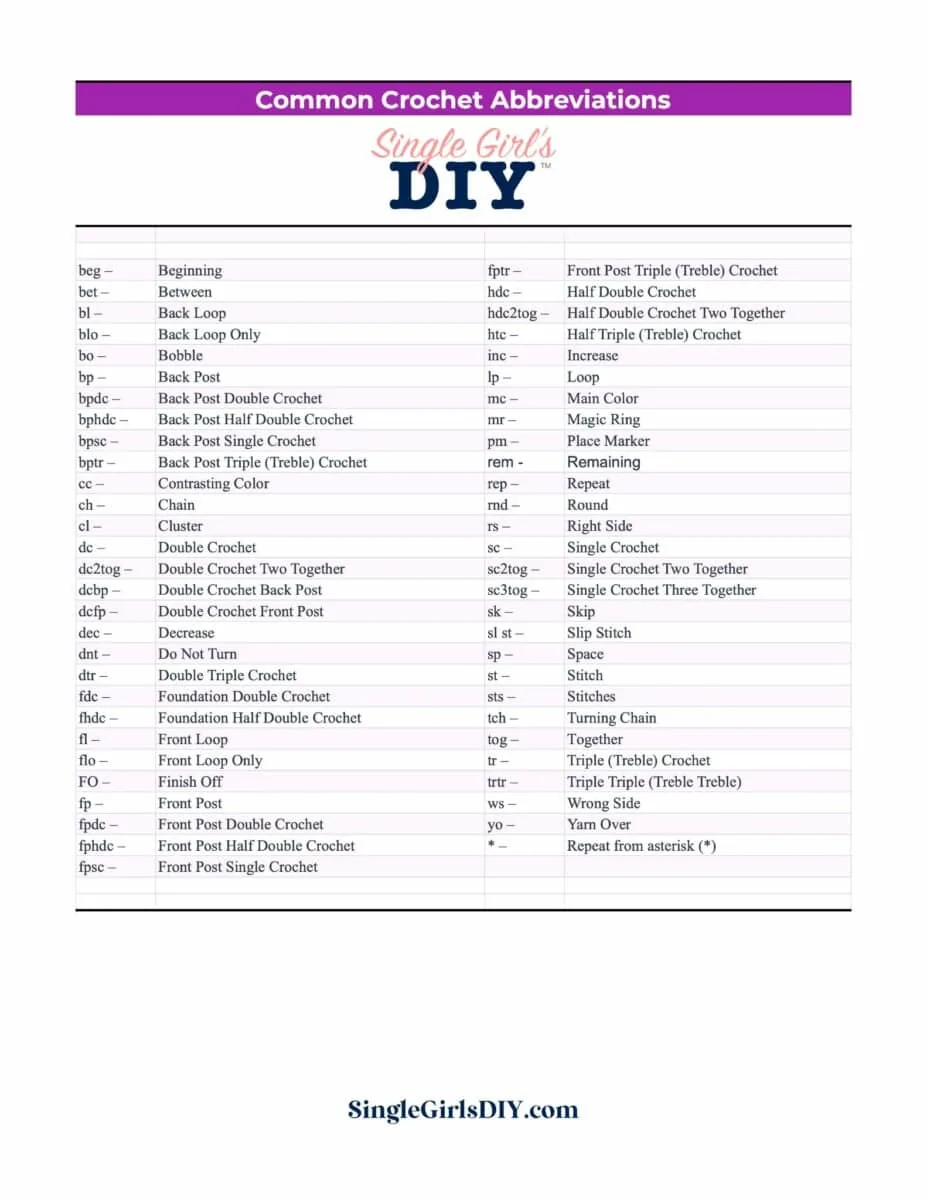
Free Crochet Abbreviations Chart
Get a free printable chart of all the crochet abbreviations you need to know when working on patterns.
The free download is in our pattern library.
How to Crochet Granny Squares
Supplies
Directions
Step 1
Start with a slip knot and then work 5 chain stitches (CH).
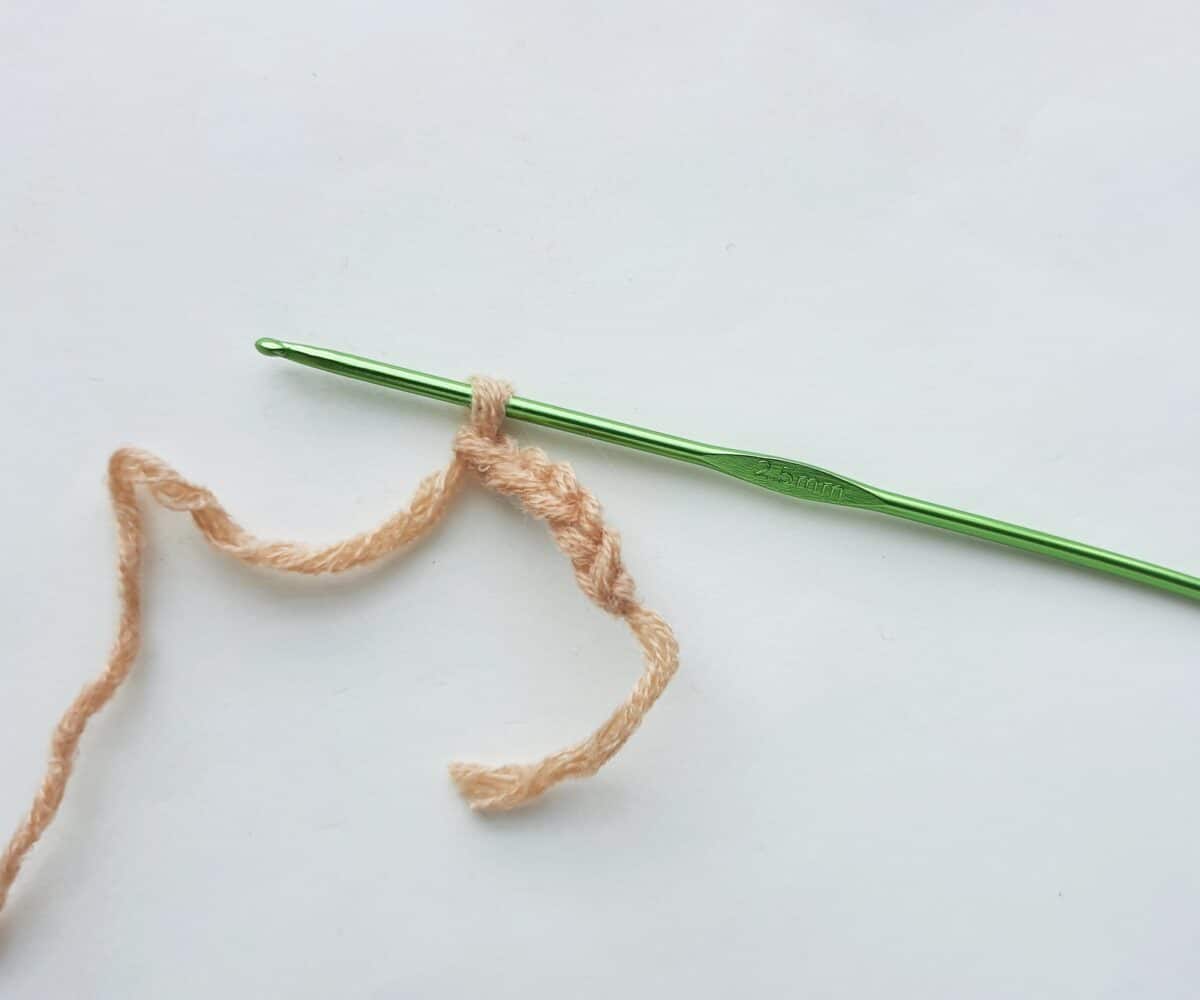

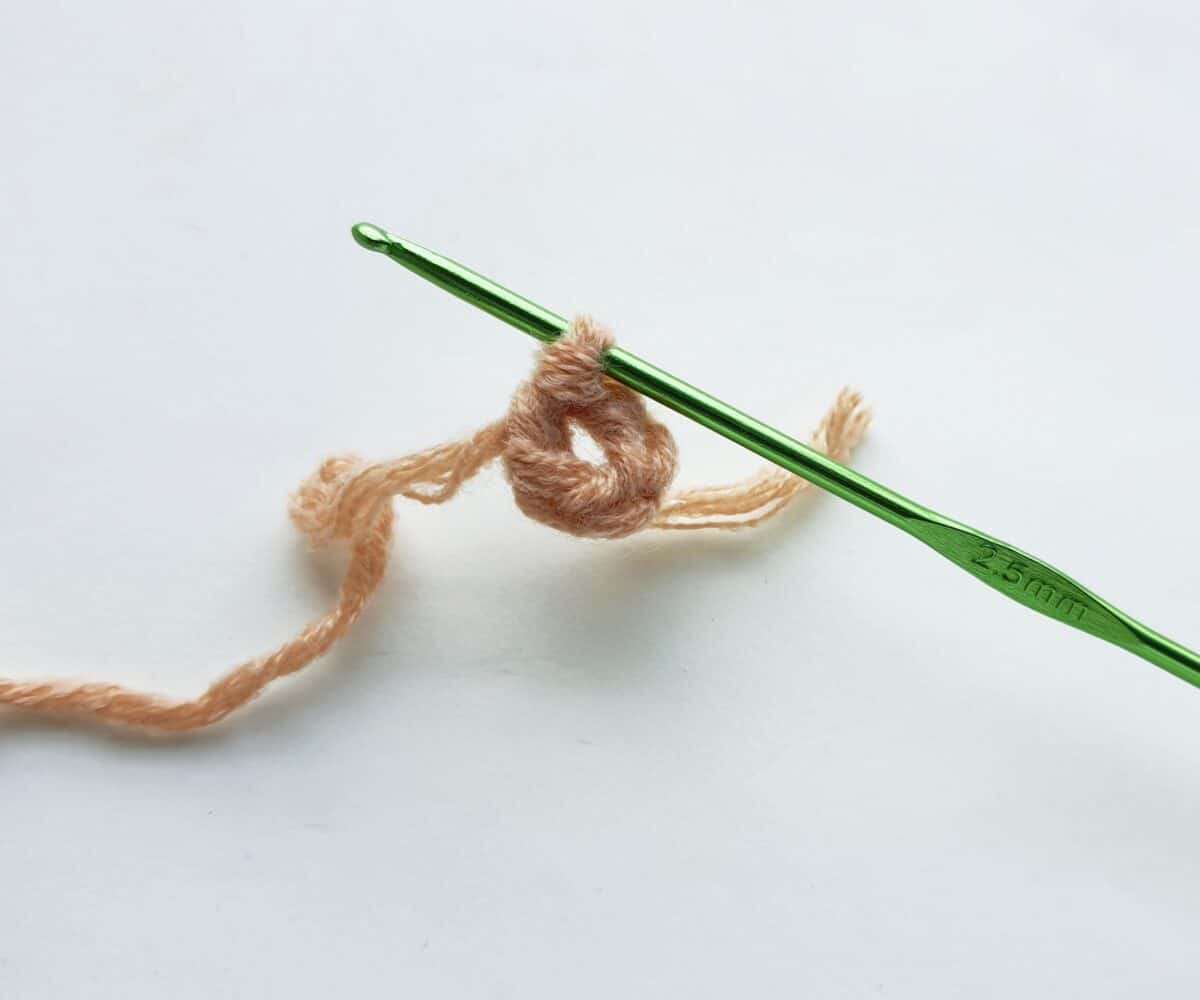
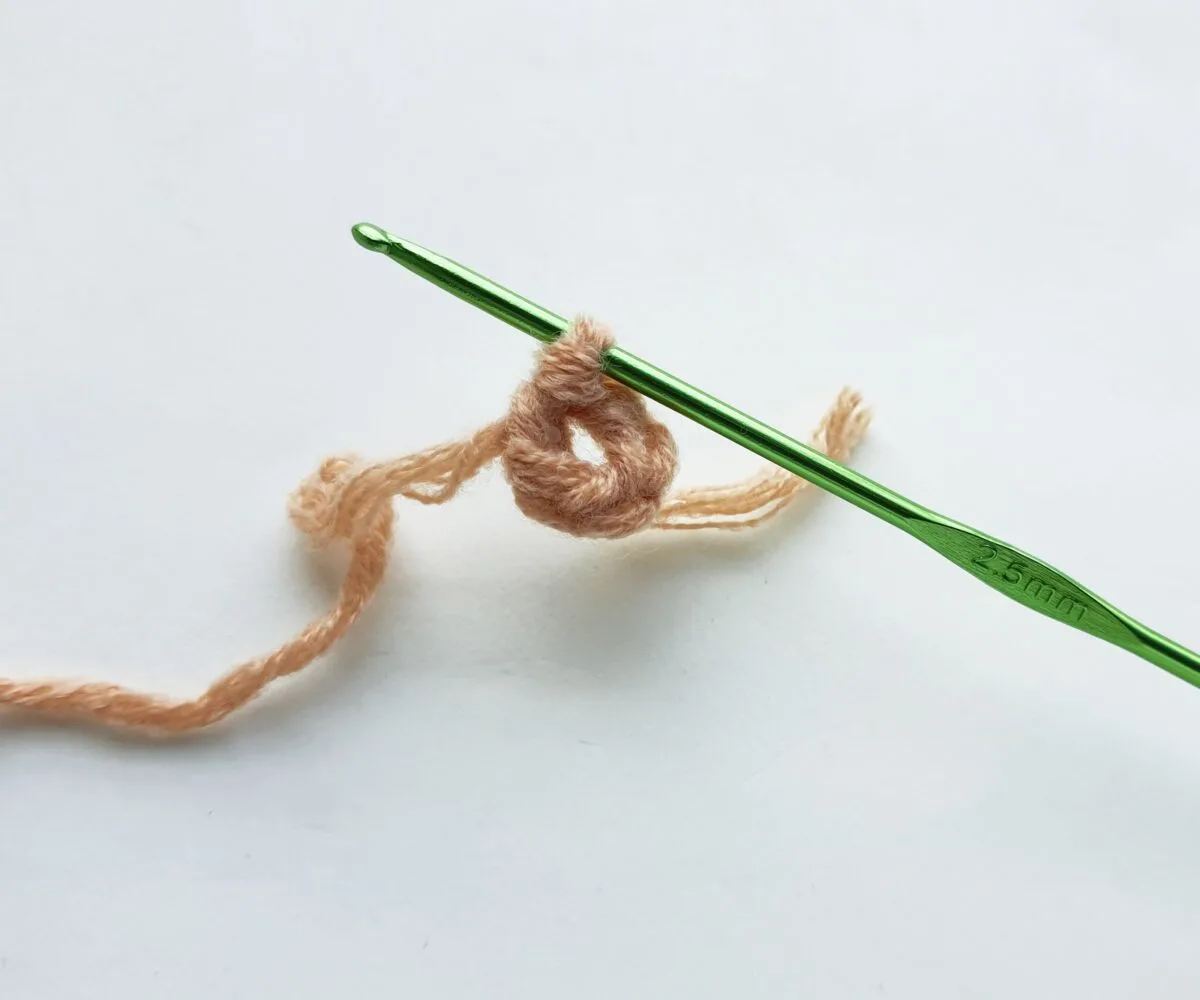
Step 2
Form a ring with the chain stitches by drawing the current stitch (on hook) through the initial chain stitch.
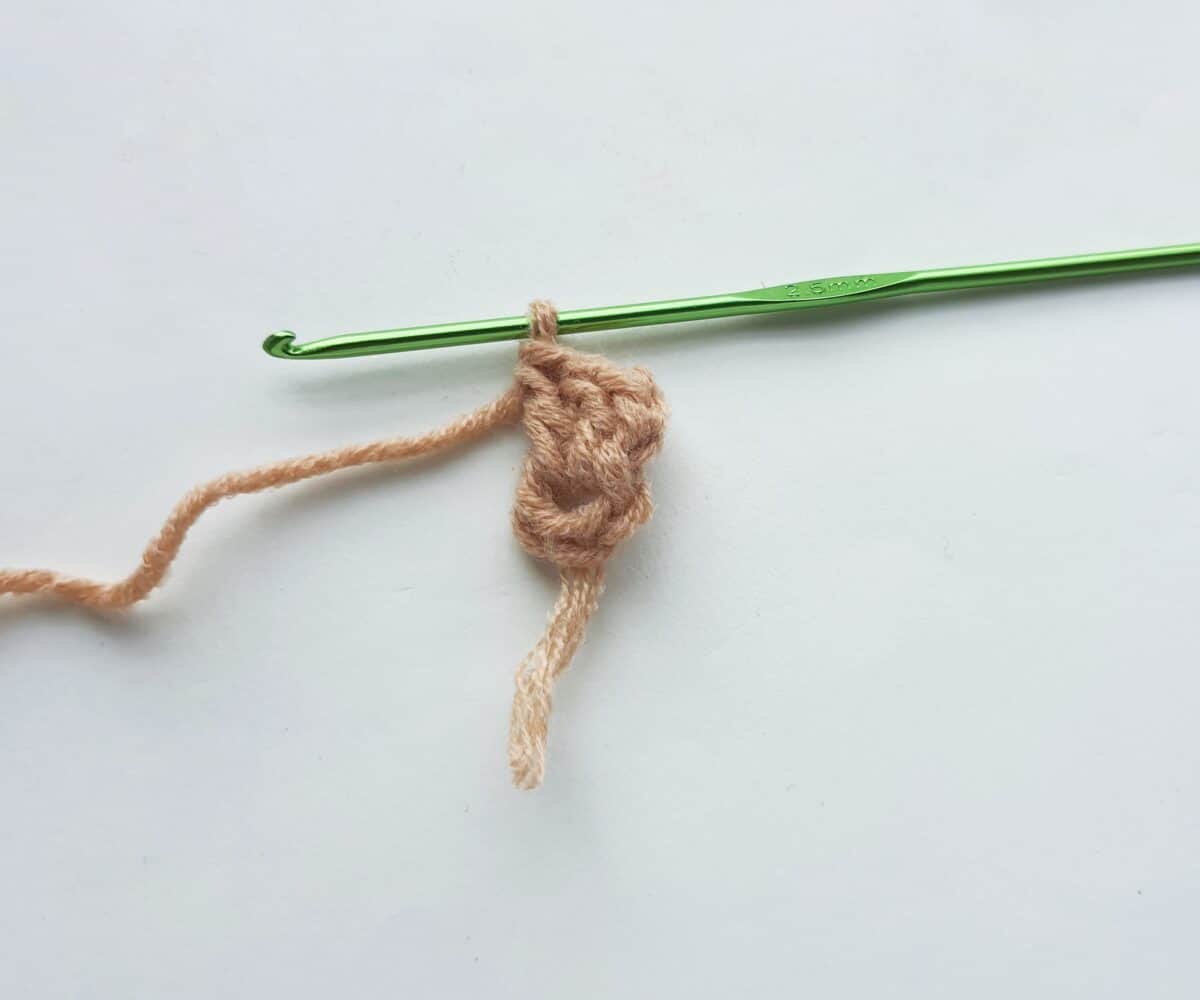
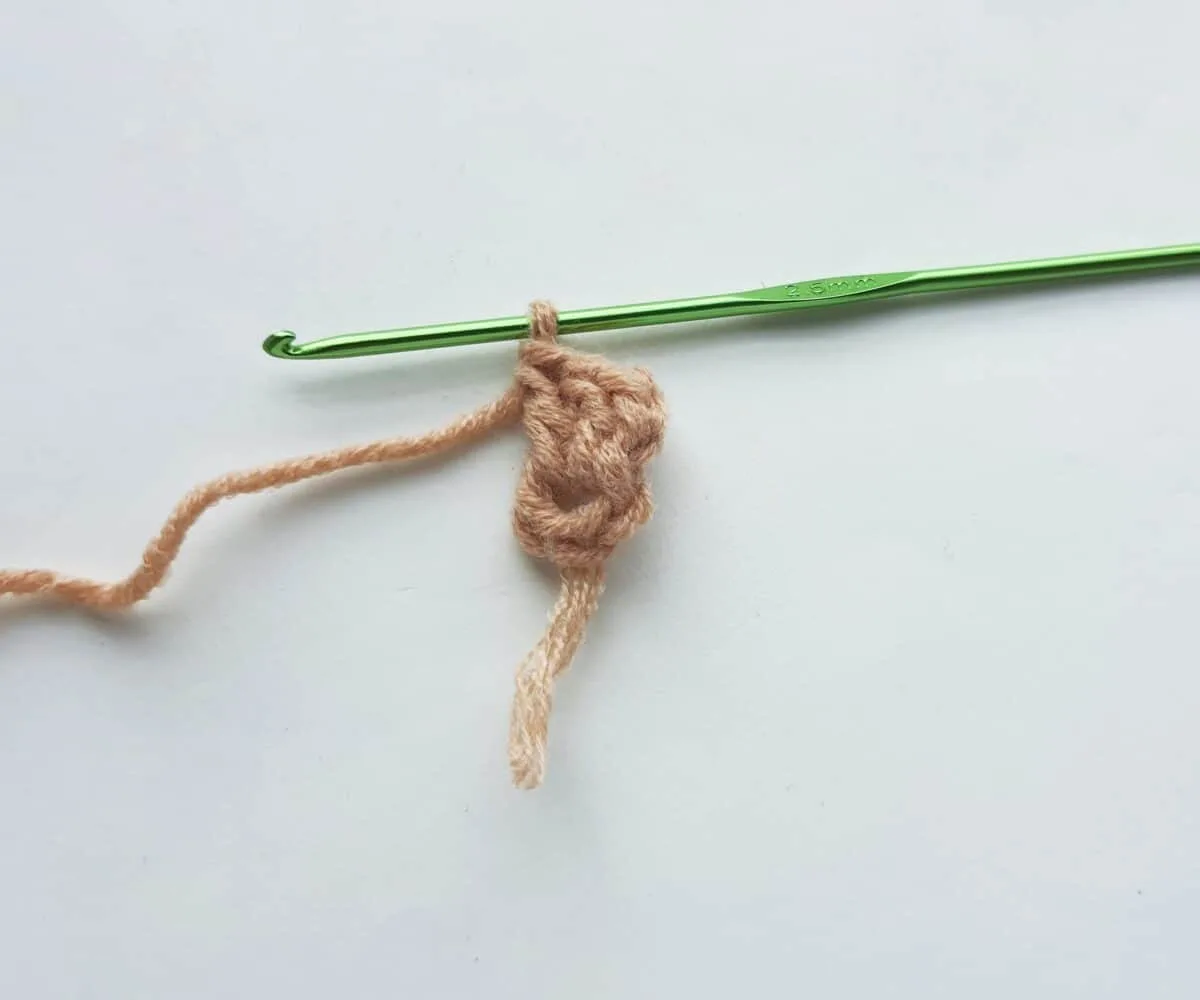
Step 3
Work 3 chain stitches.


Step 4
Work 2 double crochet (DC) through the ring.
Step 5
Work 2 chain stitches.
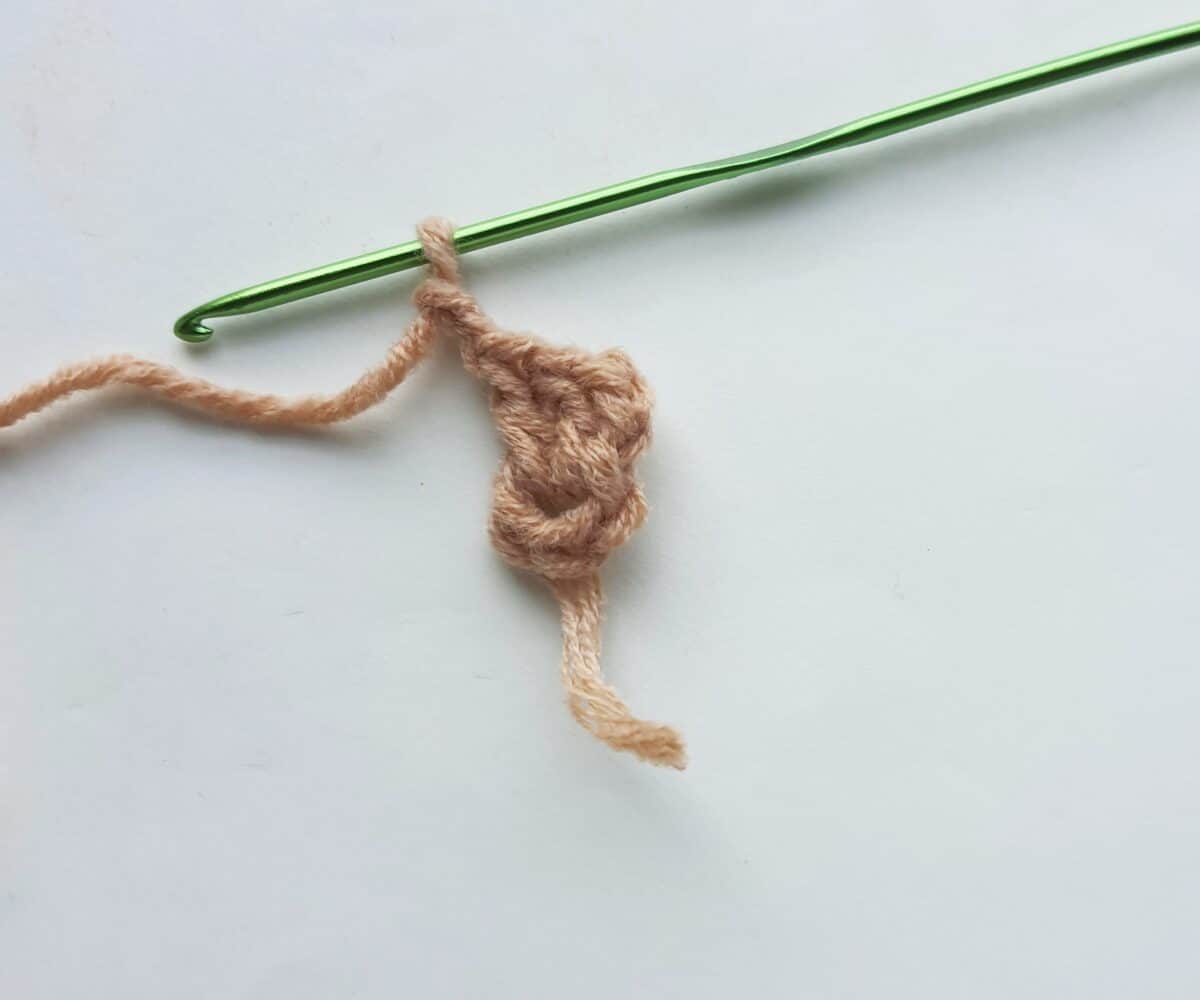

Step 6
Work 3 DC through the ring.

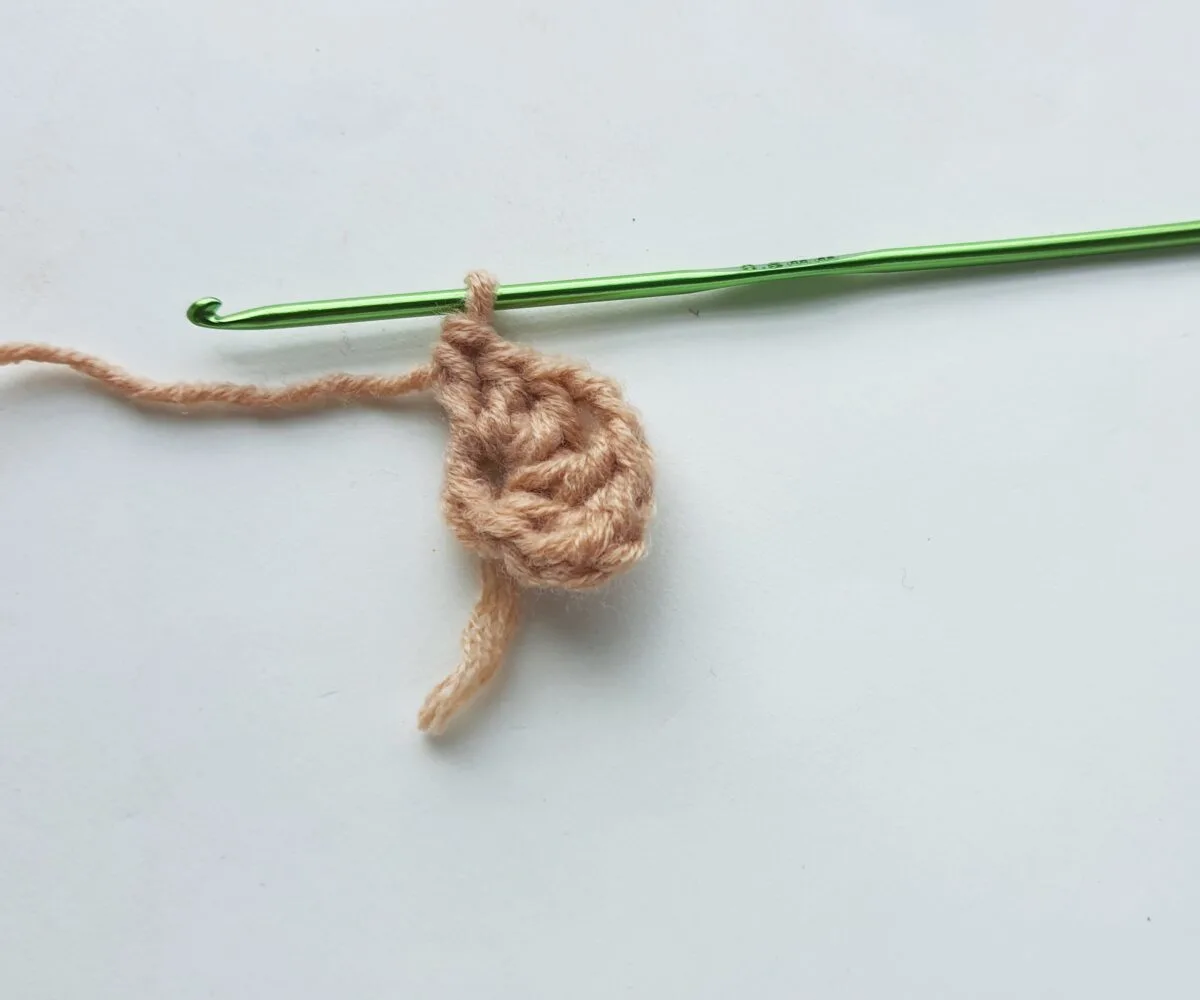
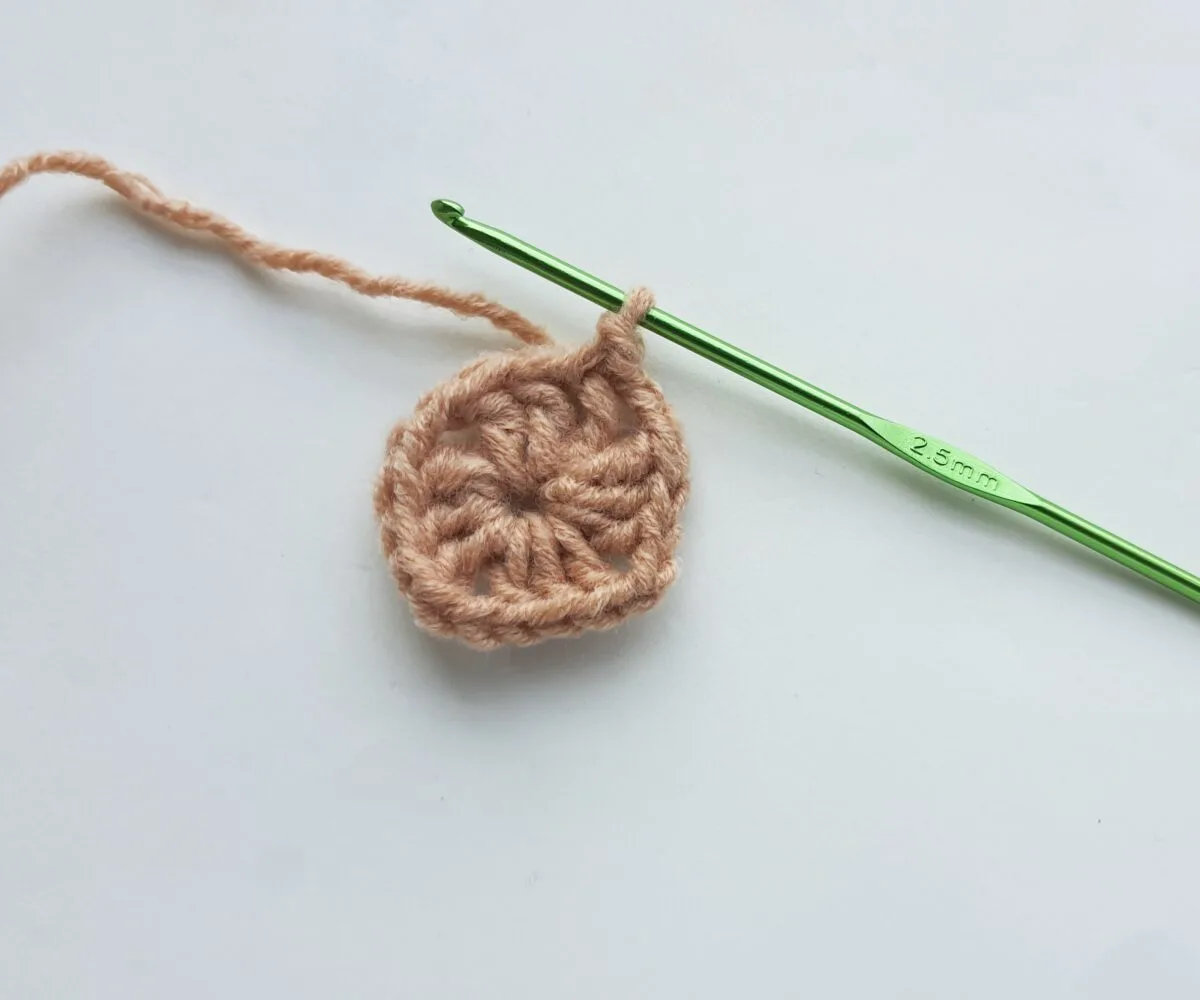
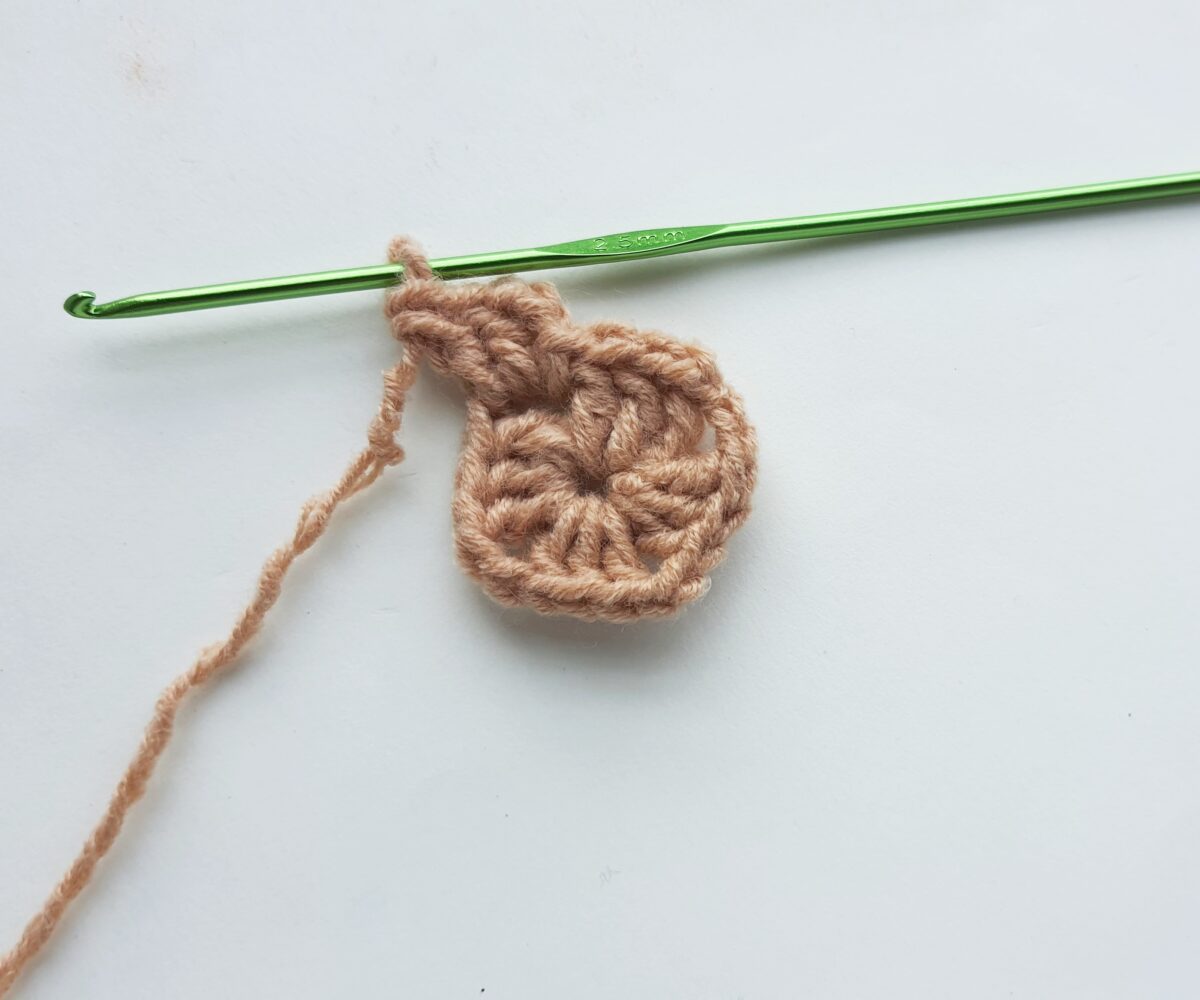
Step 7
Repeat until you have 4 sets of 3 DC through the ring. Don’t forget to chain 2 between the sets.
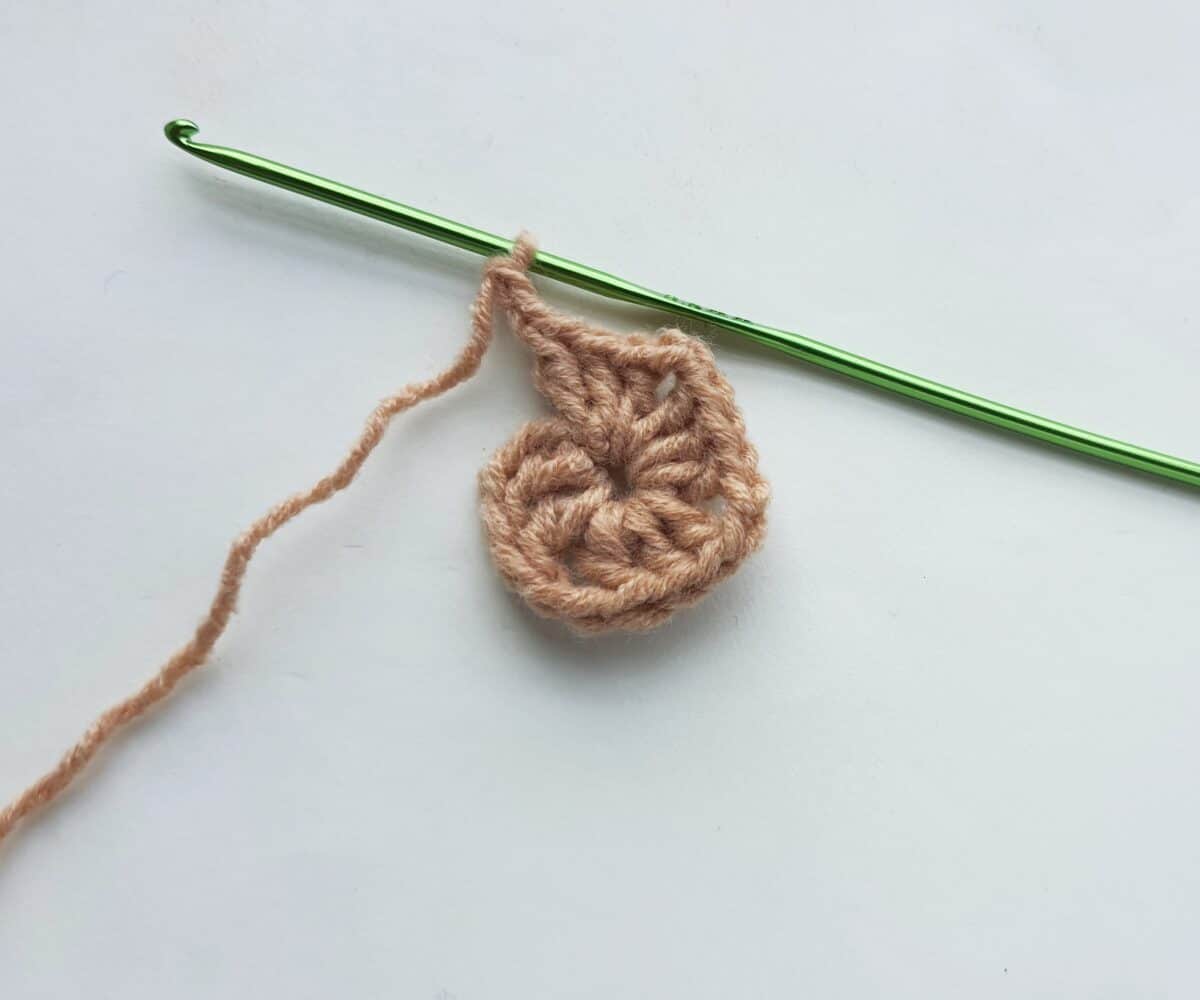

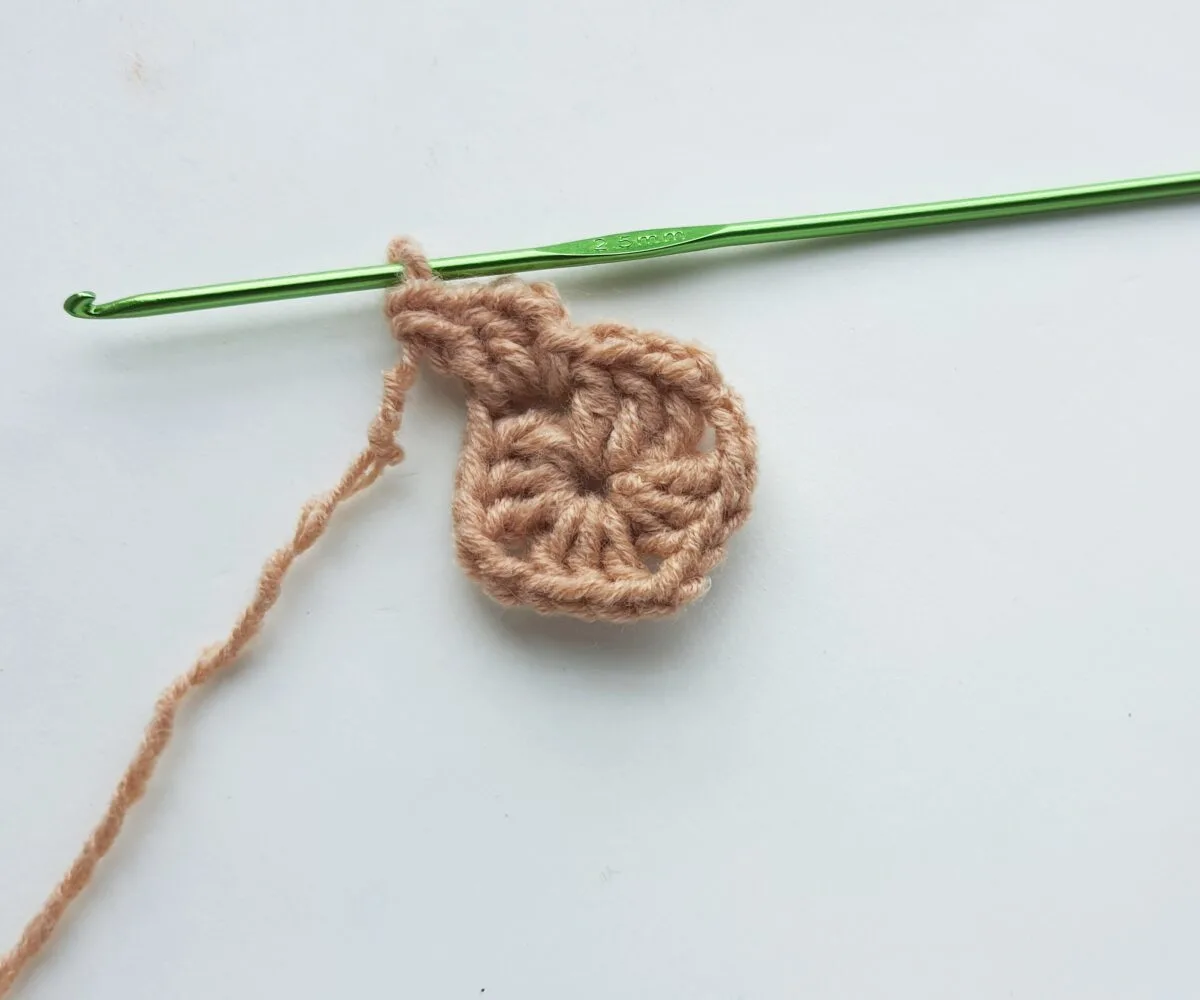
Step 8
After the 4th chain 2, work a slip stitch through the top stitch of the initial chain done through the ring.
*Wondering how to make a slip stitch? Here’s a quick video tutorial of how to slip stitch.
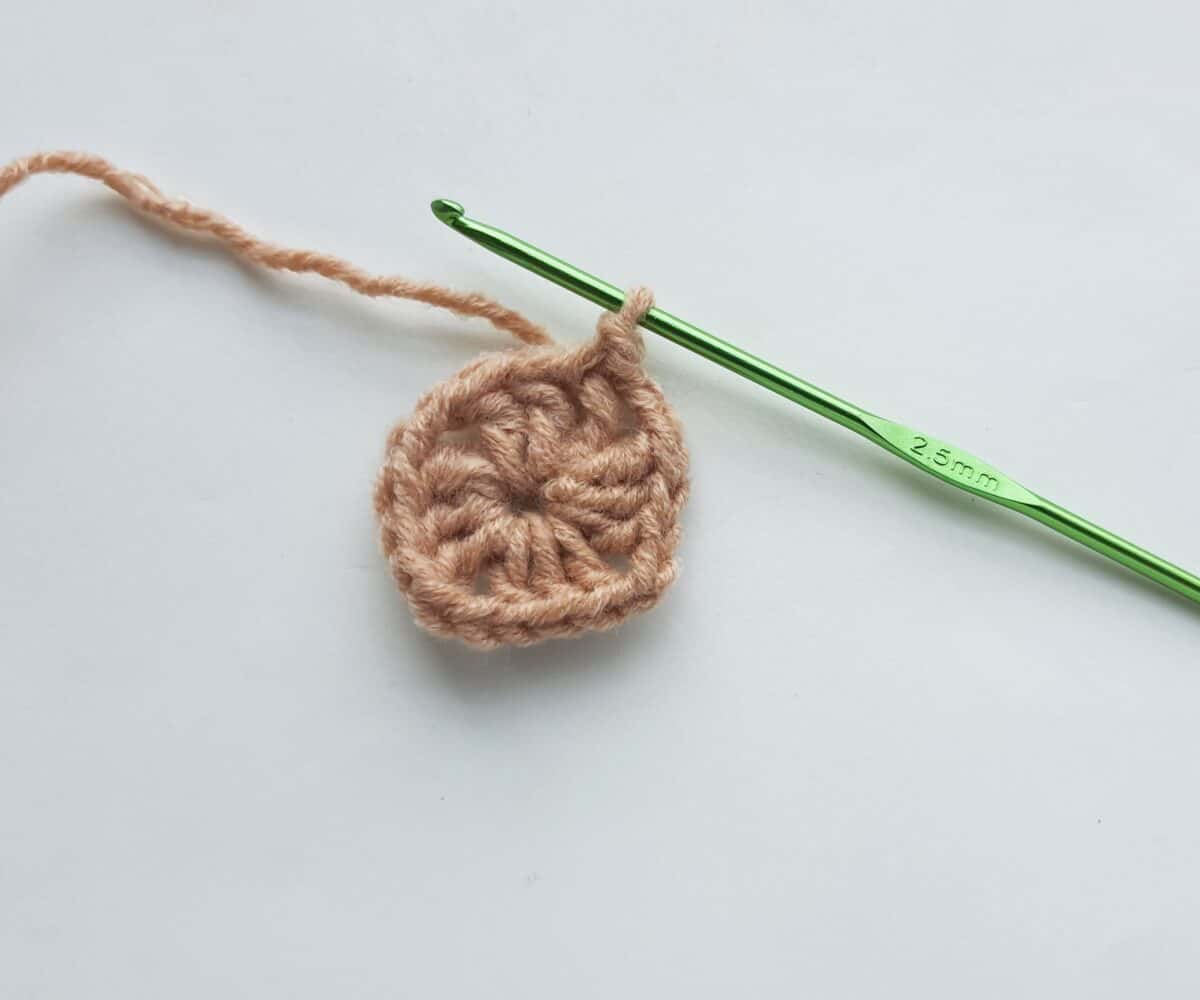
Step 9
Work slip stitches through the top chains of the adjacent DC set and reach the space next to it.
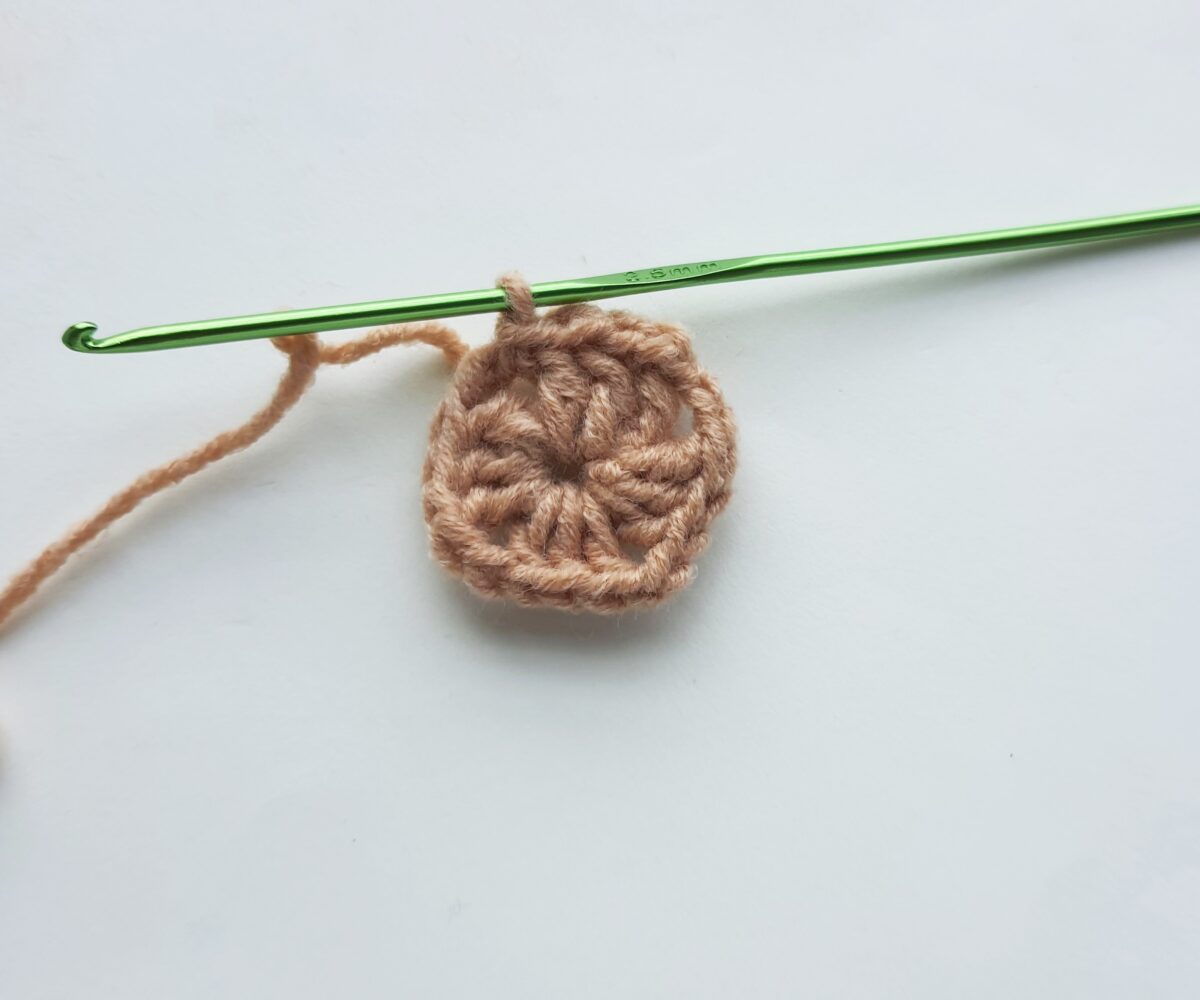
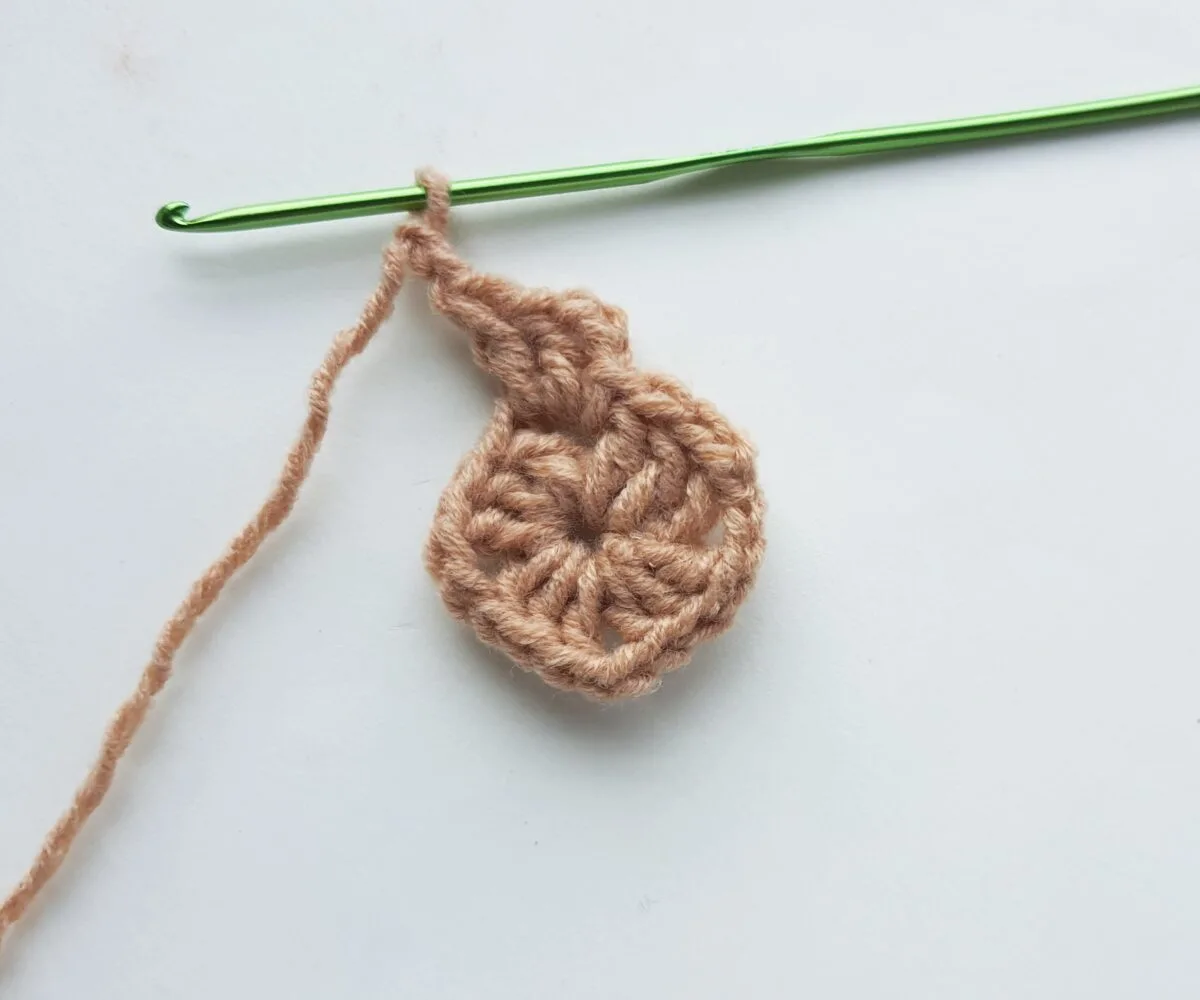
Step 10
After reaching the space, work 3 chain stitches.

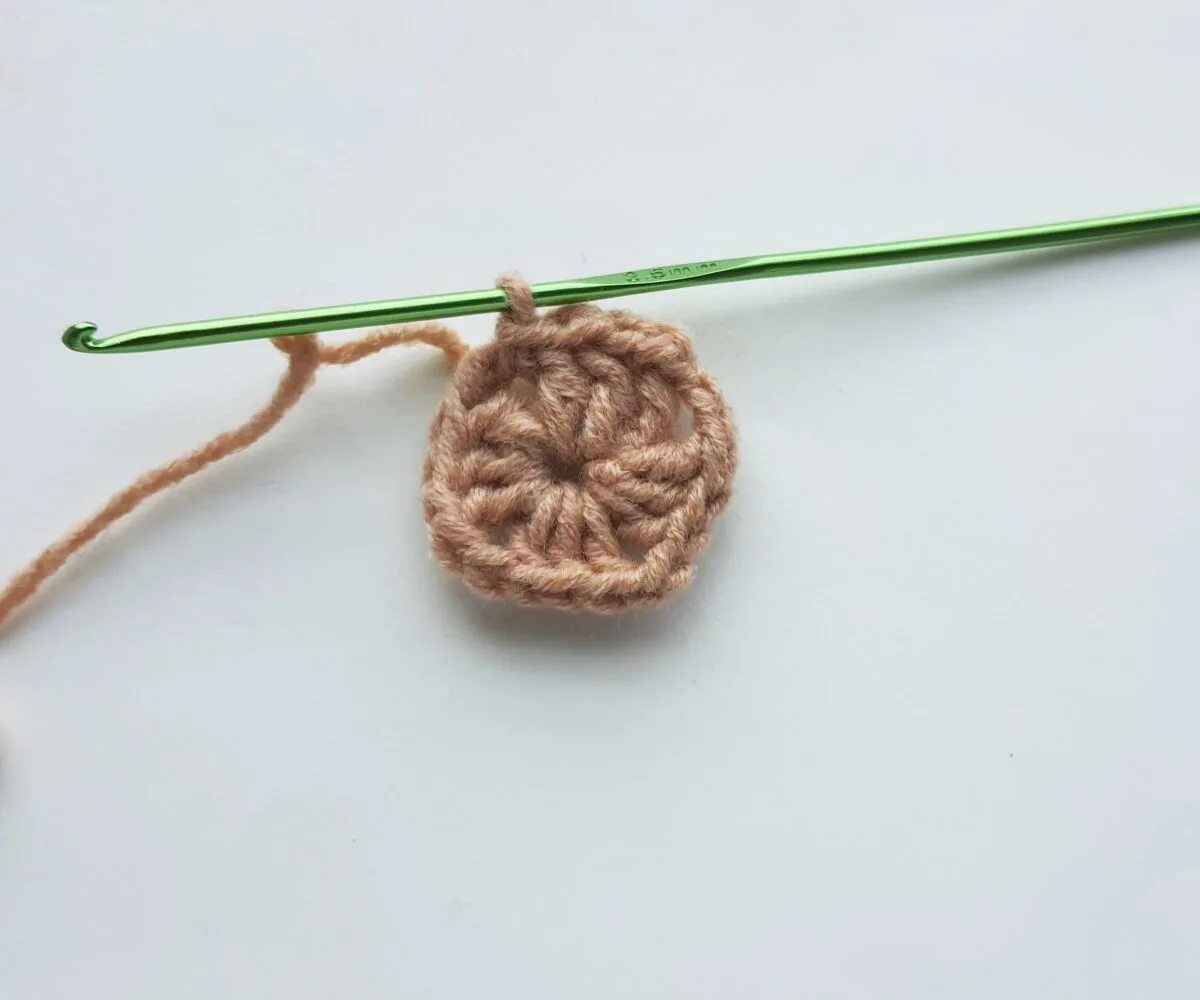
Step 11
Work 2 DC through the same space.
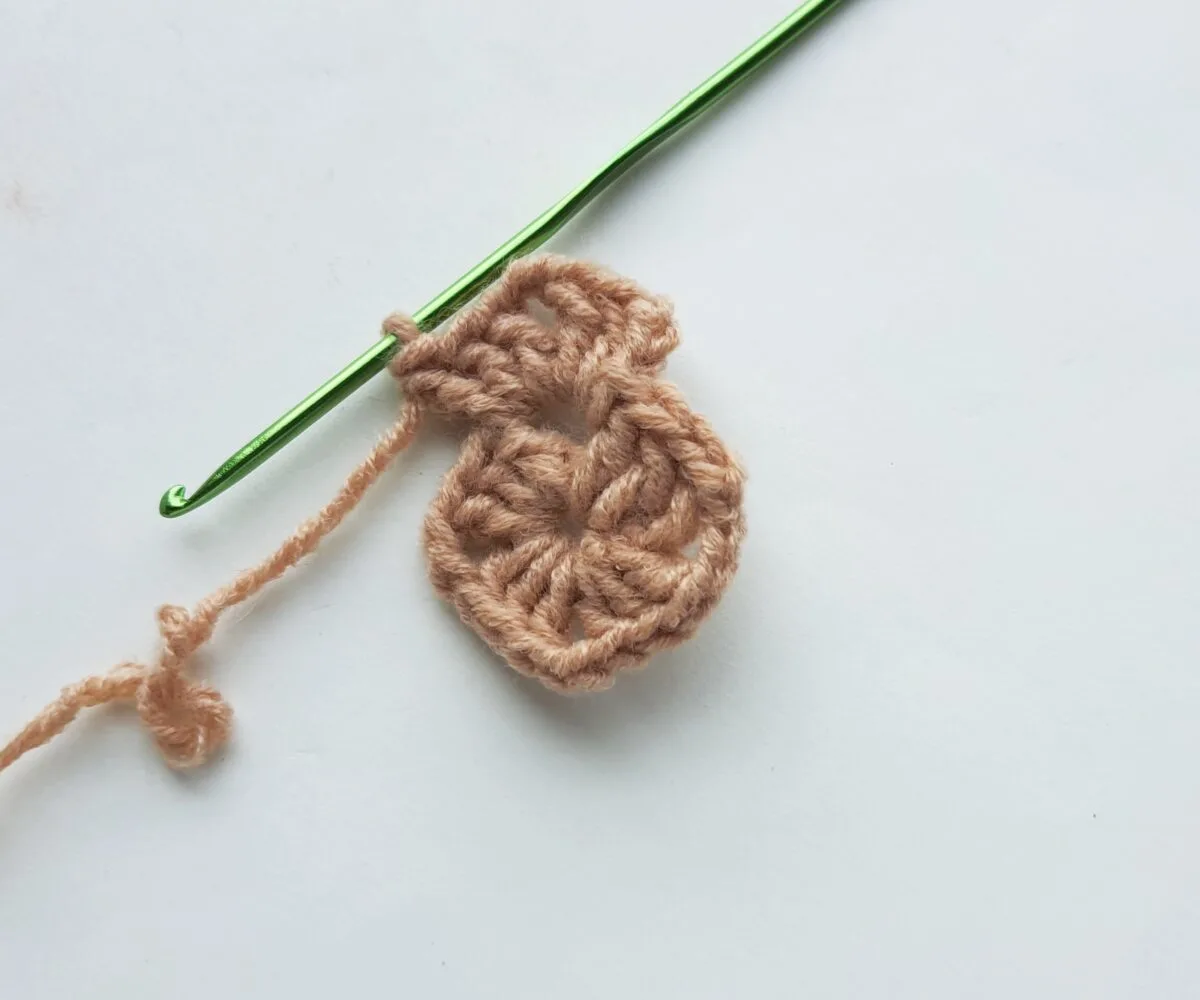
Step 12
Work 3 chain stitches; this will be the corner of the square.

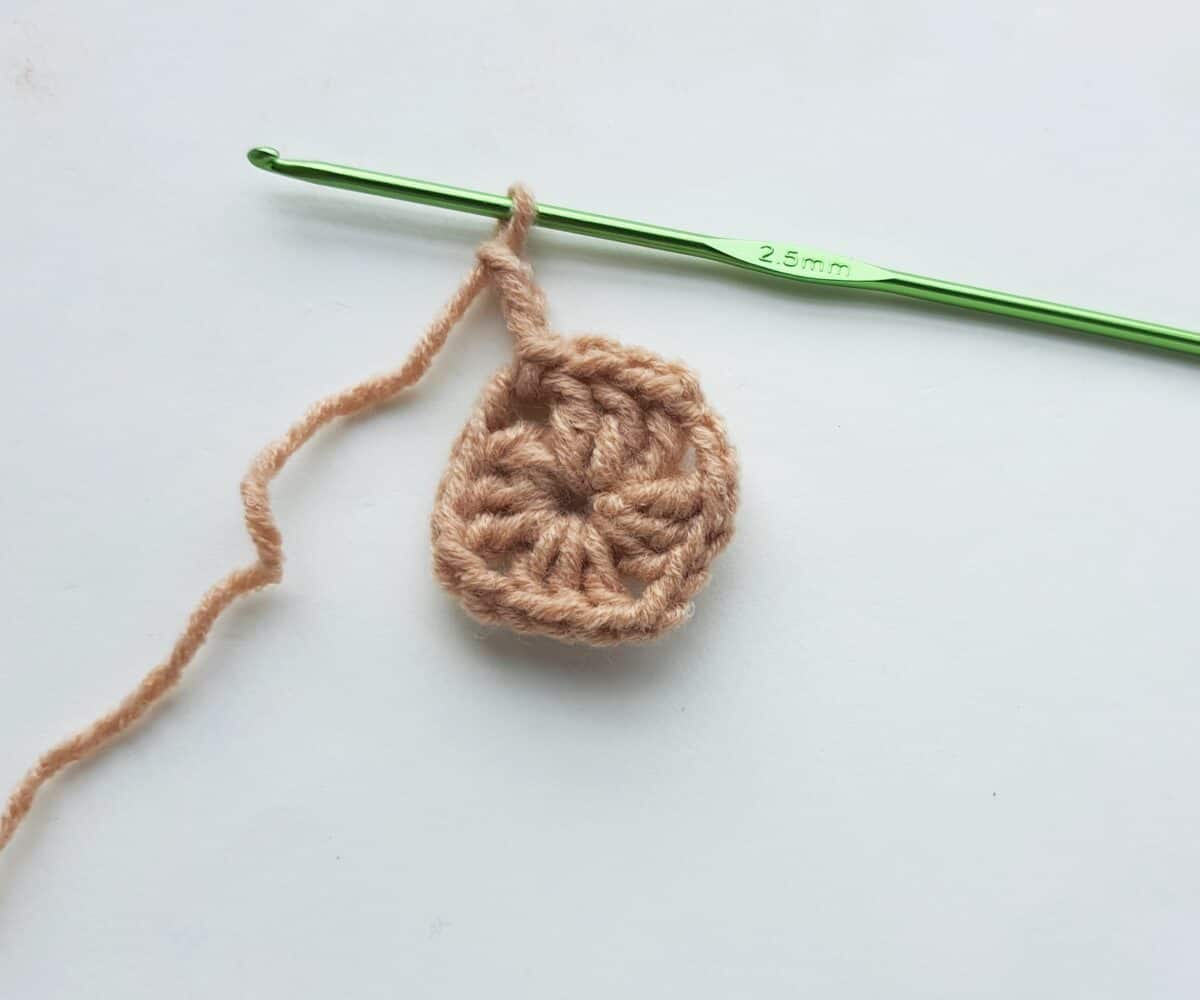
Step 13
Work 3 DC through the same space.

Step 14
Chain 2, work 3 DC into the next space; chain 3 and then chain 3 into the same space again.
Step 15
Repeat the pattern until reaching the 4th space (4th corner) of the square.
Step 16
Chain 2, slip stitch through the top chain of the initial chain stitch of this round. Slip stitch through the top stitches of the adjacent DC set and then reach the space next to it.
Once you reach the corner space, work 3 chains.
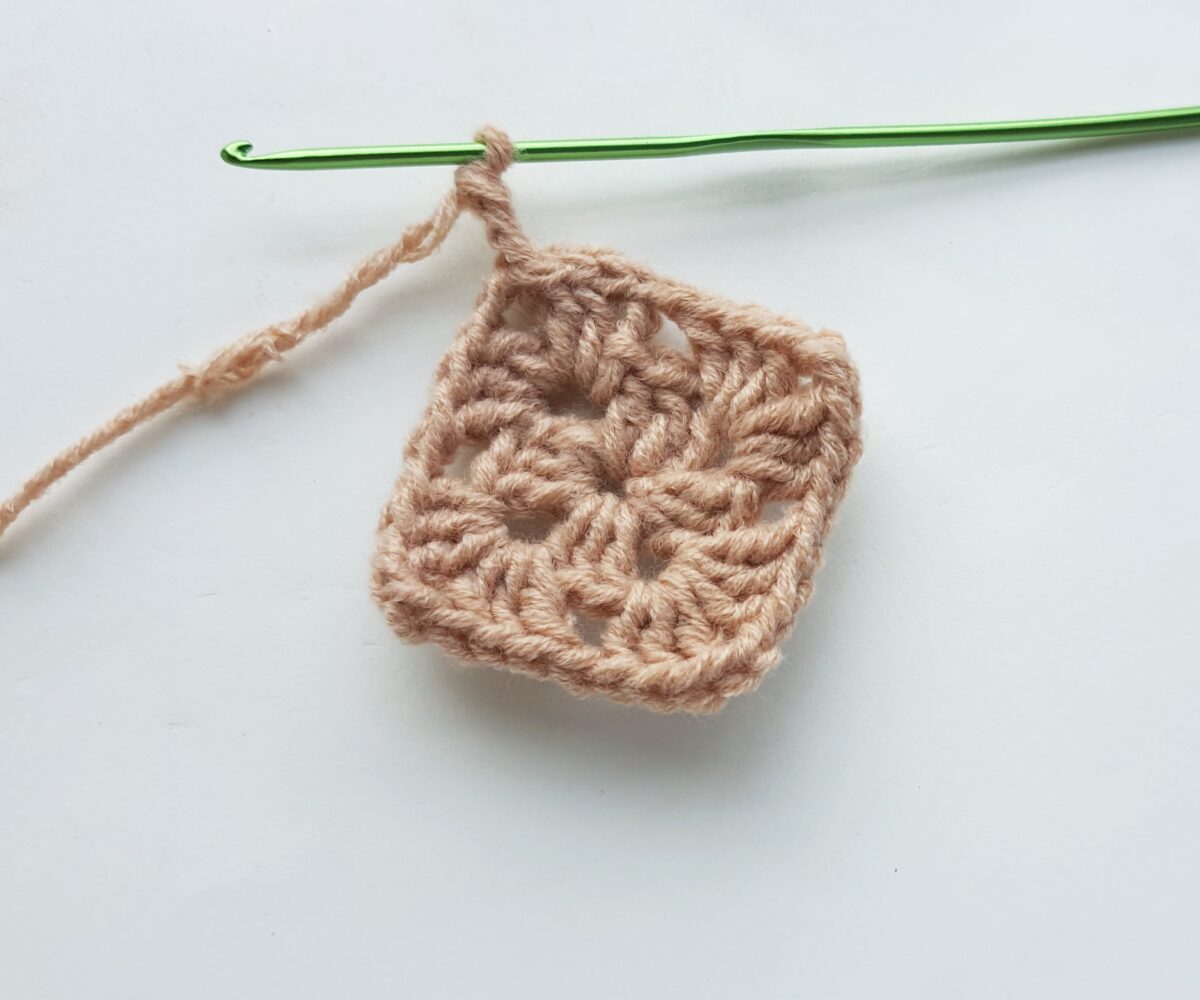
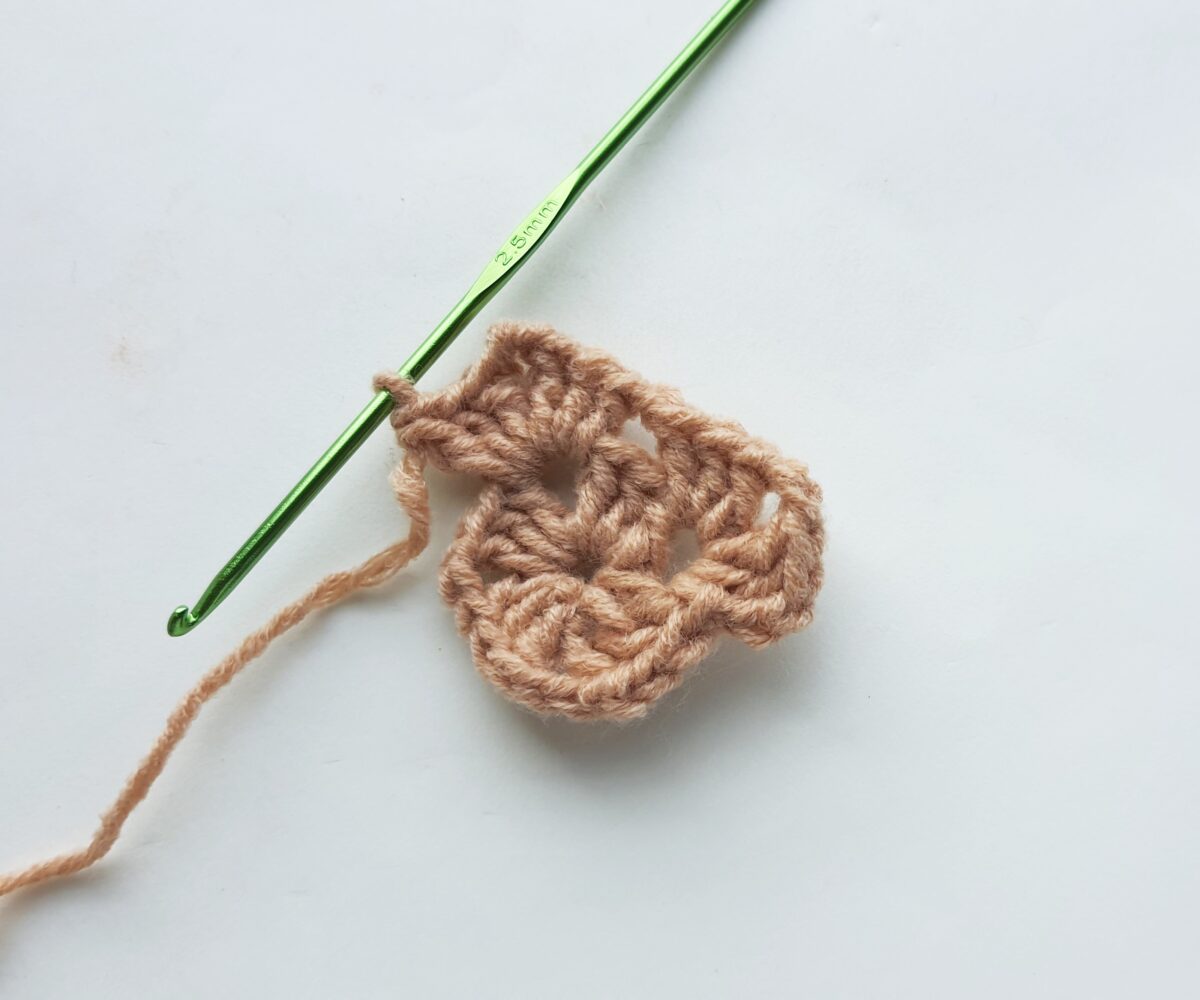
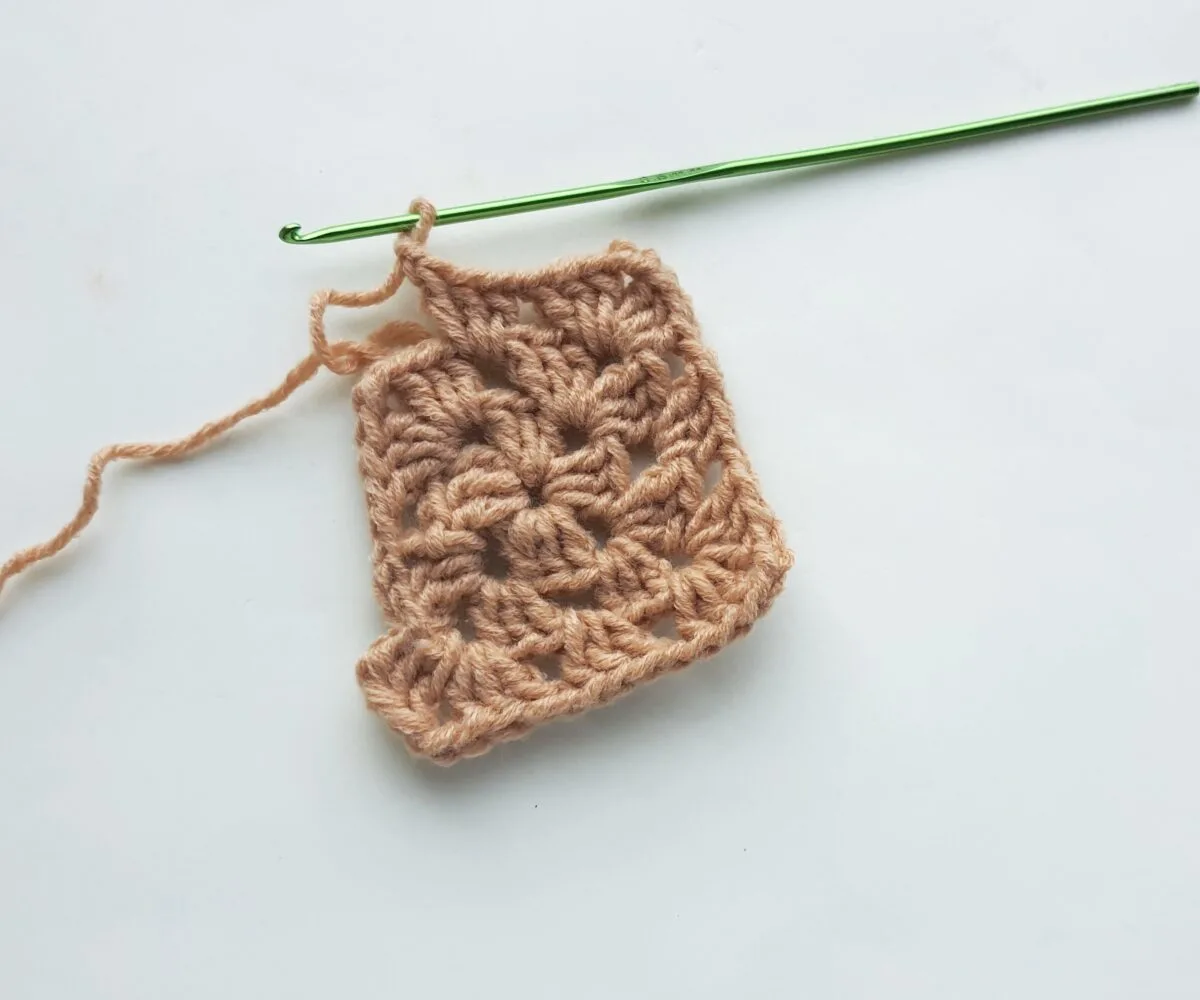
Step 17
Form the corner like you did for the previous round; one set of 3 DC, 3 CH and then another set of 3 DC.
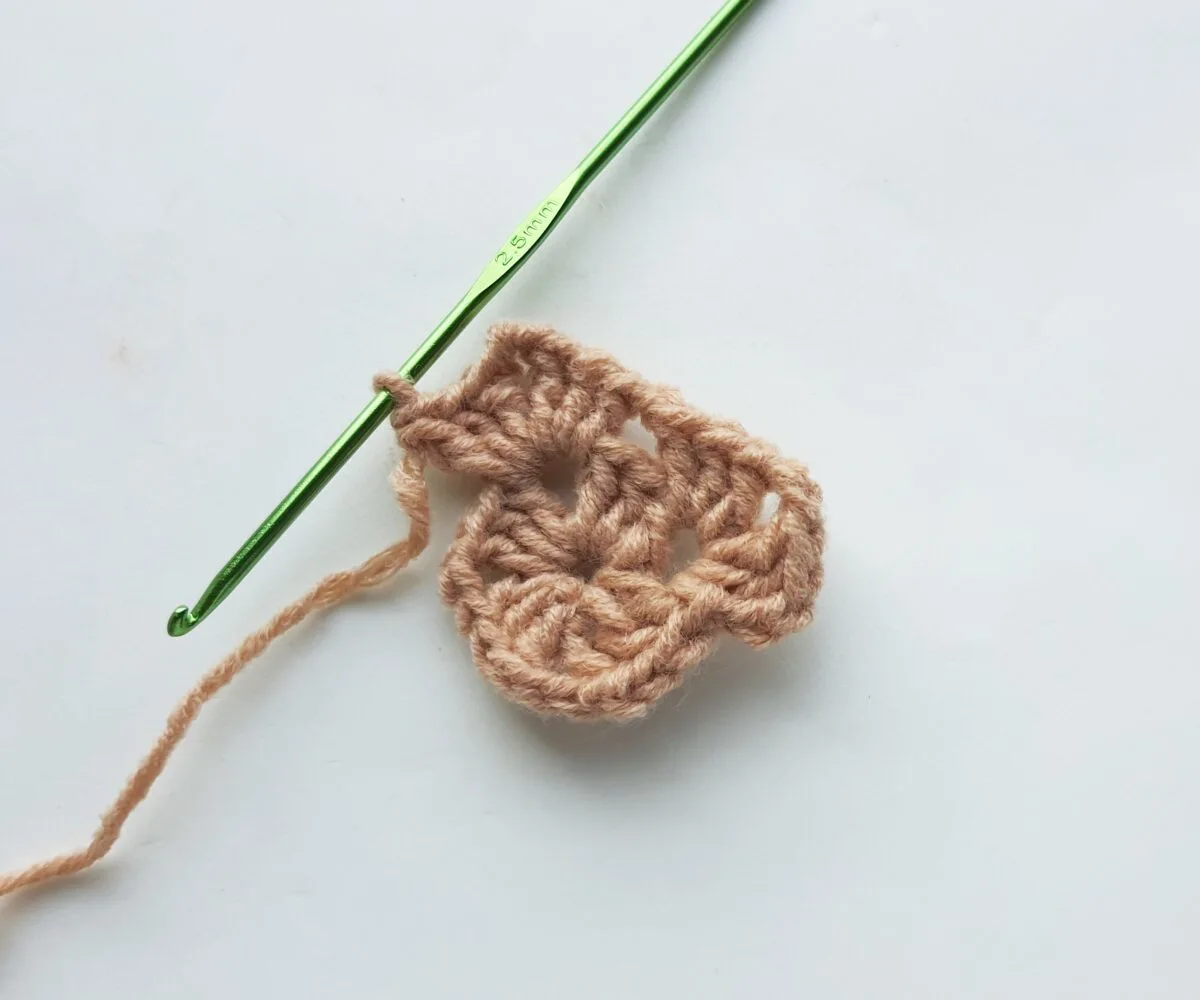
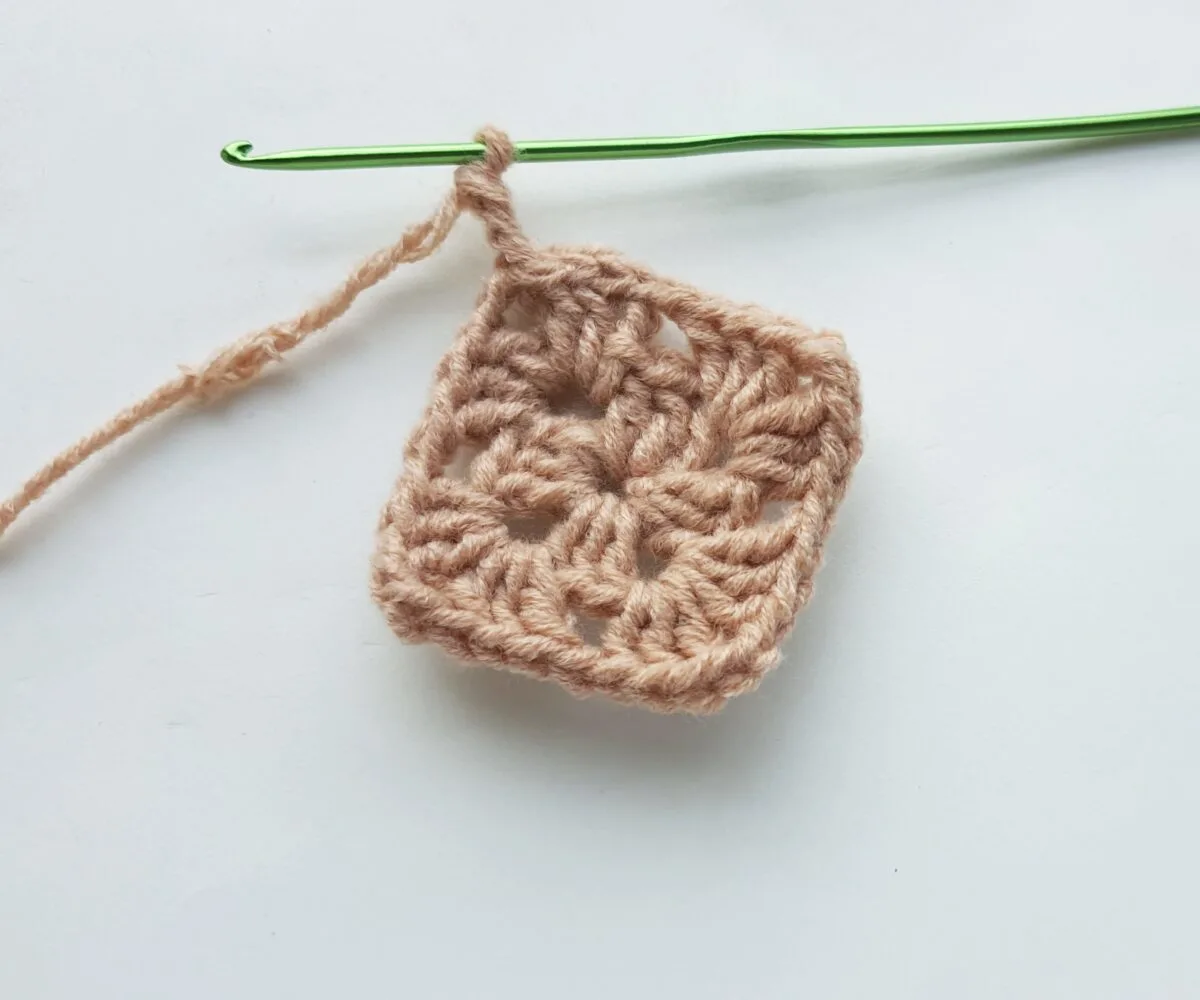
Step 18
This round will have a space between the 2 corner spaces. Work 2 chains before working the set of 3 DC through the middle space.

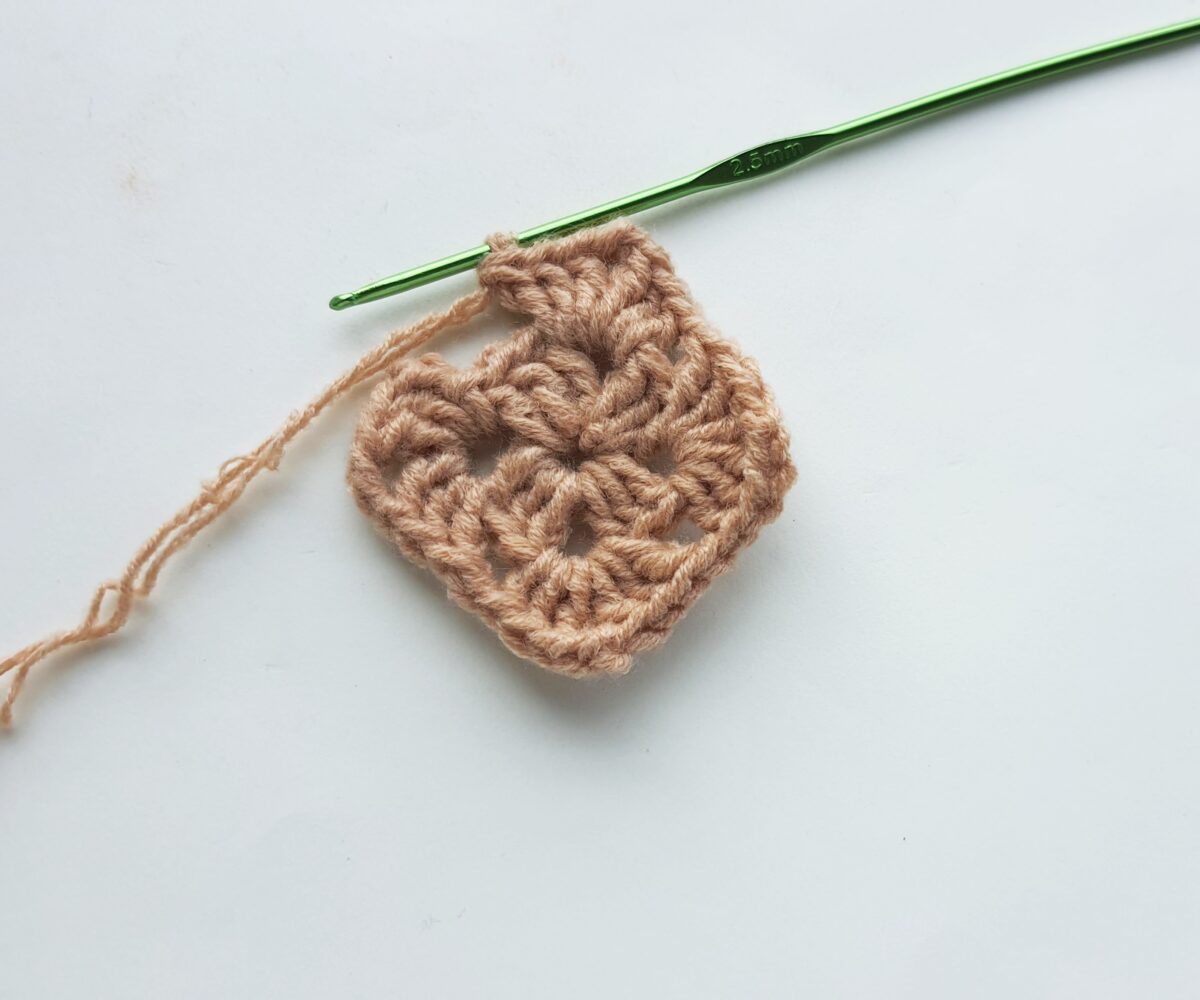
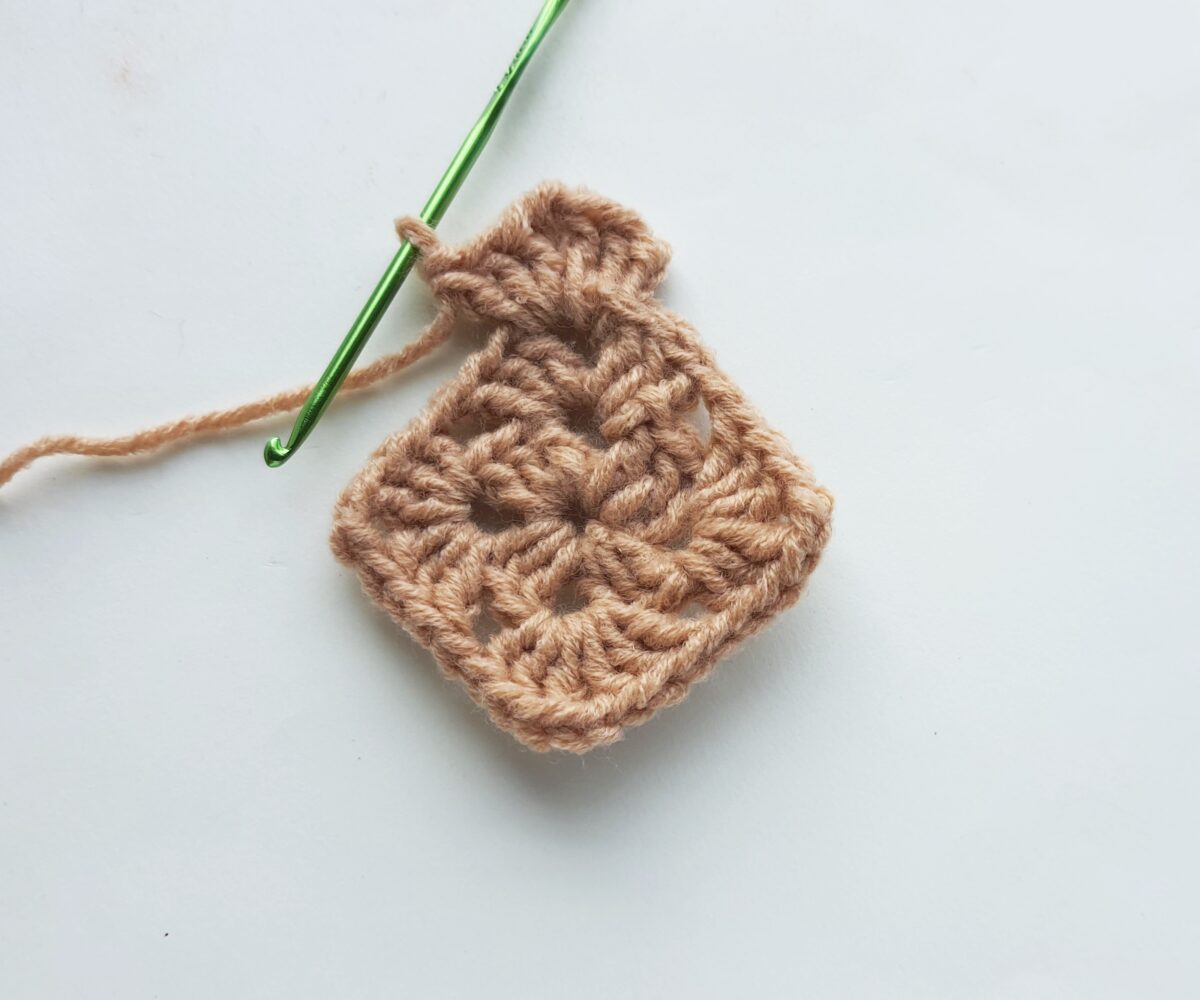
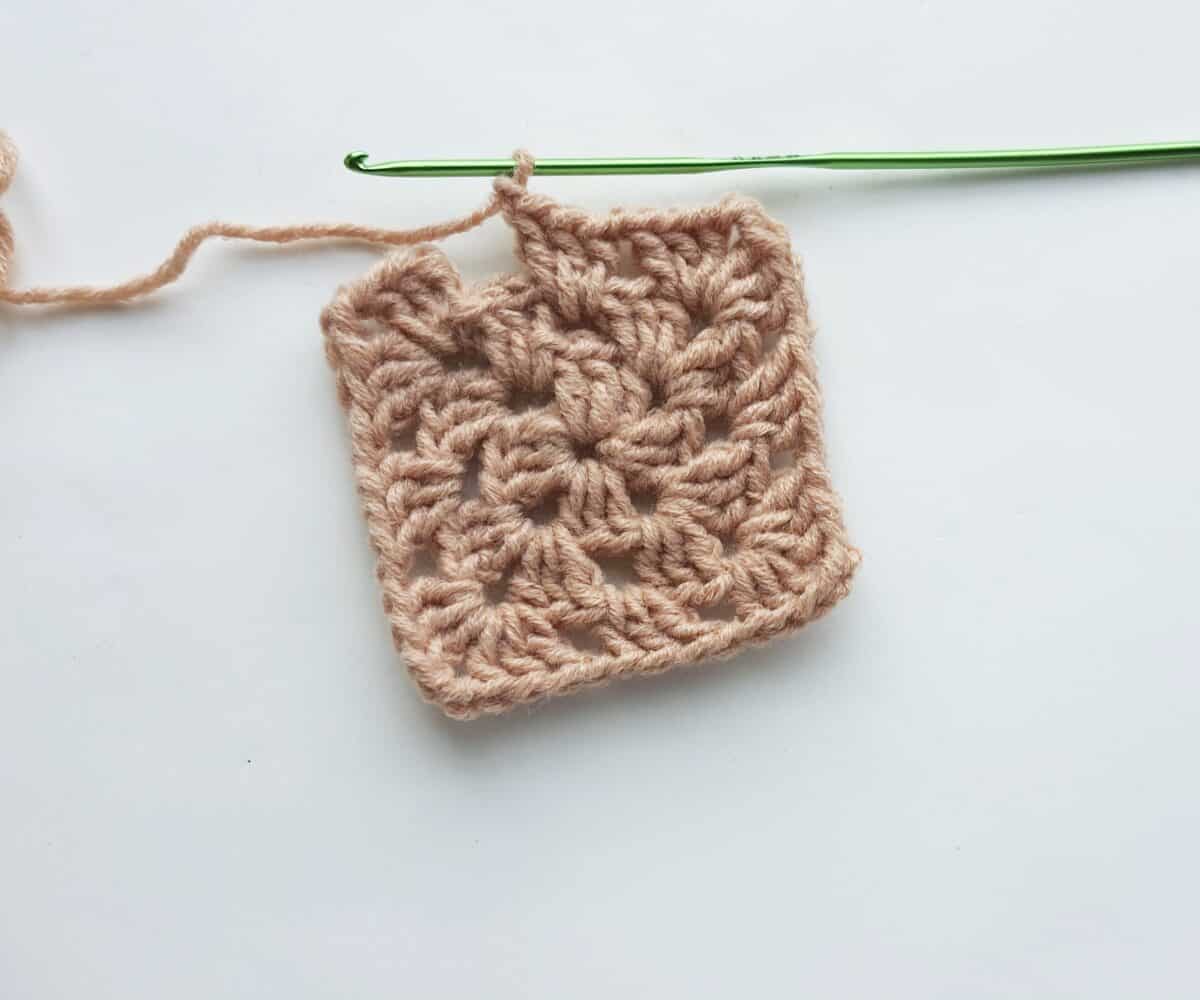
Step 19
Continue to work 3 DC sets with chain 3 for the corners and chain 2 between the middle sets.
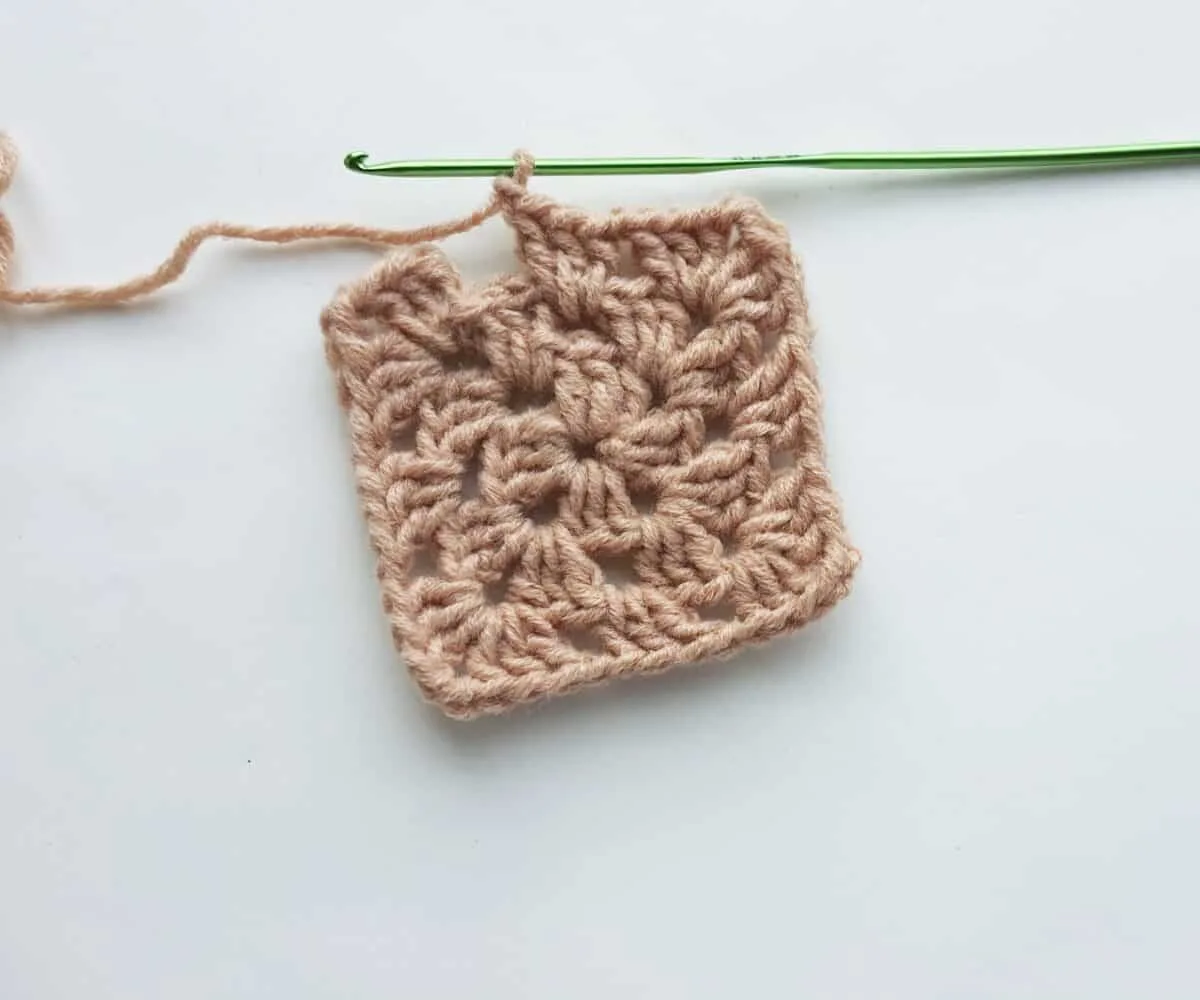
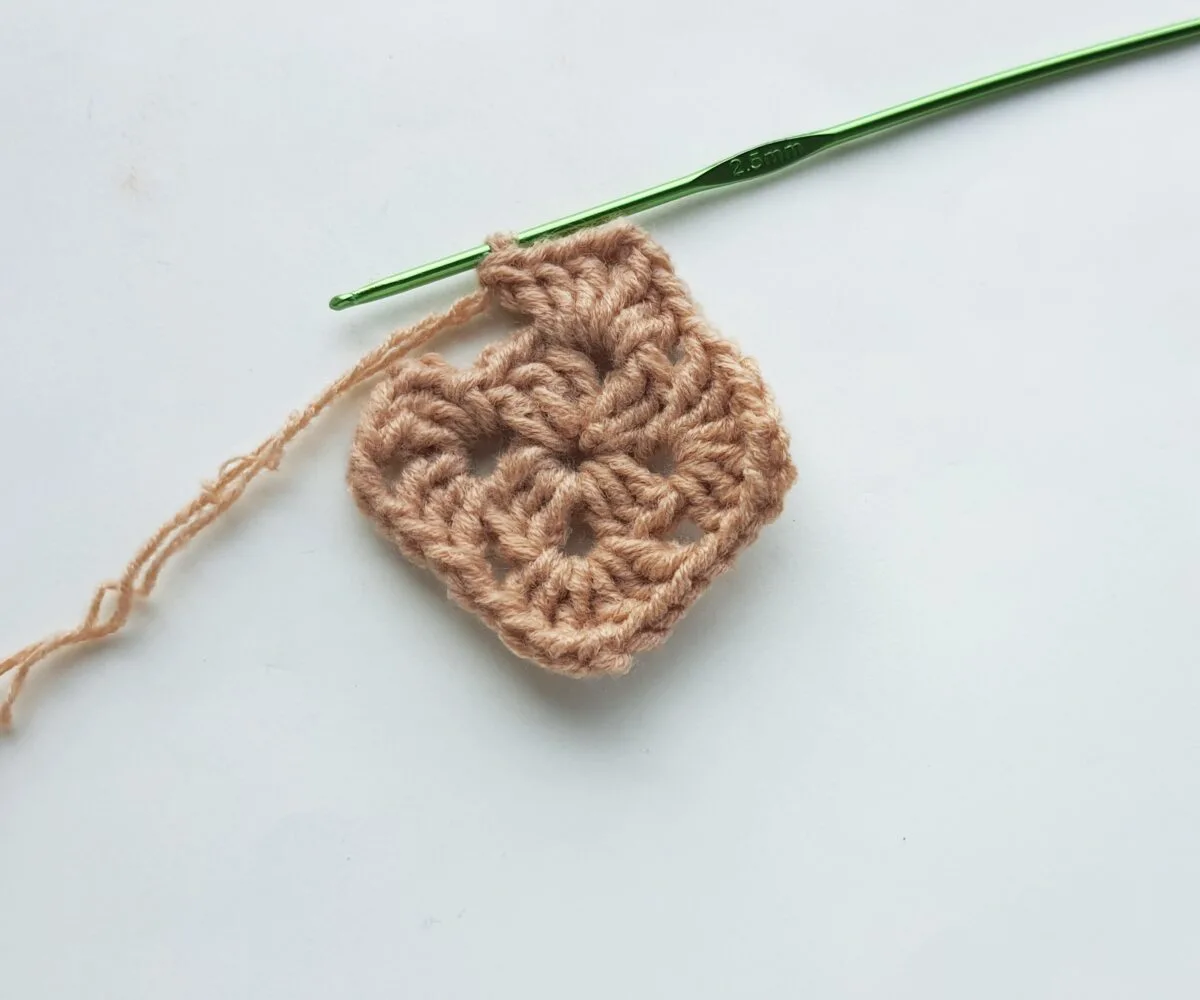
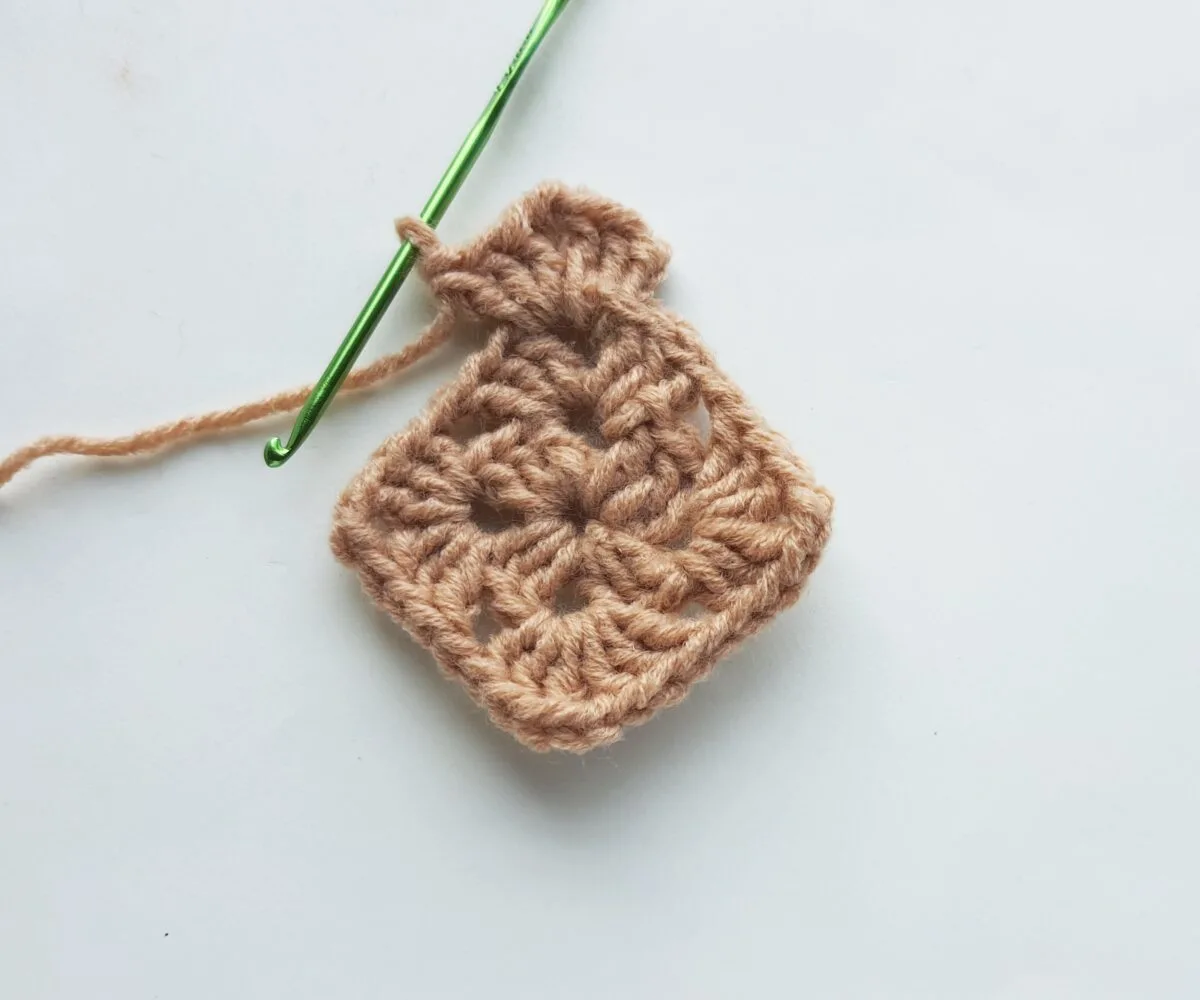
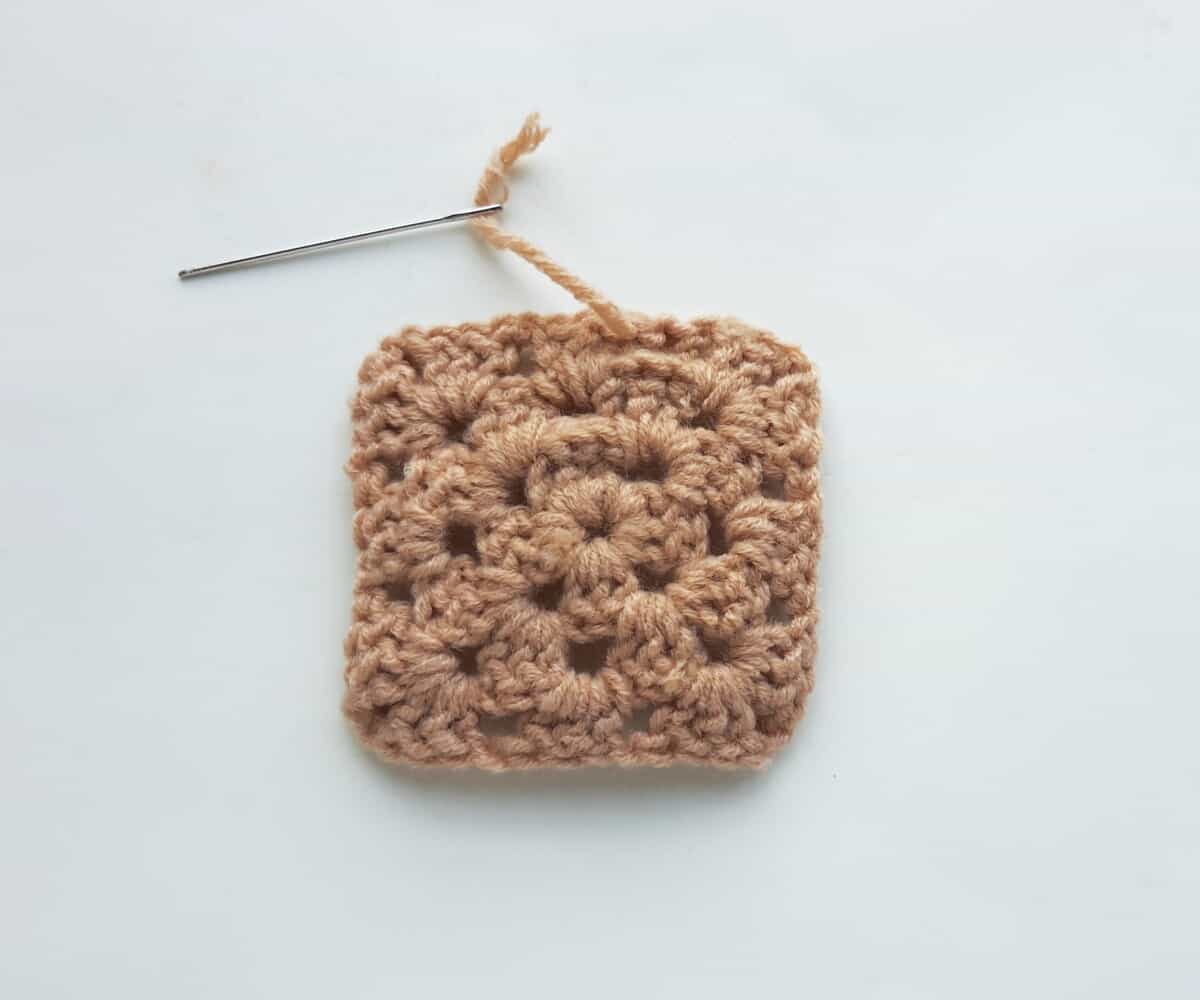
Step 20
Work a slip stitch through the top stitch of the initial chain of the current round. Pull out a small amount of yarn and then cut off yarn from the bundle.

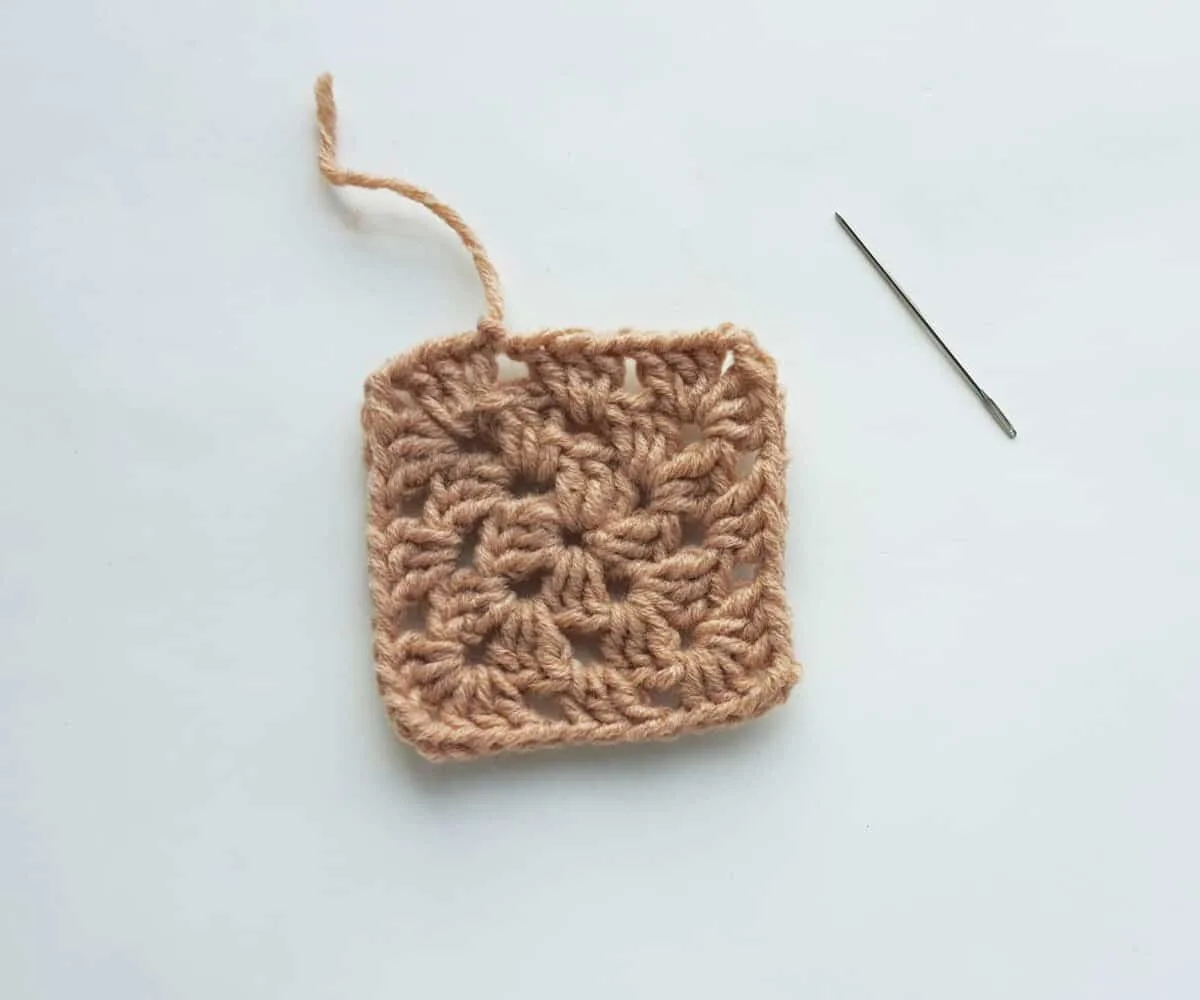
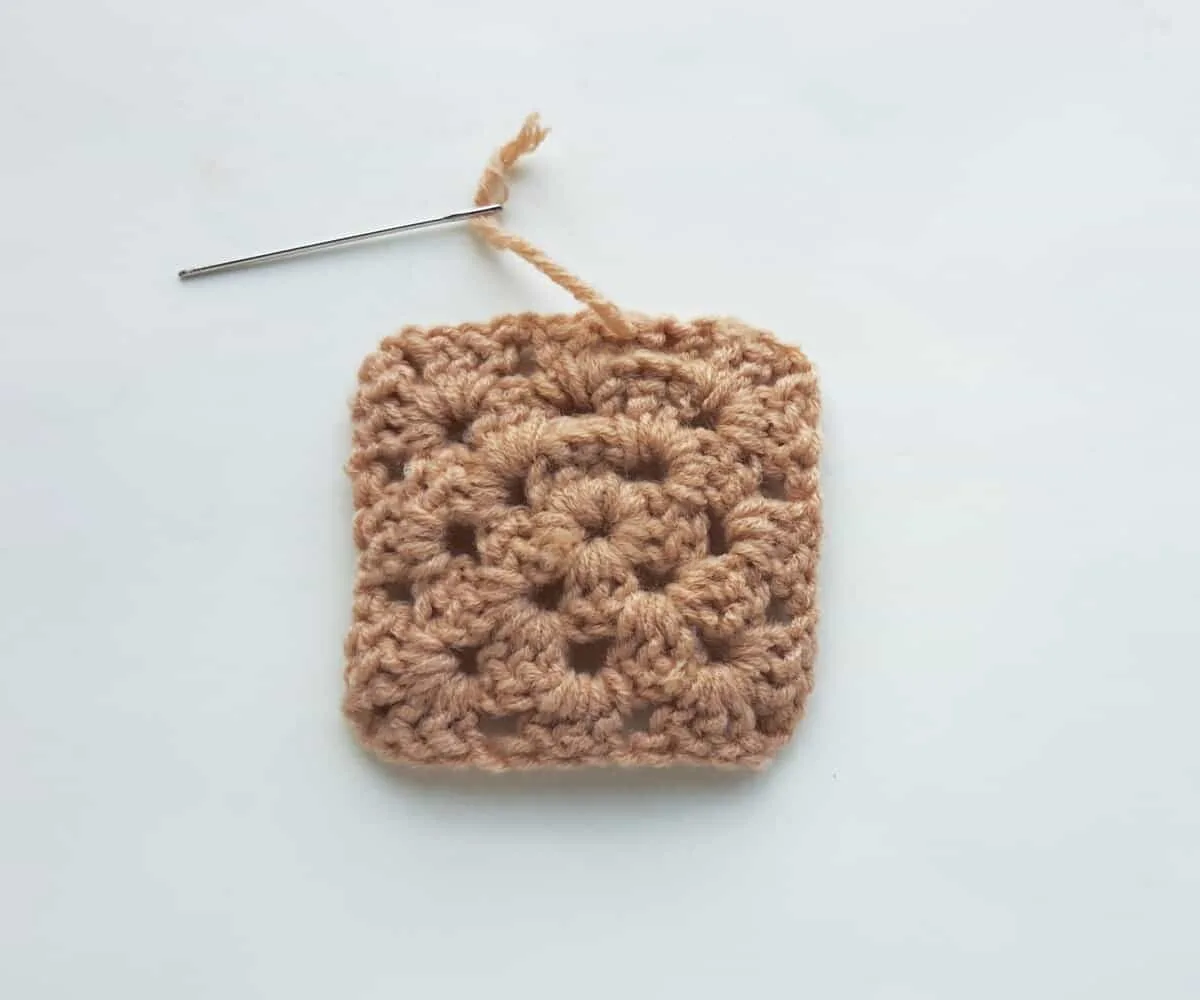
Step 21
Use a tapestry needle to stitch the open end of the yarn on the backside of the crocheted granny square pattern to secure it.
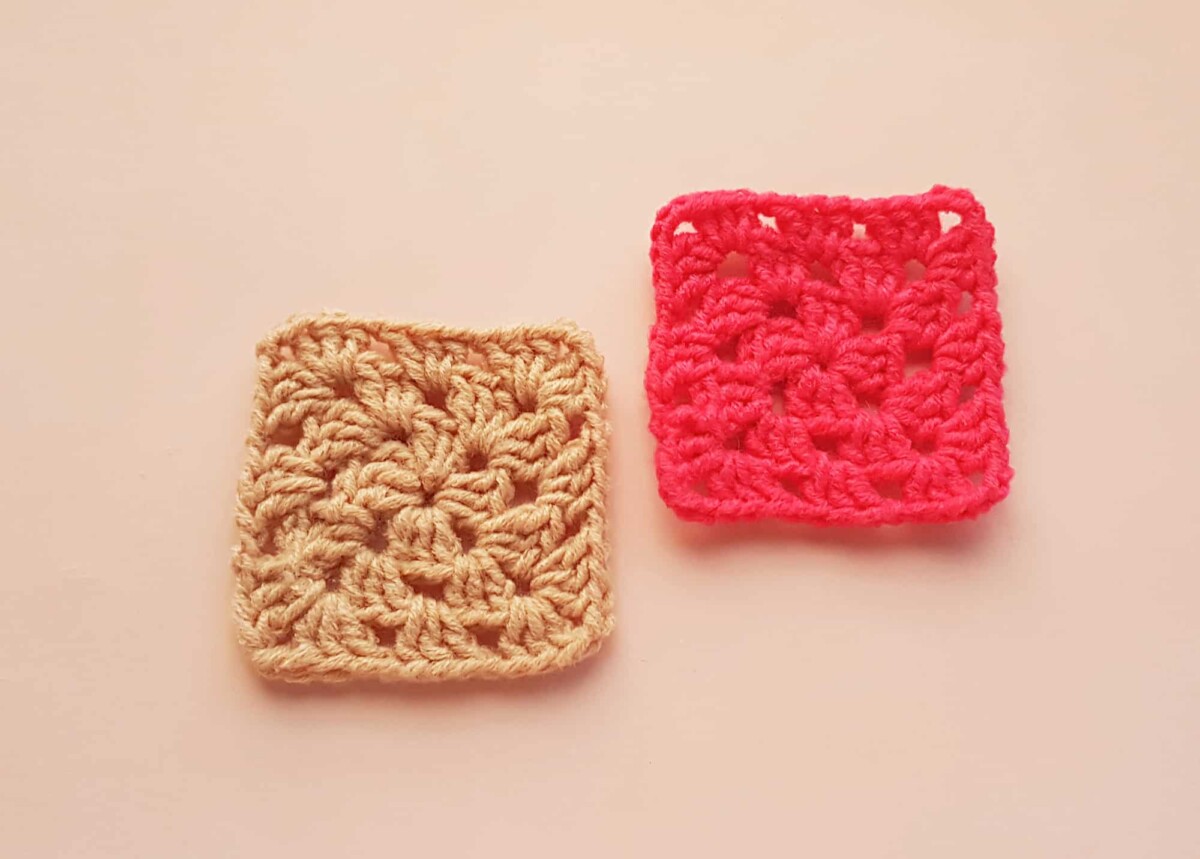
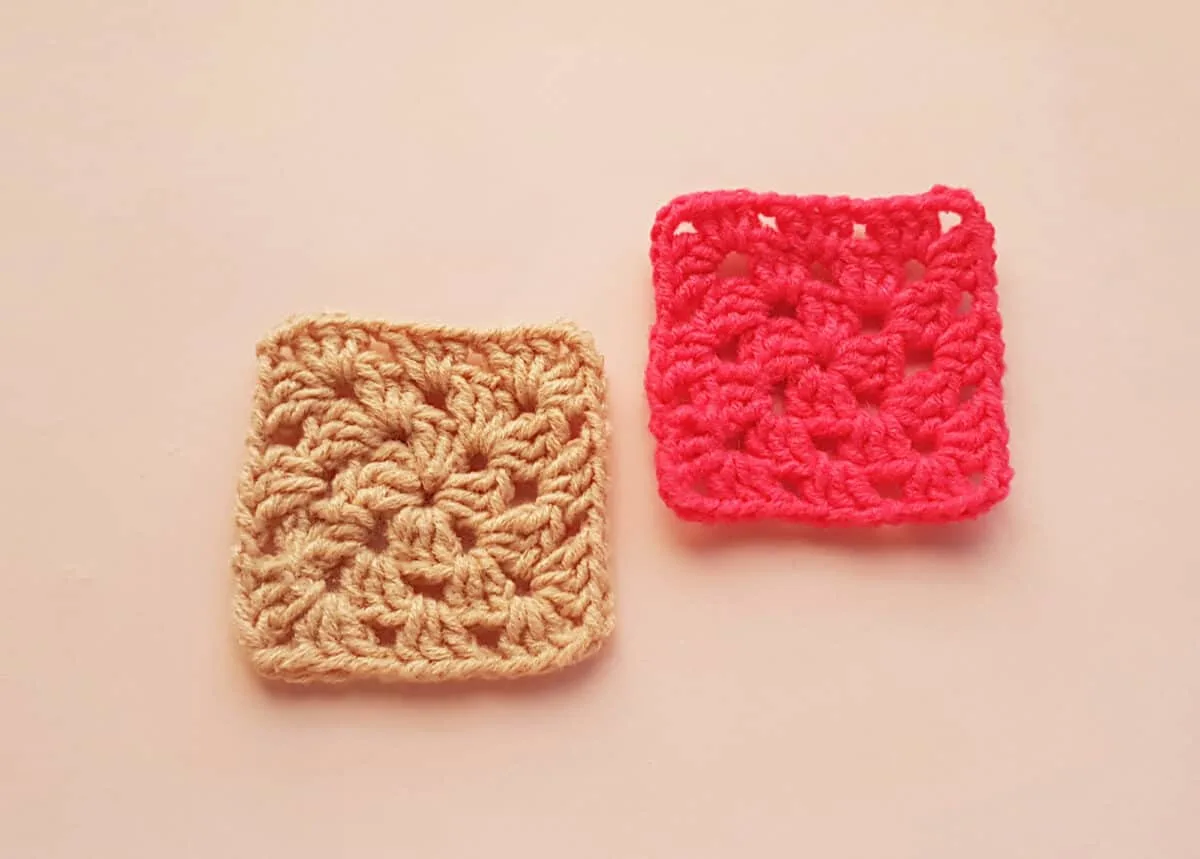
That’s the free and easy pattern for crocheting granny squares. I hope you like the sentimental and comforting crochet pattern as much as I do!
For a variation on this classic granny square pattern, see these unique designs:
- sunflower granny square pattern
- heart granny square pattern
- sunburst granny square
- apple granny square
- daisy granny square pattern
- skull granny square
