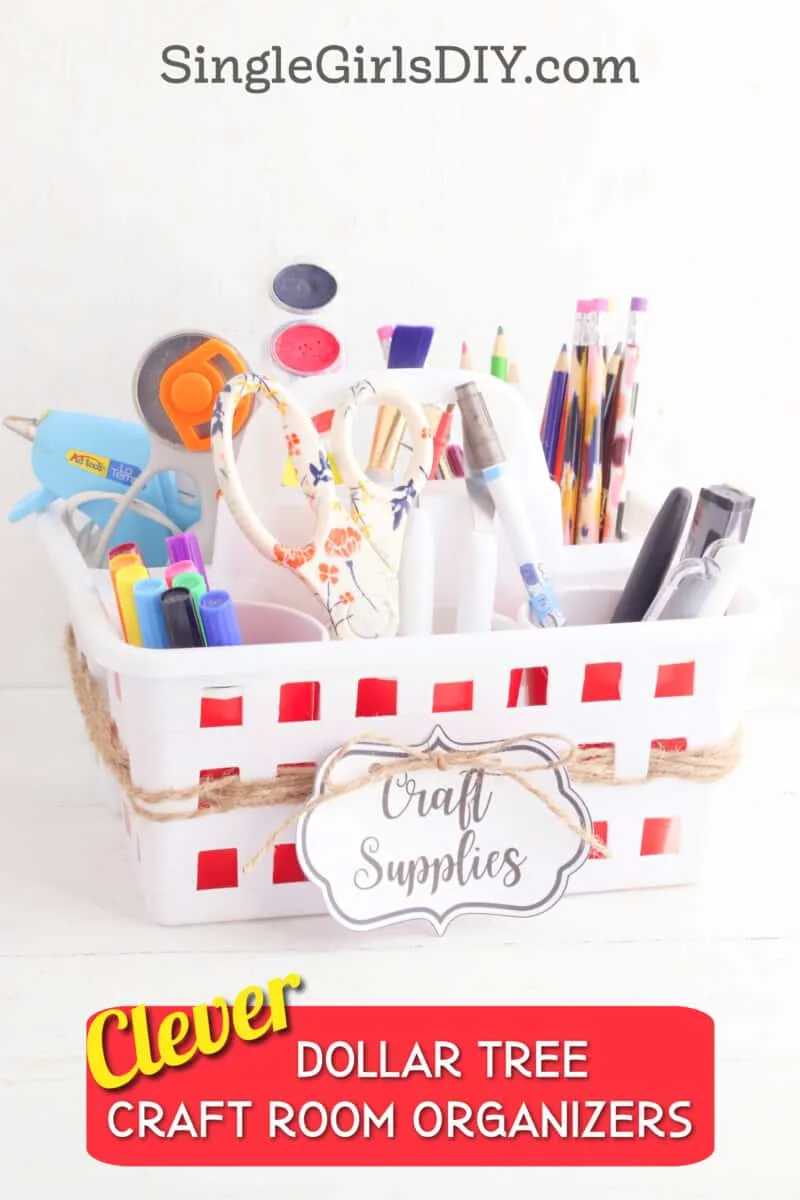
If you’re searching for some inexpensive and clever DIY craft storage ideas, there is no better place to go than the dollar store, right?! I think you’re going to love these Dollar Tree craft organization ideas to finally get your supplies organized.
Using items from a dollar store in unique ways is the key to saving money while getting craft room organization on a dime.

Be sure you get our free printable craft room labels, too! They make everything look more tidy and pretty.
I have more inexpensive storage ideas, too:
- DIY Tin Can Organizers
- DIY Wicker Basket from a Straw Hat
- Turn a Cardboard Box into a Decorative Storage Container
- Cereal Box Desk Organizer
- Plastic Grocery Bag Holder from an Oatmeal Container
- DIY Jewelry Organizer
- Weird Ways to Organize Your Kitchen
Dollar Tree DIY Craft Organizer
This craft caddy is similar to my cereal box desktop organizer. However, this organizer is easier to make since there is no cutting or gluing!
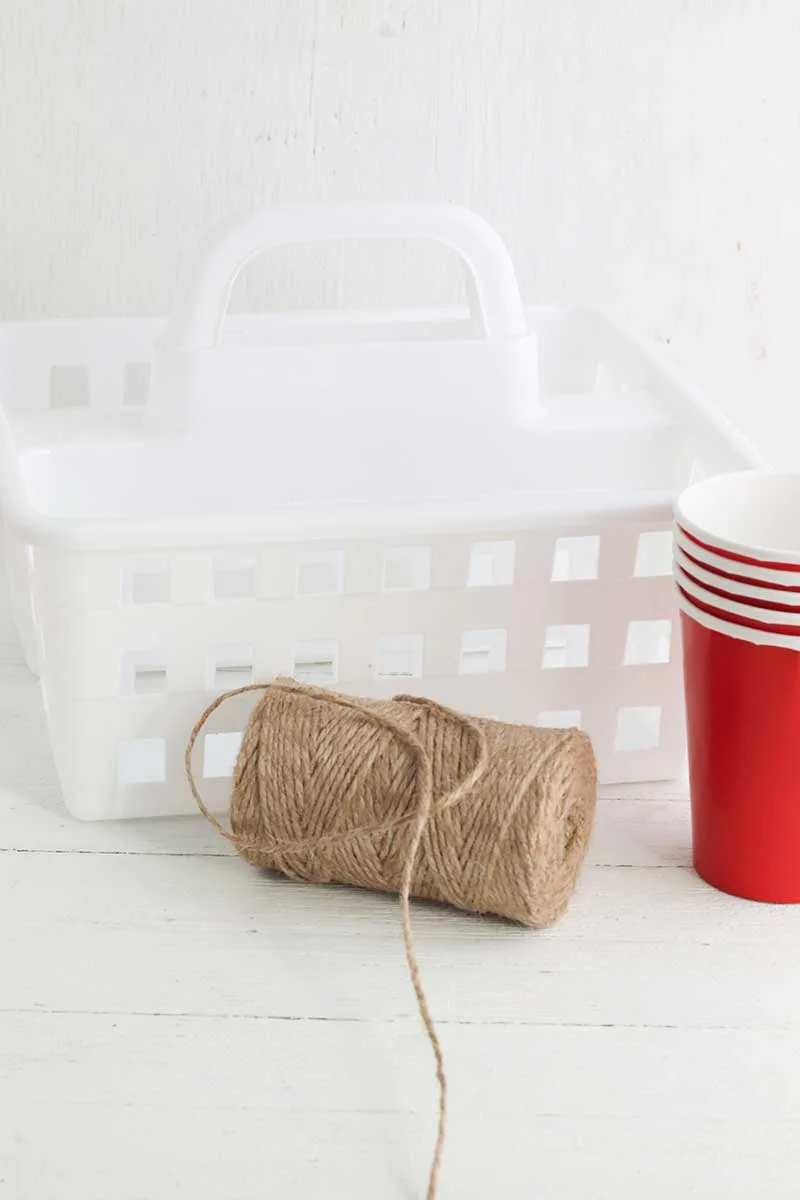
Get a plastic organizer caddy with a handle. These are often sold in the organization aisle, but I’ve also seen them at the front of the store depending on the season.
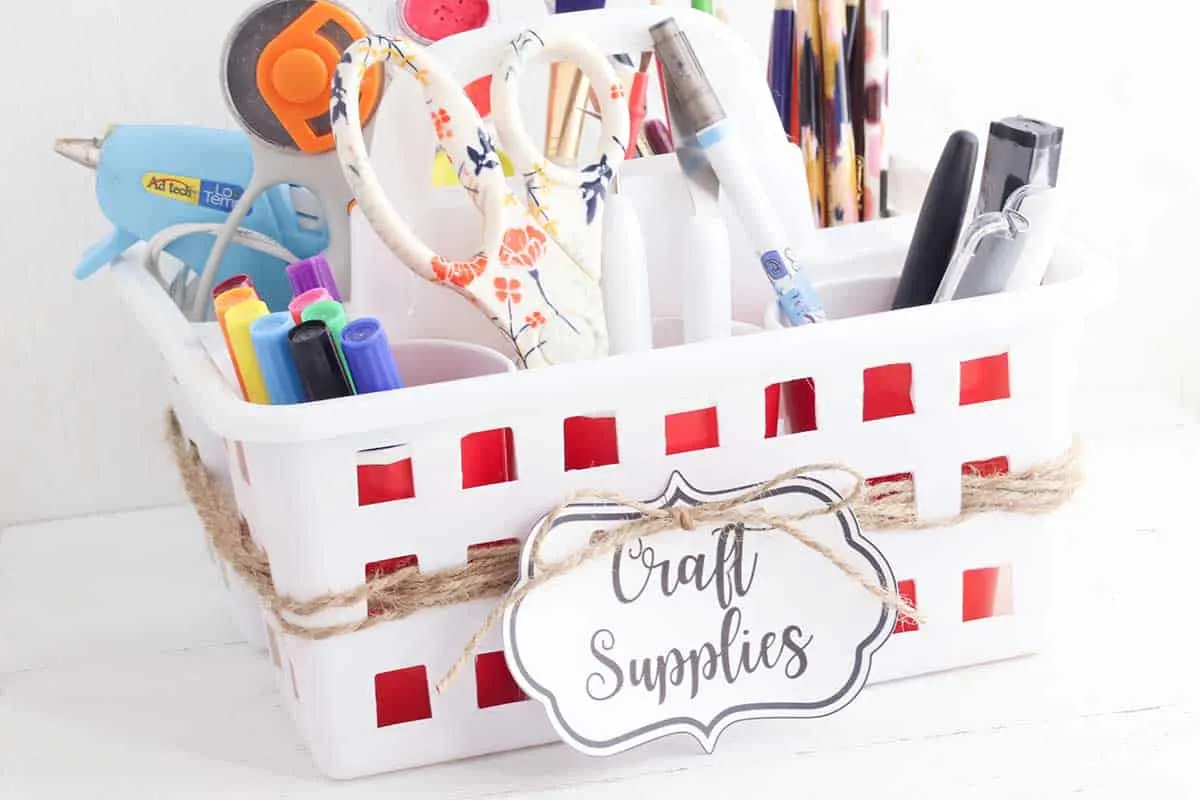
Also buy paper cups in the party aisle. Place the cups in the basket. Then fill each cup with craft supplies such as pens, markers, Cricut tools, scissors, paintbrushes, etc.
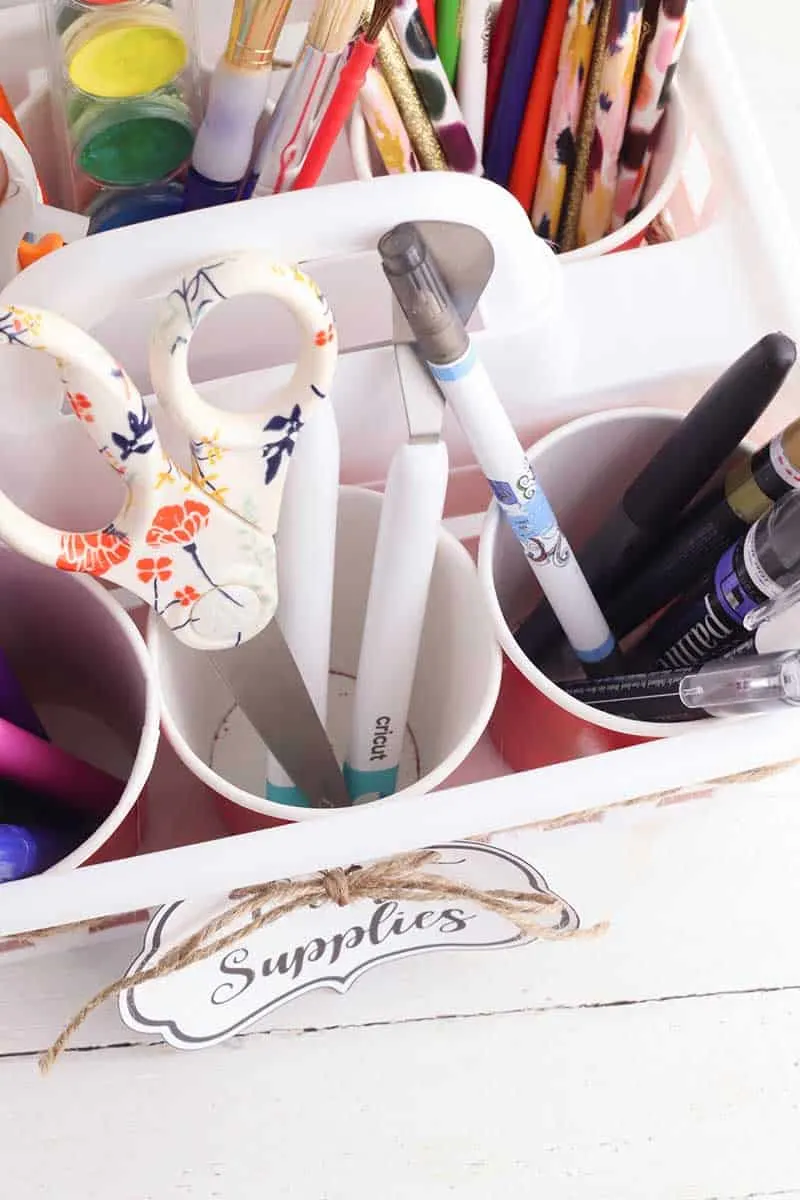
What’s great is that if a pen or marker leaks, you can just throw the cup away. No need to worry about stains or cleaning up messes!
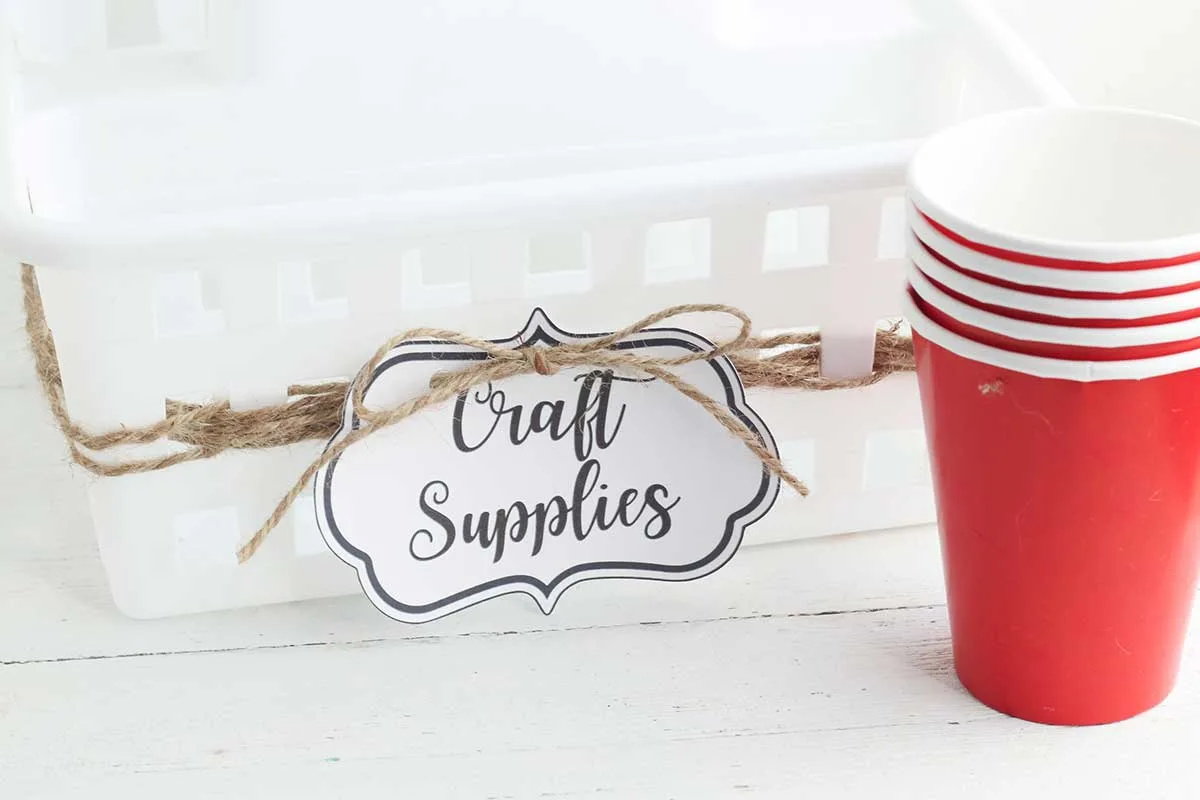
To attach the large Craft Supplies label to your organizer, weave a long piece of twine from the craft section through the holes in the basket. Punch two holes on the top of the label. Thread the twine through the holes and secure by tying a bow.
DIY Ribbon Organizer and Dispenser
Wondering how to organize loose craft ribbon? Or those rolls of washi tape?
This DIY ribbon caddy is made from a wire napkin holder found in the kitchen section! You can easily store ribbon and washi tape in the caddy.
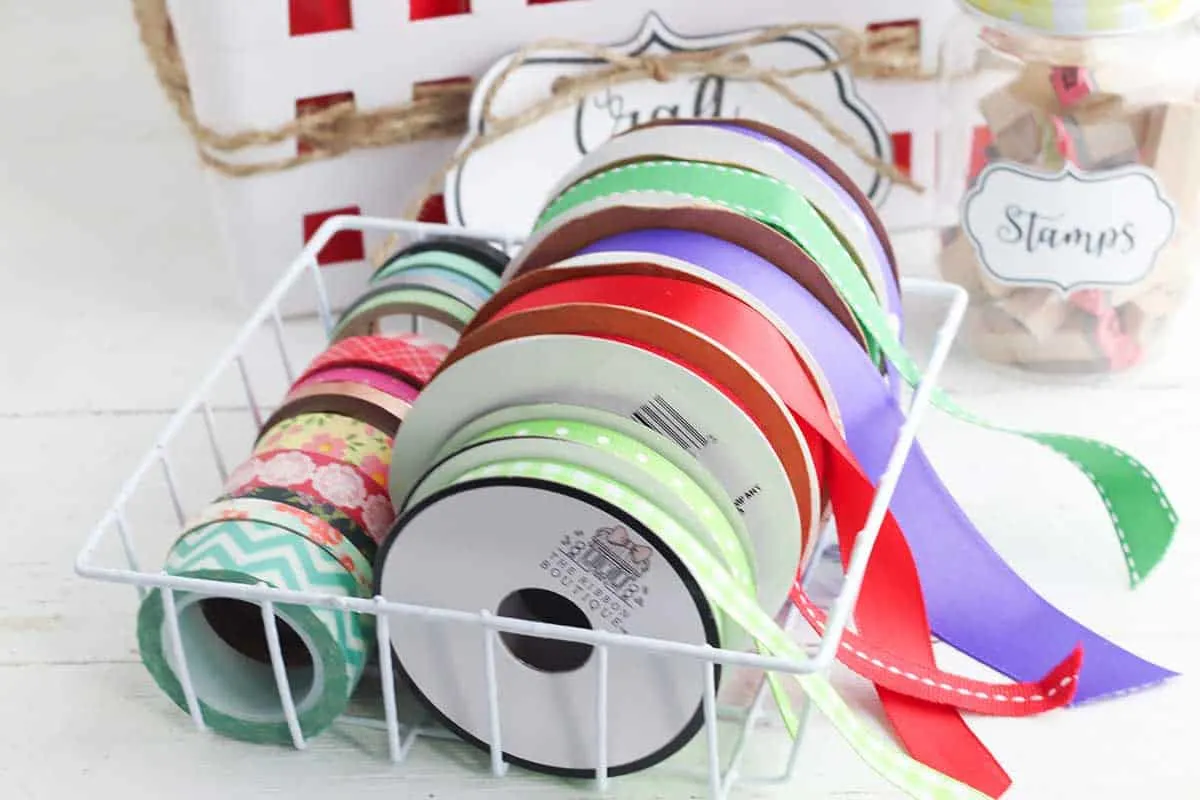
Set the rolls in the basket upright in a row. Then thread the end of the ribbon or tape through the holes in the side of the basket, under the top rung.
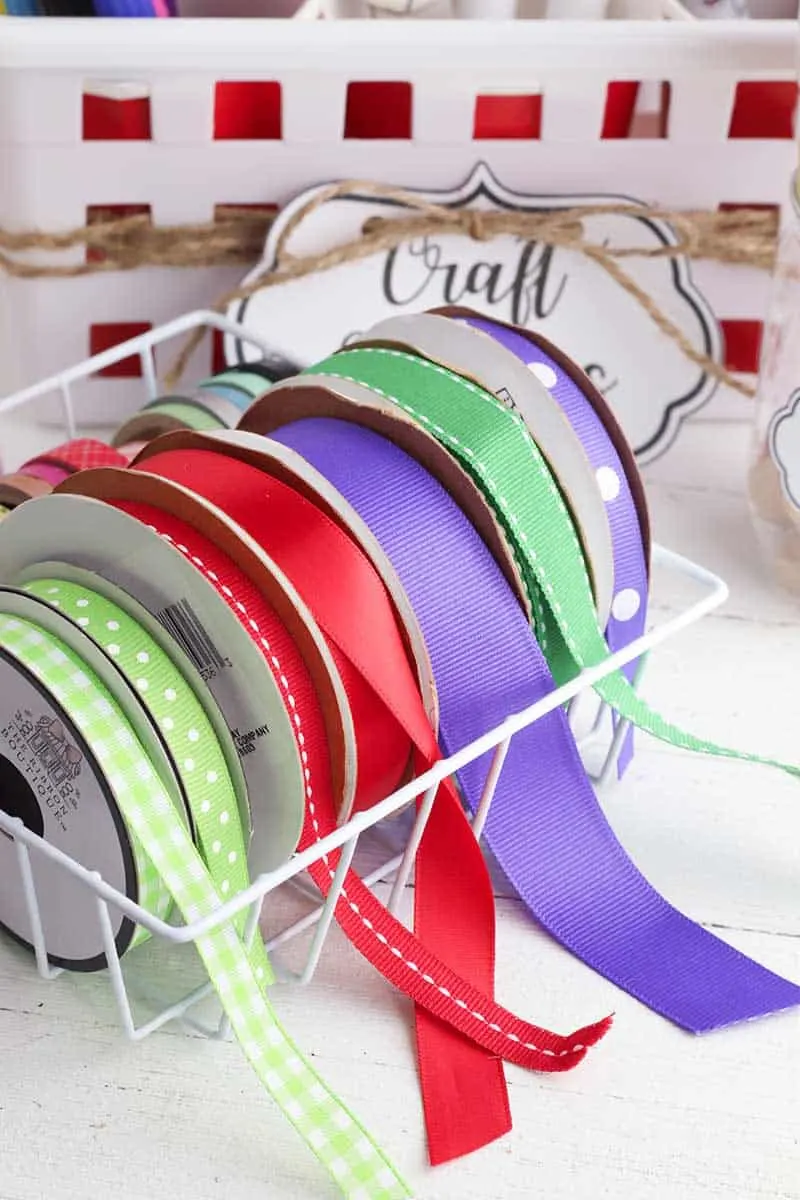
It’s easy to dispense of the ribbon or tape and cut just what you need. While the rolls stay secure in the organizer.
Storing Craft Supplies in Jars
It’s easy to store smaller craft supplies in glass jars or plastic jars. Here’s some ideas:
- Buttons
- Beads
- Stamps
- Pom Poms
- Sequins
- Spools of thread
- Glitter
- Spools of washi tape
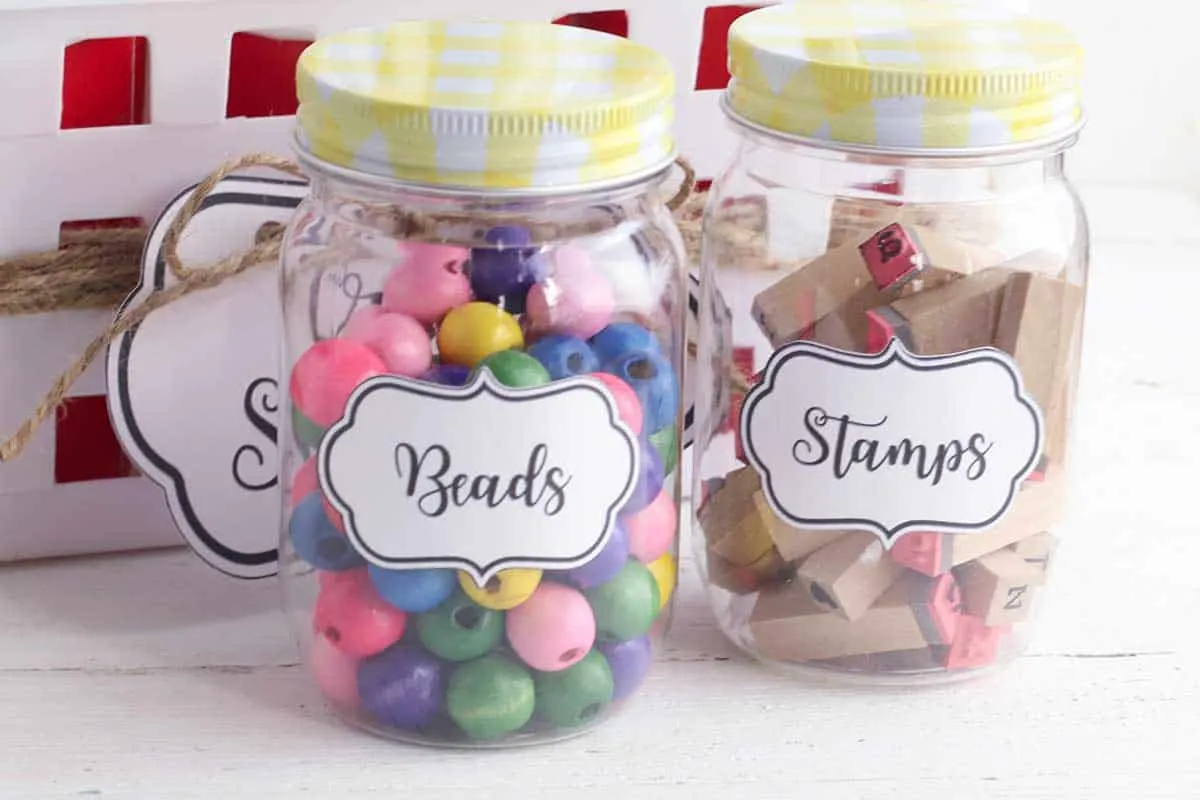
I’ve found these cute decorative plastic storage jars in the season aisle which is why they have gingham tops. You can also find them in the kitchen aisle at The Dollar Tree. You might find glass versions, or reuse mason jars or recycled jars.
Attach labels to the front of the jars with a hot glue gun or double-sided tape to make them pretty.
How to Make Free Printable Labels for Craft Supplies
I have free labels for you to organize your craft supplies. You can either:
- Print the PDF files and cut out the labels
- Use the SVG file with a Cricut machine
Using a Cricut to Make the Labels
Upload the PNG version of the labels into Design Space and save them as a print then cut file.
Resize the labels if needed. Then hit the Make It button.
Select your printer and make sure it is loaded with cardstock.
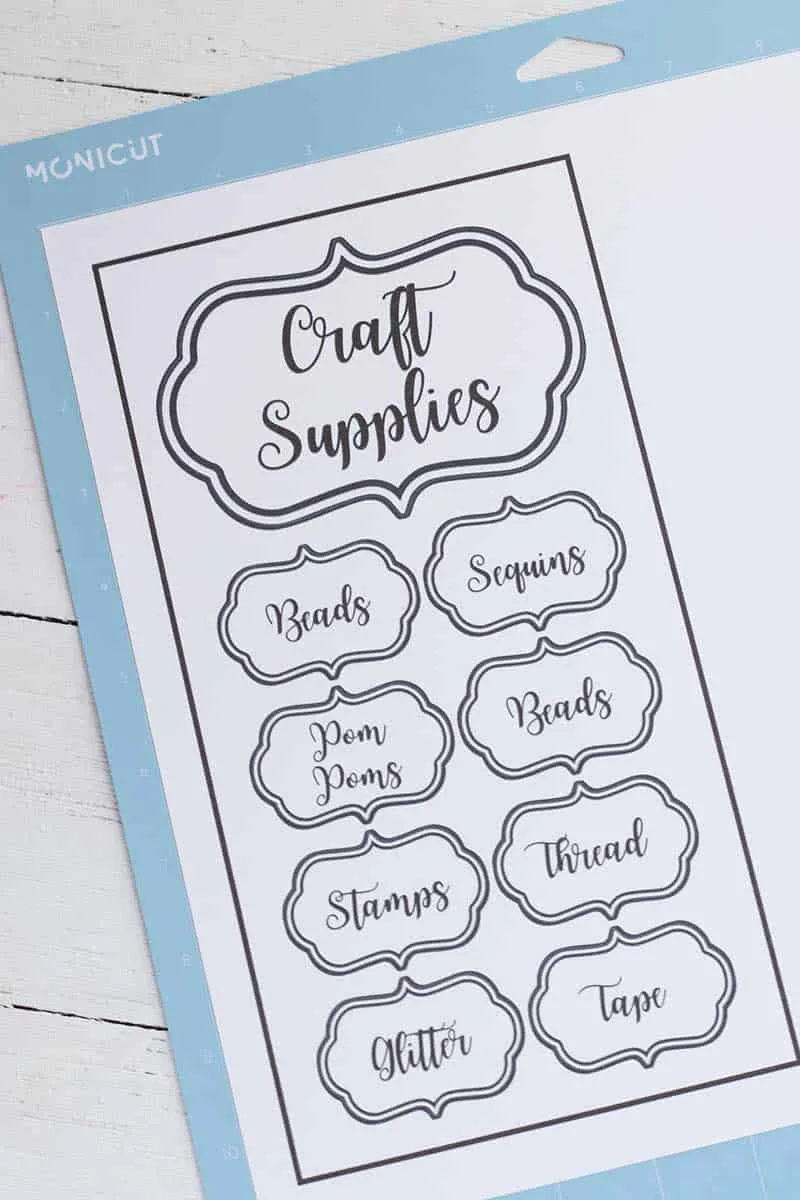
Print the labels, then place them on the cutting mat and load it into the Cricut. Cut the labels and remove them from the mat.
