Isn’t it satisfying to upcycle stuff around the home into pretty organization?! It’s like you get to declutter and organize at the same time!
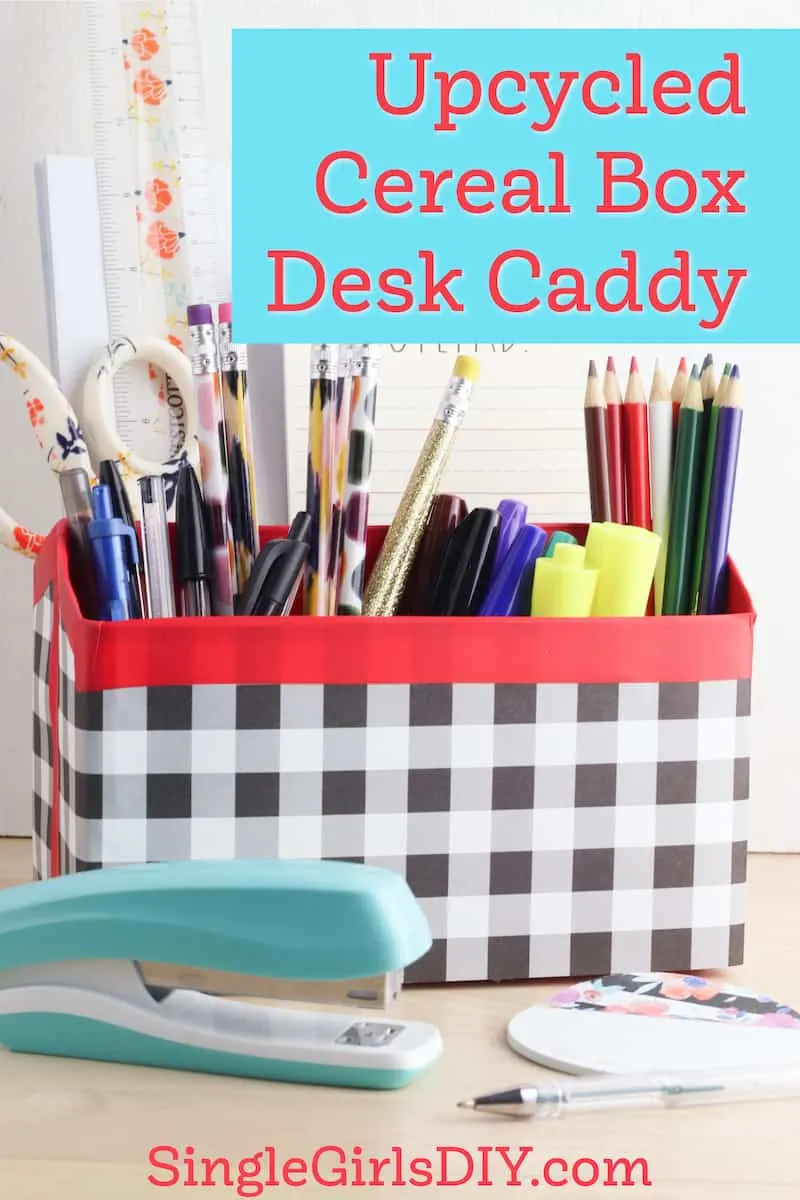
Which is why I love how easy it is to turn two cereal boxes and some toilet paper tubes into this fun desktop organizer. Finally, I can keep my desk organized! And, it didn’t cost anything!
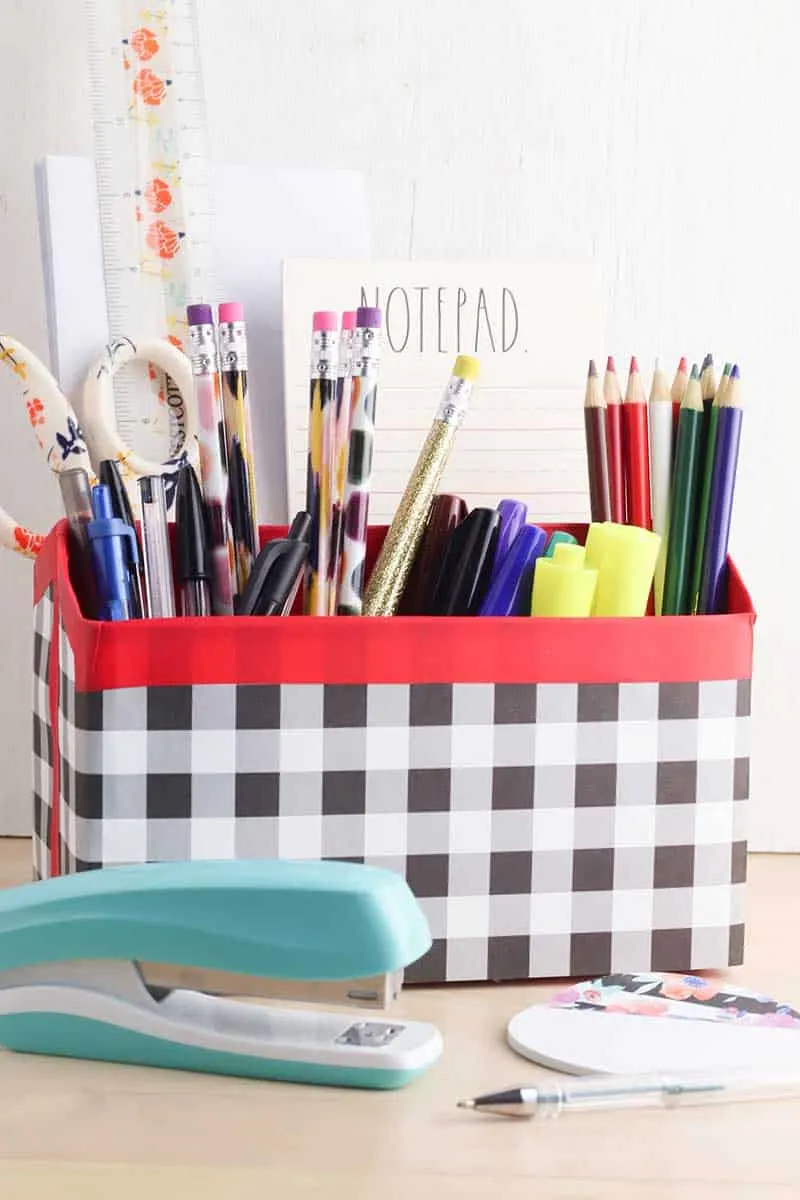
Chances are you have some cardboard that hasn’t been recycled yet. So why not upcycle it into this storage caddy?
You can also use scrapbook paper and tape that you probably already have in your craft supplies and make this organizer right now.
Be sure you see my toilet paper tube boxes, too. They would be great to make along with this organizer.
Check out how I turned a cardboard box into a decorative storage container, too!
If you didn’t know, I love organizing! Check out all of my organization tips and tricks.
I made a fancy jewelry organizer with some leftover foam from packaging. And these jewelry organizing tips show you how to use dollar store items to display your jewelry.
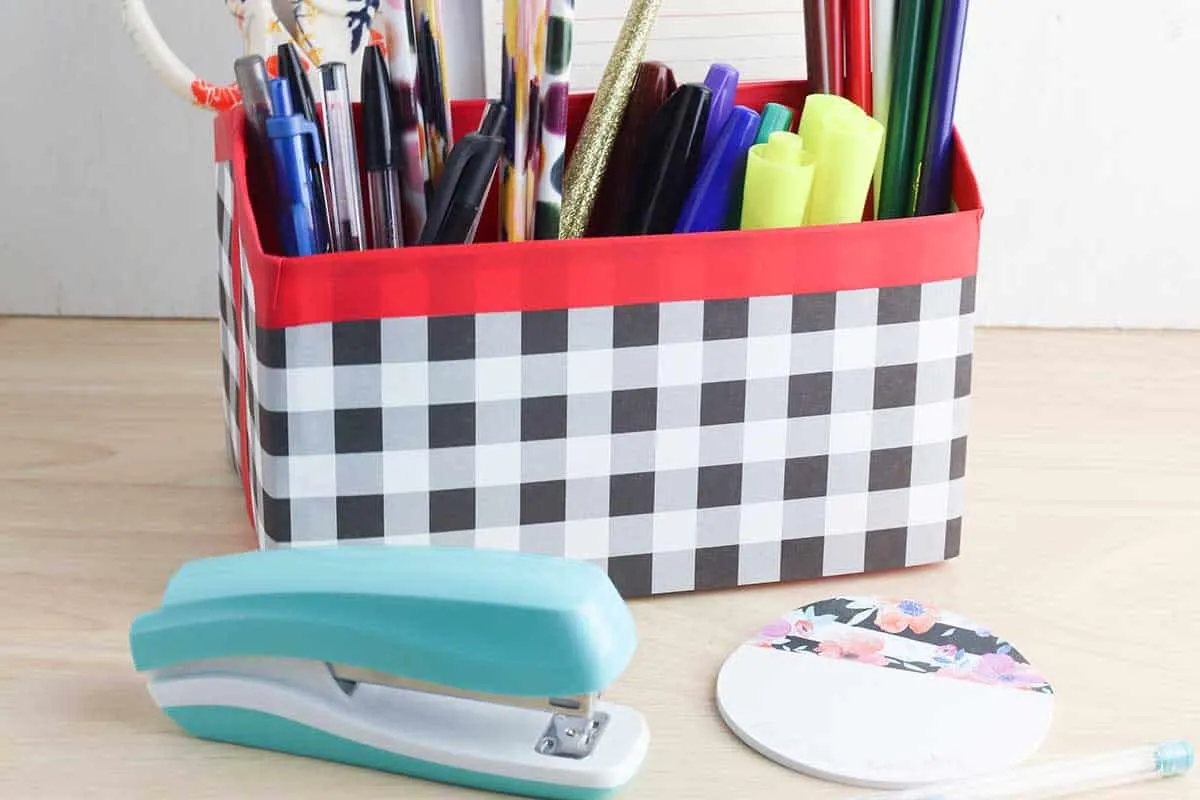
Upcycle a Cereal Box Into a Desk Organizer
Supplies
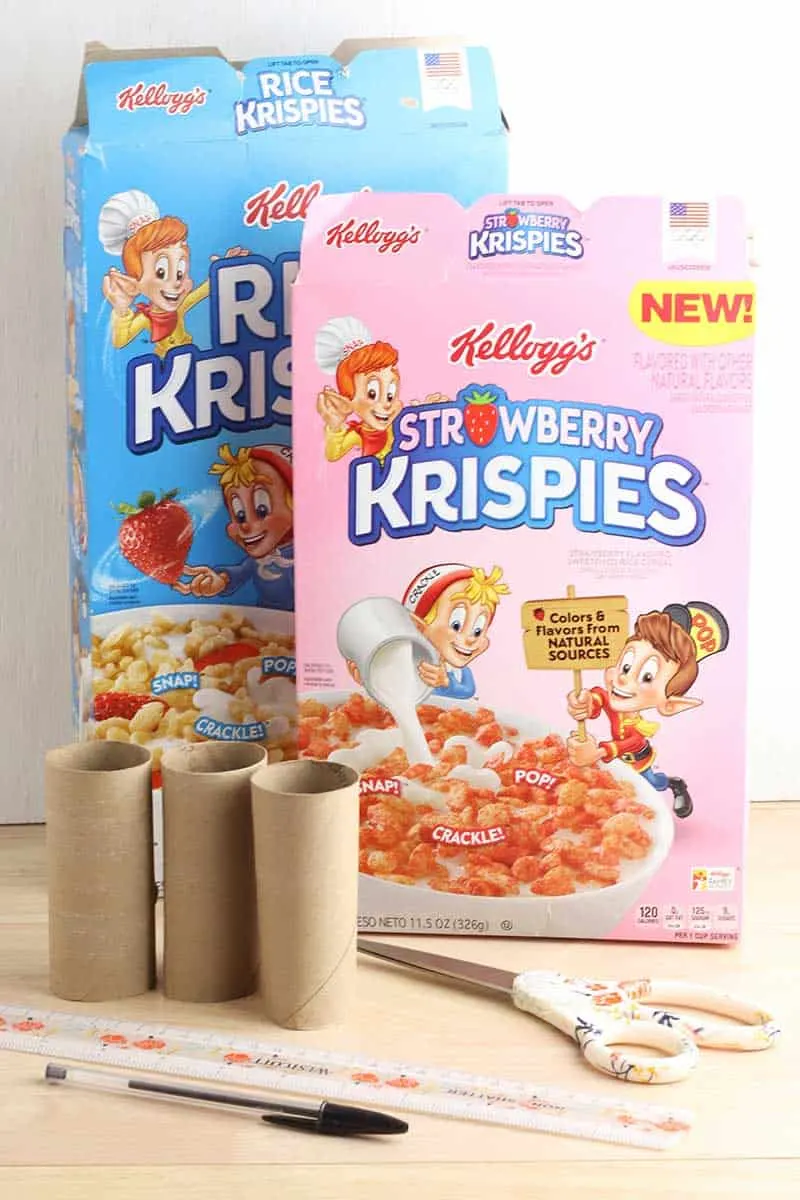
- 2 empty cereal boxes
- 3 to 4 empty toilet paper rolls
- 2 pieces of buffalo plaid scrapbook paper
- Red washi tape
- Tape
- Scissors
- Pen
- Ruler
Instructions
Step 1
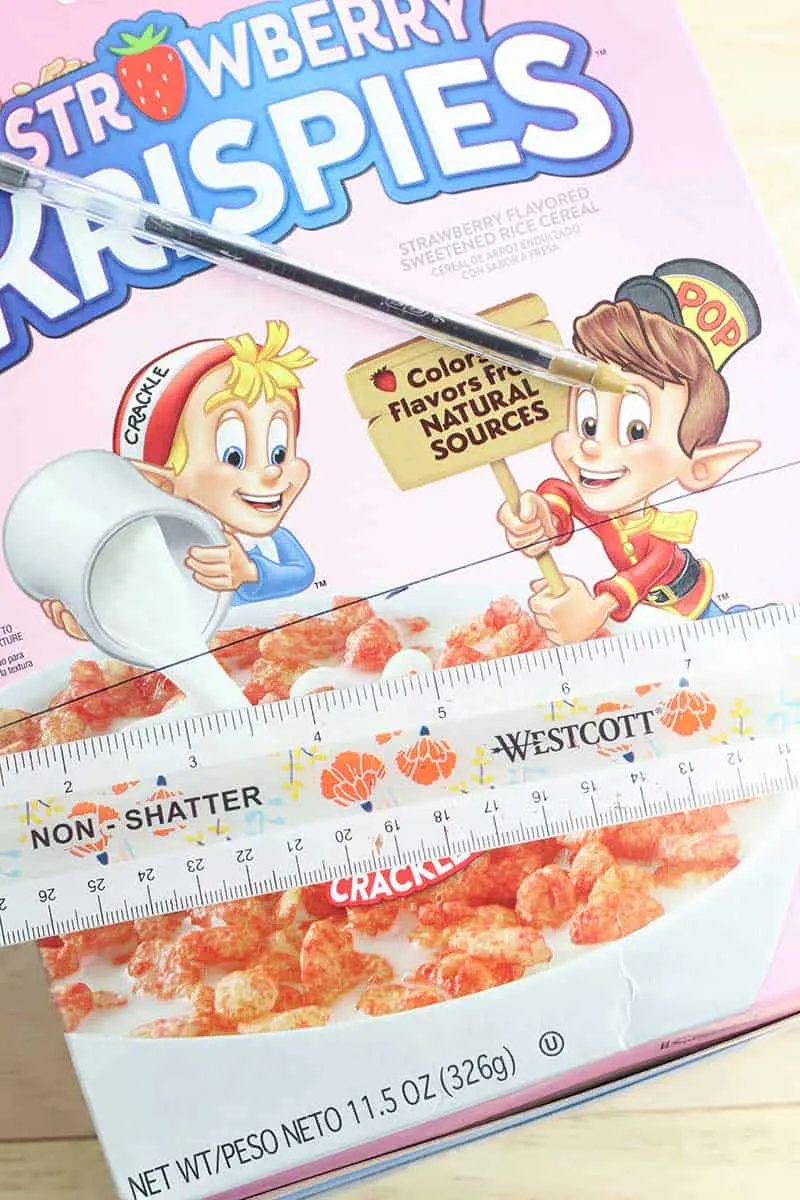
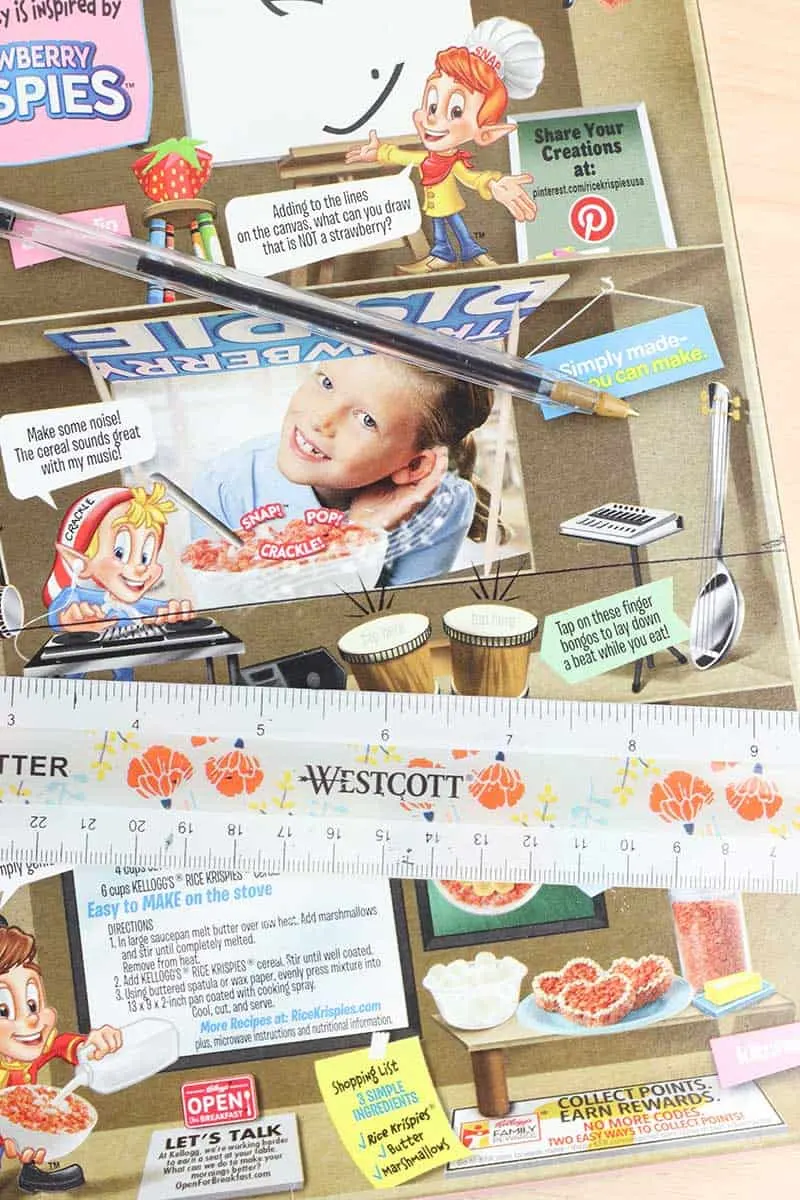
Make sure the two cereal boxes are the same width. Tape the two boxes together to measure and mark the box.
Use a ruler to measure a line five inches from the bottom of each box and draw a line across the front of each box.
Step 2
Turn the boxes on their side and draw two angled lines meeting each other at the center of the box. Repeat the process on the opposite side of the box.

Step 3
Pull the boxes apart and draw a line on the back of each box five inches from the bottom.
Step 4
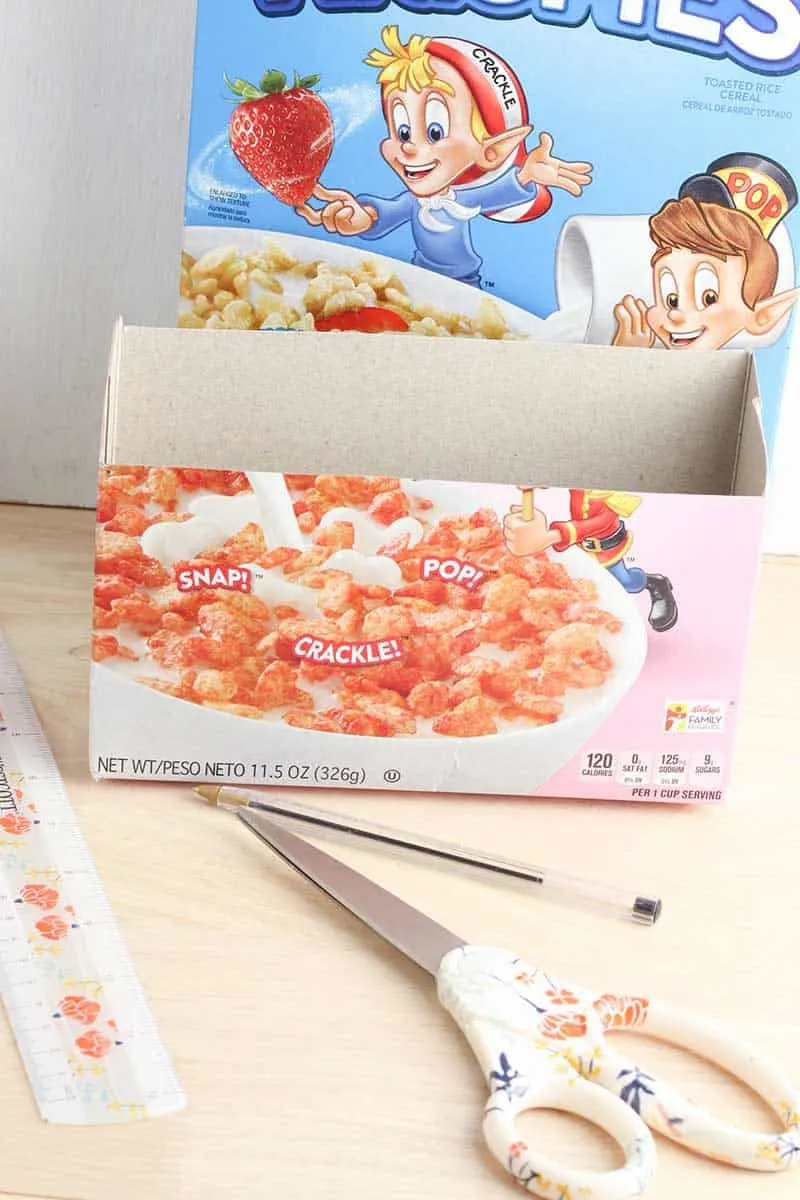
Use your scissors to cut along each line and recycle the tops of the boxes.
Step 5
Glue the two boxes together along the back of the boxes.
Step 6
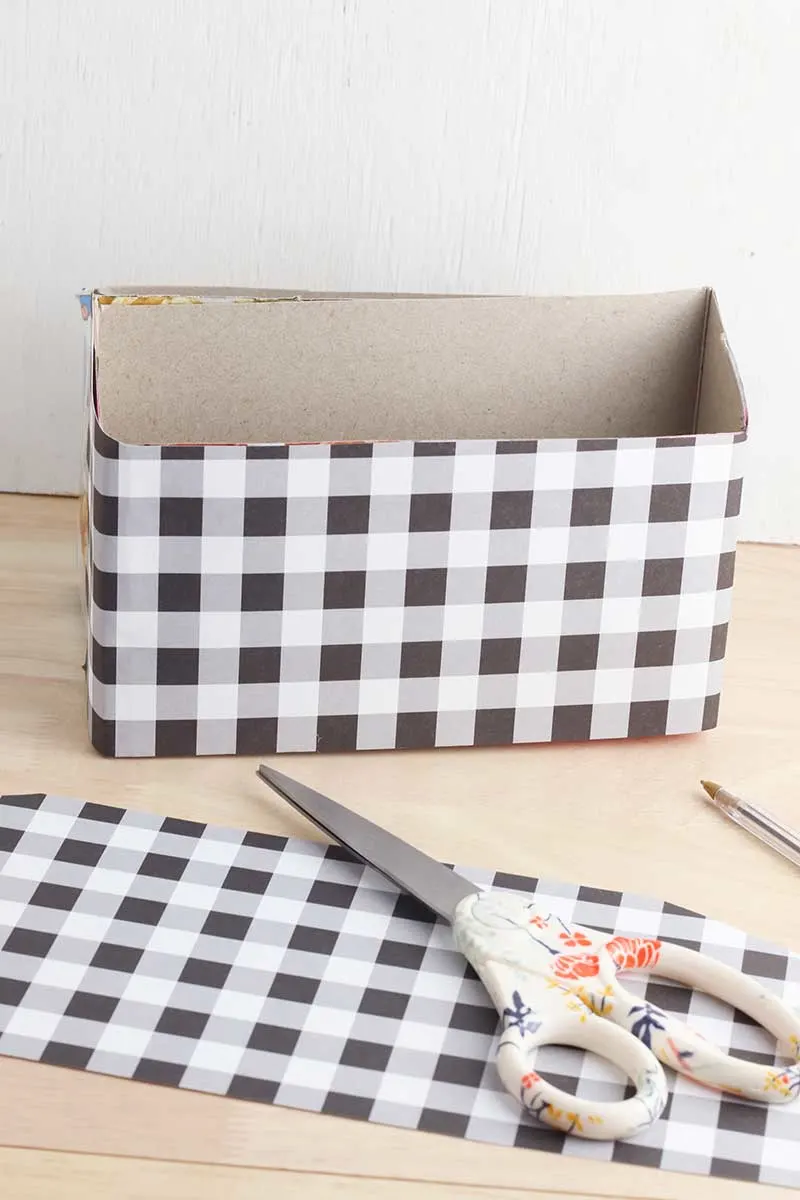
Cut the scrapbook paper to cover each side of the box and glue it in place.
Step 7
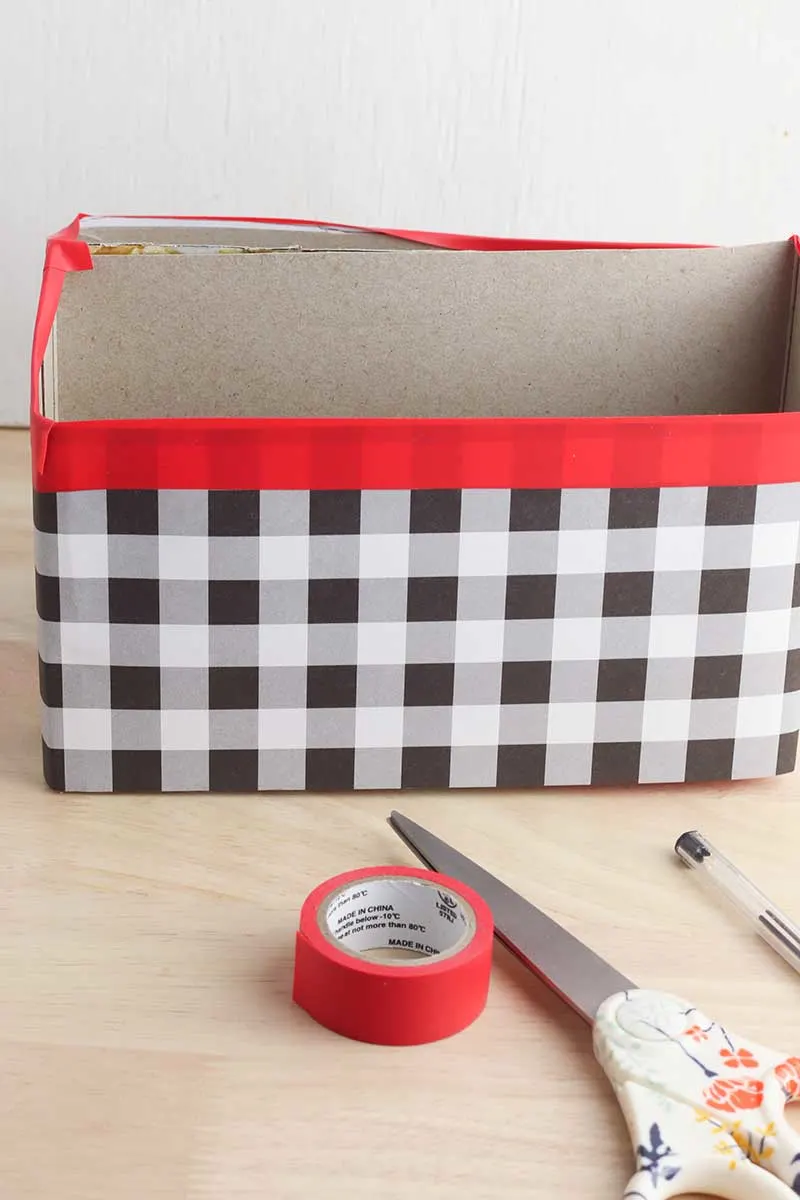
Use the washi tape to cover the edges and the center seams. Then, use the tape to cover the back of each side of the organizer.
Step 8
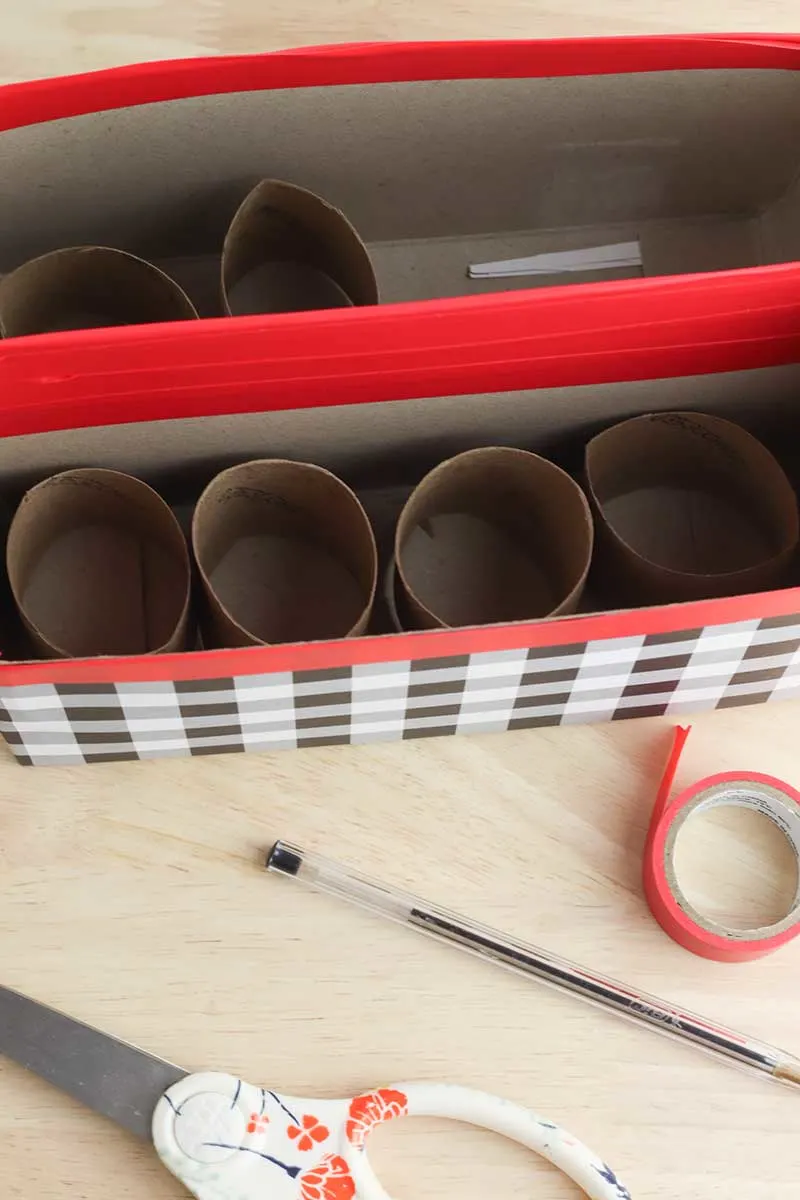
Cut the toilet paper tubes in half and place them along the bottom of each side of the organizer to hold smaller items, like pens, pencils and markers.
For larger items, like envelopes or a notepad, leave the space open without toilet paper rolls.
Pin This to Remember for Later! Be sure to add it to an organization or craft board.
You might also like these beautiful tin can organizers that I made for my desk, as well. I love how they turned out!
And you can reuse an oatmeal container to make a pretty plastic grocery bag holder.

