

Custom etching dog tags is easy with just a couple tools. Here are the instructions for how to engrave dog tags with Cricut.
Every pet owner wants to personalize their dog tags. Did you know that you don’t need to custom order the tags or pay someone a huge fee to do it for you? You can make your own personalized dog tags yourself with Cricut.
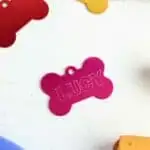
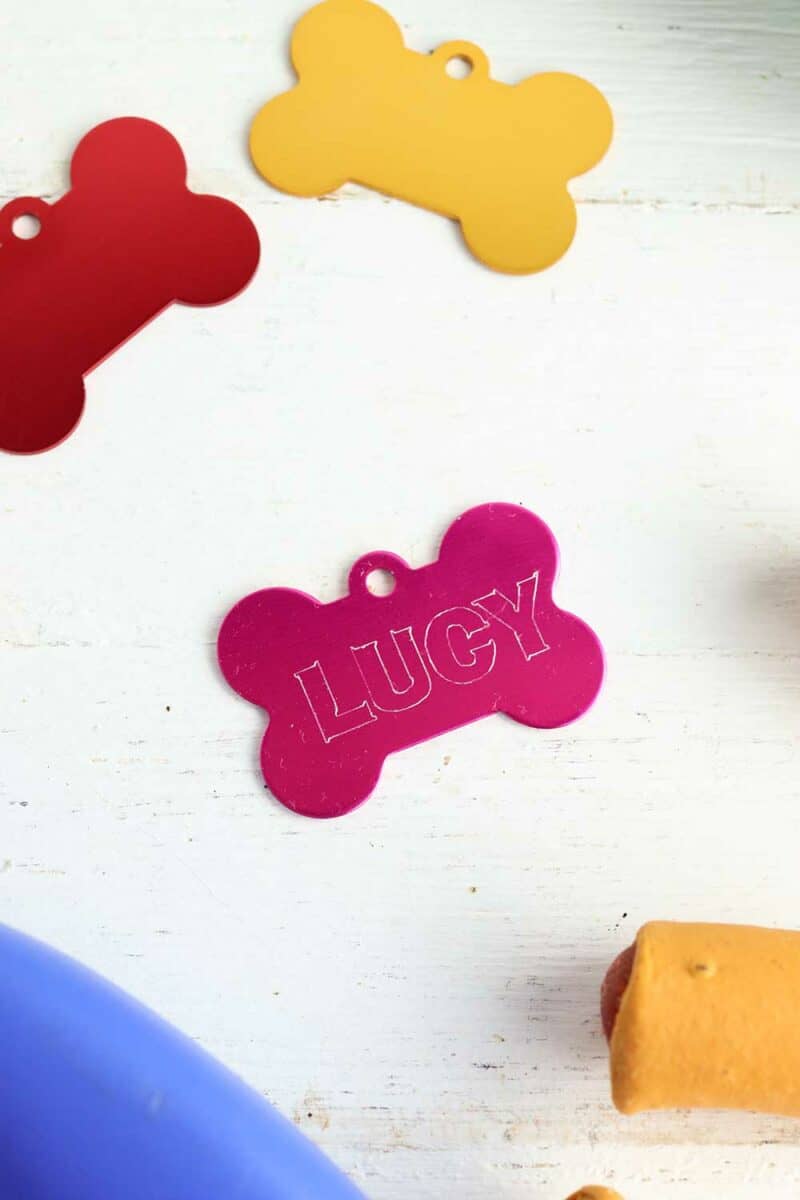
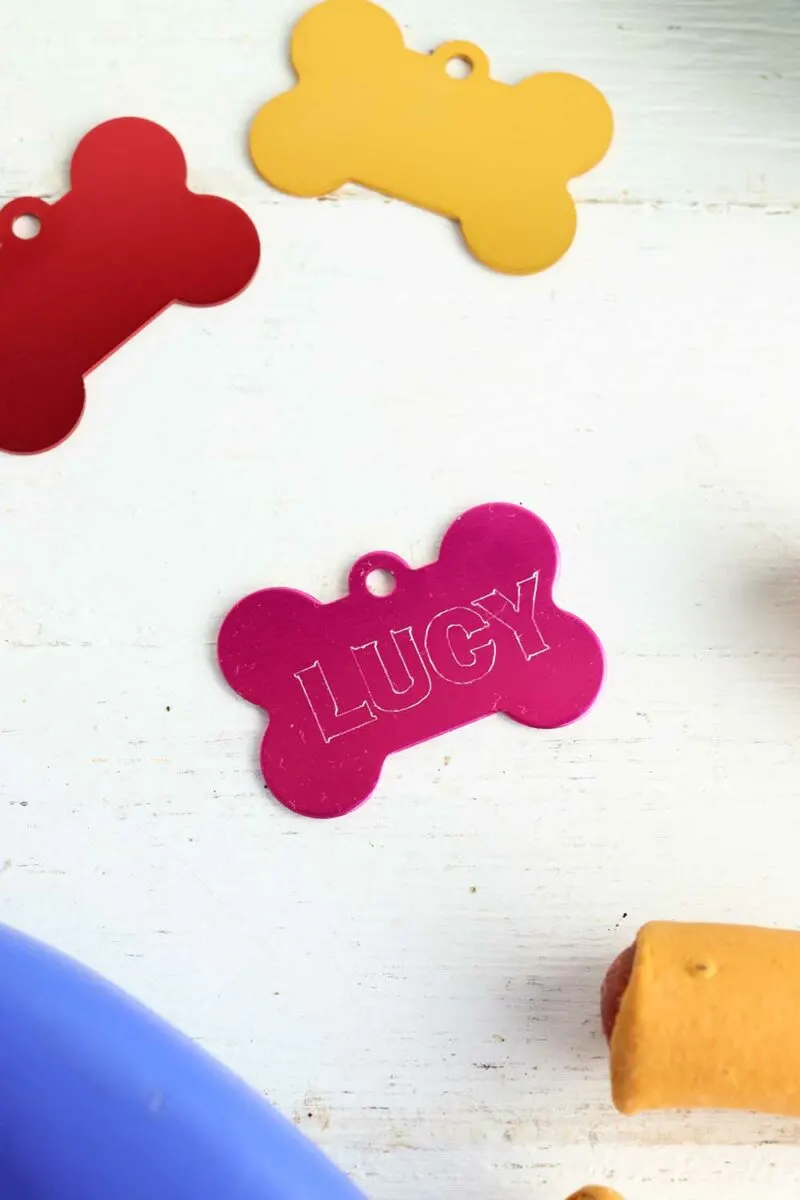
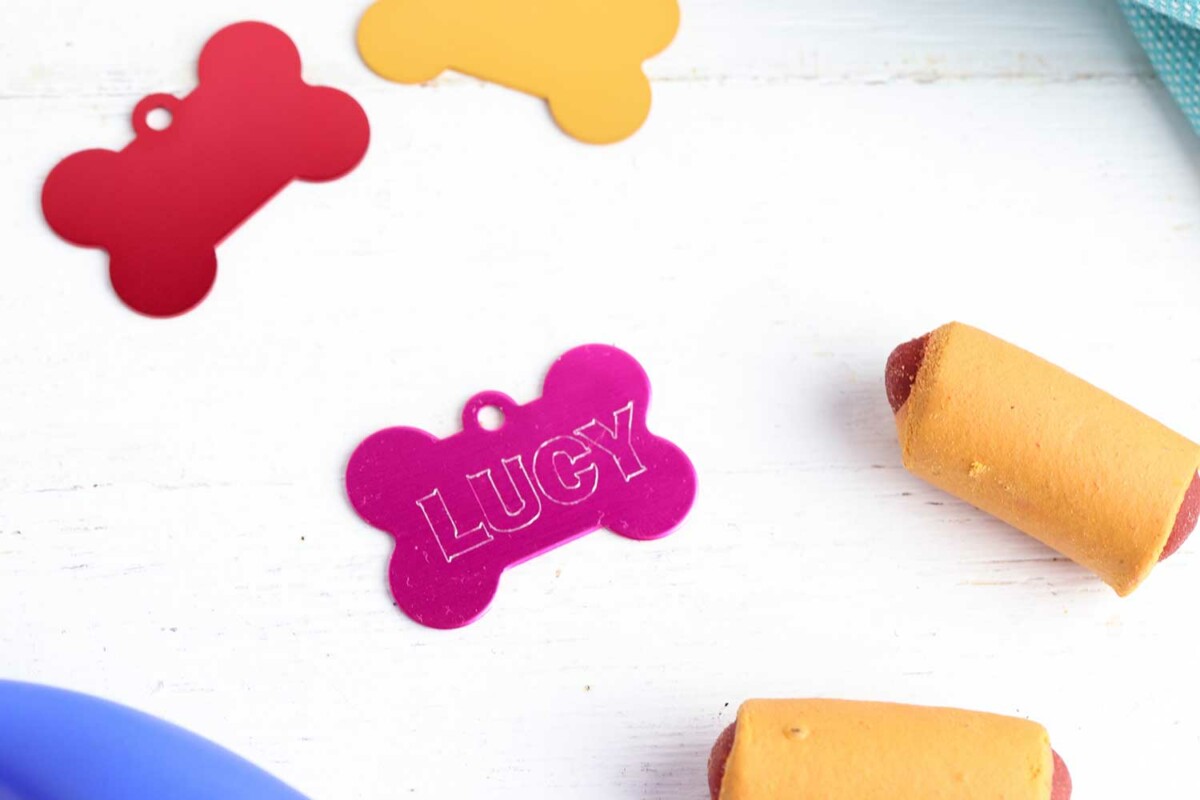
Engraving the tags is easy. You can use any font that you like to suit your dog’s personality!
This would be a great gift for new pet parents, too!

You might also like my other pet-friendly crafts:
- DIY Snuffle Mat
- No Sew Dog Bed
- Custom Dog House
- DIY Denim Dog Toy
- How to Sew a Dog Bandana
- DIY Dog Paw Balm Recipe
How to Engrave Dog Tags with Cricut Maker
I used a Cricut Explore Air 2 for this project.
Supplies
- Engraver/Etching Tool for Cricut
- Metal Dog Tags
Instructions
Create your design in Design Space. Since the etching tool cuts the outline of the text, make sure to use a bold, thick font for best results.
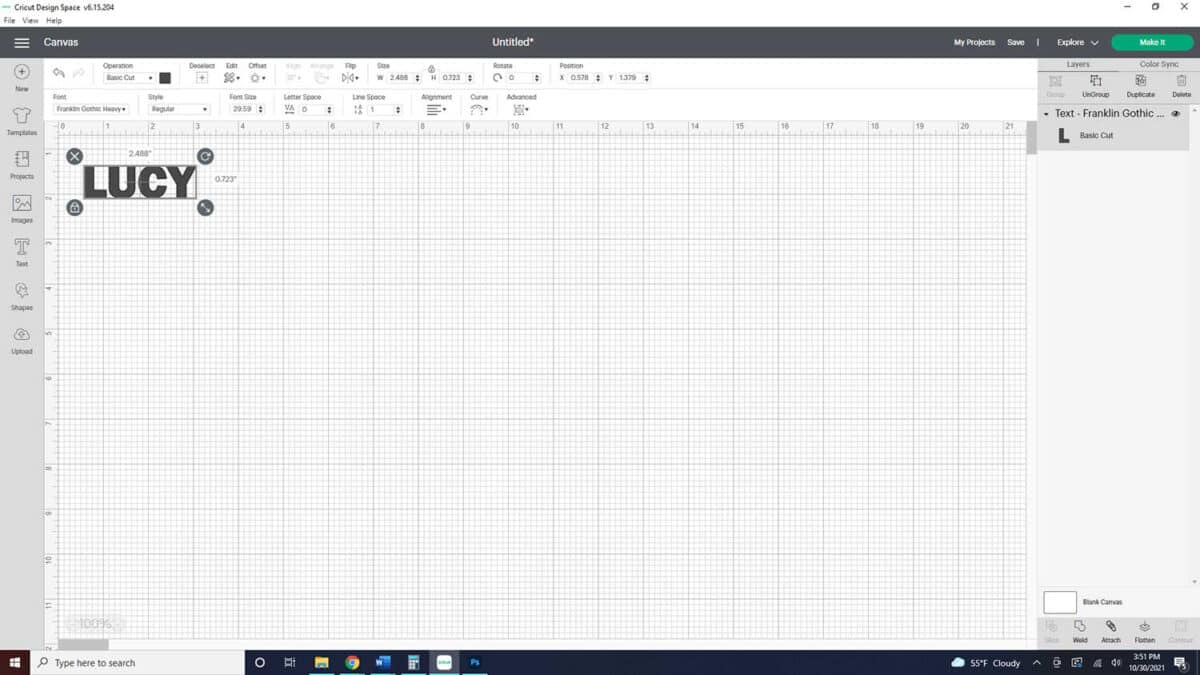

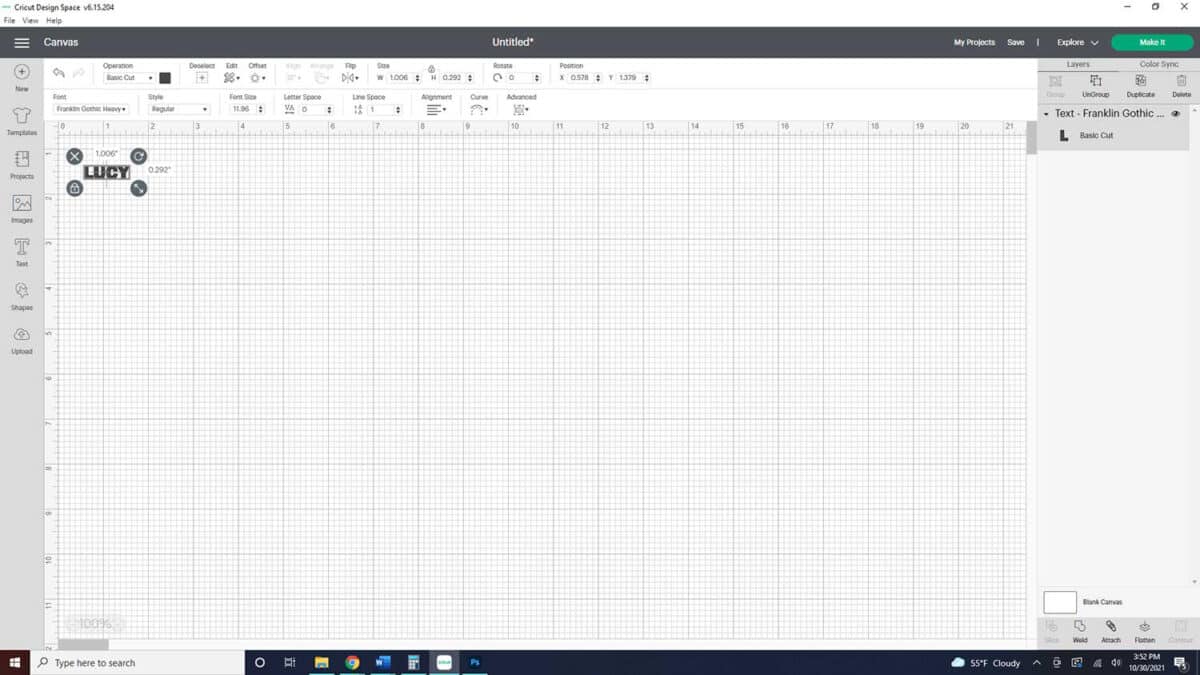
Resize if necessary to fit the size of the dog tag.
Place the etching tool in the right side of Cricut mount, where the cutting blades go.
Set the project to cut (not score or engrave).
Place the dog tag on the mat, making sure it is secured in place.
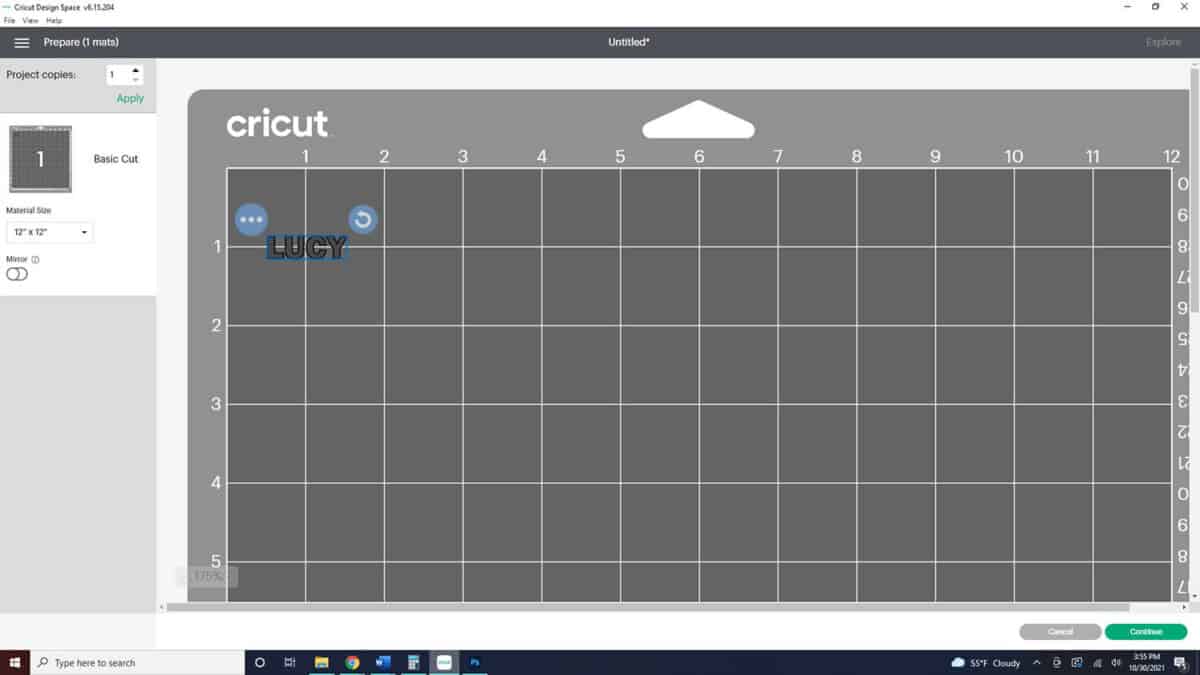
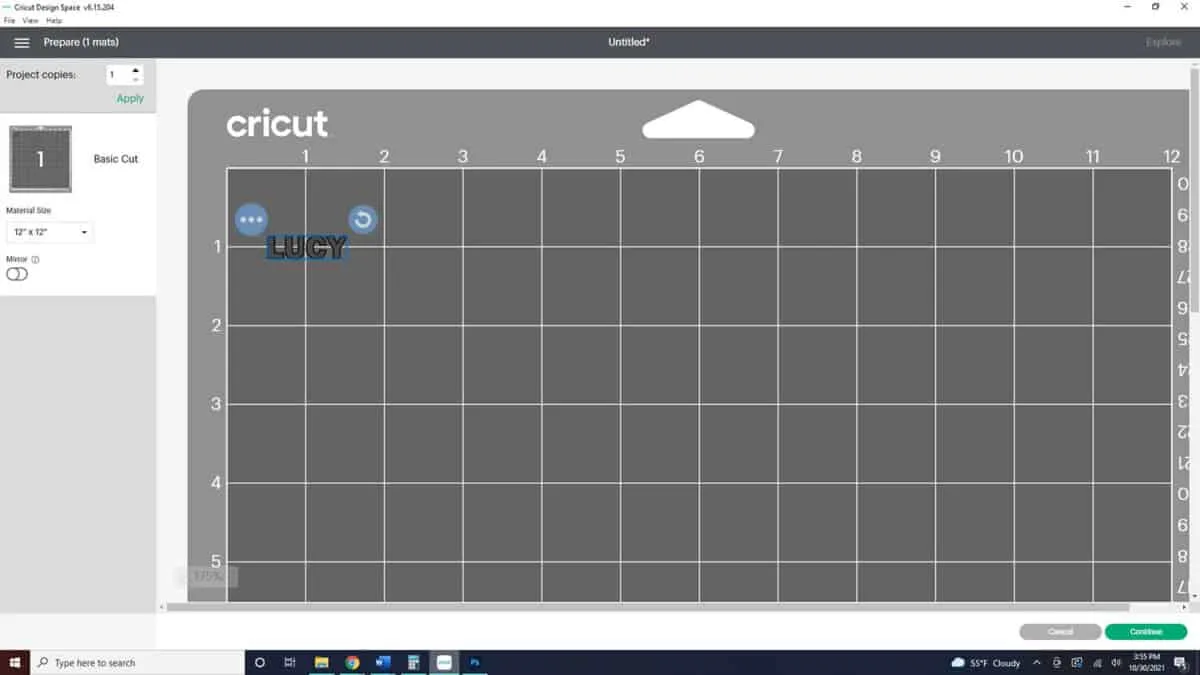
Hit the “Make It” button to start engraving your design. Before starting the machine, make sure to reposition the design to the spot where the tag is located on your cutting mat. Use the grid marks to line up your design.
Set the Cricut to the cardstock setting, then change the pressure to maximum.
Load the mat and start cutting the design. If the etching is too light, hit the flashing Cricut icon on the machine again without unloading the mat. Continue this process until you are satisfied with the design.
If you like using a Cricut to etch metal, check out my tutorial of how to use Cricut to cut wood.
