
Cord wraps are essential these days! We all have phone charging cords, headphone cords, even small appliance cords such as hair dryers or curling irons. These DIY cord keepers are easy to make and will help keep things organized and tidy at home and traveling.
There are different ways to make your own cord keepers. I’ve included tutorials on how to make a faux leather cord keeper with snaps using Cricut, as well as how to sew a cord wrap with fabric and a velcro closure.
If you don’t have a Cricut, you could also use the free template to cut out the leather or felt, and then use the directions to apply the snaps.


Either project is simple to make, and takes only minutes. The supply costs are very inexpensive if you are making more than one, or if you have some craft scraps to use.
These are great to make as gifts, and perfect to sell at craft fairs, too!
P.S. You might also like making these easy hand-sewn felt trays or these nesting canvas valet trays to keep accessories organized, too.
And these coin purses and card wallets are easy to make with faux leather and Cricut, too! They use the same type of leather and snaps as these cord wraps do, so you could make both.
Cord wraps are an easy way to keep your office organized. They are not just for travel (although they make traveling more organized, as well.)
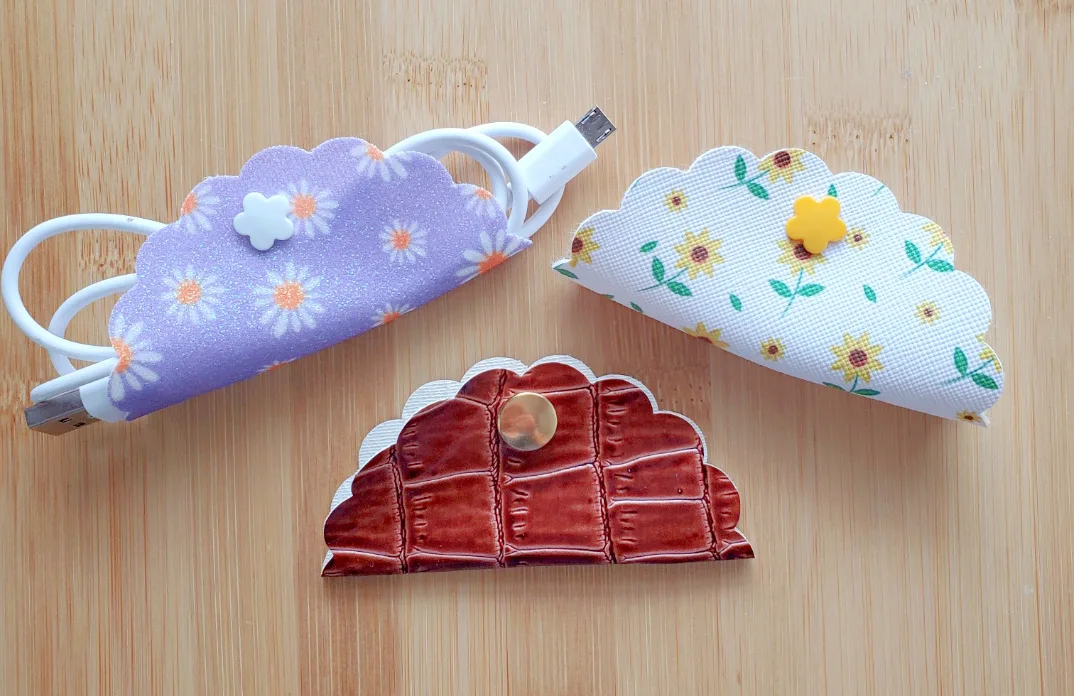
DIY Faux Leather Cord Keeper with Cricut Maker
You could also make these cord keepers with any sturdy material that can be cut on Cricut, such as felt.
Supplies
- Free DIY Cord Keeper Template
- Faux Leather sheets (make sure your leather is at least 4.5 inches X 4.5 inches)
- Plastic Snaps (this kit comes with a variety of colored snaps and the pliers)
- Snap Pliers
Instructions
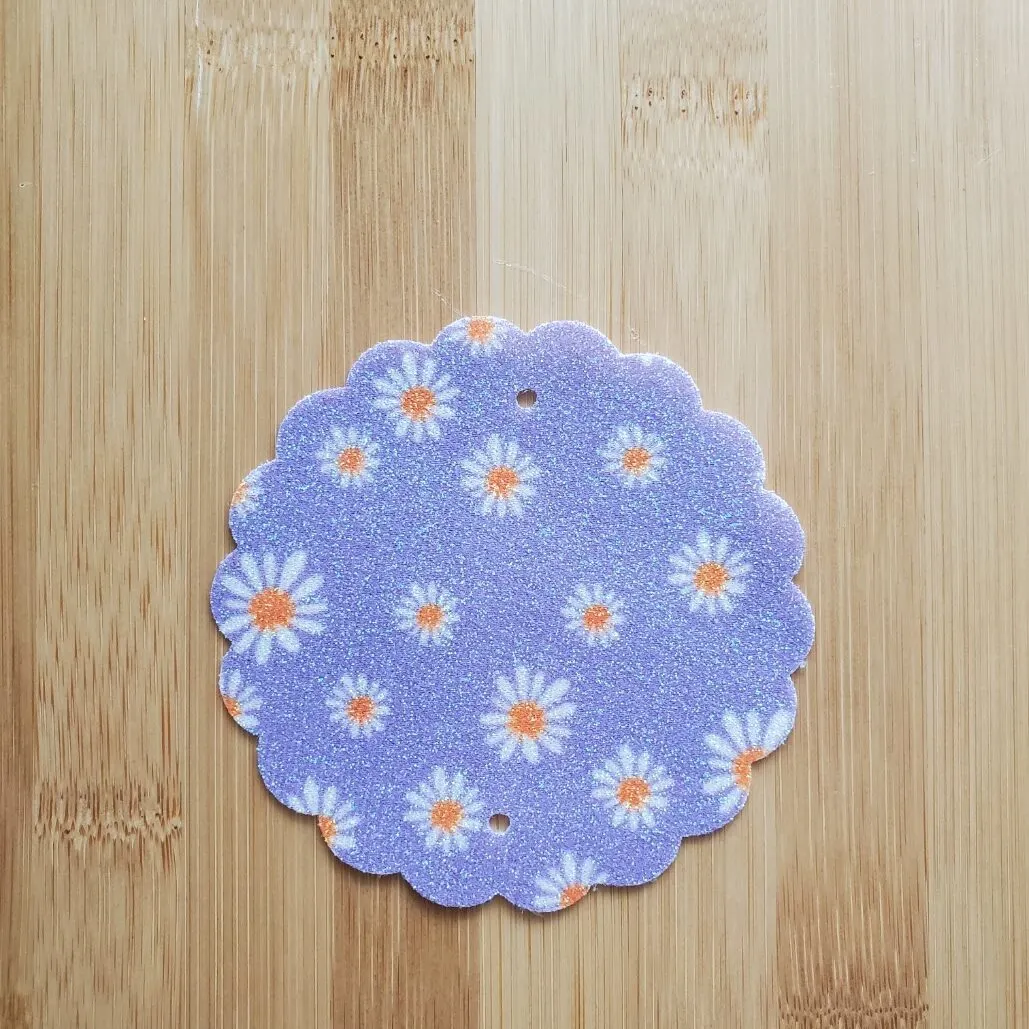
Upload your template into design space and place your leather pretty side down on the mat. Using the faux leather (paper thin) setting, cut your cord keeper pattern.

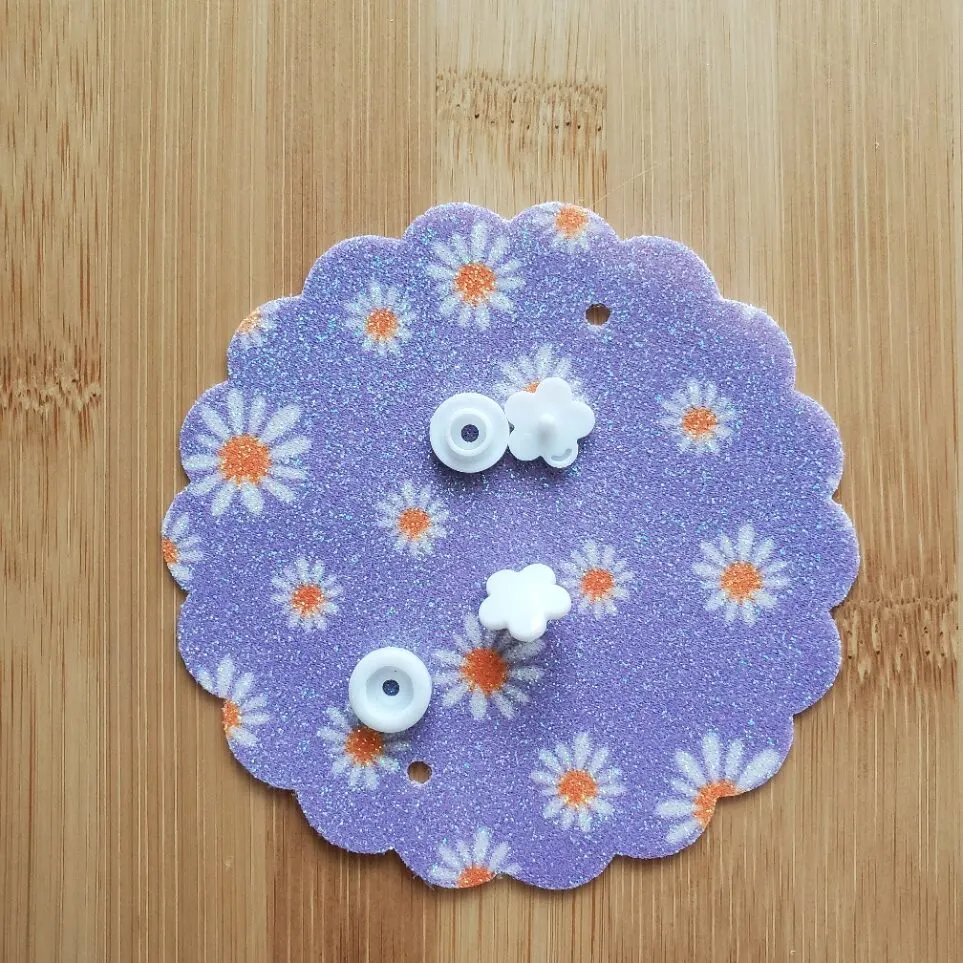
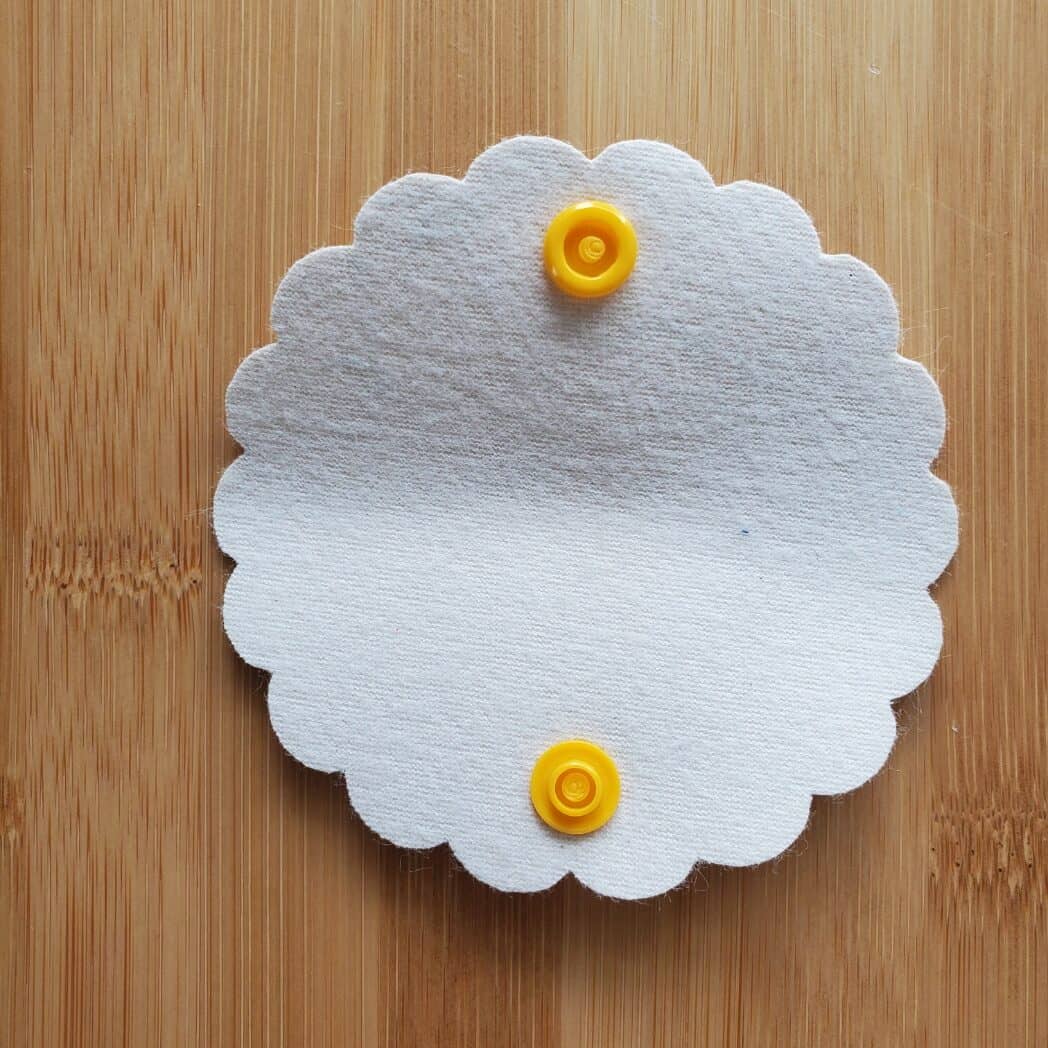
After cutting your cord keeper you will need to arrange your snaps. You will need two main snaps, and a male and a female closure. This is what they look like:

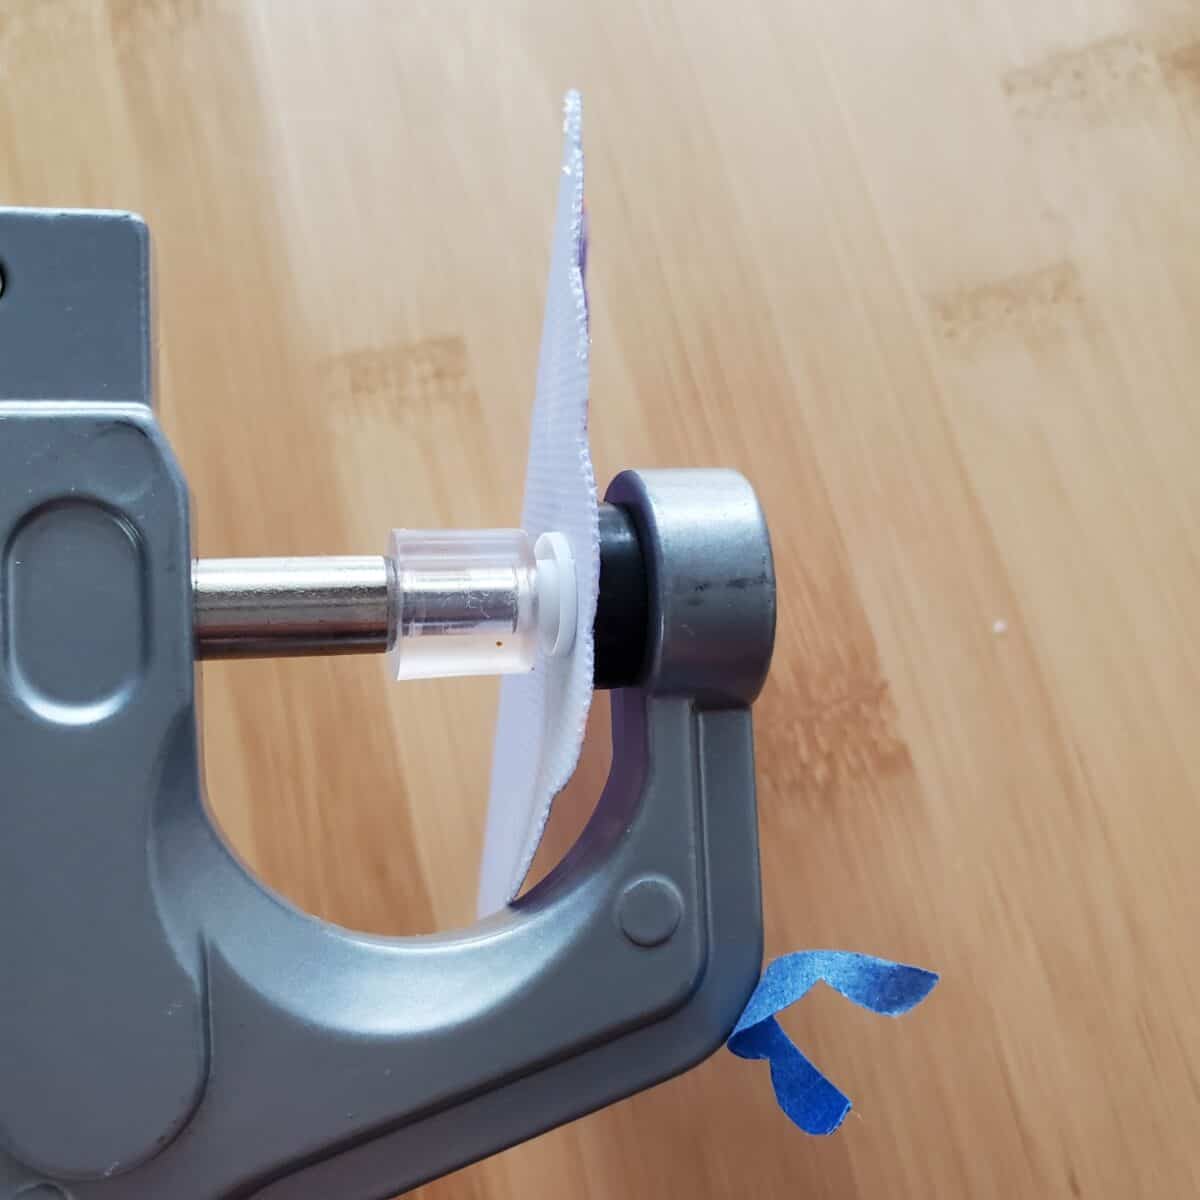
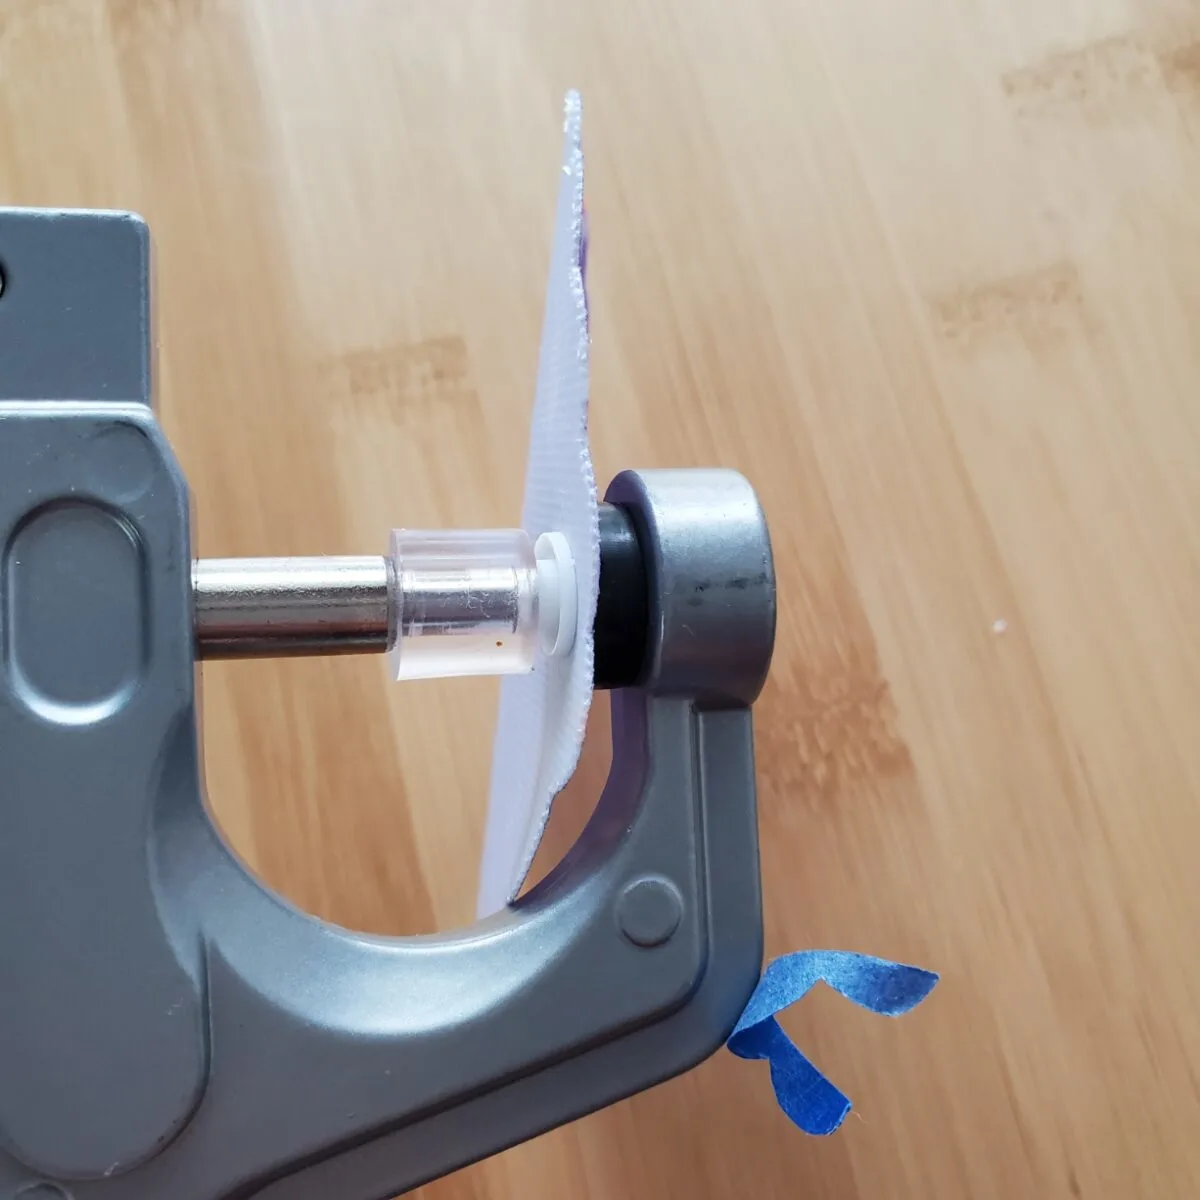
Using snap pliers, install the snaps. Make sure that the parts that snap together are positioned correctly before securing.
You want both snaps to have the finished edge on the outer (right side) of the leather, with the closure on the wrong side. This is so when the flaps fold towards each other, they snap together correctly.
It will look like this when finished.

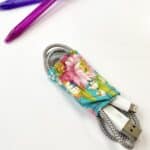
How to Sew a Cord Wrap
This is a great project to use up fabric scraps!
I used a thread that stood out against my blue patterned fabric, but you could use a coordinating thread.
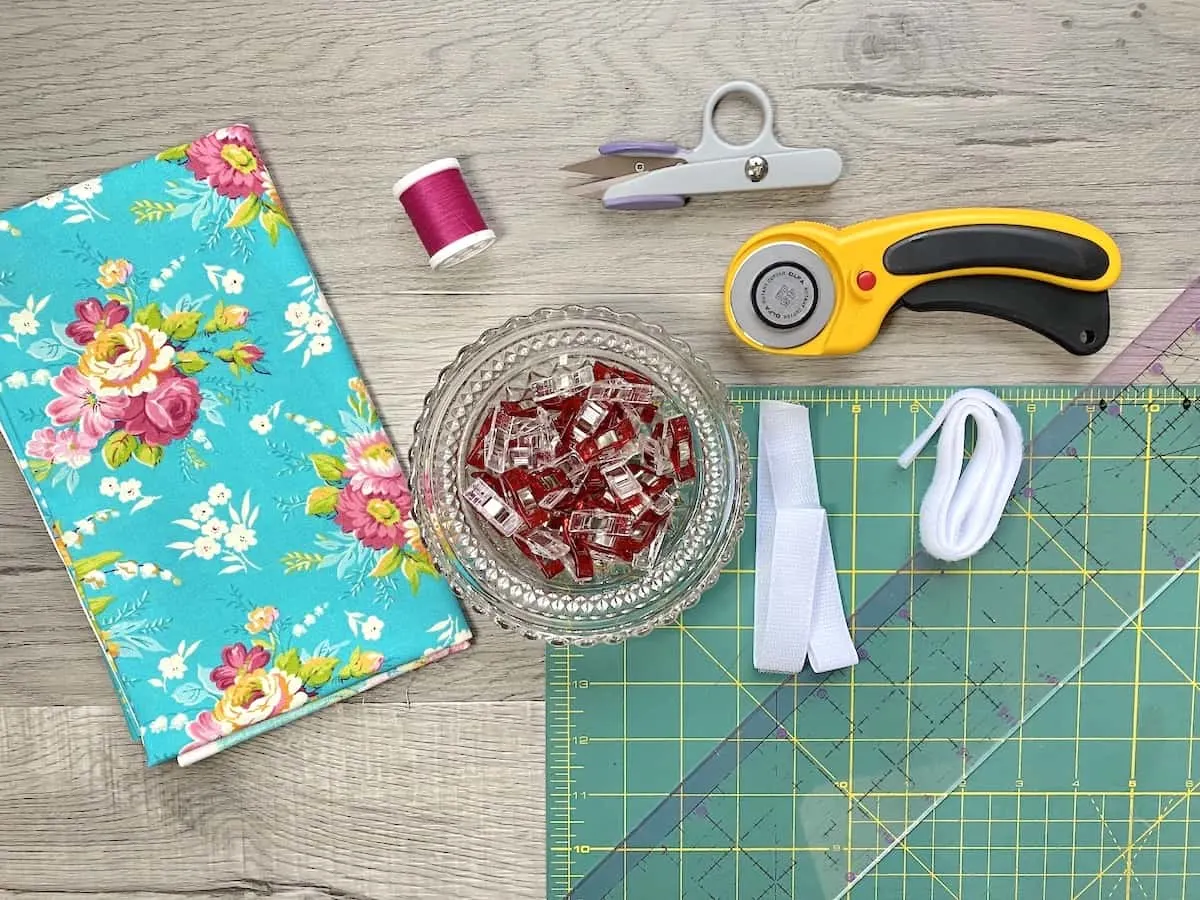
Supplies
- Fabric scraps or fat quarter
- 1 inch of Hook and Loop strips (Velcro)
- Coordinating Thread
- Rotary Cutter and Cutting Mat
- Ruler
- Sewing Clips
- Turning Tool (I like this flamingo one)
- Sewing Machine

Instructions
Step 1
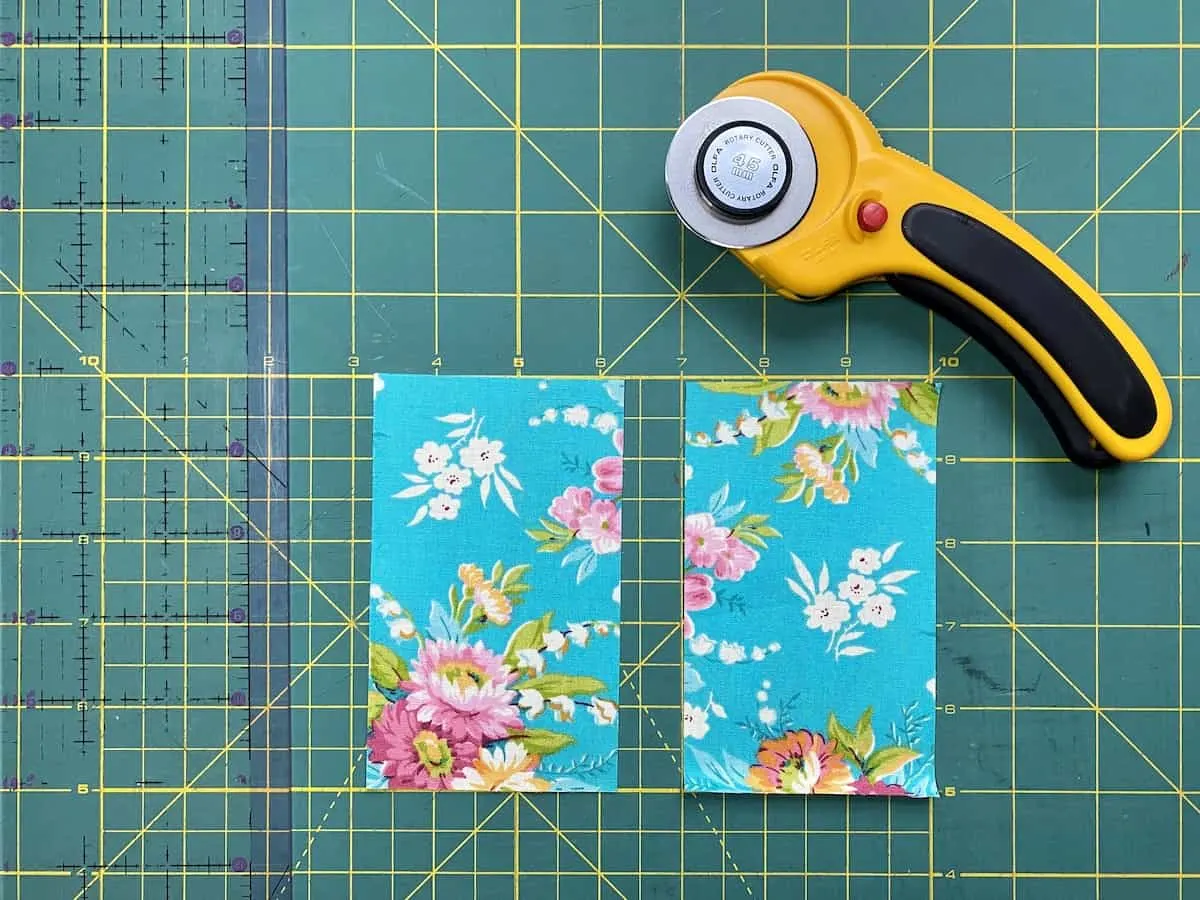
Cut two 3” x 5” rectangles of fabric.

Step 2
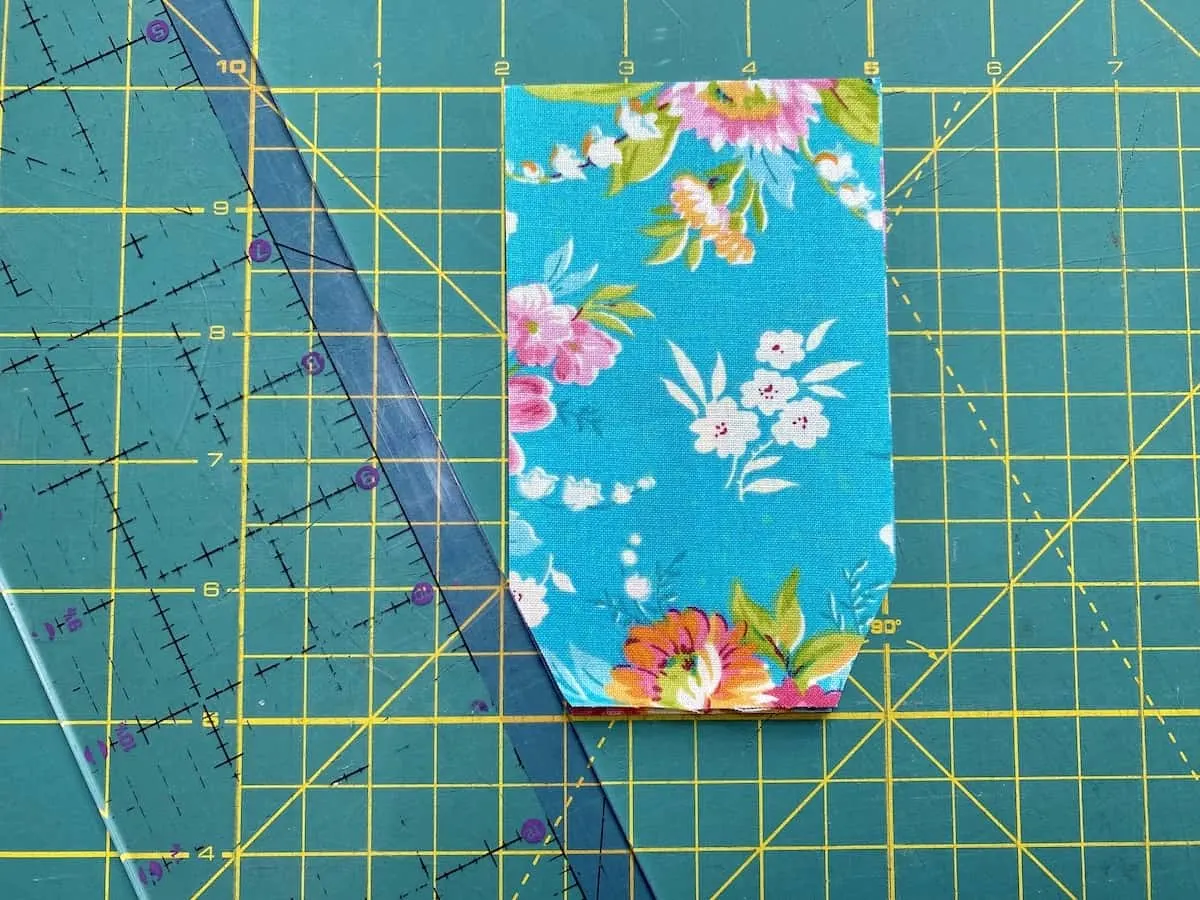
At an angle, cut ½” off each corner on one of the short sides of both of the rectangle pieces.

Step 3
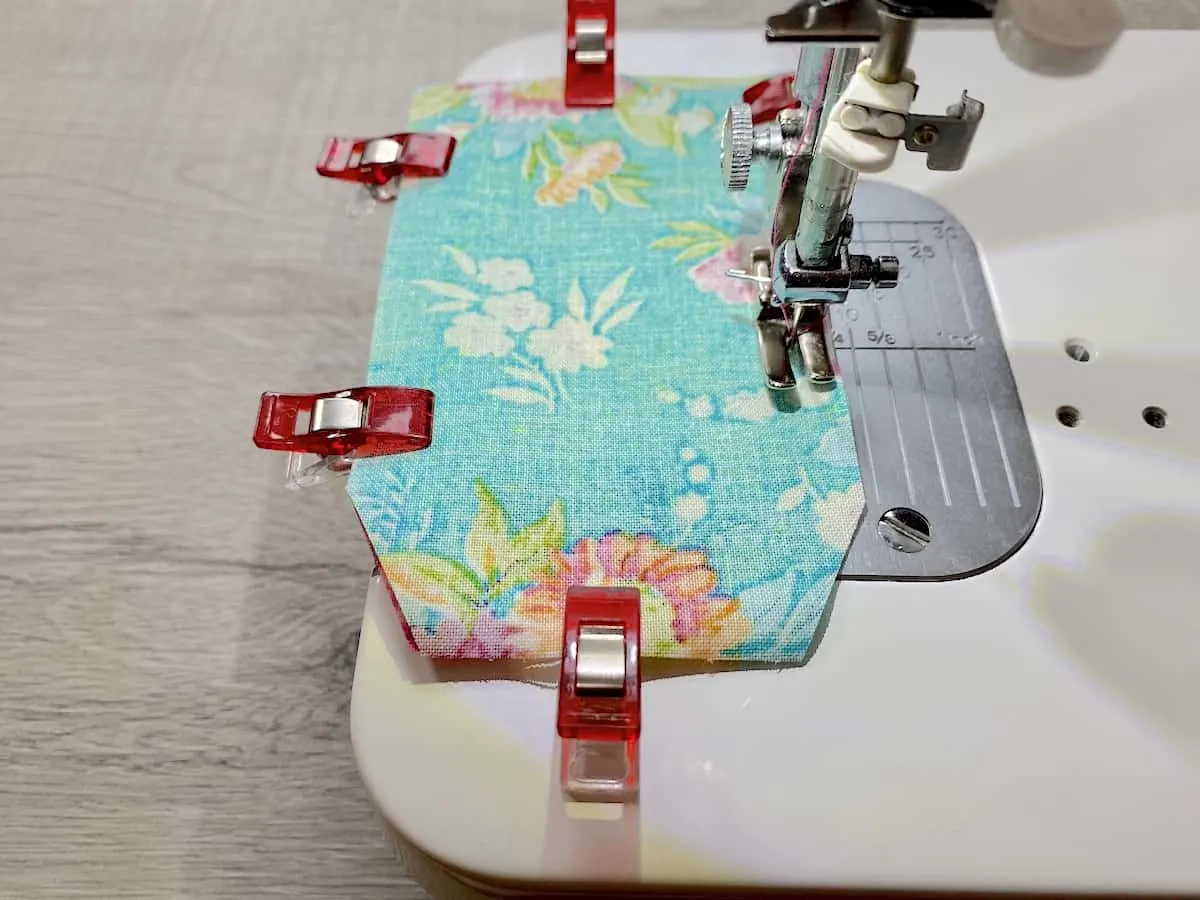
Place fabric pieces with right sides together and edges lined up. Clip together.


Step 4
Sew around the perimeter with a ¼” seam allowance, leaving a 2” opening in the middle of one side.

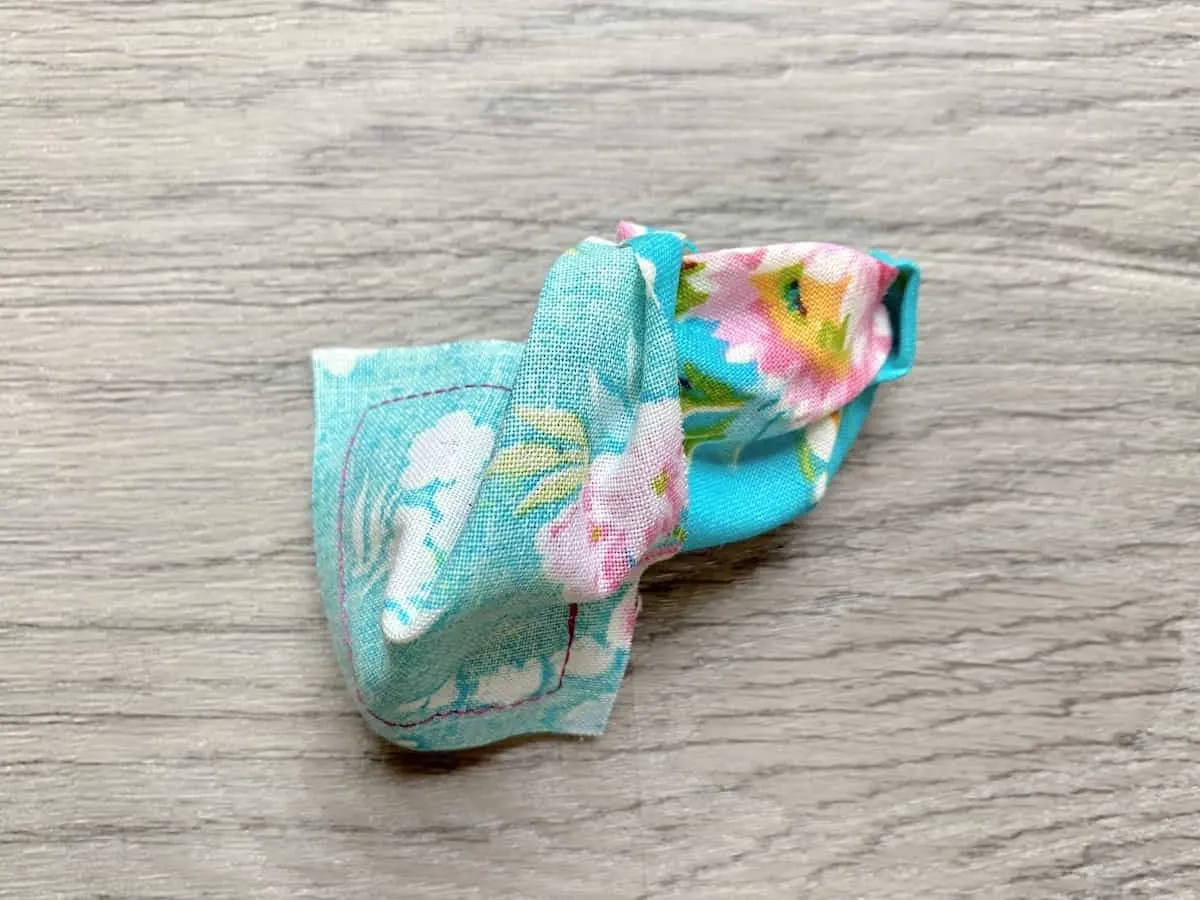
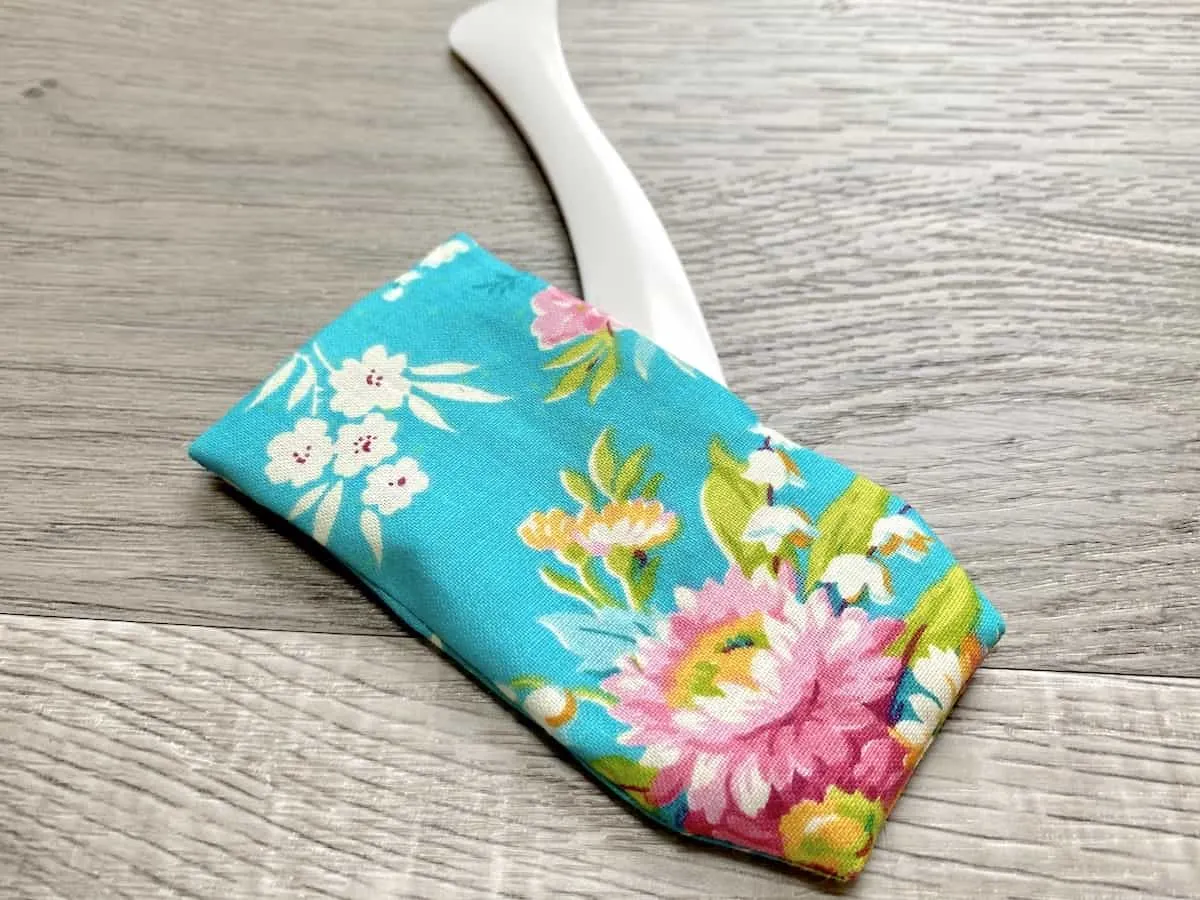
Step 5
Turn right side out. Use a turning tool or chopstick to gently press out the corners.


Step 6
Turn the opening under ¼” and clip to hold. Press if necessary.

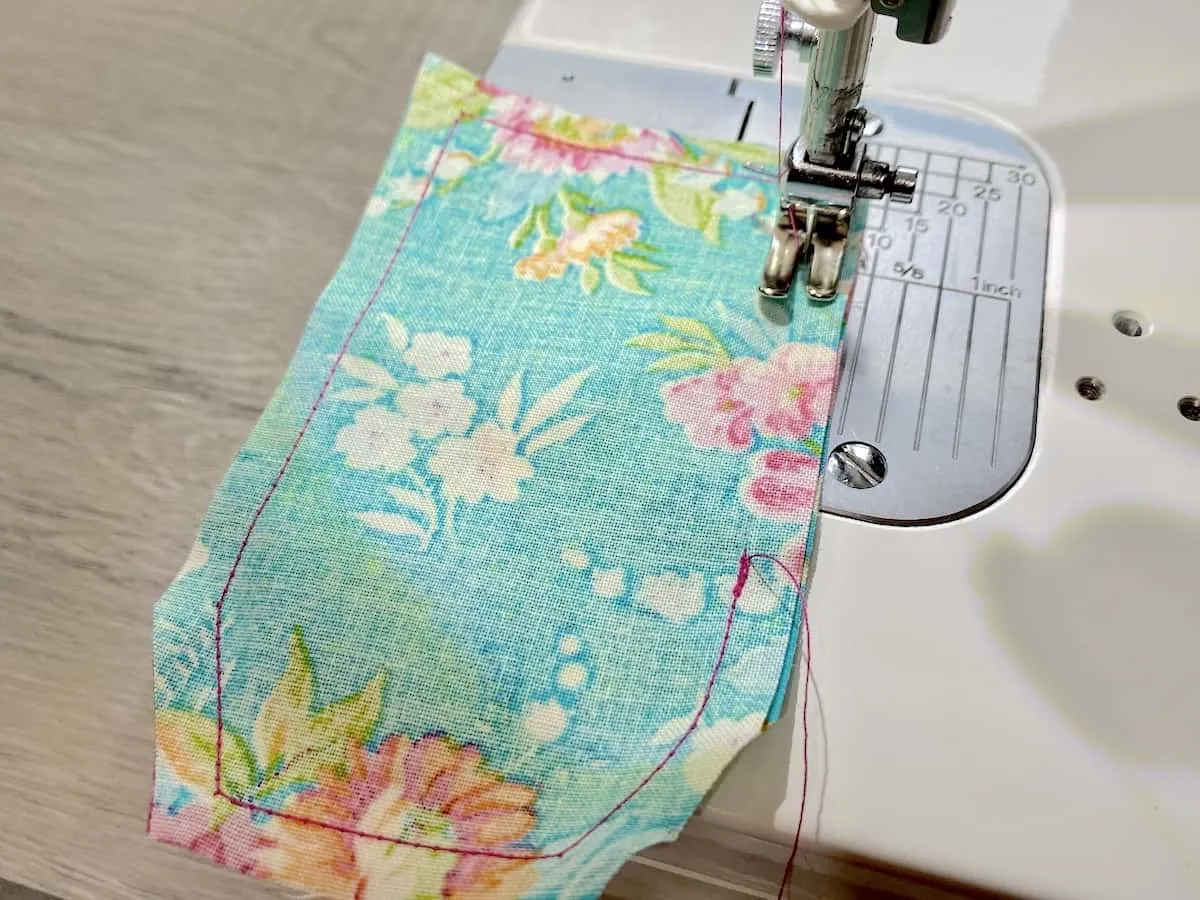
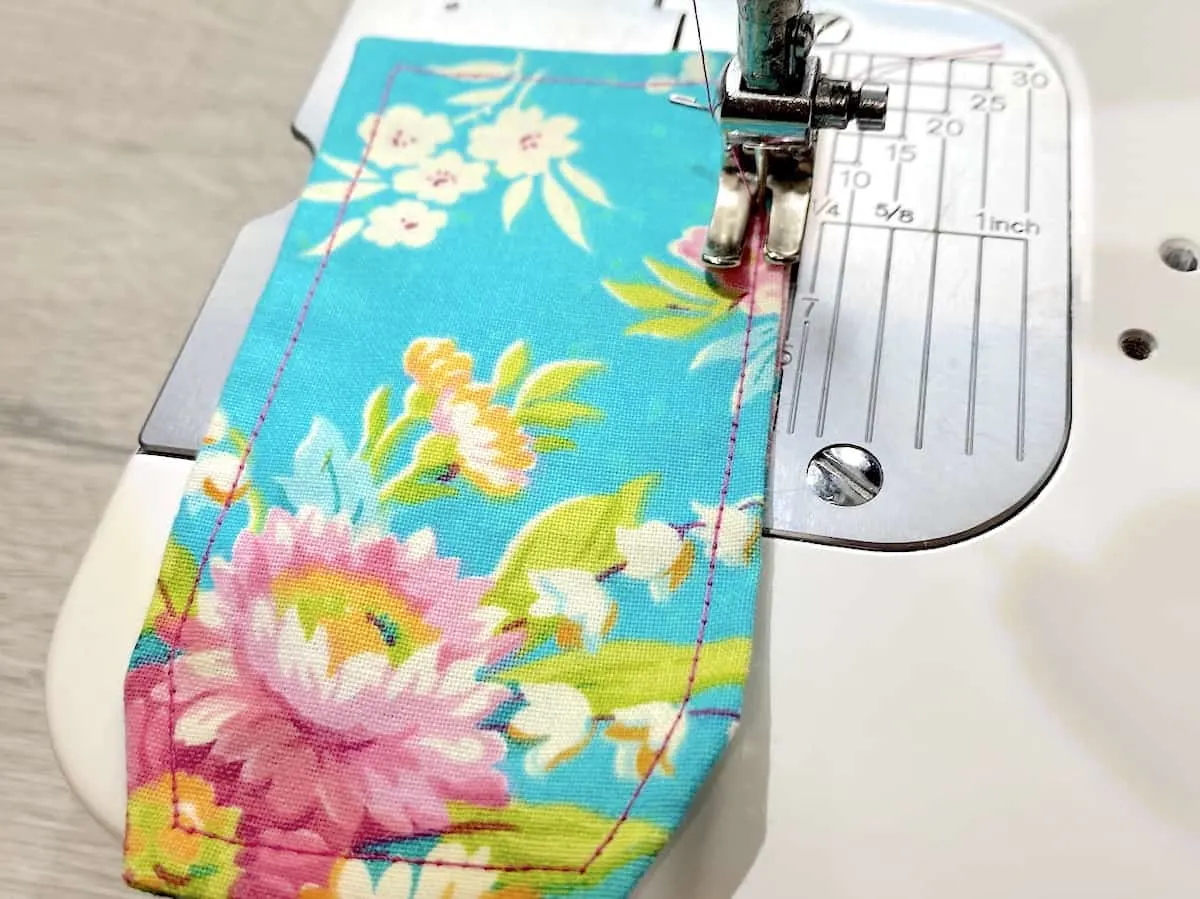
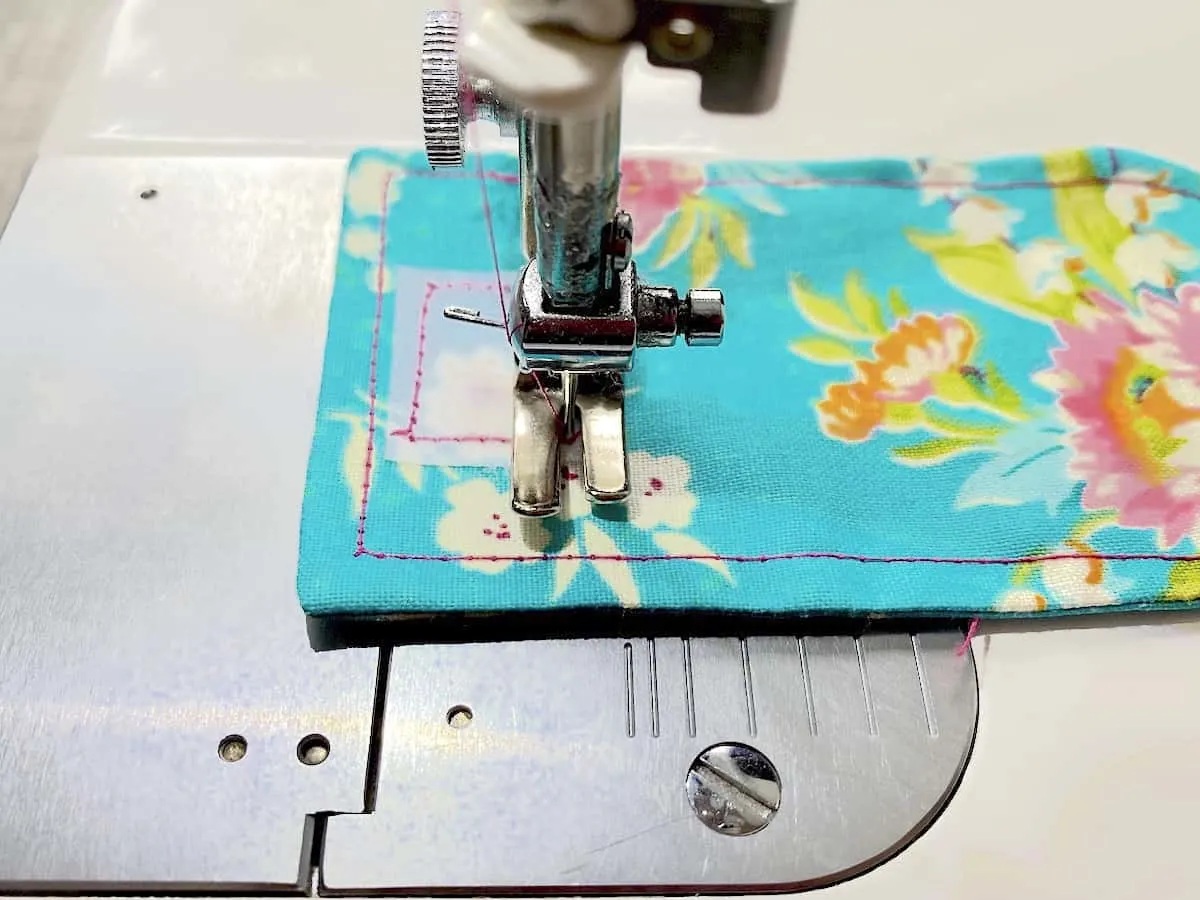
Step 7
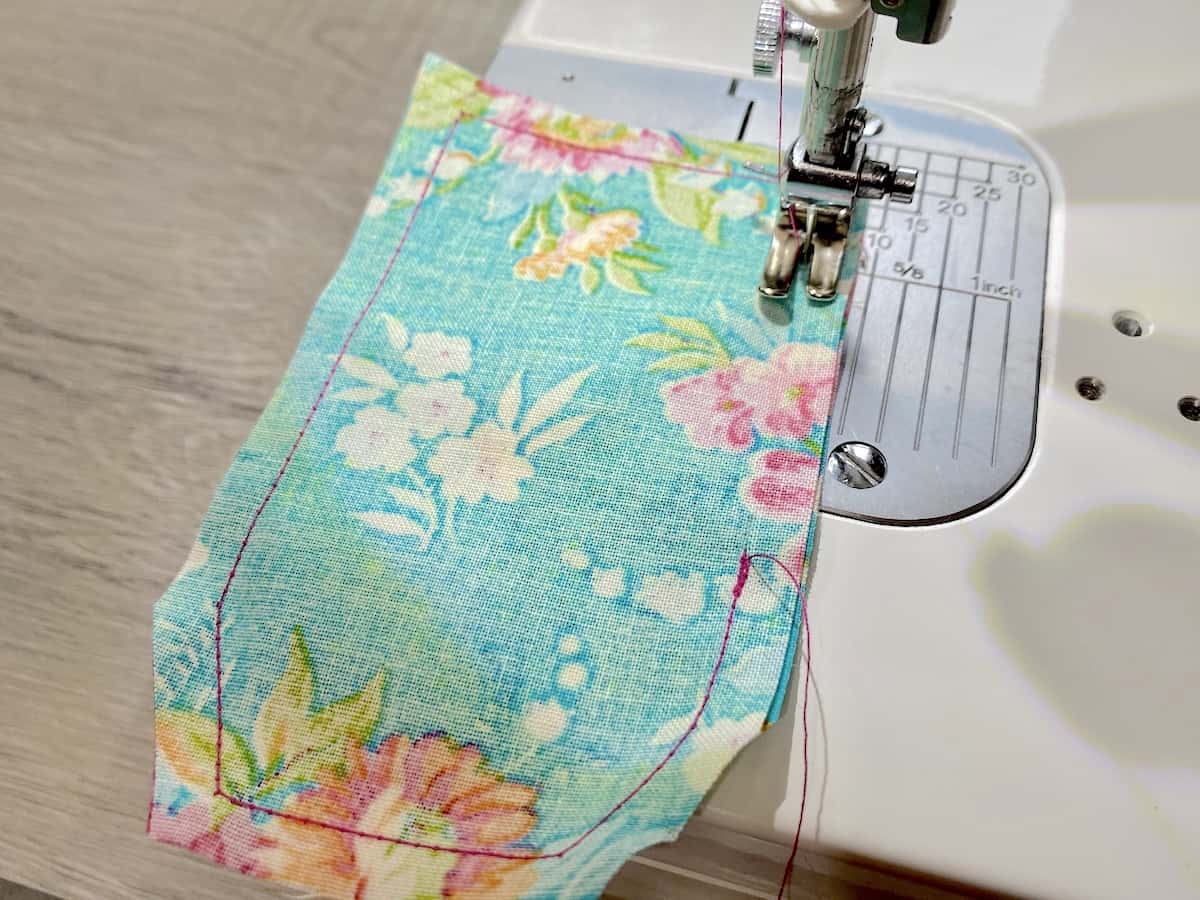
Top stitch all of the way around the perimeter, stitching together all sides.

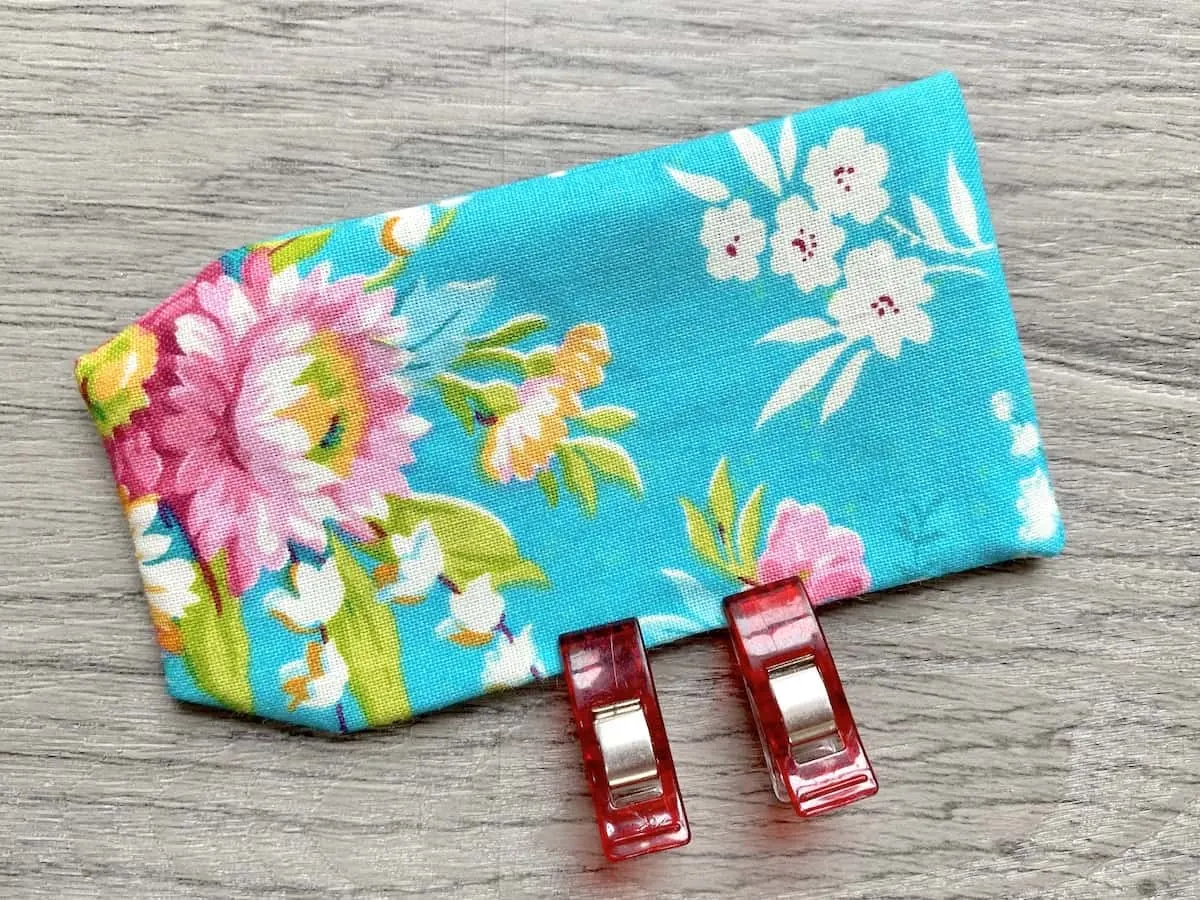
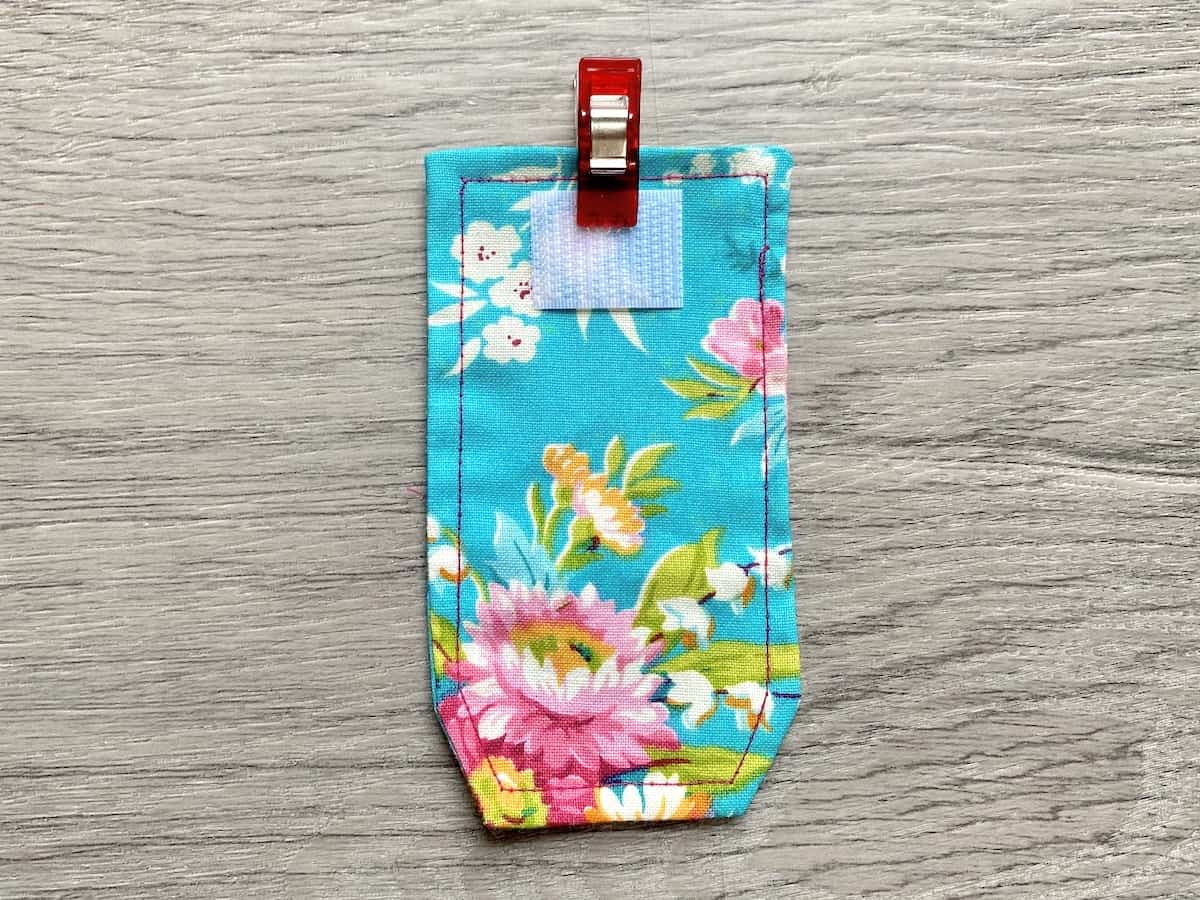
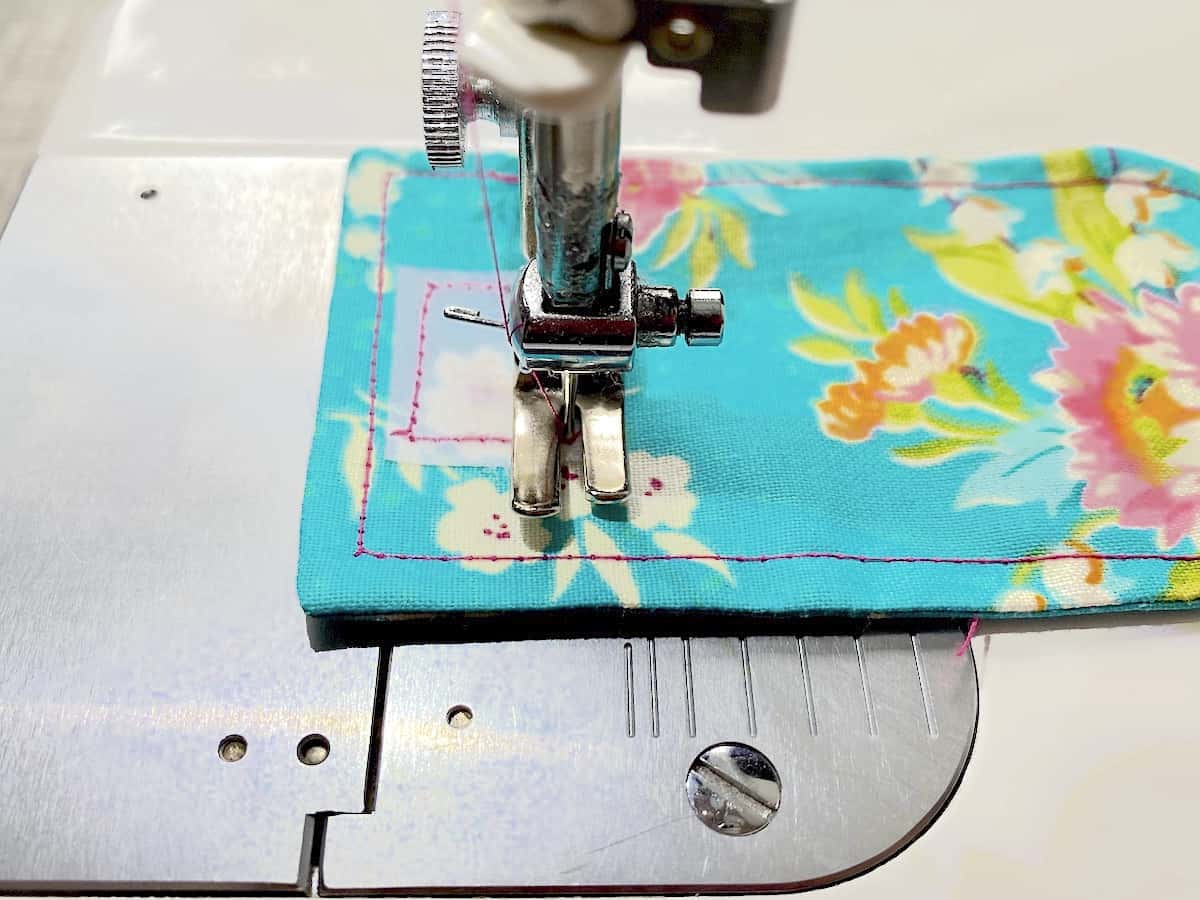
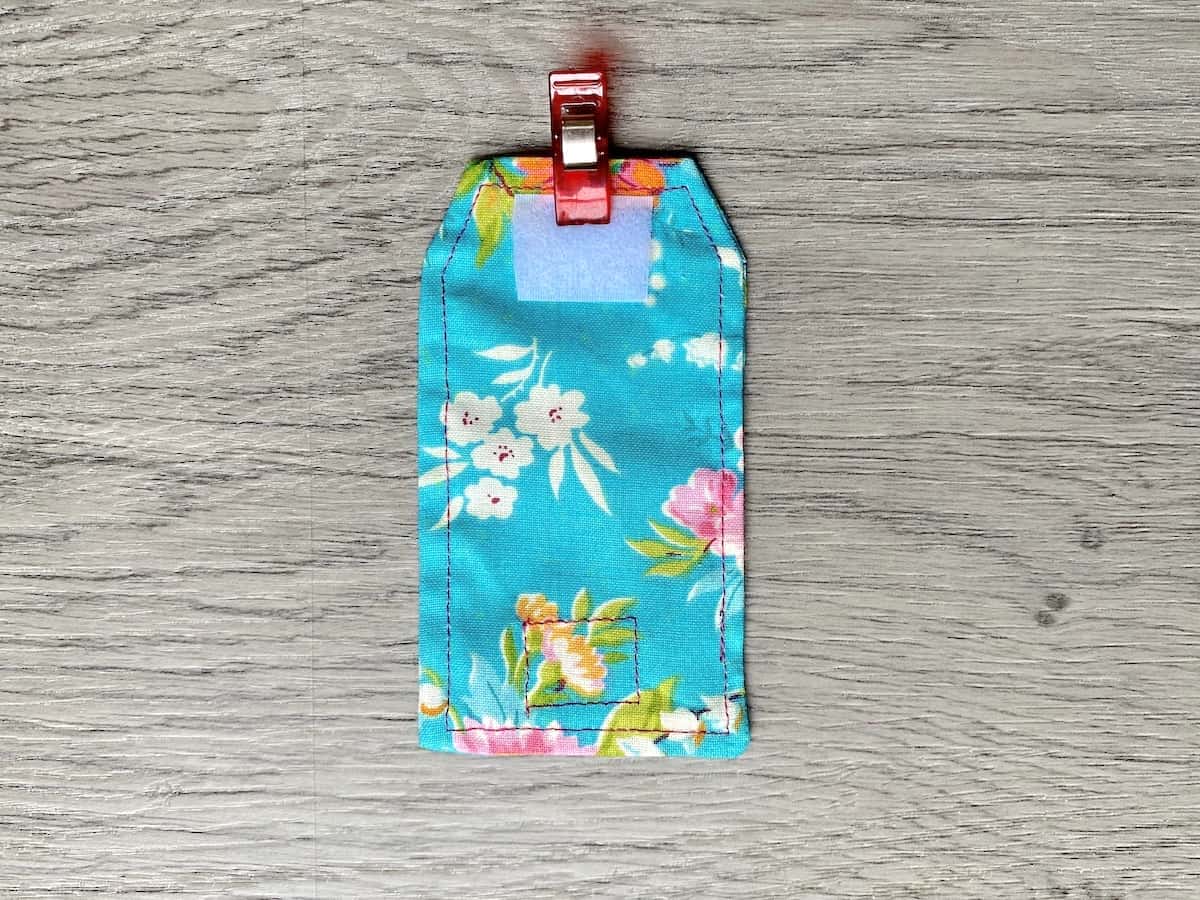
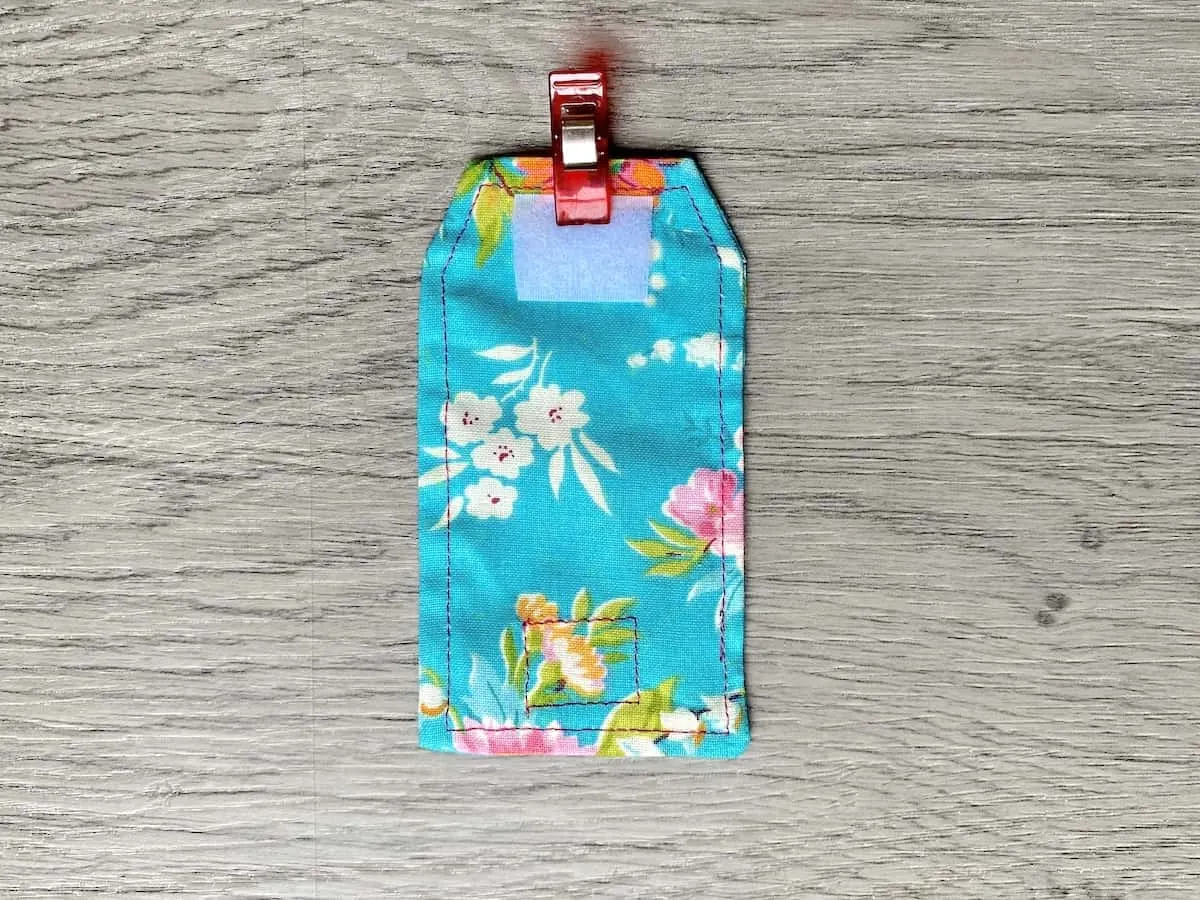
Step 8
Place one side of the hook and loop closure at the center top of the square end, just under the stitches. Sew it to the wrapper by sewing around the perimeter to make a square. Be sure to do a quick backstitch at the end to secure the stitching.
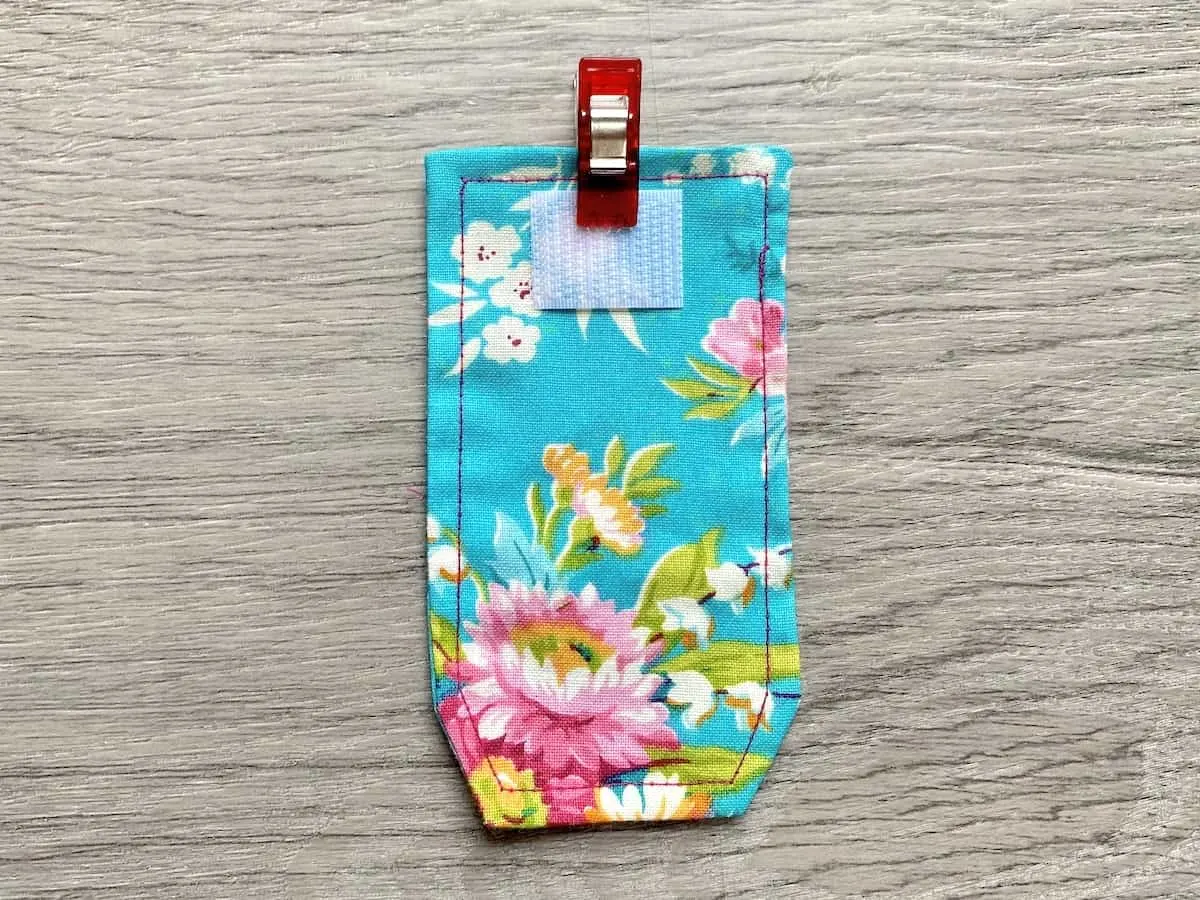
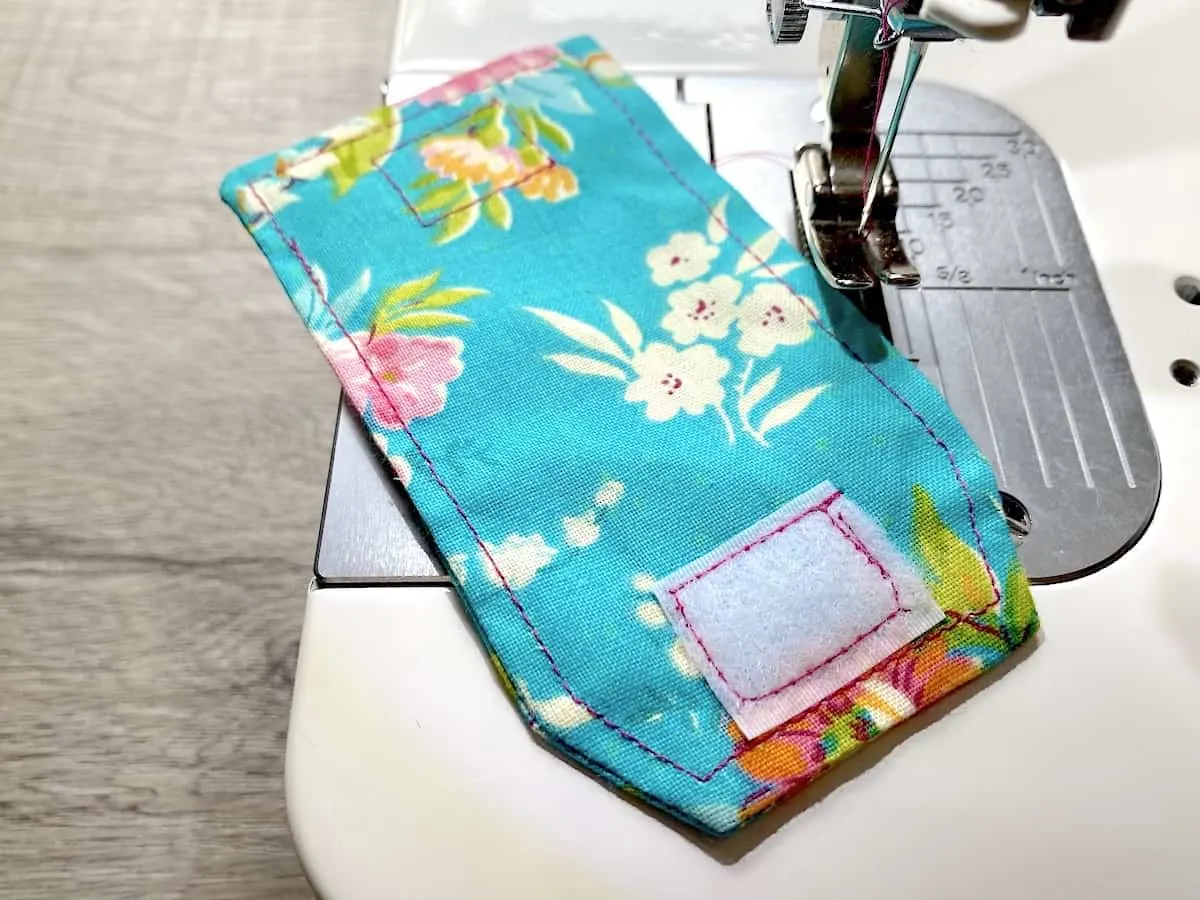
Step 9
Flip the cord keeper over. Place the other piece of hook and loop closure in the center of the tapered end, underneath the stitches. Clip in place. Try closing the cord wrapper and make sure that the Velcro matches up in the right position. Adjust if you need to. Then sew it down as in the step before.

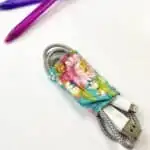
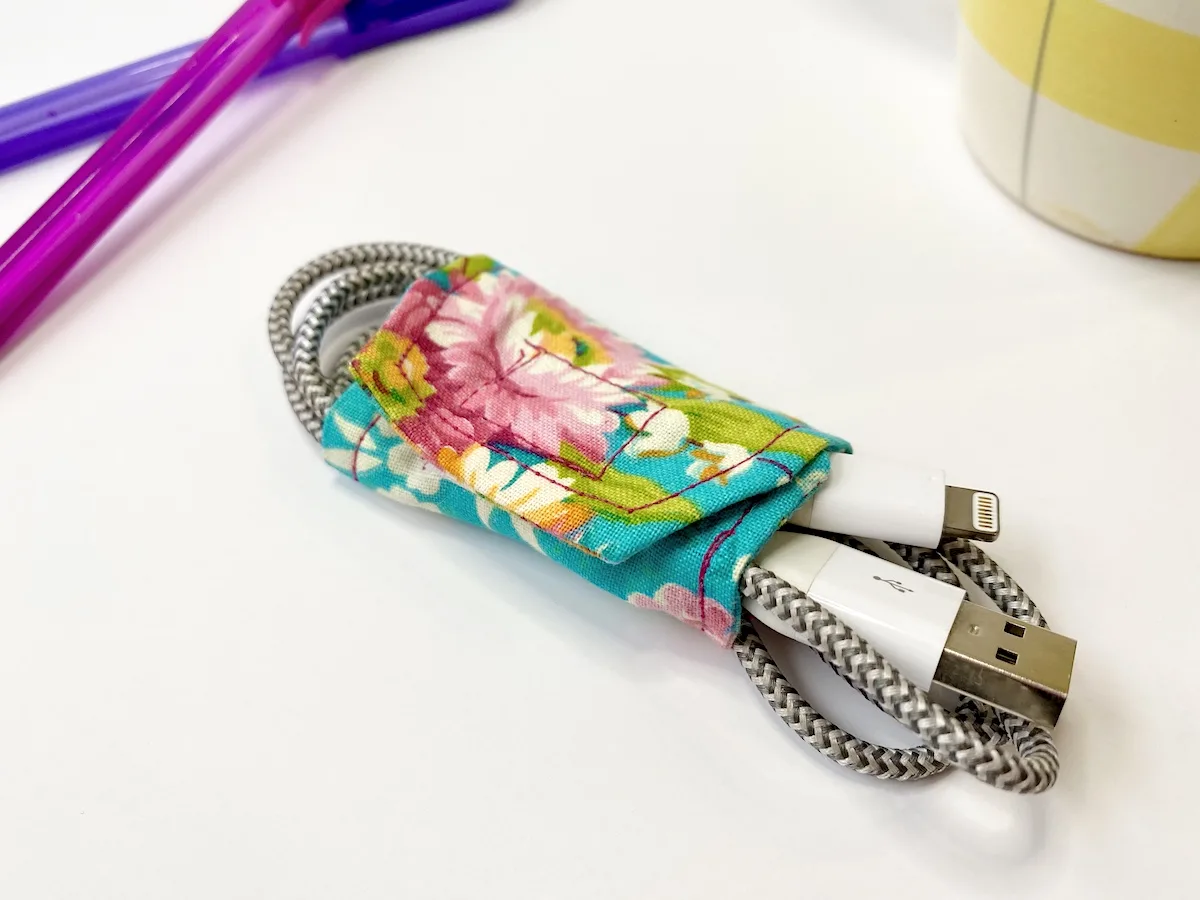
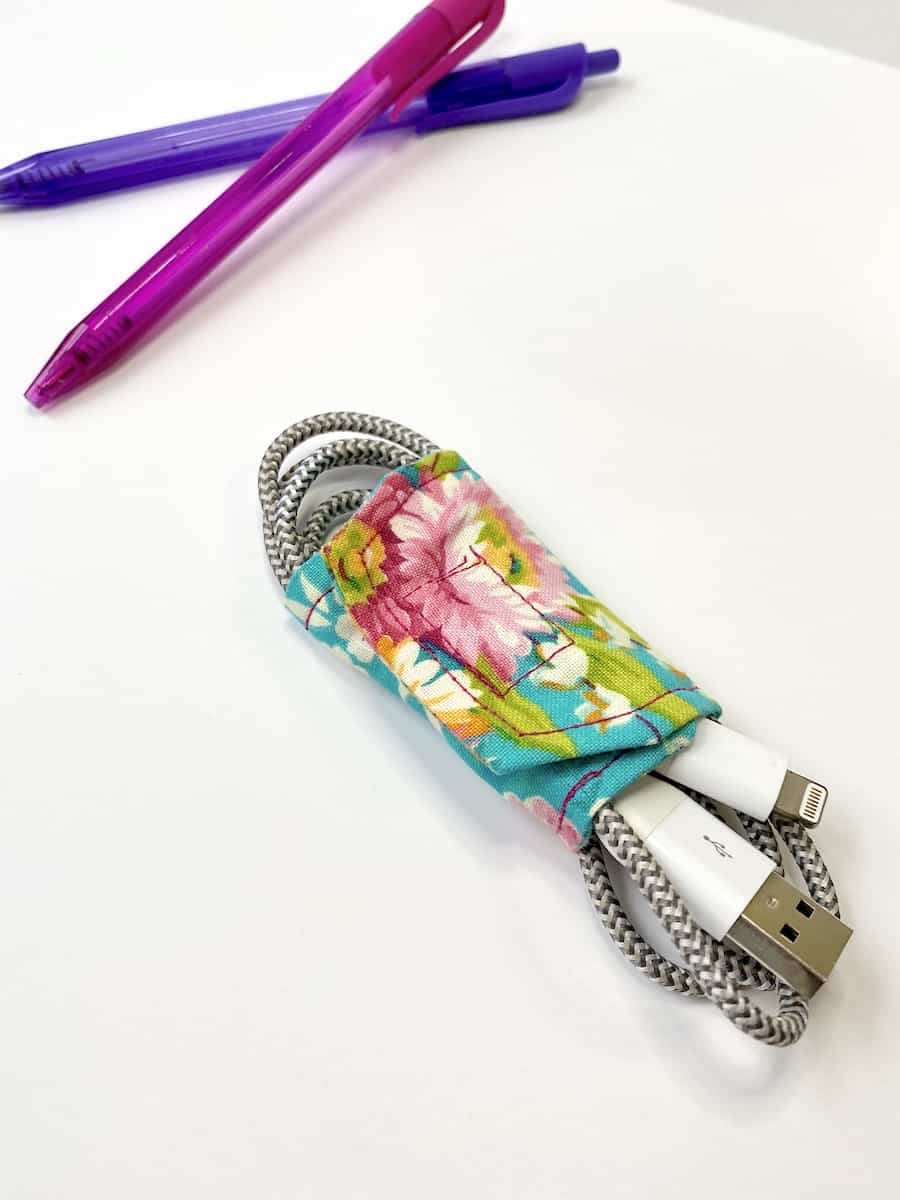
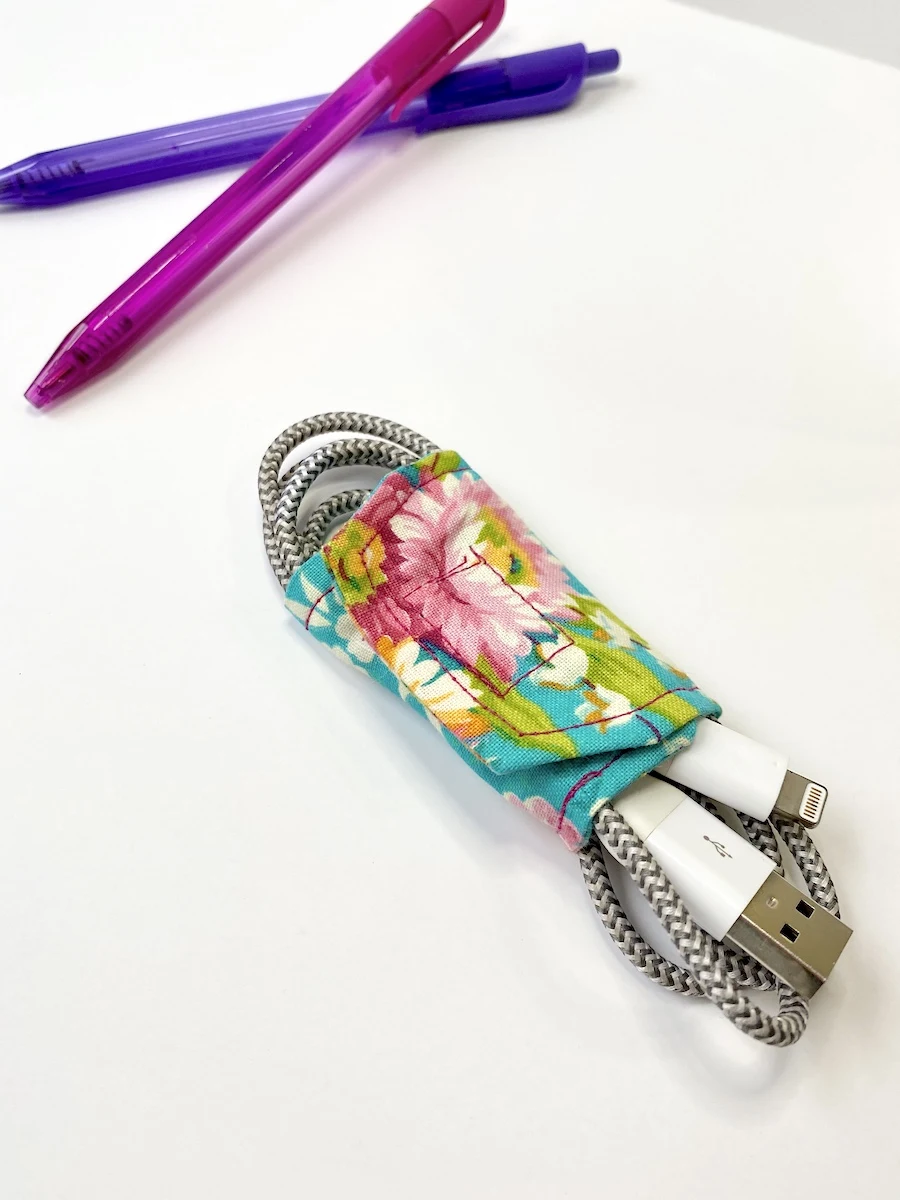
Wrap around cord and secure with hook and loop.
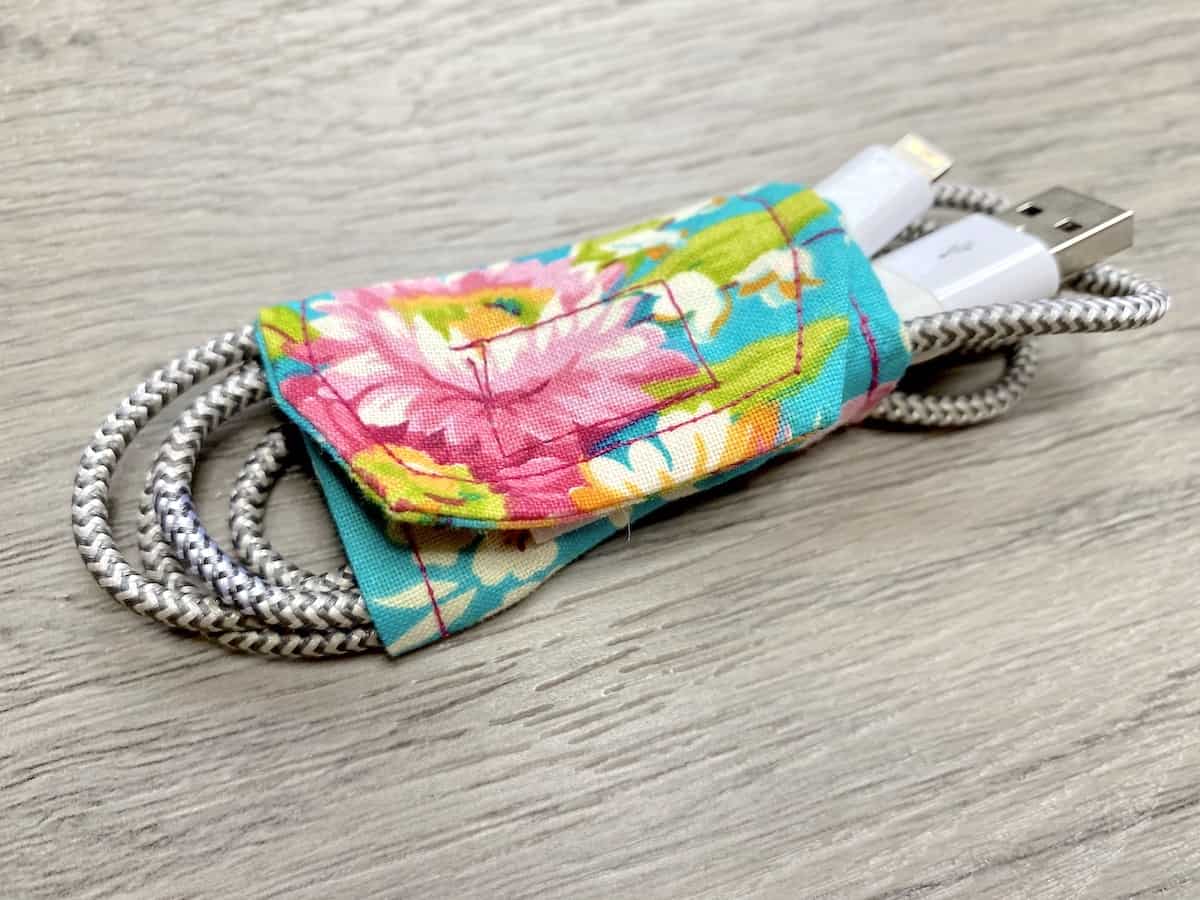
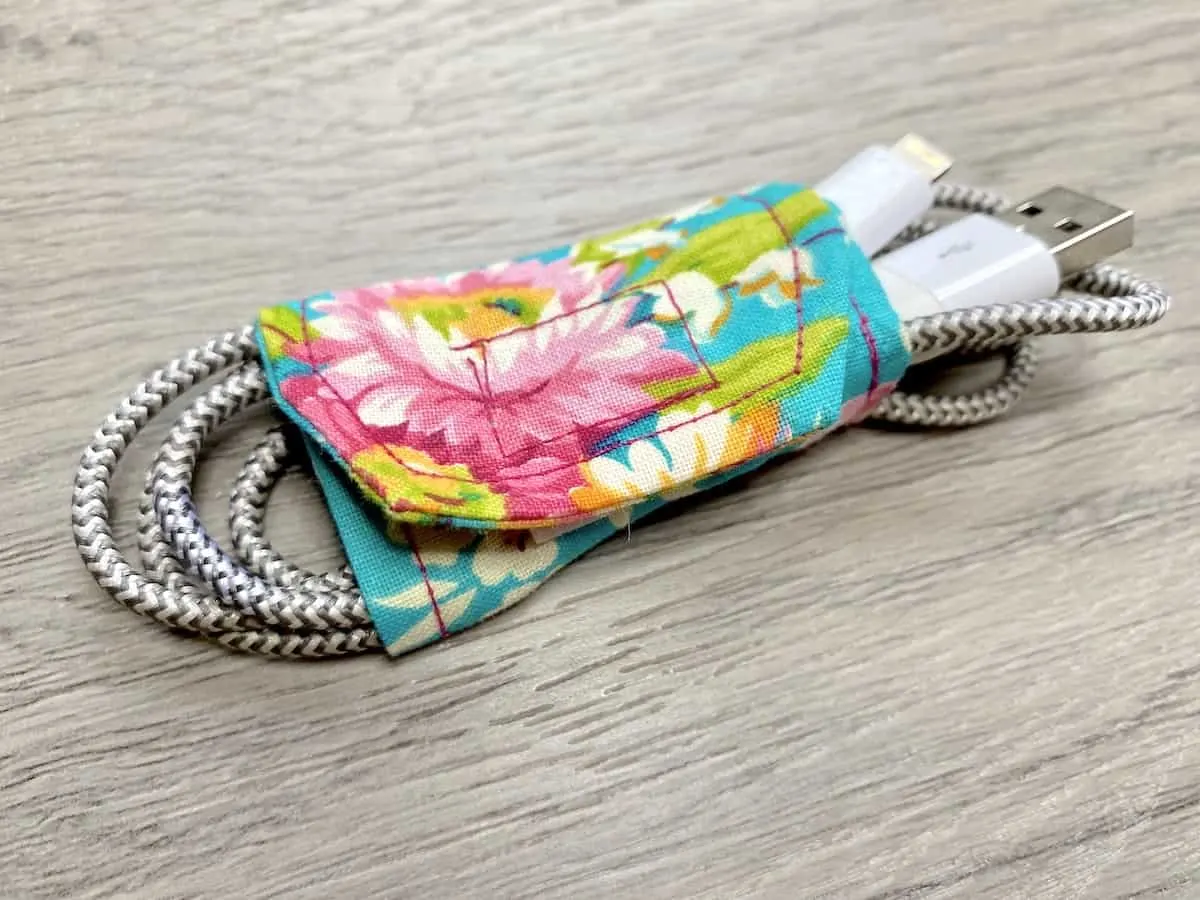
This fabric cord wrapper originally appeared on EasyThingstoSew.com.
