


Harvest corn is one of the most popular ways to decorate for Fall, but do you ever get tired of spending money on dried corn only to throw it away year after year? I know I do, because dried ears of corn are expensive!
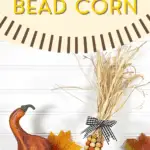
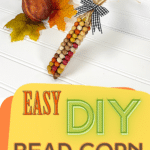
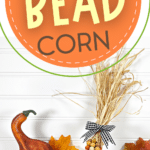
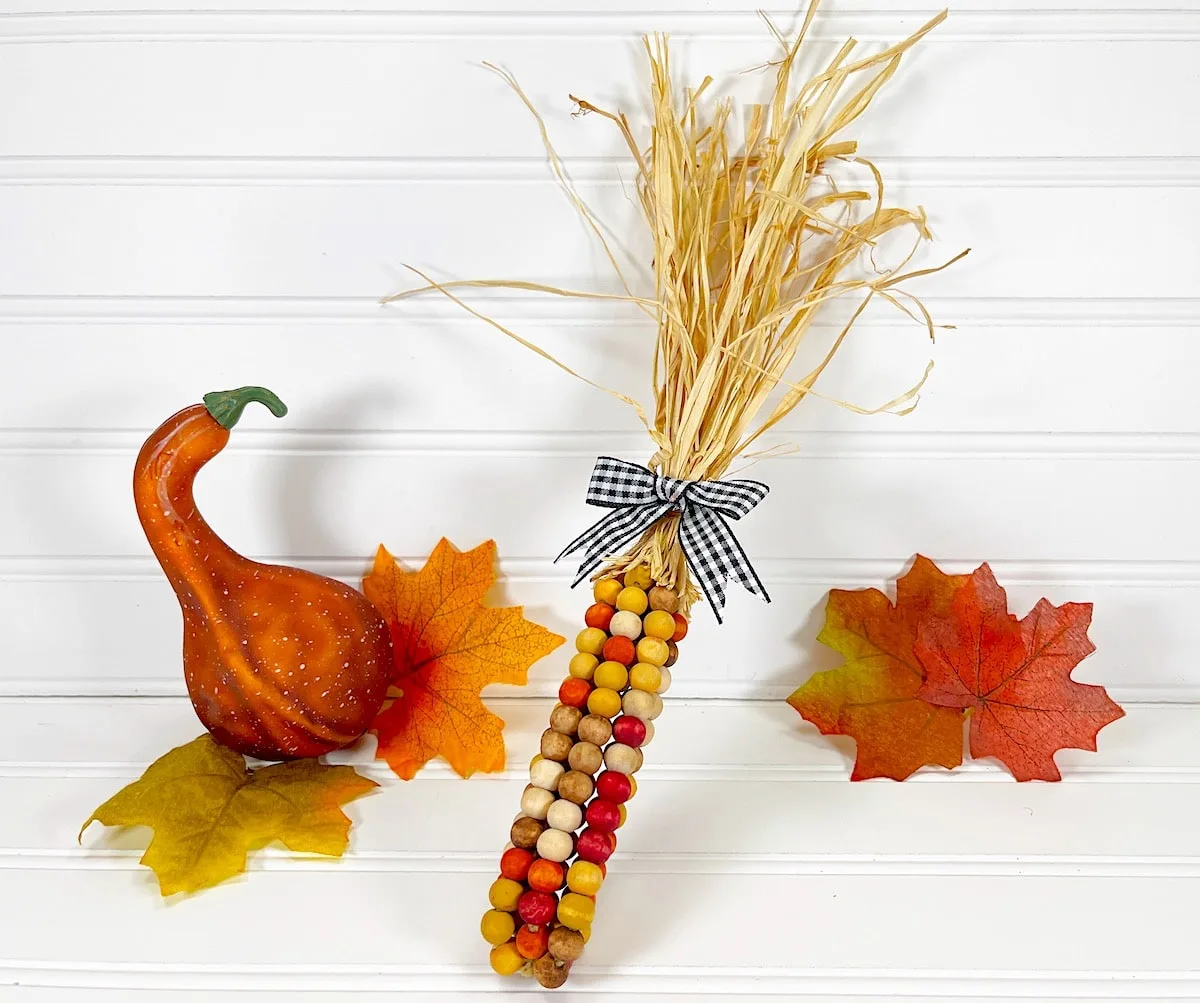
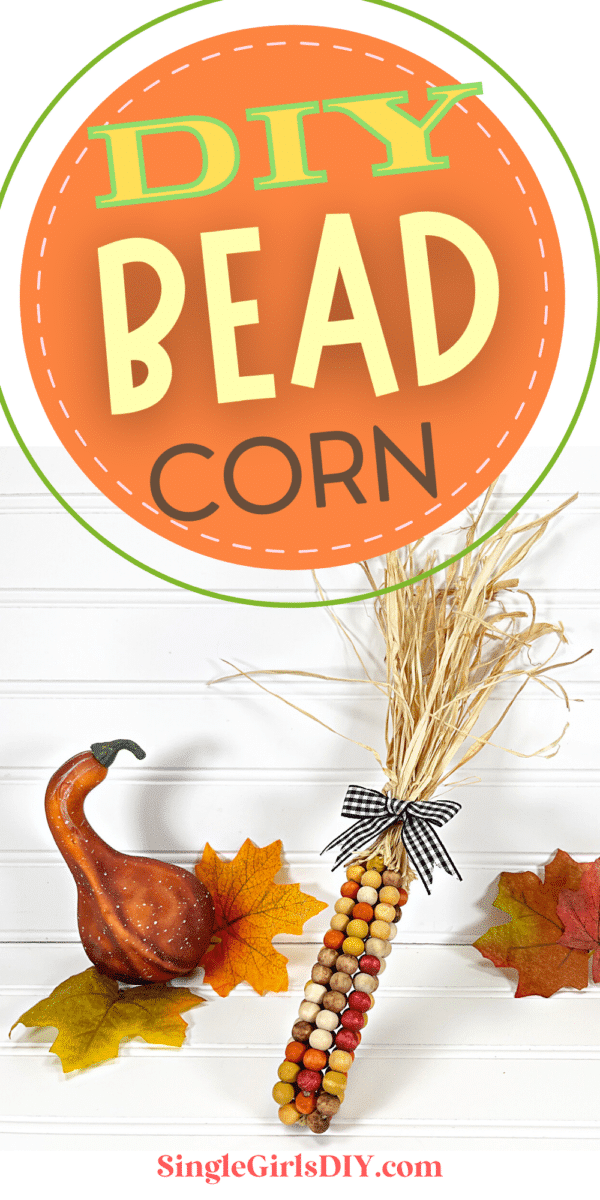
Our easy DIY wooden bead corn is the perfect Fall decoration that you can use year after year. Use dollar store supplies to quickly and easily make harvest corn decor in less than 30 minutes.

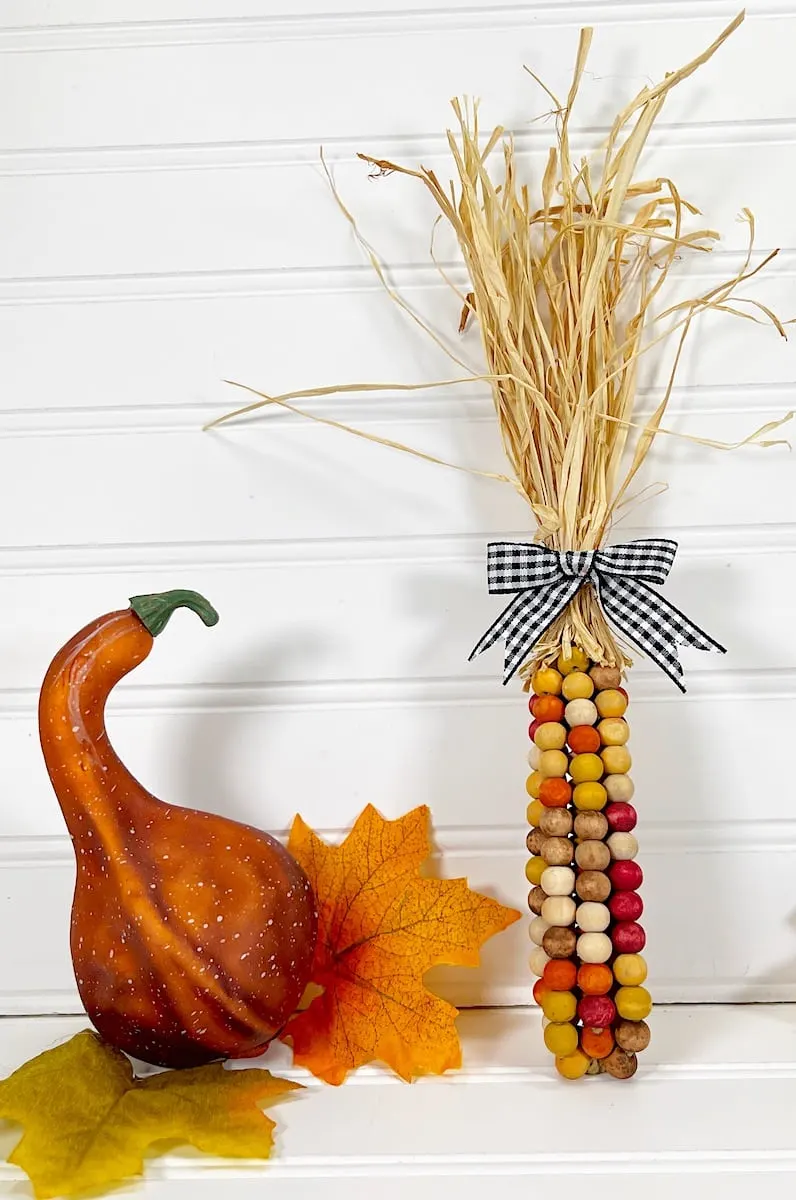
We love making Dollar Tree Crafts and this one is especially great for Autumn! It has a designer-look without the high price tag.
These wooden bead ears of corn are perfect for decorating in the following ways:
- Place in a basket
- Tuck onto shelves
- Lay on a tiered tray (these Jenga block pumpkins are great on trays, too!)
- Use in garlands
- Add to your mantle
Helpful Tips
- You don’t need to be perfect with this craft! Corn kernels are random in nature, so your bead corn should have random color patterns, too.
- The bag of wood beads I bought at the Dollar Tree had different sizes. You will need all the same size beads. Though this project calls for 112 wooden beads and the dollar store bag has 125 beads, you will still need to purchase at least two bags to get the required amount of ⅜ inch beads.
- Your ribbon should be ½″ wide or less. Don’t use a ribbon that is too big to make the bow.

How to Make Wooden Bead Corn
All of the supplies were purchased at the Dollar Tree. These can be made in half an hour, not including drying time for the beads.
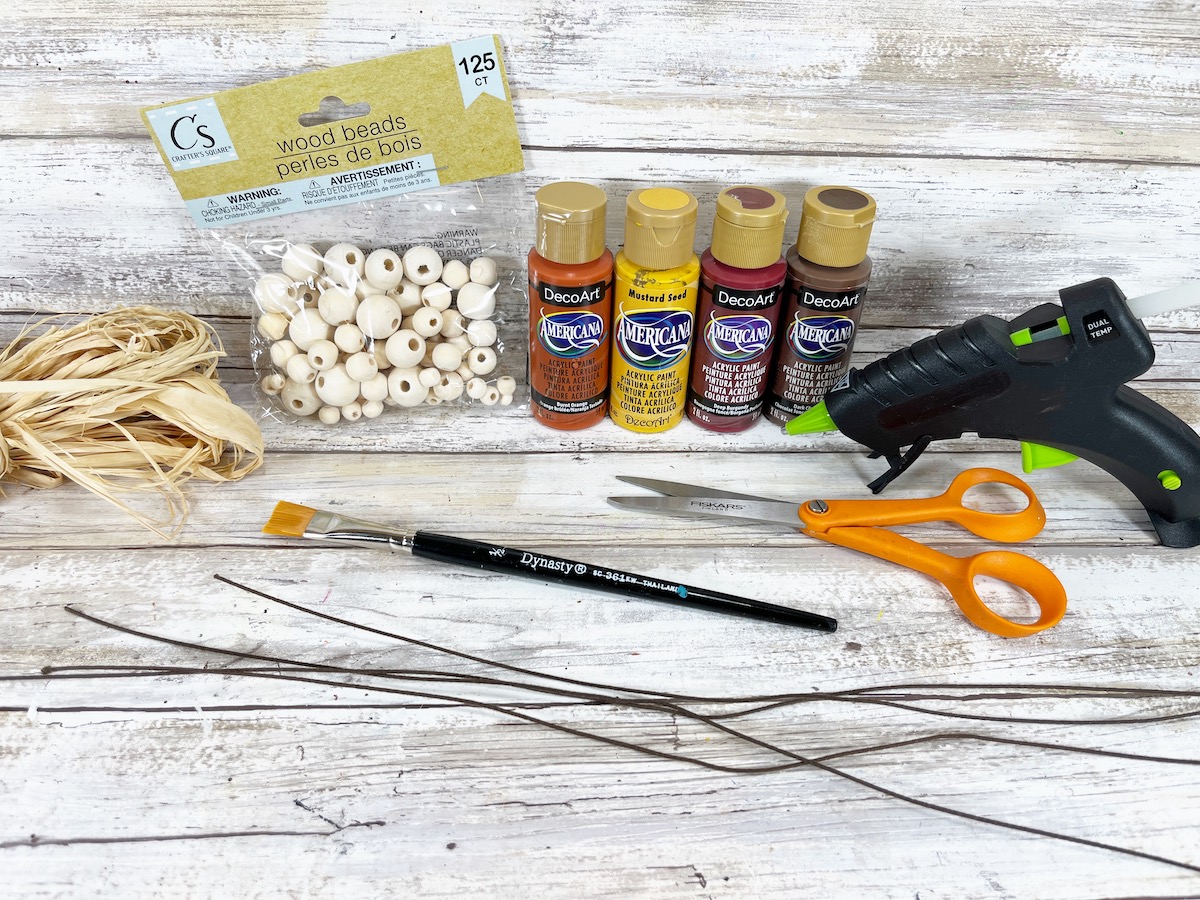
Materials
- 112 Wooden Beads, ⅜” diameter
- Craft Paint in colors of Yellow, Gold, Brown, Orange, and Burgundy
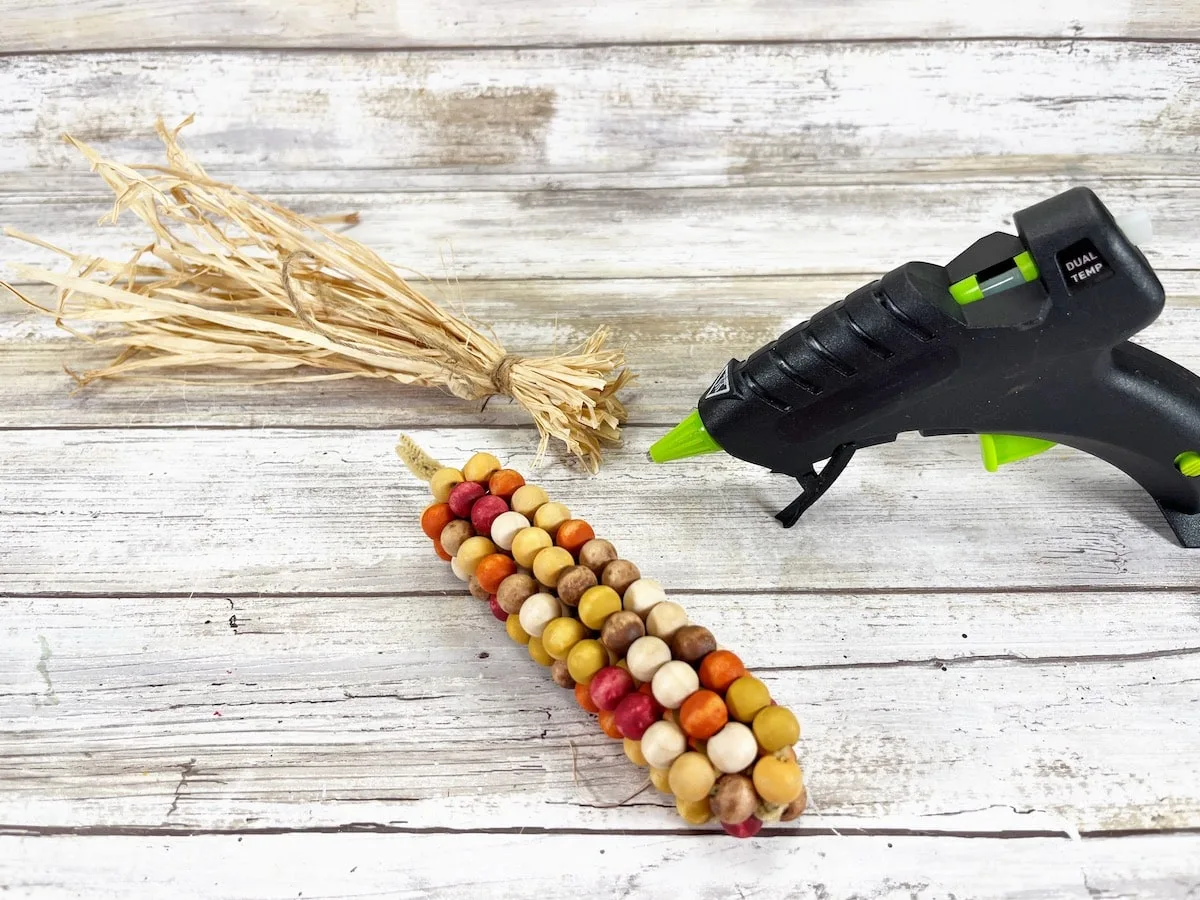
- Natural Raffia Bundle
- Jute Twine
- 12″ Chenille Stems, Tan
- Ribbon
- Glue Gun and Glue Sticks or Craft Glue
- Zip top Sandwich Bags
- Paper Towels

Instructions
Step 1
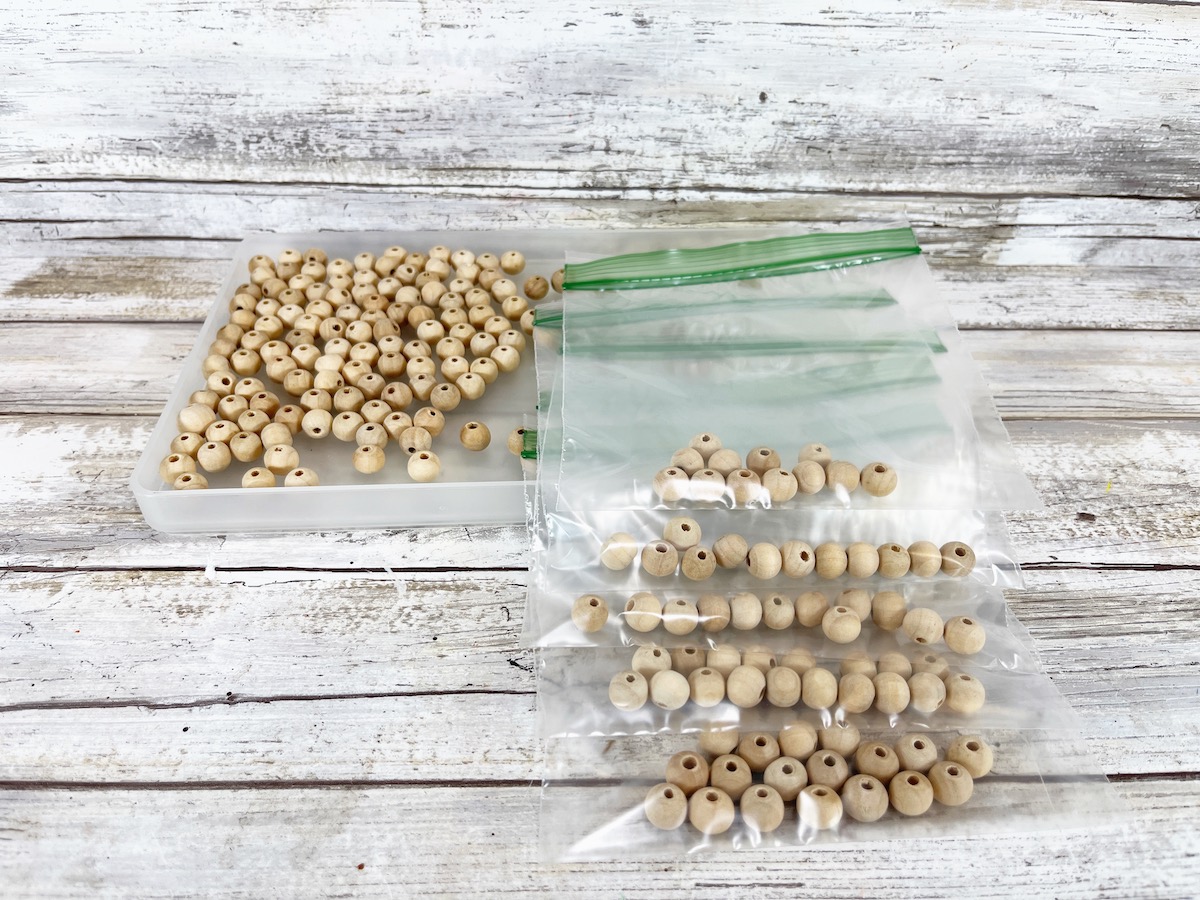
Each ear of harvest corn will require approximately 112 wooden beads.
Put 24 wooden beads in each of two zip top bags.
Place 12 wooden beads in each of three zip top bags.
Leave the remaining 28 beads natural wood. These do not need to be in a bag.

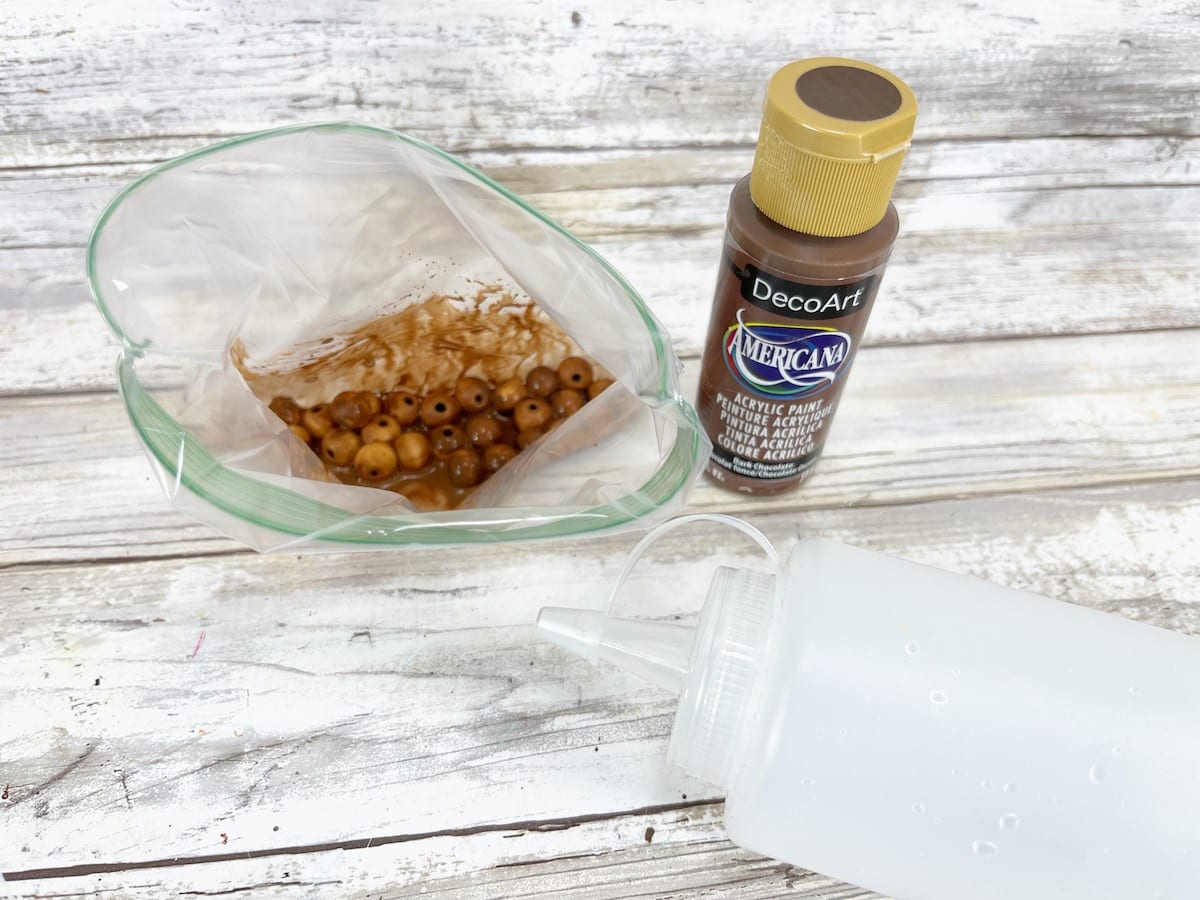
Step 2
In the first bag of 12 wooden beads, squeeze a small amount of brown acrylic craft paint. Then add a few drops of water into the bag, as well.


Remove the air from the bag and zip it closed. Squish the paint and beads around in the bag until and all of the beads are coated evenly.

Step 3
Repeat this step with the second and third bags of 12 wooden beads, using orange paint in one bag and burgundy paint in the other bag.
Repeat the same process with the bags of 24 wooden beads, using yellow paint in one bag and gold paint in the other.
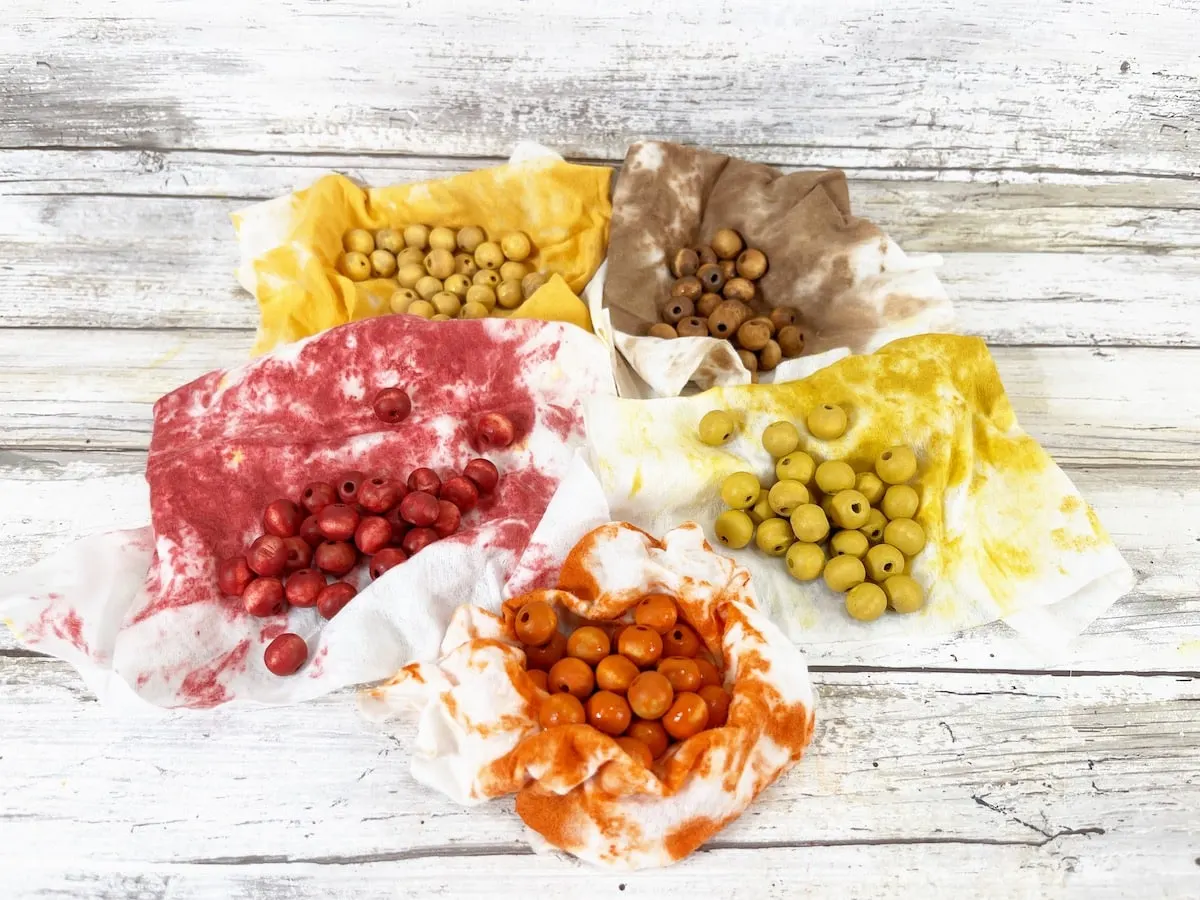
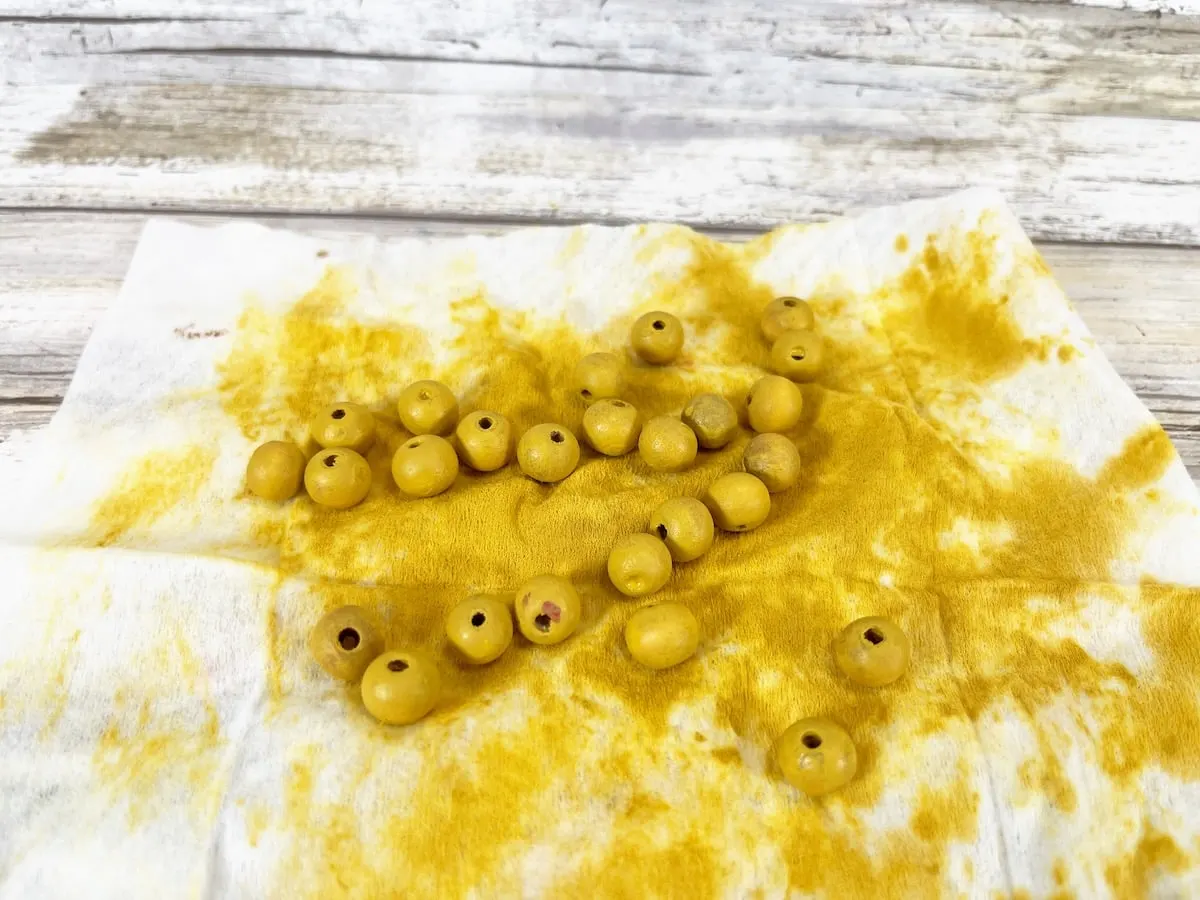
Step 4
Place five different areas of layered paper towels out on your work surface.
Carefully open each zip top bag and remove the beads from the bag and allow to dry on paper towels. Each color of beads should be on a different layer of paper towels.


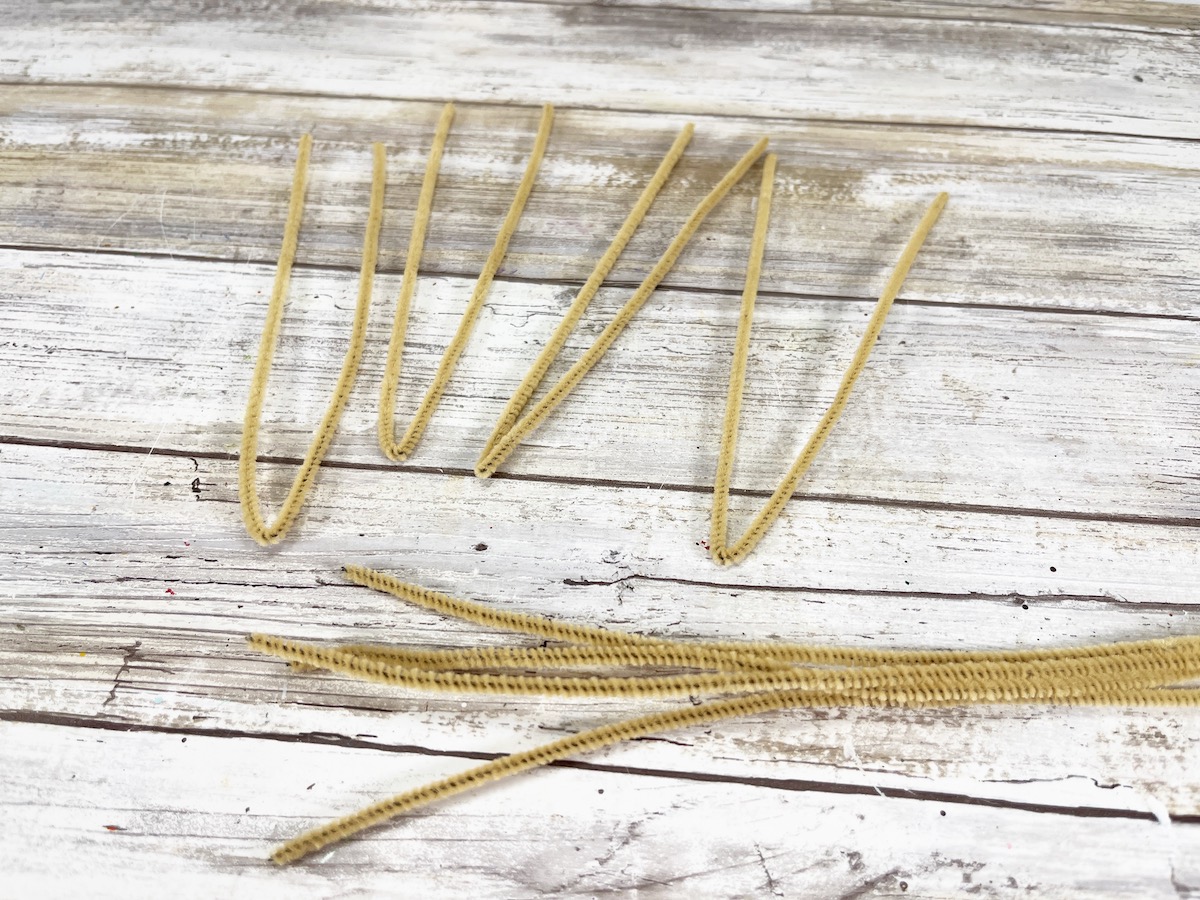
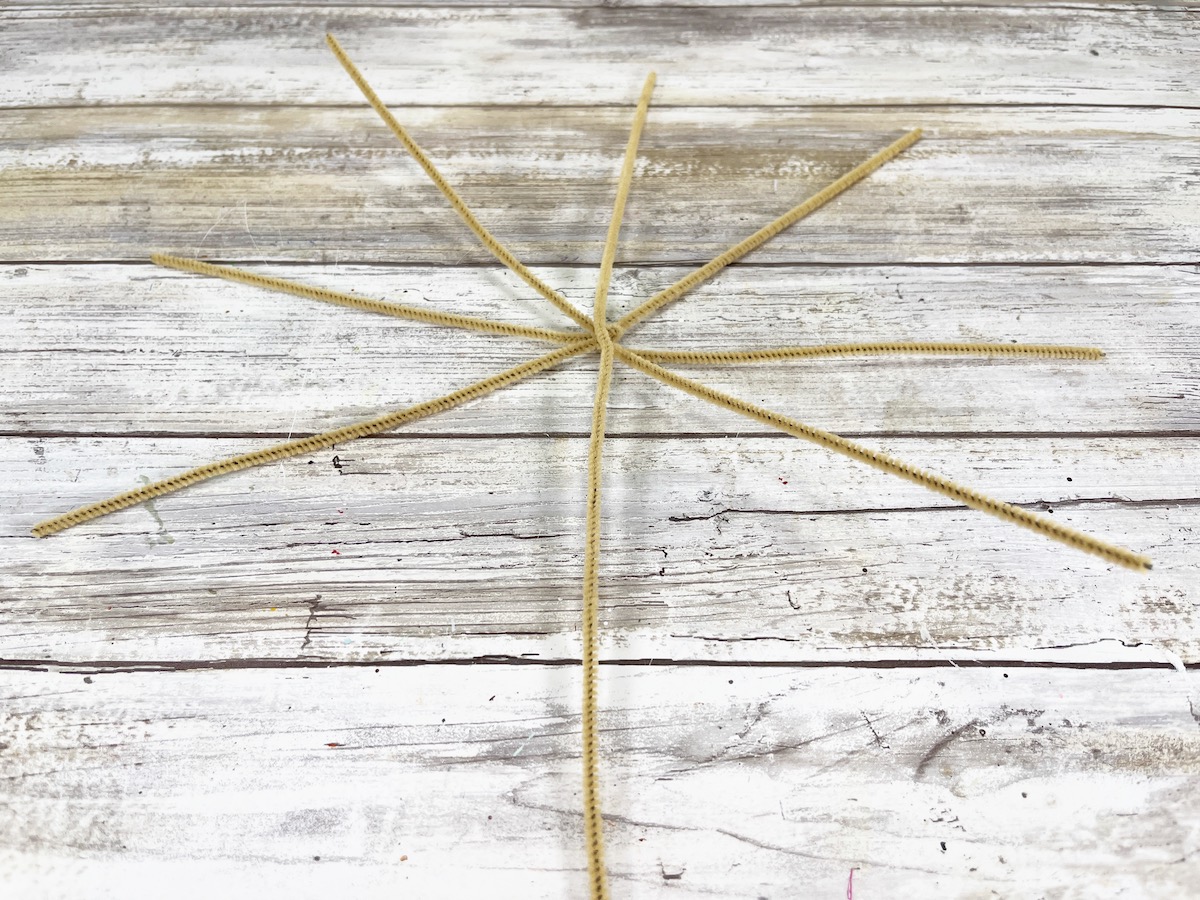
Step 5
Bend four tan chenille stems in half. The fuzzy chenille stem will grip and hold the beads in place better than using plain wire.

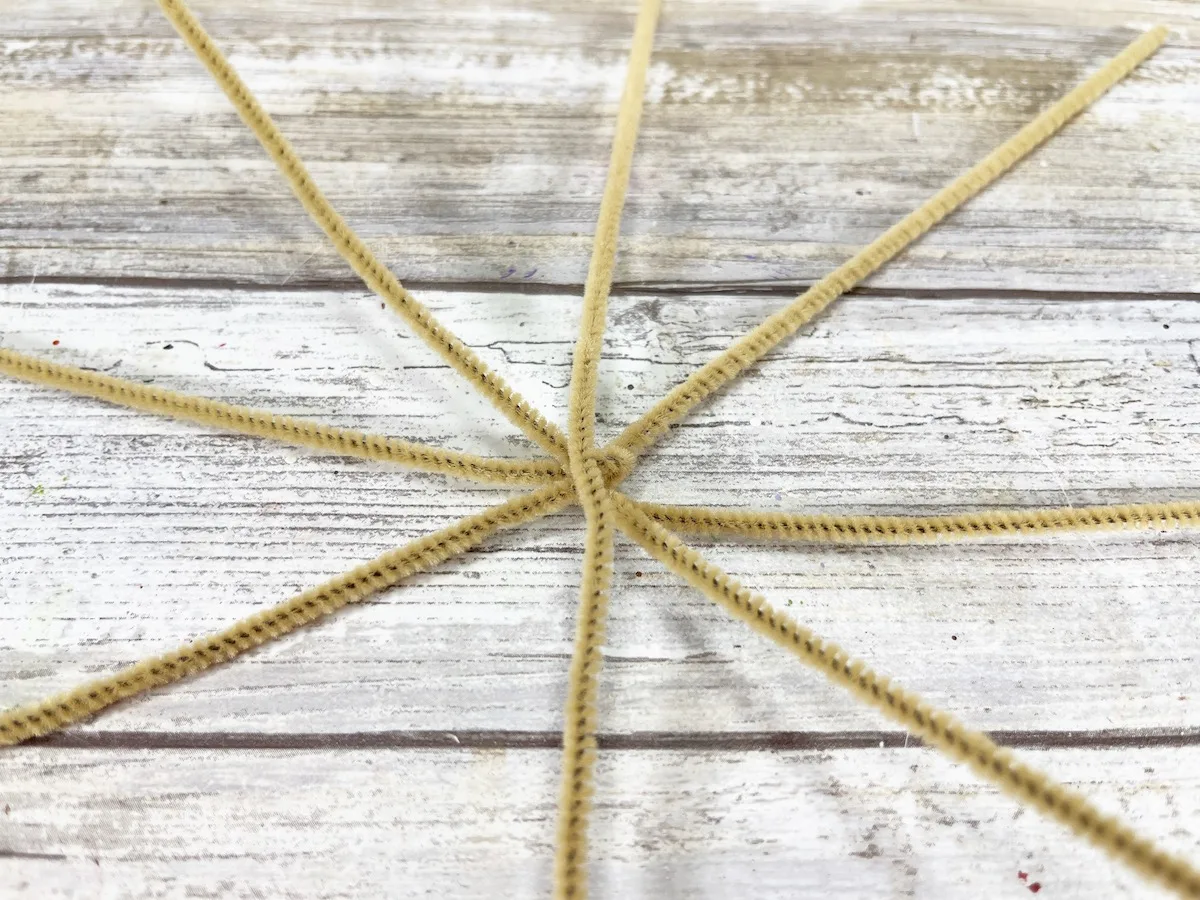
Step 6
Wrap and twist each chenille stem around the others at the center, until you have a rough star shape.


Step 7
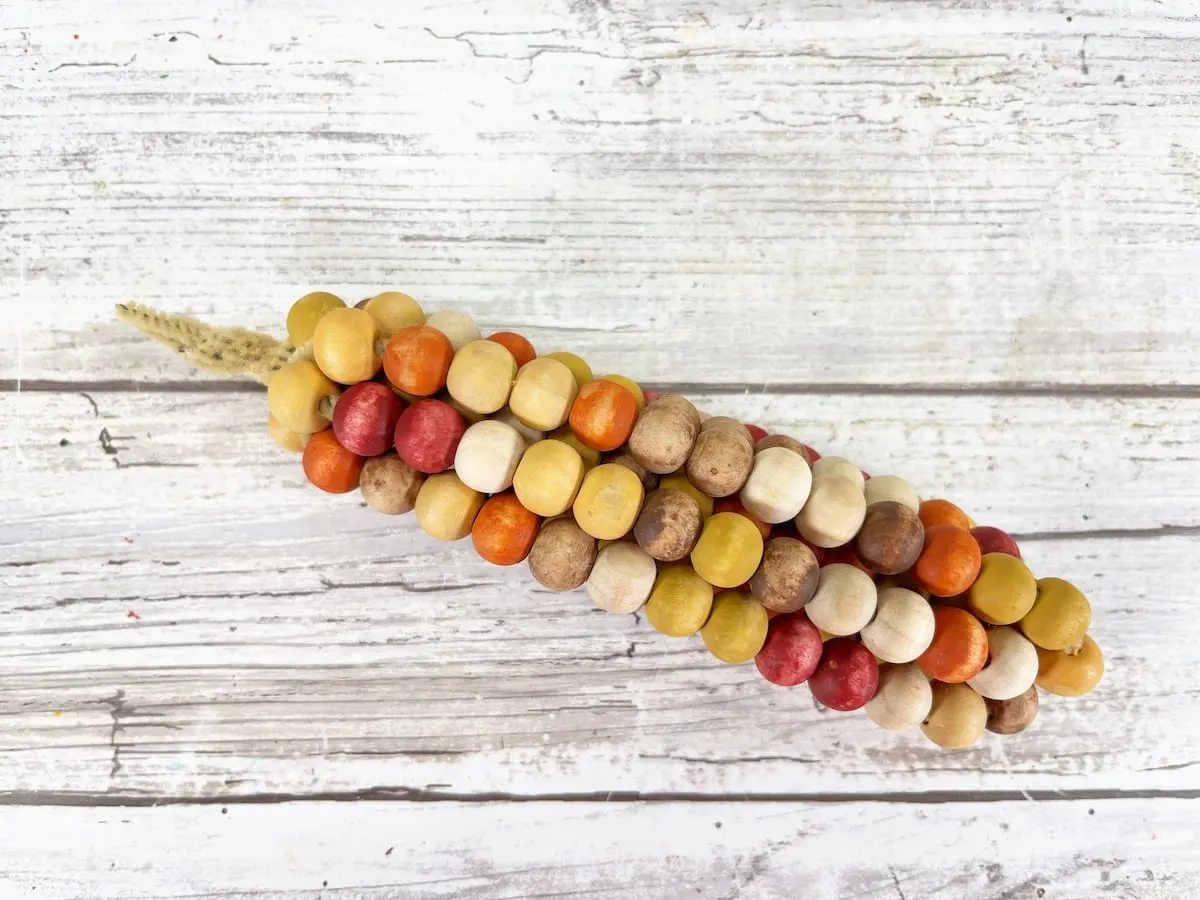
Using random patterns, thread 14 of the natural and colored wooden beads onto each of the eight lengths of chenille stem.
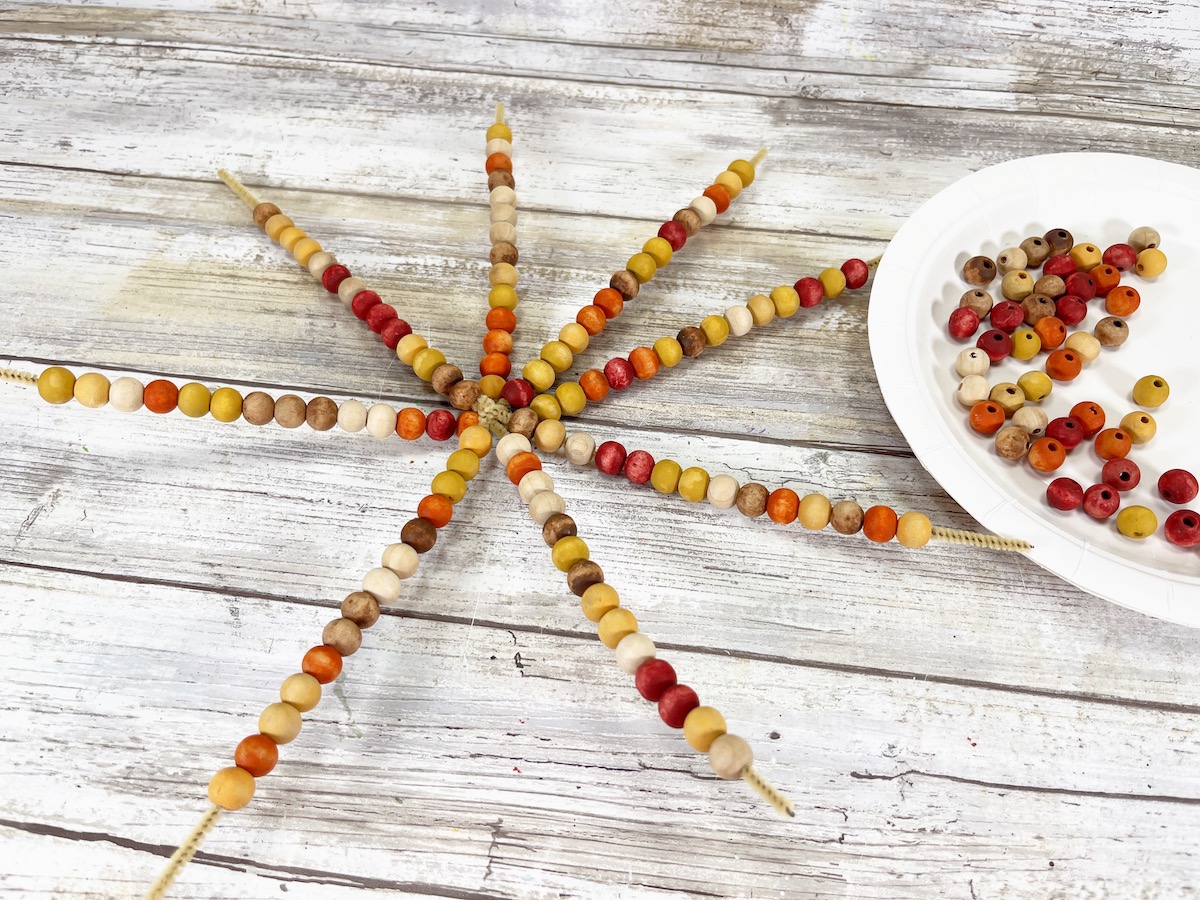

You can use different amounts of each colored bead on the stems. They don’t have to match.
Step 8
Place your finger in the center of the wooden bead star pattern and gather the ends together by pulling up the stems closely together, like an ear of corn.
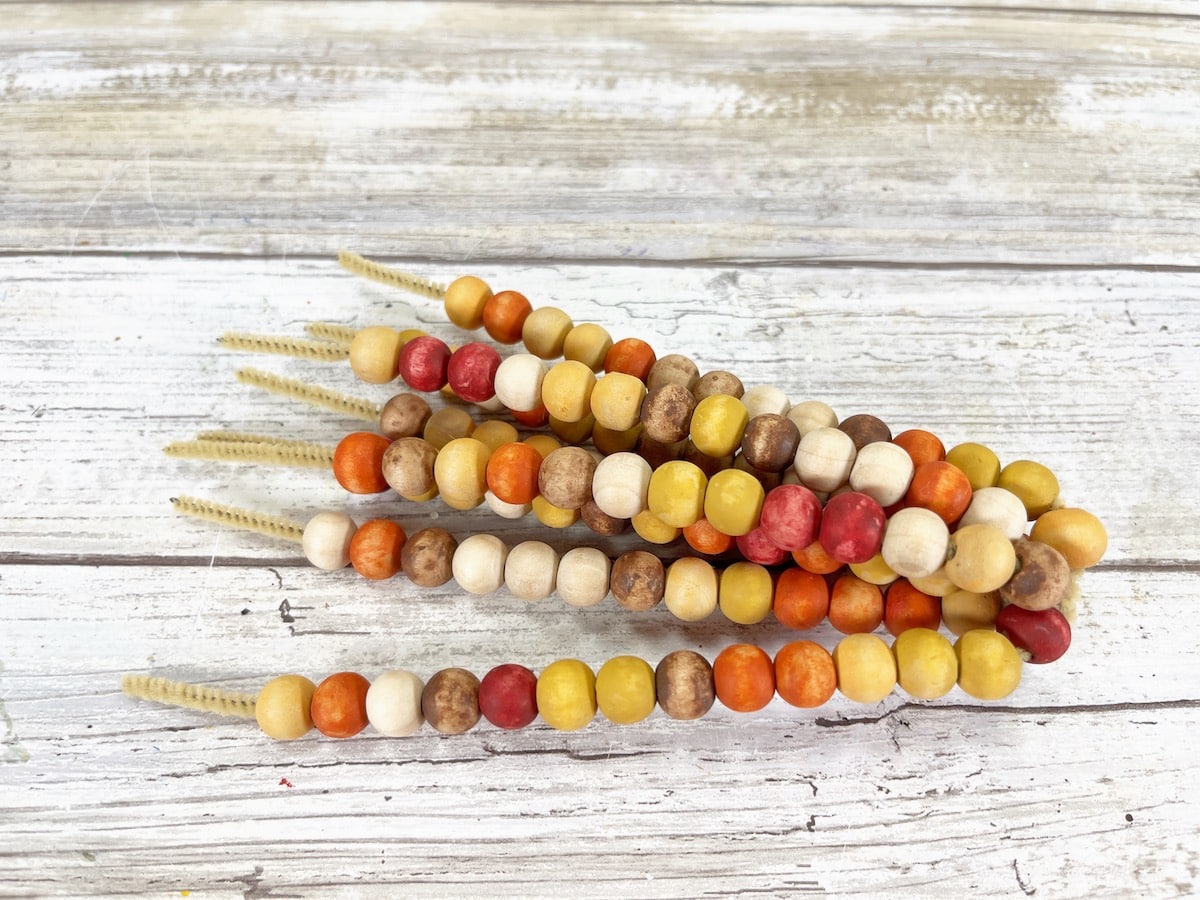

Twist the remaining ends of the chenille stems together on top to secure the harvest corn and make a stem.

Step 9
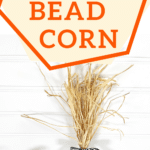
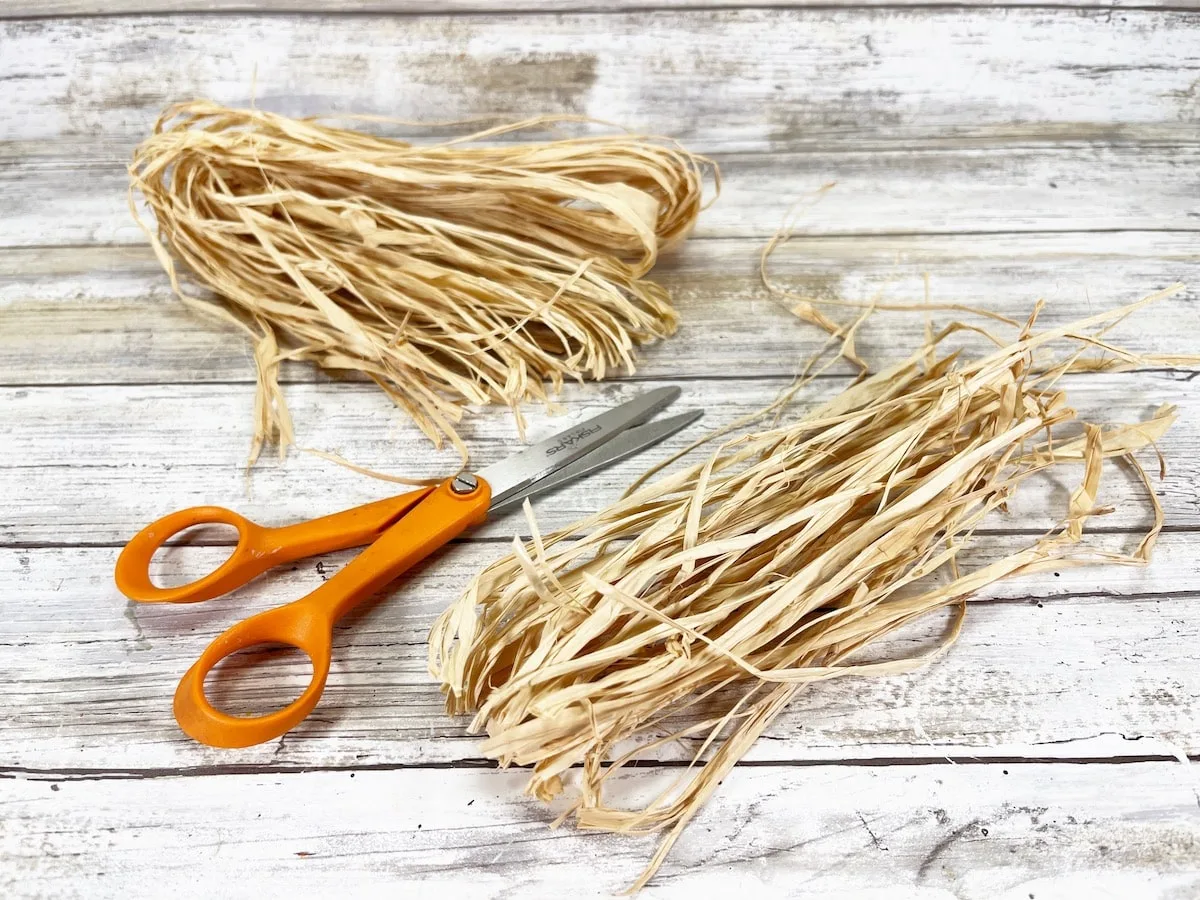
With scissors, cut the entire raffia bundle at the first bend of the raffia.
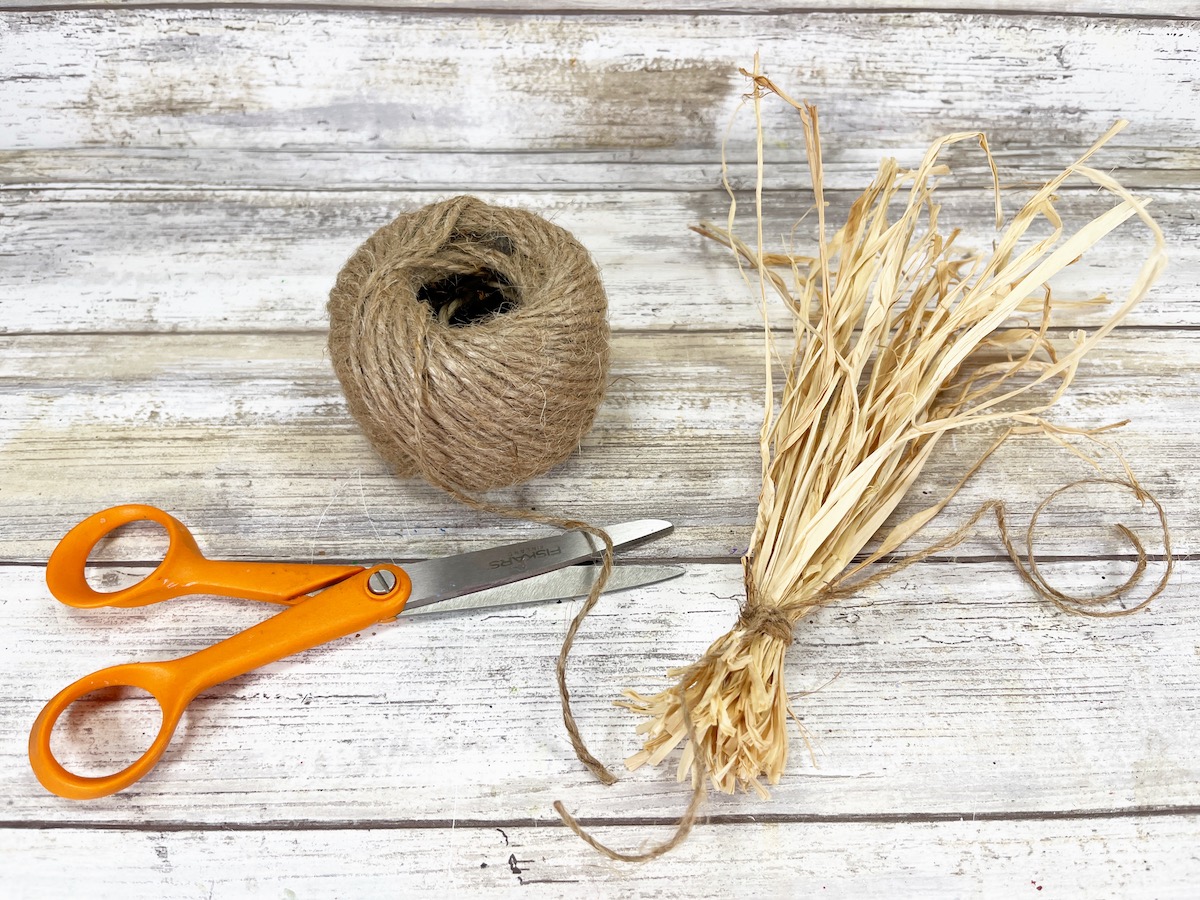
Wrap the bundle of raffia with natural jute twine approximately one inch from the cut end. Tie the twine with a knot and trim any long ends with scissors.


Step 10
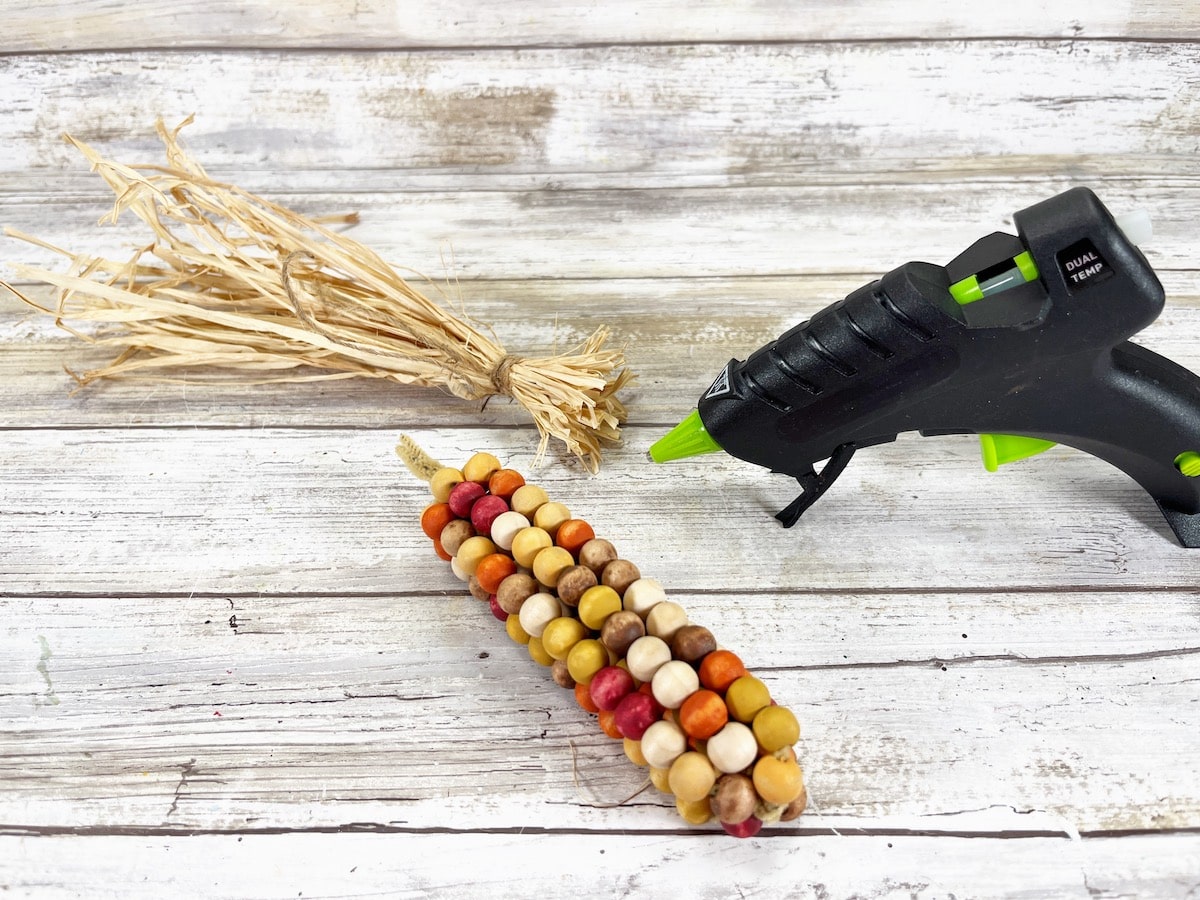
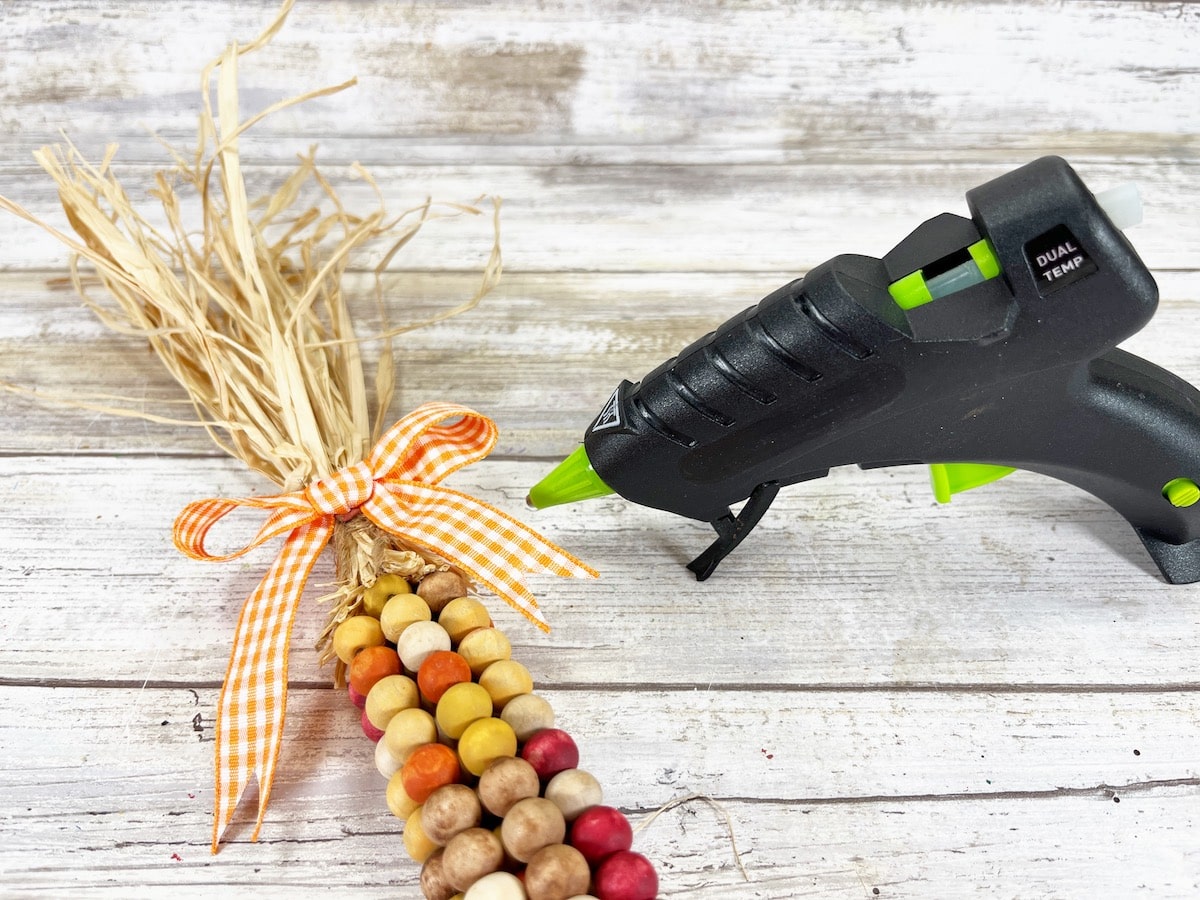
Glue the raffia top to the harvest corn over the exposed chenille stem.
Step 11

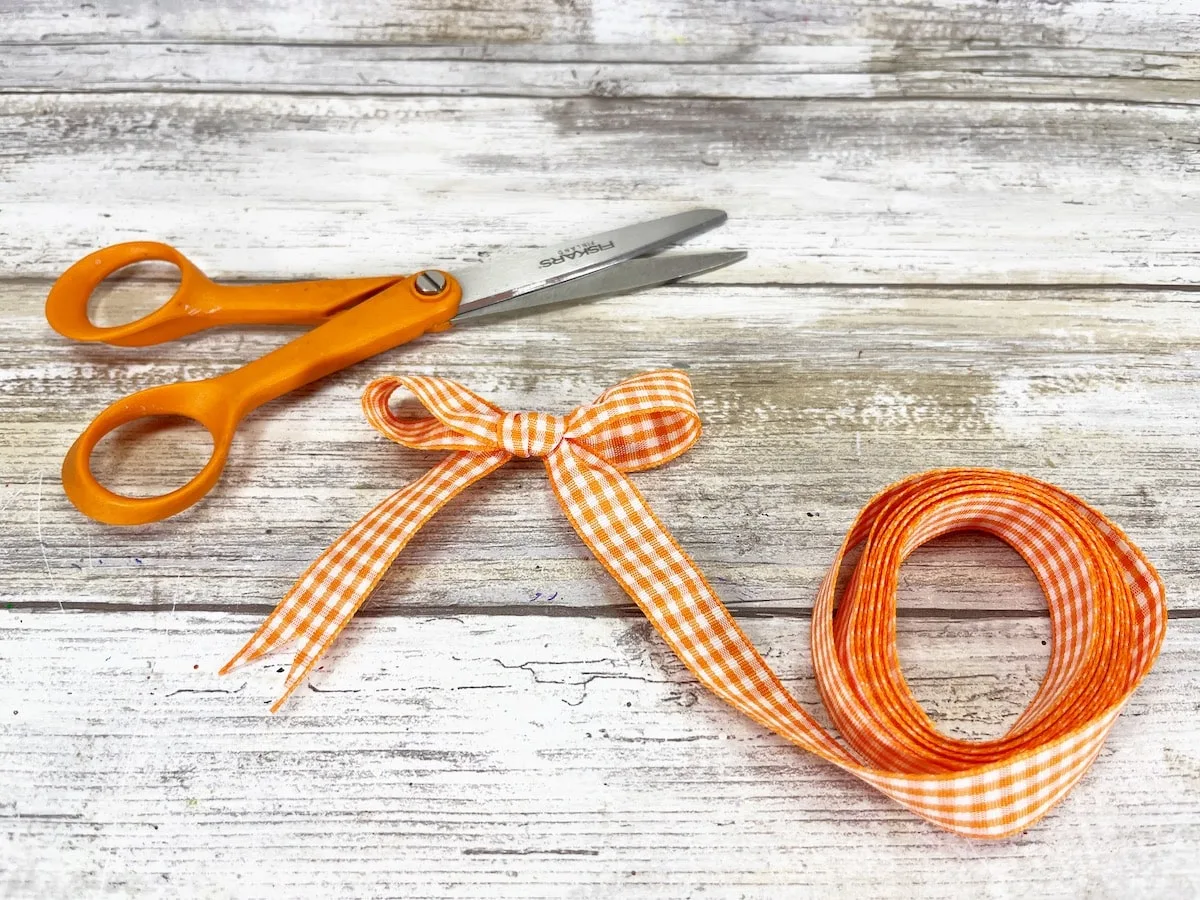
Tie a small ribbon in a bow. You can notch the ends with scissors to prevent fraying.
Glue the bow to harvest corn at the base of the raffia.

Be sure to Pin This idea on Pinterest to save for later!

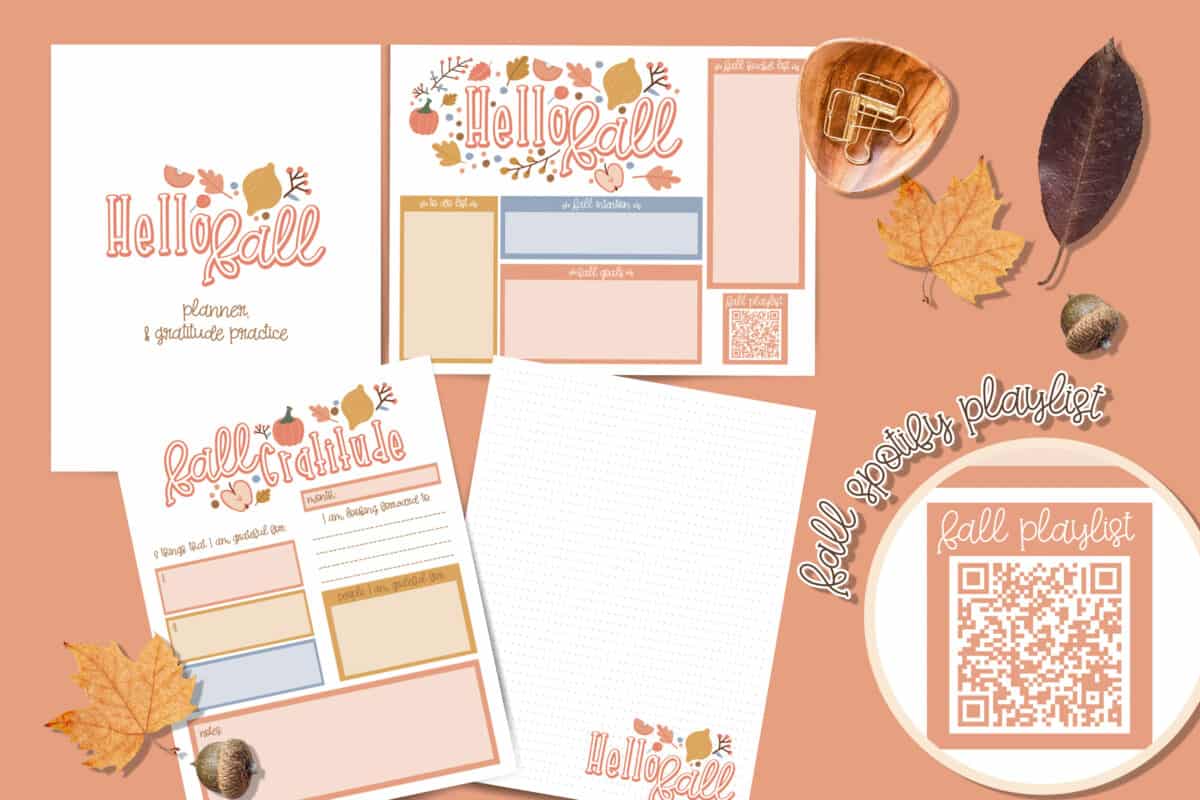
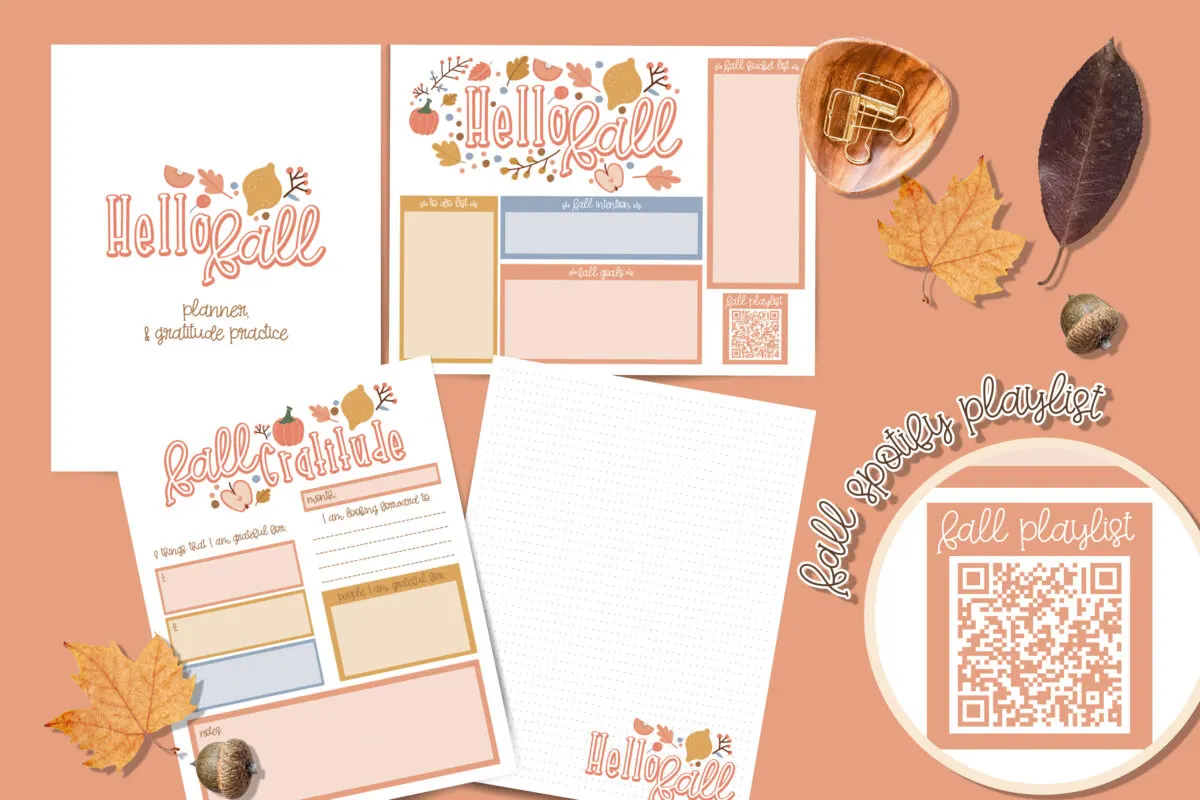
Get Your Fall Gratitude Journal Now!
Fall is a time to rest, reflect and be grateful. This printable planner and journal pack will help you capture your memories, and plan for the busy season ahead.
If you like this easy DIY project to make wooden bead corn, then you will want to see more of our dollar store Fall crafts:
