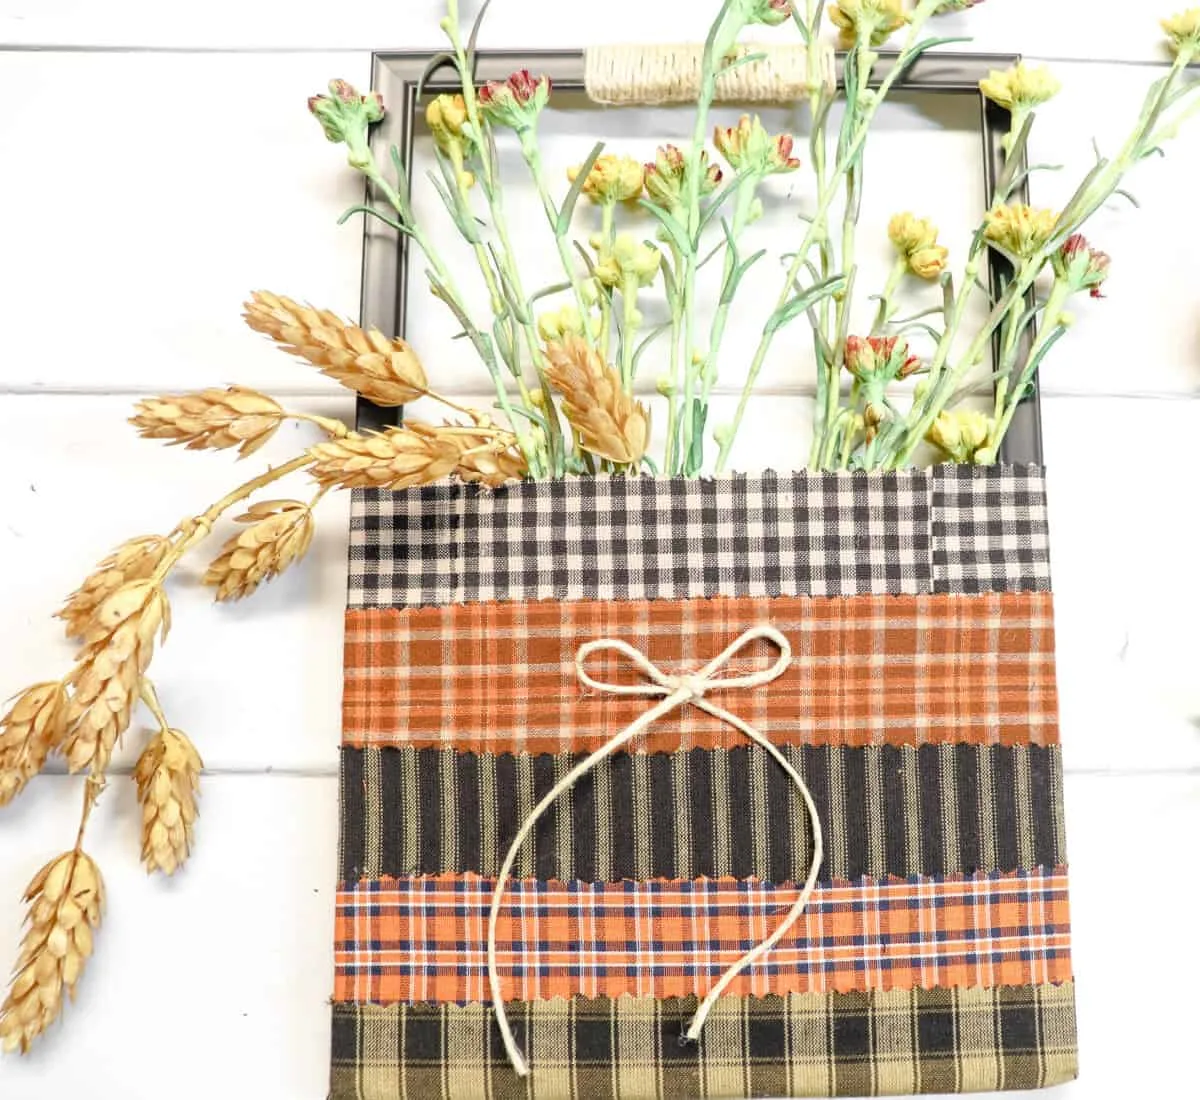
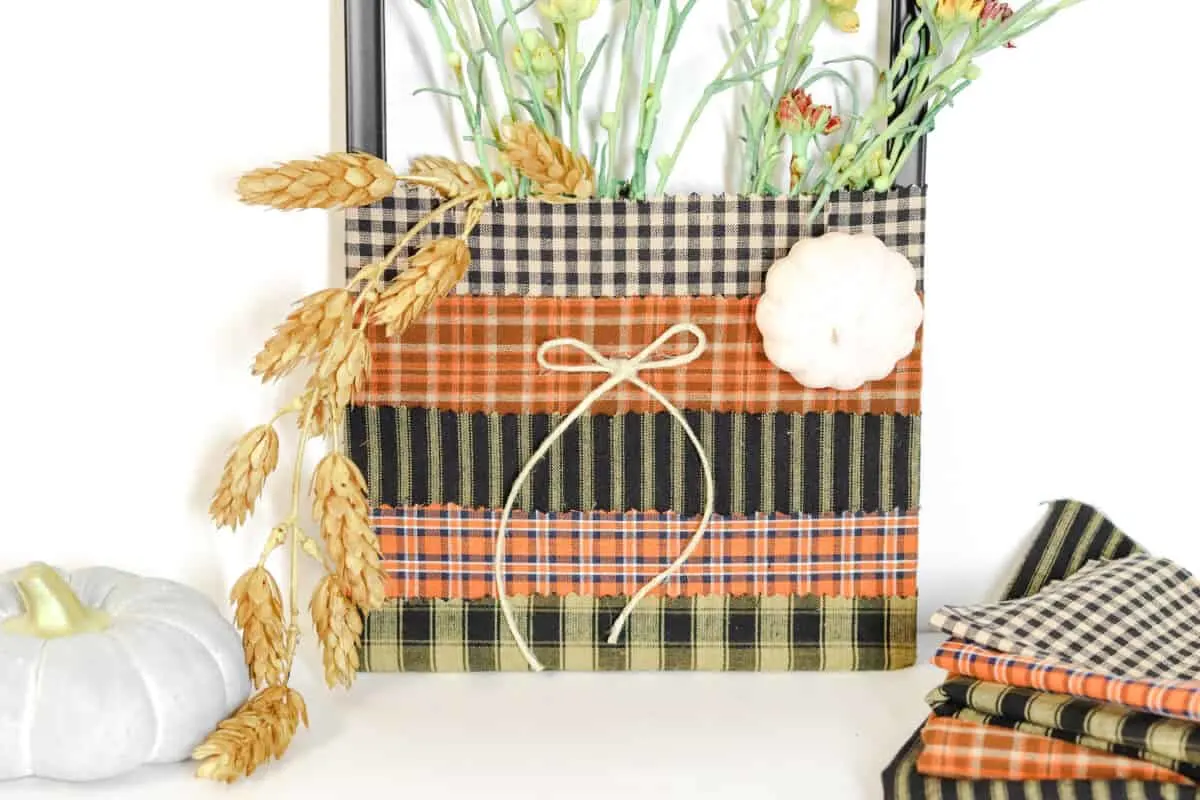
If you are looking for a way to upcycle a picture frame, this is a perfect project! I used an old photo frame with no glass and scrap fabric pieces to make this cute flower pocket!
This is a perfect craft to use up scrap fabric that you have! I used Fall colors for this project, but you could use any fabric.
Think of pastels and florals to make a Spring flower pocket frame, or use reds and greens to make a Christmas flower pocket.
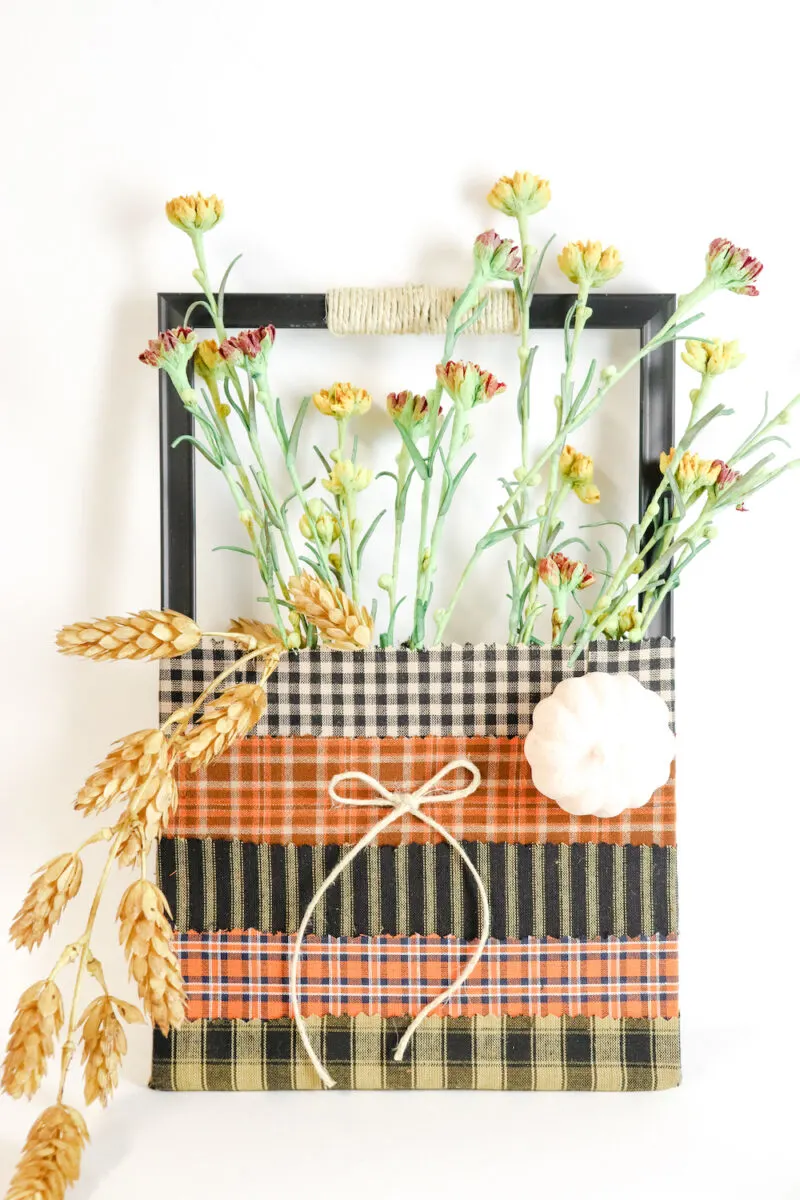
I used faux flower stems and wheat stems. You could also use artificial leaf stems to add to the pocket area.
For other seasons, try pine needle stems or poinsettias. For Valentine’s Day, you could use red and white fabrics and add lots of foam hearts on sticks for a seasonal display.
What a great way to repurpose all of your scraps around the home! If you have several picture frames in different shapes and sizes, you could create a cute display with all of them decorated this way. It would be gorgeous!
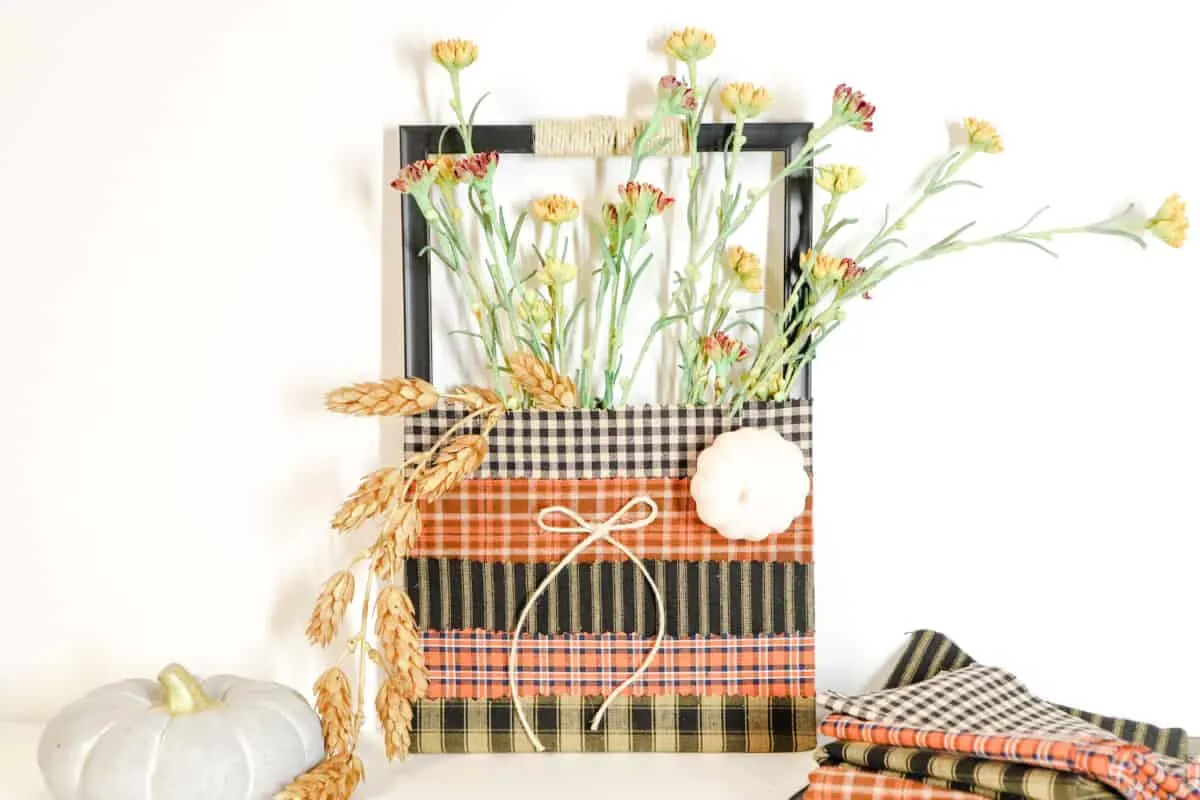
Of course, if you wanted to make this a hanging wall vase, you could. Just add a loop of twine on the top to hang on a hook or nail.
A lot of the supplies used for this project can also be used to make some more of my Fall crafts.
For instance, extra small pumpkins can be made to make these DIY pumpkin napkin rings. Extra twine can be used to make these decorative twine wrapped bottles or our caramel apple craft.
I also used an old photo frame to make this cute Hi Pumpkin sign, which also uses scrap fabric and twine!
Helpful Tips for Making A Framed Flower Pocket
- If you don’t have scrap fabric, don’t worry! It just takes a little bit of fabric to make this craft. Fat Quarters work great and are inexpensive. I suggest these Fall color fat quarters.
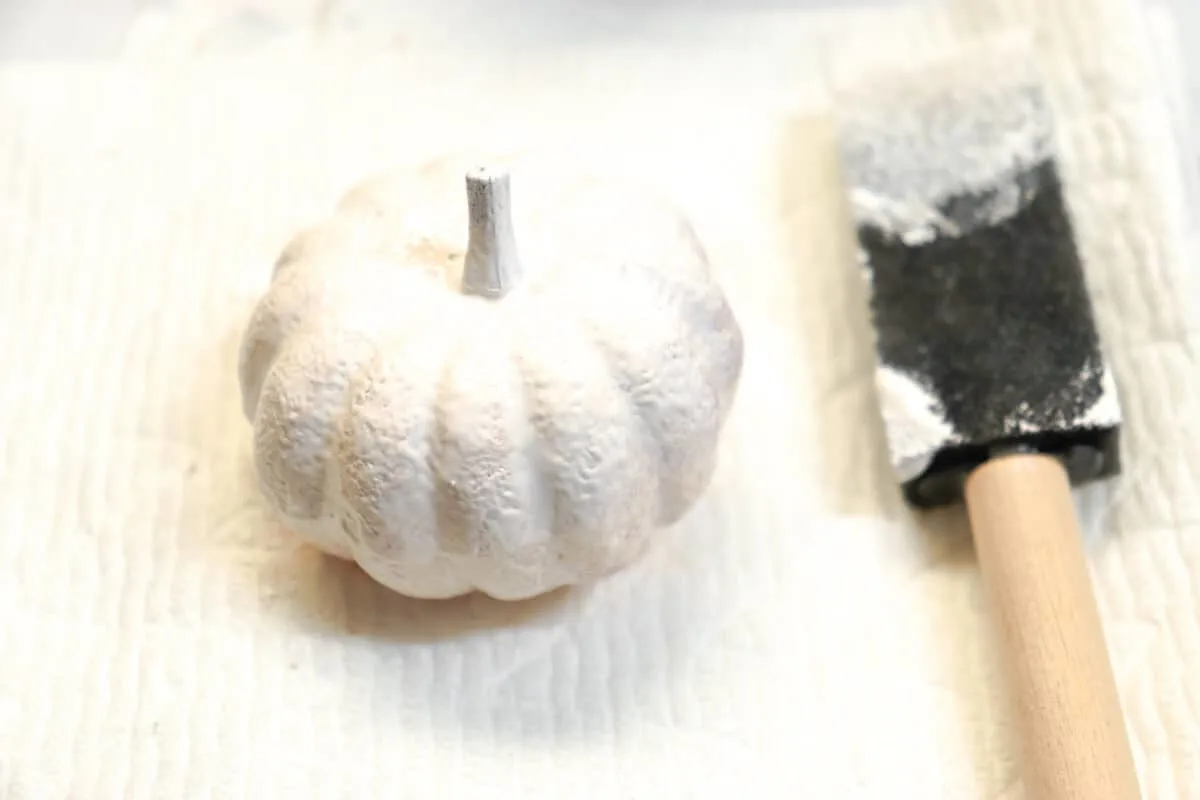
- I painted an orange foam pumpkin white to match my fabrics. You could buy small white pumpkins and skip the painting step.
Get Your Fall Gratitude Journal Now!
Fall is a time to rest, reflect and be grateful. This printable planner and journal pack will help you capture your memories, and plan for the busy season ahead.
How to Make an Upcycled Frame Flower Pocket
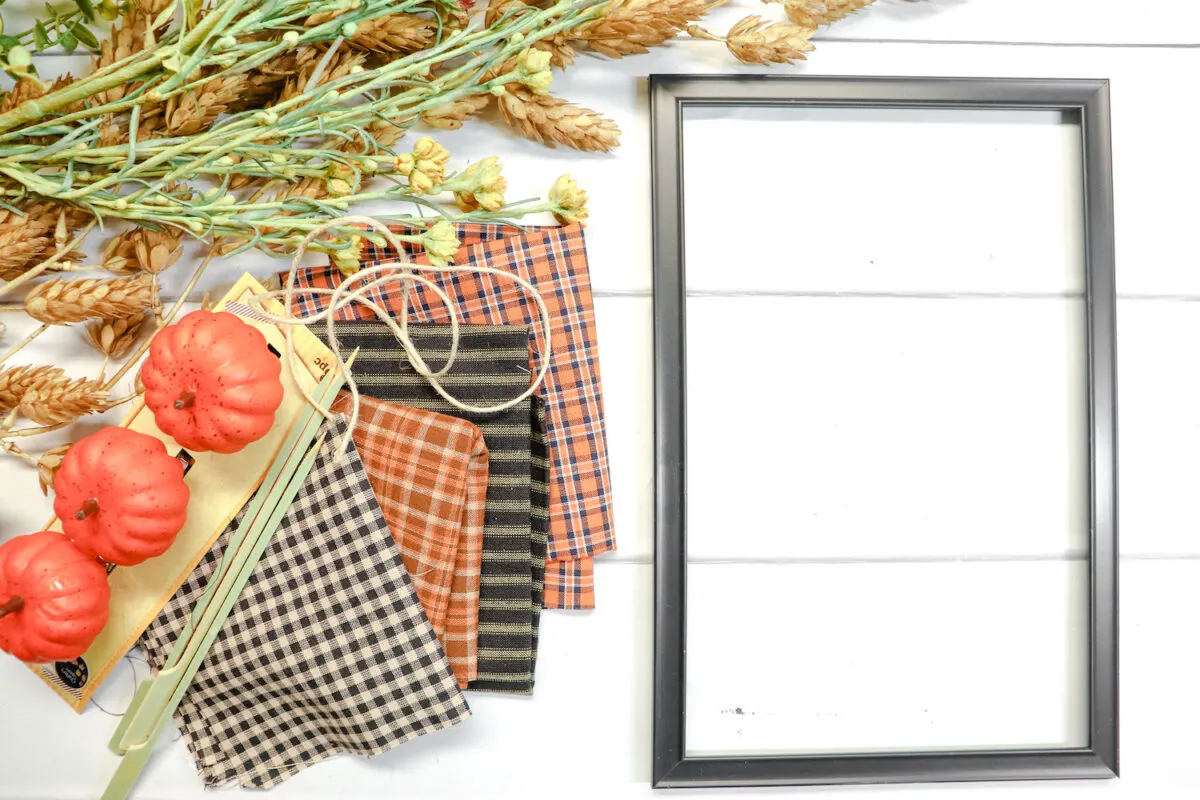
Supplies
- Frame, with glass removed (I used 8” x 12”)
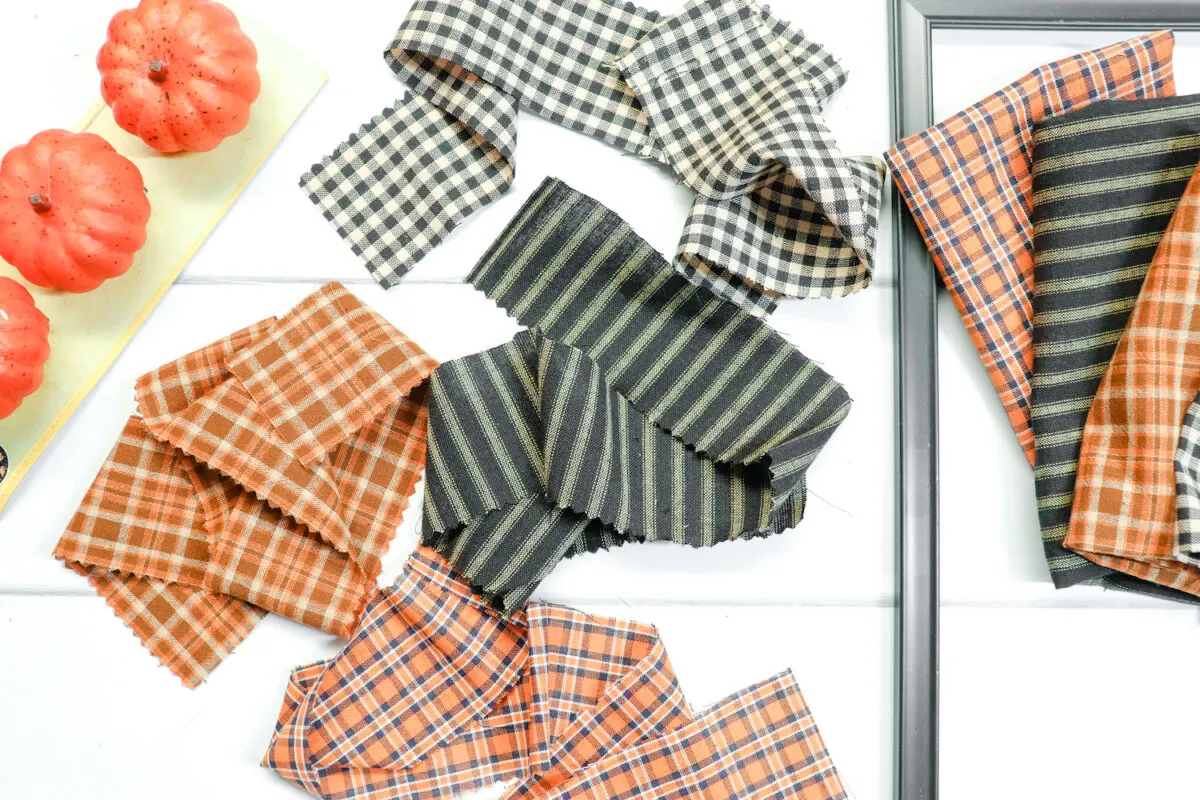
- 5 different autumn color fabrics
- Small foam pumpkins (I got a set of three at Dollar Tree to paint)
- White paint (Optional, I used this paint to turn the orange pumpkins white)
- Twine
- Hot glue gun and glue sticks
- Variety of autumn florals from Dollar Tree or craft store
- Ruler
- Scissor
- Pinking sheers (Optional, but helpful)
Instructions
Step 1
Cut the fabrics into lengths of 6” x 2” with 3 lengths per fabric color. Using pinking sheers makes a real nice edging when putting these together.
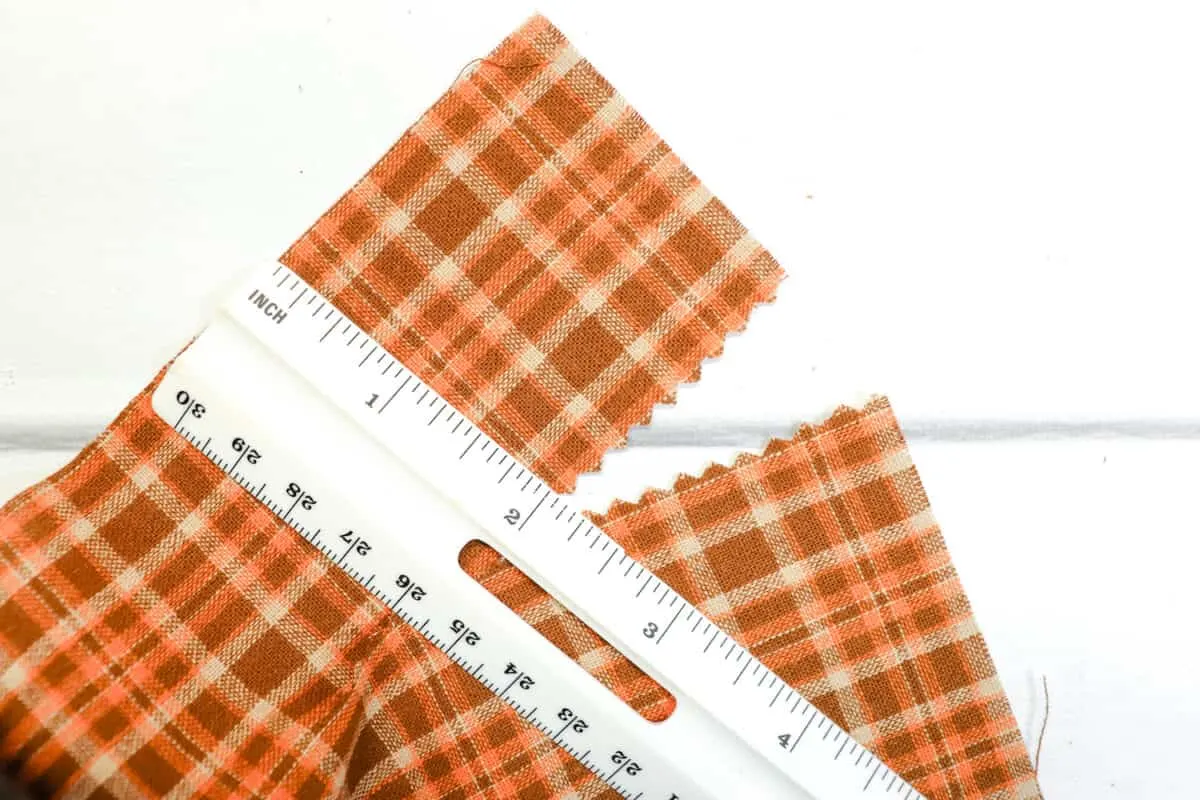
Hot glue the lengths together so that each color will be 18”x2” long.
Step 2
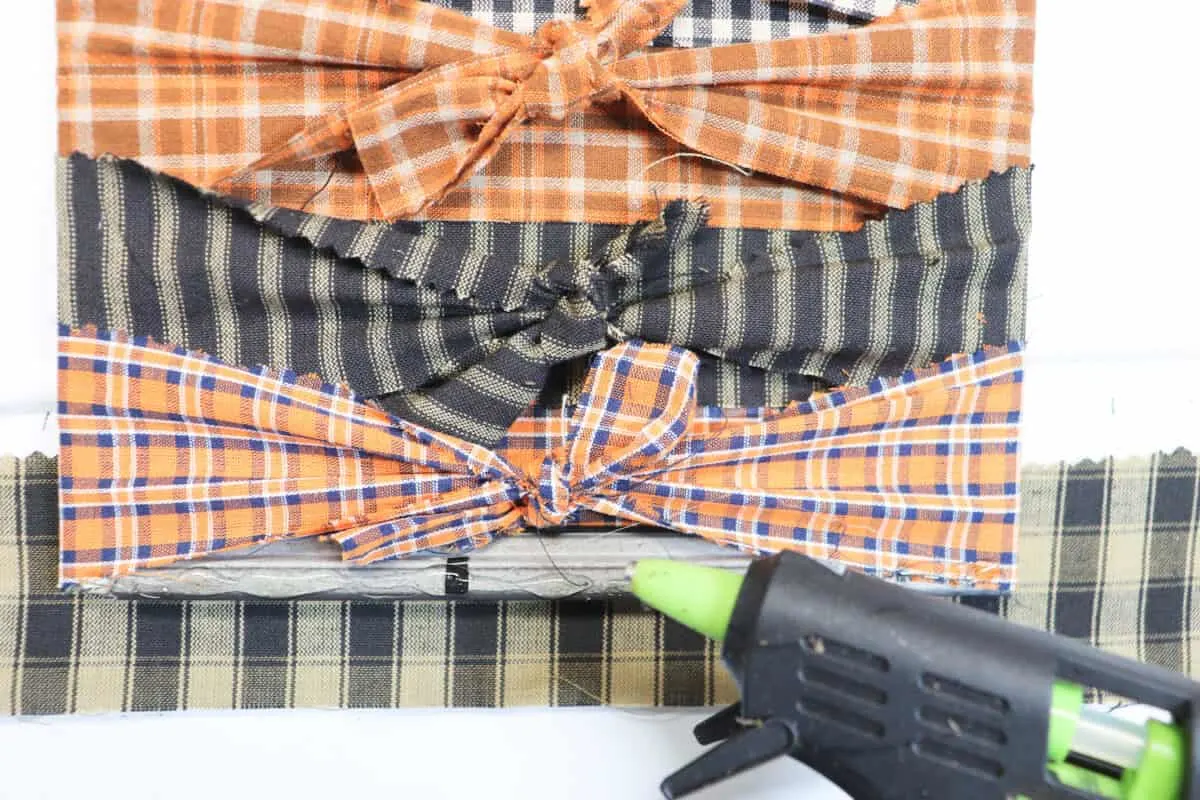
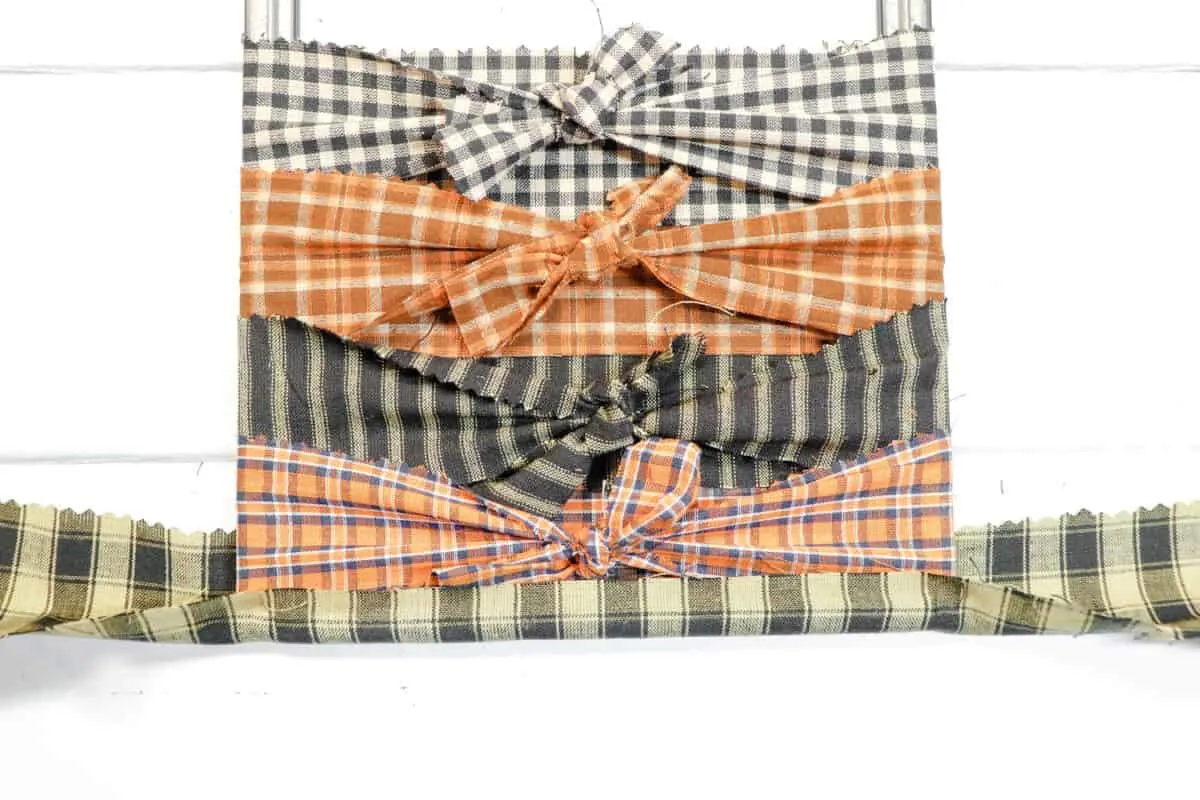
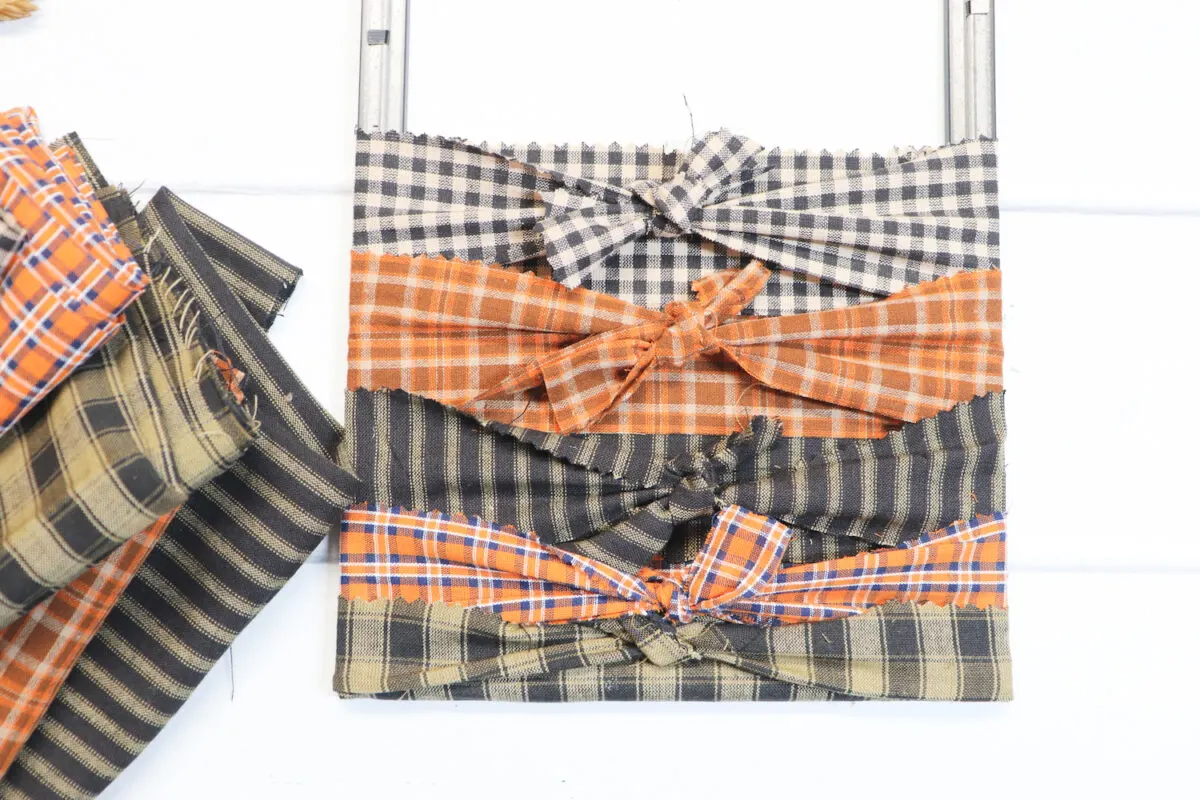
Place the fabric lengths on the table, overlapping in the order you’d like, with your preferred side of the fabric faced down.
Place the frame on top of the fabric. The fabric should come 3⁄4 of the way up the frame and the bottom fabric piece should overlap the bottom of the frame to create a base for the pocket that holds the florals.
Tie the fabric strips in a knot on the back of the frame, starting at the top.
The bottom piece should be hot glued to the back of the frame before tying in place.
Step 3
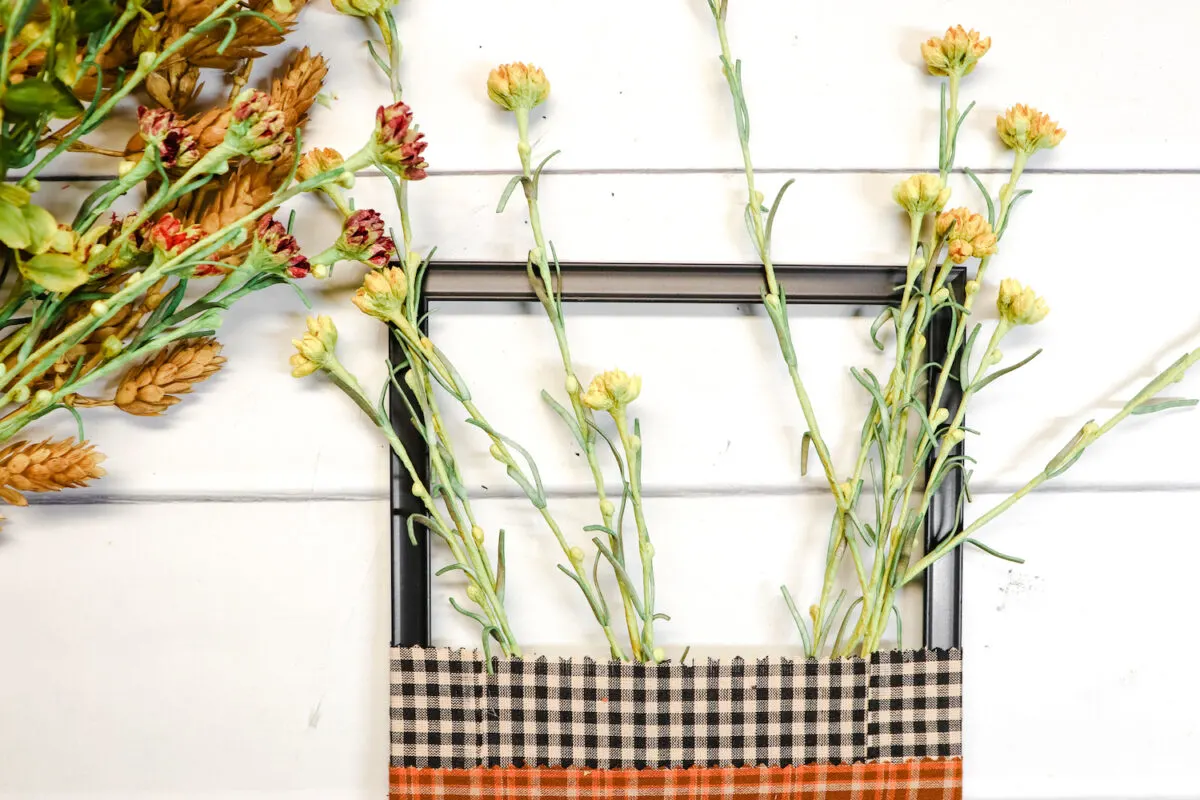
Tuck your florals into the pocket, trimming and separating stems if needed.
Step 4
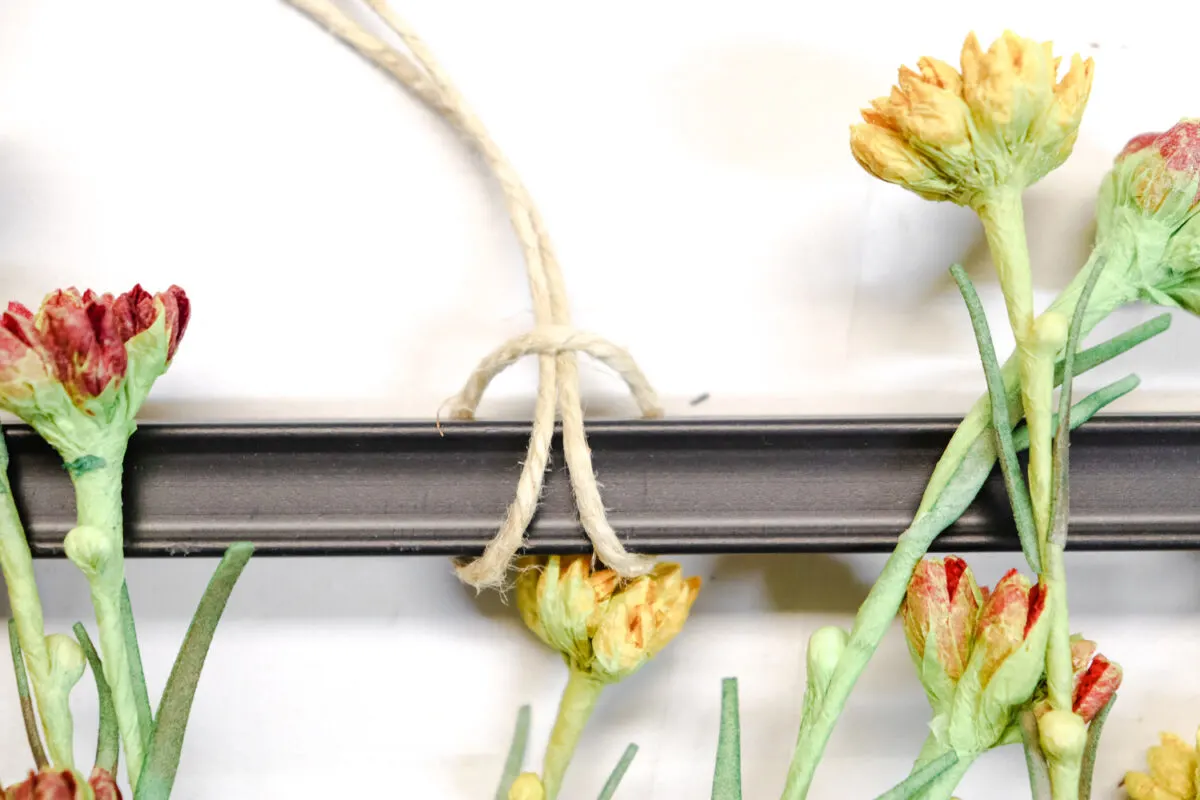
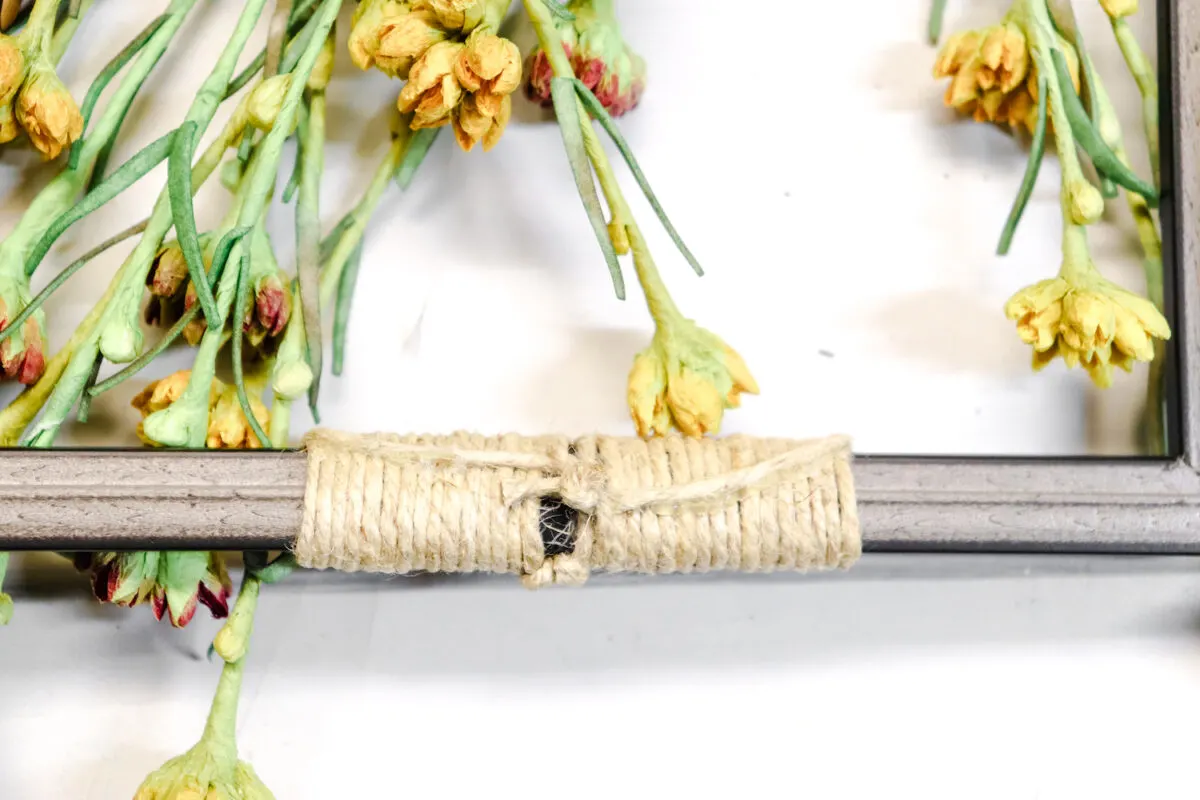
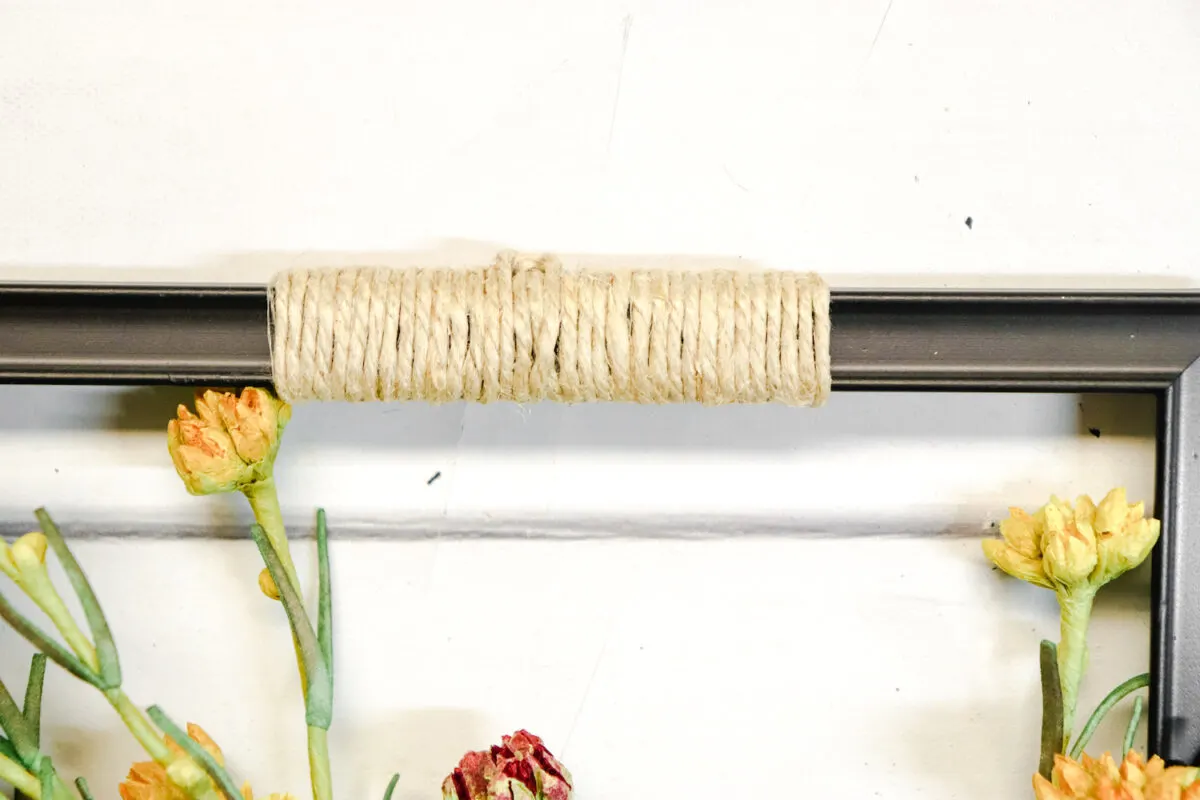
Wrap twine around the center top of the frame, creating a “handle.” This step is optional, but it adds visual interest.
Step 5
It’s time to add the embellishments!
Take a length of twine and create a bow for the front of the frame. I did small loops and long “ribbon” tails.
Paint one tiny pumpkin white. I painted the stem too. What I loved was that the chalk paint crackled and looked really neat.
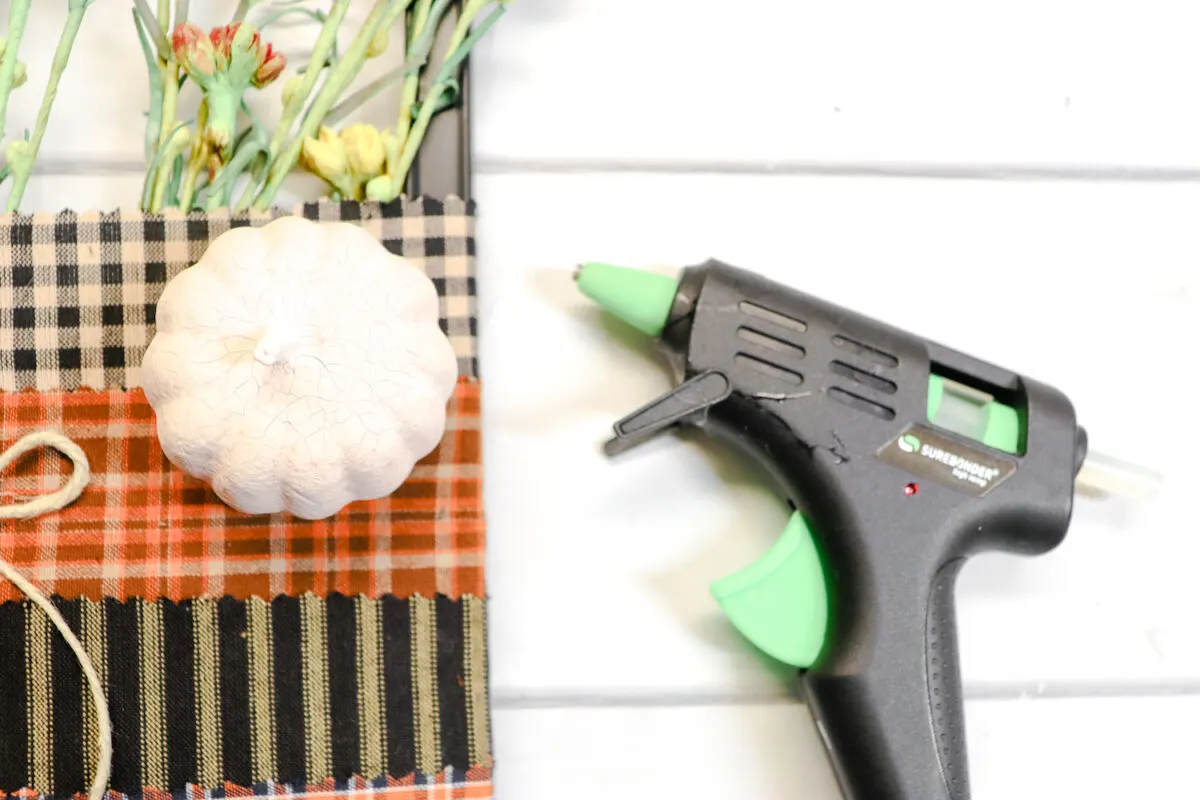
Hot glue the pumpkin to the front of your frame on the fabric.
Want more easy craft ideas? Here’s how I turned an old picture frame into a dry erase memo board.

