
This adorable Hi Pumpkin sign is super easy to make using dollar store supplies and craft scraps. The fake appliqué look is simple to do with just hot glue!
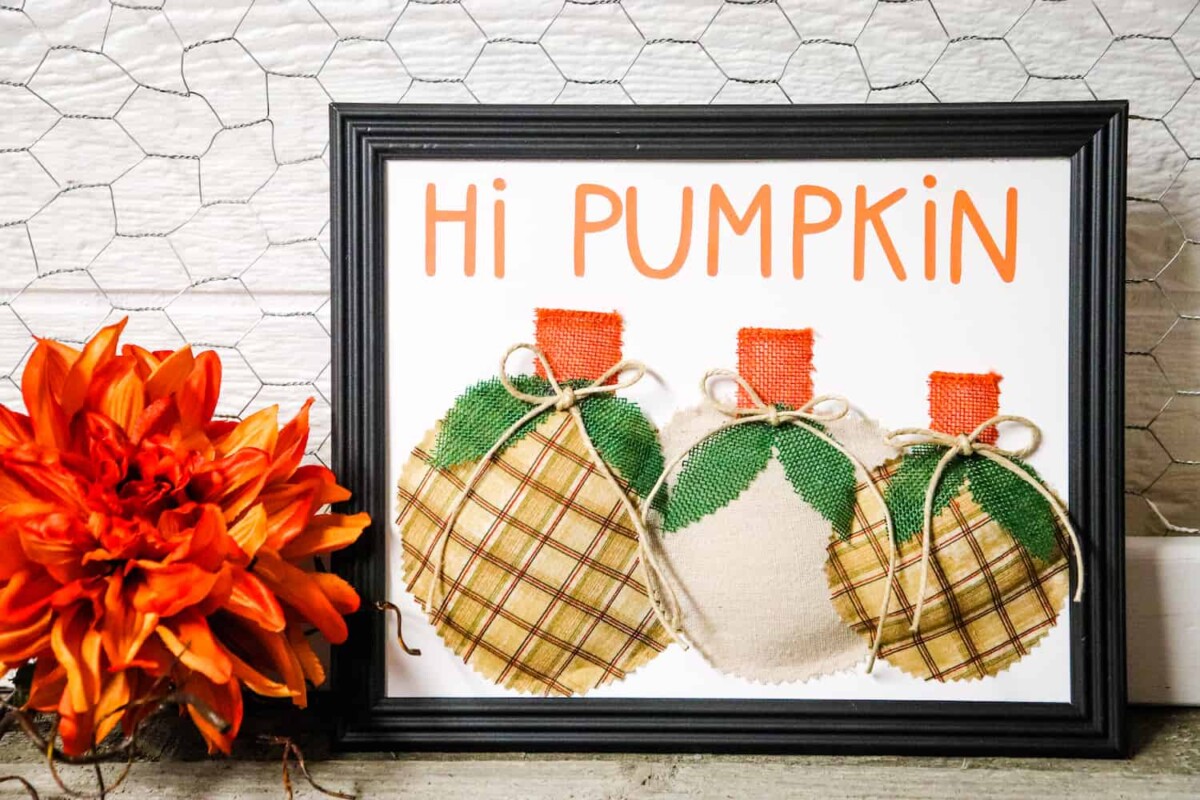

These three dimensional pumpkins add texture and thickness to this cute Fall sign. It’s so much more interesting compared to a flat wooden sign or framed wall art.

I love nestling this sign in the kitchen against the backsplash. It would also be super cute in your coffee station area.
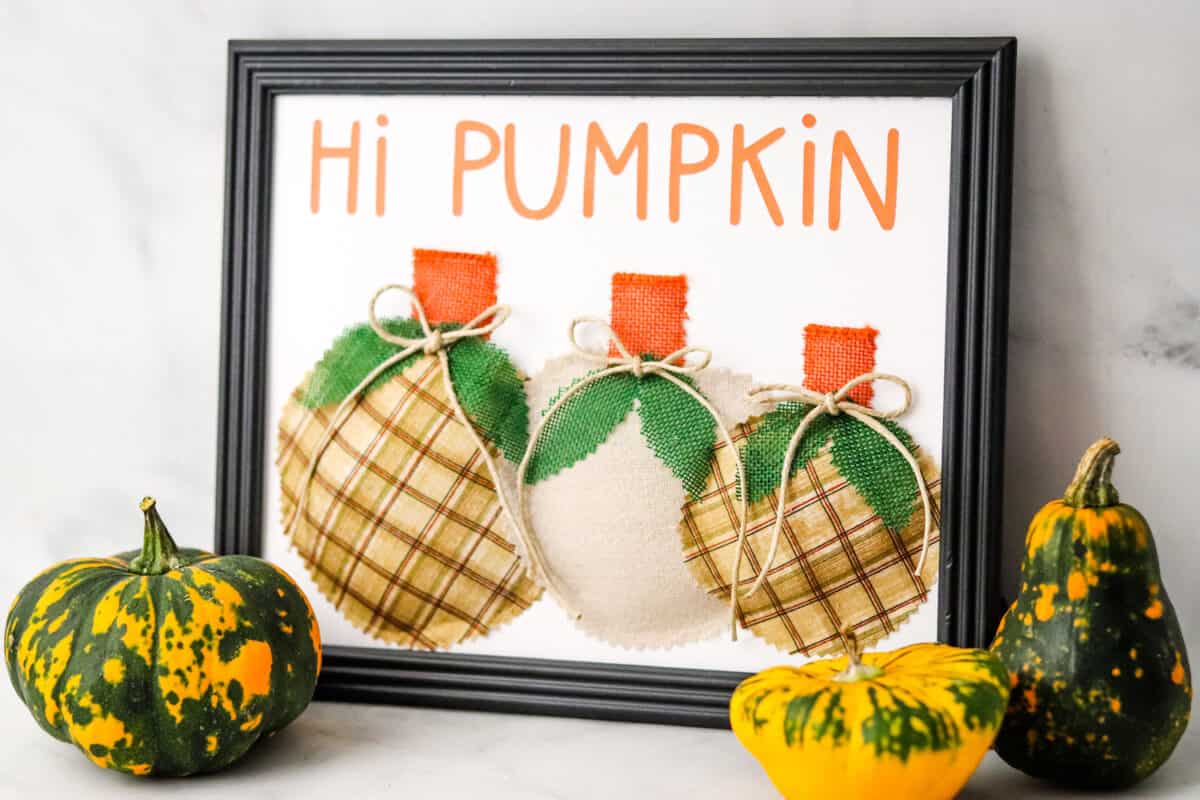
Or add it to a shelf in the living room or on a fireplace mantel. (My fall leaves banner would look cute on the mantel. And my Dollar Tree Scarecrow Decor would look great, too!)
It really does look cute anywhere you put it during pumpkin season!
Helpful Tips for Making a Hi Pumpkin Sign
- Reuse a frame you already have, especially if it’s missing a glass insert. You can buy a frame at a thrift store or dollar store, too.
- While this pattern is for an 8 X 10 inch frame, you could size the patterns and SVG file up or down to accommodate a smaller or larger frame.
- This craft is perfect for using up craft supply scraps! All of those little bits of fabric, twine and burlap can be used to make the pumpkins.
- You can use ribbon or fabric instead of burlap for the pumpkin stems and leaves if you’d like. Switch out the twine for a ribbon bow, too.
- Don’t have a Cricut machine? It’s okay! You could cut out these letters. Or get vinyl stickers and just stick on the card stock.

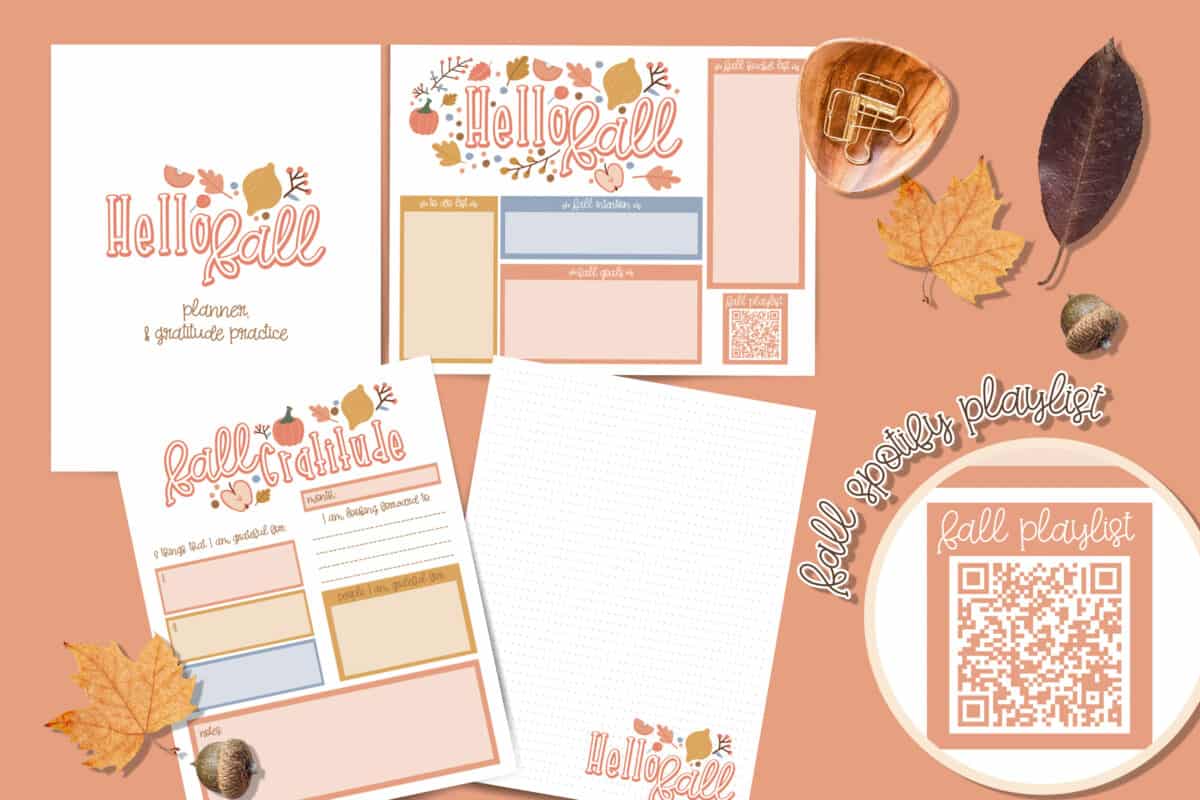
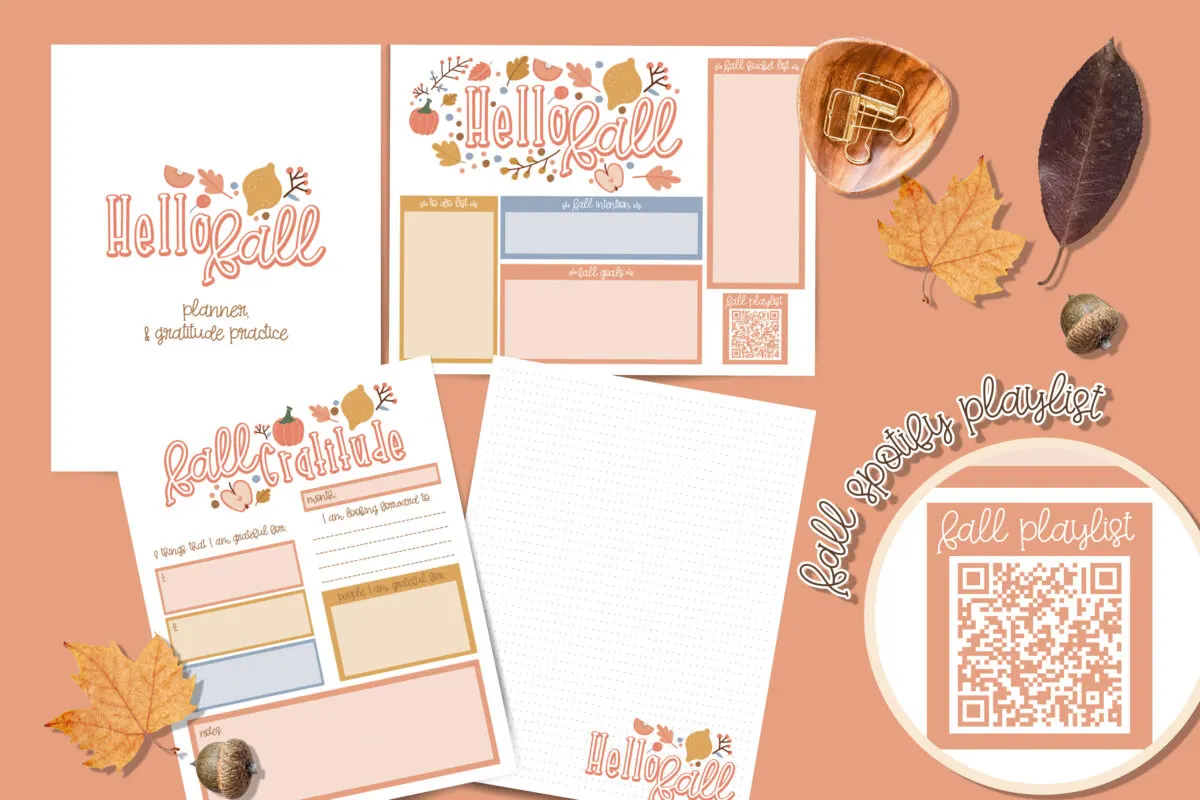
Get Your Fall Gratitude Journal Now!
Fall is a time to rest, reflect and be grateful. This printable planner and journal pack will help you capture your memories, and plan for the busy season ahead.
How to Make a Hi Pumpkin Sign
Supplies
- Free Hi Pumpkin SVG file
- 8”x10” frame (I used a Dollar Tree frame)
- Orange Cardstock (I got it at Hobby Lobby)
- Burlap Ribbon in Green and Orange (you could also use fabric)
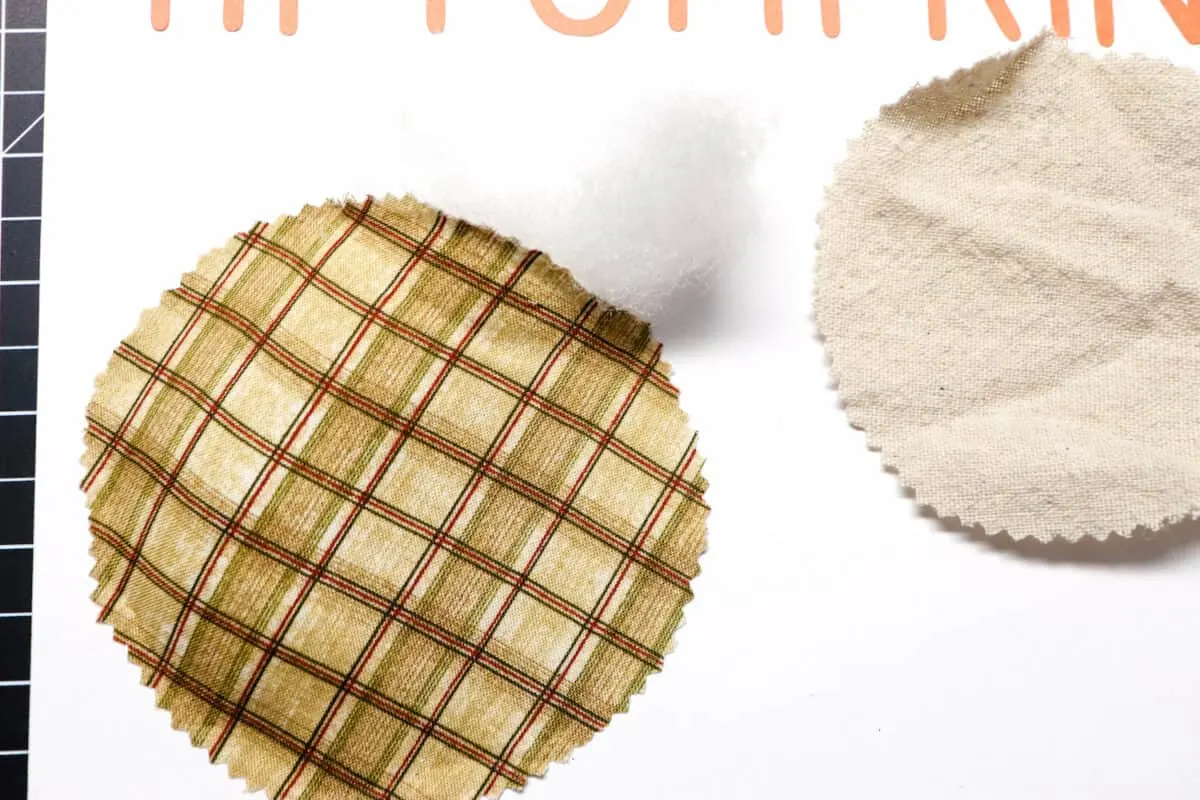
- 2-3 different pieces of fabric
- Twine
- Polyfil stuffing
- Hot glue gun
- 8″X10″ White cardstock paper
- Scissors
- White glue
- Toothpick or a popsicle stick
Instructions
Step 1
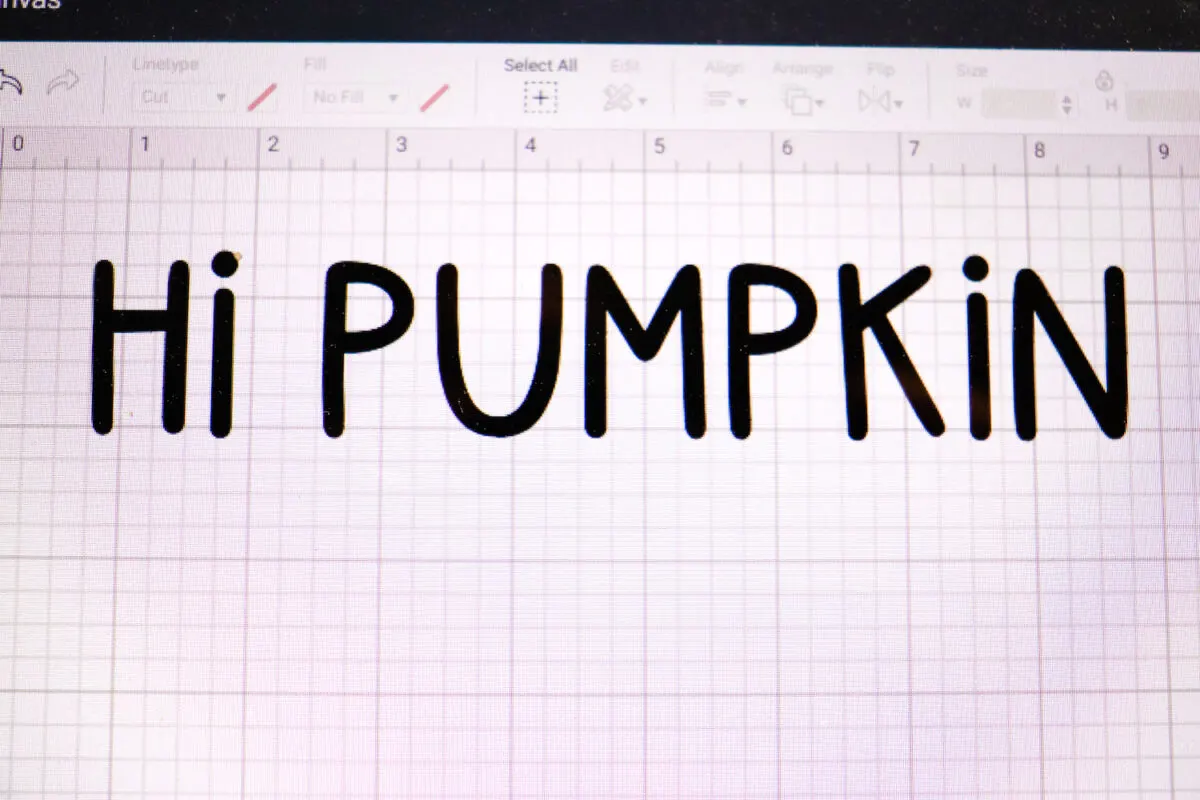
Upload the SVG file into the Cricut program. Set on paper setting.
Place your orange cardstock onto your cutting mat and cut out the words “Hi Pumpkin.”


Step 2
Open the frame and remove the glass. Insert white cardstock into the frame and put it back together without the glass.
If the white cardstock does not stay in place securely with just the frame, you could add a little bit of glue to the back to keep it secure.
Step 3
Center “Hi Pumpkin” on the the white cardstock in a horizontal orientation to get an idea of where you want to place it. Do not glue into place yet.
Step 4
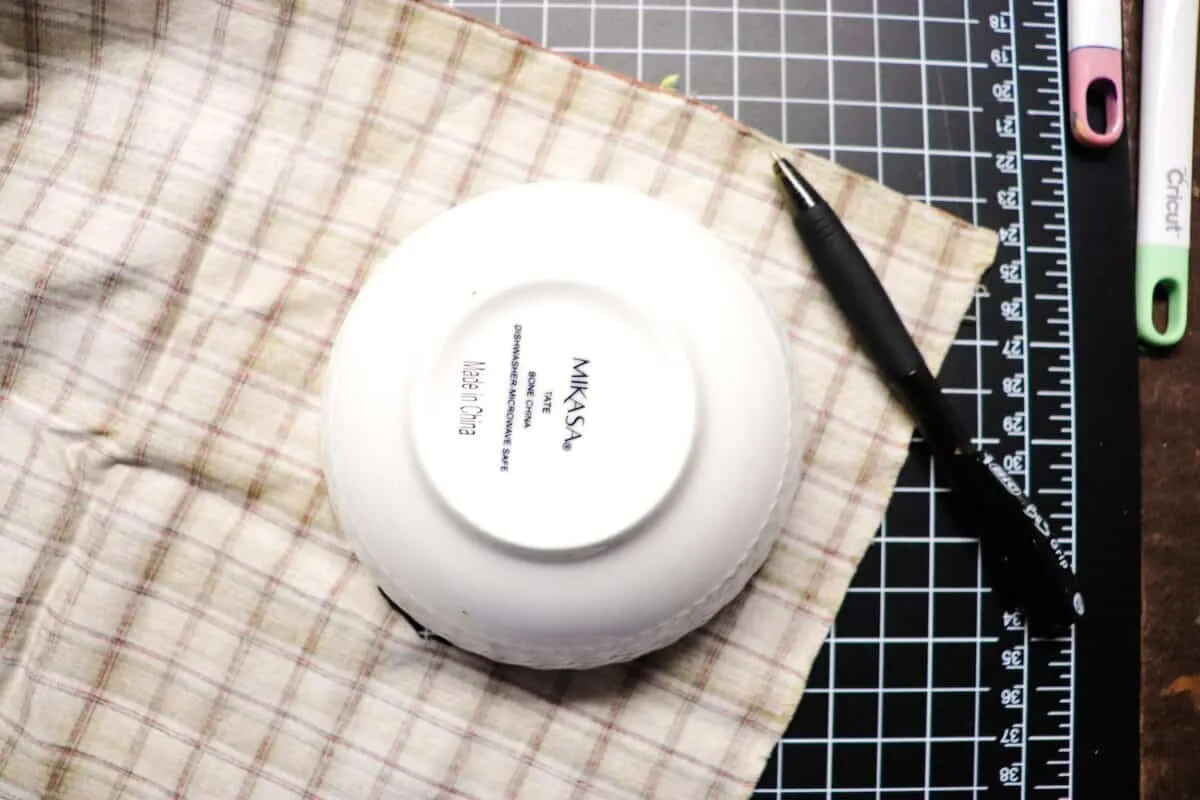
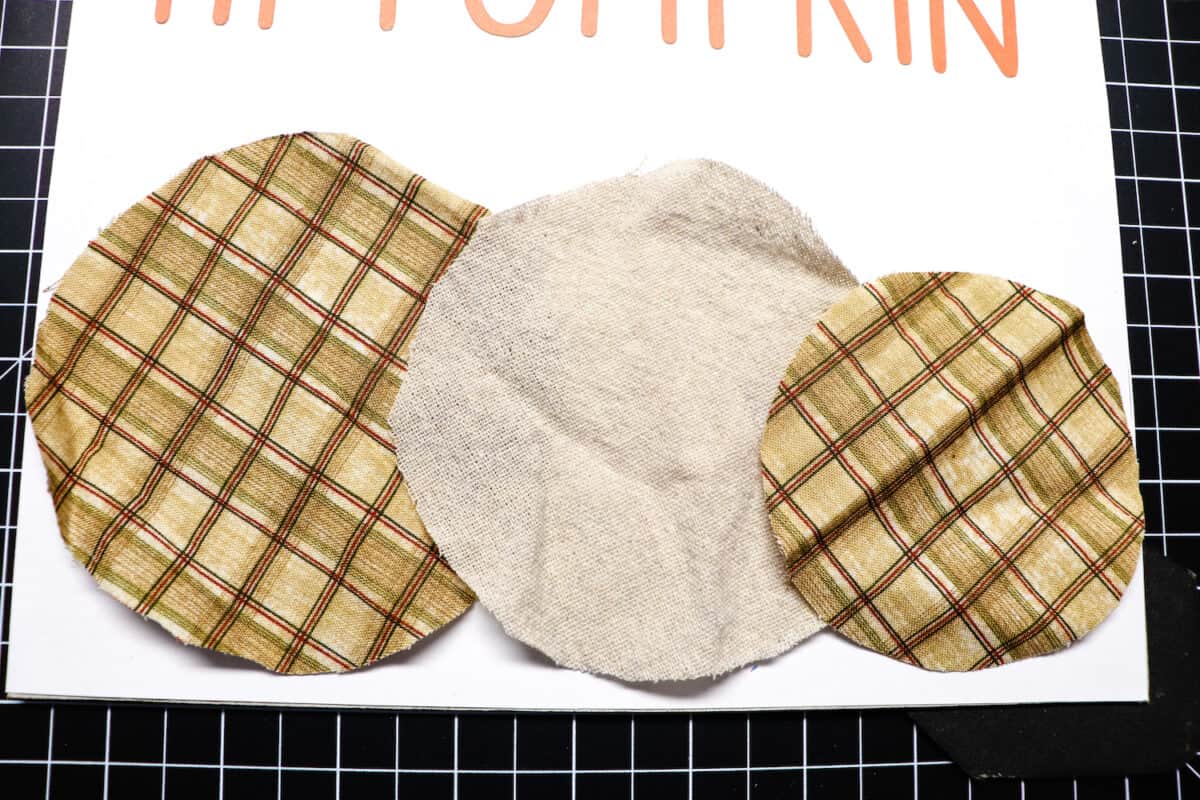
Use 3 different size bowls or cups to trace circles onto your fabrics. Cut out the circles. Place the circles on the cardstock under the words Hi Pumpkin. Make sure that the pumpkins overlap from largest to smallest.

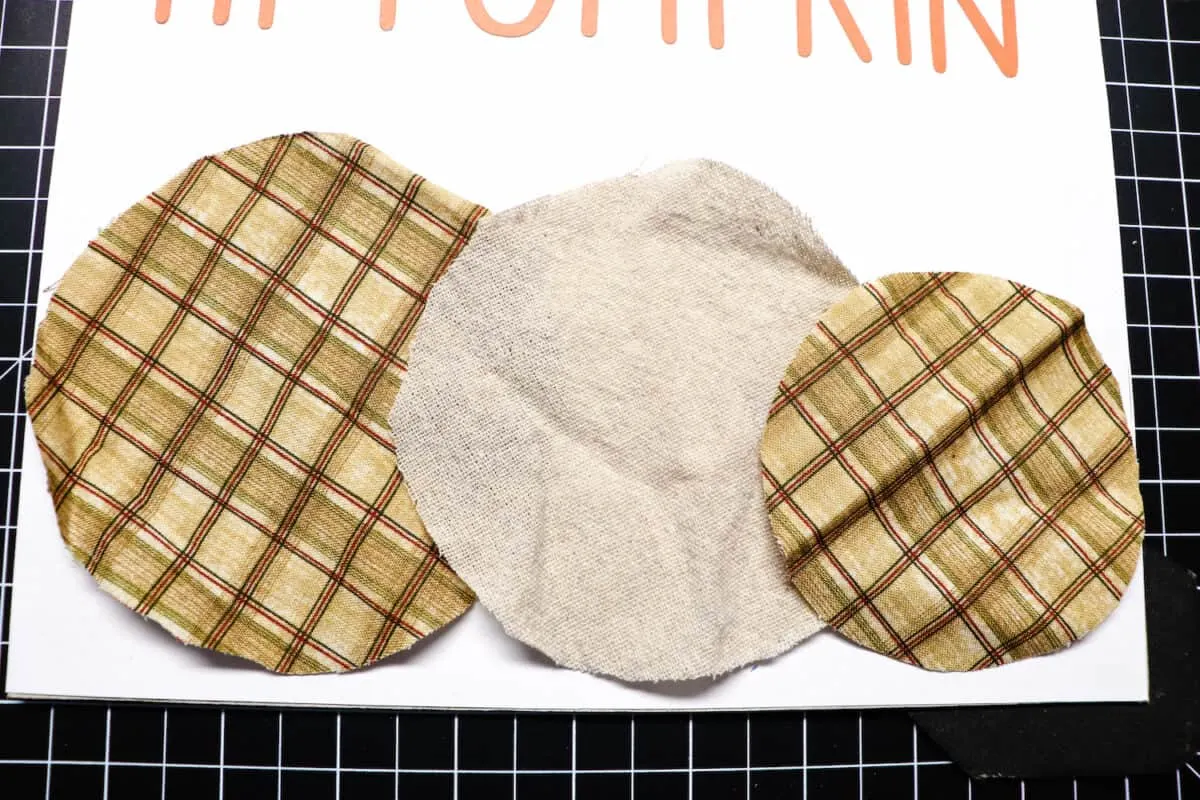
Step 5
Keep in mind there will be stems to add as well. When you have everything lined up, spread a thin layer of white glue under the Hi Pumpkin letters (use a toothpick or popsicle stick) to adhere the words.

Step 6
Hot glue the fabric circles to the cardstock, leaving a portion open at either the top or the bottom for stuffing (not on the sides, because the pumpkins will be overlapping).
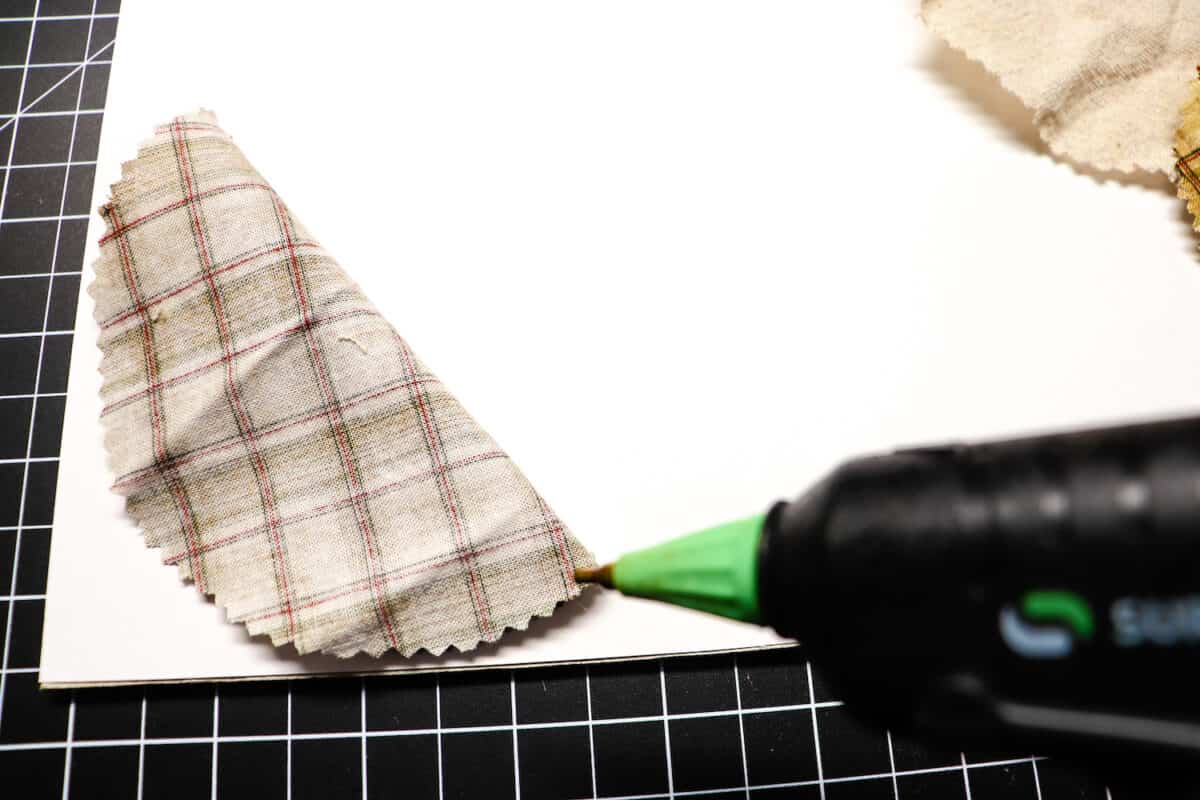
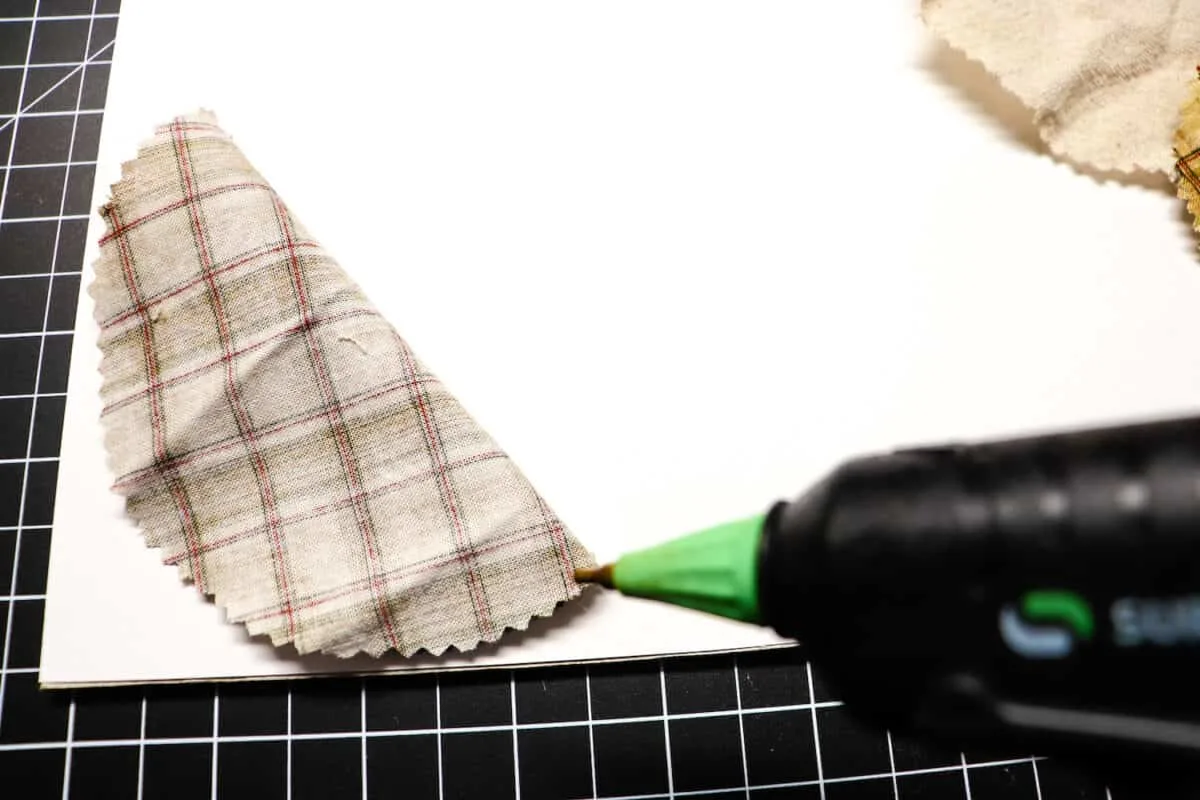
Step 7
Carefully stuff the pumpkins and seal with hot glue. Use a popsicle stick to poke the stuffing into place.

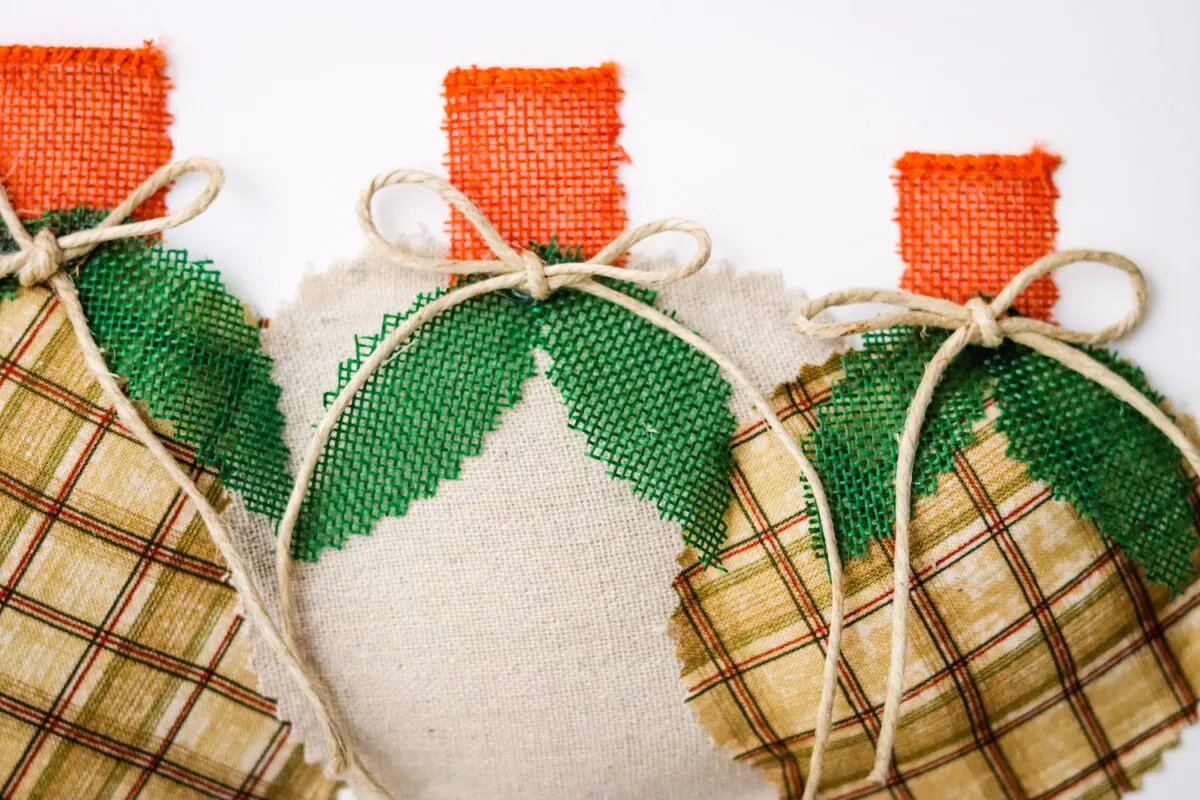
Step 8
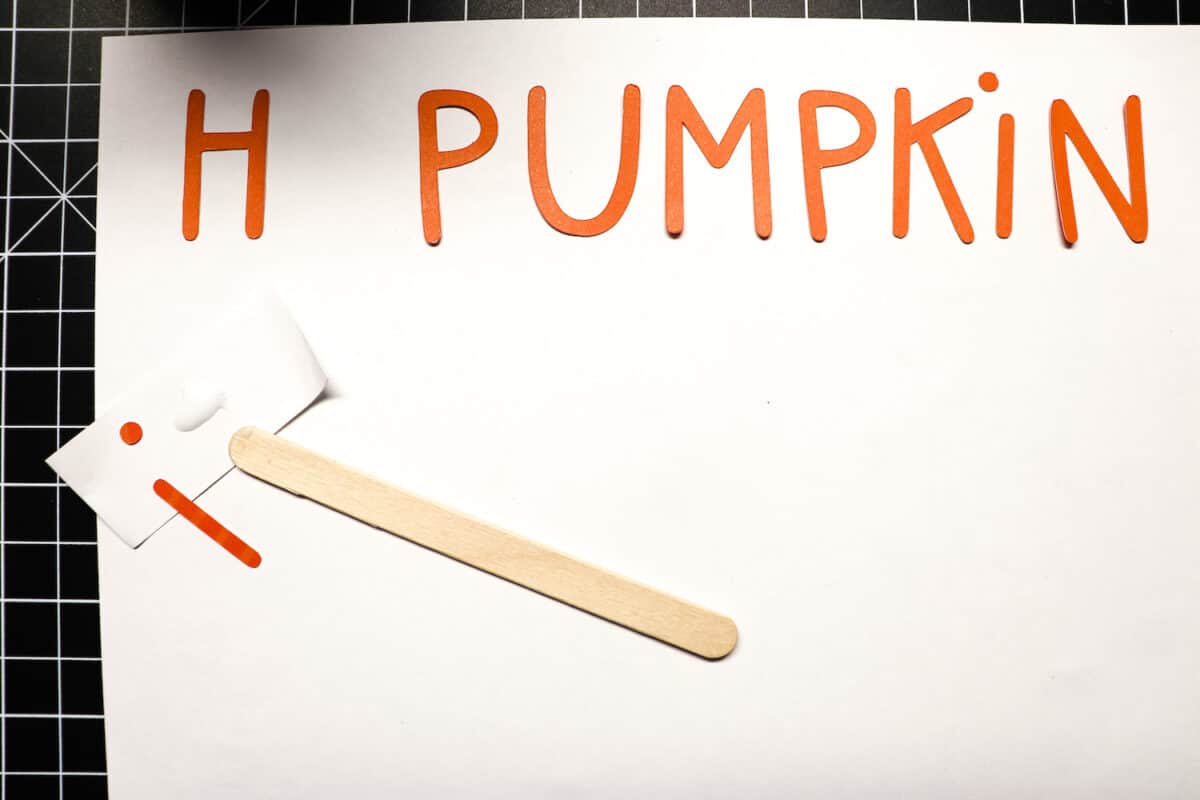
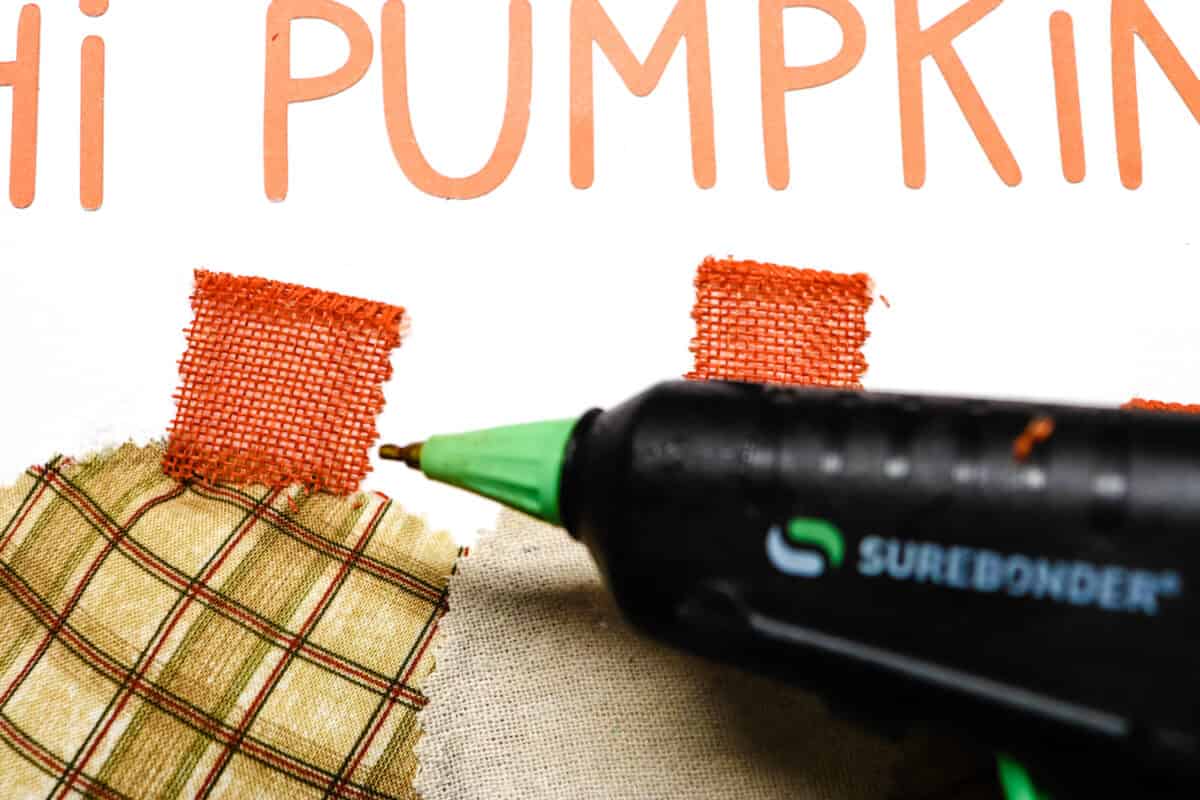
Cut out 3 rectangle pieces from the orange burlap ribbon for the stems. Hot glue into place.

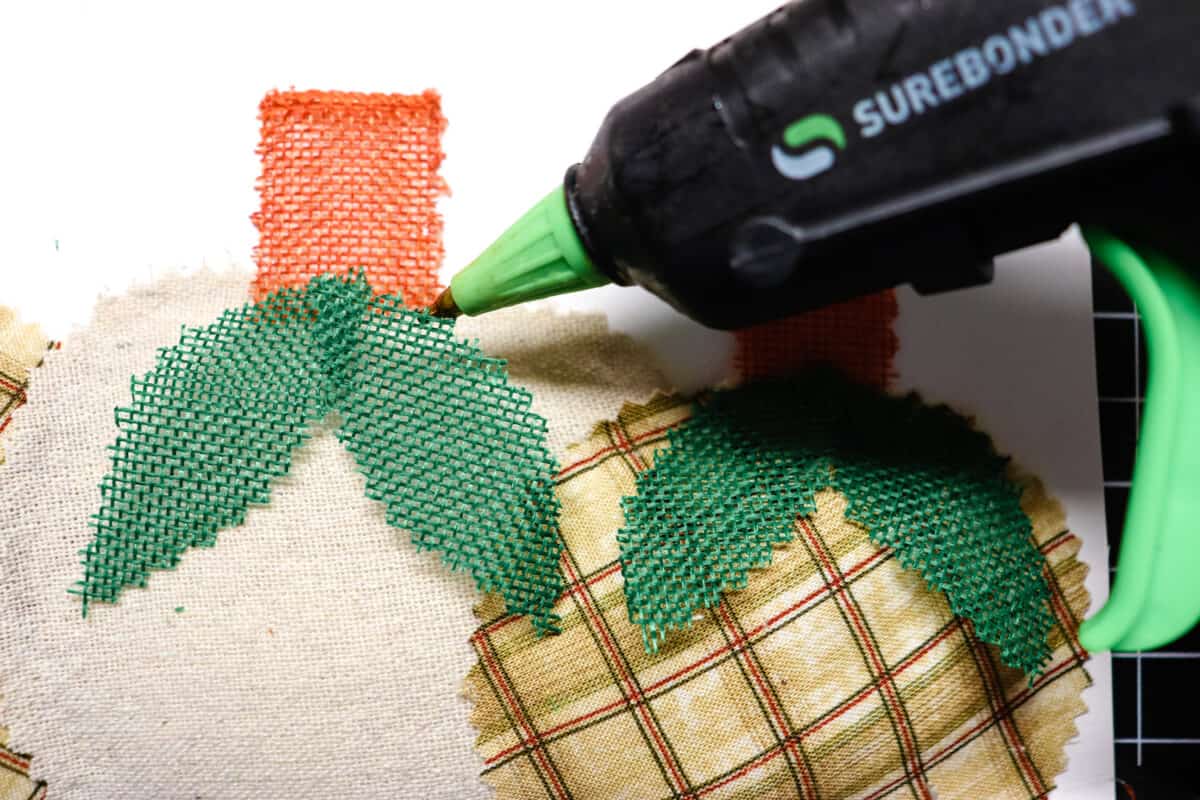
Cut out 2 leaf shapes for each pumpkin out of the green burlap ribbon. Hot glue into place.

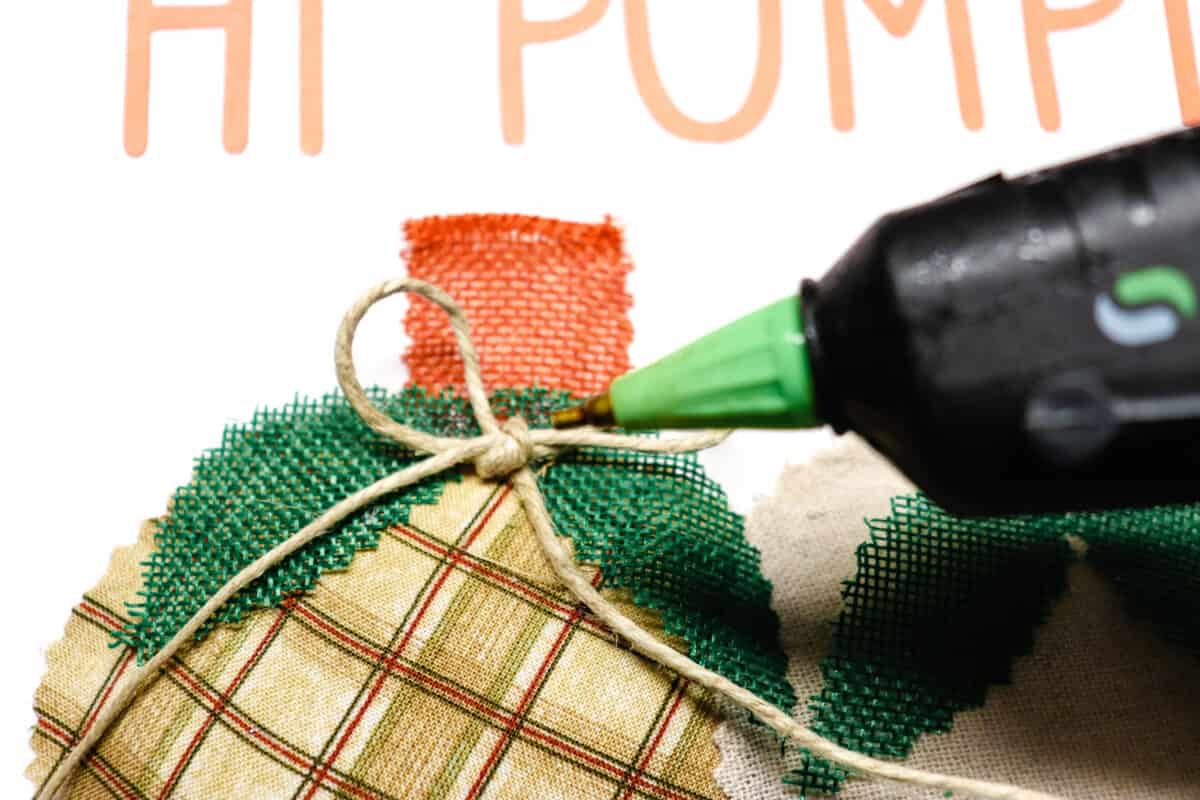
Make a small twine bow and hot glue to the stem in between the leaves.

You’ll love all of our easy pumpkin crafts, such as these fabric pumpkins made from strawberry baskets. Or these tin can pumpkins.
I think a Fall hand stamped book stack would look really cute displayed next to this sign!

emma
Thursday 14th of September 2023
Was just looking at some of my frames today came up with a similar idea. Yours look so cute! I always free hand {due to my artistic ability} hahaha letters and you can also make pretty little leaves from brown paper bags and paint them with acrylics. I made 3 wreaths last year and everyone thought was real leaves. I love a challenge. Enjoy the moments and the upcoming holidays!!
Kimberly
Sunday 17th of September 2023
Emma, that's great! If you have the talent, then you must use it!!! Enjoy all the moments and the holidays, too!
Barbara Warner
Sunday 26th of September 2021
Love this sign. I've printed out the text in orange on cardstock, and will cut the fabric pumpkins out and finish it. I do have frames I can use. Thanks for such a great idea!
emma
Thursday 14th of September 2023
@Kimberly, do you or anyone know what the construction looking paper is called that feels kinda rubbery? The pack I found at the thrift store was about 14x18. multi colors.... Had no description on it. Ladies there didn't know, either. If anyone knows please let me hear. thanks! I cut out leaves and bats last year and was able to hang them outside as were water proof..
Kimberly
Monday 27th of September 2021
Thanks so much, Barbara! Yes, it is totally easy to make this even without a Cricut. Cutting out the letters with card stock, or painting them on, is such a great way to make it, too! Thanks for sharing!
Lori Powers
Thursday 23rd of September 2021
Very cute! I’m going to have to give this a try, without the circuit. I use a Sizzix Big Shot and have letter dies. Thanks!
Kimberly
Thursday 23rd of September 2021
Sounds great Lori!