


A pretty DIY memo board is a great way to keep yourself organized. Perfect for a home command center, or even a dorm room, it’s a great way to leave notes and reminders for yourself and others.
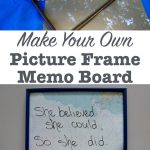
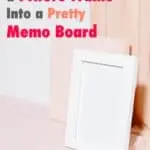
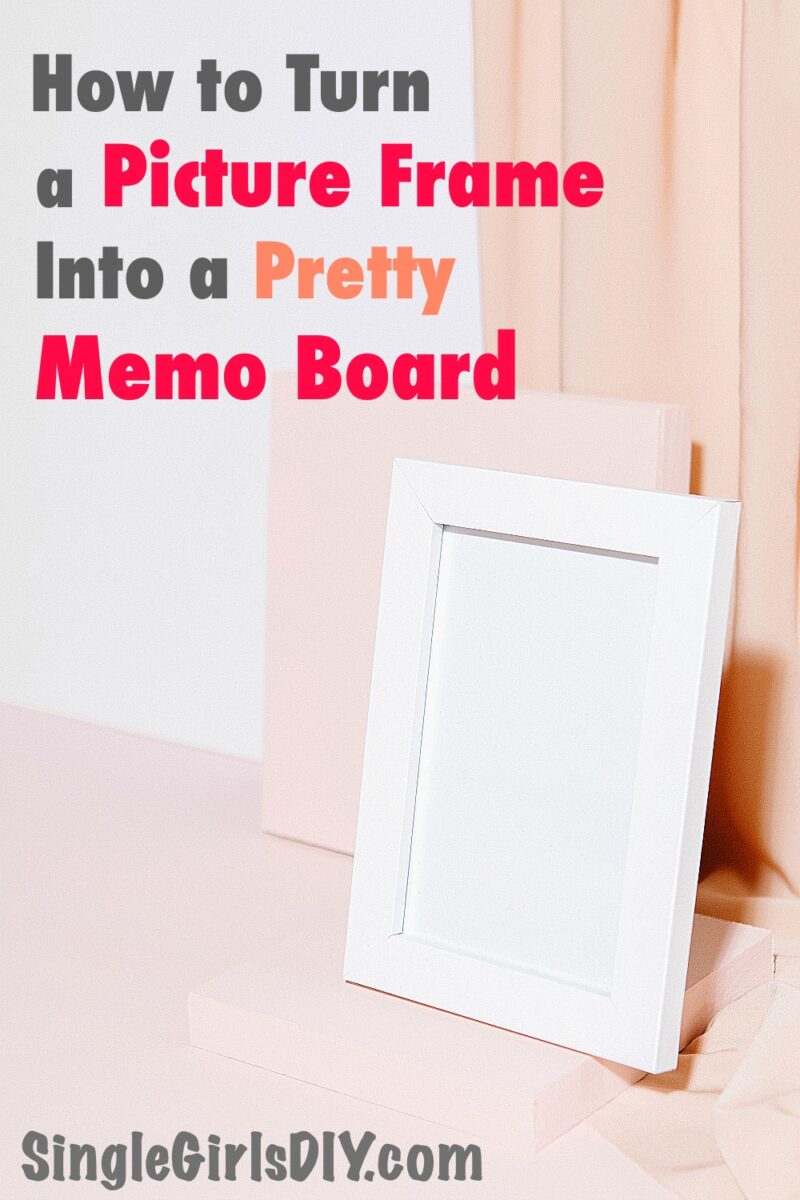
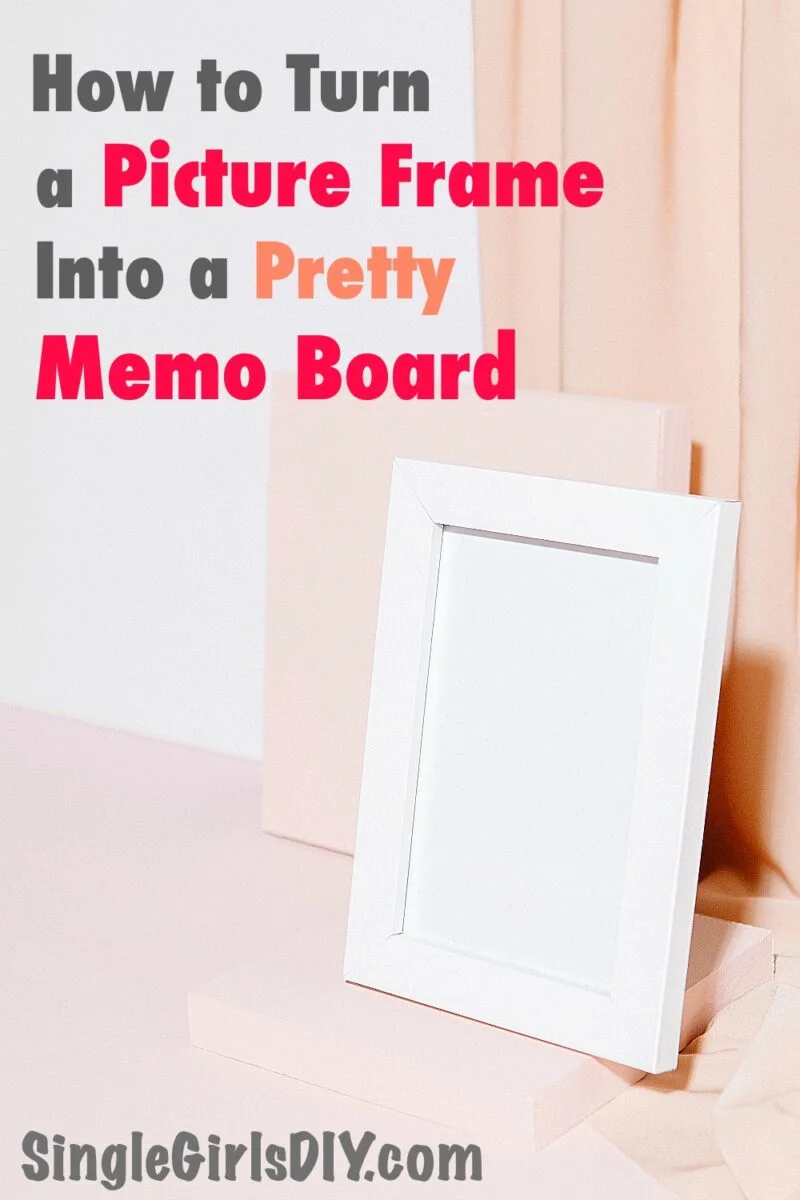
But memo boards don’t have to be boring! Check out how I made this custom dry-erase board from an old picture frame. Get inspired to make your own memo board to match your style.
You might also like my DIY project of upcycling an old frame into a pretty flower pocket.
DIY Picture Frame Dry Erase Board
Materials To Make a Dry Erase Memo Board
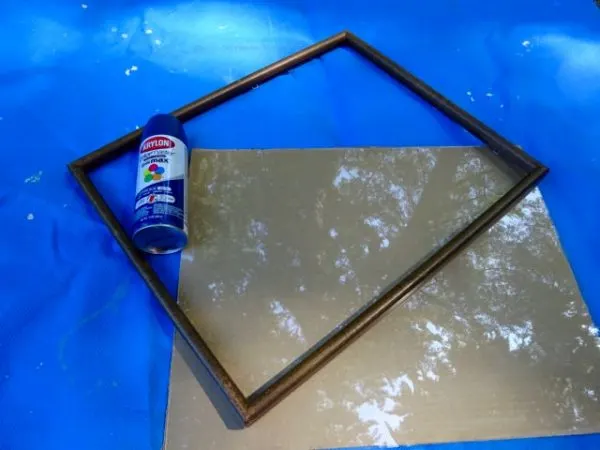
- Large picture frame with glass (See what you have around the house, or check your local thrift store.)
- Spray paint
- Backing material – Such as fabric, scrapbook paper or gift wrap (I used a nautical chart)
- Dry erase markers

Once you’ve gathered the materials, it’s just a few simple steps to make your own DIY dry erase memo board.
1. Paint the Memo Board Frame
To start, take apart your picture frame. You’re going to paint the frame any color you want.
Go outside on a dry, calm day and apply a coat of spray paint. I used Oxford Blue in satin finish.

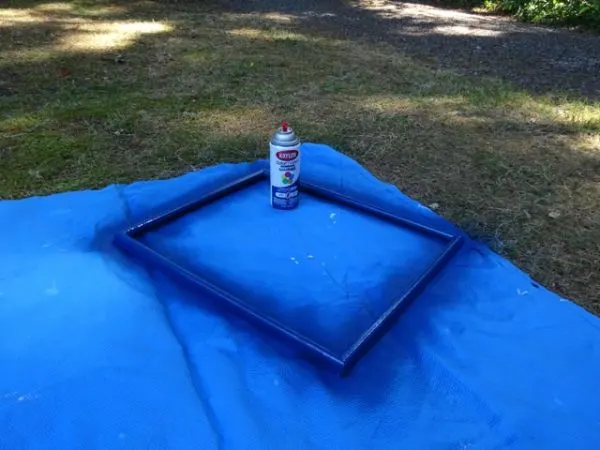
If you don’t have old picture frames lying around the house, you can find tons of them in thrift stores. It doesn’t have to be pretty. Just find a sturdy one that you can fix up.
Choose a size appropriate for the space where you want to use it.
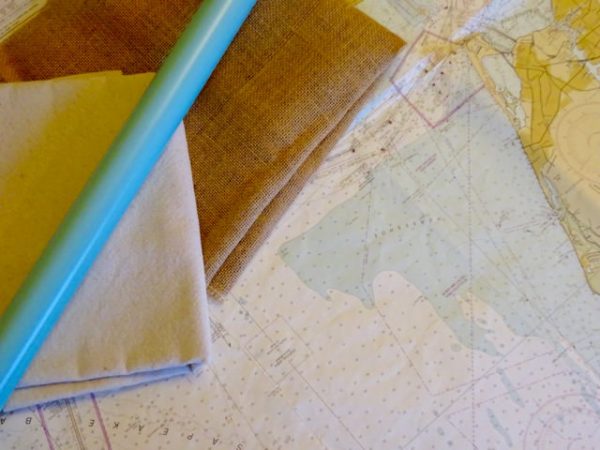
2. Choose a Background for the Dry Erase Board
When choosing a background material for your DIY memo board, don’t be afraid to think beyond basic white. If you want white, you could just buy a whiteboard. The background is the perfect place to show off your personal style.
Options I considered were burlap, canvas, wrapping paper, and a paper nautical chart.
Before deciding which background I wanted, I wrote on the glass from the frame and laid it over the choices to test the readability.

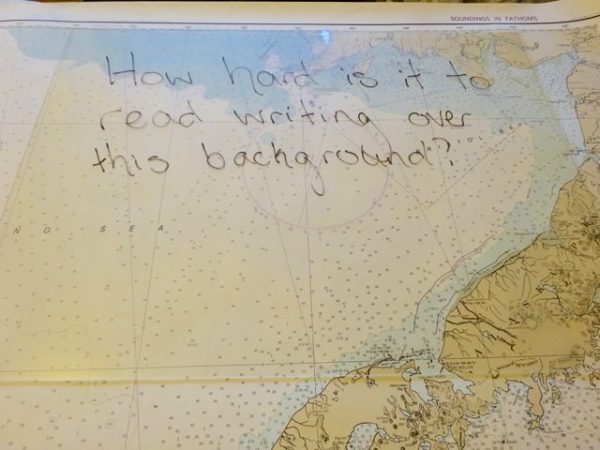

There was an unexpected bonus of using the map as my background. The latitude and longitude grid lines help to keep my writing straight when using the dry erase markers!
3. Cut Background to Fit
Lay the glass from the frame over your background for your memo board. Trace around the edge of the glass, and use the mark as a cutting guide.
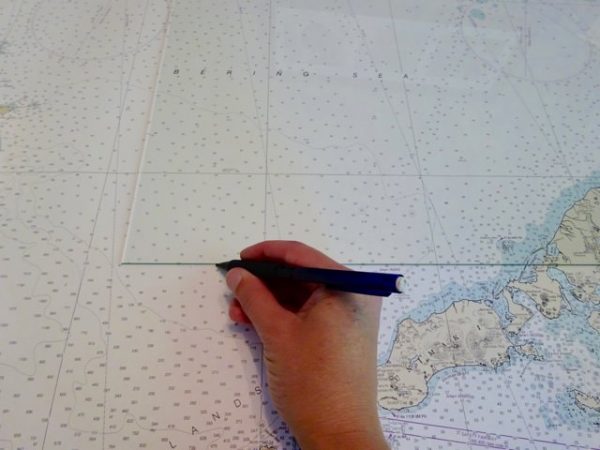
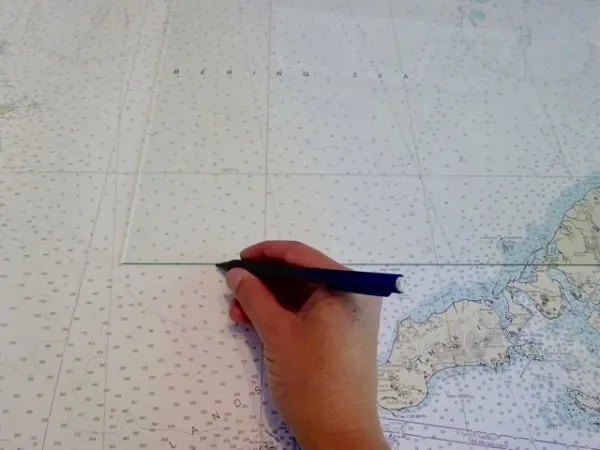
If your background has a pattern on it, like the chart I used, you can move the glass around to find the section that looks best.
Once you have your cutting lines, cut the background to the right size with a pair of scissors.
4. Assemble the DIY Memo Board
When the paint is dry and the background is cut, clean the glass before assembling your memo board. Use a window cleaner and allow it to dry completely before laying it on your background.
Then, insert the cut background just as you would insert a photo.

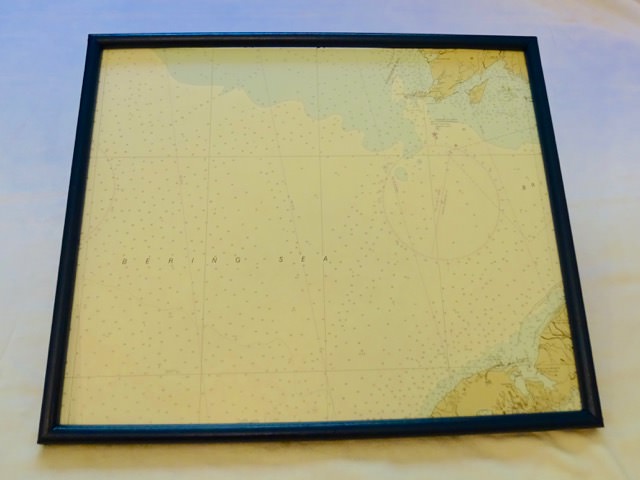
Now your pretty dry erase board is ready to hang anywhere!
5. Share Memos, Quotes and More!
A message board is a great place for writing reminders, to-do lists or schedules. It can also be a way to communicate with your busy family or share an uplifting thought.
I often post a “Thought of the Week” or inspirational quote on mine.


Use a dry erase marker to write anything you want on your new pretty memo board. It will wipe right off, and you can use it over and over.
I suggest getting a dry erase board eraser rather than using a paper towel to wipe off the writing.
Need a memo board with clips? Check out my DIY Memo Board with Ribbon that uses a window frame.
Want to save this idea for later? Be sure to Pin It!
If you like this project, you’ll love some of my other thrifty DIY creations. Be sure to check out:
- How to Make Silhouettes from any Photo
- Poured Paint Canvas Wall Art
- Upcycling a Thrift Store Canvas with Washi Tape
