
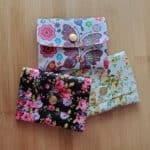

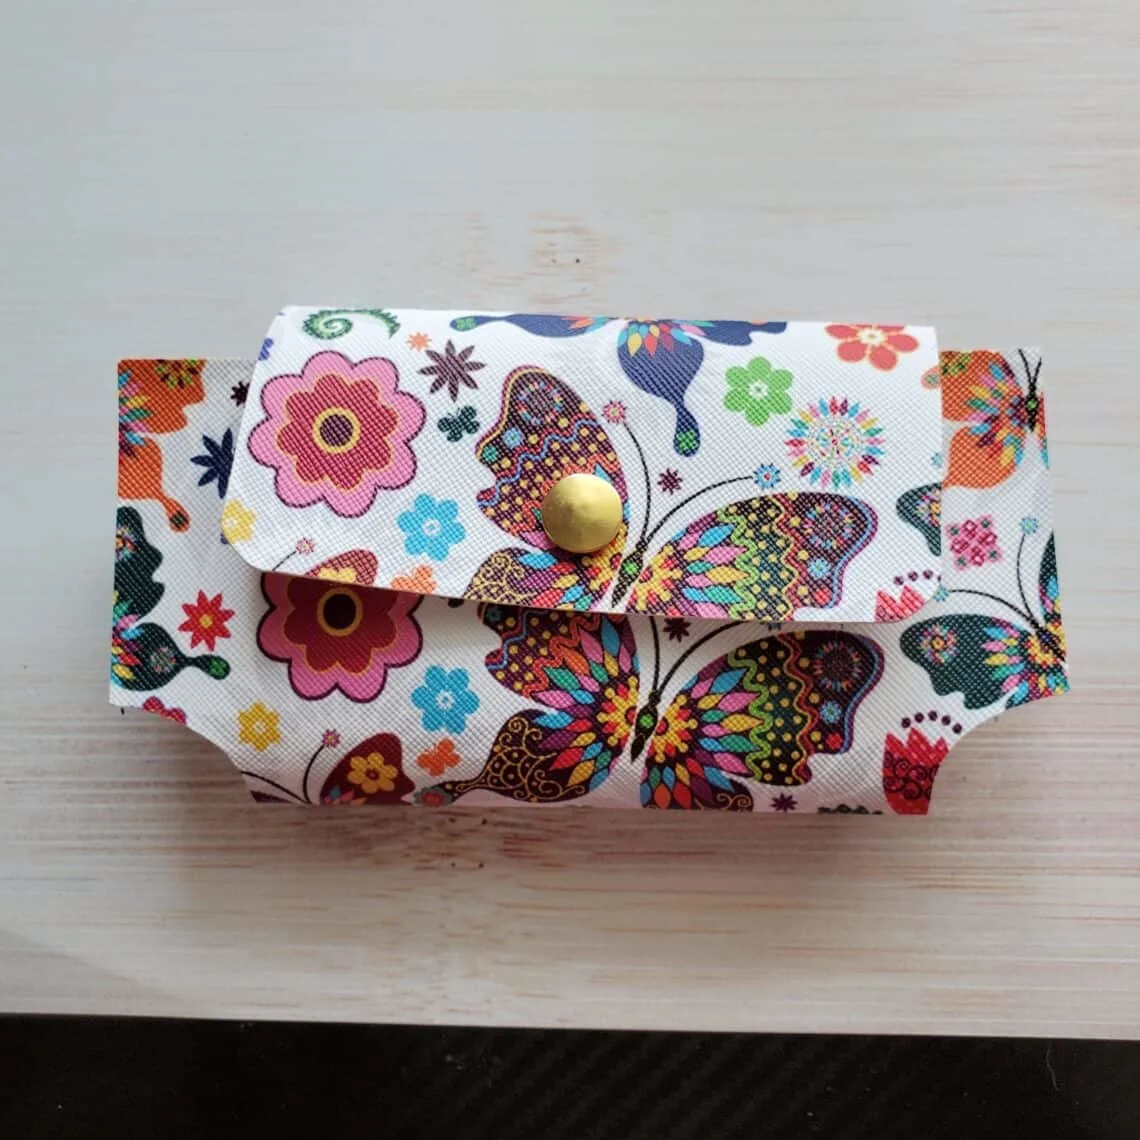
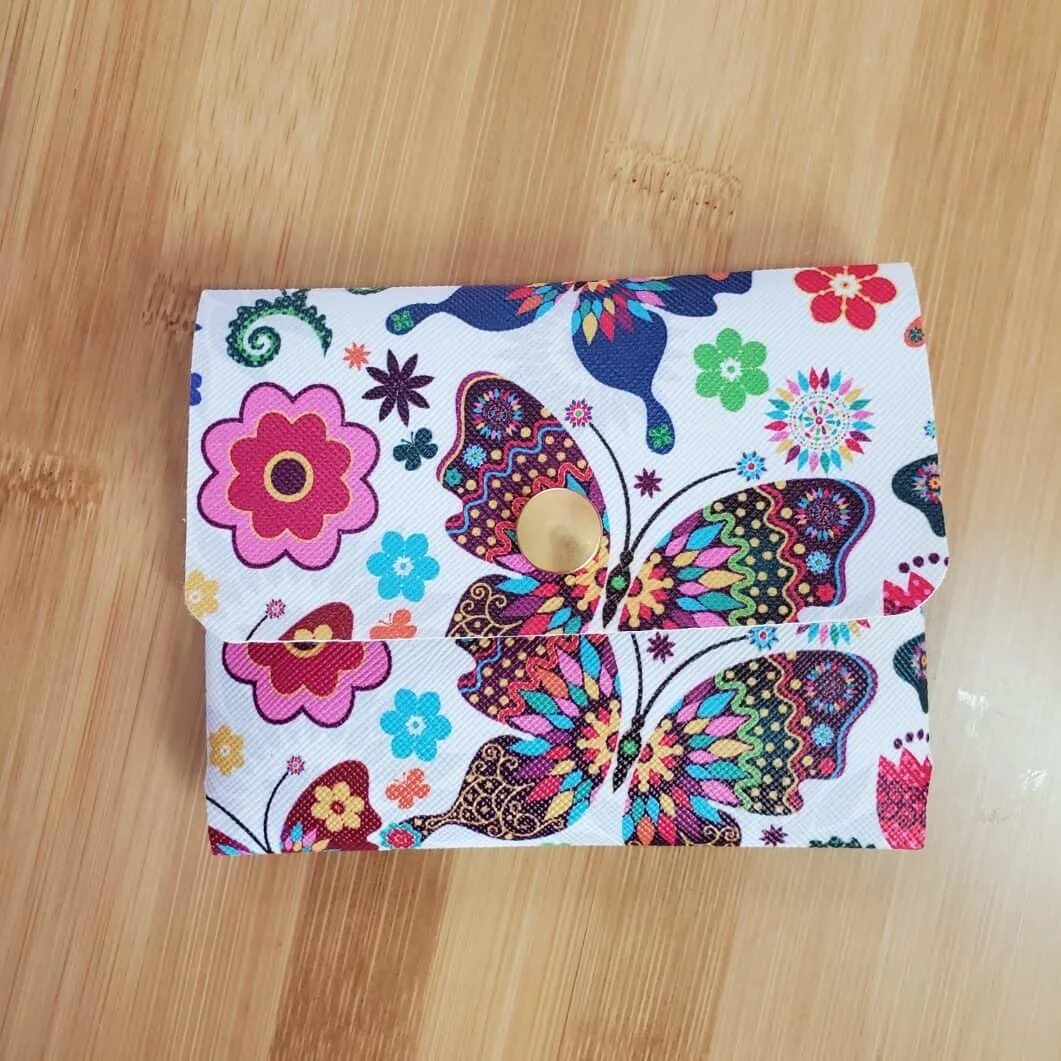
It’s easy to make a coin purse that also works as a card holder or headphone holder. Use my free template to make a faux leather coin purse with Cricut maker. There’s no sewing needed!
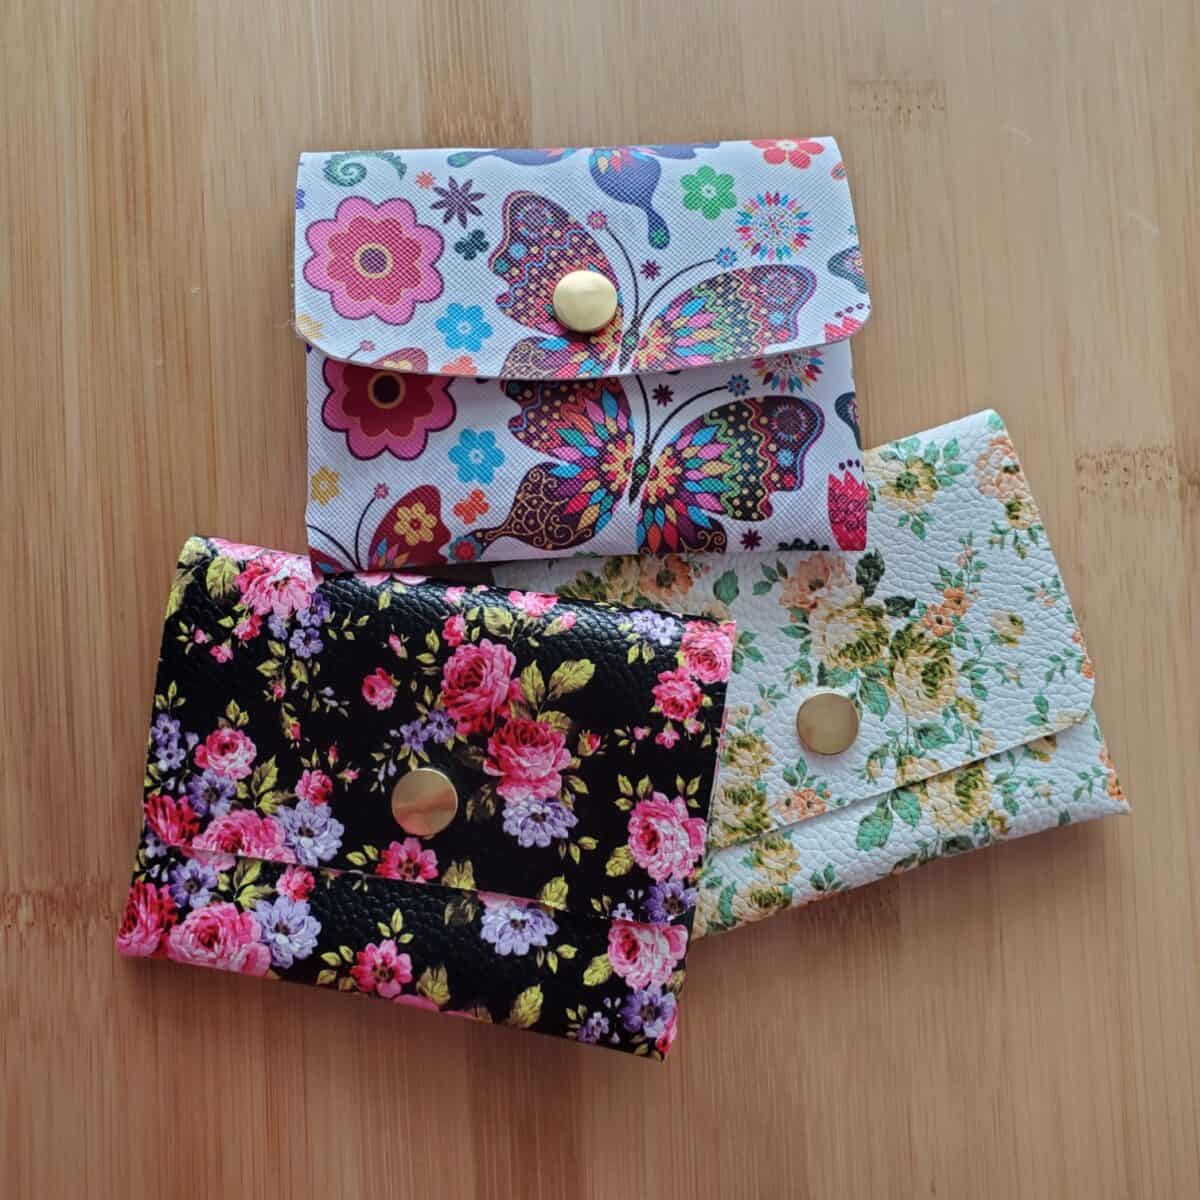
These small pouches are perfect to make to hold change, money, business cards, credit cards and headphones for your cell phone.

You could even use one of these pouches to store pills. This works best for pills in a foil sleeve, such as allergy medication.
This simply DIY project is perfect to make to sell at craft fairs, or give as gifts!
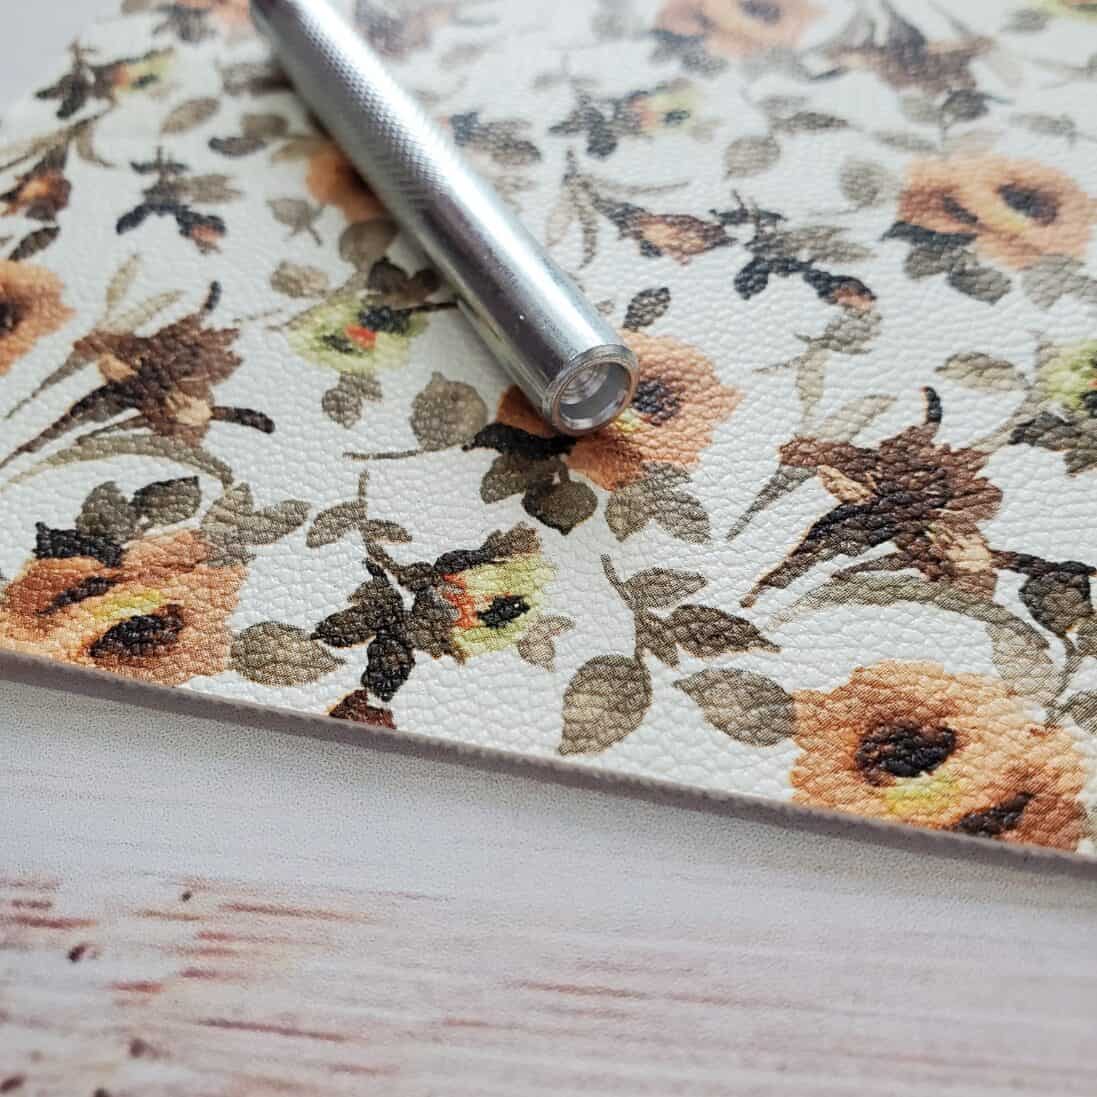
I used faux leather, which is cheaper and comes in a lot more fun patterns and colors compared to real leather.
You could use the same leather to make these easy DIY cord keepers. They use the same materials to make!
Be sure to check out all of my Cricut crafts!
How to Make a Faux Leather Coin Purse and Headphones Holder with Cricut
Supplies
- Free Template for Coin Purse
- Faux Leather
- Metal Snap Kit with Setting Tools
- Glue (I used Elmers Craft Glue in the photos, but Gorilla Clear Glue will have a stronger hold)

Instructions
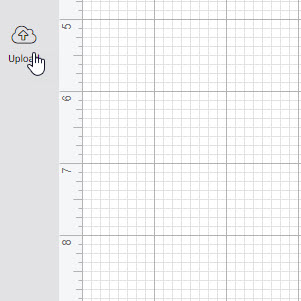
Step 1
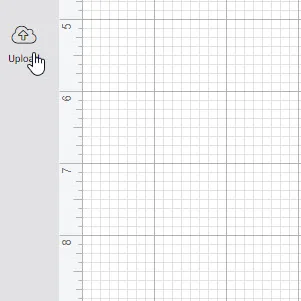
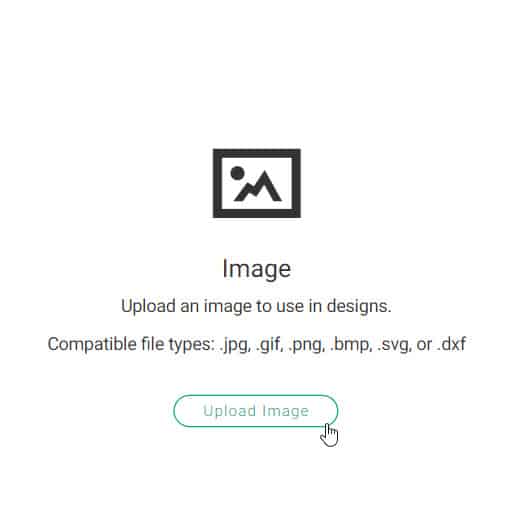
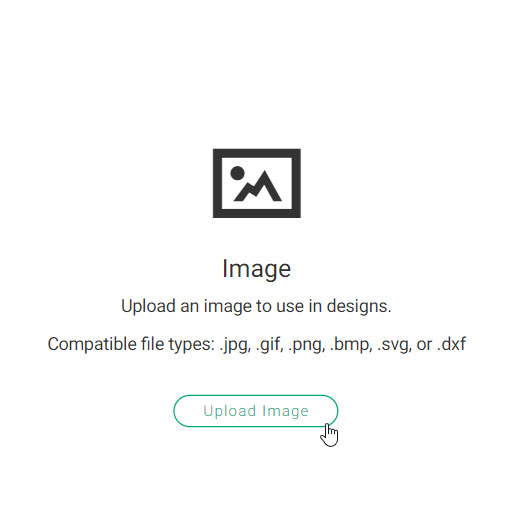
Open Design Space and click upload. Then upload my Coin Purse SVG file by finding the file on your computer and then click “Upload Image.”
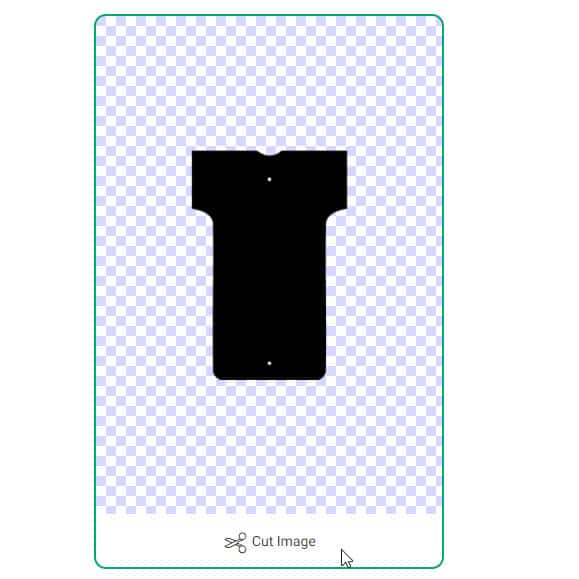
Select cut image.

Click “Make it” and follow the prompts.
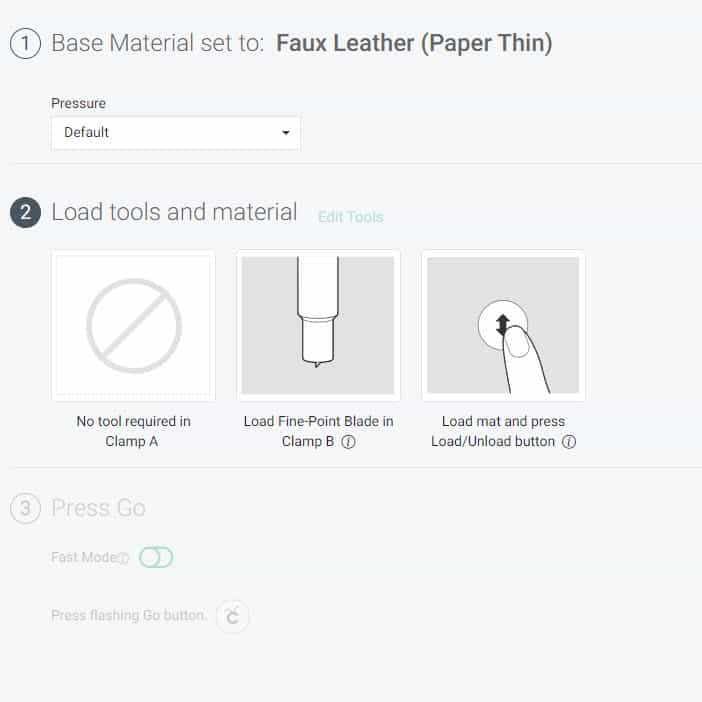
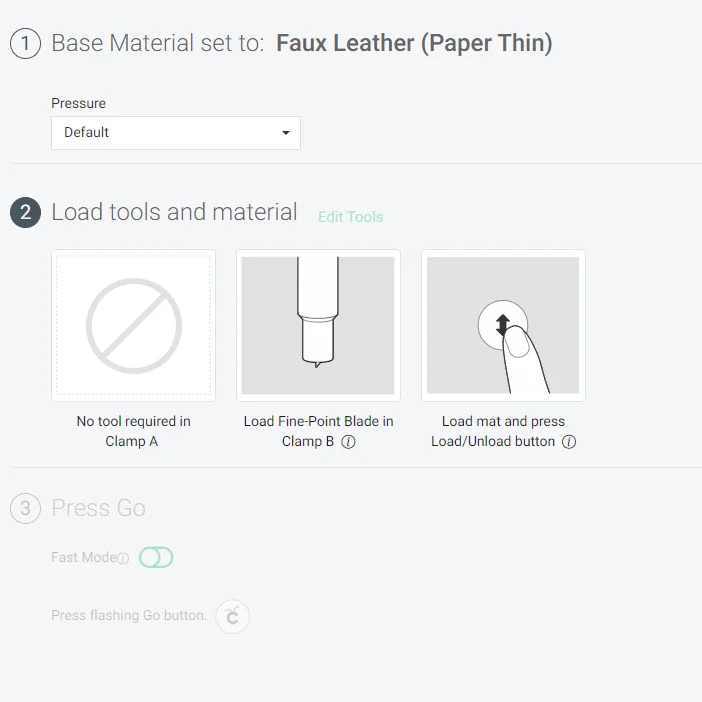
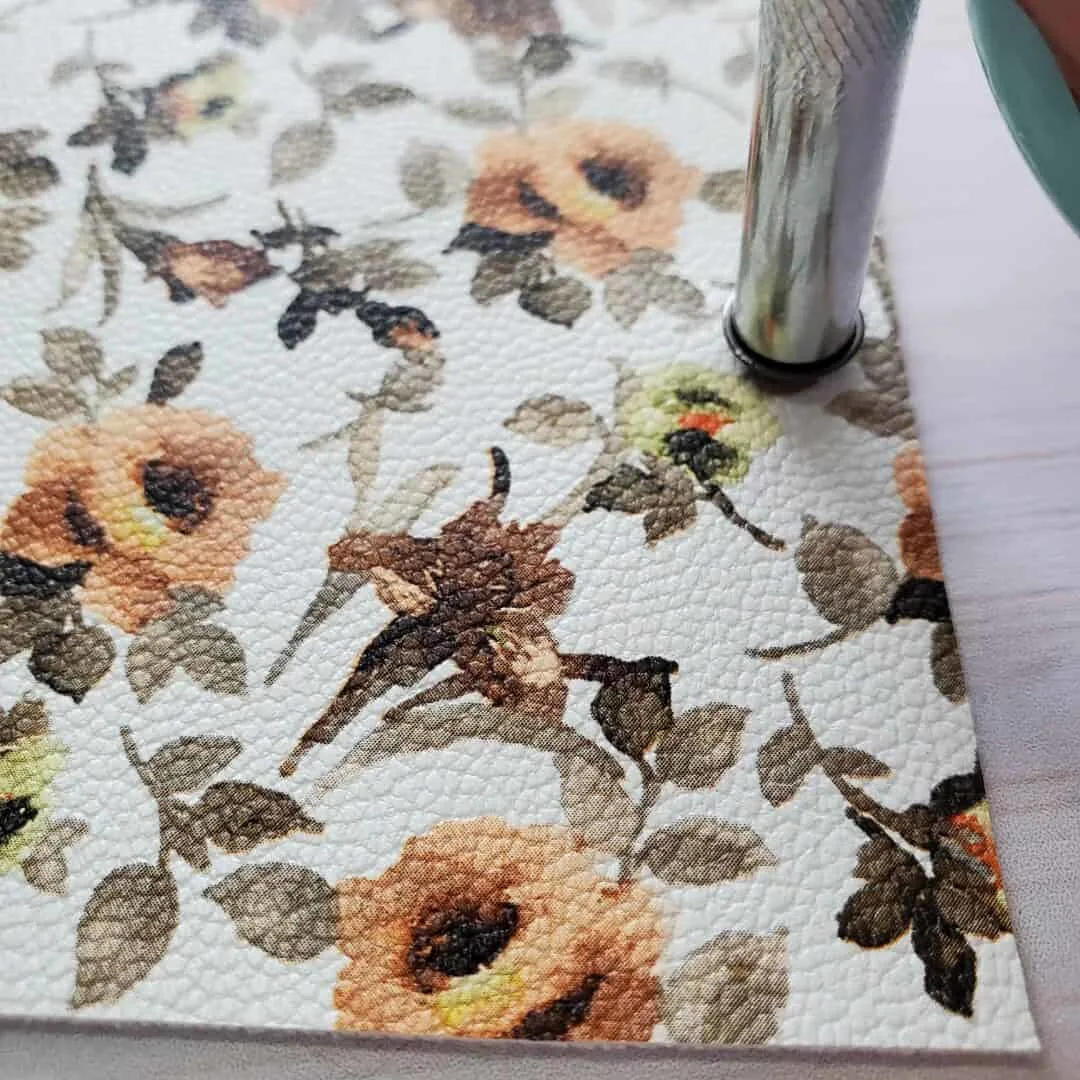
You will want to put your faux leather with the pretty side down. Make sure you are using these settings on Cricut Maker:
Step 2
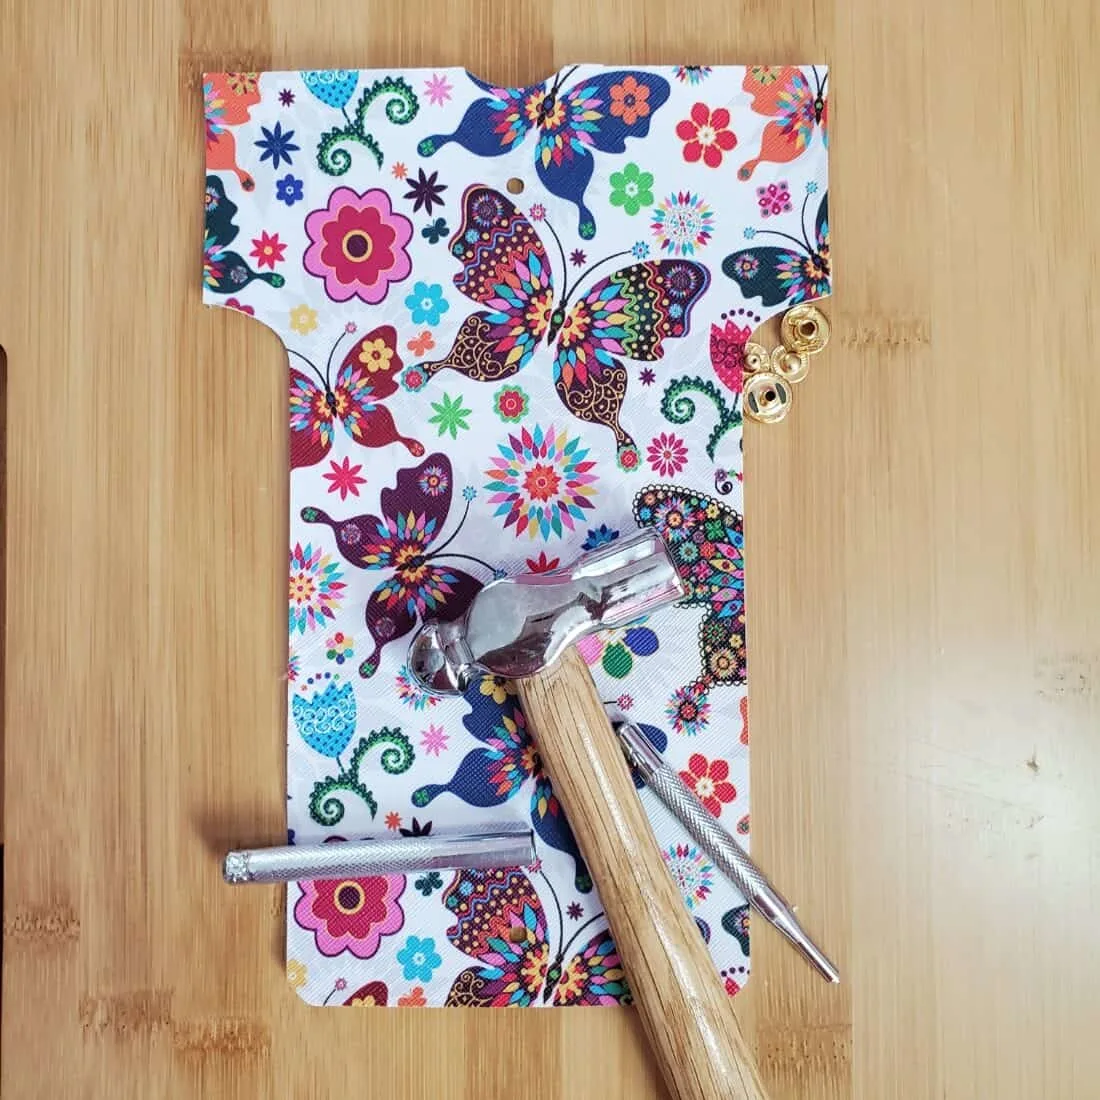
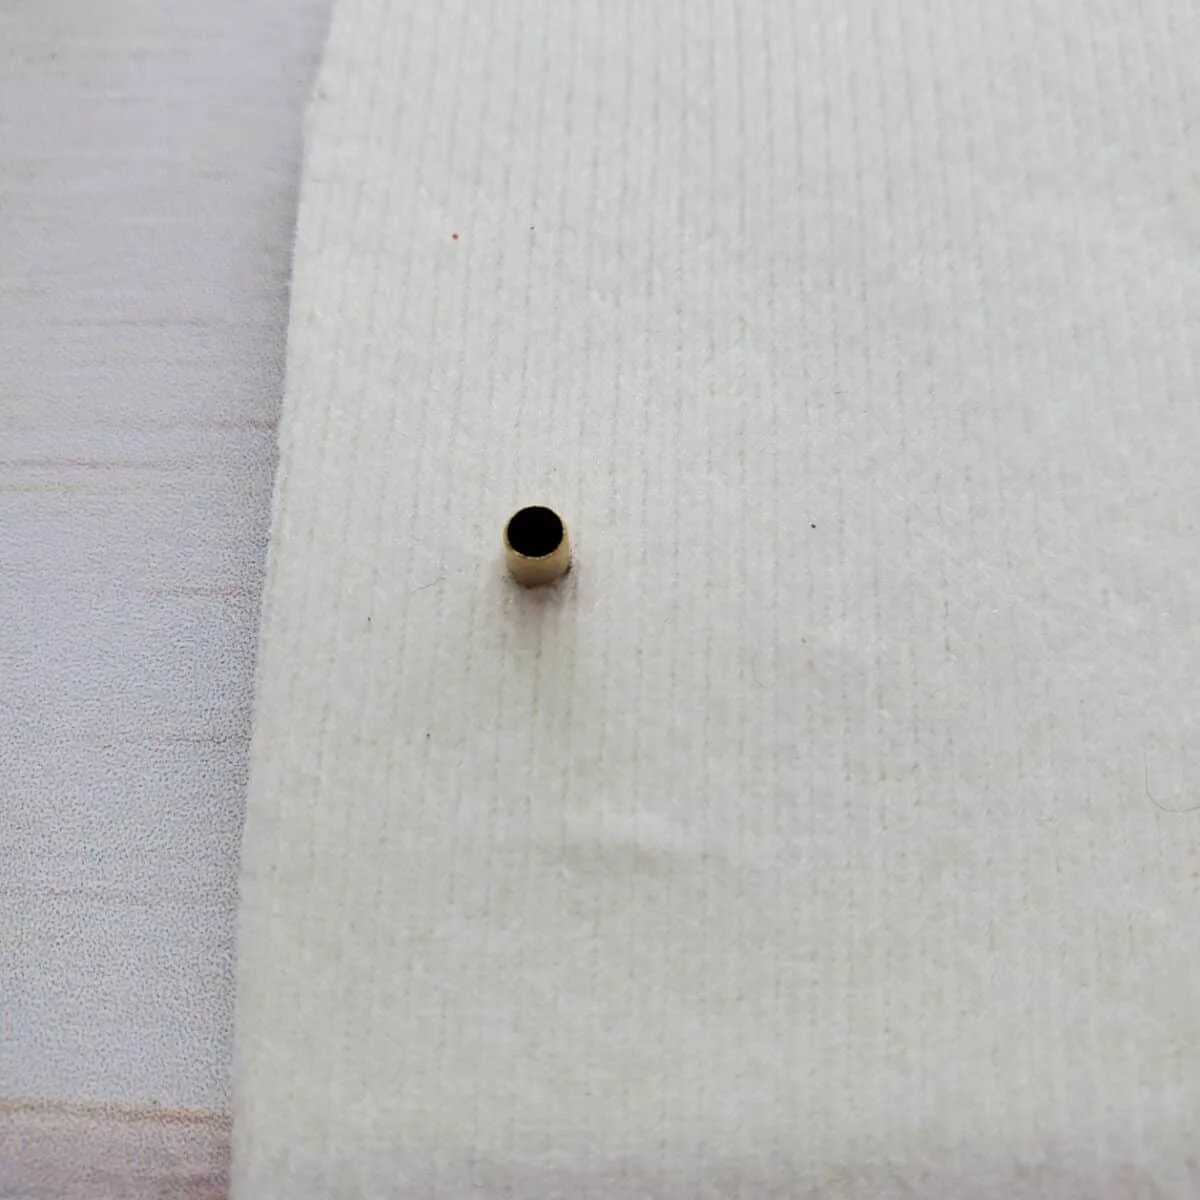
Remove the coin purse template from the Cricut Maker. Punch out the holes that were cut.
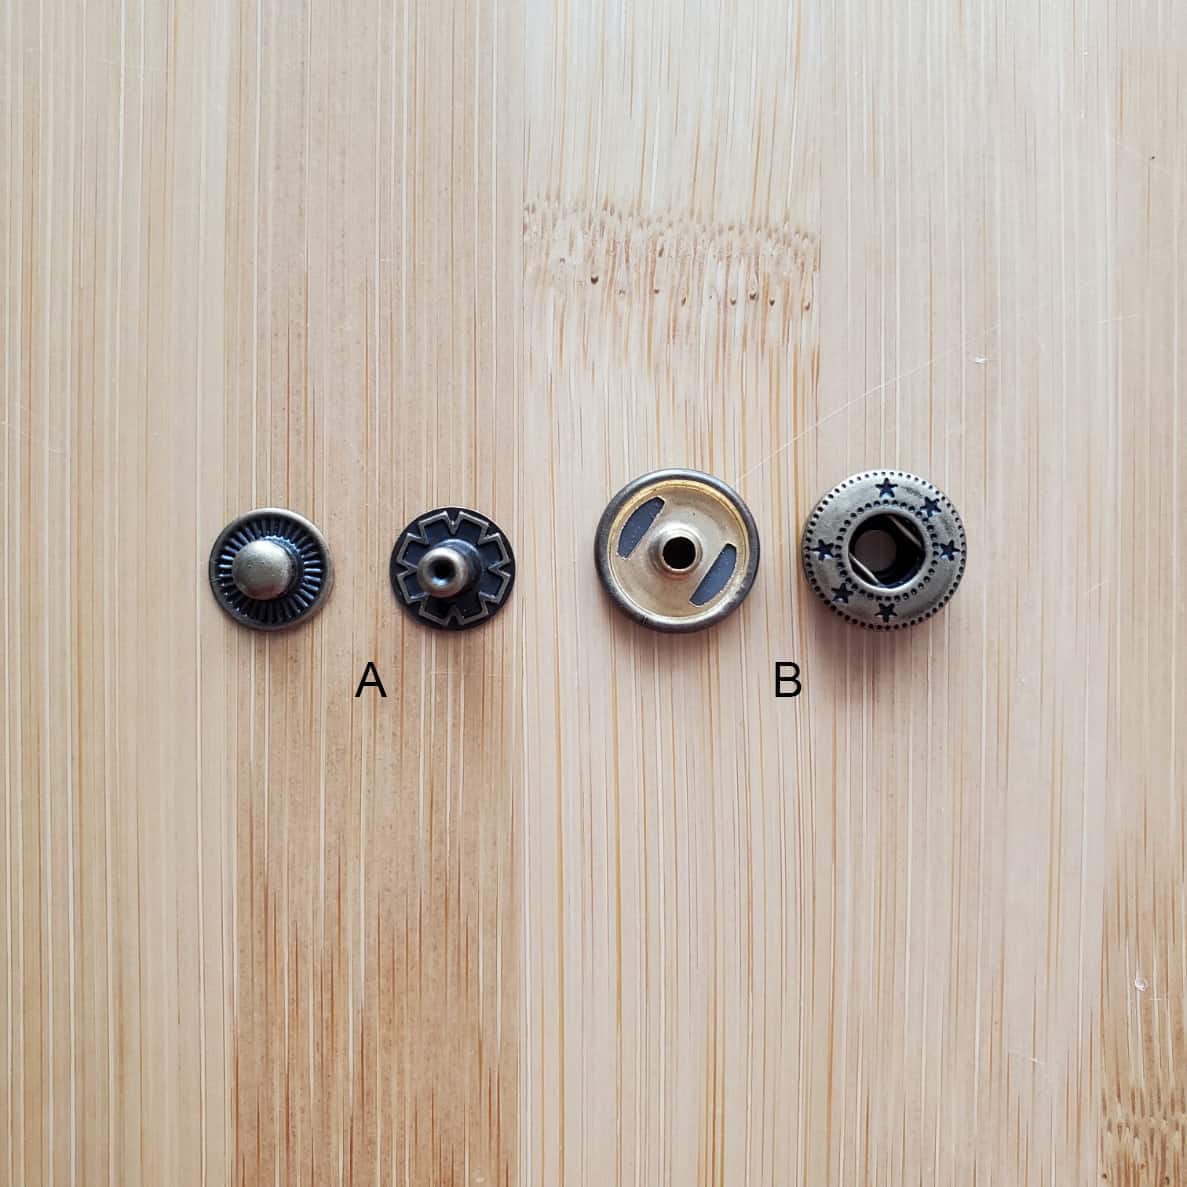
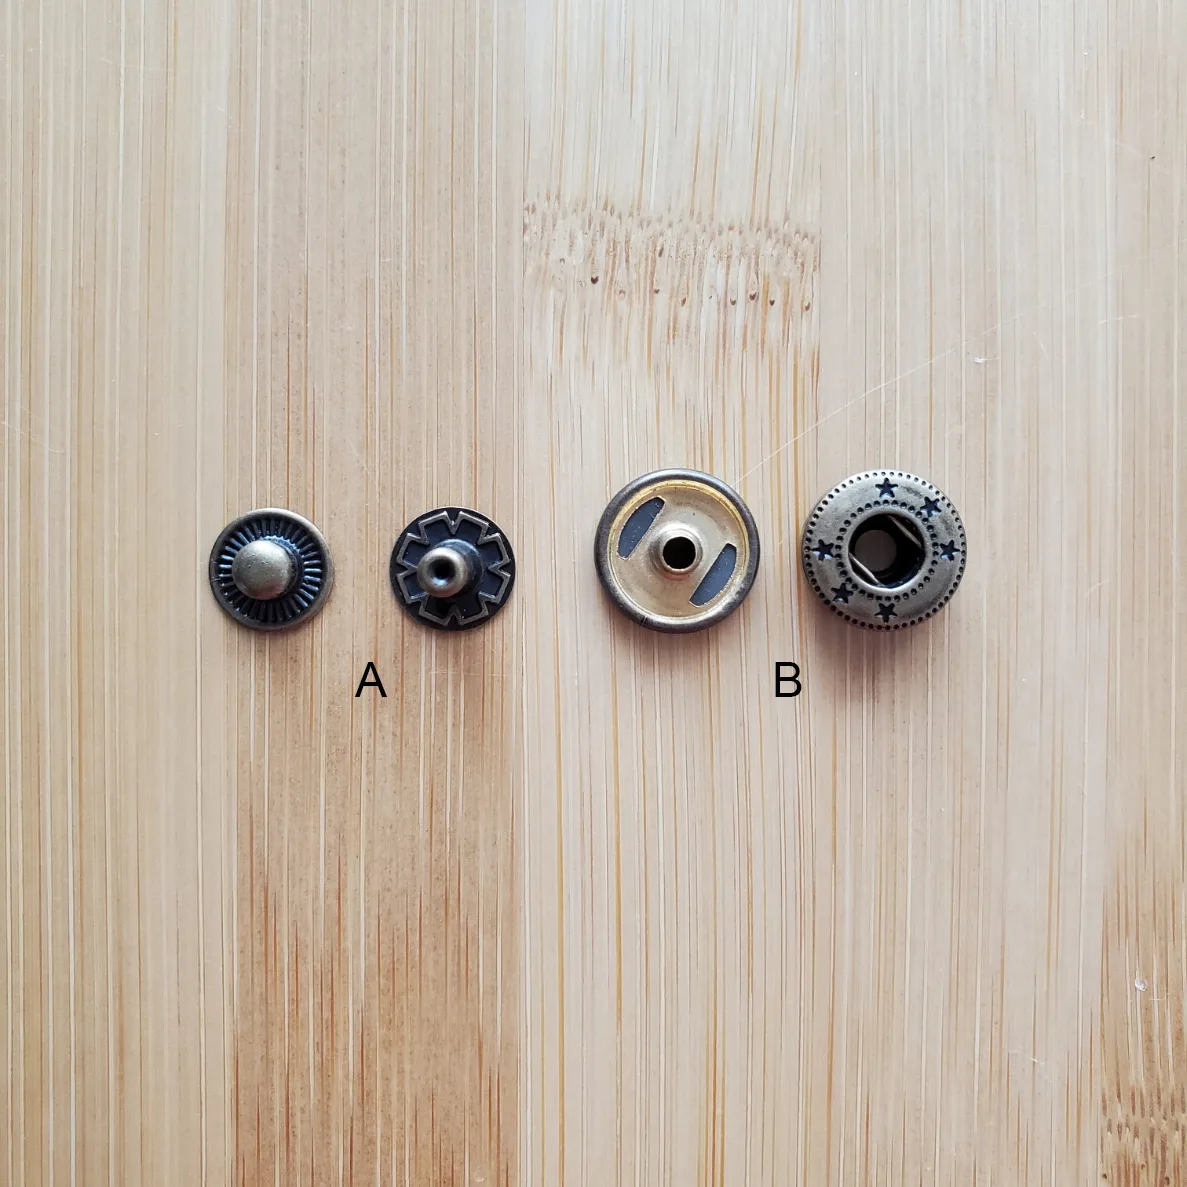
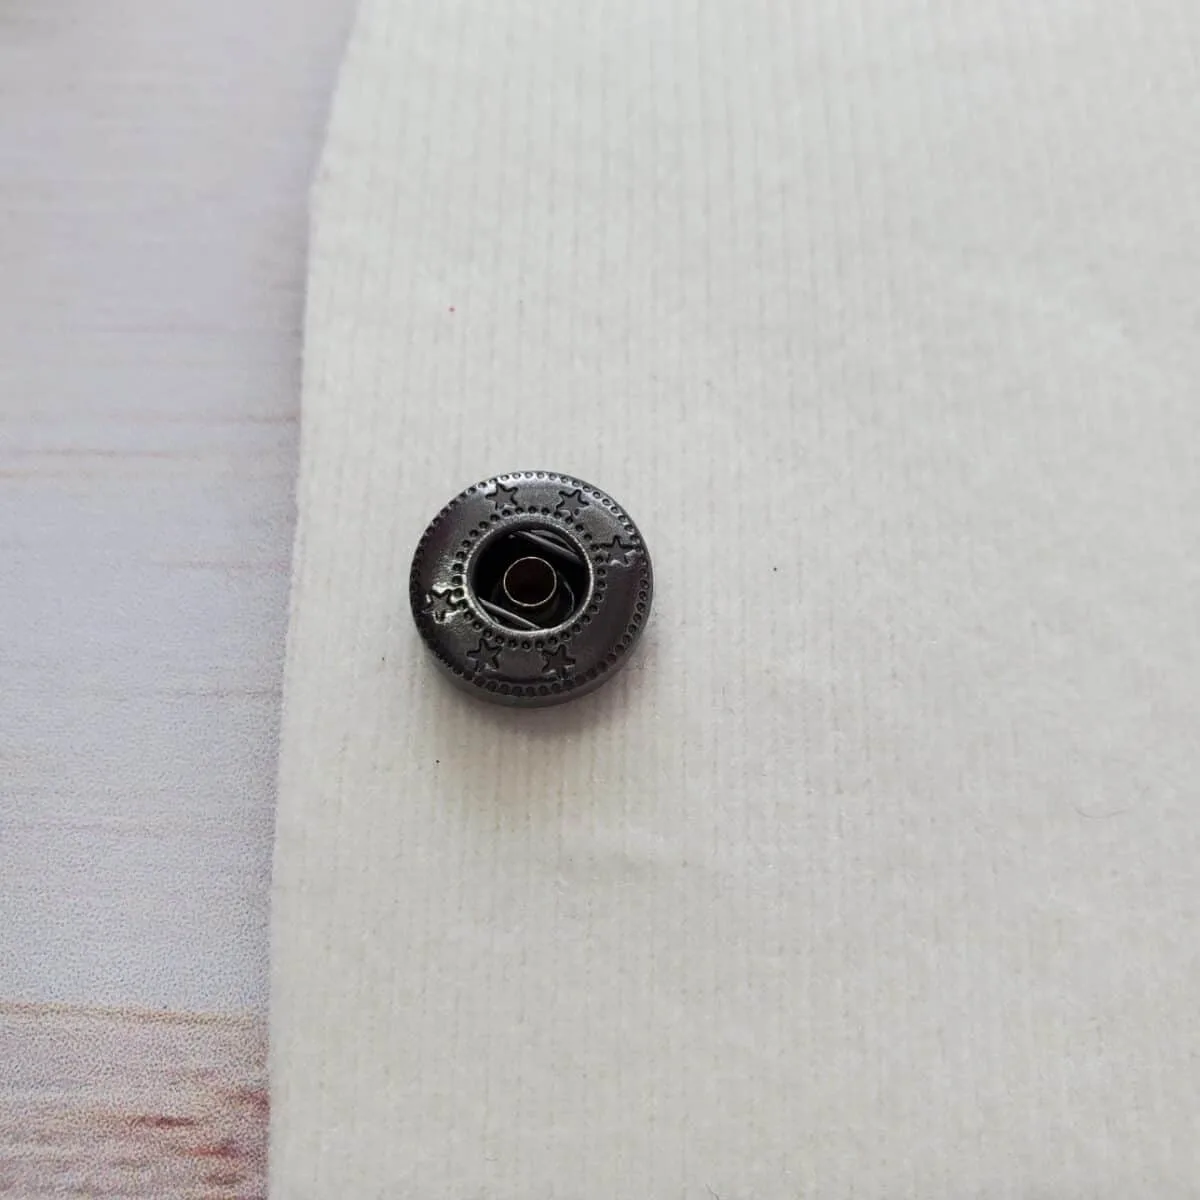
Now it’s time to attach the snaps. Snaps have two parts and within those two parts are two pieces. I have labeled them A and B and show them below.
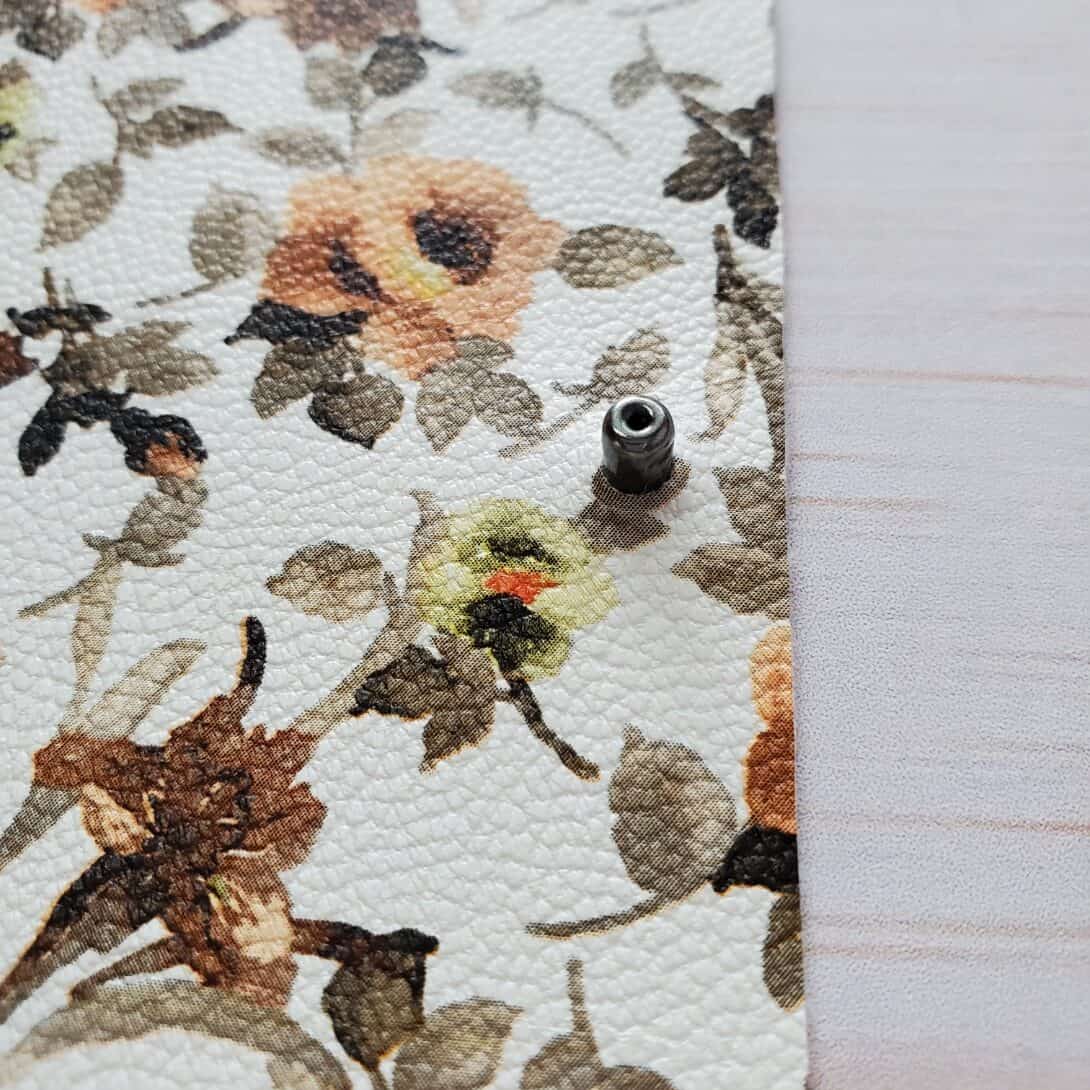
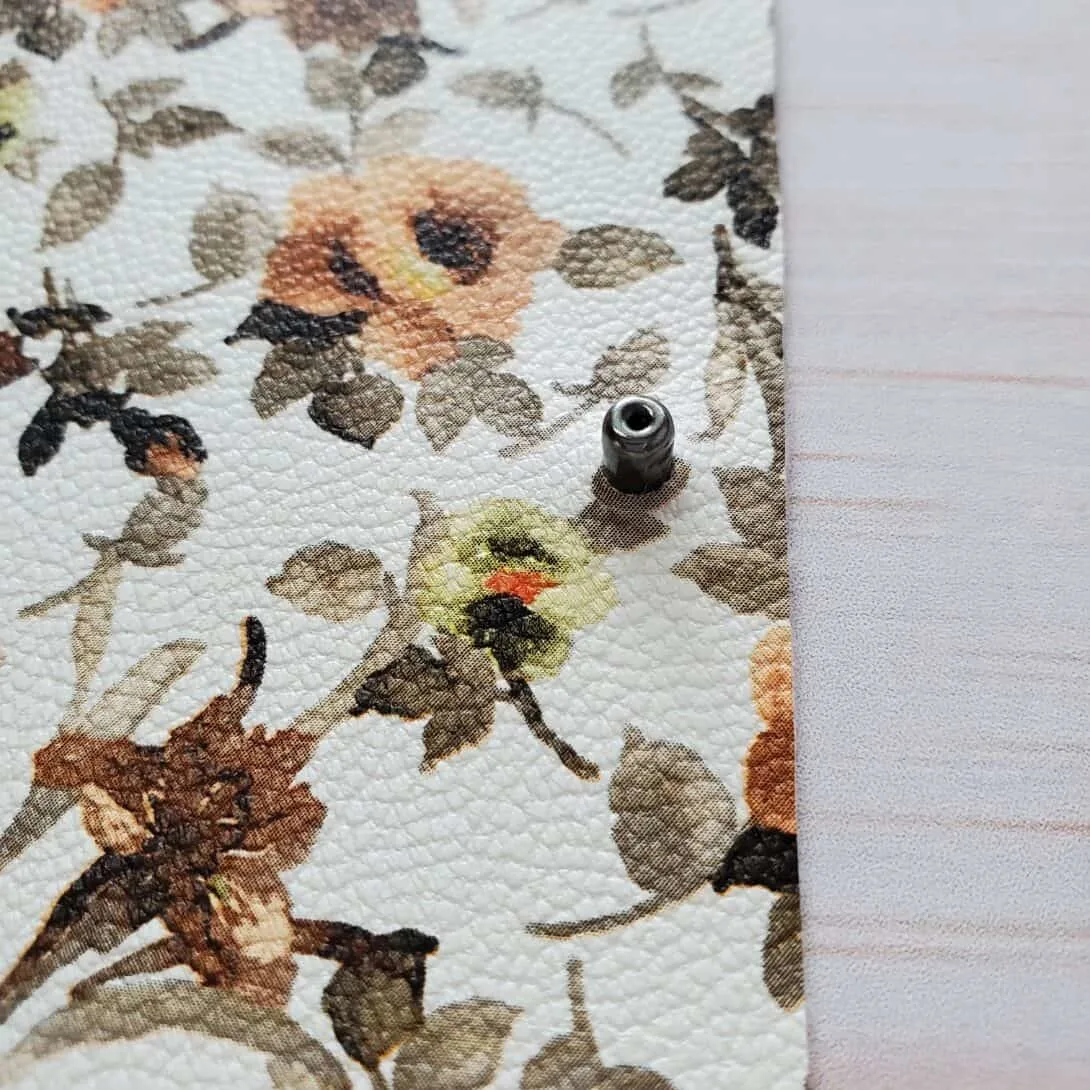
Start with snap “A.” Place the long piece of the snap hardware through the faux leather, with the post coming up through the pretty side of the leather.
This will be on the part of the template that doesn’t have flaps on the sides.
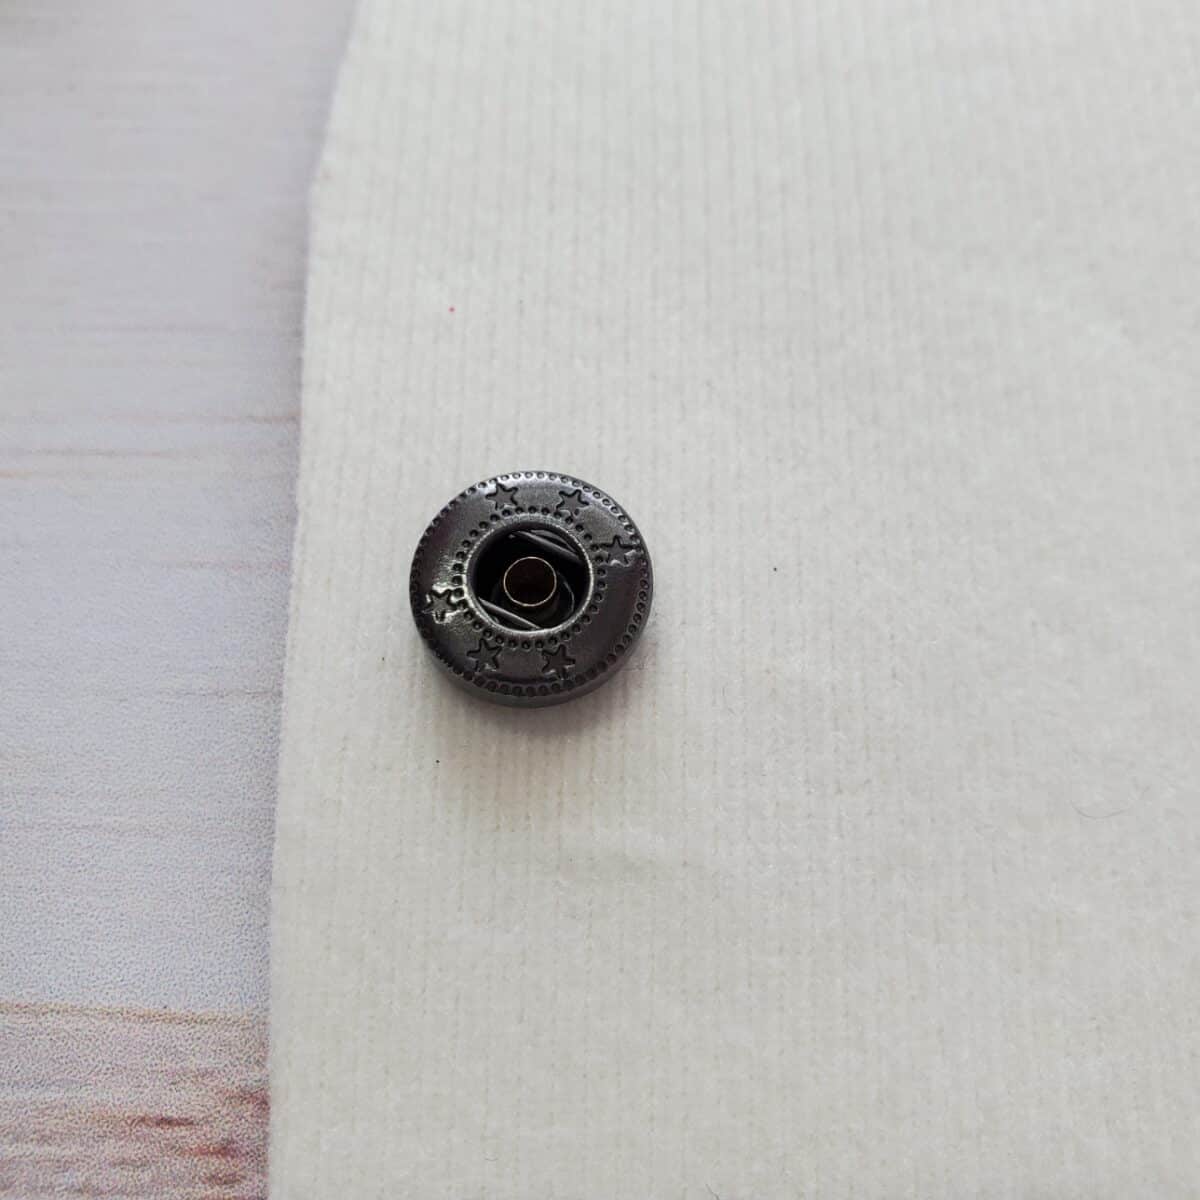
Place the other piece of Snap A on top of the post.
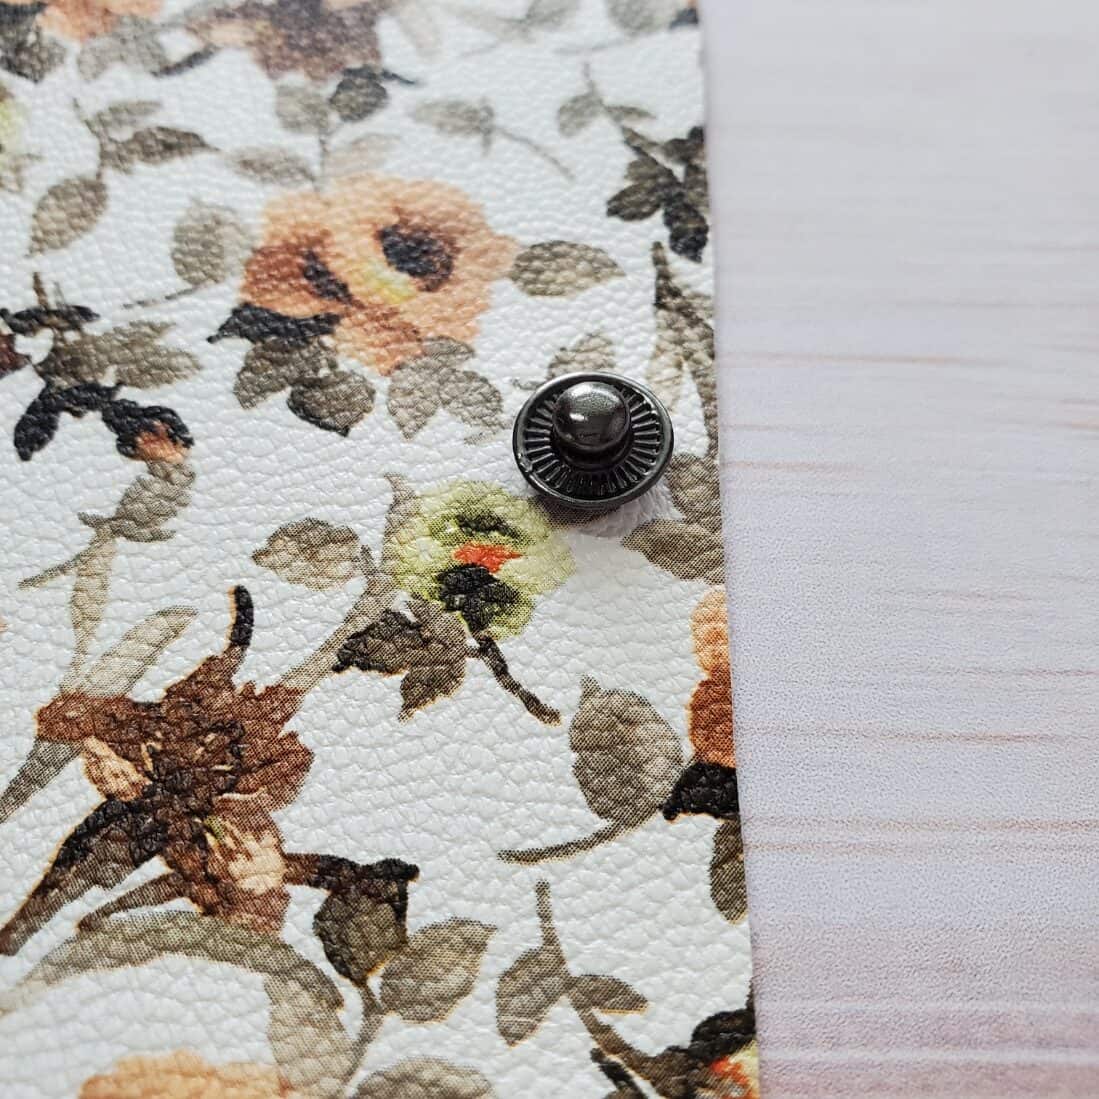
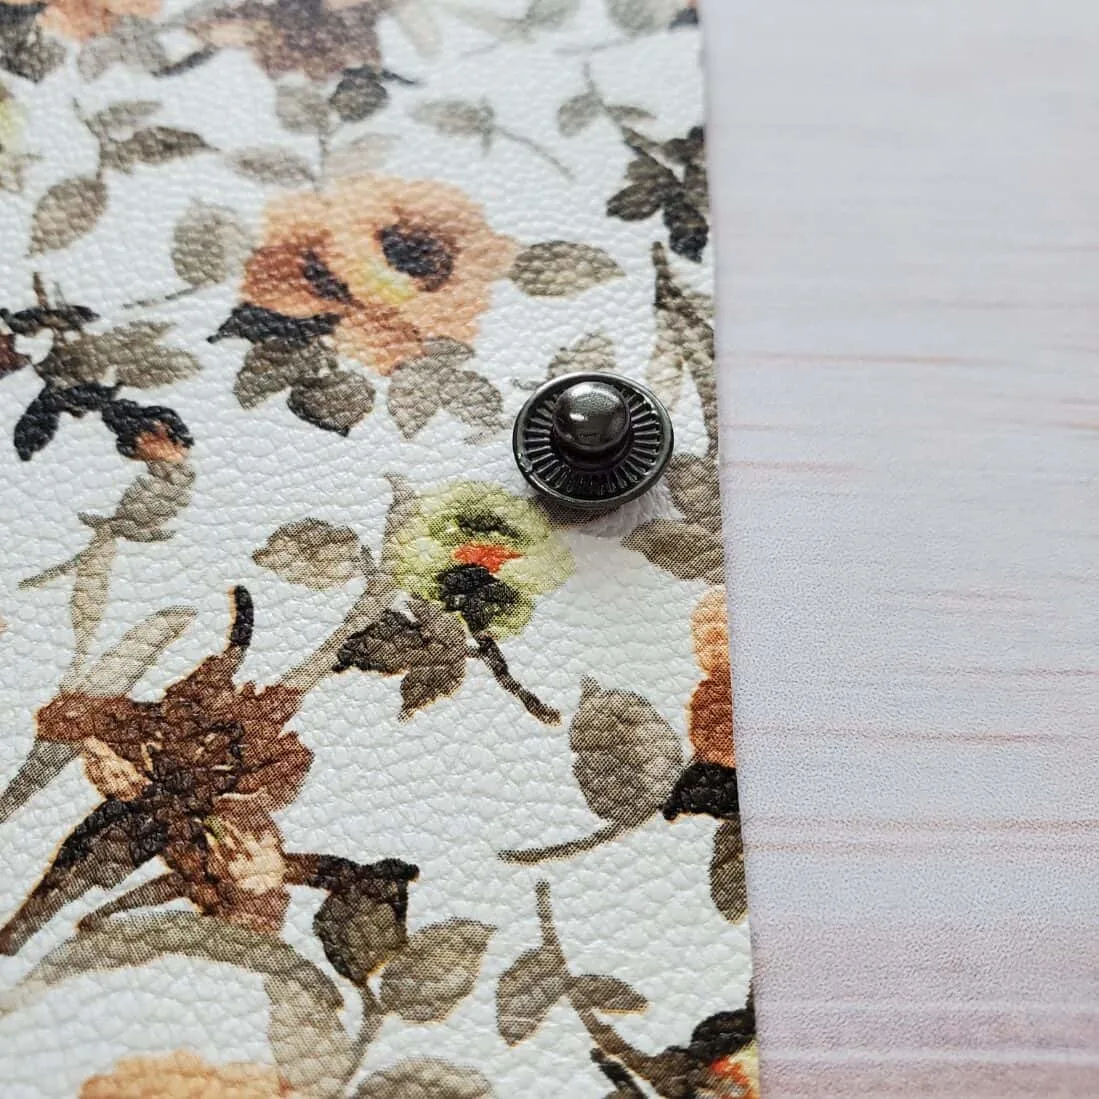
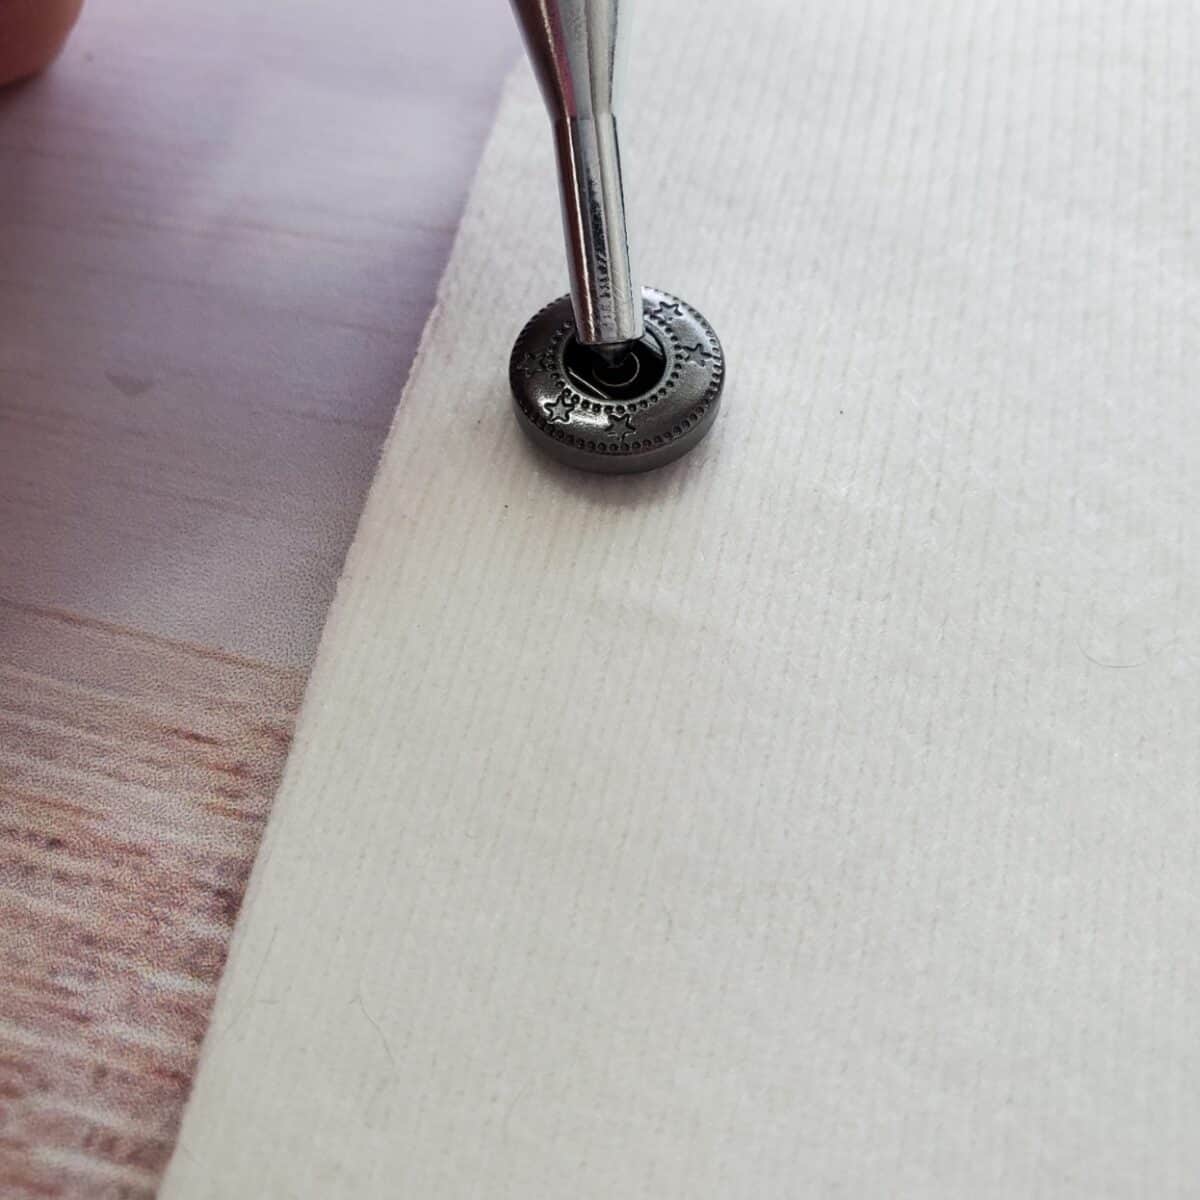
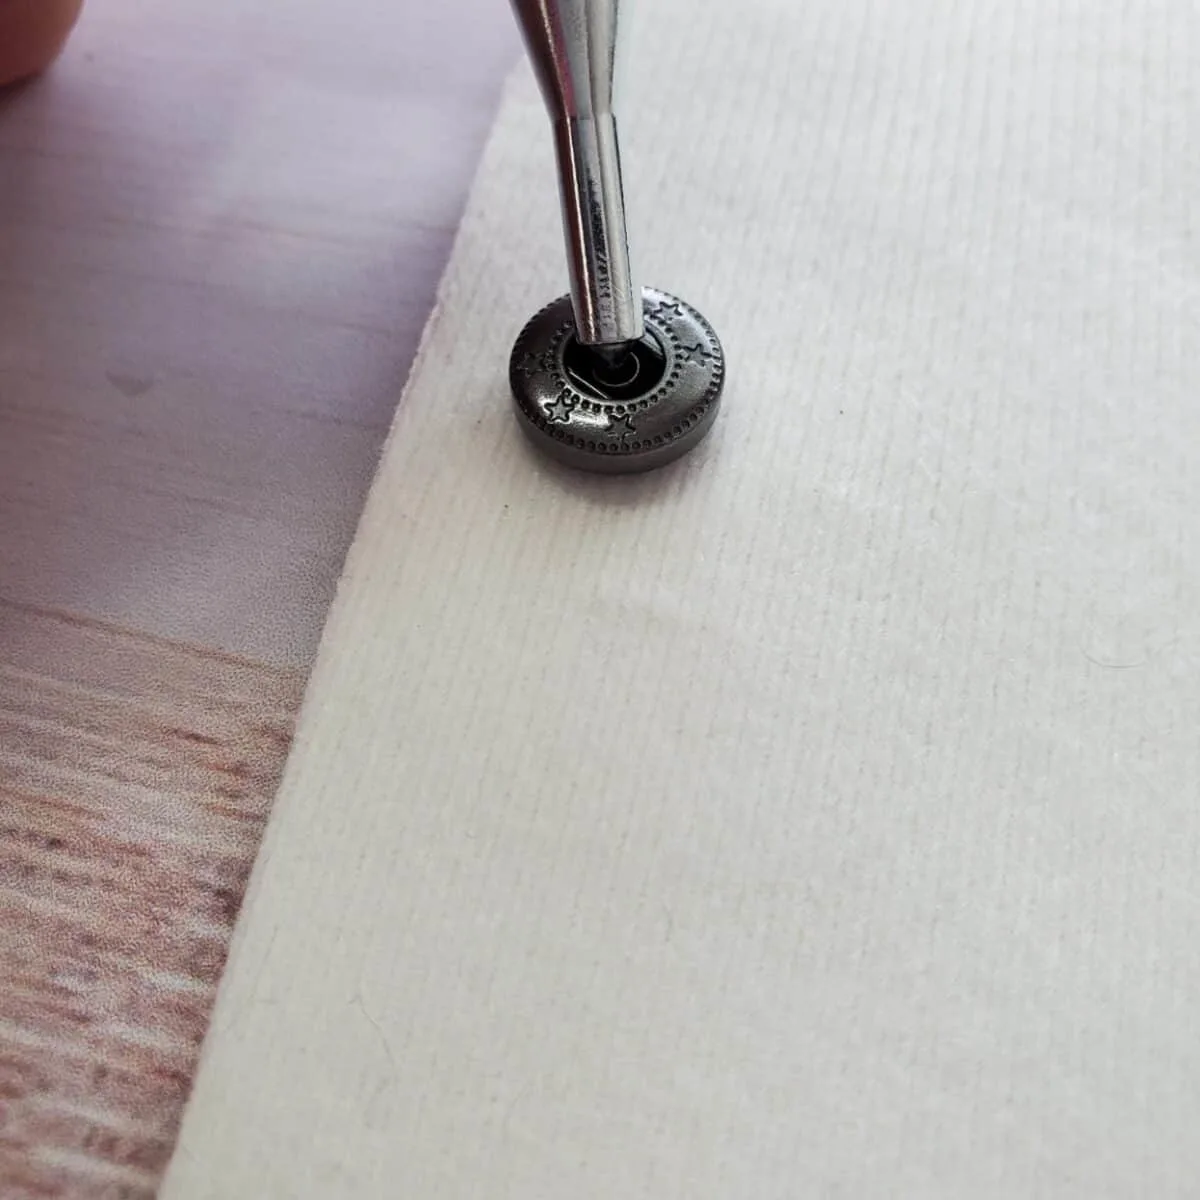
You will need to use a concave tool to hammer the snap to secure it. Or, many snap kits come with pliers that press that snaps into place. Either tool will be effective, depending on the snap kit that you have.

Place it over the top of the snap and then gently hammer until it is snug against the leather.

Step 3
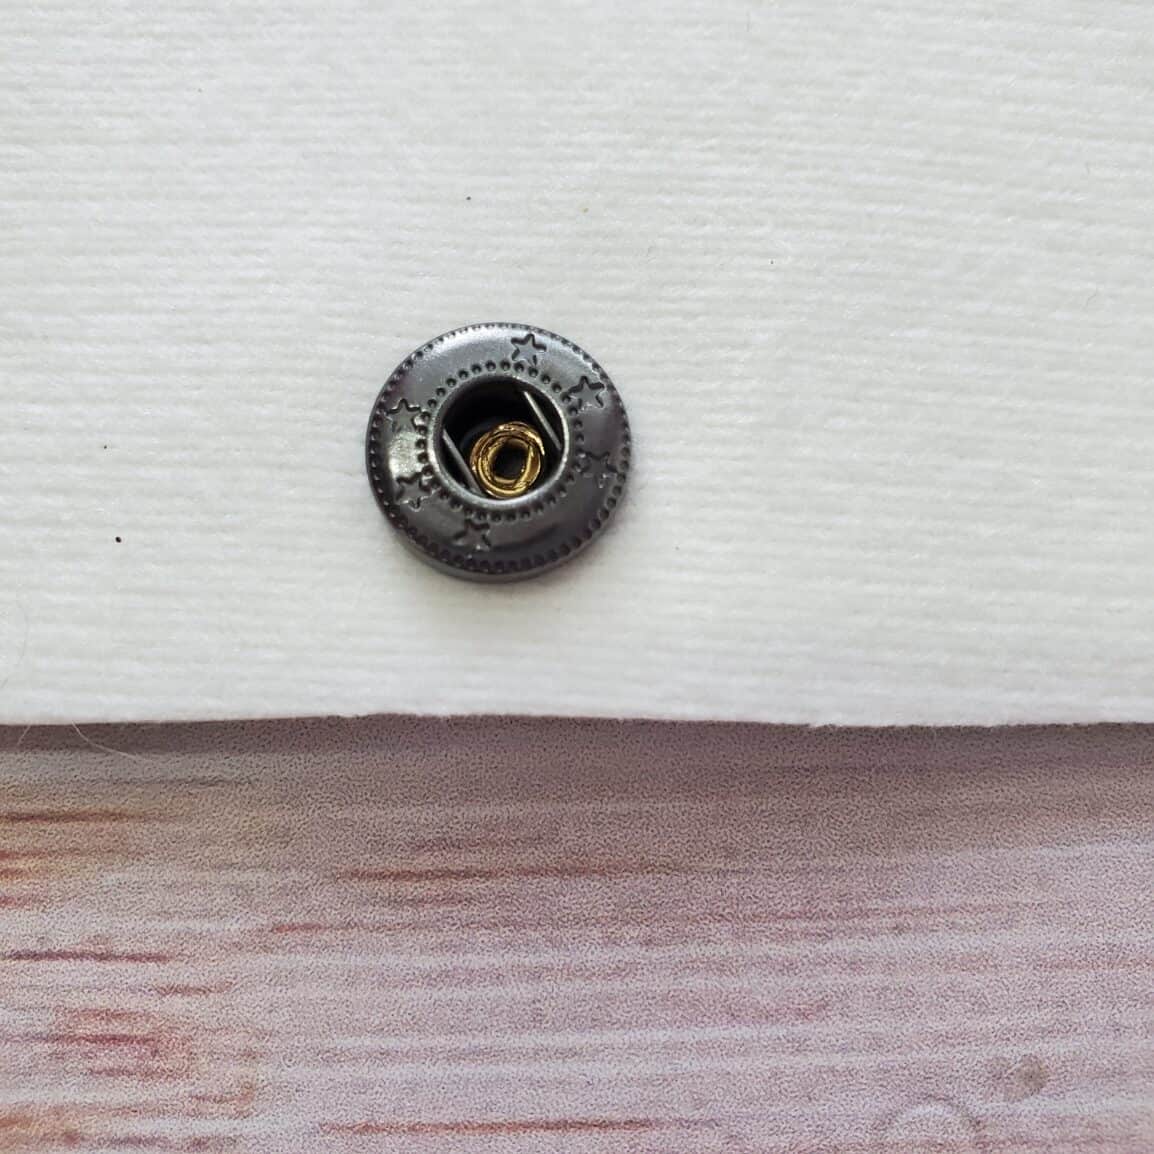
To attach Snap B, you will place the long piece through the leather template, with the post sticking out of the “wrong” side of the fabric. This snap should be on the part of the template that has flaps on the sides.
Then, add the second piece of Snap B over it.

For this one you will need the point tool so you can hammer the long piece until it is flush with the leather.

Step 4
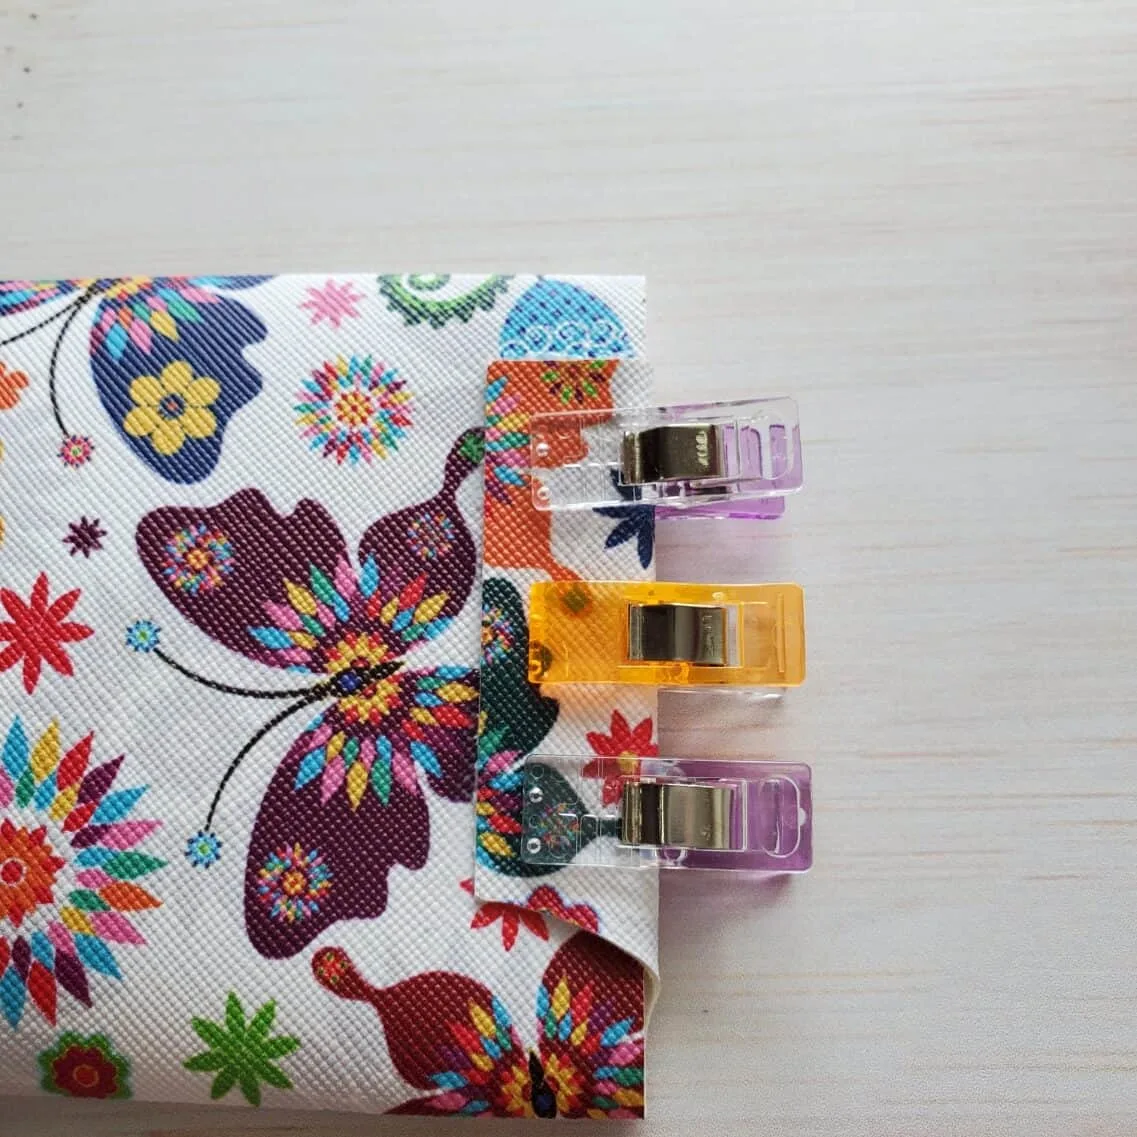
Fold it over and lightly crease the folds on the sides. You will want to bend them so that they wrap around in the back and get a little crease going before you glue.
The flaps should be folded so that they are flush against the edge of the coin purse in the back.

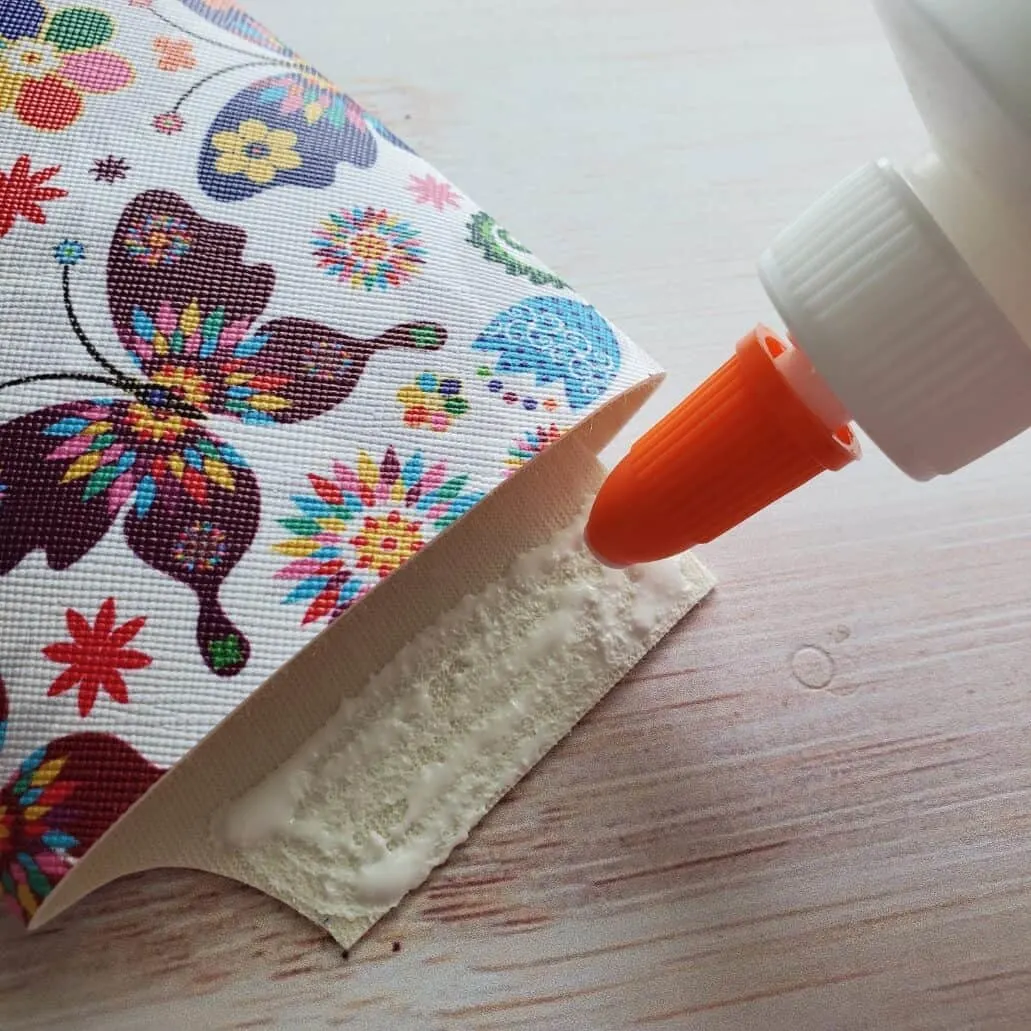
Add glue to the wrong side of the faux leather flap.
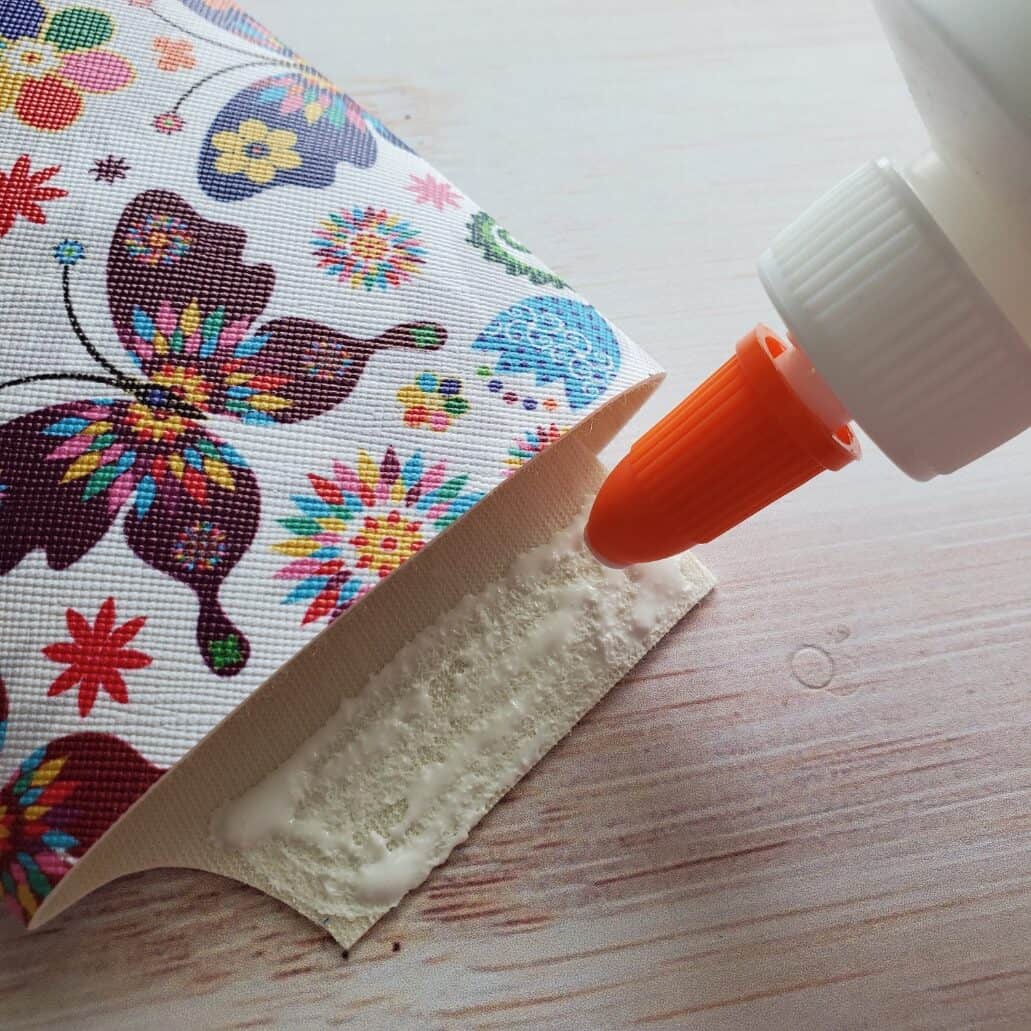
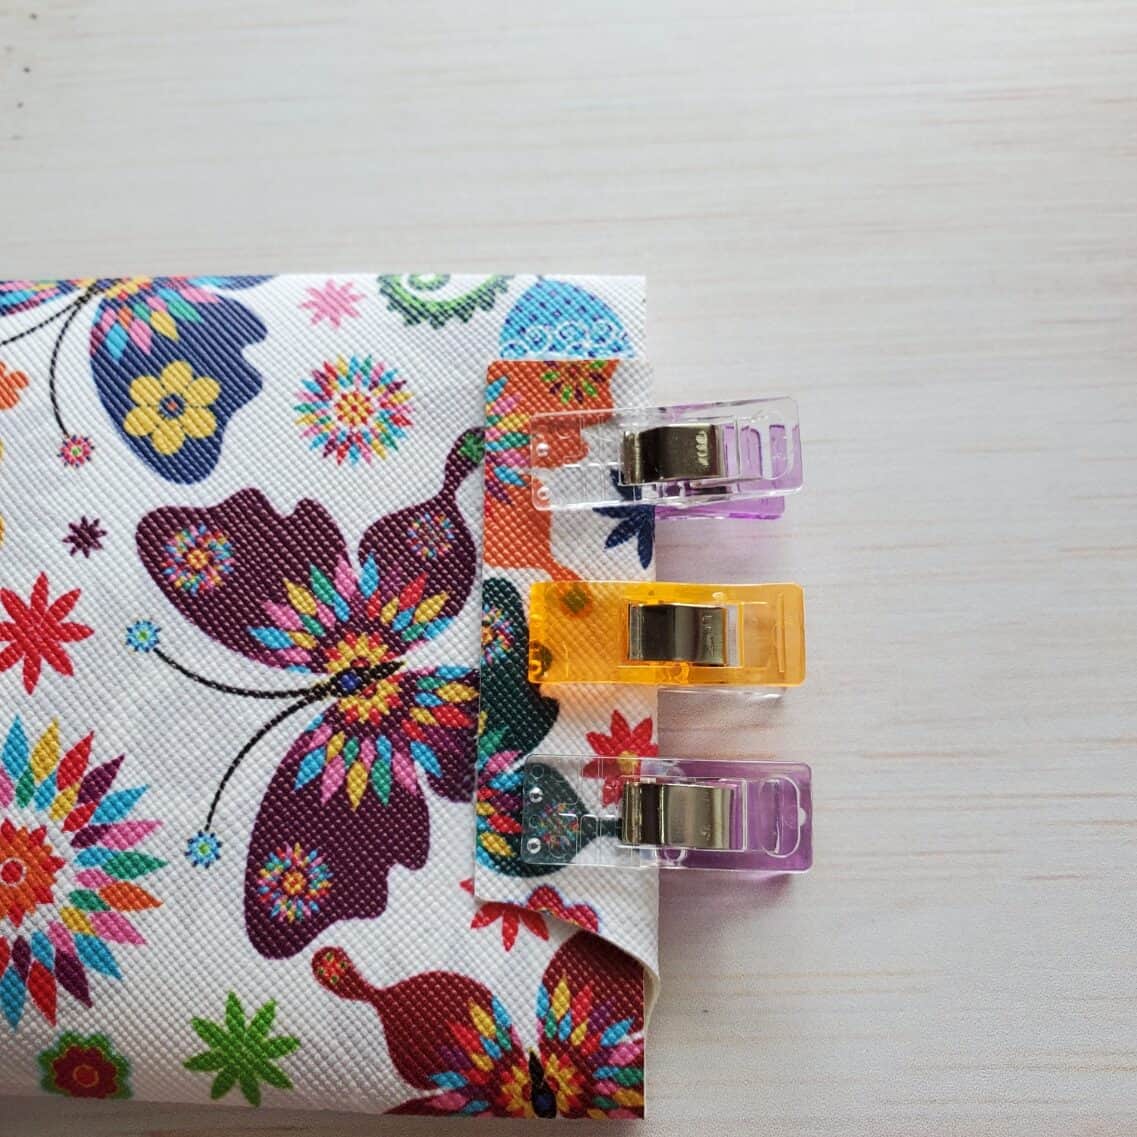
Fold the flap towards the back so that it is snug against the edge of the pouch. Clamp it into place to allow the glue to dry. Repeat on the other side.

If you like pretty things for your purse, check out my easy DIY scarf for a handbag handle, too.

Lilliane
Friday 30th of September 2022
Thank you very much this is so cute....
Kimberly
Wednesday 5th of October 2022
Thank you, Lilliane!