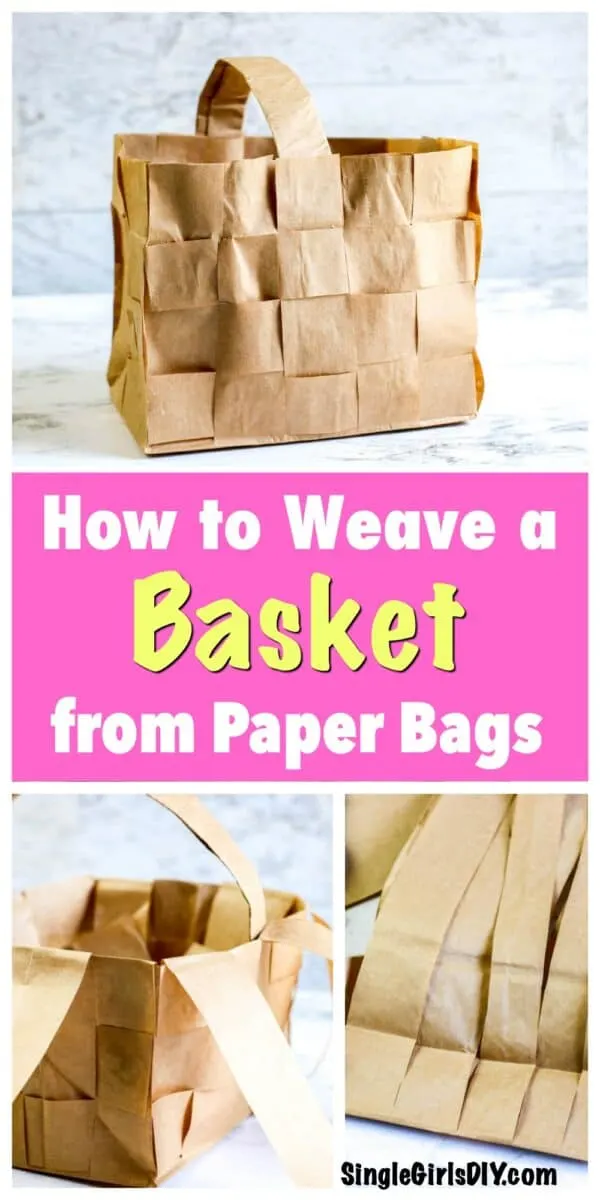


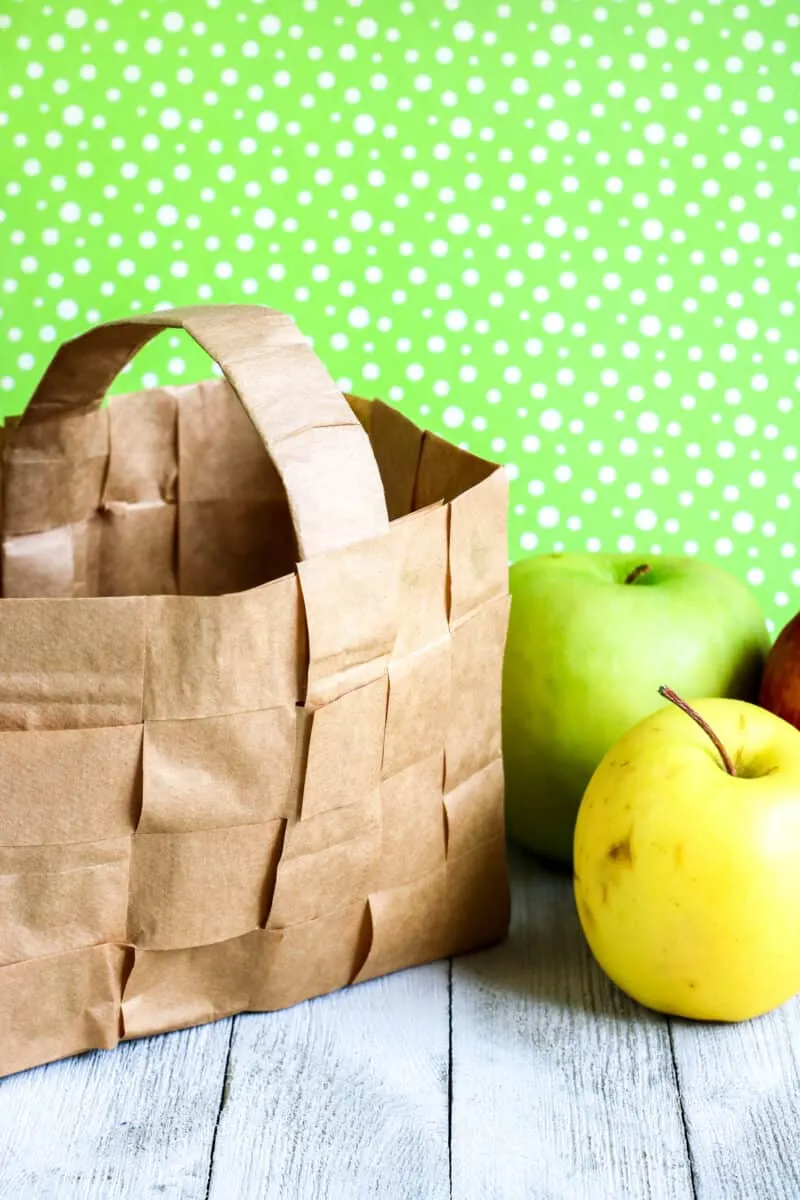
I love a good upcycling project. Not only is it cheap, but it’s fun to figure out how to repurpose items. So when I figured out how to reuse a brown paper bag for this paper basket weaving craft, I was excited!
If you opt for a paper bag rather than a plastic bag at the grocery store next time, and you can do this DIY project for your home. I love that it literally doesn’t cost anything!
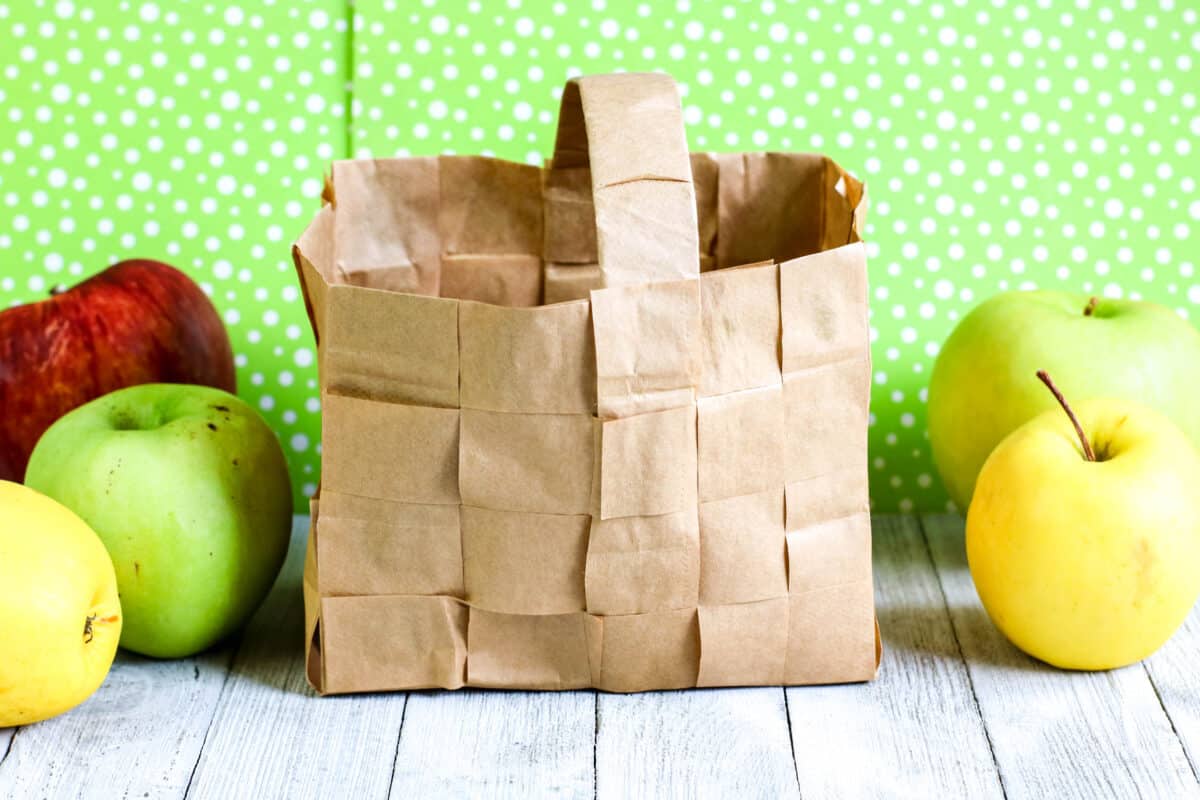

While I show the woven paper basket with fruit, it would also be great for:
- Decorative flower display (tuck pots inside and just show the flowers)
- Displaying dried flowers (such as hydrangeas)
- Storing craft supplies, such as yarn
- Making a gift basket
How to Do Paper Basket Weaving
Materials
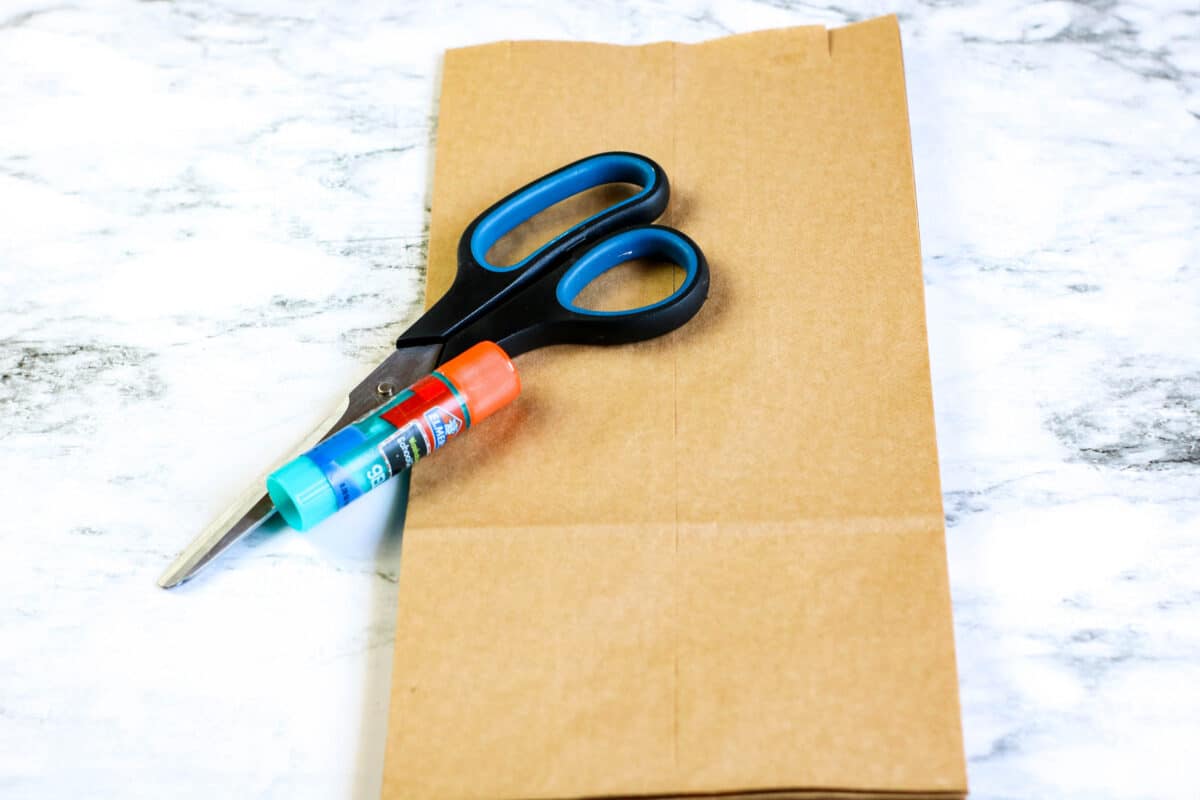

- 3 paper bags (all the same size but any size/color can be used)
- Scissors
- Tape
- Glue stick
Directions
Create the Handle
With the first paper bag, cut it in half through the width. Recycle the bottom of the bag.
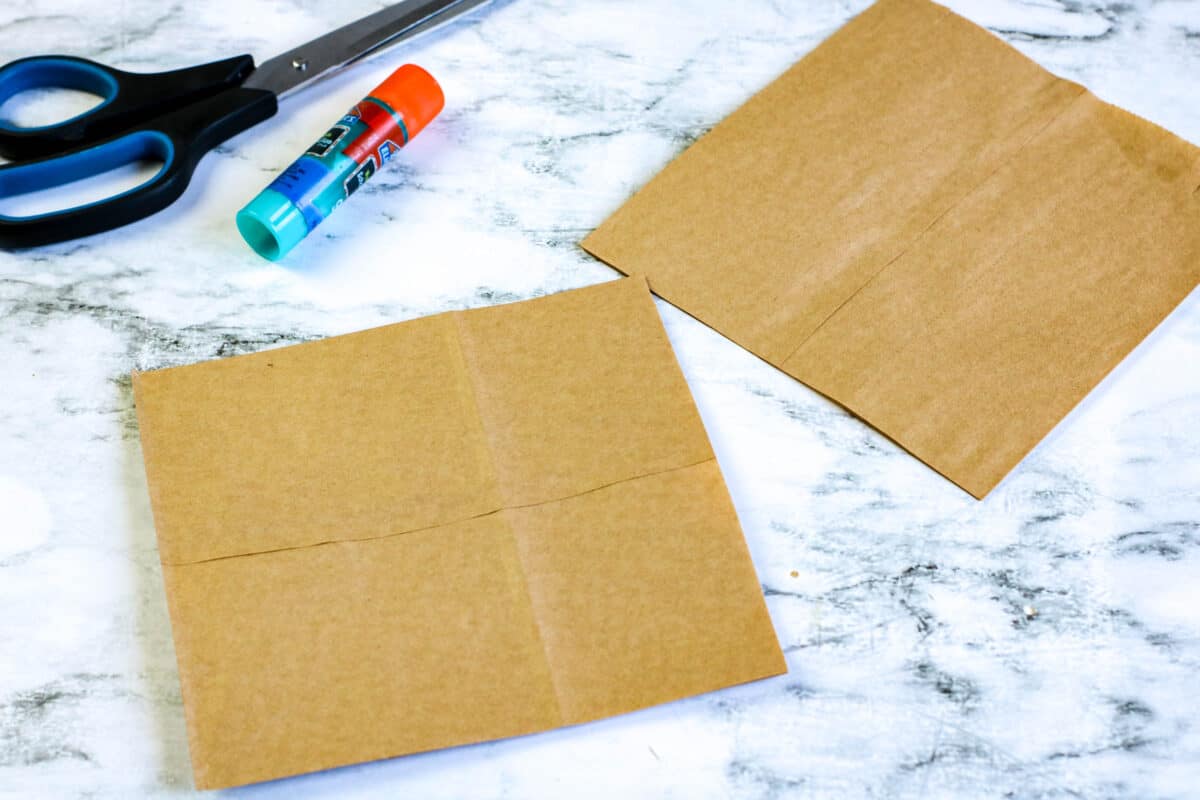

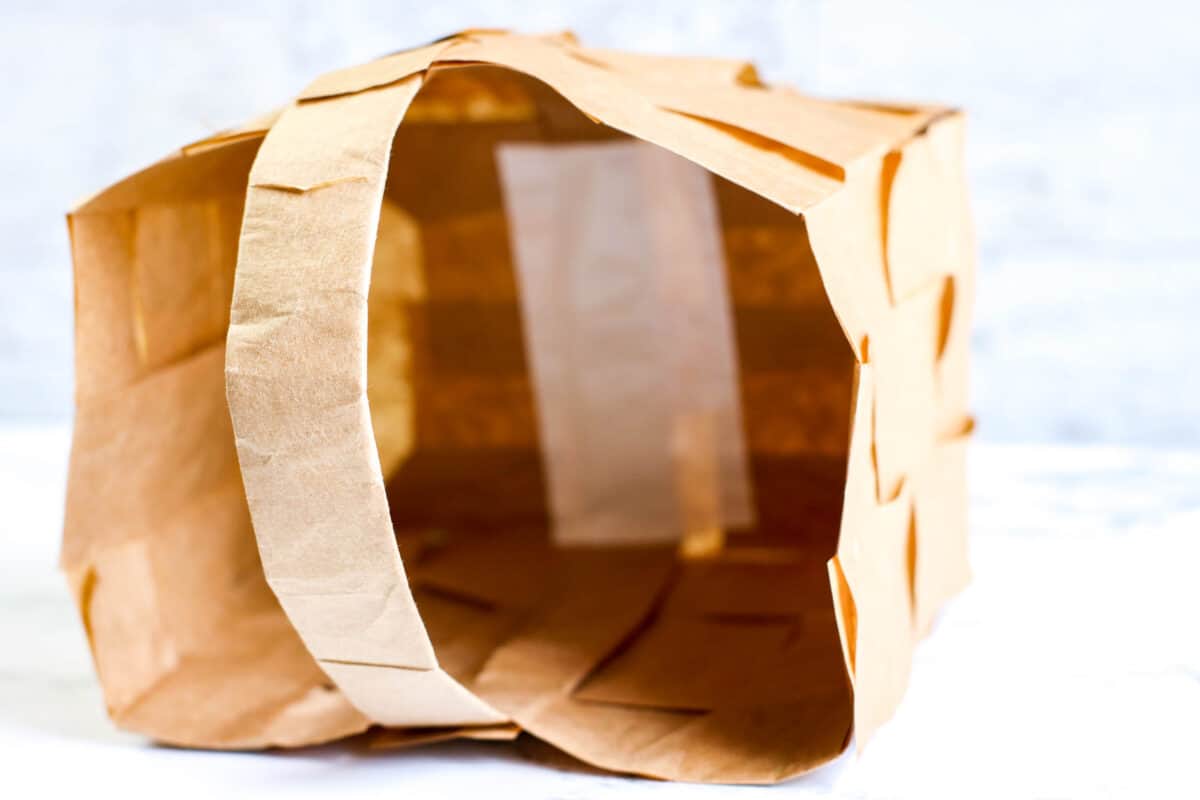
With the bag top (when you gently open it you should be able to see through it, not have a base in the bag), fold down one inch all around the top. Continue to roll the bag down 1 inch at a time, pressing flat with each roll, until the bag is completely rolled into a handle.

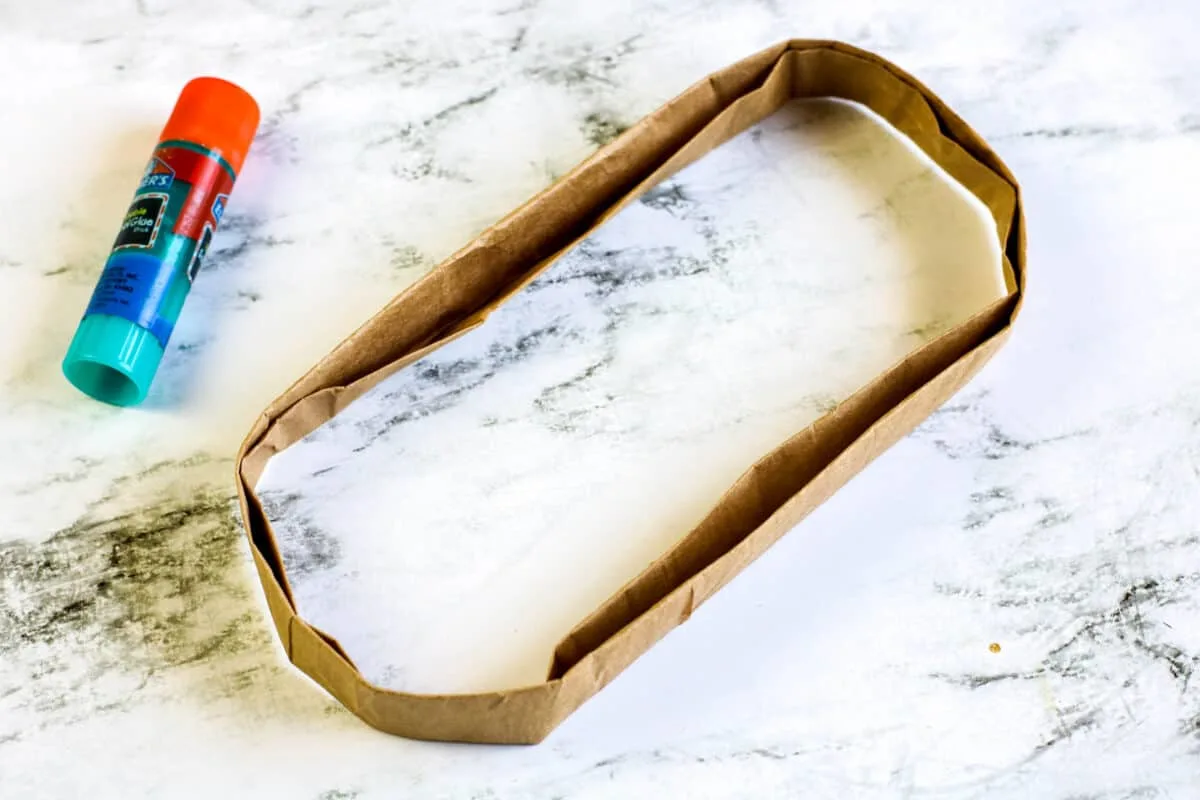
Run glue along the seam where the final fold overlaps and press to seal.
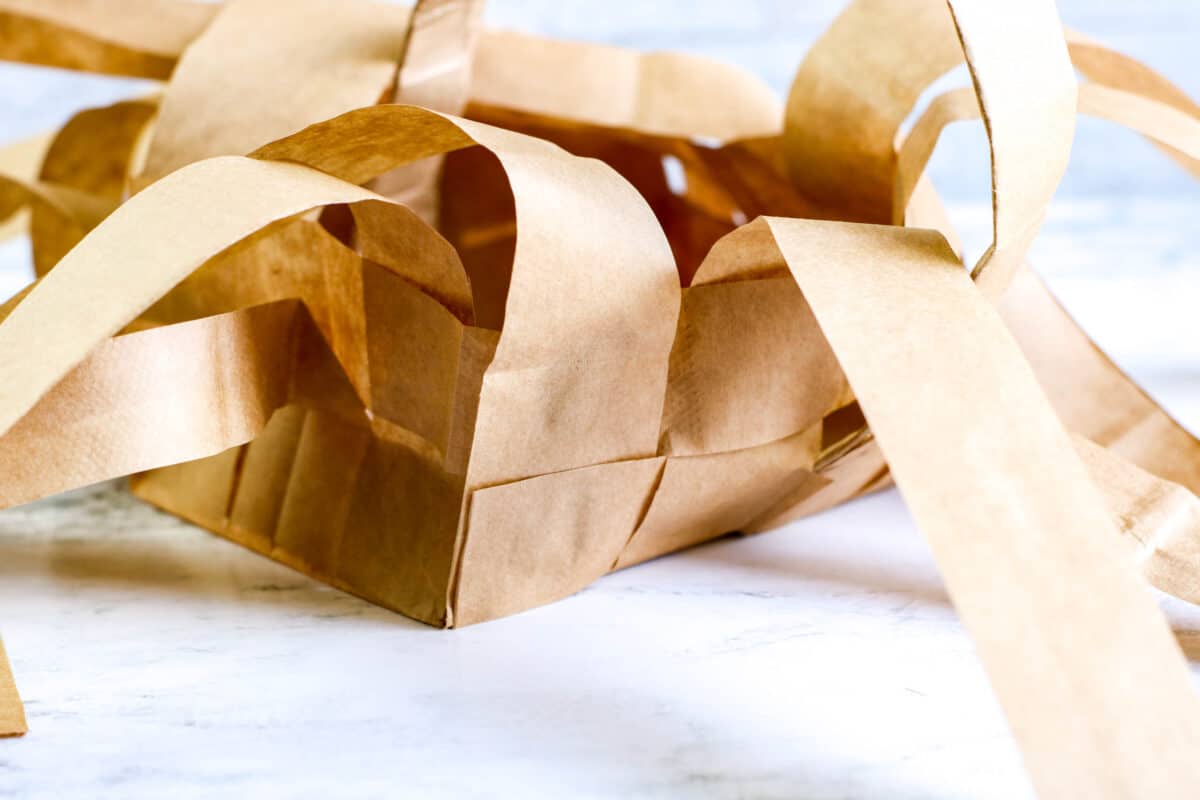
Weave the Strips
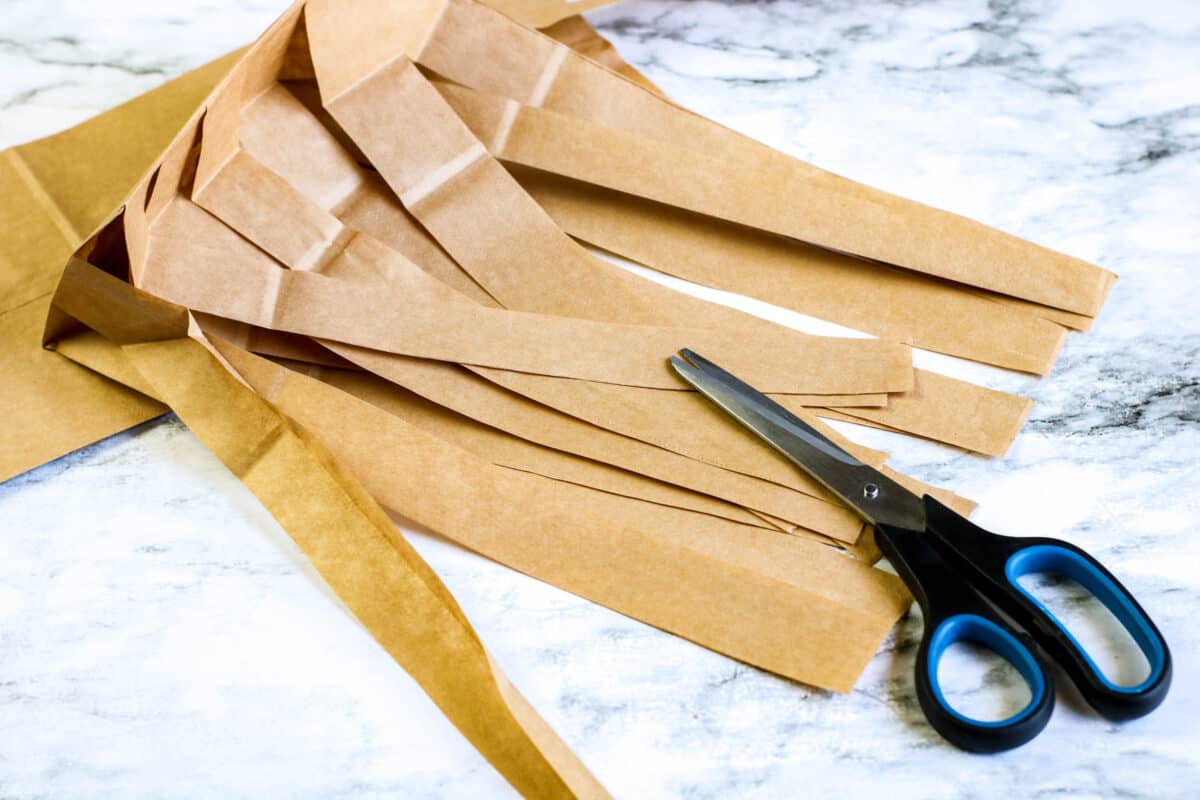
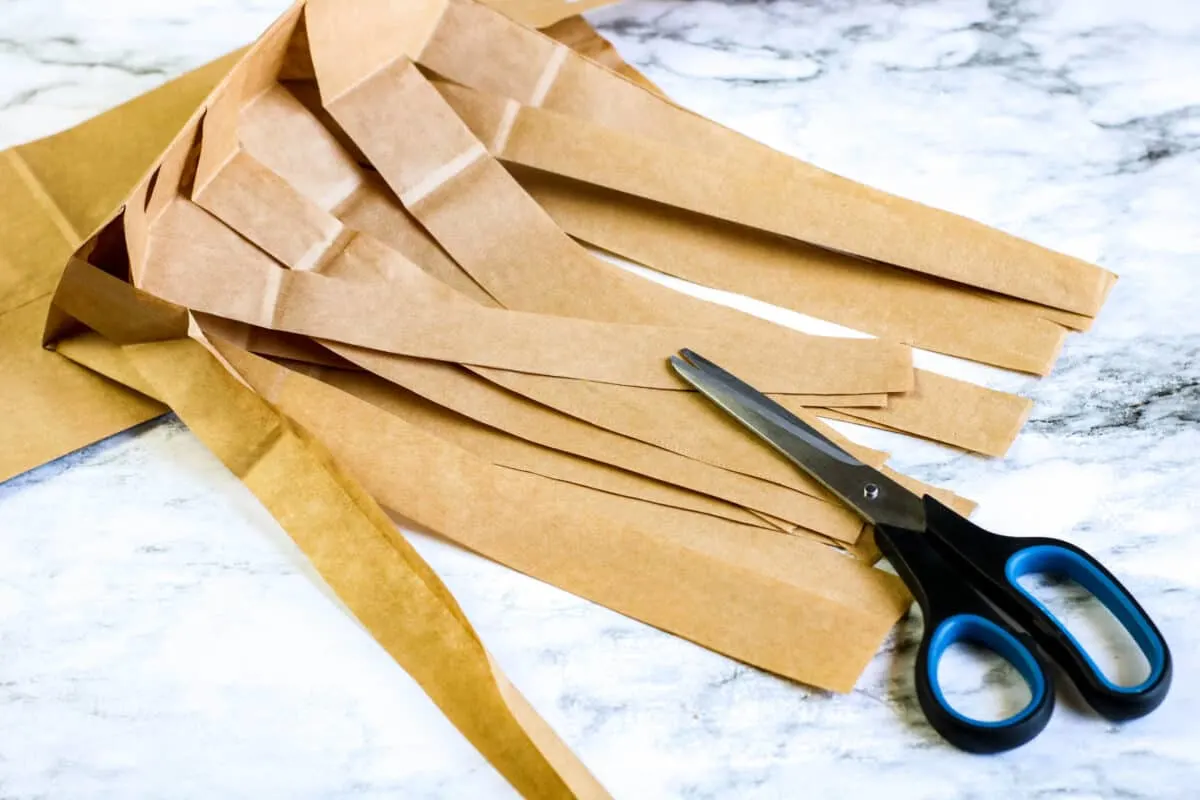
Using the second bag, cut 1-inch wide strips across the width of the bag. Don’t use the very bottom base.

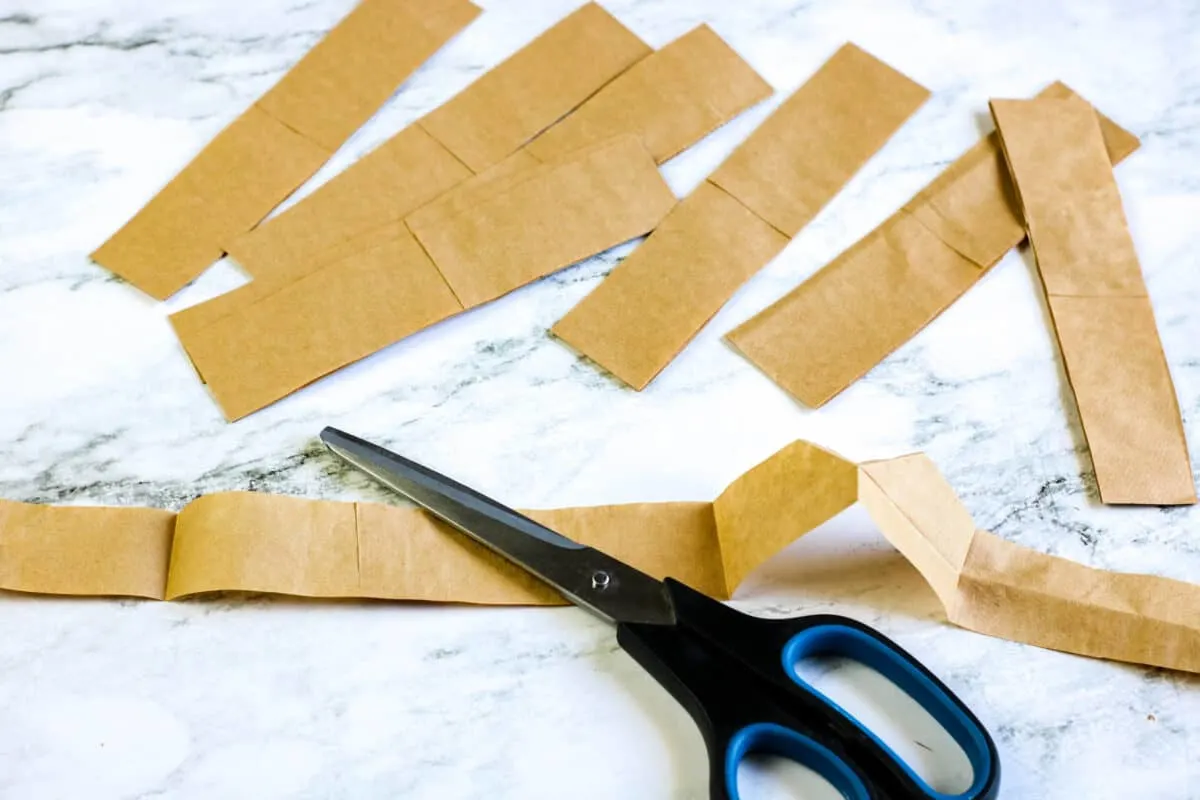
When you unfold the strips, this creates paper loops. After gently opening each loop, cut each strip along one of the folded seams to create a long strip instead of a paper loop.
Making the Basket Body
Using the third bag, open the bag completely and cut 1 inch lines from the top of the paper bag (the opening) to the bottom. Do not cut the bottom of the bag where it will rest.
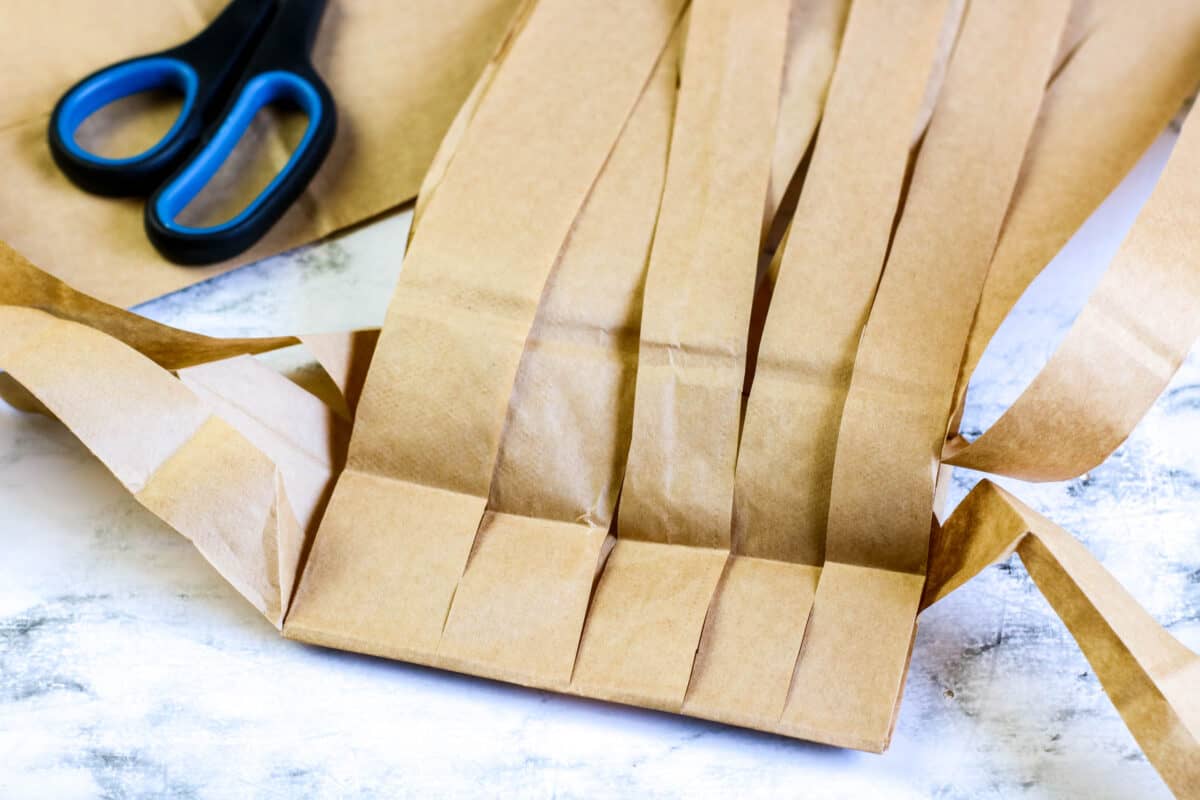

Open all of the cut pieces to lay flat on your work surface.
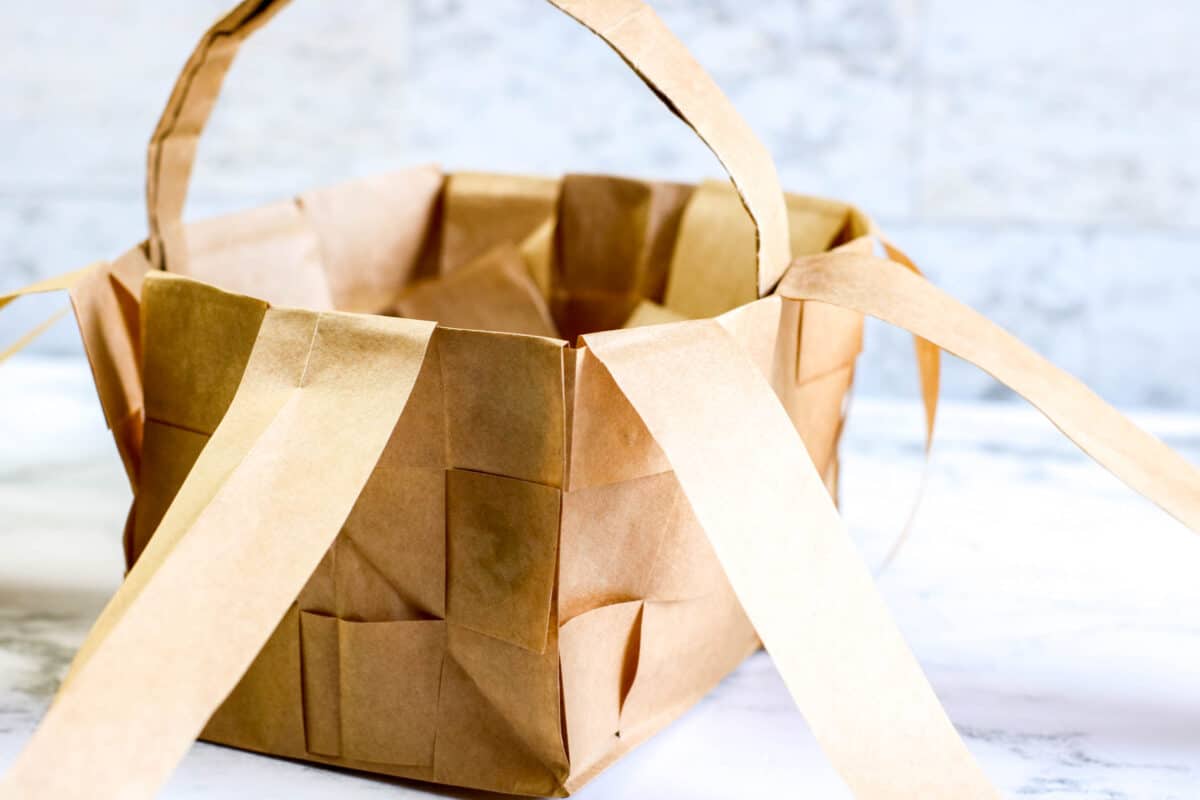
Line the handle (from bag one) across the bottom of the open bag (bag three – the basket body). Be sure to match up the handle with the strips along the side so that when the weaving begins, the handle can be included in the weave.
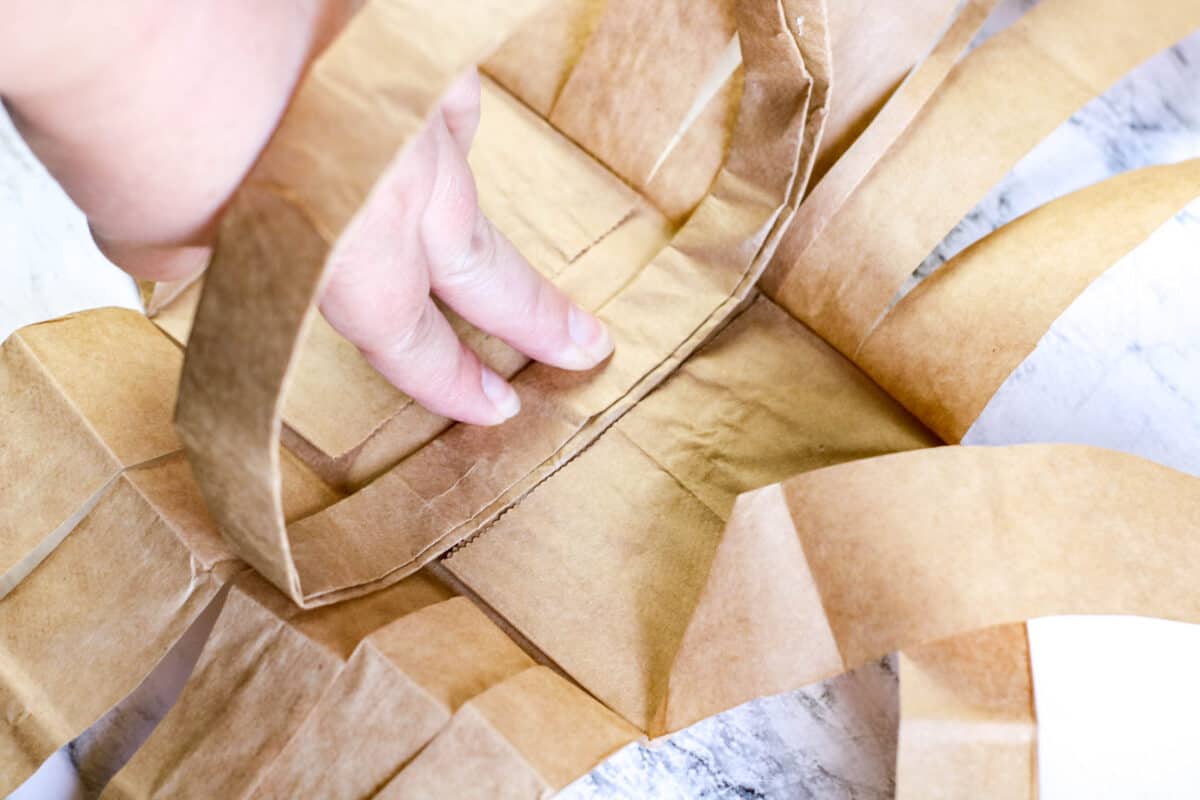
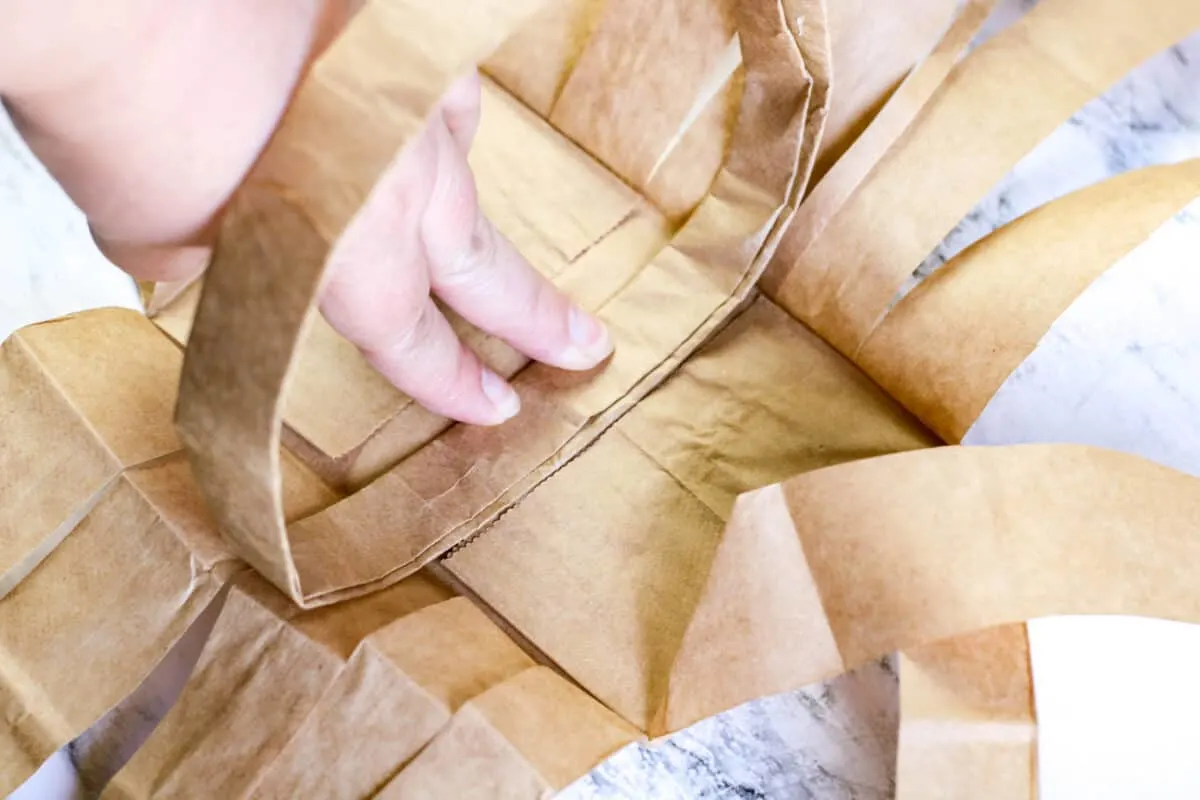
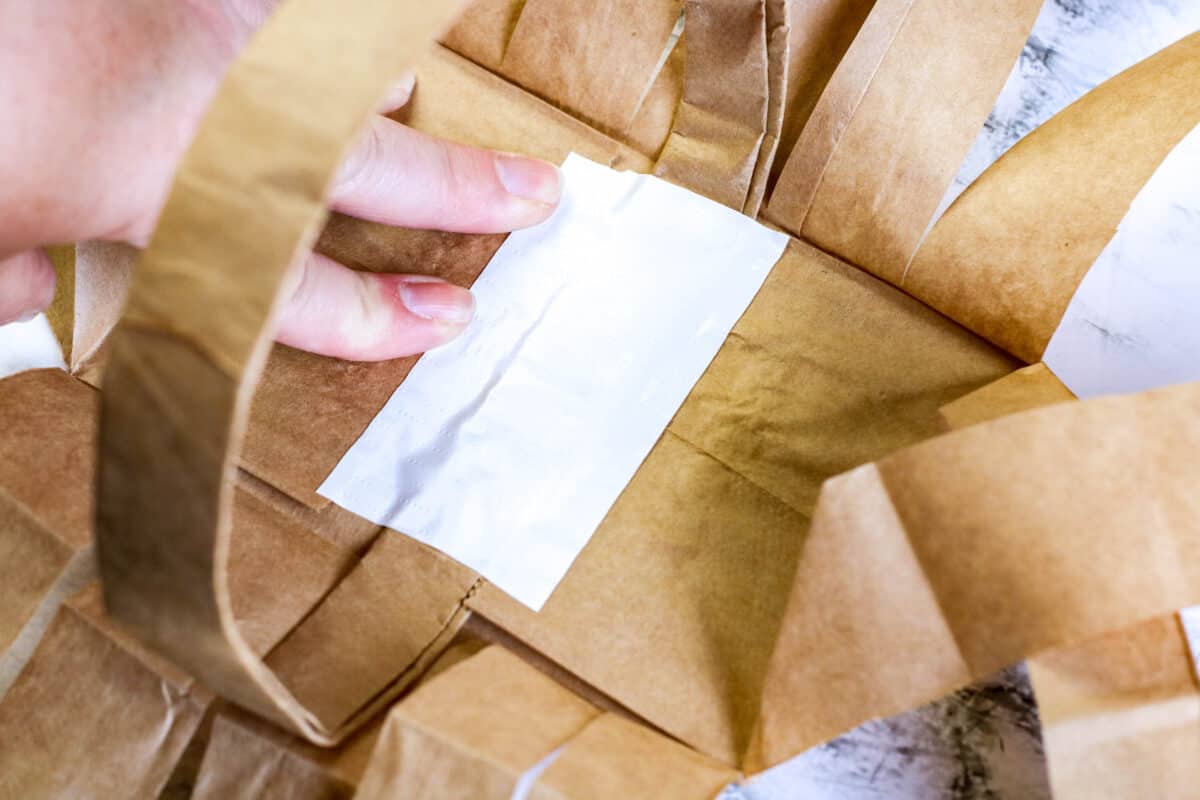
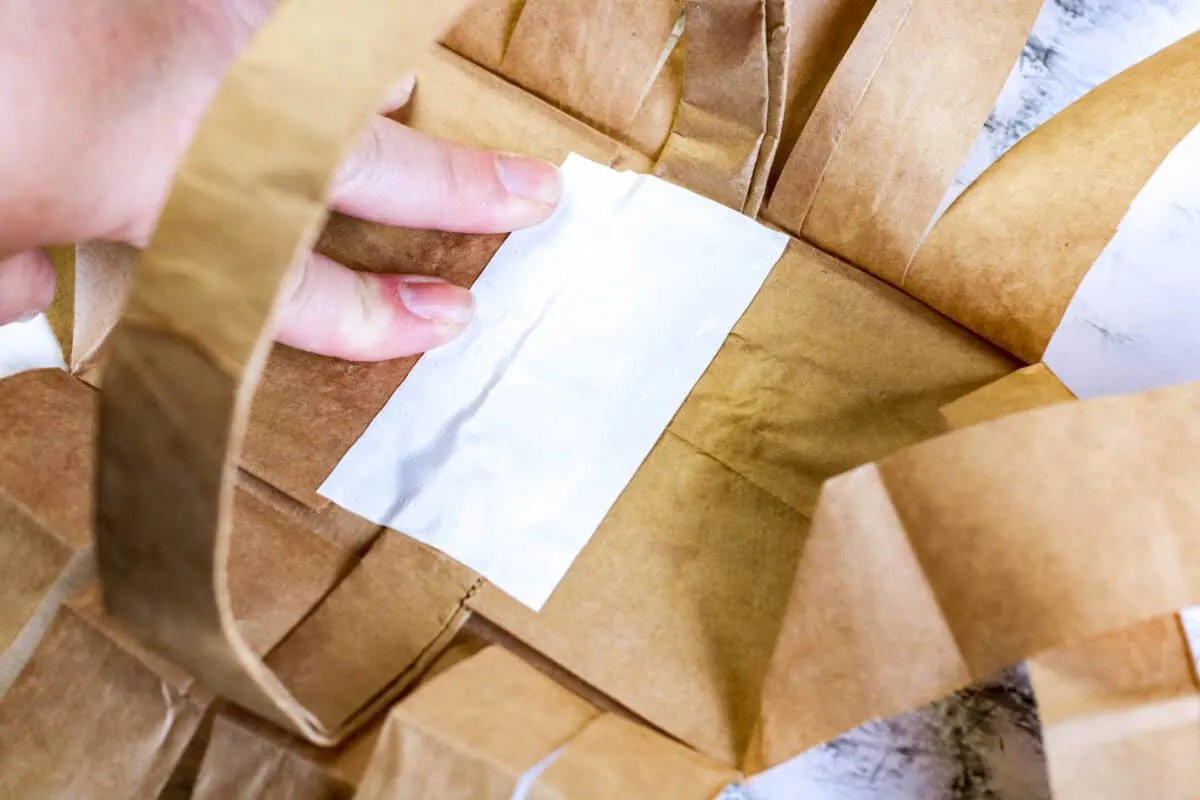
Tape the handle to the inside of the bottom. Use a heavy tape, such as duct tape for this, rather than gift wrapping tape.
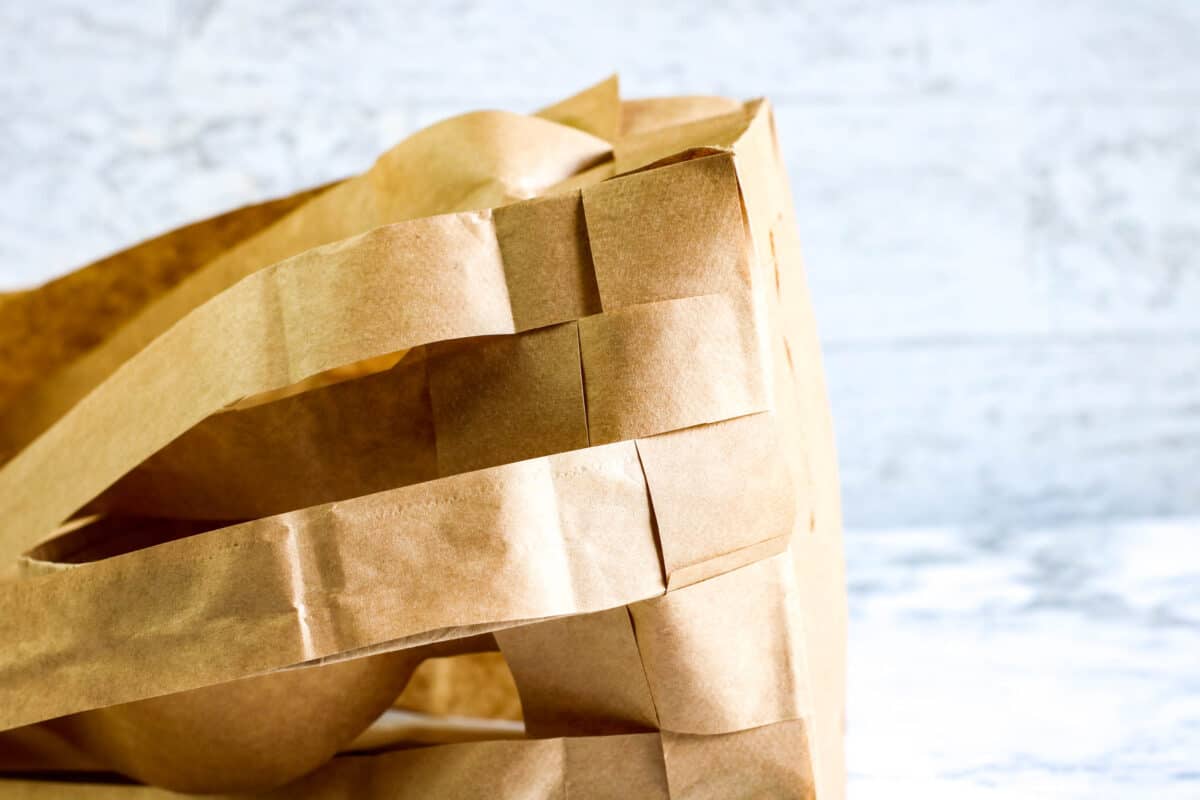
With the paper strips from bag two, begin weaving the strips in and out of the cut strips on bag three. For the best results, start at a corner. Try to align the folded edges of the strips (where the bag was folded before being cut) with the folded edges on the basket body to help hold the shape. Using glue, attach the starting and ending edges of the strips to the basket body.
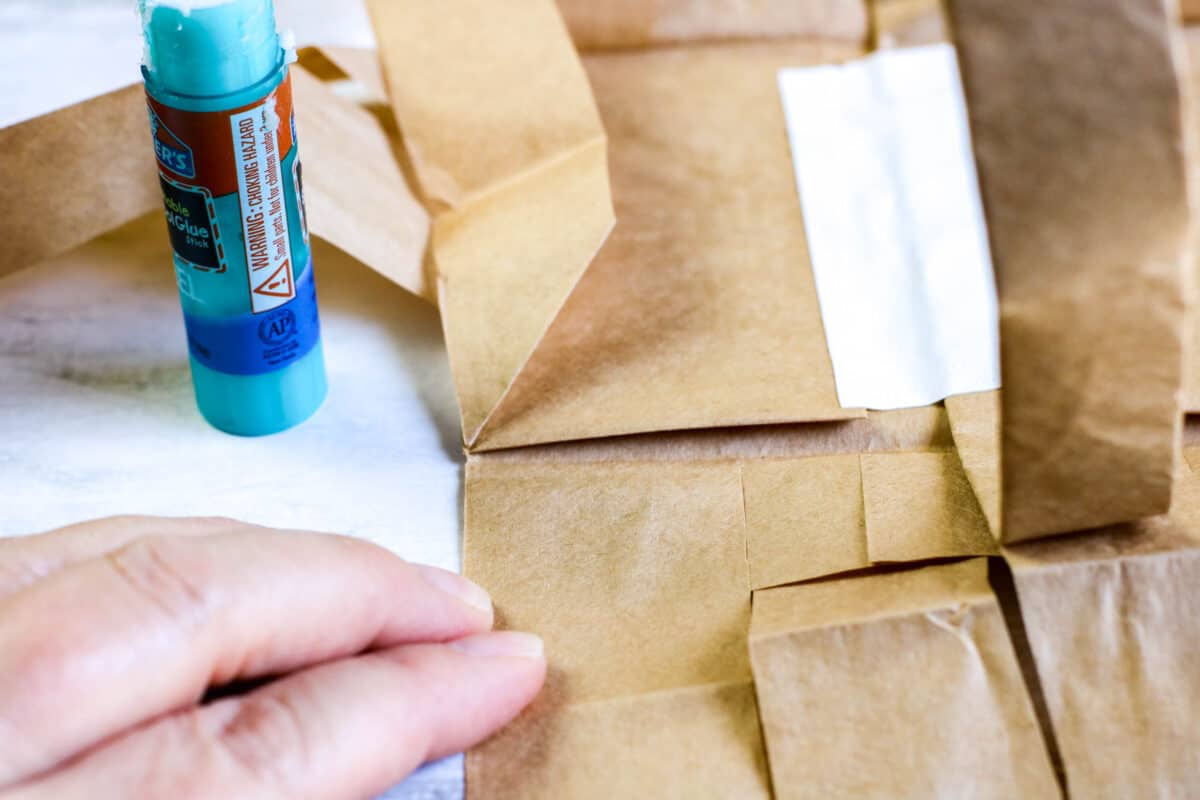

Helpful Tip: To add stability to the basket, start each weave in a different corner.

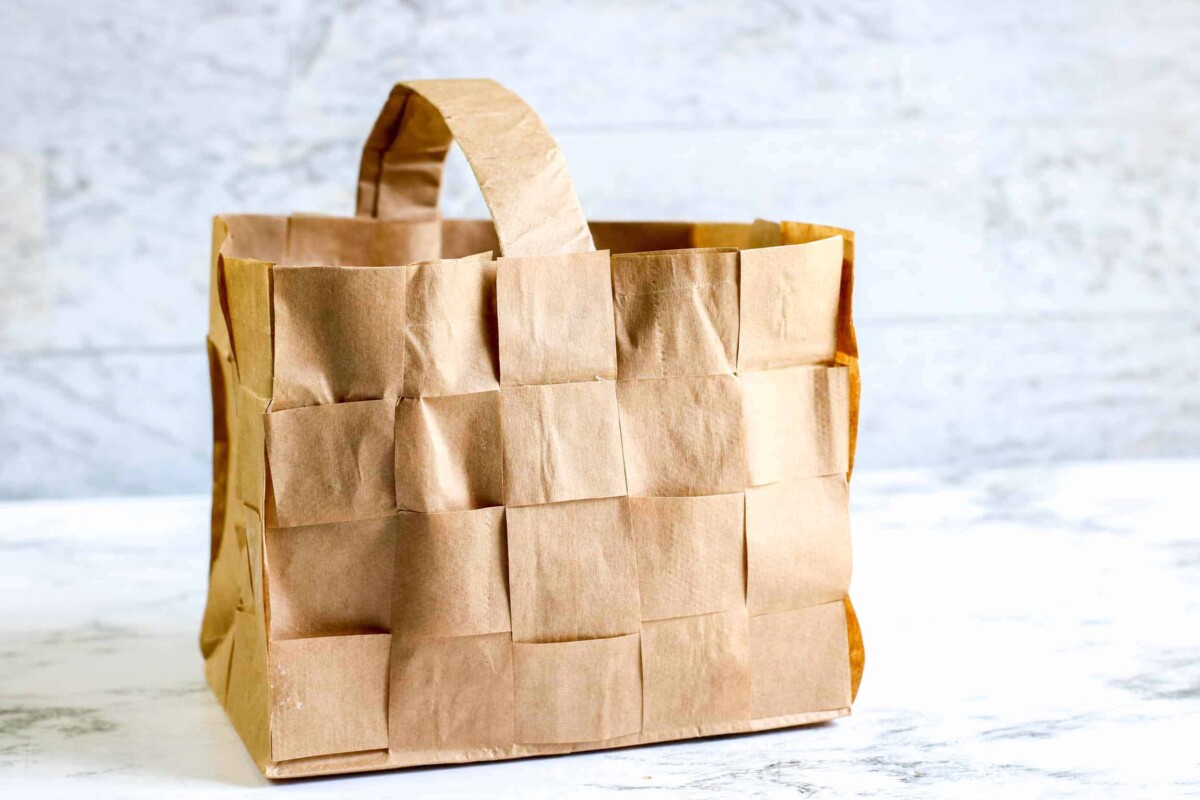
Continue weaving, alternating each row and including the basket handle into the weave. Make your basket at least 3-4 rows tall of weaving.

To complete your picnic basket, fold the remaining strips of the basket body facing the outside of the weave to the inside, over the edge of the basket walls. Cut to fit the length into the basket.

Use glue on the inside to attach the loose ends to the basket’s walls. For the strips of the basket body that are on the inside of the weave, trim them to match the height of the basket walls.

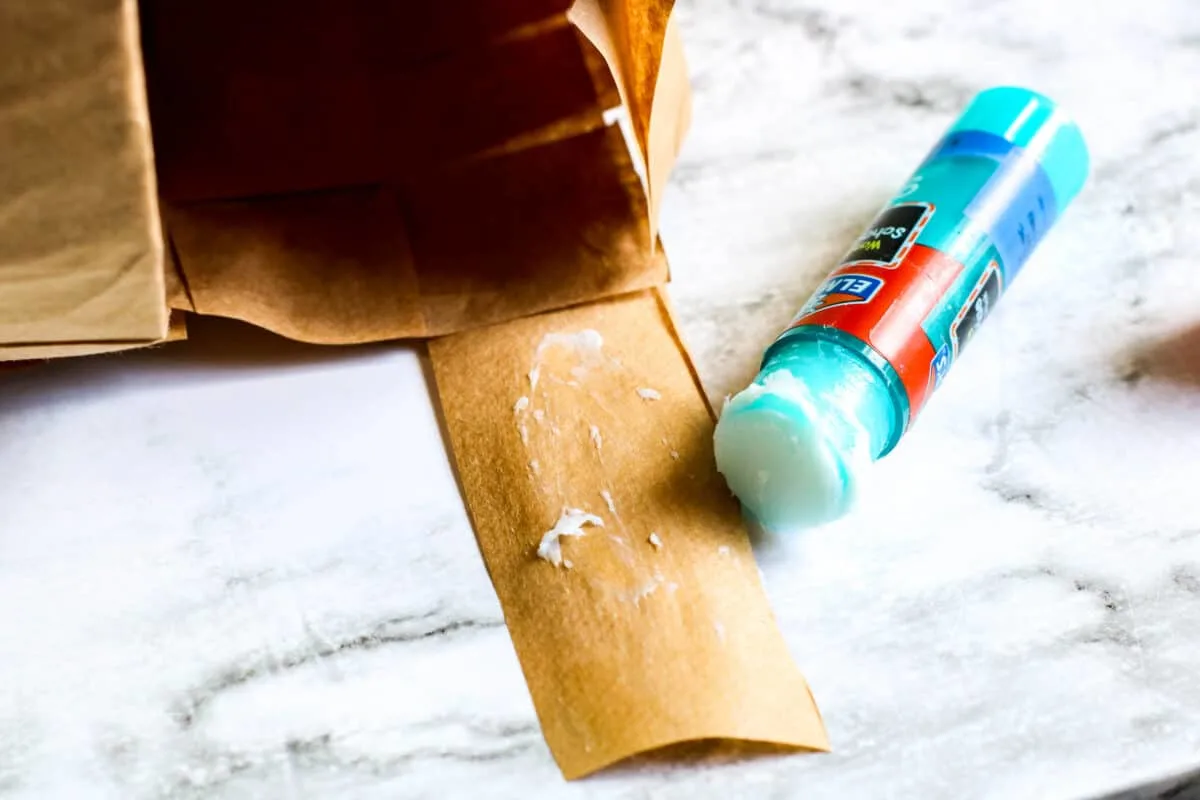

Be sure the glue dries completely before using the paper picnic basket.

Check out more of our upcycling DIY projects, including:
- DIY Macrame Wine Bottle Hanger
- Make Rustic Stars from Twigs
- Upcycle Thrift Store Canvas into Rainbow Art
- Old Picture Frame Becomes Memo Board
- DIY Stick Frame
- Pressed Leaves Artwork