


I love anything that’s pretty and inexpensive. Well, this pressed leaves artwork project is totally free!
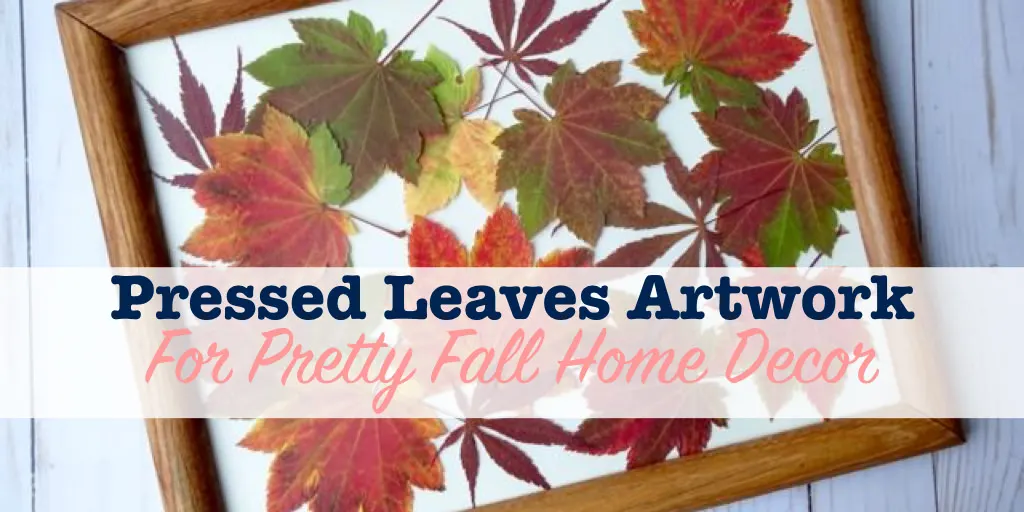
These pressed leaves bring a little bit of fall’s beauty into your home. You can make those beautiful autumn colors last just a little longer by displaying pressed leaves in a glass frame!
This DIY project uses a frame with a glass cover. You can use one that you already have at home to save money. Consider taking a picture out of frame that you have and switching out the art to be pressed leaves during the fall.
While I used white poster board as the backing, you can use any color that you choose. Black poster board would be quite dramatic with the colors of the leaves on top! Scrapbook paper or craft paper would also work well.
How to Press Leaves for Artwork
Materials
- Colorful leaves
- Heavy books or bricks
- Picture frame (I used one that was 10″ X 12″)
- Poster board for backing
Directions
Step 1
Gather leaves of different sizes, shapes, and colors.

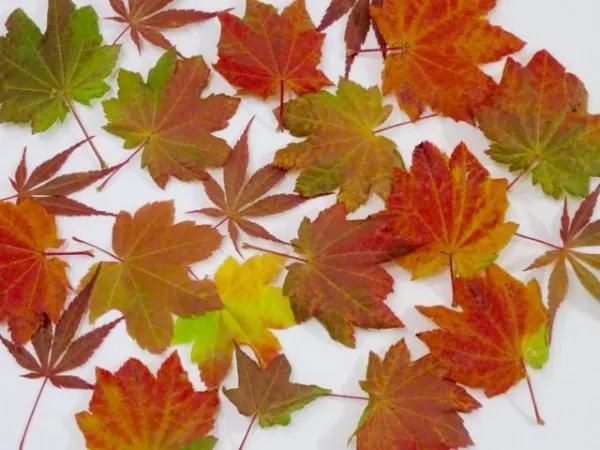
If you don’t have leaves in your yard, or if you don’t have a yard, take a walk around a local park and have a scavenger hunt to find the prettiest leaves.
Step 2
Now it’s time to press the leaves for at least a week. Lay them inside a heavy book and close the lid.
An old dictionary, encyclopedias or a phone book work really well. You can use whatever type of book you have.
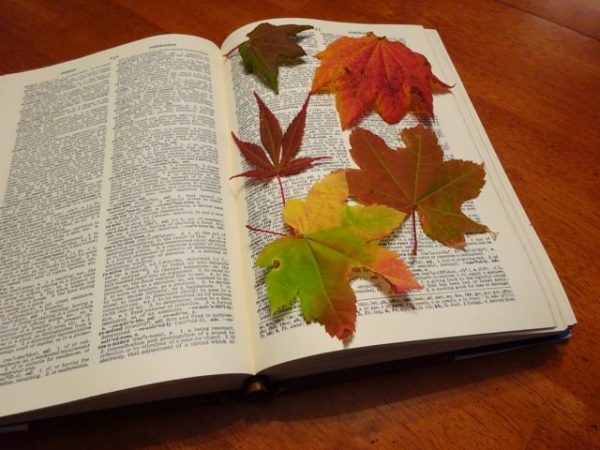
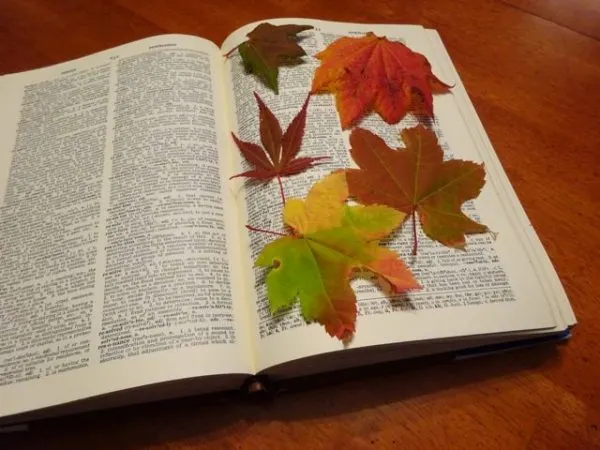
Lay the leaves out flat between the pages. If you have a lot of leaves, you’ll need to do this is in several sections of the book. Leave a fairly large number of pages between each group of leaves.
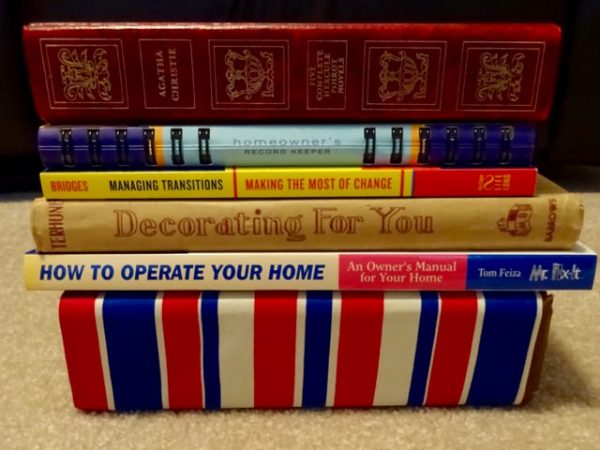
Carefully close the book, keeping the leaves flat, and watching for bits sticking out the ends. Then find a stack of other books (or bricks) to lay on top. This adds extra weight, and helps with the pressing.

Step 3
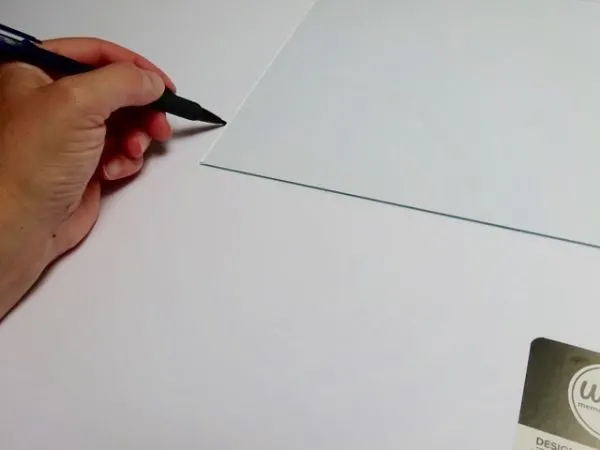
Cut the poster board to fit inside the frame. You will want the poster board to be the same size as a photo that you would put in the frame. Using the glass from the frame as a guide to cut the background.

Step 4
When your leaves have been pressed for about a week, you can take them out of the book. Arrange them on top of your poster board backing material.
Once you have an arrangement you like, you can either secure the leaves with tape, or just capture them with the glass from the frame.
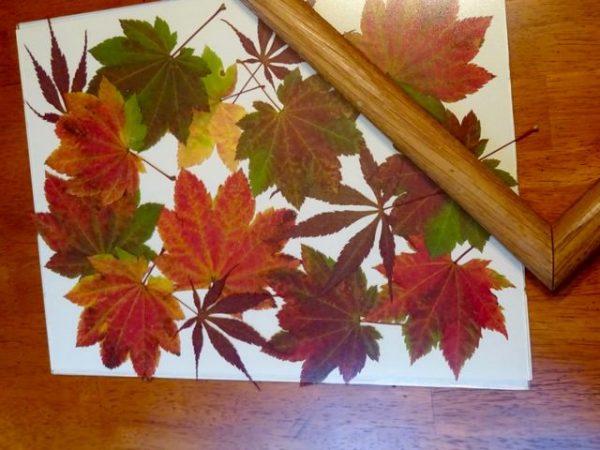

Clean the glass on both sides before you lay it on top of the leaves. This will hold the leaves in place while you set the frame on top.
When your frame is in place, just flip the whole thing over. Now you can easily secure the backing to the frame.
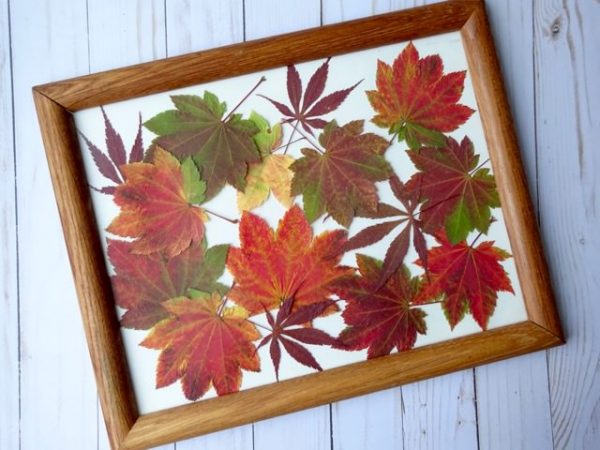

So simple and so pretty! Just my kind of project.
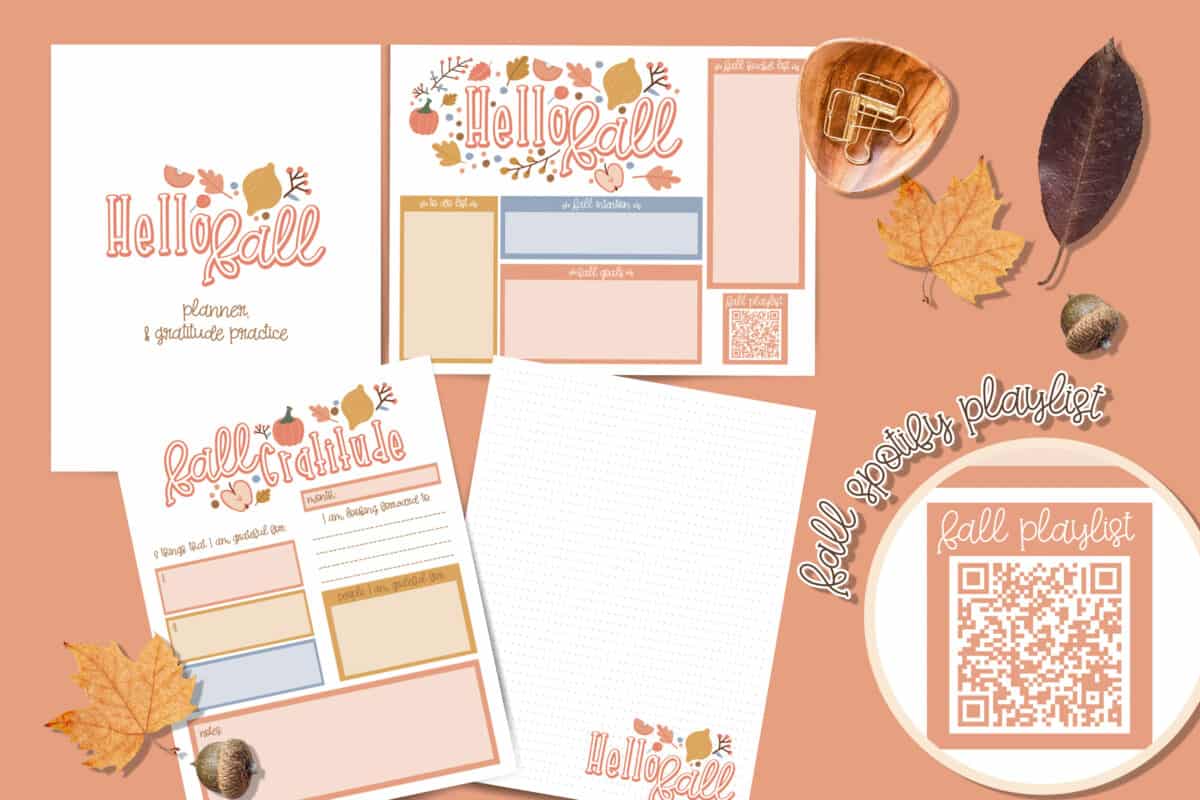
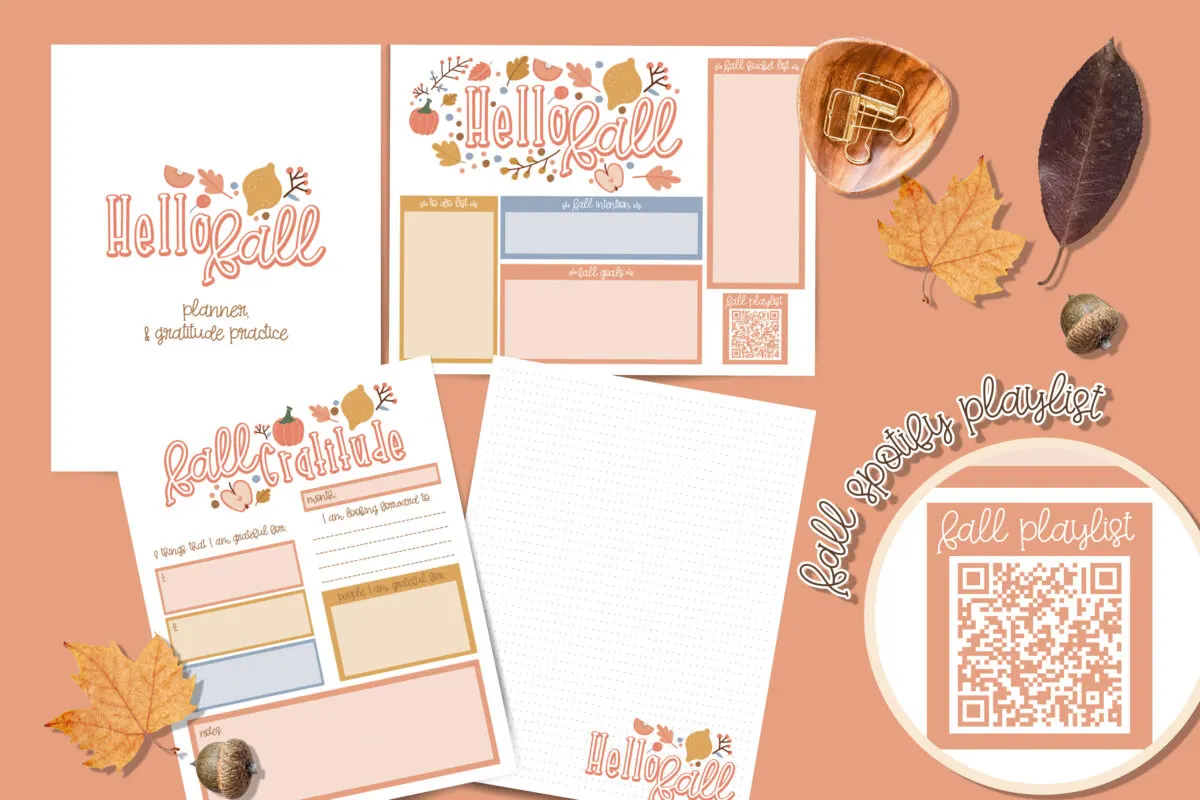
Get Your Fall Gratitude Journal Now!
Fall is a time to rest, reflect and be grateful. This printable planner and journal pack will help you capture your memories, and plan for the busy season ahead.
If you don’t have any real leaves, you could always use dollar store leaves. You can also use fake leaves to make this cute no-sew Fall banner!
Be sure to check out my other Fall craft projects, including these pretty DIY book page leaves!
