
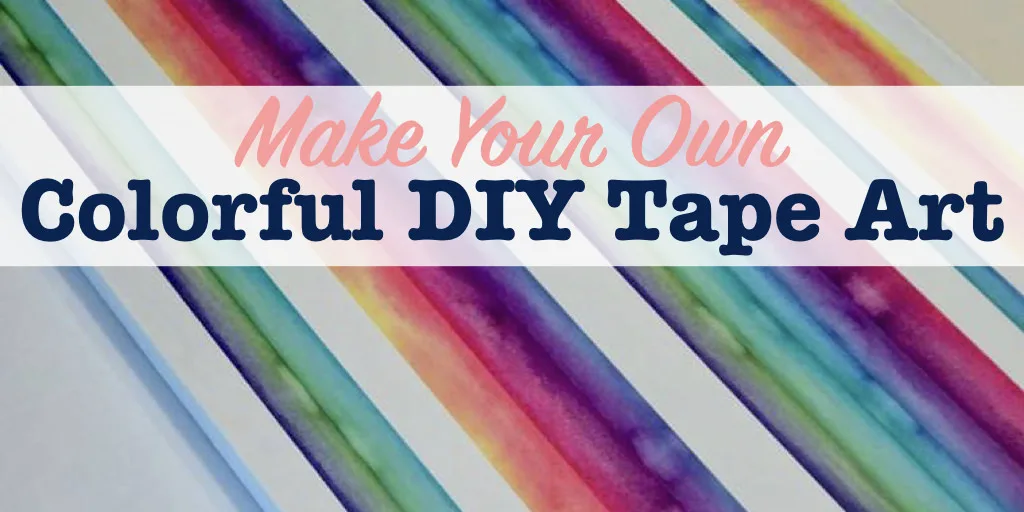
Make your own colorful DIY tape art with this easy way to upcycle an old canvas painting.
Though I love crafts, I’m not very artistic. I don’t have any drawing or painting skills. So, when I want to create art for my walls, I have to be creative in other ways.
When I found some beautiful Washi tape in the craft store, I was suddenly inspired! I created this colorful DIY tape art for my office and I love it.

It’s a great way to repurpose old canvas art that I didn’t want to use anymore. Plus, it didn’t cost much money, either!
I’ve also upcycled an old wooden sign to make this dog artwork which is so cute! And see how I turned dollar store charger plates into cute farmhouse enamelware decorations for the wall.
How to Upcycle An Old Canvas Painting
Materials
- Washi tape
- Repurposed old canvas
- Paint for background color (optional)
- Masking tape or duct tape
Directions
1. Paint the Canvas
To start my project, I found an old canvas artwork at a thrift store. It was exactly the size I wanted.
Repurposing an old piece of art from a thrift store can often be much less expensive than buying a new canvas at an art store.
However, sometimes you can find great deals on canvas at your store, or you just don’t want to wait to find the perfect piece at a thrift store. So either way is still going to cost less in the long run.
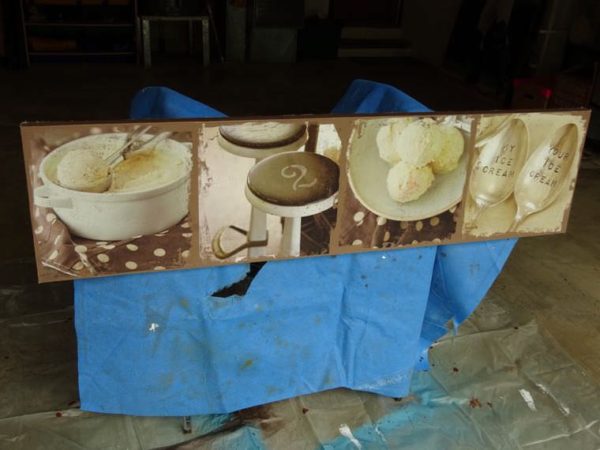

Here is my old canvas artwork set up in my garage so I could paint it white. I didn’t want any of this picture to show up between my washi tape!
You might also want to paint the canvas so that the original image doesn’t show through the tape. If you do paint, I’d choose a matte paint rather than glossy. That way the tape will stick better.
2. Add Tape to the Canvas
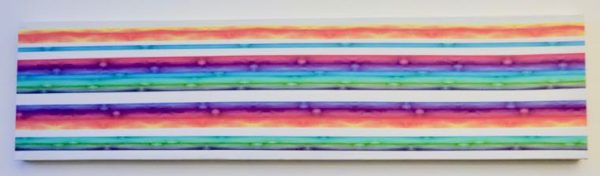
I just started laying down strips of multi-colored Washi tape.
To start myself off straight, I laid the first strip along the edge of the wood frame under the canvas. (I could feel the edge of the frame underneath the canvas as I was placing the tape.)
Then I just kept putting Washi tape strips next to each other.
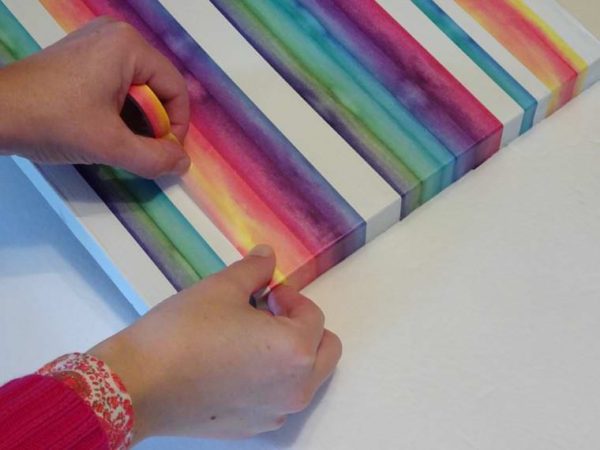

I left gaps between several rows of tape to allow the white background to show through. You could layer your washi tape over the edges of each row, though, if you’d like.
To make sure the gaps between the rows of tape stayed straight, I used an old tip I learned in a high school art class.
First, I stuck a piece of masking tape to my sweater. This causes it to pick up some fibers from the sweater, and makes it less sticky.

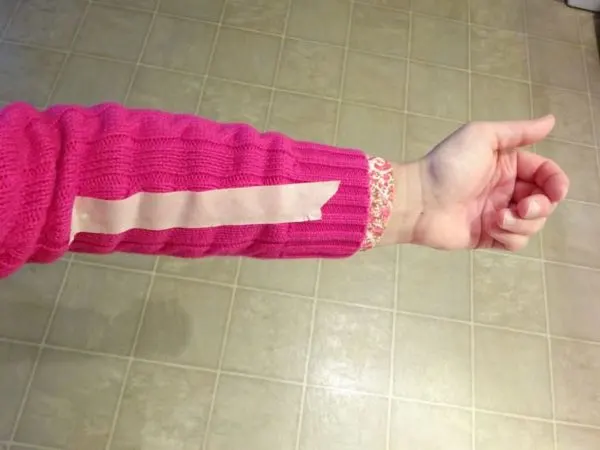
Next, I put down several strips of this less-sticky masking tape as a spacer below my last row of washi tape. This gave me a guide to work against when I laid down the next row of washi tape, leaving a gap between rows.
Removing the masking tape when I no longer needed the guide was easy, and didn’t risk damage to my painted canvas.
3. Finish the Edges
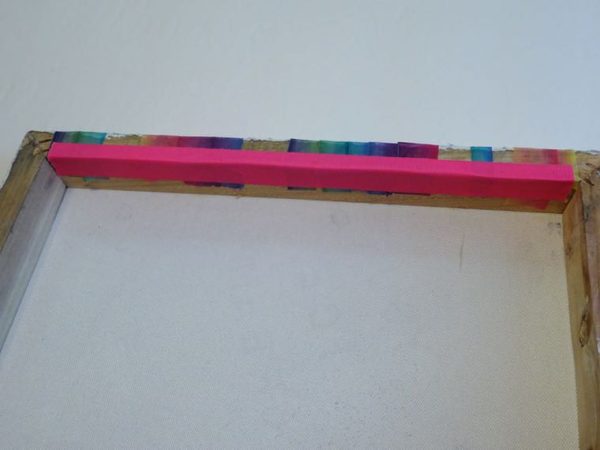
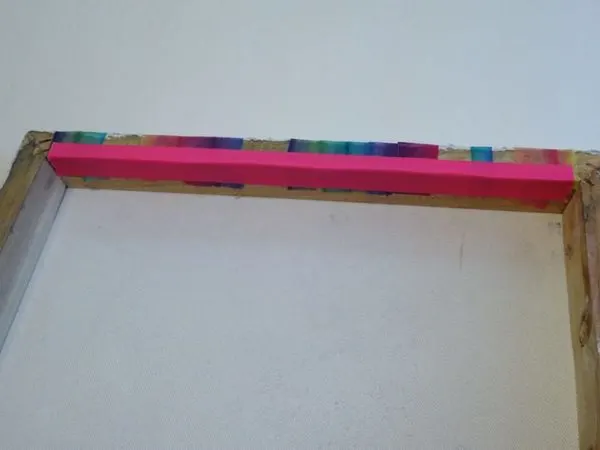
Use another piece of tape on the back of the canvas to keep all the little tape ends stuck in place.
Use a tape that won’t peel off easily, such as masking tape or duct tape.
DIY Office Art
In just a few easy steps, I now have a colorful piece of inexpensive artwork. I used mine to brighten up a stark white wall in my office.

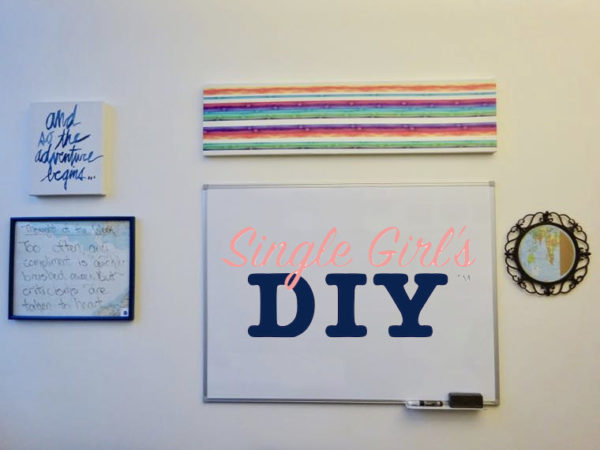
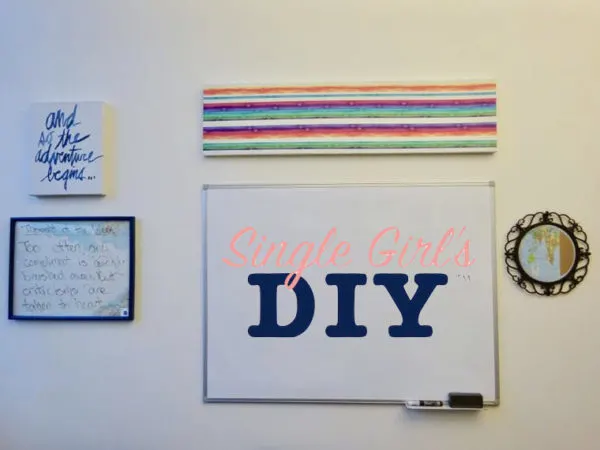
Also on my office wall is a DIY memo board made from an old picture frame.
Who knew there were so many fun crafts to do with tape? I used washi tape to decorate wooden spoons, too, and am thrilled with the results!
