


I am so happy with my DIY master bedroom makeover! When I moved in, this bedroom was trapped in the 1980s! It had pink mini blinds! Yep, and pink carpet and pink window valances.
The remaining decor was definitely out of date and needed some help. But with no money to buy fancy decorations, I had to get creative with what I did to makeover my bedroom.
Here are the money saving ways that I did my bedroom makeover. I think it turned out beautifully!
For even more ideas, check out these other budget-friendly bedroom makeovers.
Master Bedroom Before Pictures
To appreciate this budget-friendly makeover, you have first got to appreciate how bad the bedroom was to begin with!
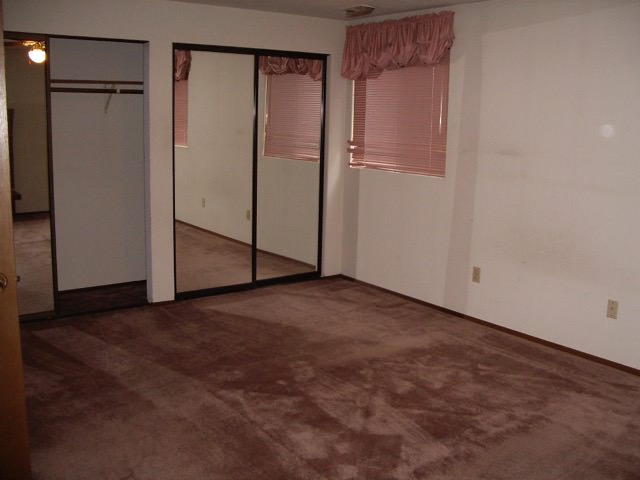
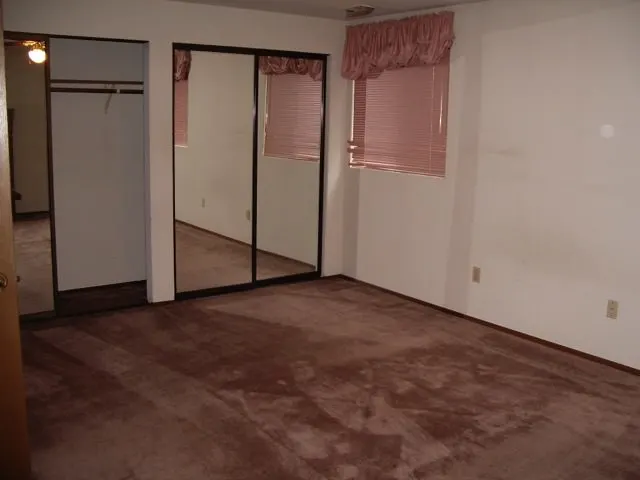
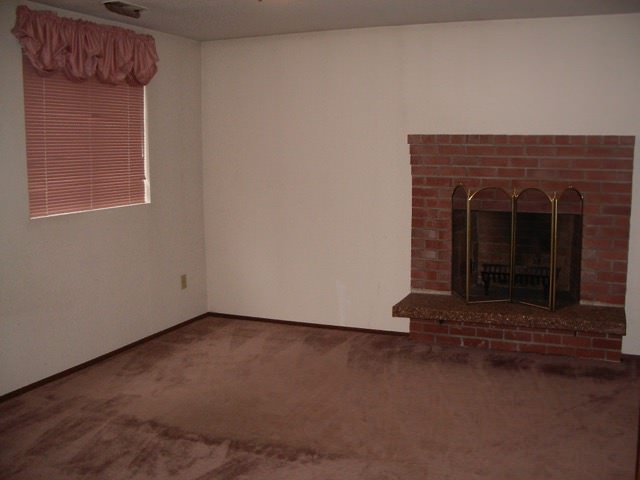
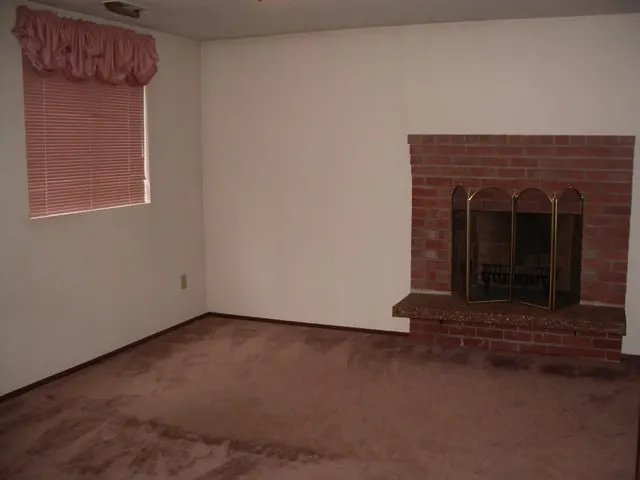
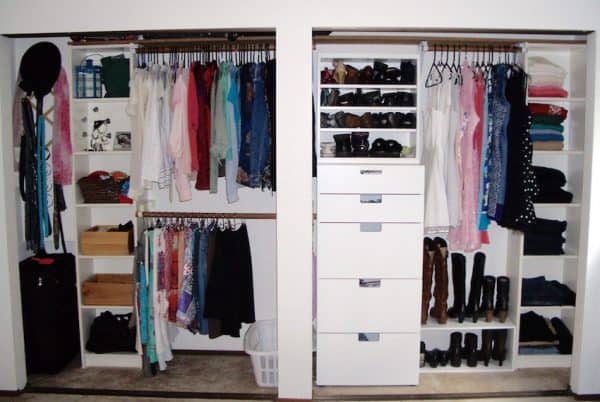
The size of the bedroom is huge! And two closets is wonderful. Plus, there’s a fireplace!
There were a lot of good things going for this bedroom, but it desperately needed an updated makeover.
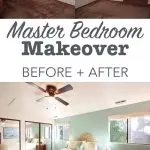
MASTER BEDROOM MAKEOVER: BEFORE + AFTER PICTURES
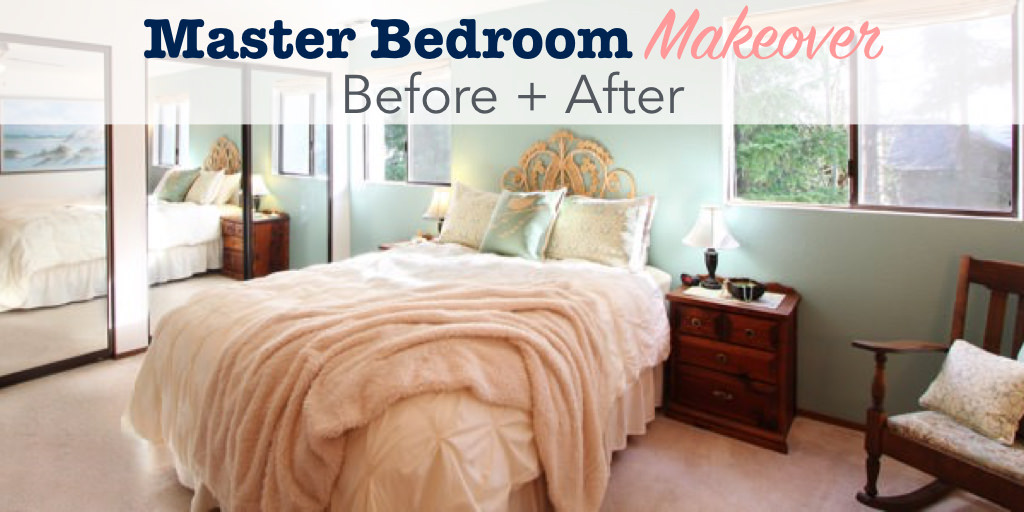
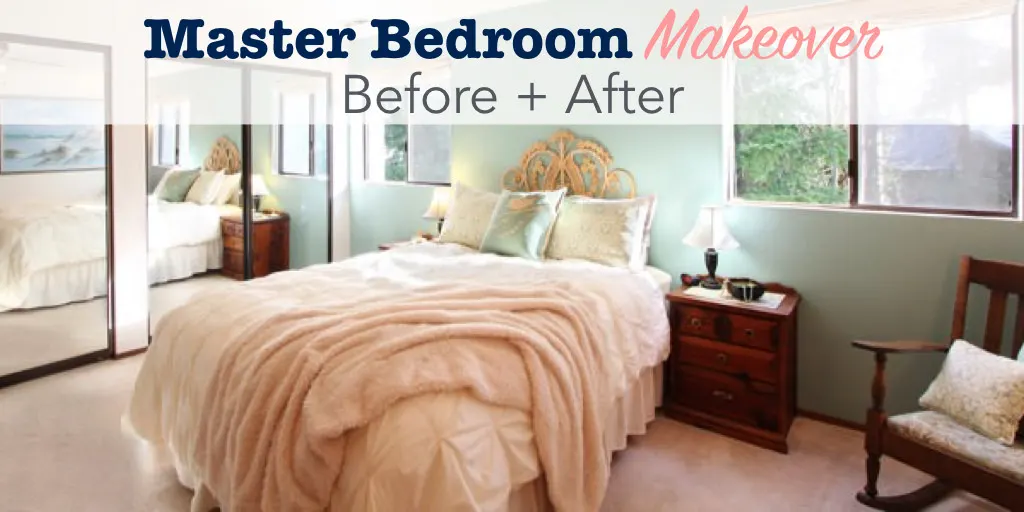
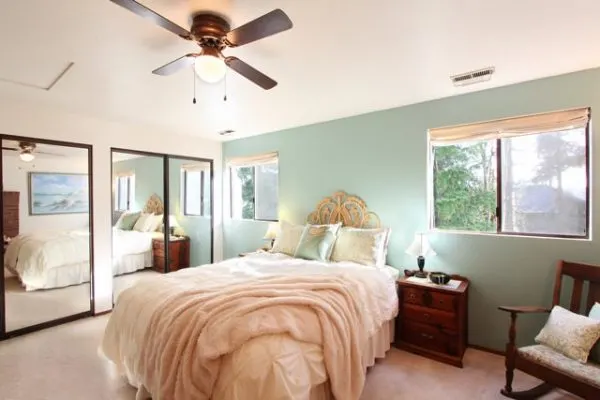
Let’s look at the transformation! Here’s what I did to turn this dark bedroom into a peaceful, light-filled retreat on a budget.
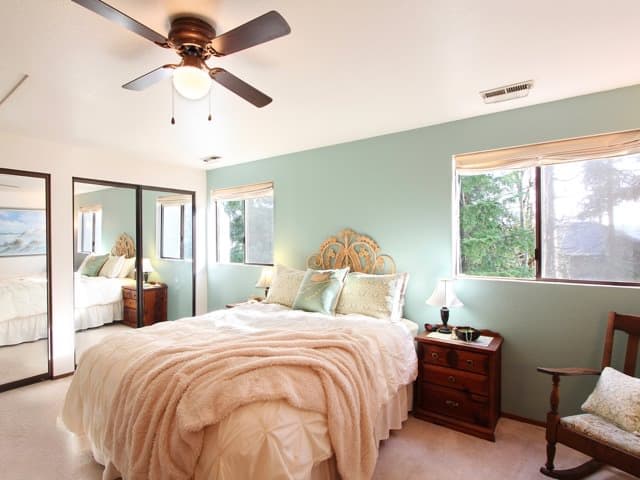
Using Discounted Paint
I picked up a can of paint in the “reject” bin at Home Depot. Apparently someone else didn’t like the color, but I love it. It is Ralph Lauren Flowering Cactus, which I painted on one accent wall.

DIY Curtains from Drop Cloths
The ugly window treatments were replaced with super budget friendly DIY Roman shades that I made from a painter’s drop cloth.
Using Childhood Furniture in a New Way
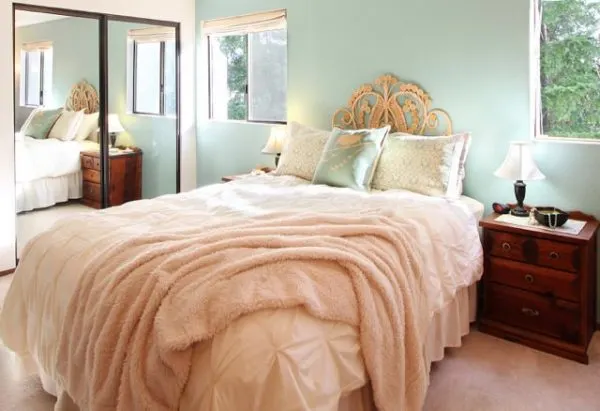
The wicker headboard is actually meant for a twin-sized bed. It was in the family for years, and I always liked it, so my mom gave it to me.
I made it work with my queen sized bed by setting it on top of plastic flower pots hidden under the bed. I think it looks really good, even though it wasn’t intended for a bed this big!

Have One or Two Splurges
The bed and the frame was the one piece of furniture that I bought new. Buying a comfortable bed is pretty much non-negotiable, as you need a good night’s sleep. Here’s a great inexpensive natural latex mattress that I really recommend.
And I was surprised at finding a solid wood, non-toxic bed frame for a pretty good price. It is super sturdy and I am really happy with it!
To add a feminine touch, this pintuck duvet cover in a color I love makes the bed feel very luxurious and cloud-like.
Leaving the Old-Fashioned Mirror Closet Doors
I had considered replacing the closet doors, but I learned to love the mirrors. They make the room feel brighter, and more spacious.
The mirrors are also very handy for getting dressed, so they will stay. That way I don’t have to buy a full length mirror and figure out where to put it.
Be sure to check out all of my tips I learned for how to organize a woman’s closet.

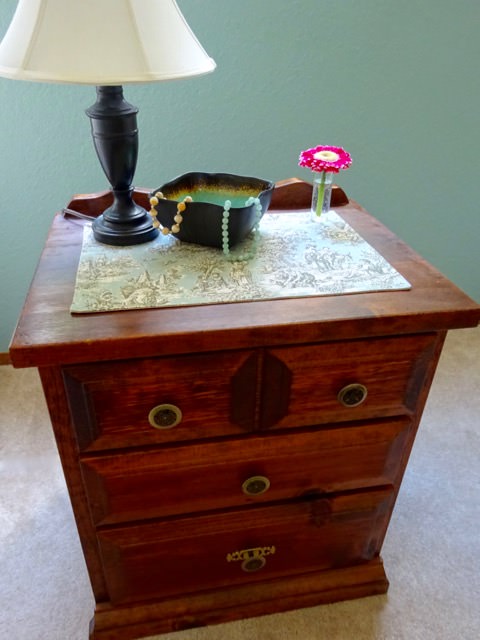
Using Hand-Me-Down Furniture
There is nothing wrong with using hand me down furniture! Often, the quality of older furniture pieces is better than what you can buy new today!
The matching nightstands came from my childhood bedroom. I also took the one that used to belong to my brother, LOL!
I did buy matching lamps for them.
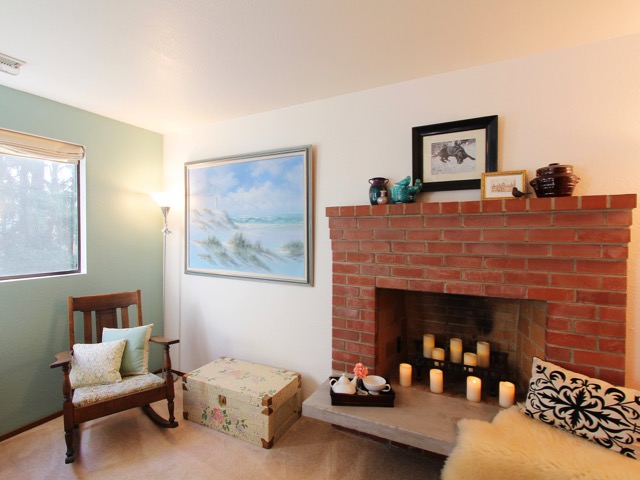
Decorate with Sentimental Pieces
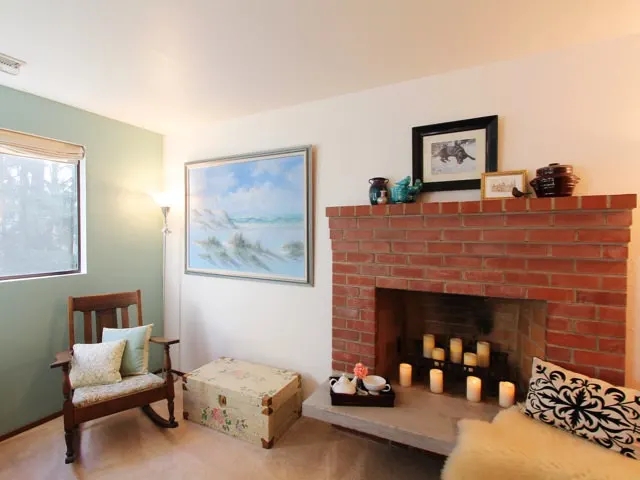
A giant beach painting inherited from my grandparents now fills the wall by the fireplace.

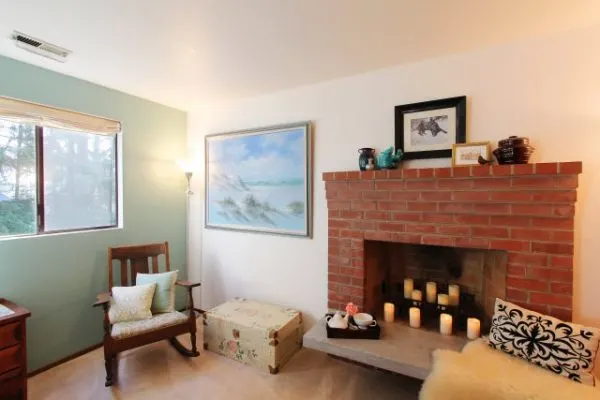
Updated Fireplace
The old dark and dirty fireplace really made this room look bad. I updated fireplace hearth on my own and it makes a huge difference in the appearance.
The fireplace update was simple to do. I encourage you to make your fireplace a focal point if it is in the bedroom. It’s really a statement piece.
Using Inexpensive Fabric for Accent Touches
For accent pieces, I bought a couple yards of coordinated upholstery fabrics to sew on my own. You can buy from the clearance section of fabrics at JoAnns. Walmart also sells fabric.
I made a seat cover and throw pillows for the rocking chair. Using my tutorial, it’s so easy to update old pillows with these removable throw pillow covers!
I also sewed decorative toppers for the nightstands, and matching pillow shams for the bed.

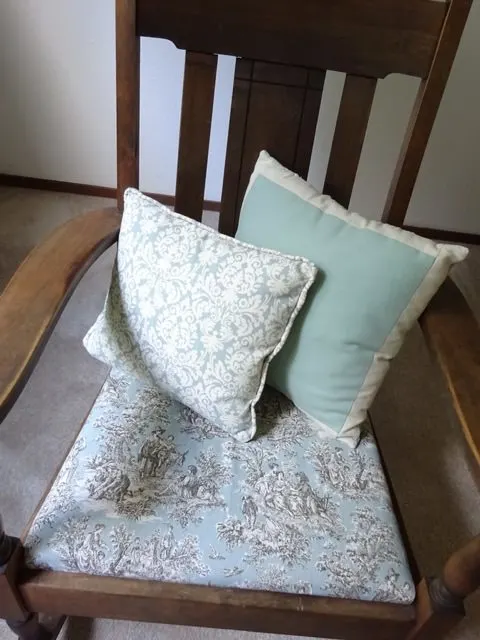

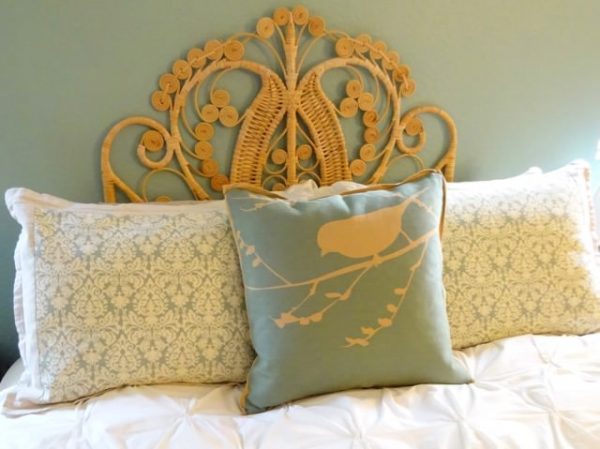

The matching fabrics throughout the room unify the decor and give it an elegant touch on a budget.
A Budget-Friendly Bedroom Makeover
Okay, I’m biased, but I think these thrifty updates are pretty dramatic!
Just because you can’t afford major remodeling projects doesn’t mean you can’t love your home.
Here’s another look at the before and after pictures:

If you’re feeling inspired to try your own budget-friendly updates, be sure the check out all of my room makeovers in my Home Tour. I share lots of thrifty room makeover ideas.

Karen Boyd
Friday 17th of January 2020
Great job. I especially appreciate the choices you made about changing some things and leaving others. Once you changed the hearth, the fireplace looked great! Painting one wall also made a big difference. Also "making do" with things you (or someone generous) already owns, adds depth to the design. It doesn't look too new and matchy matchy.
Jenny
Friday 17th of January 2020
Thanks, Karen. Changing the hearth did make a huge difference.