


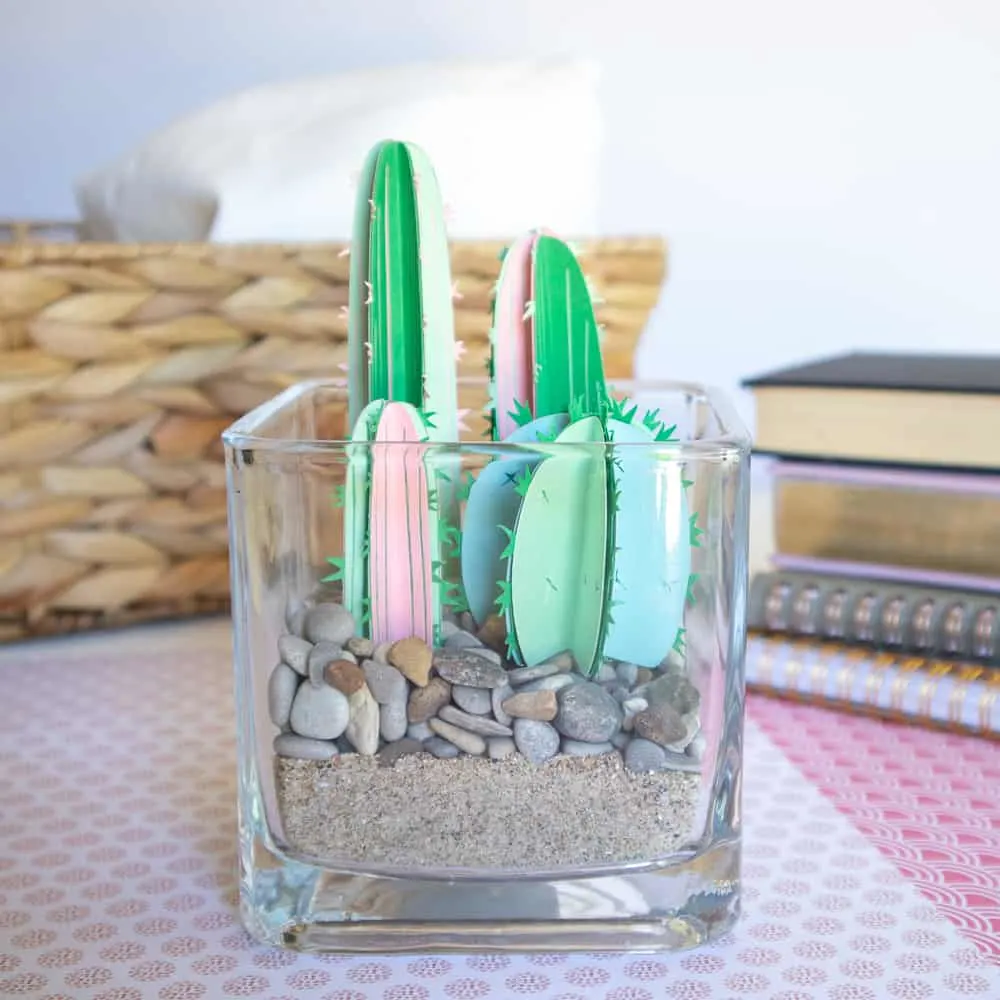
If you’re like me and you end up killing succulents and cacti no matter how hard you try, then it’s time to enjoy faux plants! This DIY Cactus Terrarium made with Cricut adds cute and colorful plants to your home, and you never need to water them!
I love this easy cactus terrarium because the colors always stay the same, I don’t have to worry about sunlight exposure, and it will look just as good three months from now as it does today!
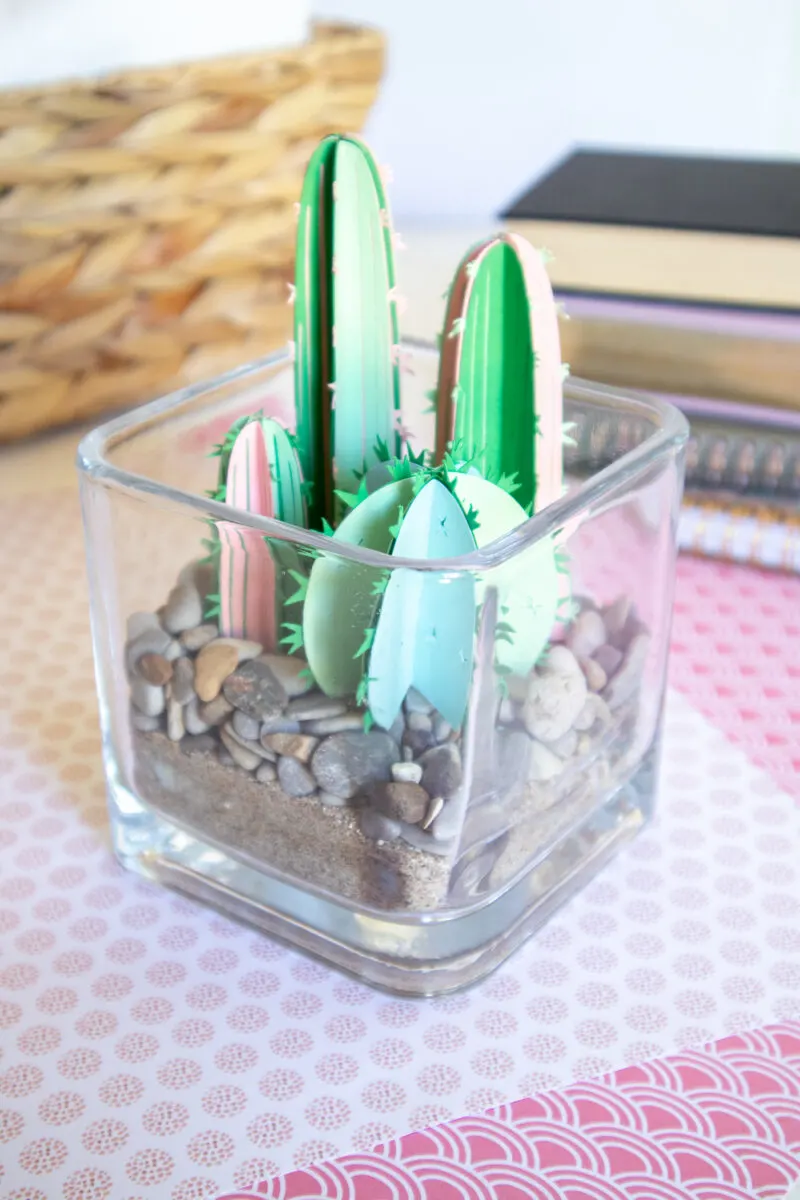
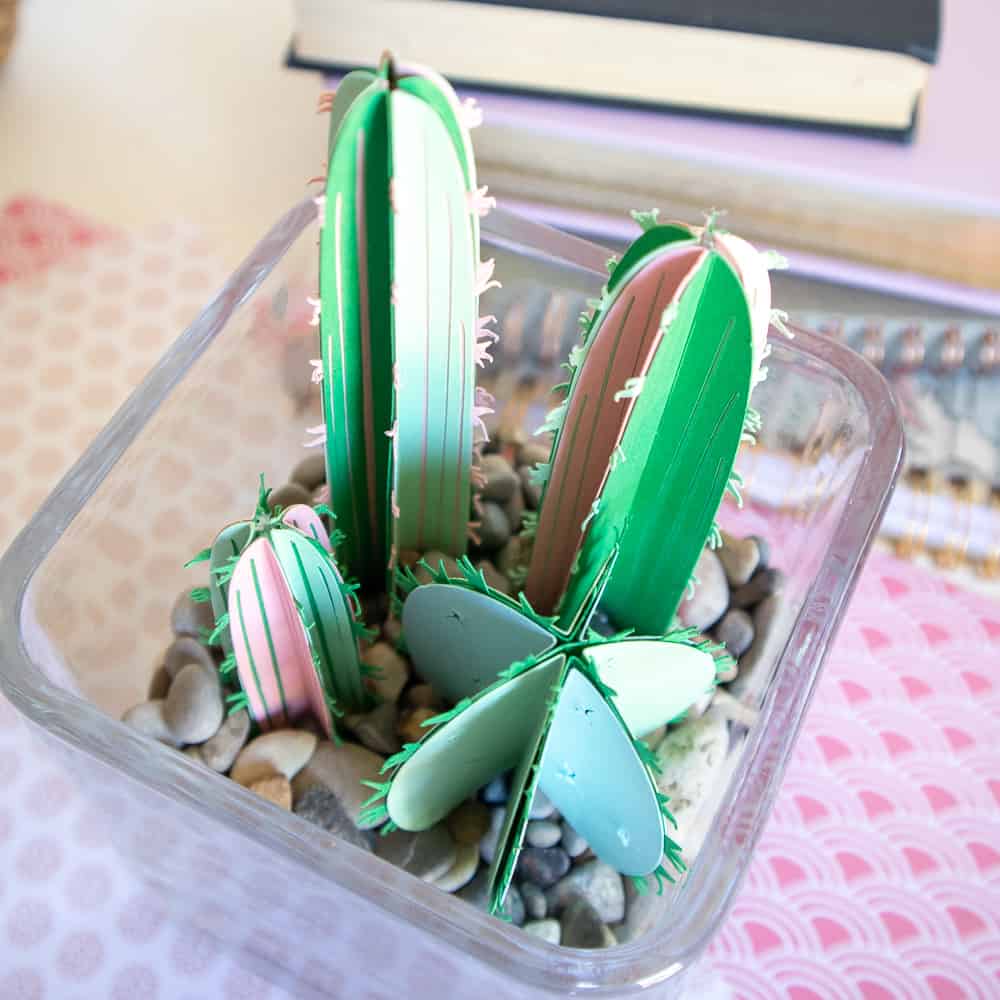
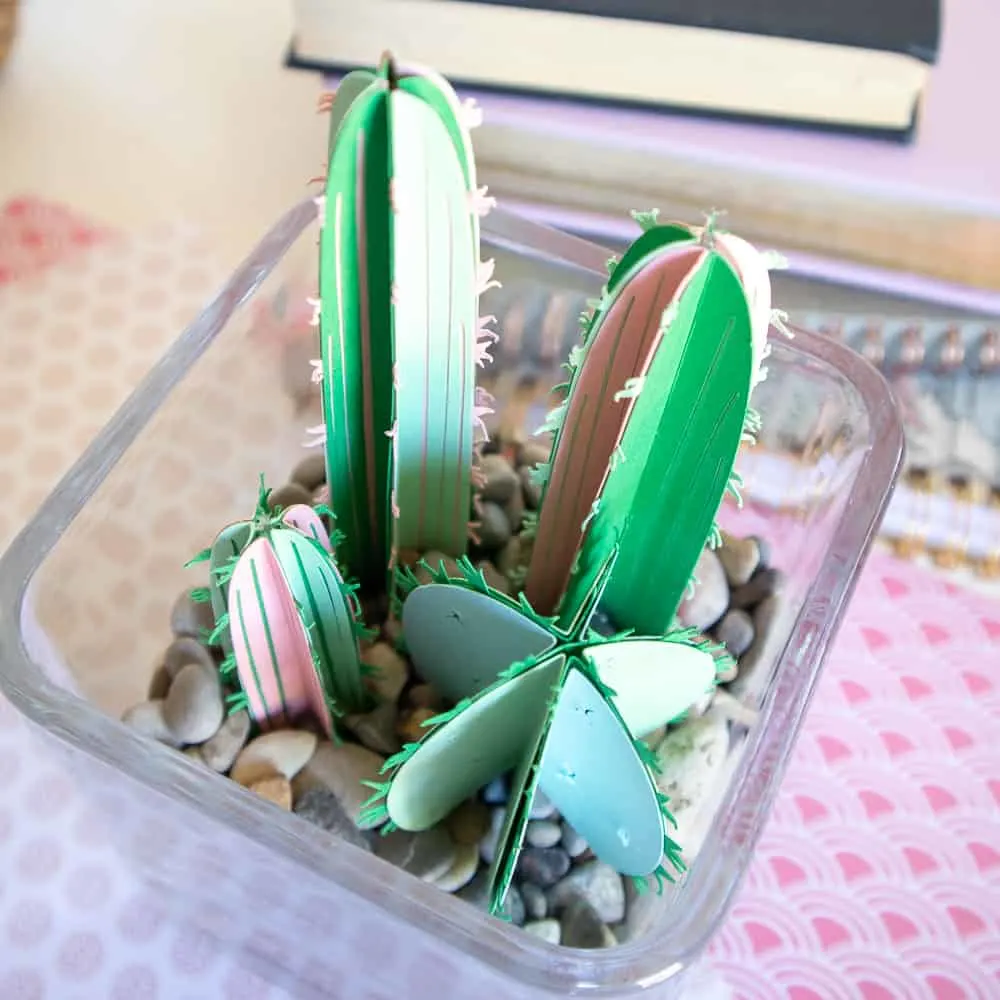
The pastel colors of the paper make this a pretty cactus to look at on my desk. It’s a boho accent that brightens up my decor.

If you like using faux plants to decorate your home, you will want to see my easy mini felt succulents or these popsicle stick cacti, too!
And if you love terrariums, be sure to see my lantern terrarium with glow-in-the-dark mushrooms!

How to Make a Paper Cactus Terrarium
This craft tutorial will make three paper torch cacti in varying sizes, as well as one barrel cactus for your terrarium. If you have a larger bowl to fill, you will want to make more of these succulents.
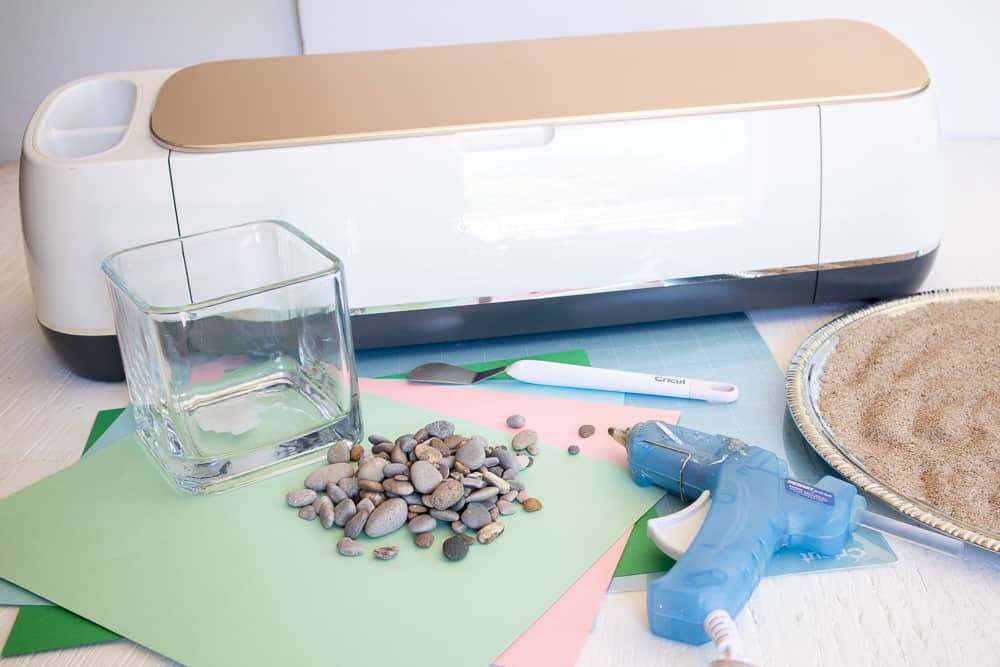
Supplies
- Torch Cactus template in Design Space, #M103661F + #M102CADB
- Cricut Maker (or other Cricut cutting machine) with Fine Point Blade and Scoring tool
- Cricut Light Grip Mat
- Cardstock paper in light green, dark green, coral pink and cream colors
- Square Glass Vase, 5”
- Spatula tool for Cricut
- 1 ½ cups small pebbles
- 1 ½ cups sand
- Hot glue gun with clear hot glue sticks

Instructions
Uploading the Cactus Pattern
Open Cricut Design Space. Click on the “+” sign to start a new project, opening up a blank canvas. Then click on the Images button from the toolbar.
Search for the “torch cactus” image (#M103661F). Then click on the image to insert the pattern on the canvas. Resize the grouping to double its original height (4.5” high).
Search for the “barrel cactus” image (#M102CADB). Then click on the image to insert the pattern on the canvas. Resize the cactus to 2.25” wide. Duplicate the pattern and resize the second cactus to 1.5” high.
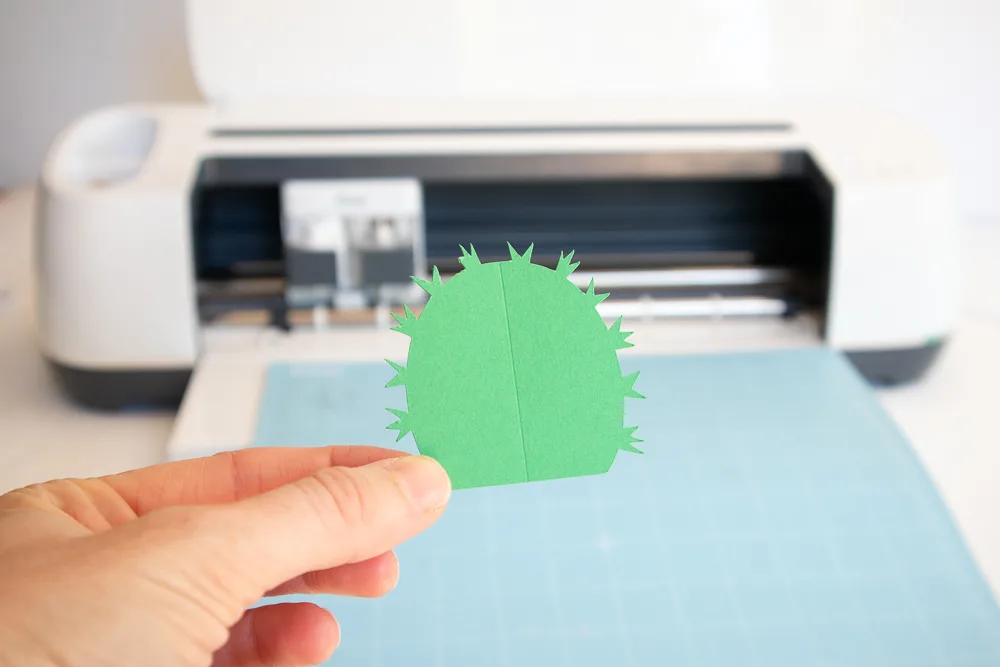
Change the color of the prickly torch cactus pieces to pink and change the color of the prickly barrel cactus to dark green.
Change the color of the other torch cactus pattern pieces to a mix of light green and dark green. Change the other barrel cactus pattern pieces to a mix of light green and dark green.
Move to the color sync tab to see all the pieces sorted by color.
Cutting
With the machine set to Cricut Maker, select “Make It” in Design Space. Set material type to Medium Cardstock, choosing the appropriate weight based on your paper.
Place the first paper color onto the light grip mat.
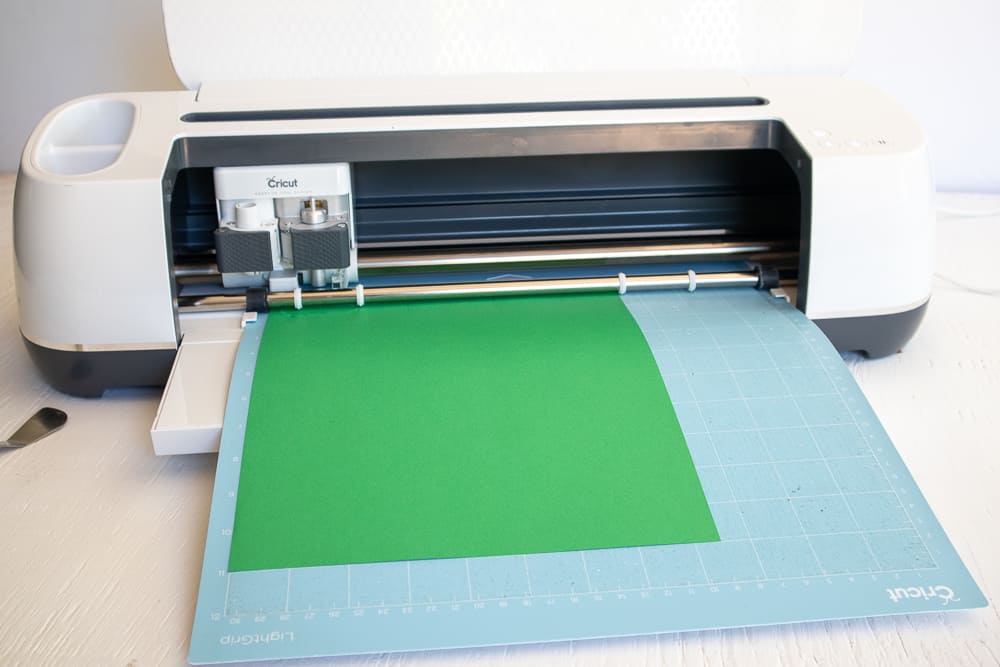

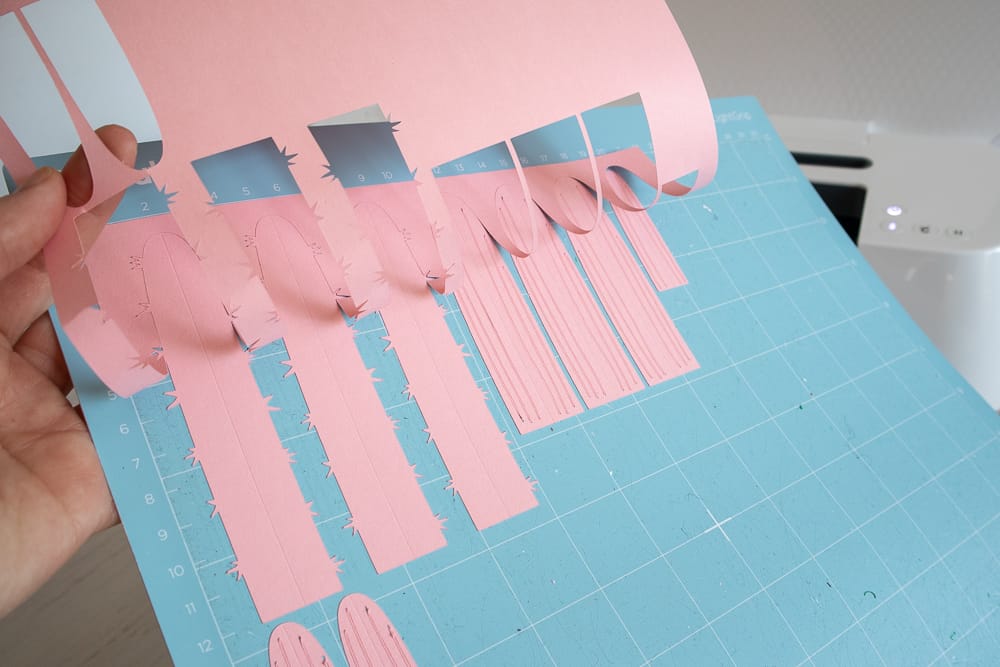
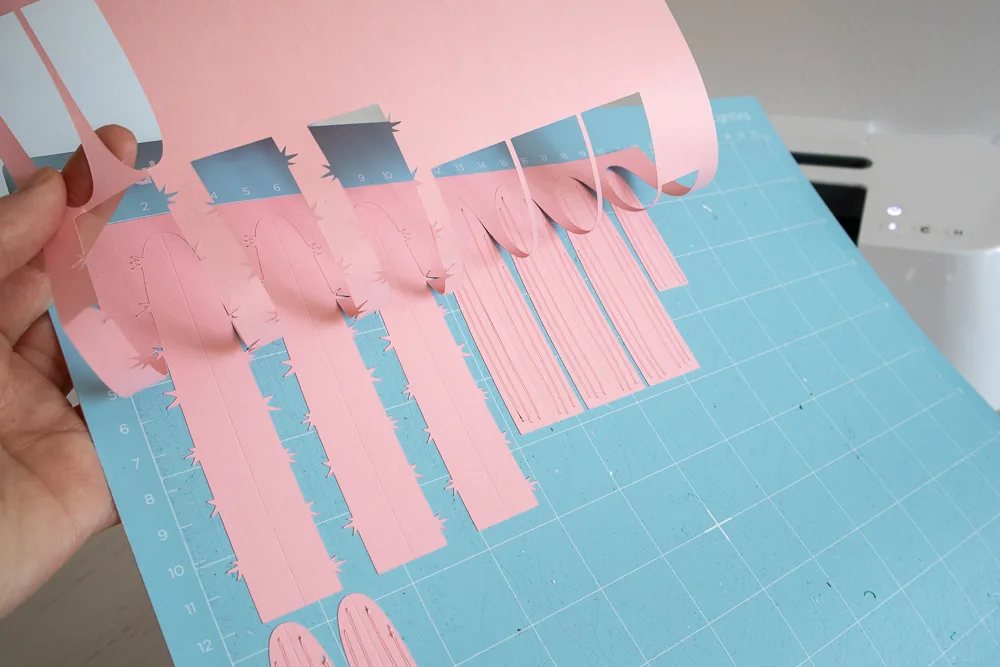
Follow prompts for loading cardstock paper into Cricut Maker and cutting. When the cut is complete, unload the mat from the machine.
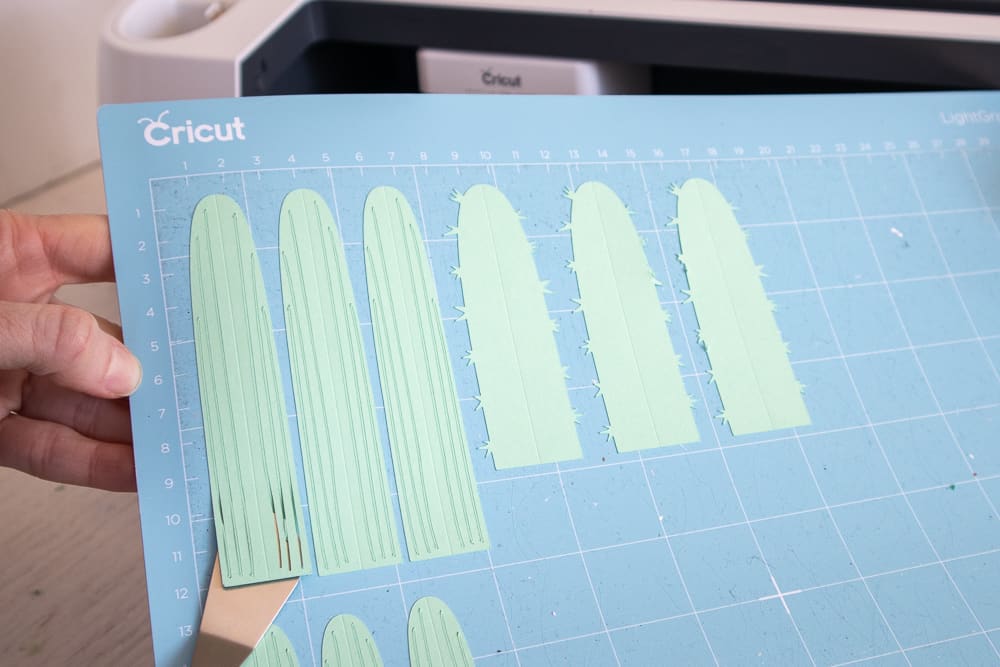
Remove the cut pieces from the cutting mat using a spatula tool. You will need to use a spatula tool, rather than just peeling off of the mat, because of the tiny pieces and intricate cuts that the patterns have.
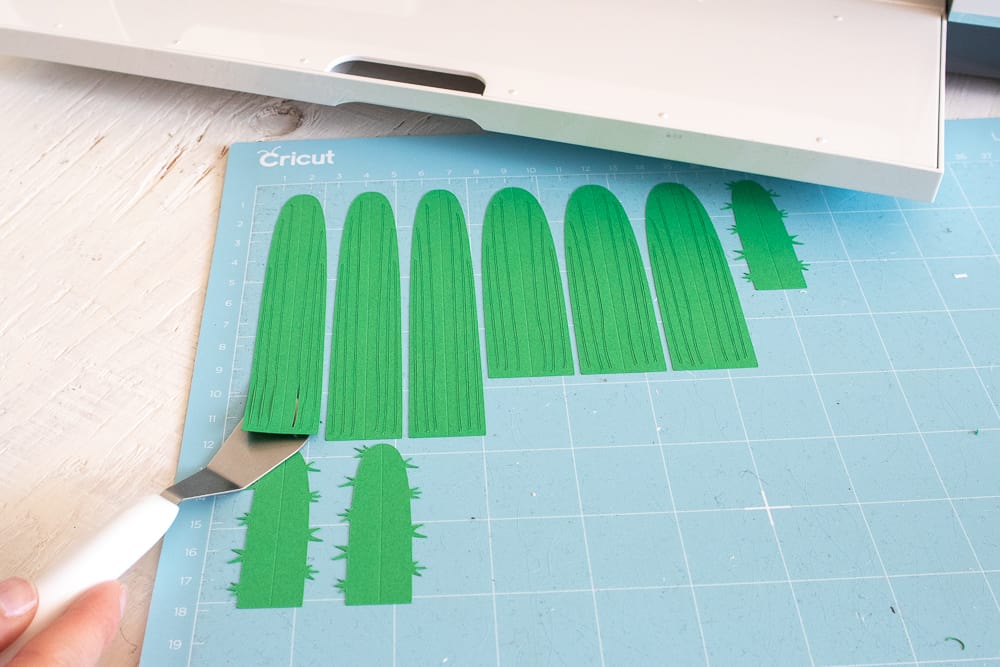

Repeat for the remaining cacti pieces and papers.

Assembling the Paper Cactus
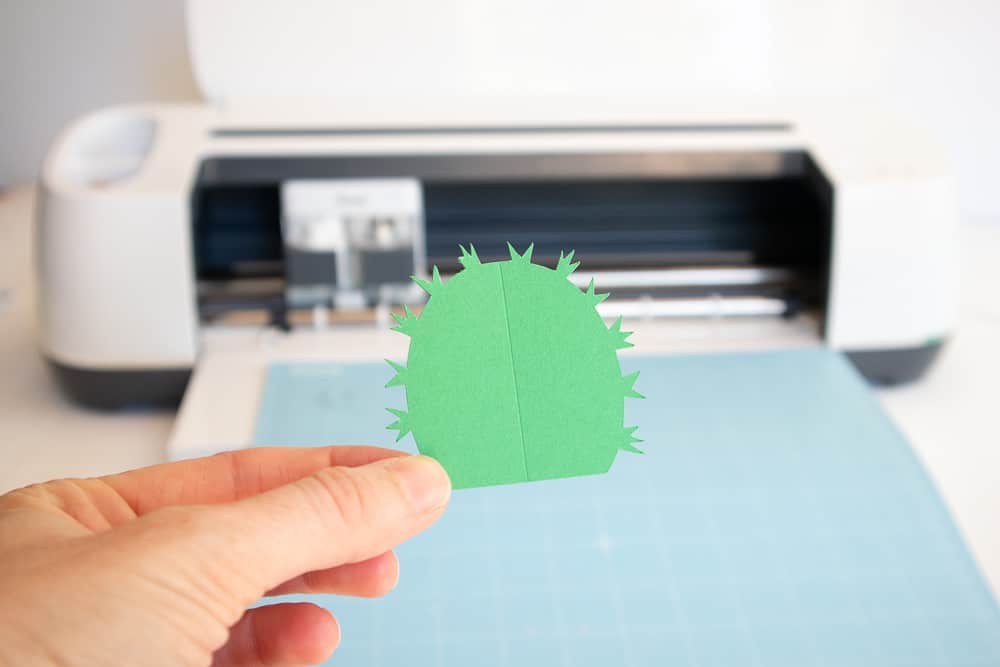
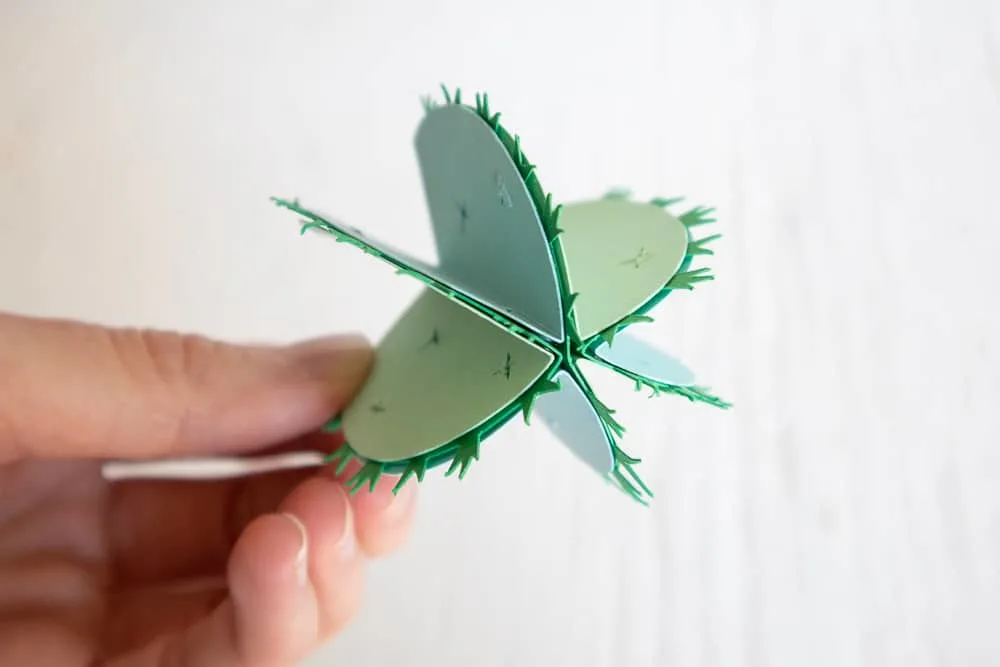
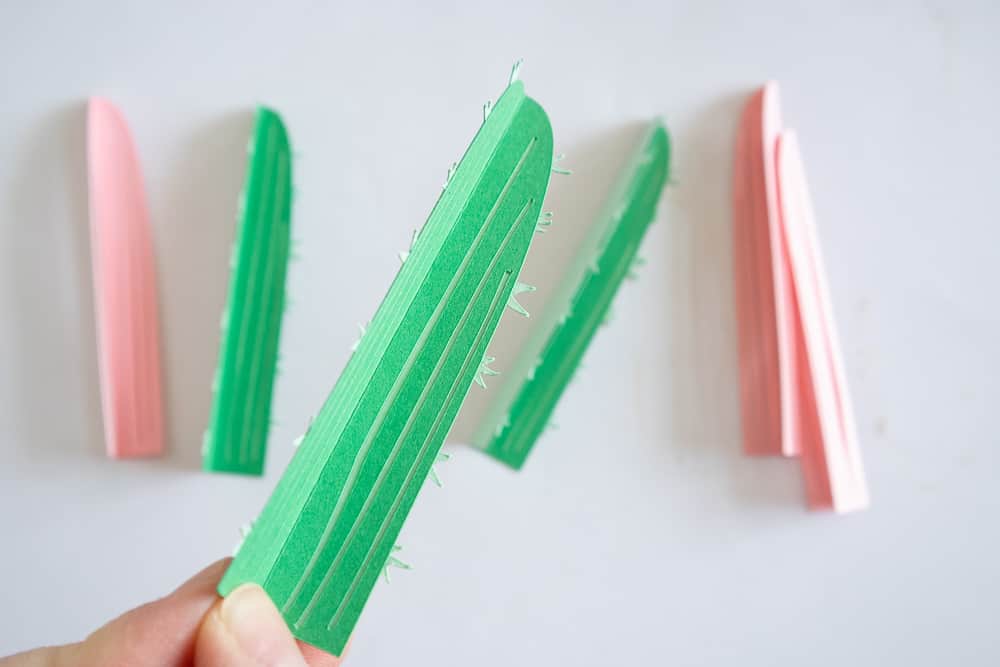
Fold the cactus pieces along the score lines.
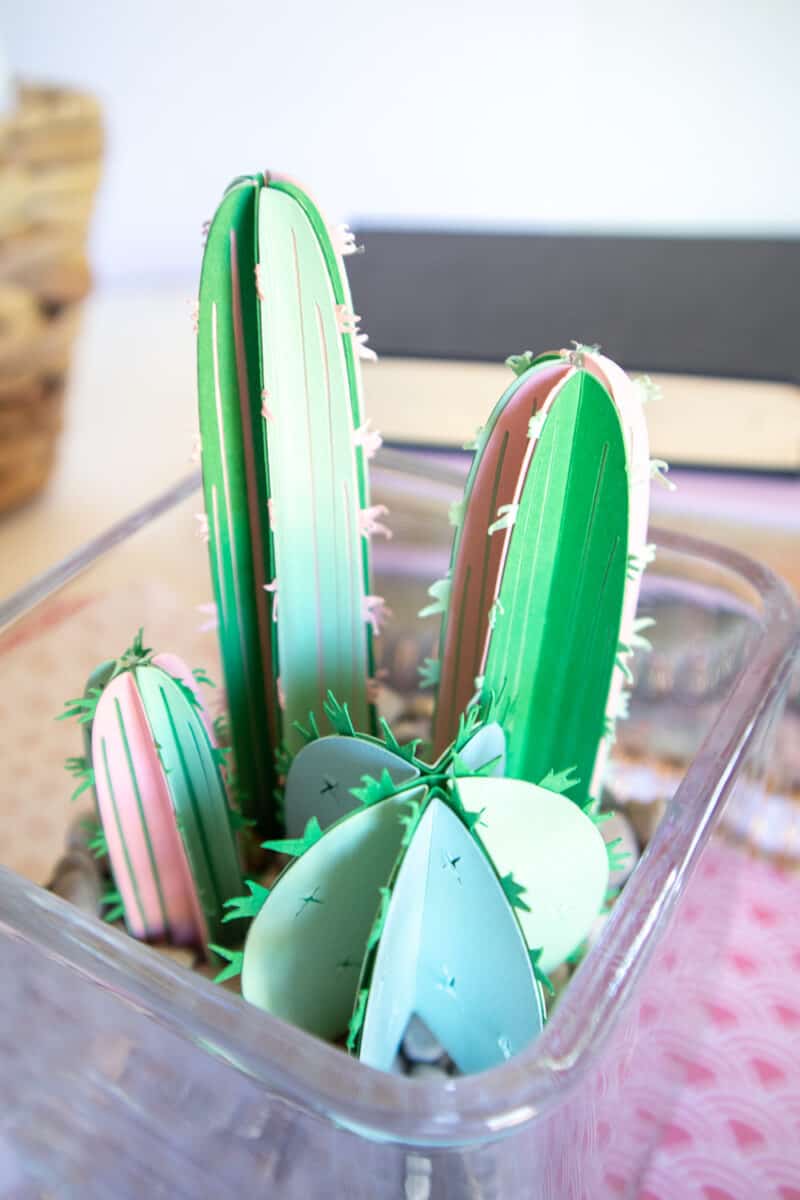
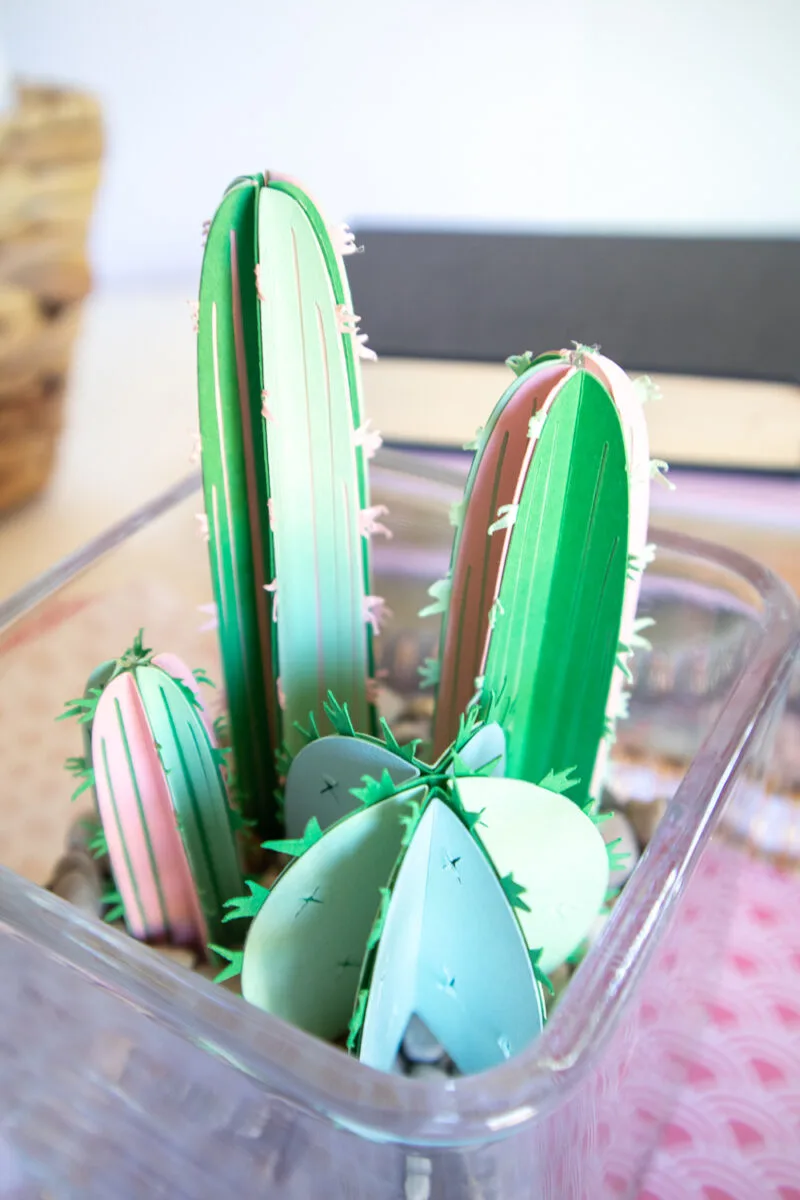
Group the similar sized pieces together. They will create three separate cacti.
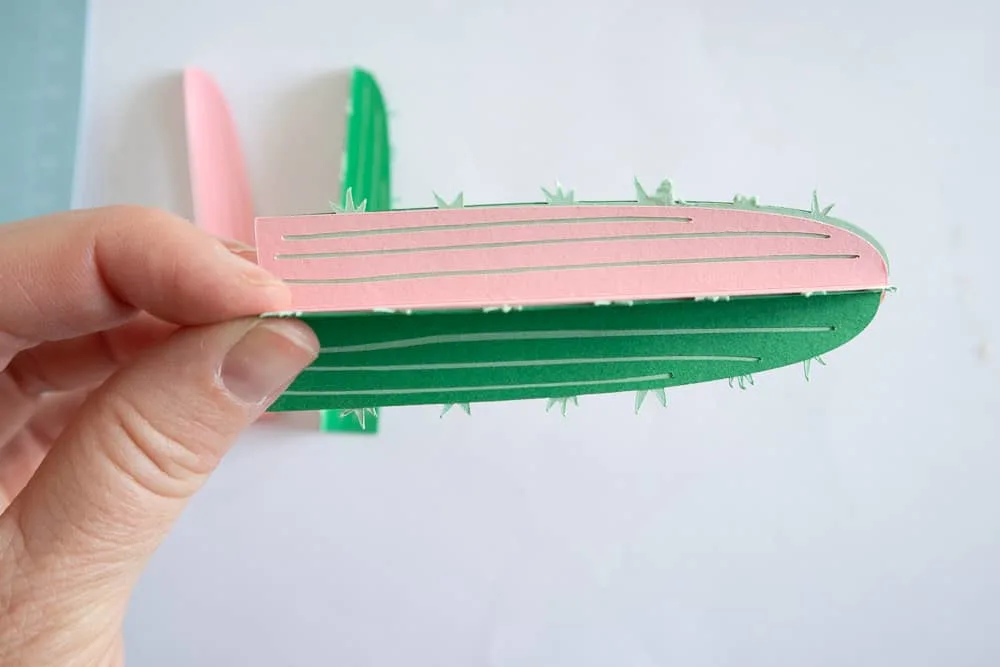
Start with the smallest sized cactus. Using a glue stick or hot glue gun, glue the pieces together, sandwiching the prickly pieces between the other colors, alternating them as you go along.

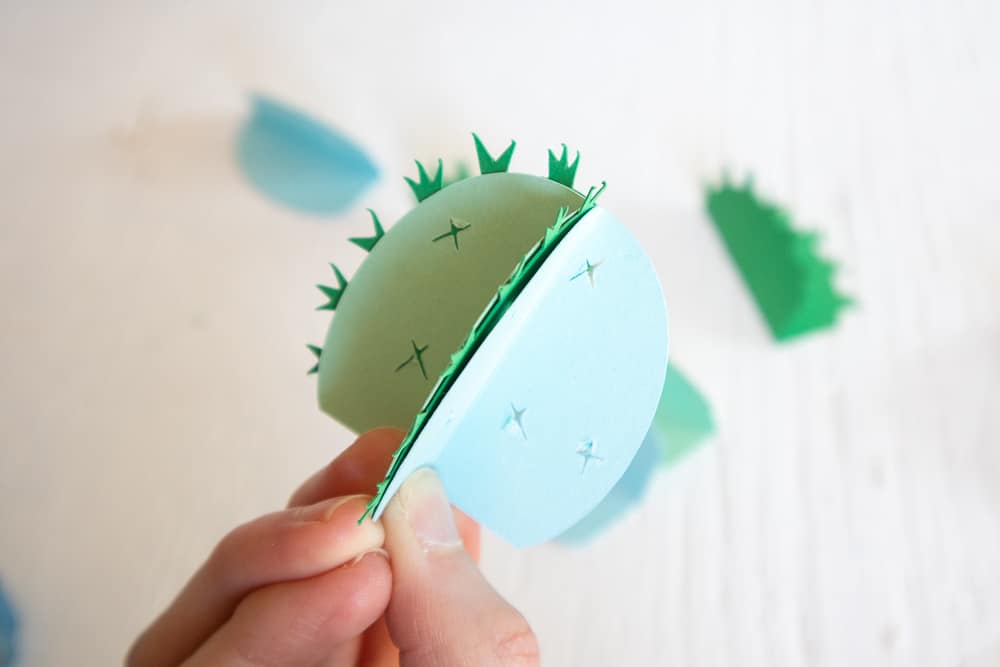
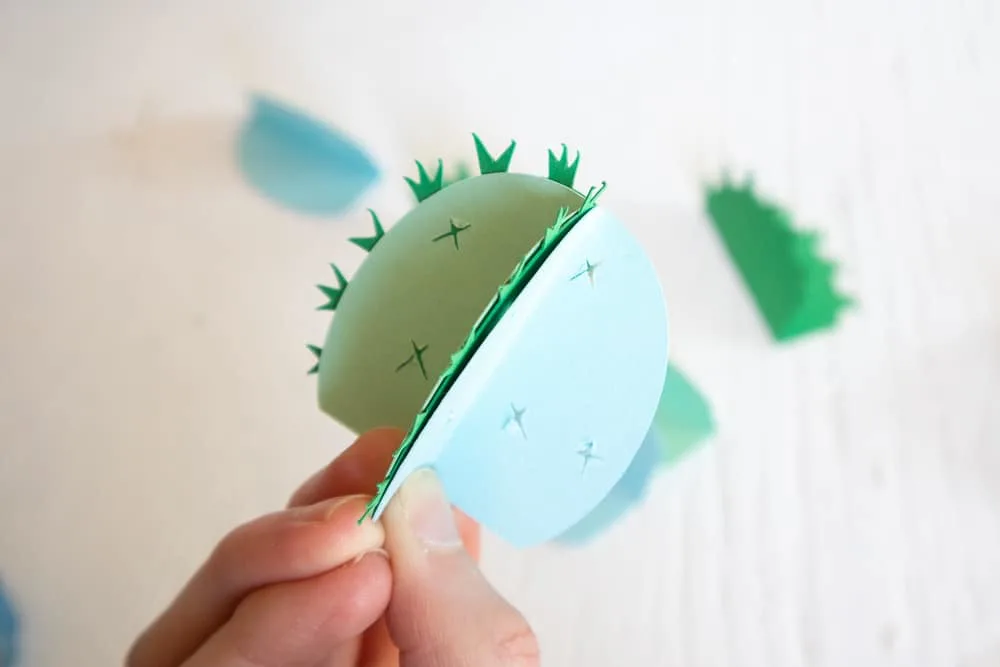

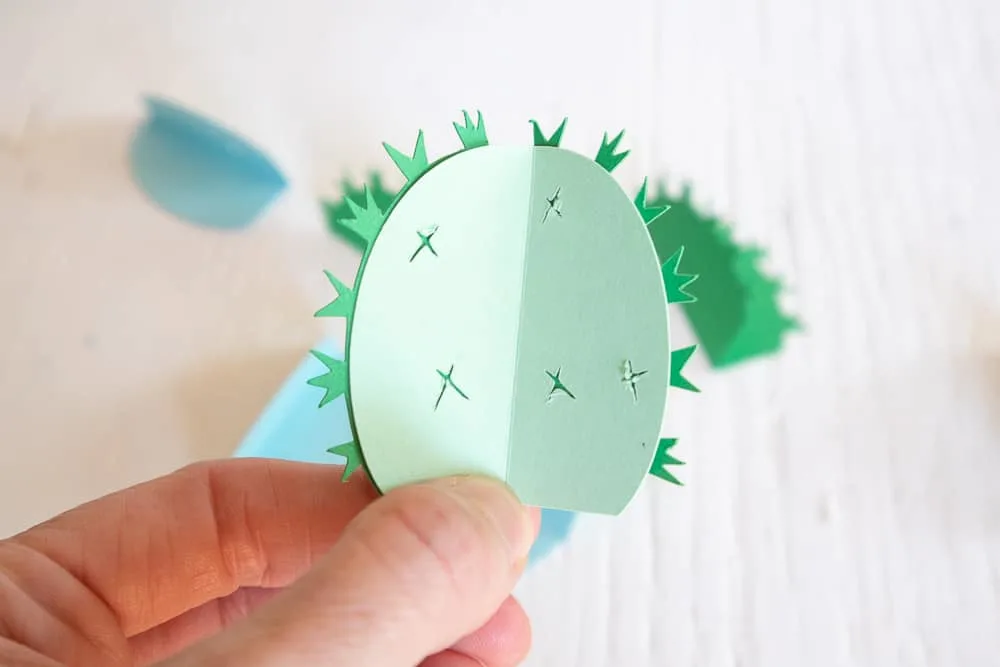
Repeat with the other two sizes of the torch cactus and for the other barrel cactus.


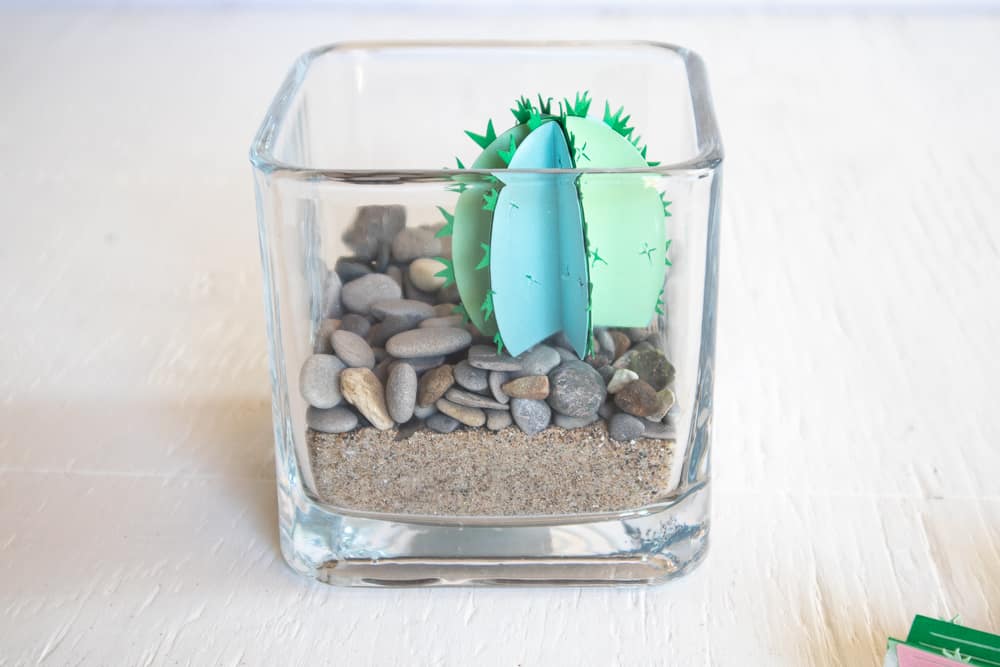
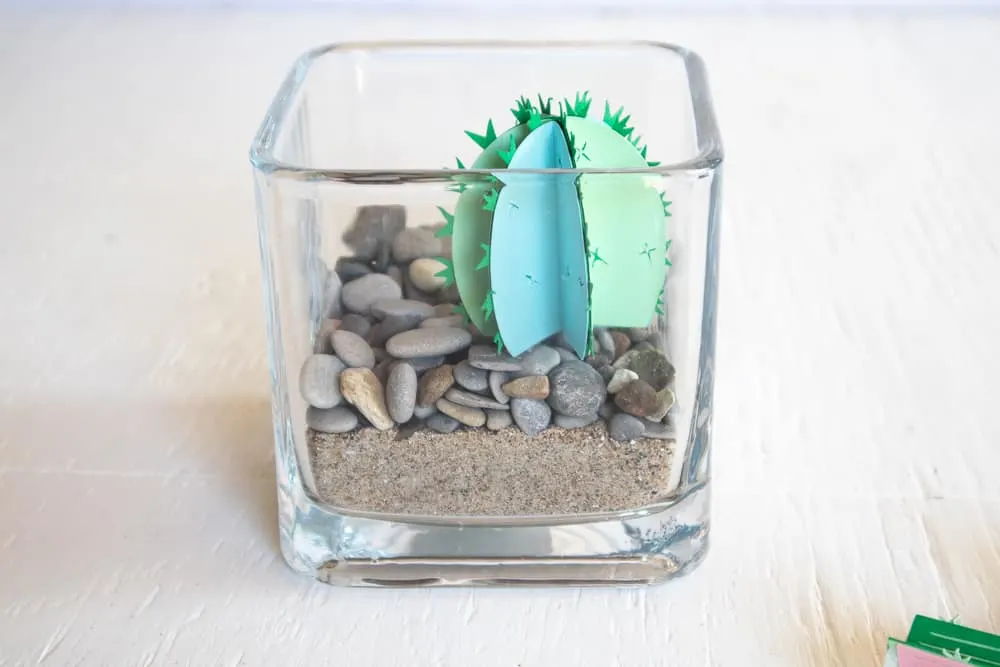
Making the Terrarium
Pour the sand into the bottom of the glass vase.
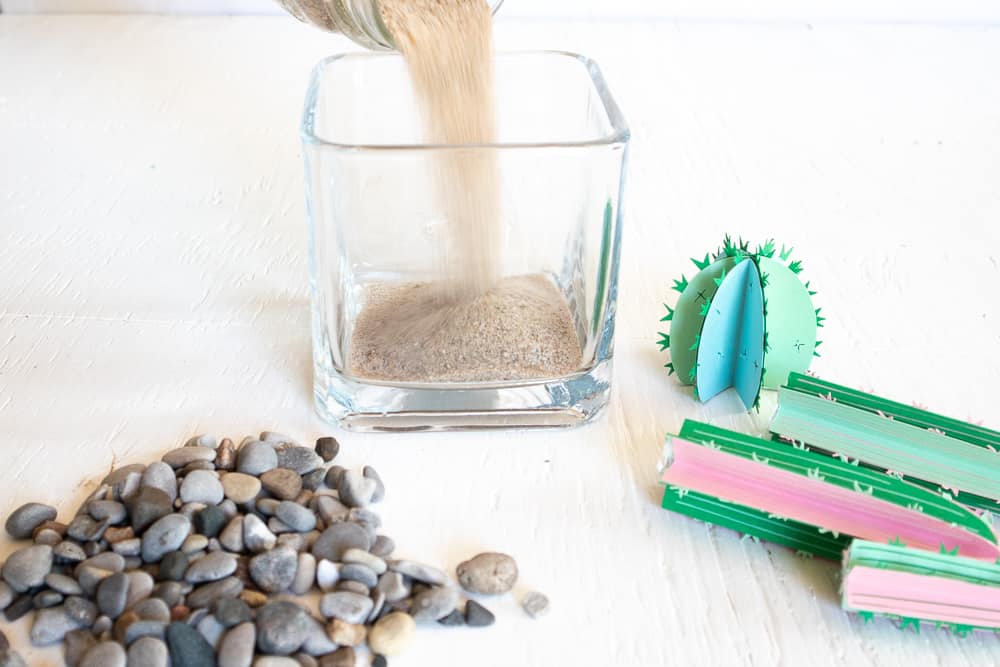
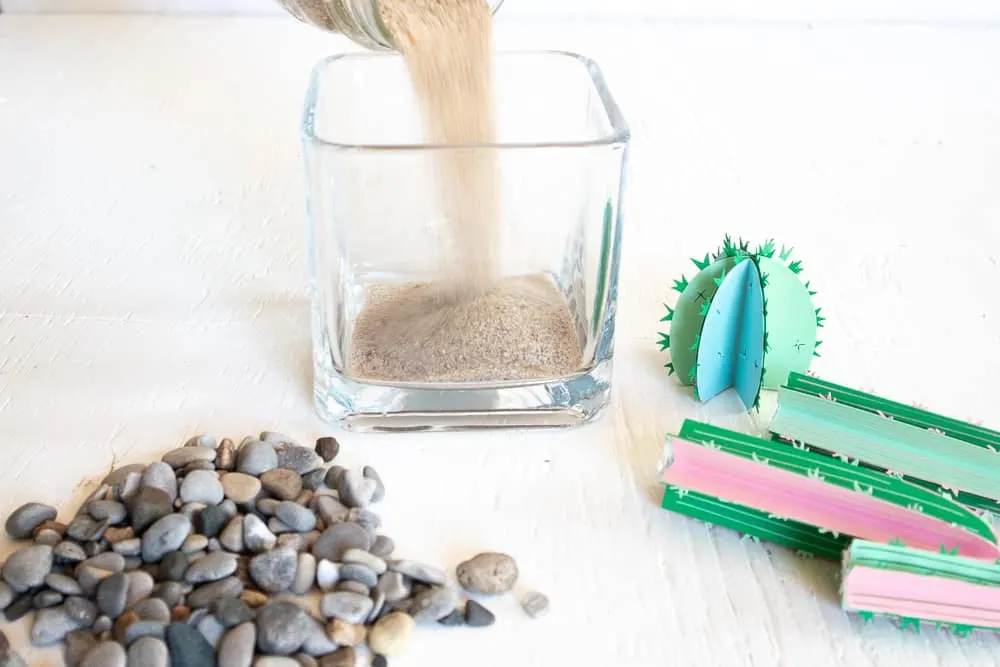
Pour the pebbles over the sand.


Place the paper cacti into the vase, burying them into the pebbles to secure in place or add a bit of glue to the bottom to help hold it upright.
Love using your Cricut Maker? Then check out all of my Cricut Crafts, most with free SVG templates!
