I love seeing sunlight pouring through the windows. Perhaps the only thing that can brighten up a sunny day even more is adding a suncatcher to capture the light and make it dance through your room.
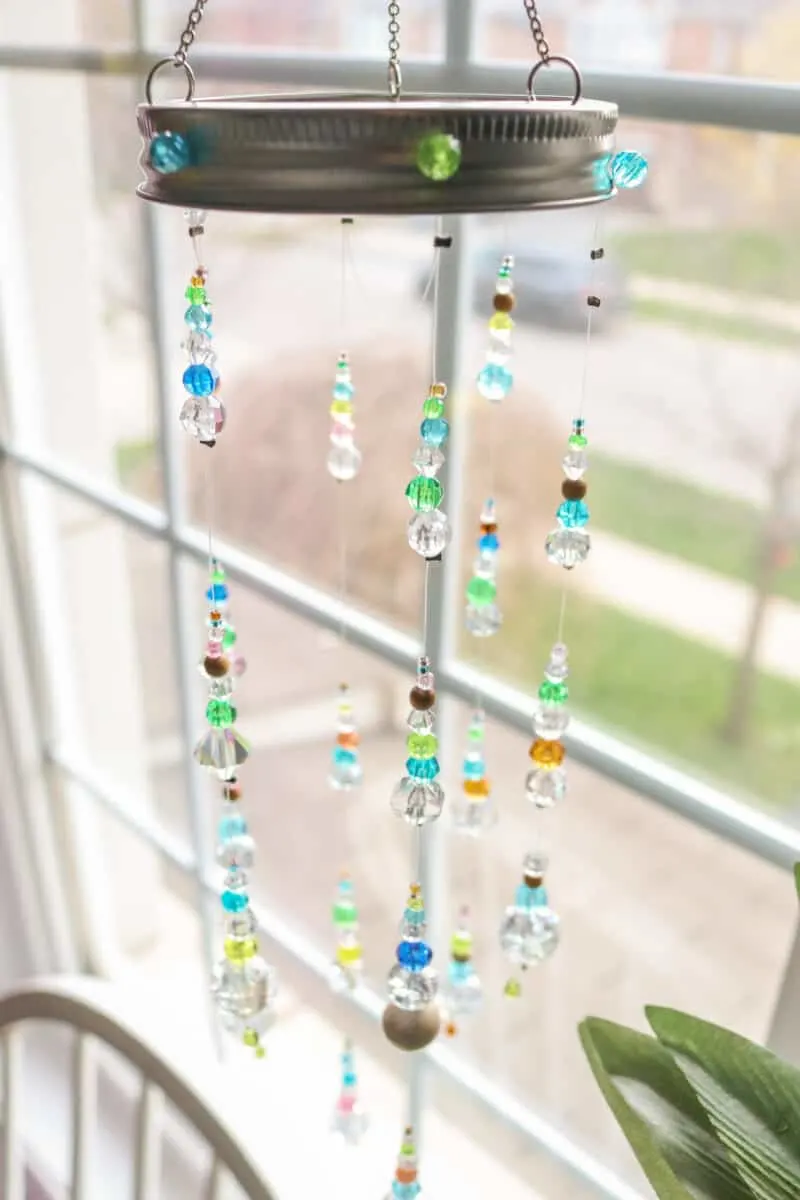
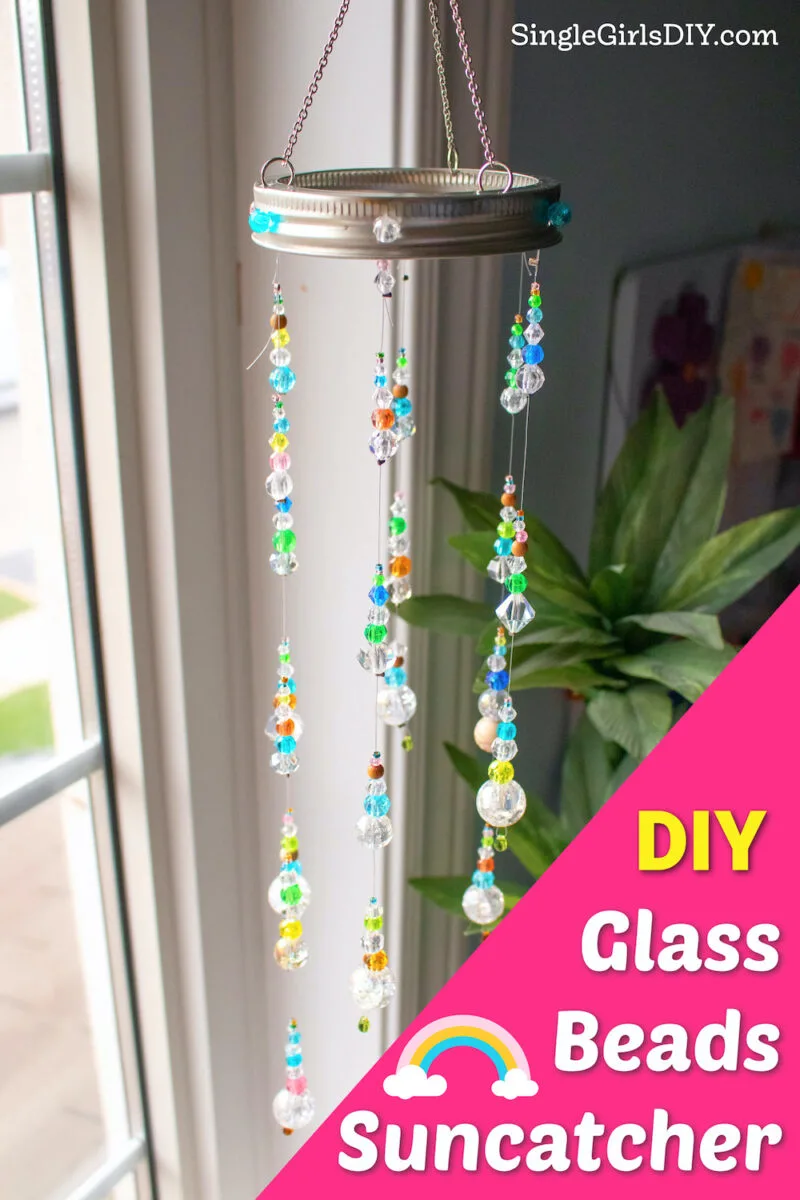
This DIY suncatcher with glass beads will reflect sunlight and create a beautiful focal point near a window. Make it with a mason jar lid, glass or crystal beads and invisible line (also known as fishing line).
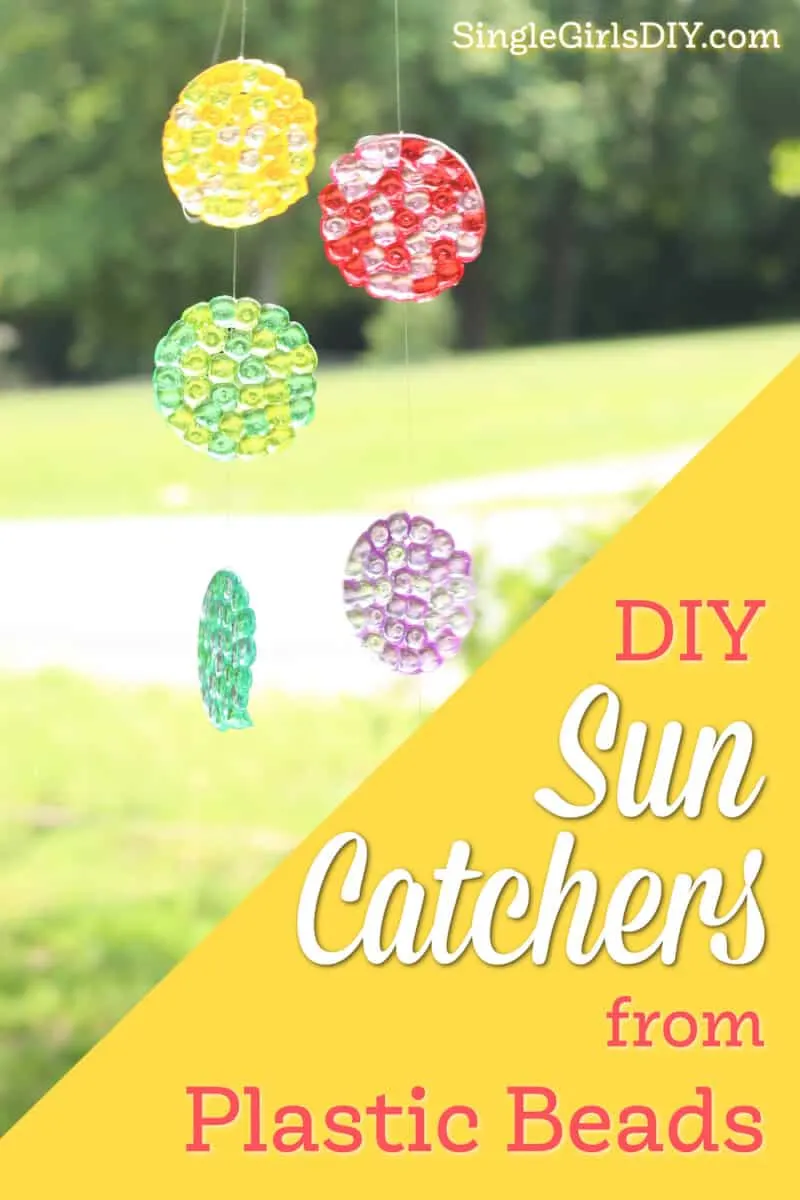
I have also included an easier sun catcher made with plastic beads in this post, too. These sun catchers look very different than the mason jar ones, and are made in a much different way, so you might enjoy doing both!
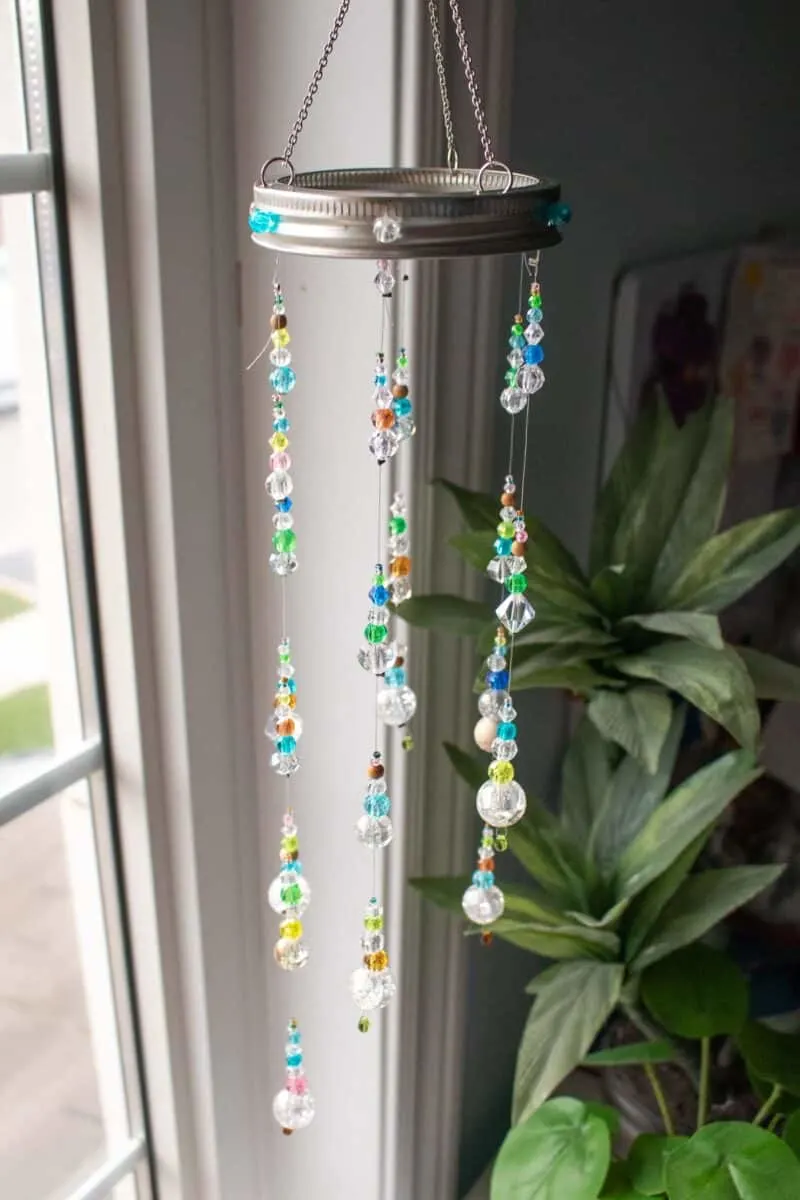
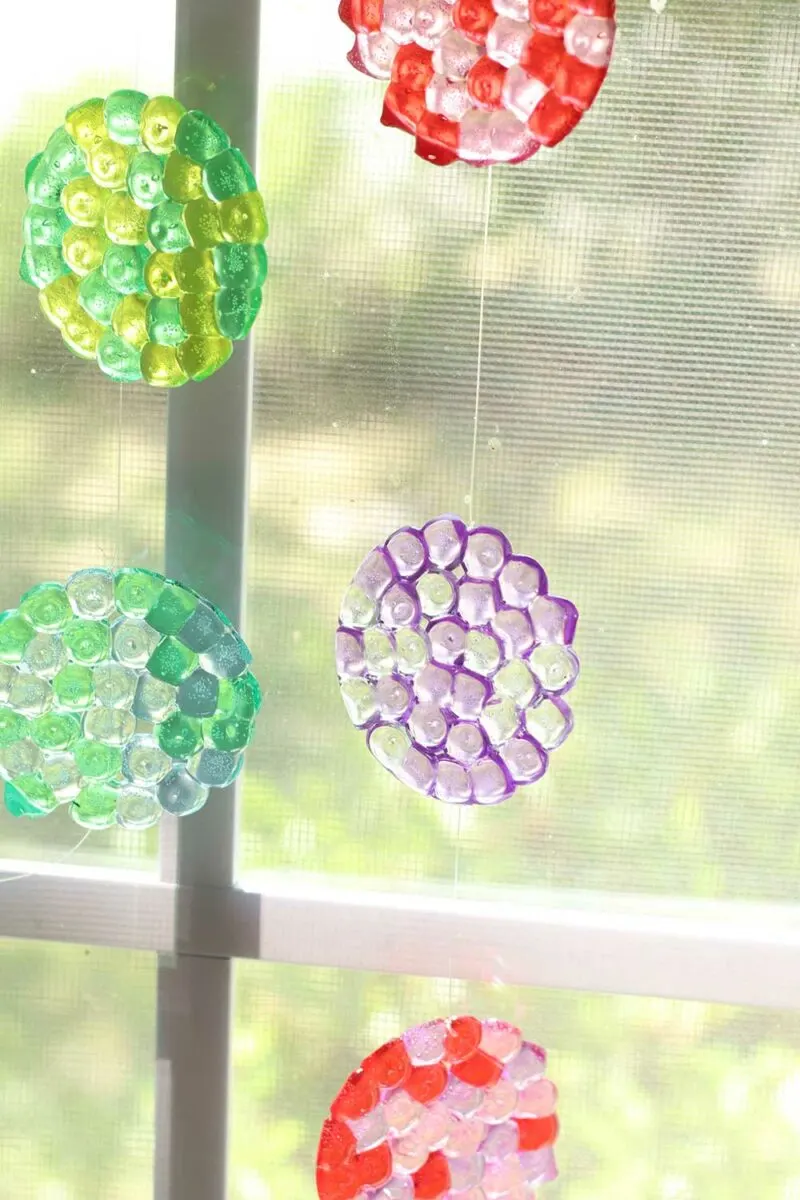
The sun catchers with glass beads are definitely a DIY for adults, due to the intricacy. But that’s also what makes them beautiful! They are great for gifts and to hang in your own home.
What Are Faceted Beads?
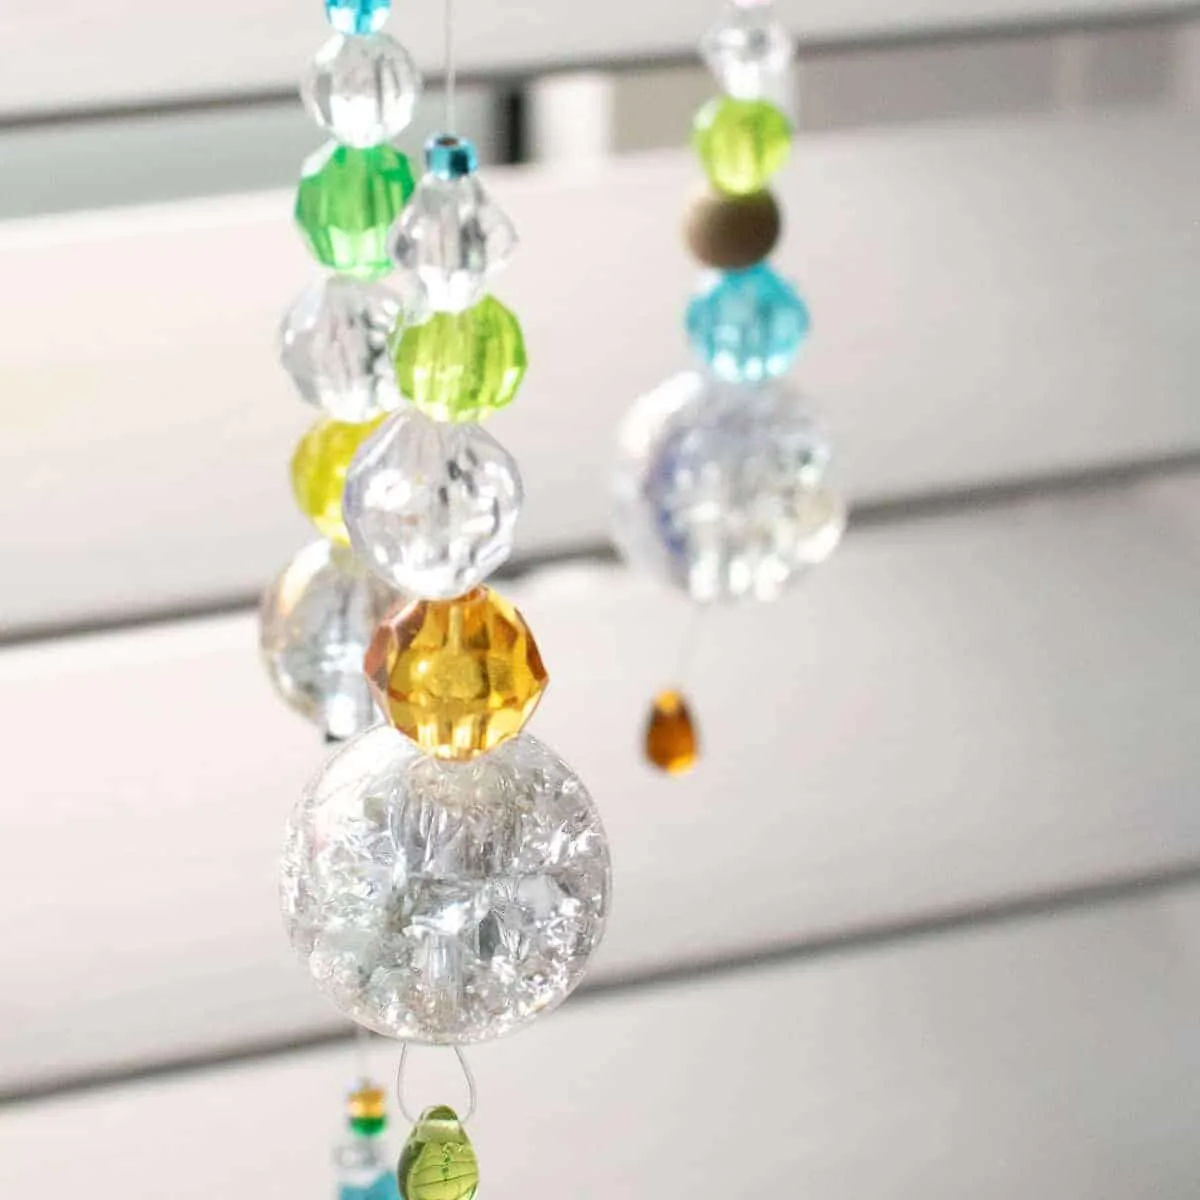
Faceted beads are cut so that they reflect light. Many flattened edges will be around the surface of the bead, similar to a cut gemstone.
You can find faceted beads made of glass, crystal, plastic or even actual gemstones. These will reflect sunlight and possibly cast rainbows or patterns of light on your walls.
Helpful Tips
- If you don’t have a silver chain available, simply use invisible line instead.
- If you don’t have an awl and hammer available, simply tie the invisible line around the rim.
- Choose any color palette you’d like – just be sure to use translucent beads with facets for optimal sun catching!
If you have leftover beads from this project, you can make these beaded glass bottles, too!
You might also like these DIY projects for adults:
- Macrame Wine Bottle Vase
- Wine Glass Charms
- DIY Stained Glass Mason Jars
- Minimalist Wire Wreath
- Wire Heart Bookmarks
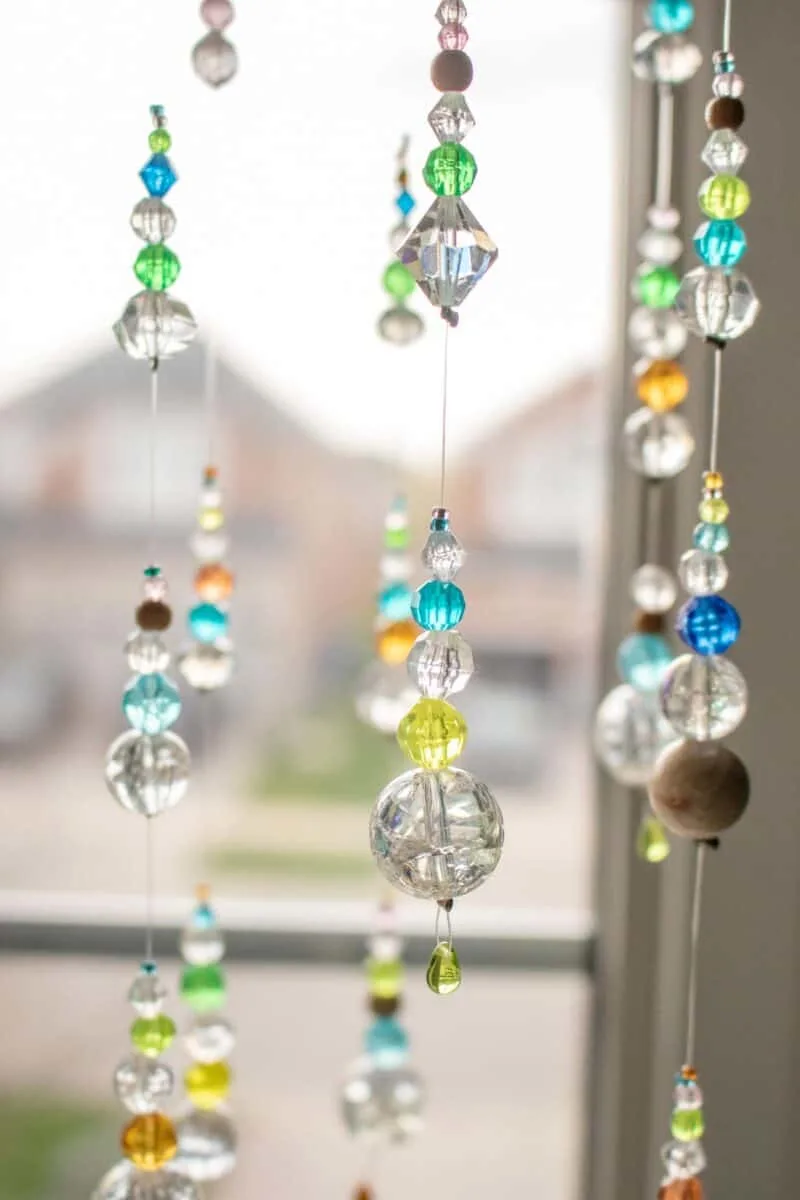
How to Make a Suncatcher with Beads
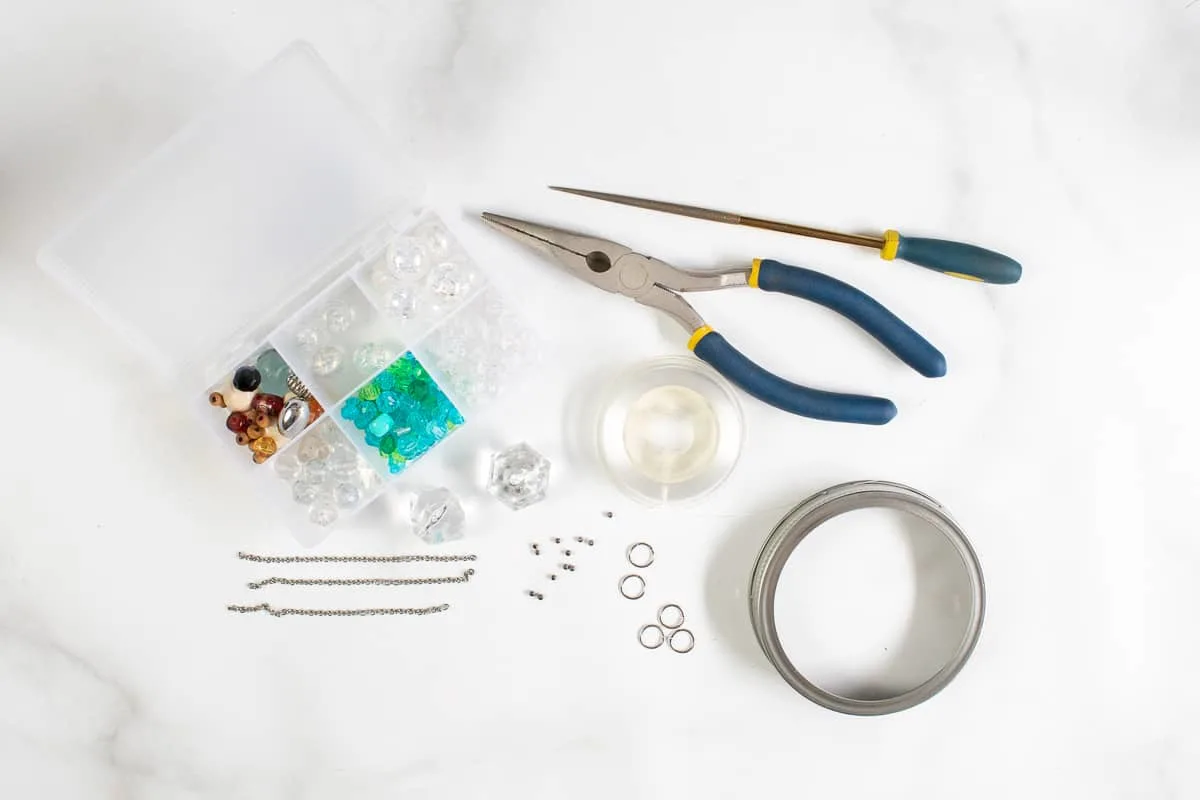
Supplies
- Silver chain
- Needle nose pliers
- Wide mouth mason jar lid rim
- Glass and/or faceted plastic beads in various sizes
- Crimp beads
- Invisible line
- 5 – 10 mm jump rings
- Awl
- Hammer
You can get a lot of these materials in a beginner jewelry making kit, which is more affordable. Plus, you can have supplies to make jewelry, too!
Instructions
Step 1
Cut the silver chain into 3 pieces – each 3 ½ inches long.
Step 2
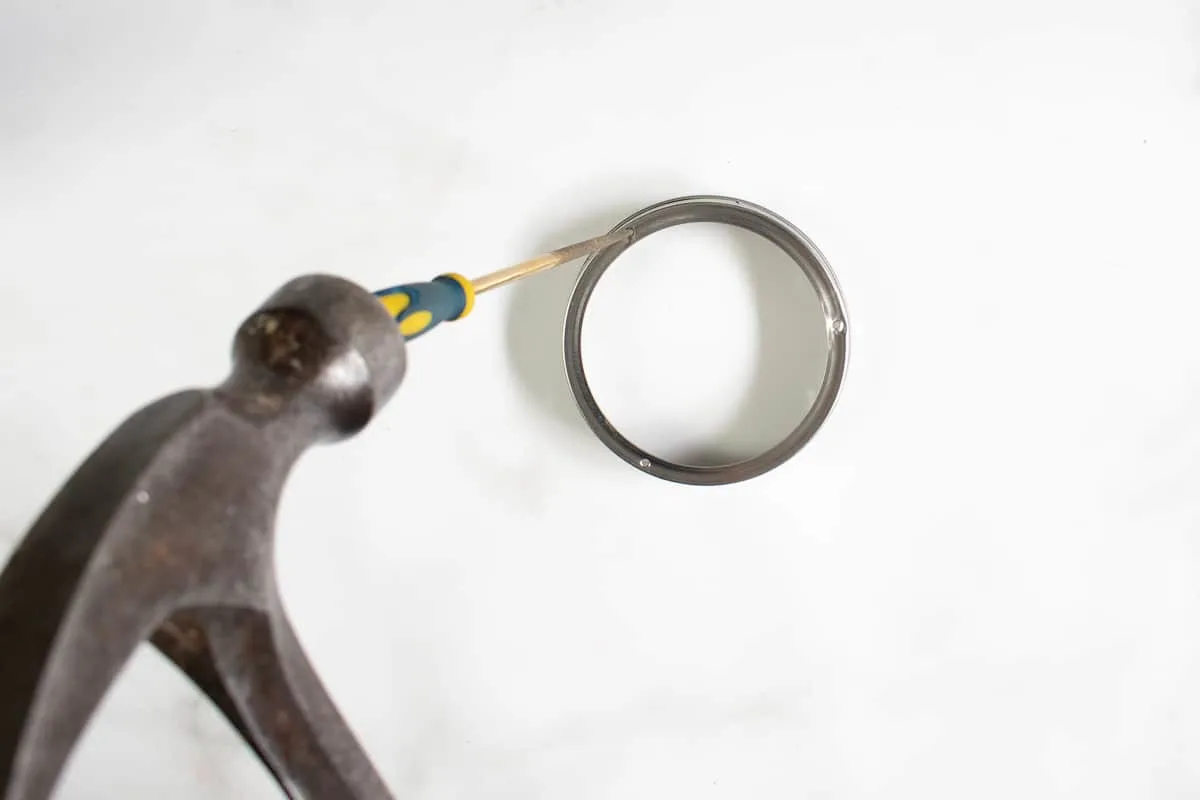
Using an awl and hammer, punch 6 evenly-spaced holes around the outer edge, and 3 evenly-spaced holes around the top edge of the rim.
Step 3
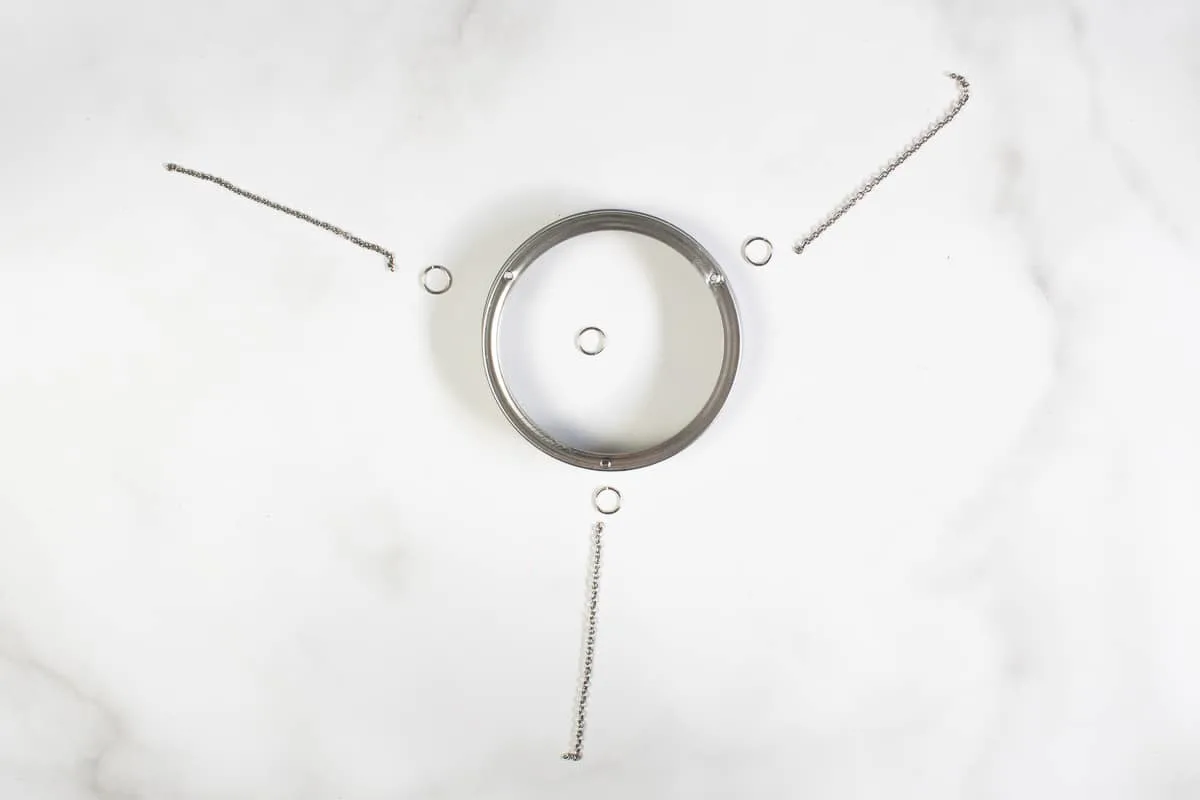
Attach the 3 pieces of silver chain to the top edge with 10mm jump rings. Attach the other ends of the chains together (all three ends of the chains meeting together on top) with a 10mm jump ring.
Step 4
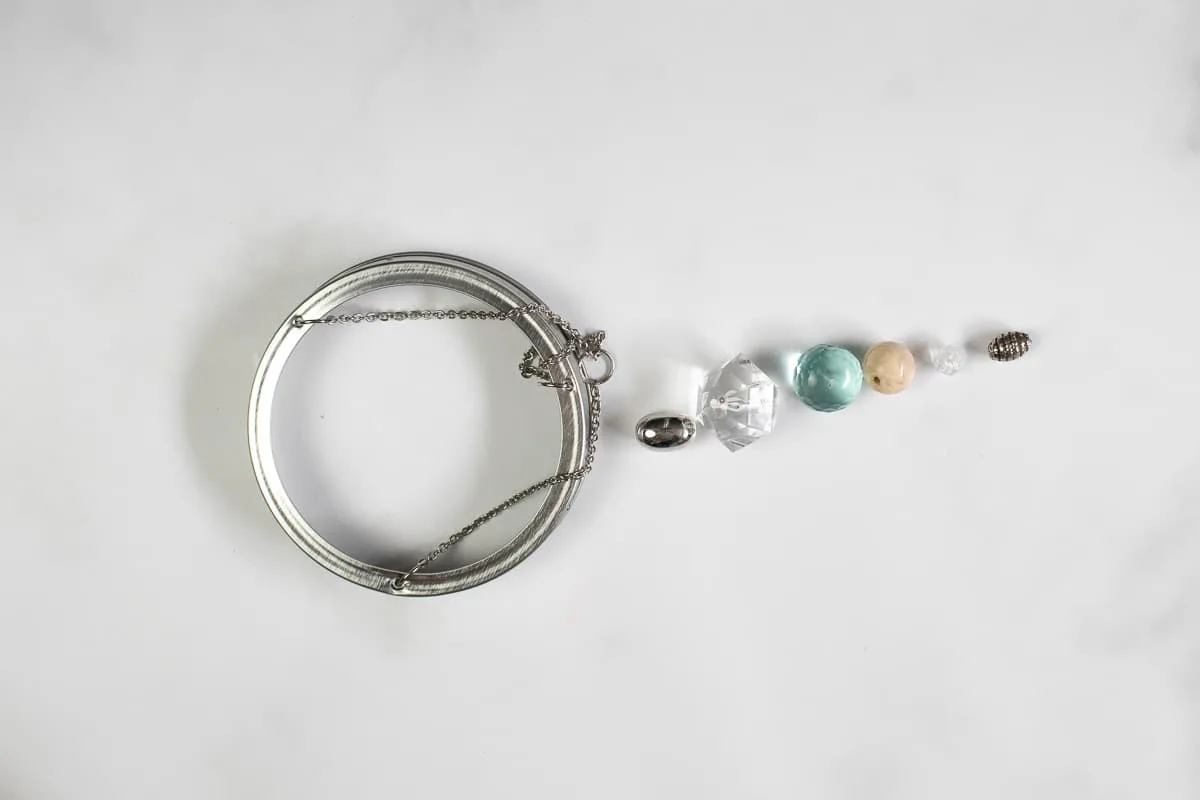
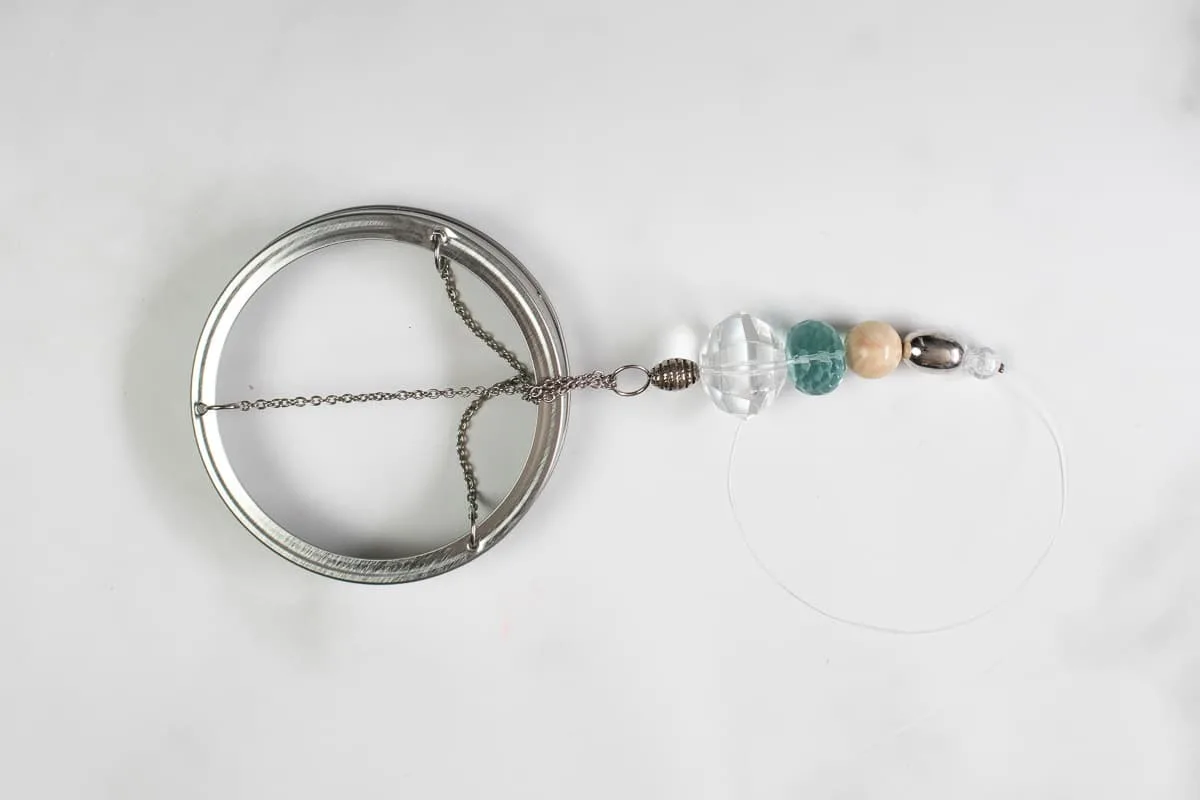
Cut a piece of invisible line to about 10” long. Loop through the top 10mm jump ring (the jump ring that you used to combine all three pieces of chain together).
Thread 6-8 beads onto the doubled up invisible line.
Step 5
Secure in place with a crimp bead. Wrap around another 10mm jump ring and secure in place with another crimp bead.
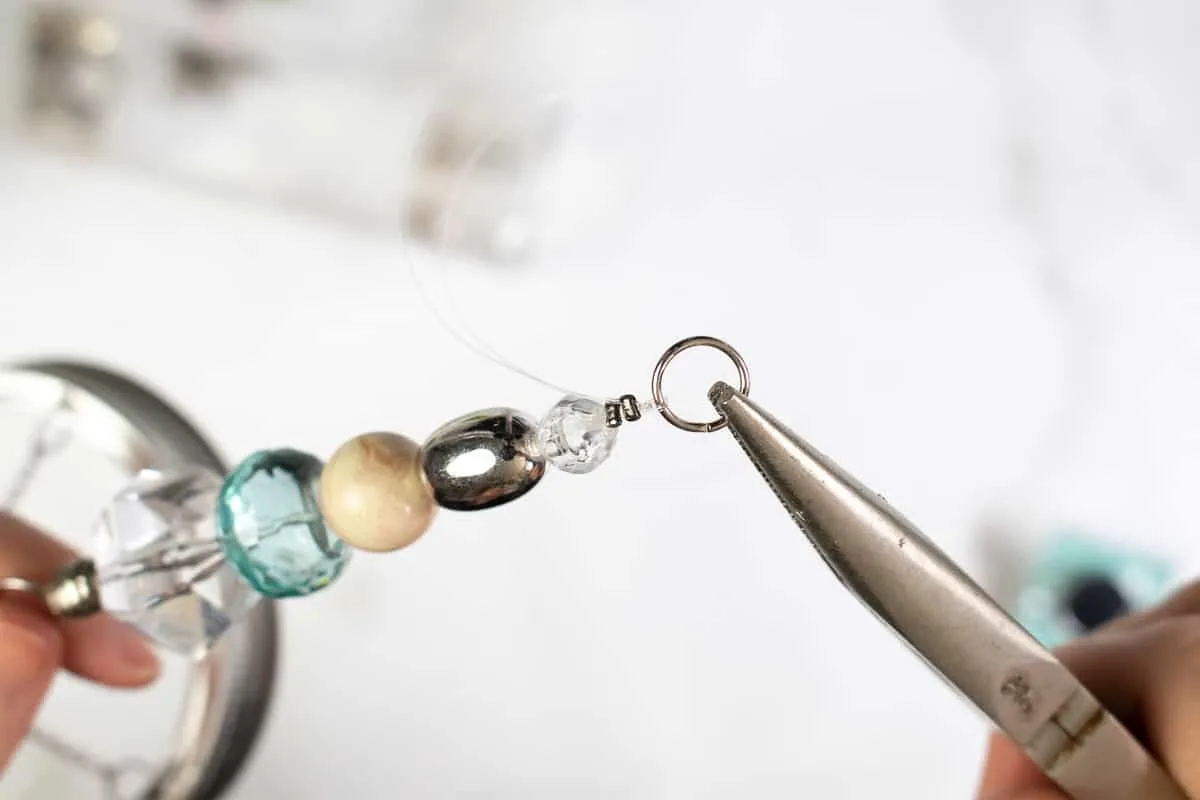
Thread the tails of the invisible line back through the beads. Trim off any excess.
Step 6
Next, cut 6 lengths of invisible line to 8-10 inches long.
Step 7
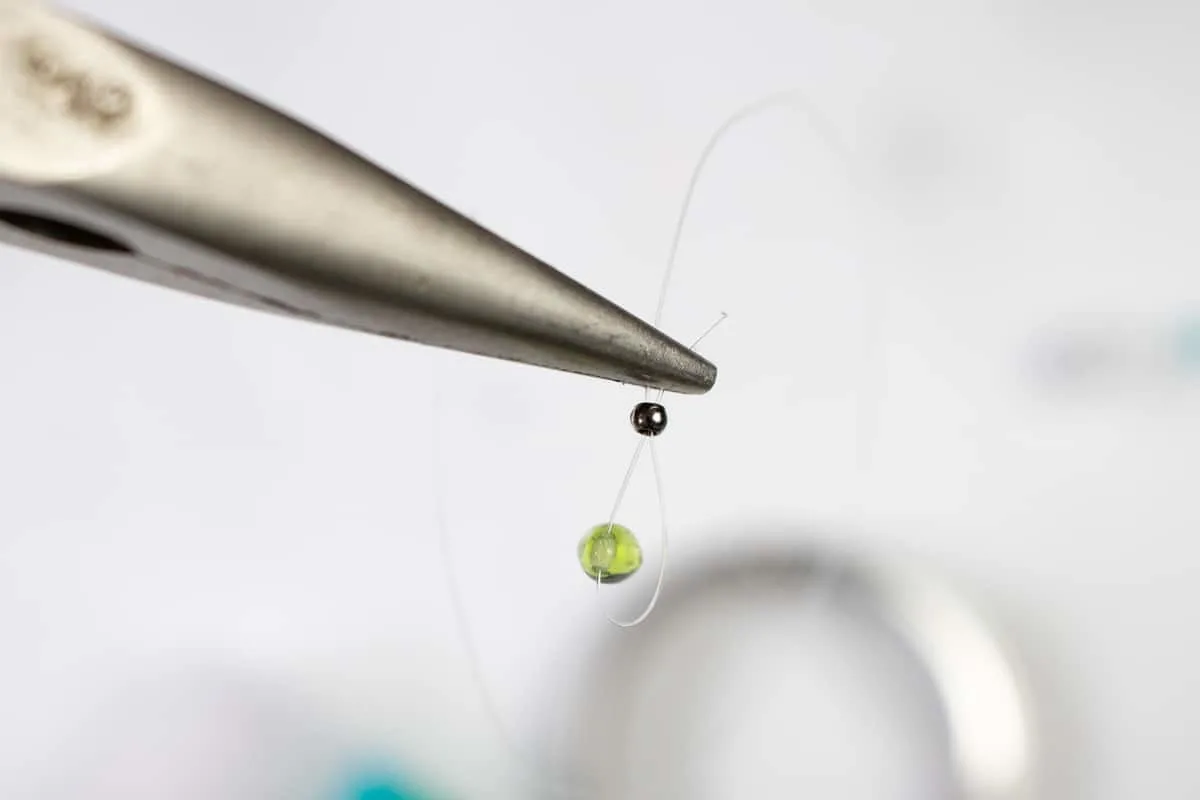
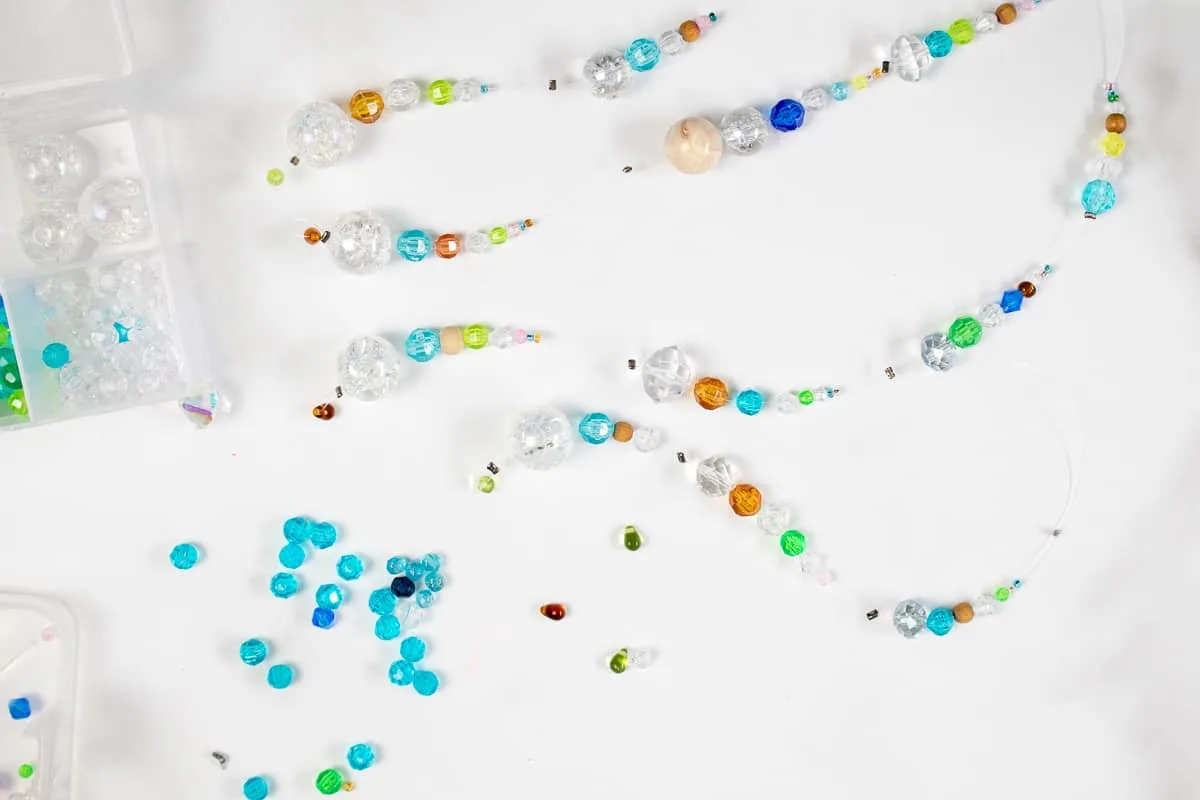
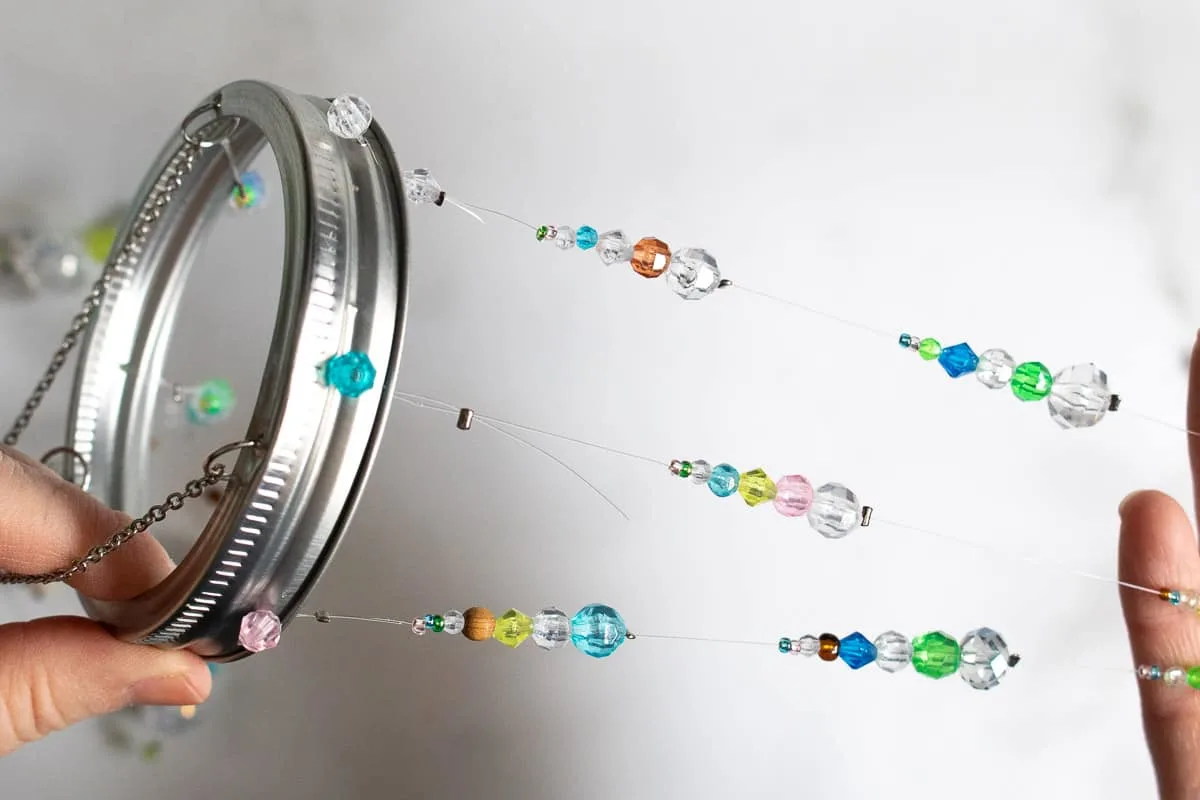
Start beading each of the lengths of invisible line, working from the bottom to the top. For the first bead (it will be on the bottom when hung up), thread on a crimp bead, the bottom bead and then back up through the crimp bead. Press the crimp bead with the pliers.
Step 8
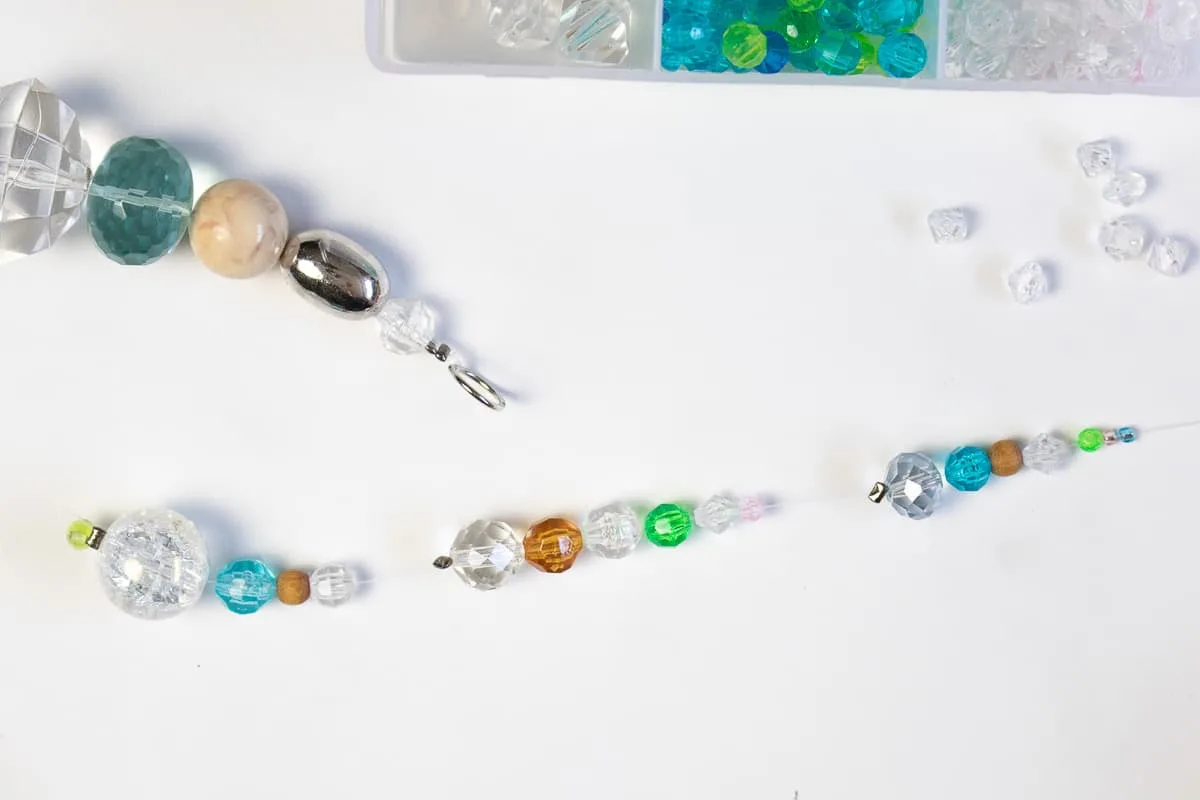
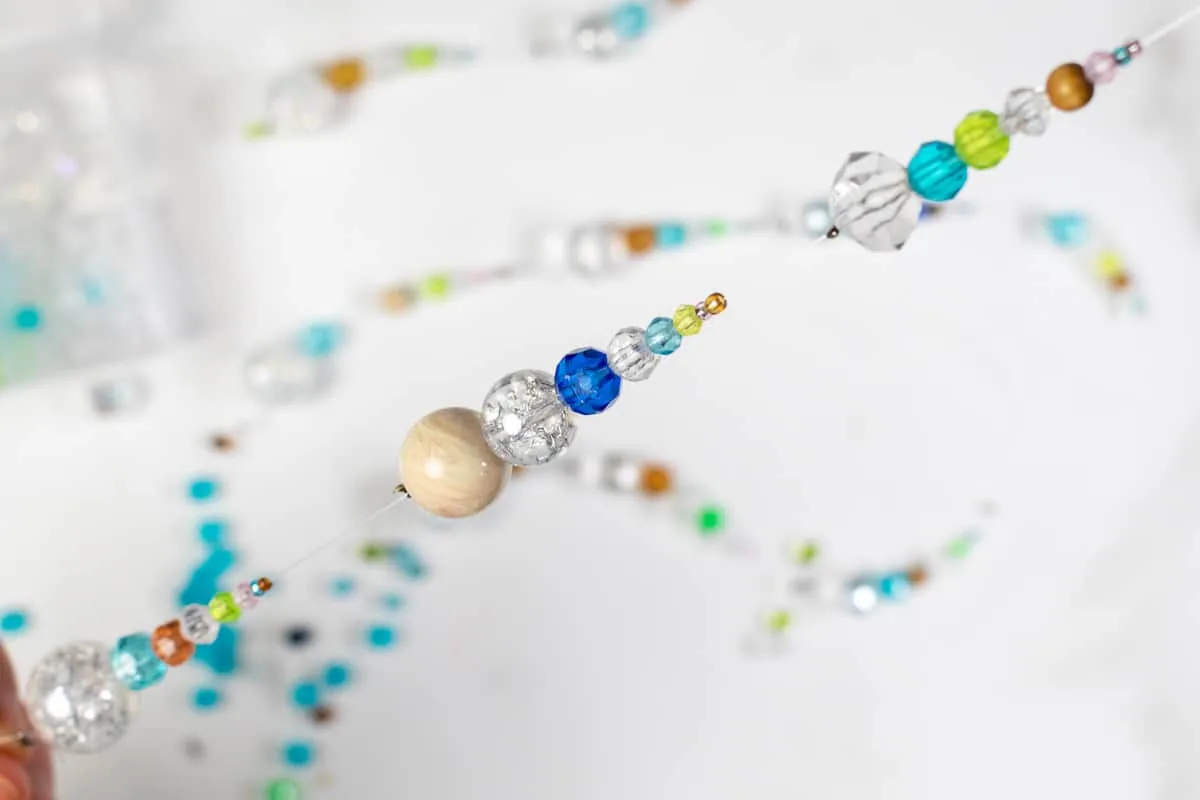
Thread the other end of the line through the largest, heaviest bead. This will help to weigh down the beaded strand. Add 4-6 more beads in descending order of size. Leave about 1⁄2” space then add a crimp bead. Repeat with 2-3 more clusters of beads.
Step 9
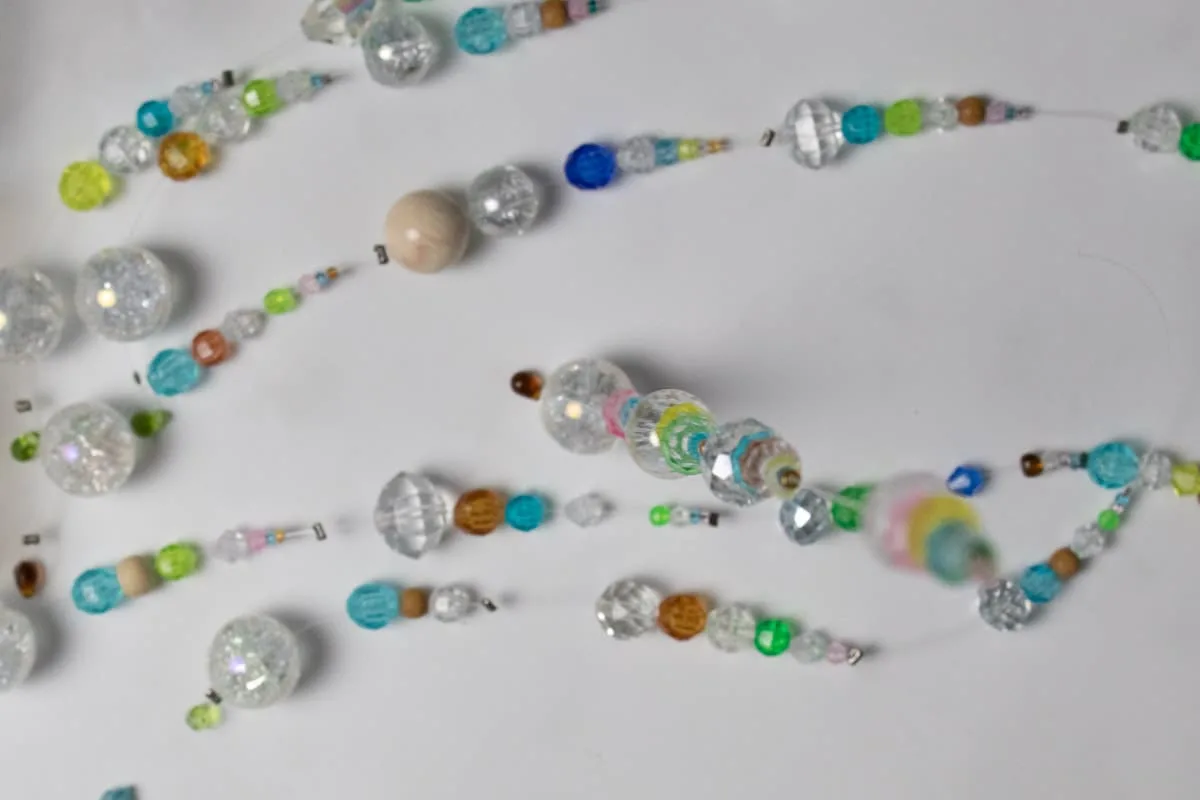
Repeat this process with the remaining 5 lengths of invisible line.
With the beads arranged from smallest to largest, each beaded cluster looks like a raindrop.
Step 10
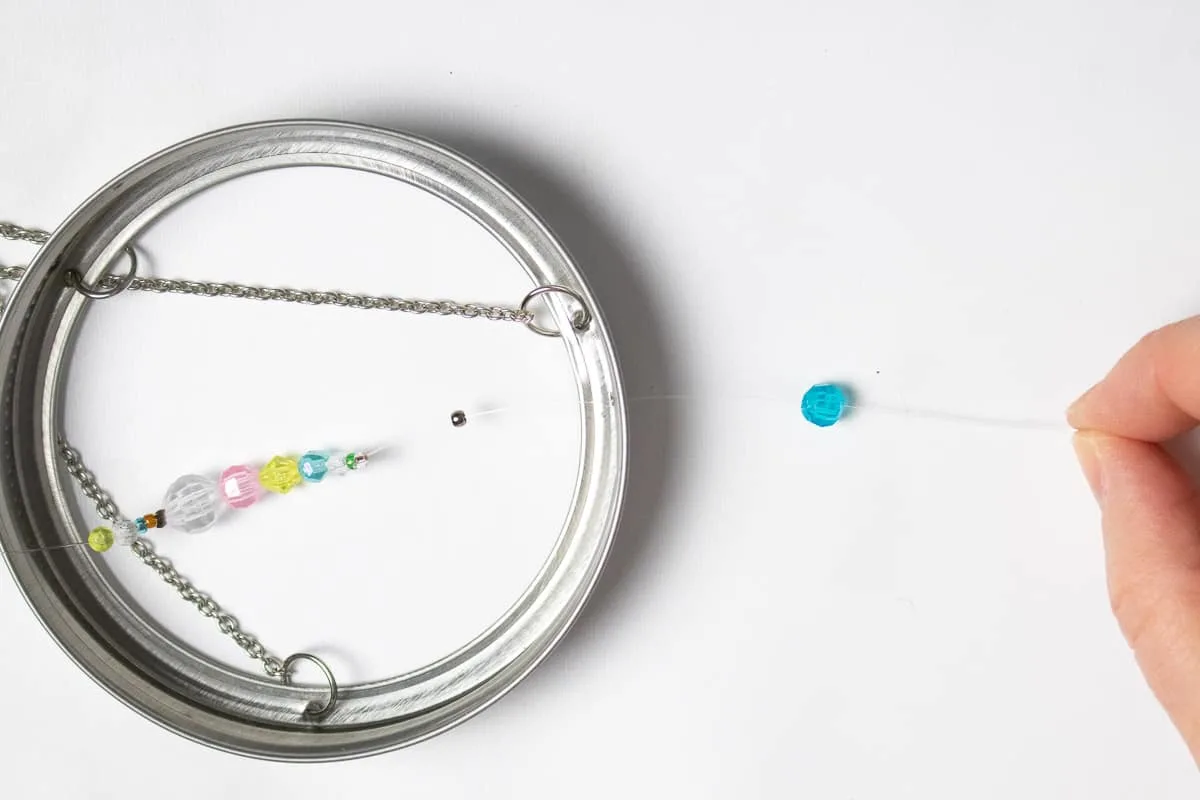
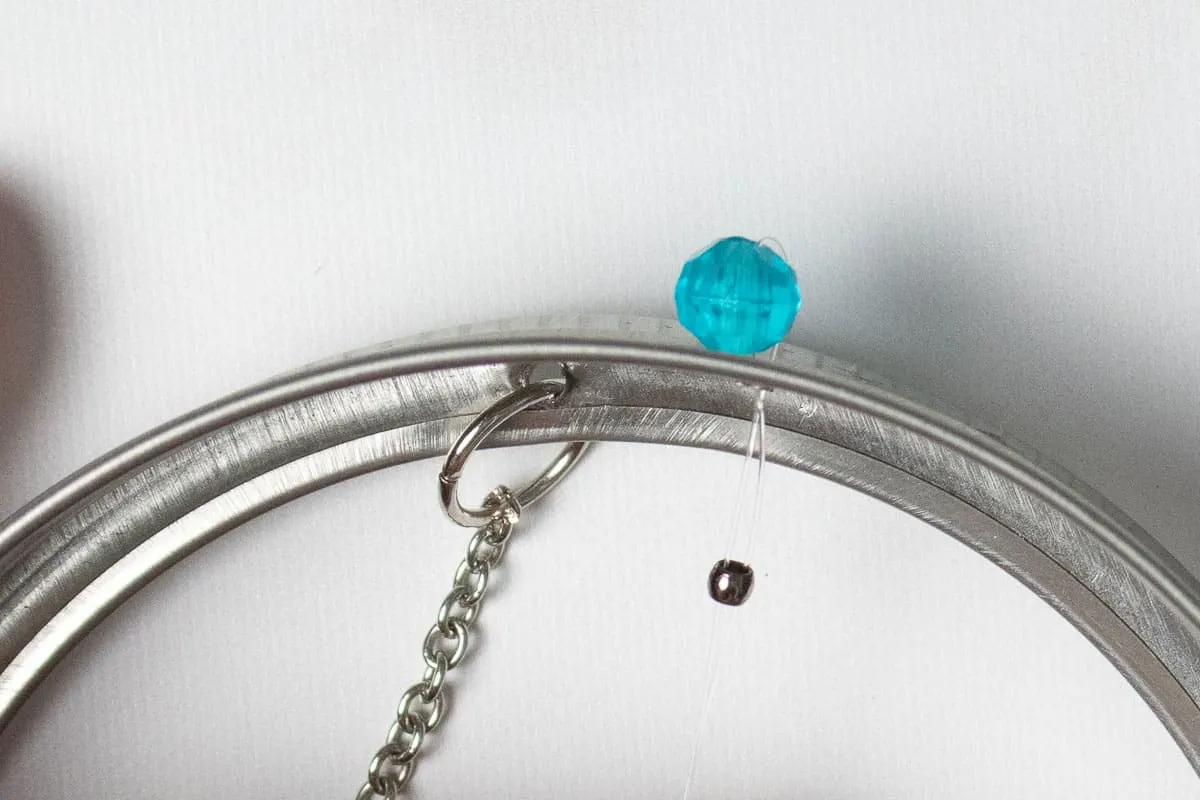
Finally, attach each of the beaded strands of invisible line to the rim. Start by threading a crimping bead (don’t press yet) to the top of the strand. Thread the line through one of the holes on the rim from inside to outside.
Step 11
Add a medium sized bead then thread the line back through the hole.
Step 12
Thread the line through the crimping bead and press in place to secure.
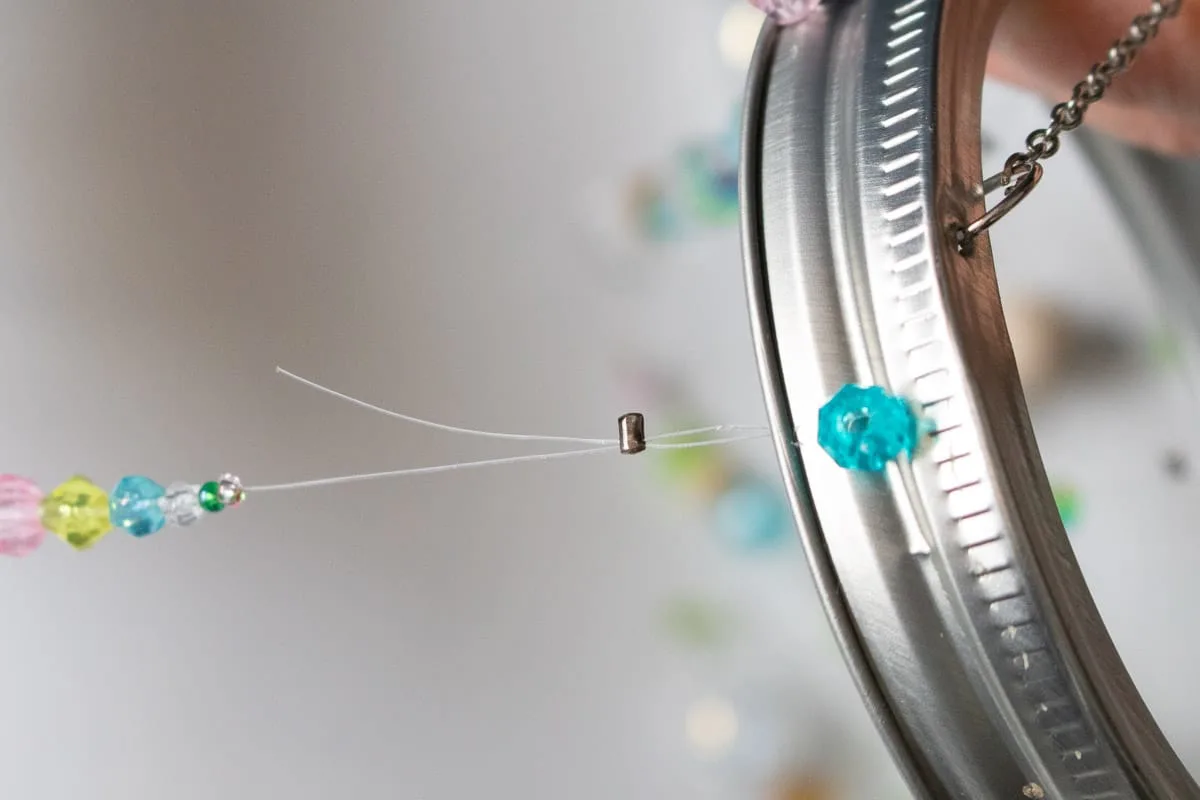
Continue with the other strands and holes, balancing the lengths of the strengths on the rim.
Want to save this craft for later? Be sure to Pin It!
Easy DIY Suncatcher with Plastic Beads
If you love the look of a sun catcher but don’t have the patience to string glass beads, then this project is for you! This method is quicker and easier, but still creates beautiful ornaments to hang in the sun.
Supplies
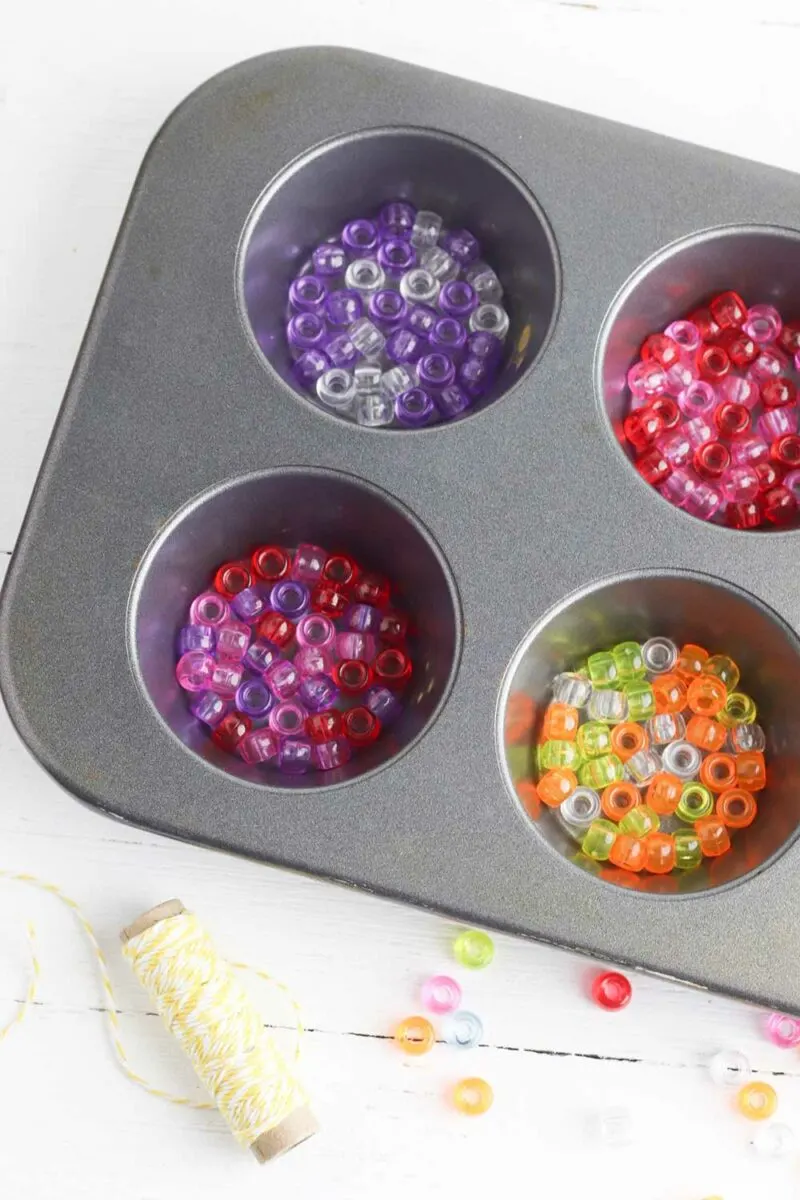
- Translucent pony beads
- Clear thread (I used fishing line)
- Muffin pan
- Screwdriver and hammer
Directions
Step 1
Preheat the oven to 400 degrees. Arrange the pony beads in a single layer in the cups of the muffin pan. You can use all one color, or combine colors.
Step 2
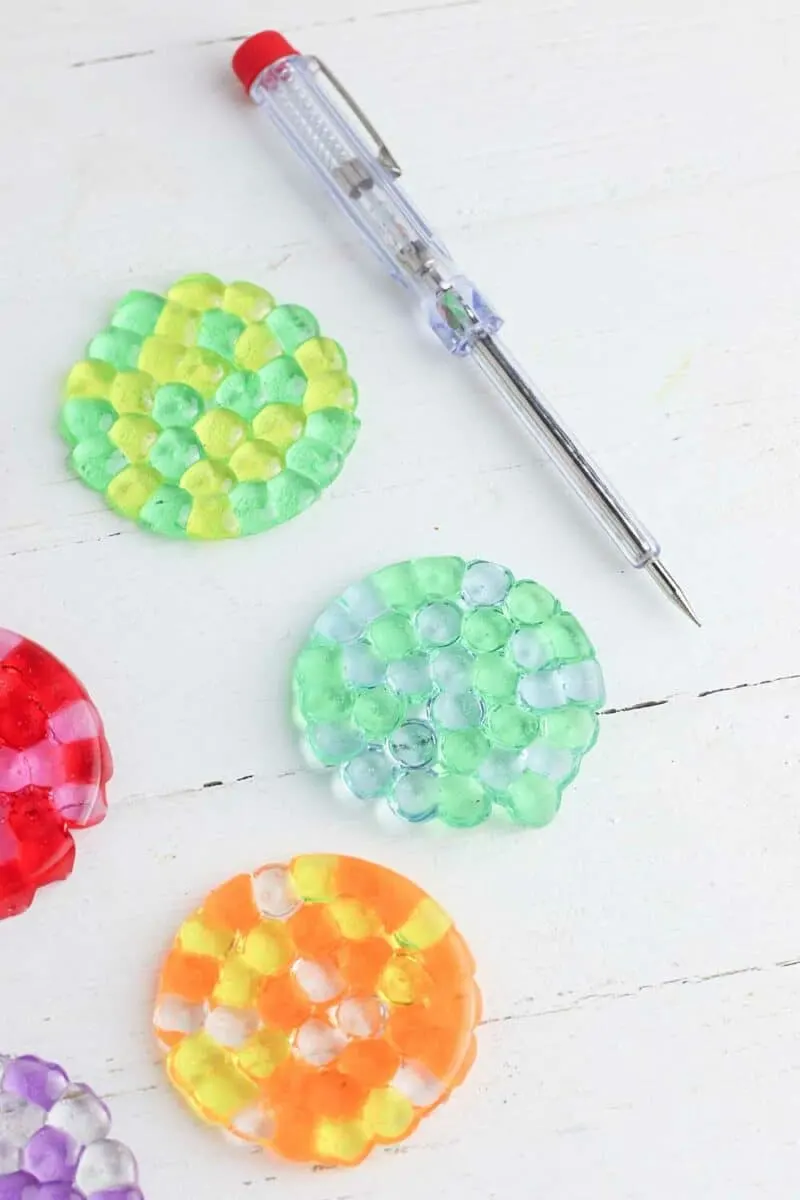
Place the muffin pan in the oven and bake for 15 to 20 minutes, or until the beads are fully melted.
Remove the melted beads from the oven and allow to cool completely.
Step 3
Turn the pan upside down to remove the suncatchers once cooled.
Use a screwdriver and hammer to poke a hole in the top of the suncatchers. Or you can look closely to find a small spot where the beads haven’t completely melted together to use as a hole.
Step 4
Cut a long piece of clear thread and thread one end through the hole in one suncatcher. Pull the suncatcher to the bottom of the thread and secure it in place with a knot.
Thread a second sun catcher on and secure it in place with a knot a few inches above the bottom suncatcher. Continue adding suncatchers to the thread until you have reached the desired length
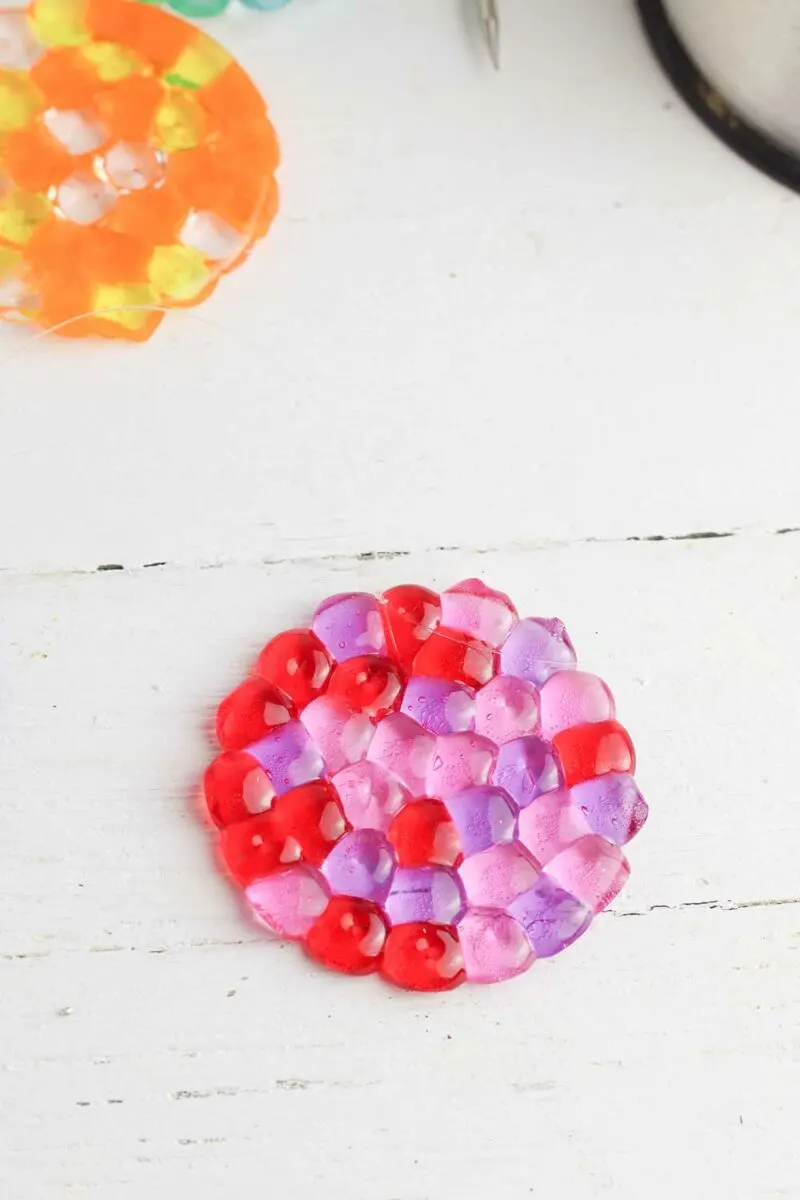
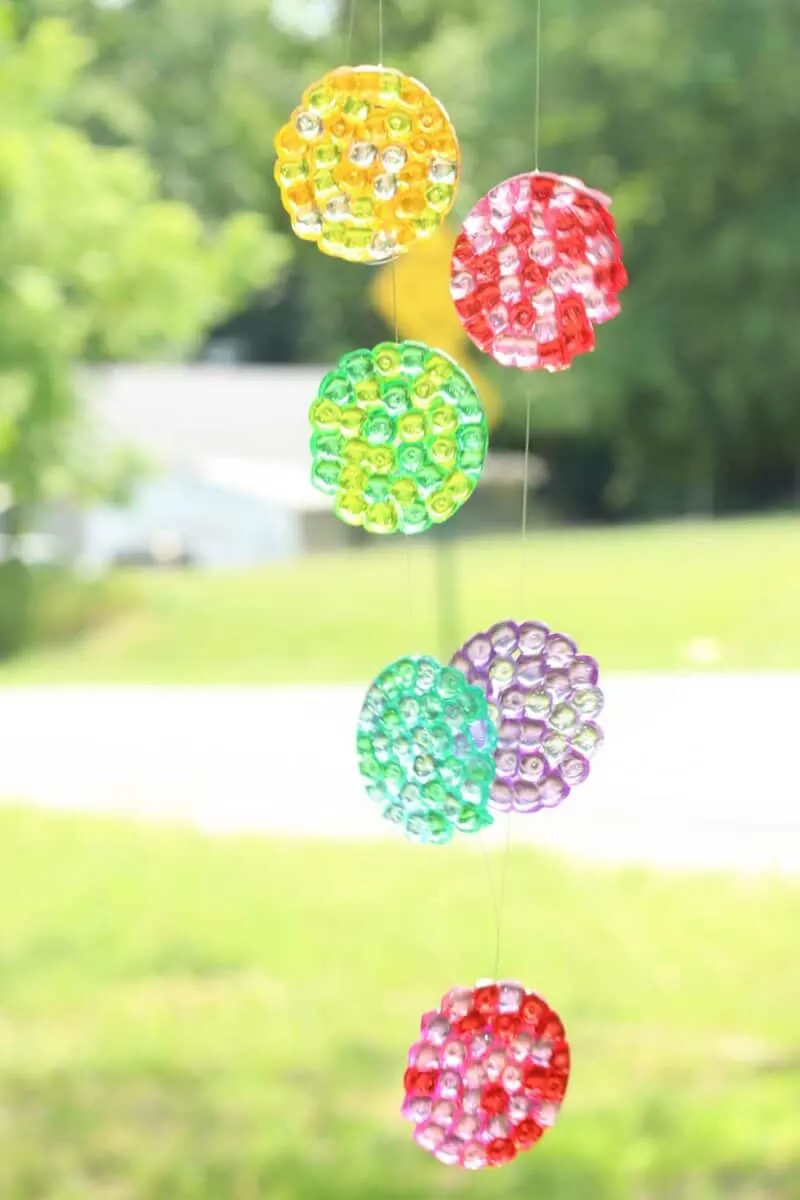
Both types of DIY sun catchers are easy to make. And they will both add color and happiness to your window or patio when the sun streams through them.



Denise
Saturday 21st of May 2022
I love the pony beads sun catcher. I have already gotten the beads and pans,but I have one question and I did know who ask . Once you melt beads in your pan can you still use pan for making muffins or is pan not usable for food anymore?
Kimberly
Sunday 22nd of May 2022
If no plastic has stuck to the sides of the muffin pan, I use it for food.