
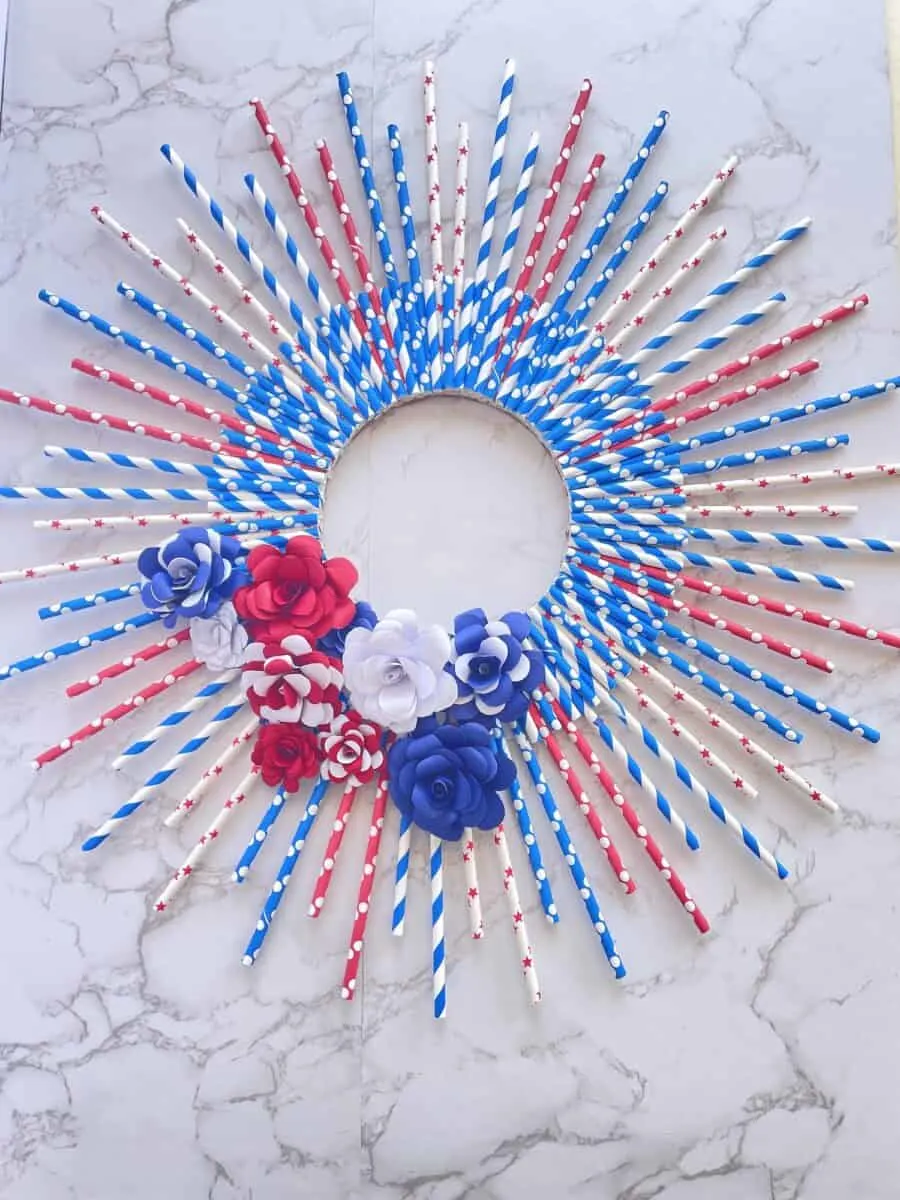
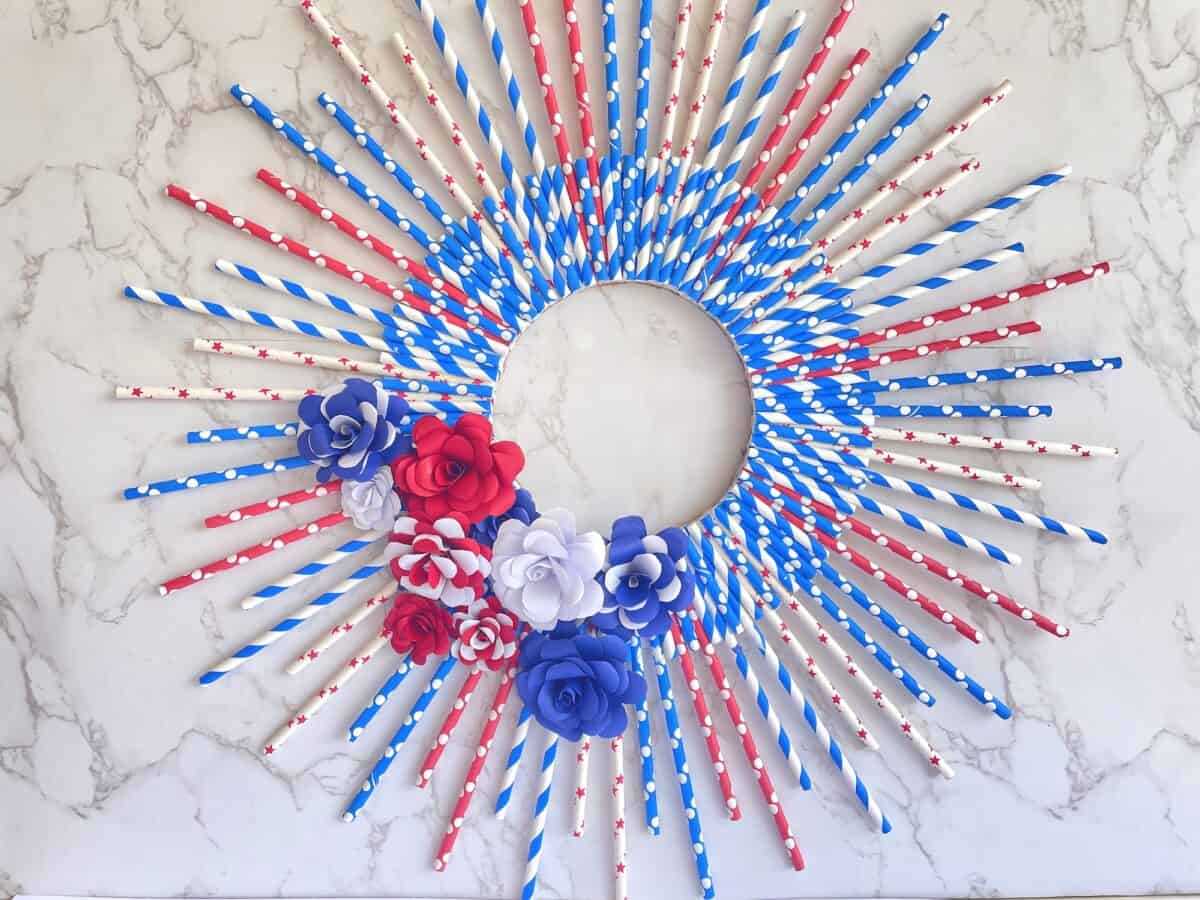
If you need a lightweight, thin front door wreath to celebrate the Fourth of July or Memorial Day, this is the DIY project you need!
I used colorful paper straws and cardboard to create a patriotic wreath that is easy to hang on the front door.
And it is inexpensive to make! You can buy the paper straws at the Dollar Tree!

My front door requires a very thin wreath because of the storm door on the outside. I have found finding wreaths a challenge to fit into the narrow space. This one works perfectly!
I made paper flowers to add to the wreath for some visual interest. While they are not hard to make, there are a few steps involved. If you would like, just buy faux flowers in patriotic colors and glue the flower heads onto the wreath, instead.
Be sure to see all of my DIY wreaths for year-round front door decorations!
Related Posts:
- DIY Fourth of July Tray (with Free SVG)
- 4th of July Rocket Craft
- Popsicle Stick Flag
- Bald Eagle Handprint Craft
- Uncle Sam Handprint Craft
- Popsicle Stick Firecrackers
- DIY Parade Wands
How to Make a Patriotic Wreath for the Front Door
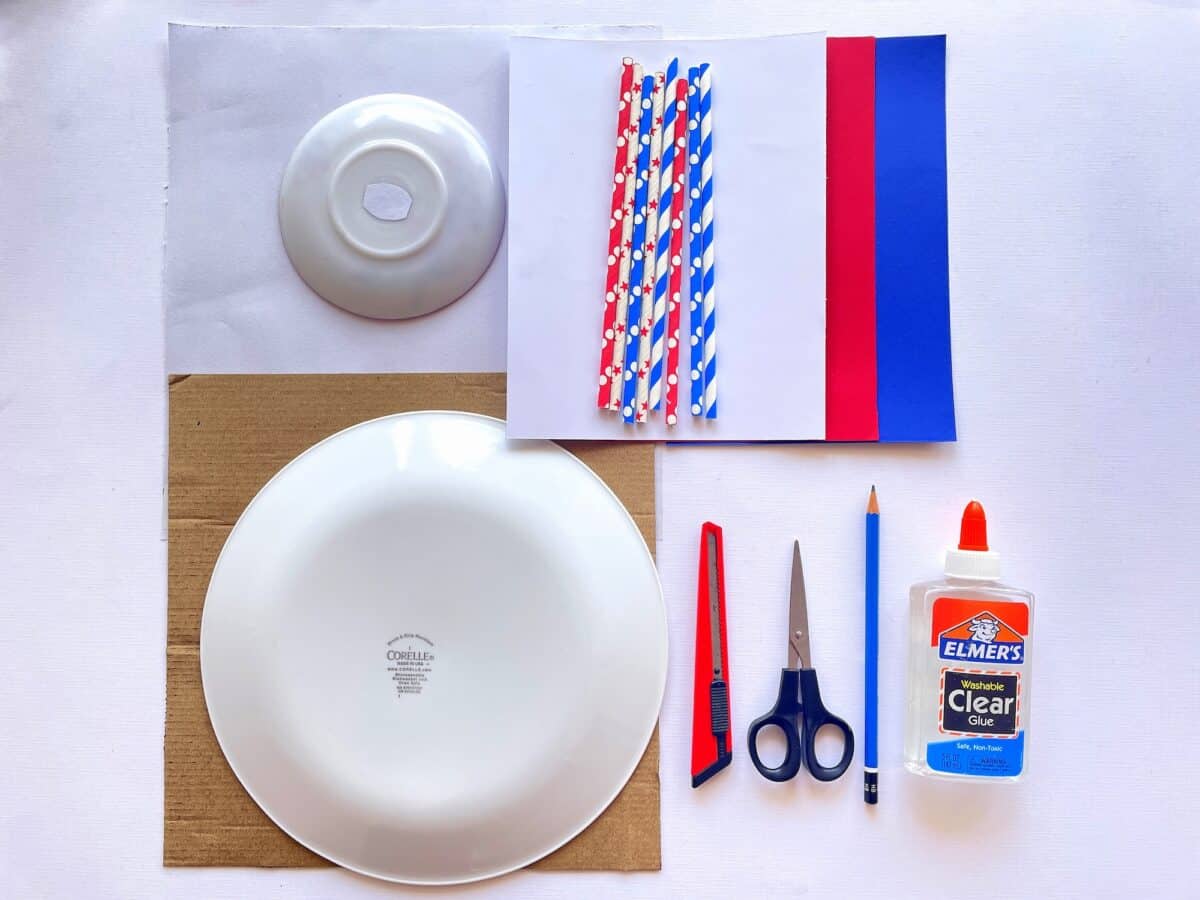
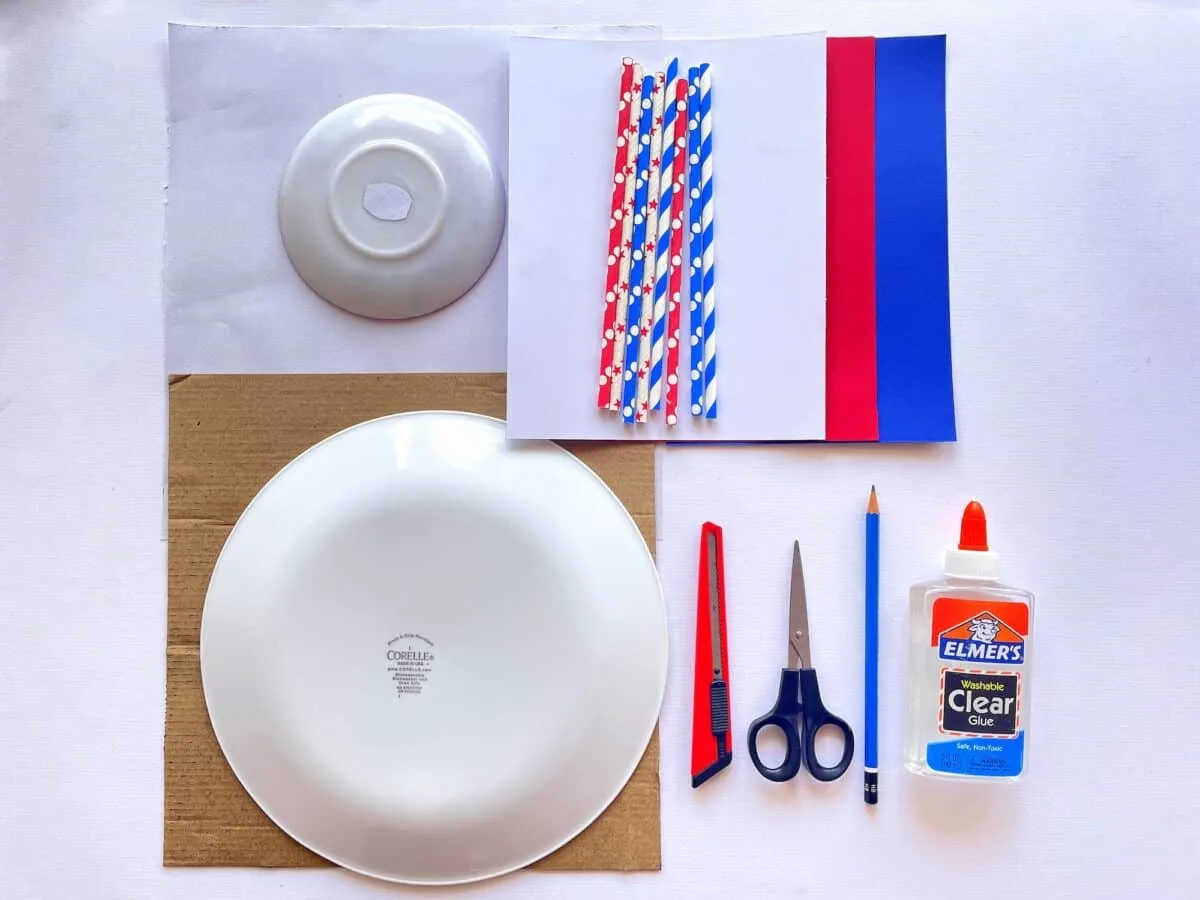
Supplies
- 75-80 paper straws in red, white and blue colors
- Cardboard piece, 15″ x 15″
- Dinner plate, approximately 11″ in diameter
- Small plate, approximately 7″ in diameter
- White poster board or card stock
- Construction paper (red, white and blue)
- Glue
- Scissors
- Wooden skewer, knitting needle or thin pencil
- Ribbon or twine (optional)
Instructions
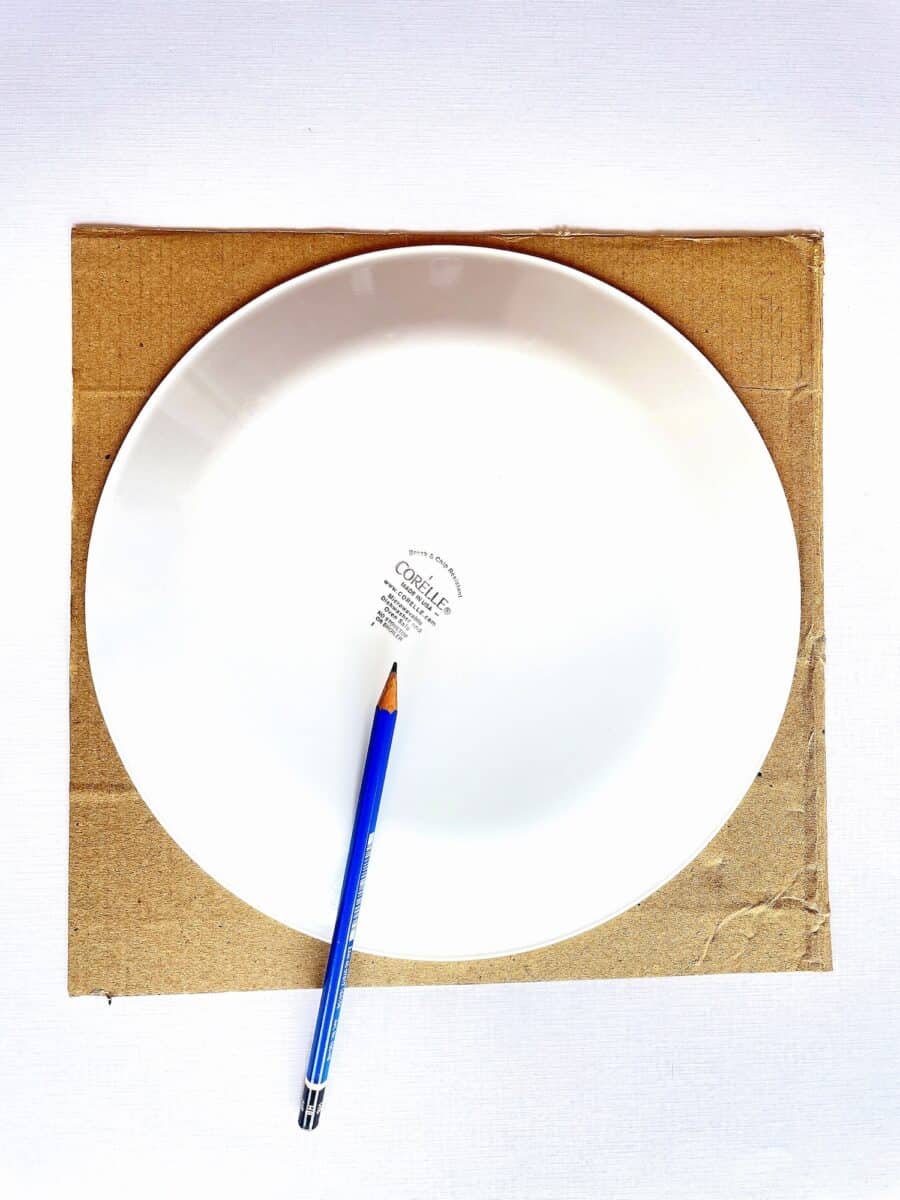
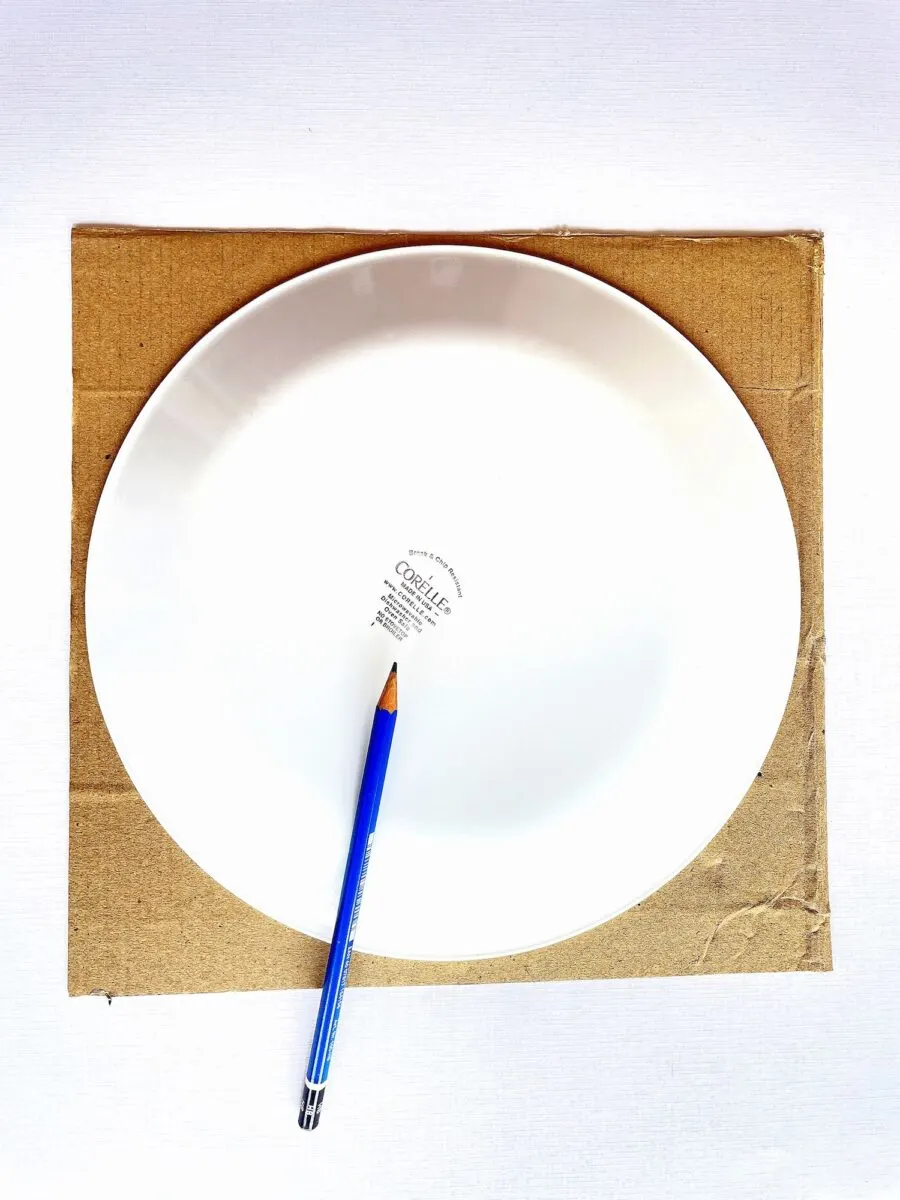
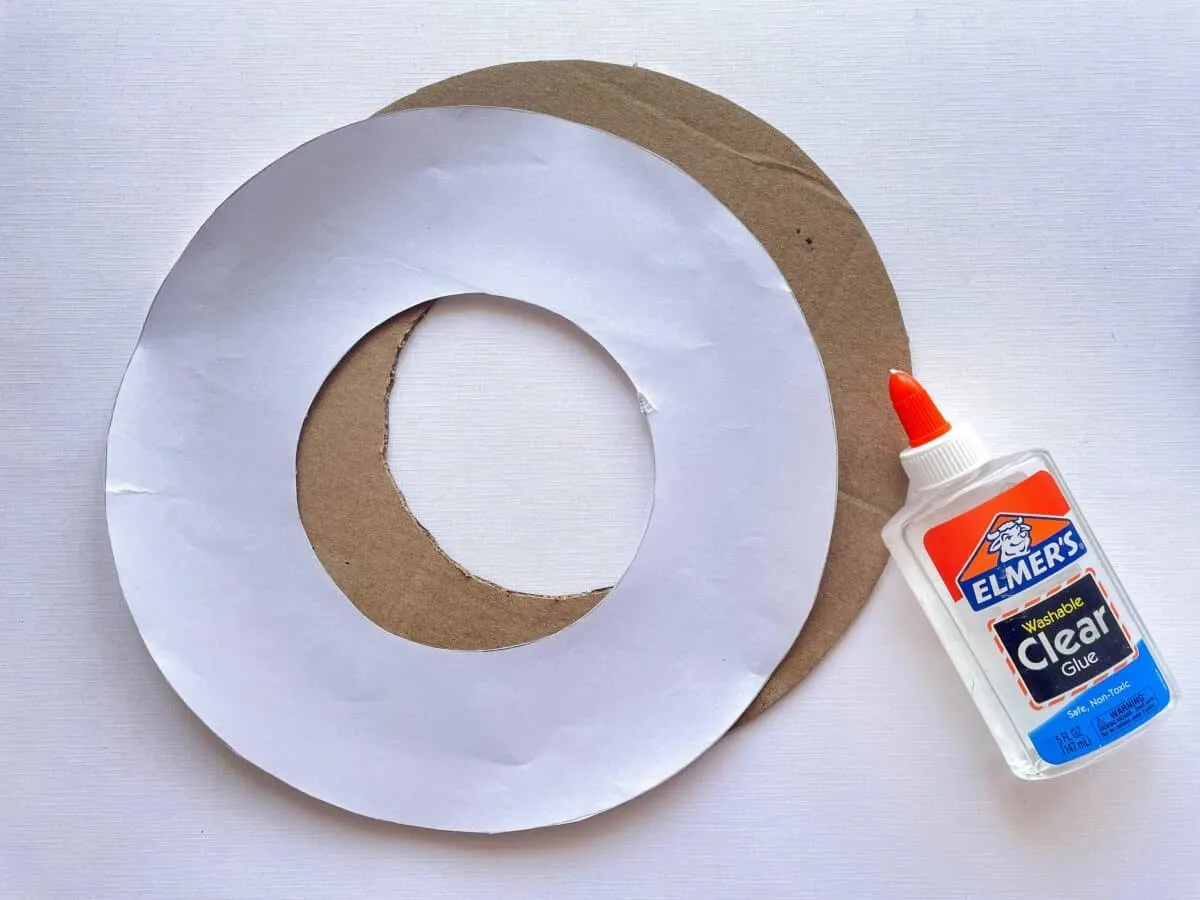
Step 1
Put the large dinner plate on the cardboard piece. Trace the outside with a pencil.
Cut out the circle.
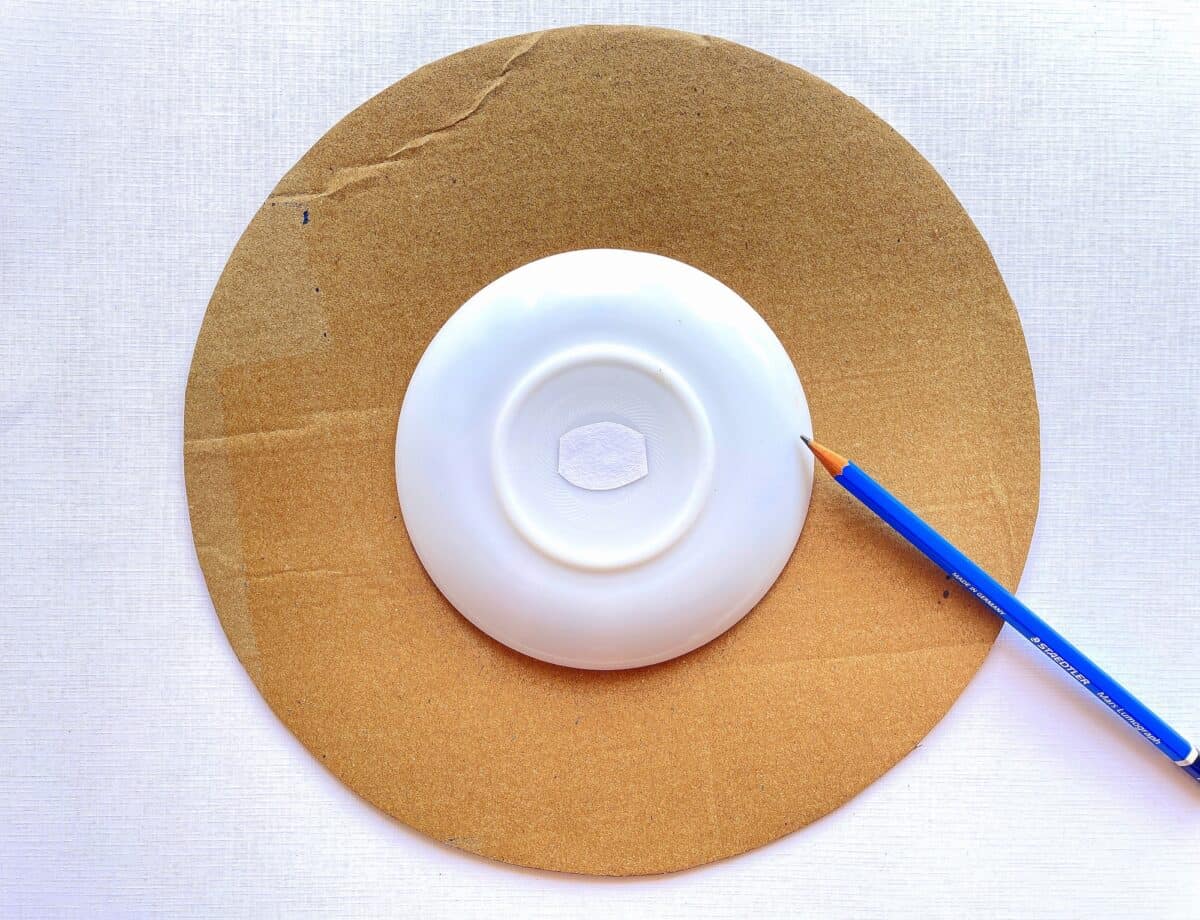
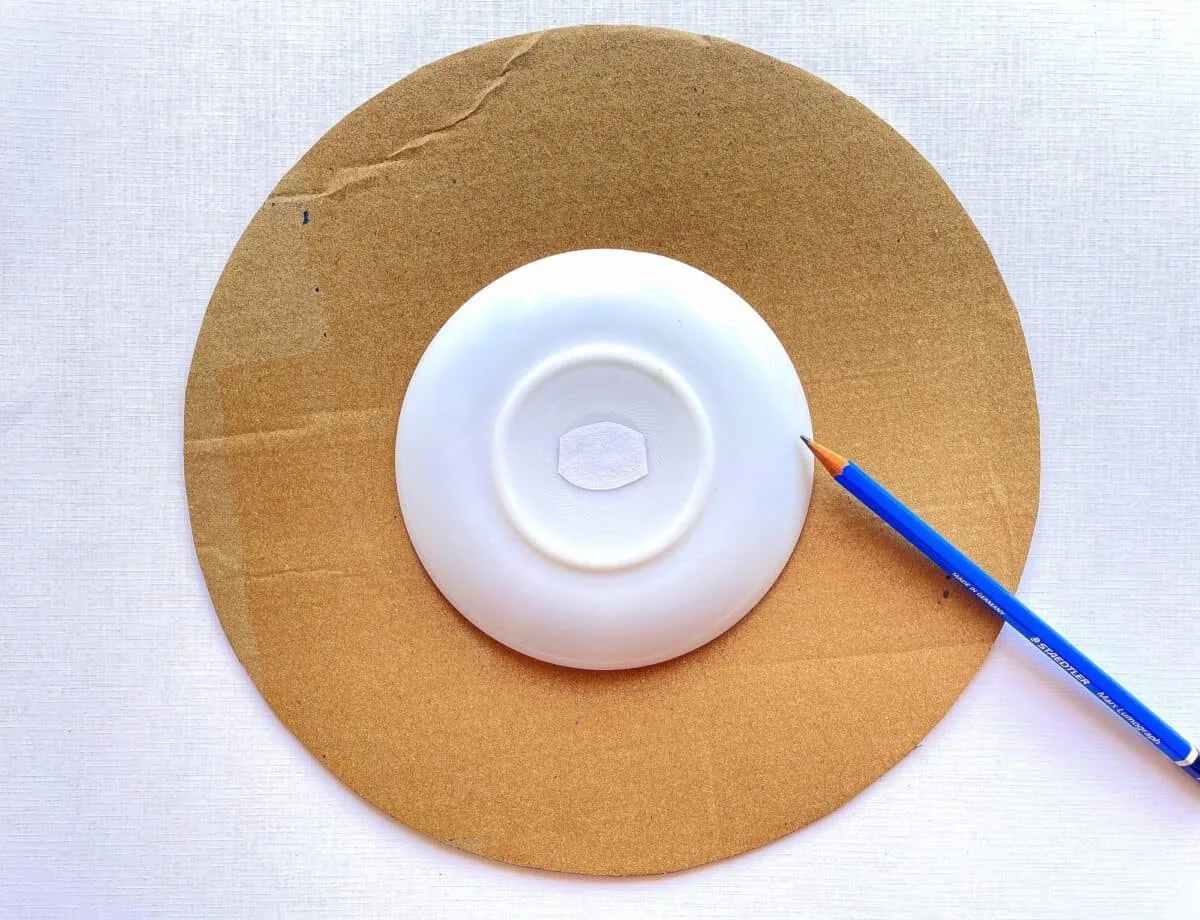
Step 2
Place the small plate in the middle of the large cardboard circle.
Trace around the circle, then cut along the pattern. This will create a circular wreath form that is lightweight and very thin.
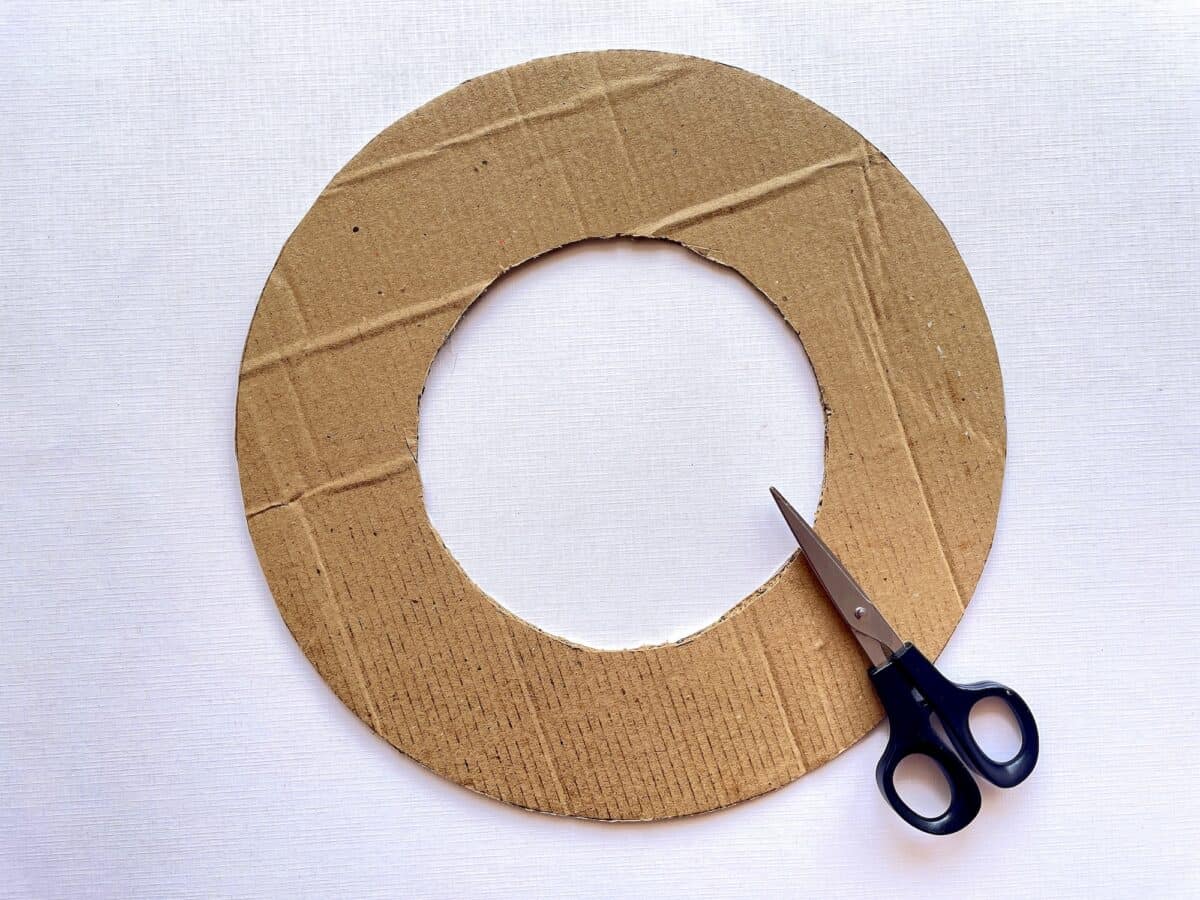

Step 3
Using the cardboard wreath form, trace the circle on the white poster board. Cut out the circle.
Glue the white poster board on top of the cardboard piece.

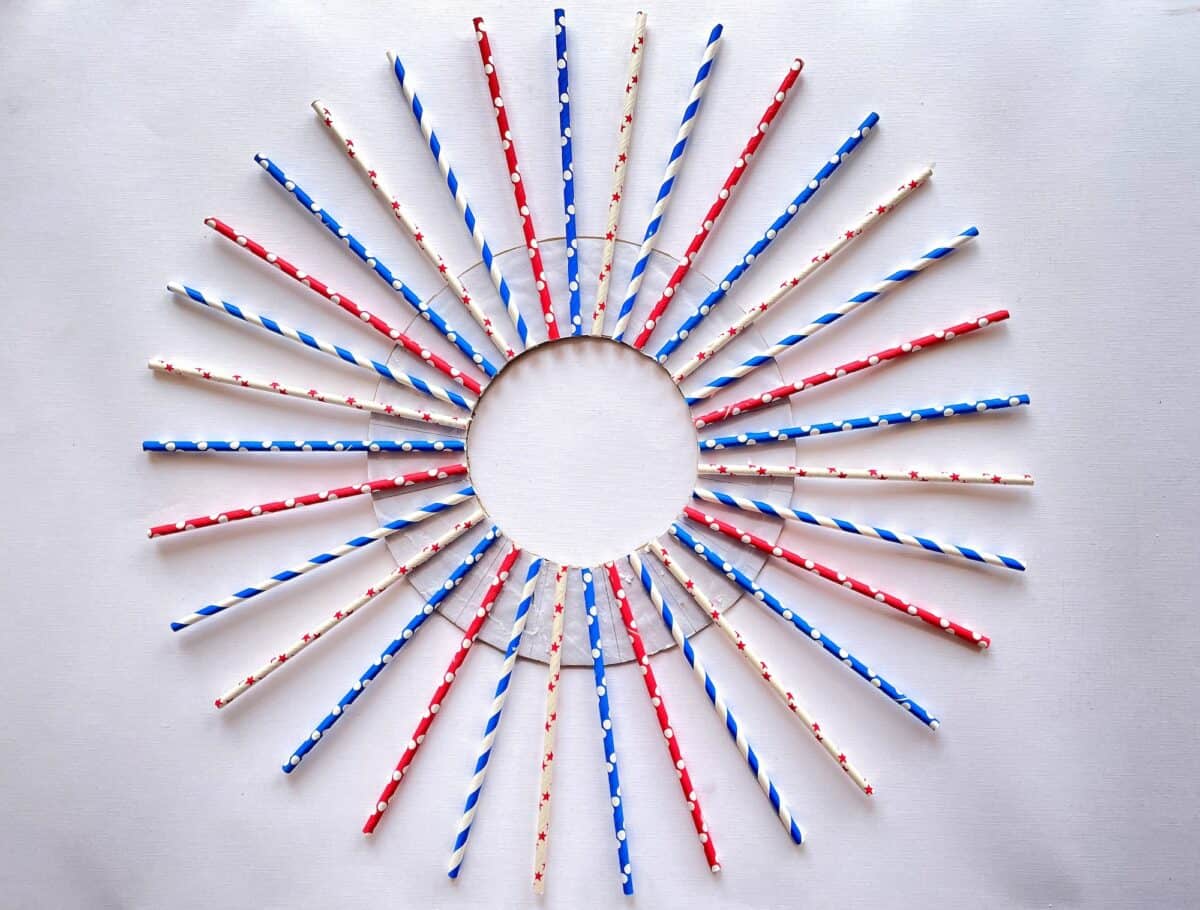
Step 4
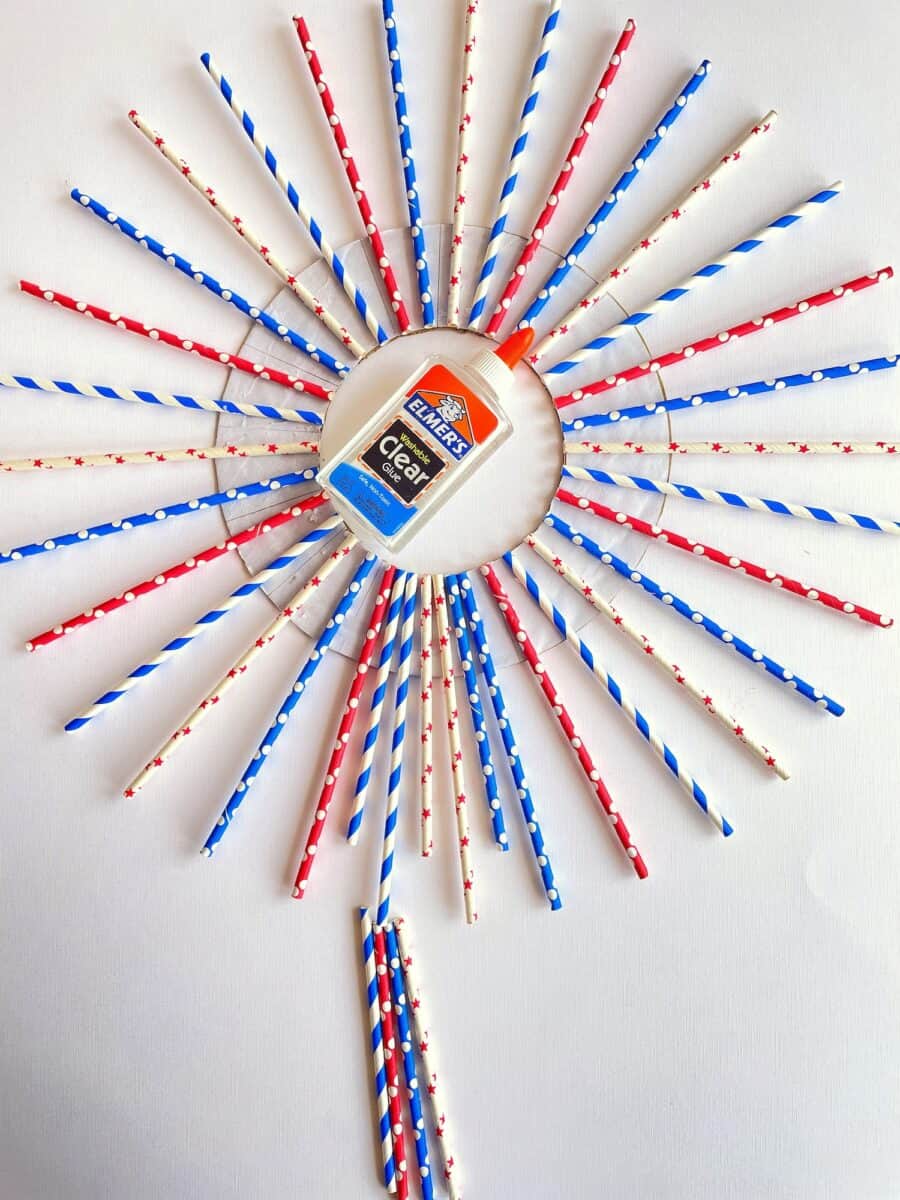
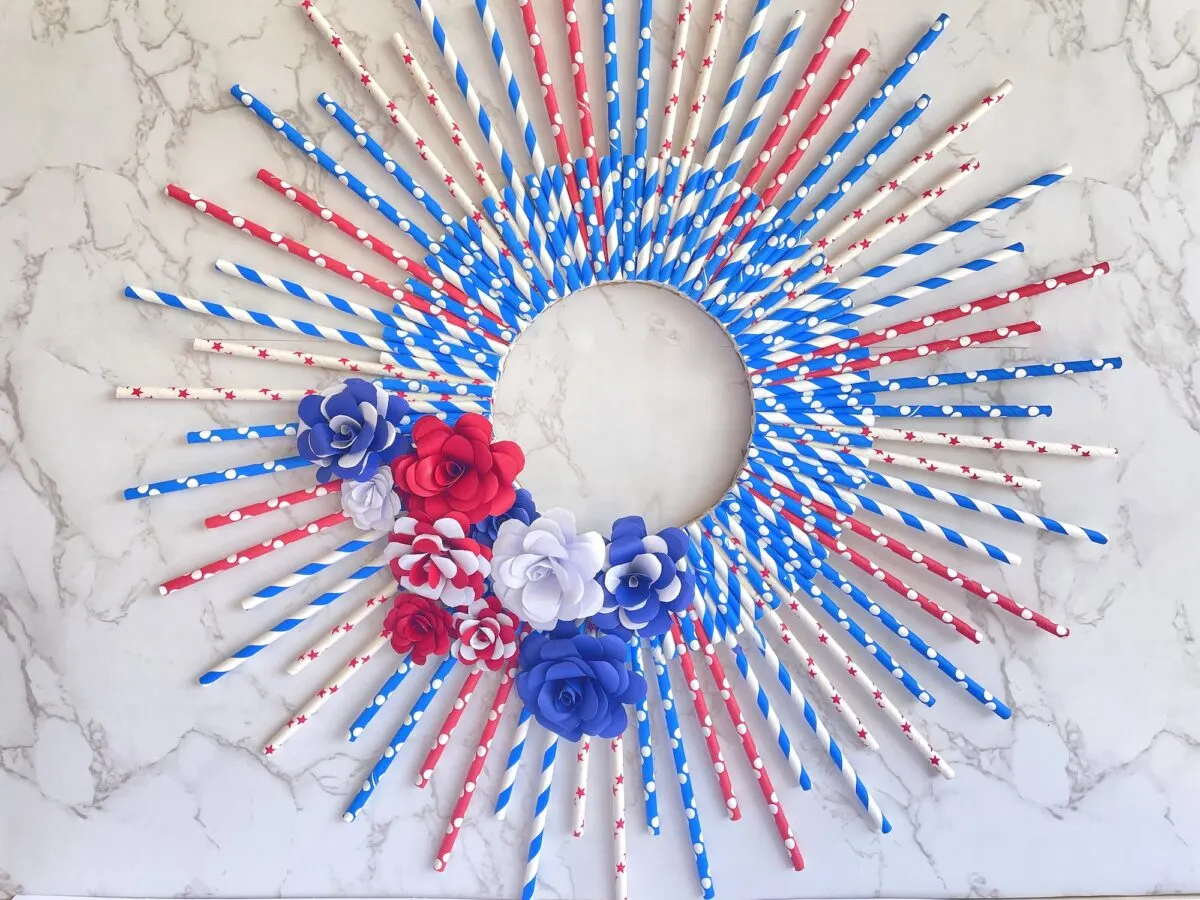
Lay the straws in alternating colors and patterns around the wreath form. Leave small gaps the thickness of a straw in-between each straw.
Line up the ends of the straws with the edge of the inner circle edge.
Glue the straws onto the wreath form.
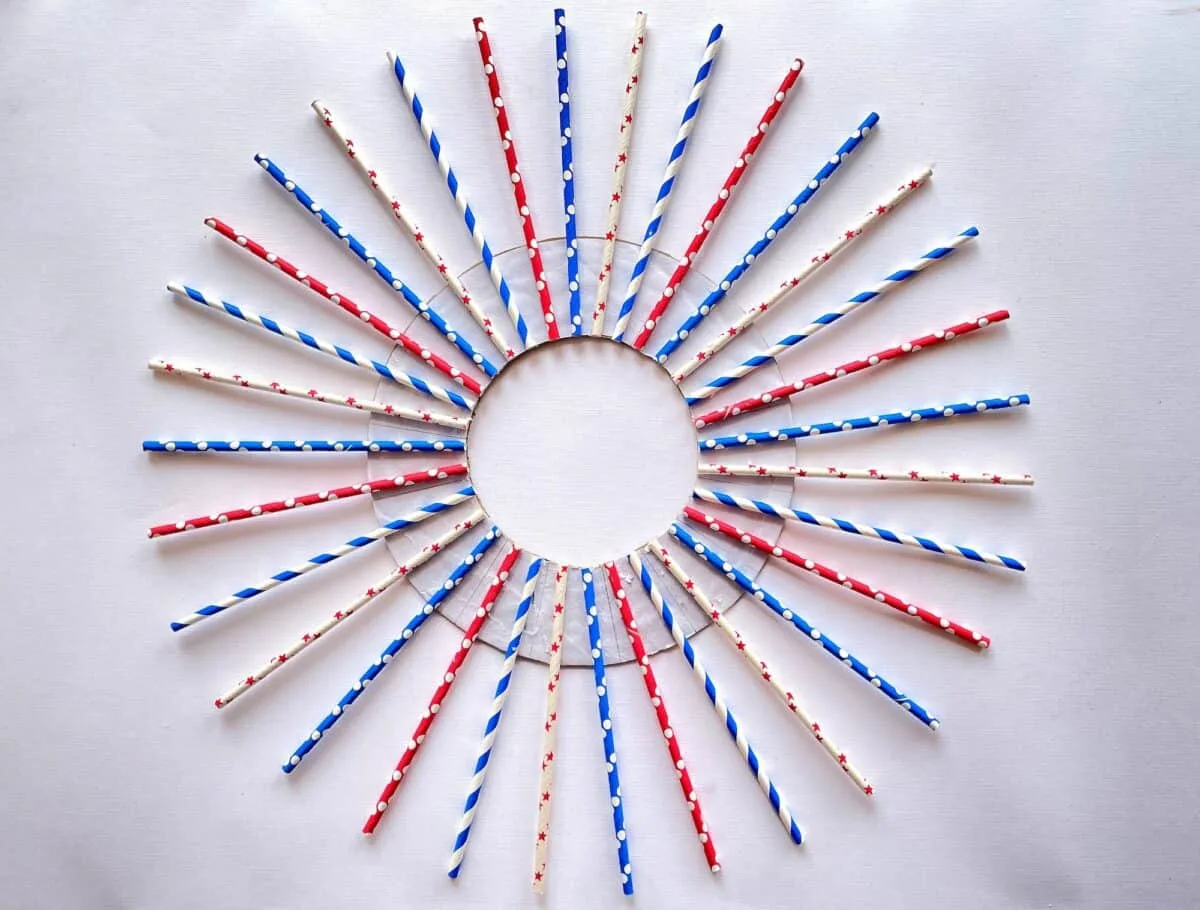
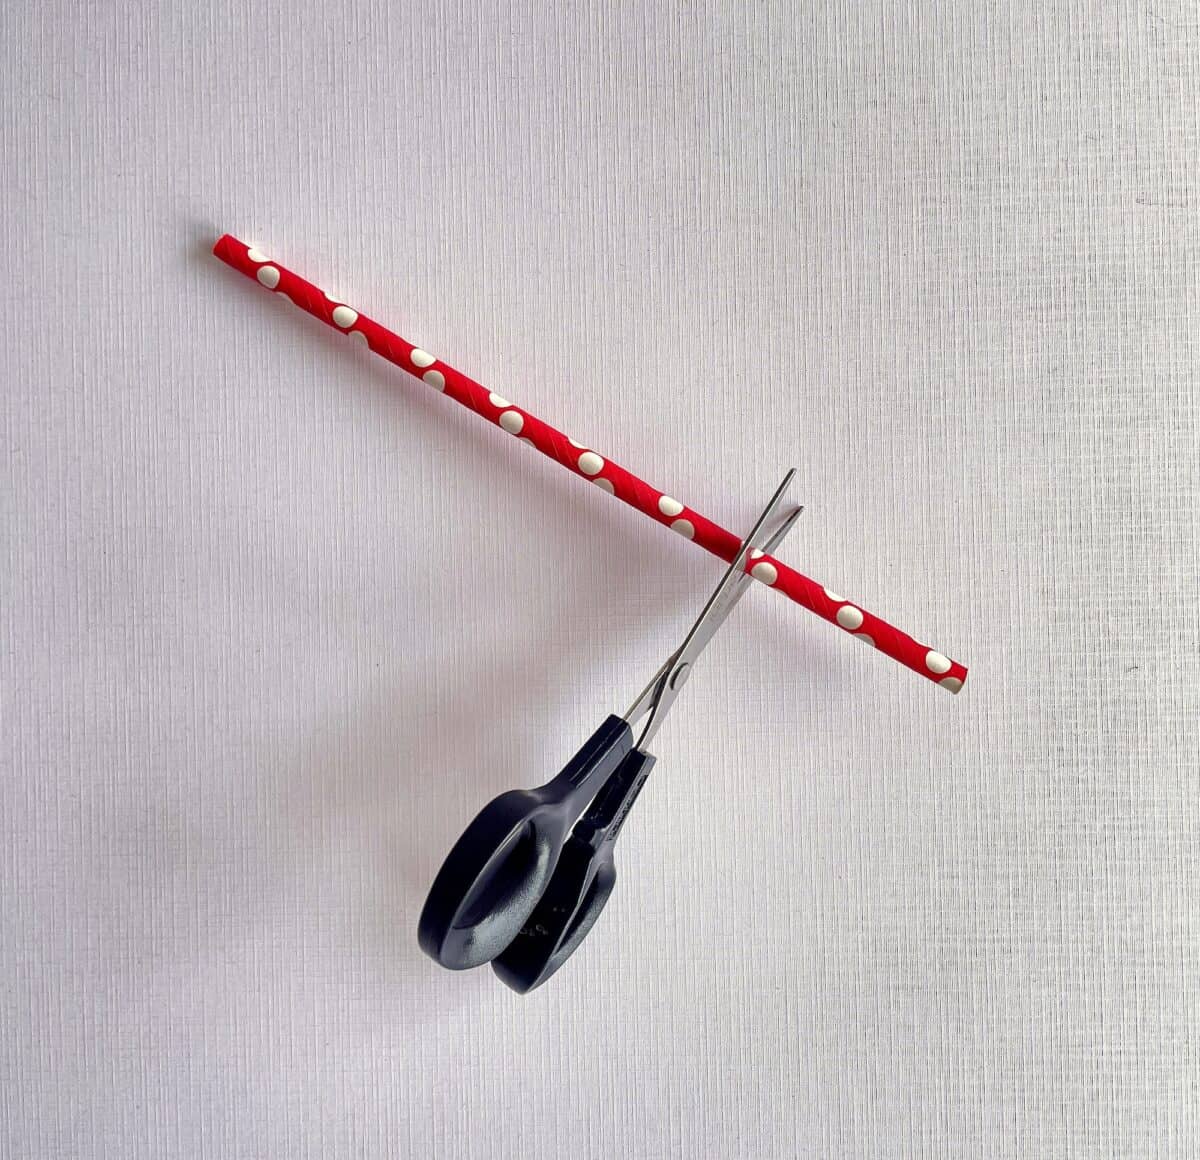
Step 5
Cut the remaining straws to ¾″ of the original length. Use these to fill in the gaps between the full-size straws.

Glue the straws onto the wreath form. Allow to dry.

Step 6
Next, it is time to make the flowers.
Cut out large 3″ circles and small 2″ circles out of red, white and blue construction papers. You can use the bottom or a glass or mug or a cookie cutter to trace the circles.
You will need 5 circles for each flower. Make as many as you would like to add to the patriotic wreath.


Step 7
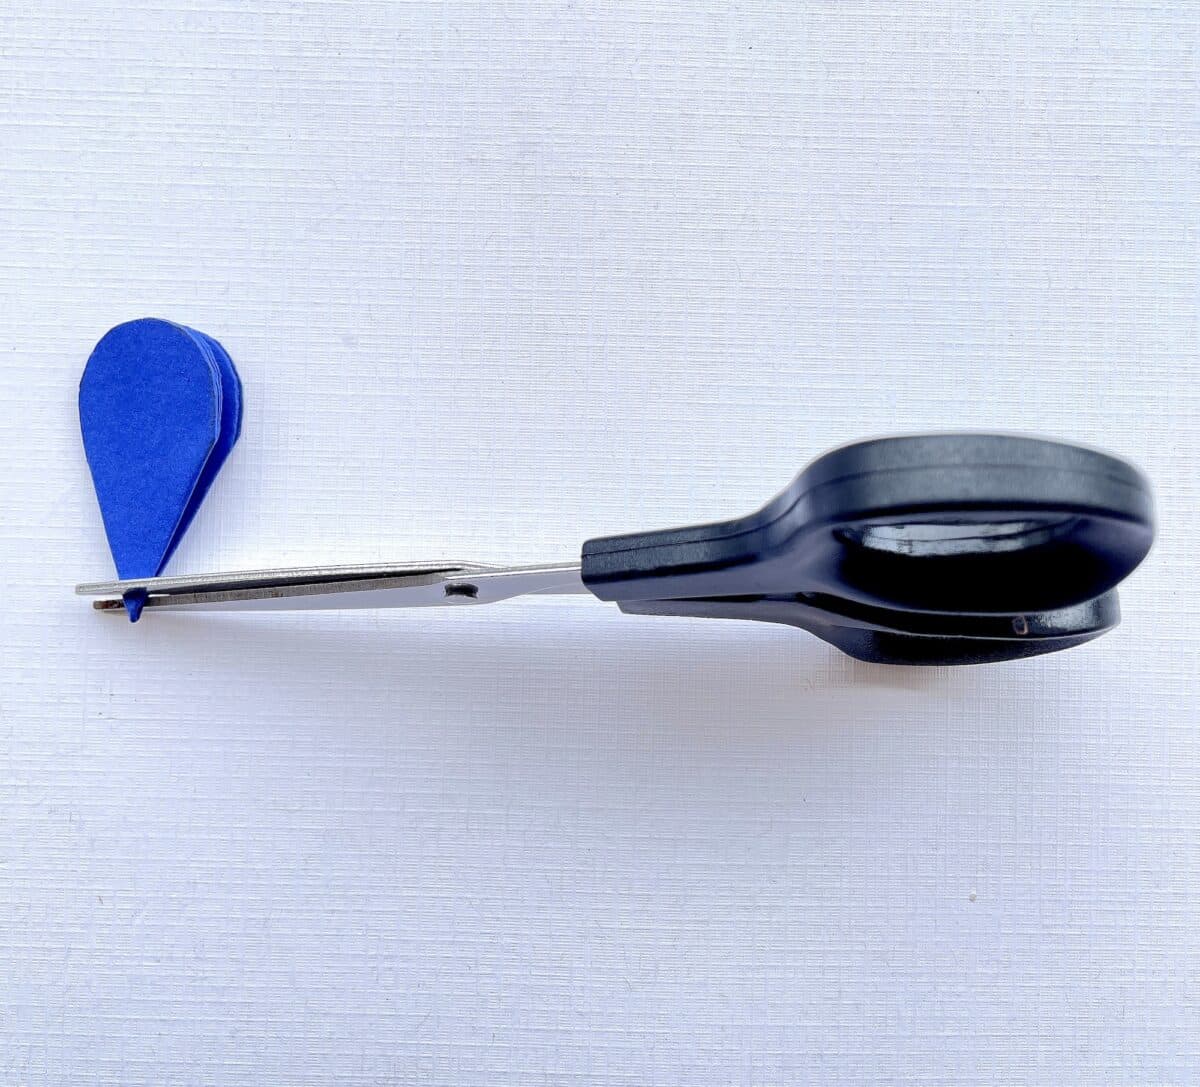
Take one circle and fold it in half. Fold it again in half and then again in half.


Step 8
Draw a curve along the edge of the top of the paper cone. Cut along the curve.
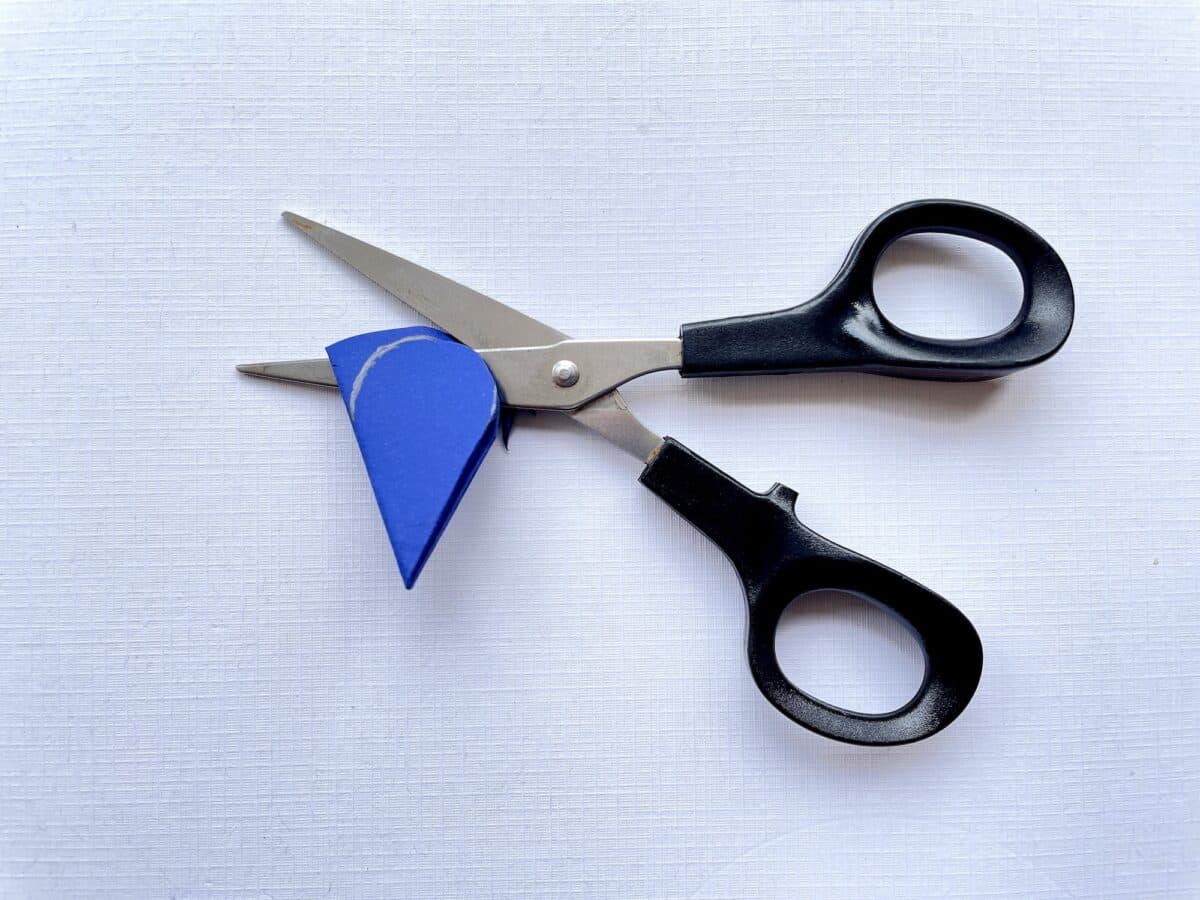

Snip a small part off the pointed corner to form a hole in the center of the flower.

Repeat this process for a total off 5 flower templates. You will need five layers to make one flower.
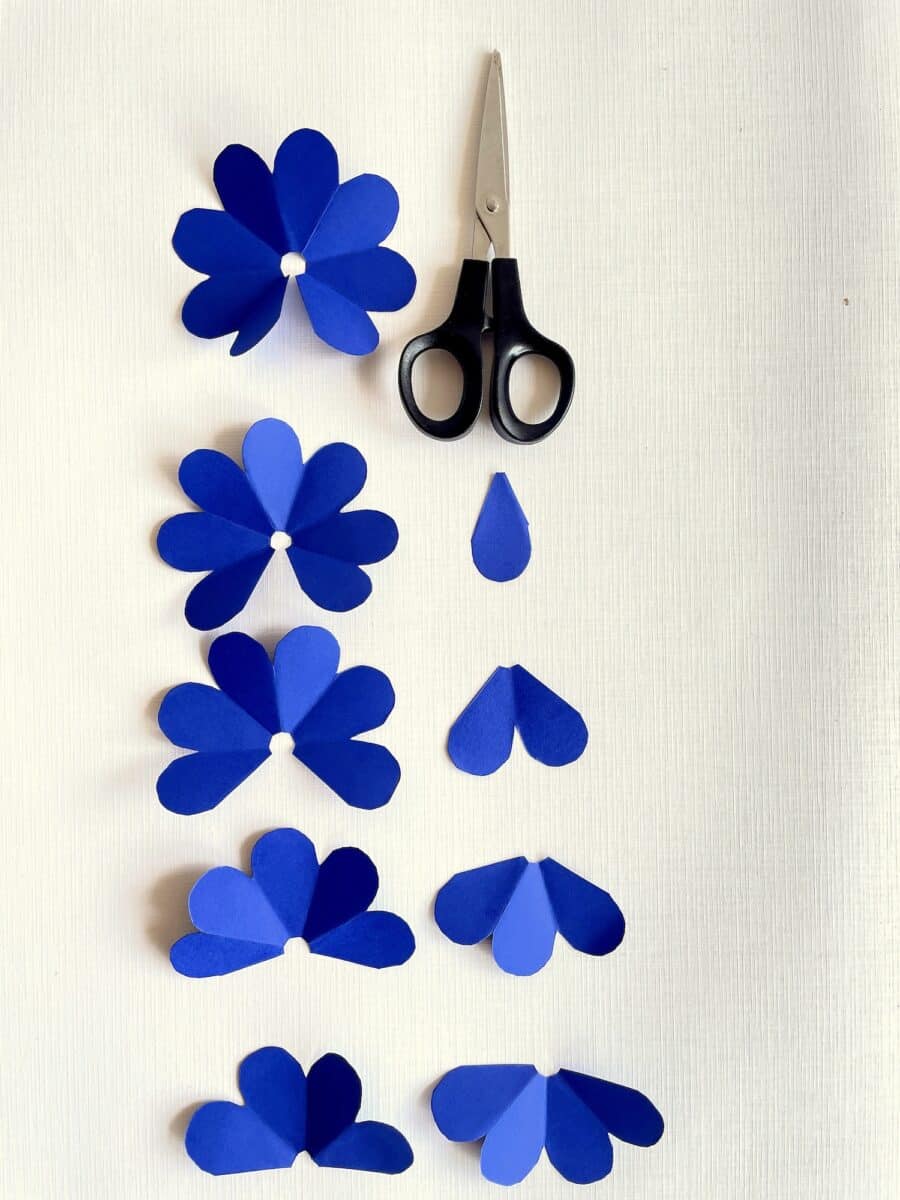
Step 9
Unfold the flower and you will see lines along each of the petals. Cut along one of the lines to open the flower.

Step 10
Leave one flower pattern with just a cut between the petals. On the second pattern, cut off one petal.
On the third pattern, cut out two petals. On the fourth pattern, cut off three petals. And on the fifth pattern, cut off four petals.

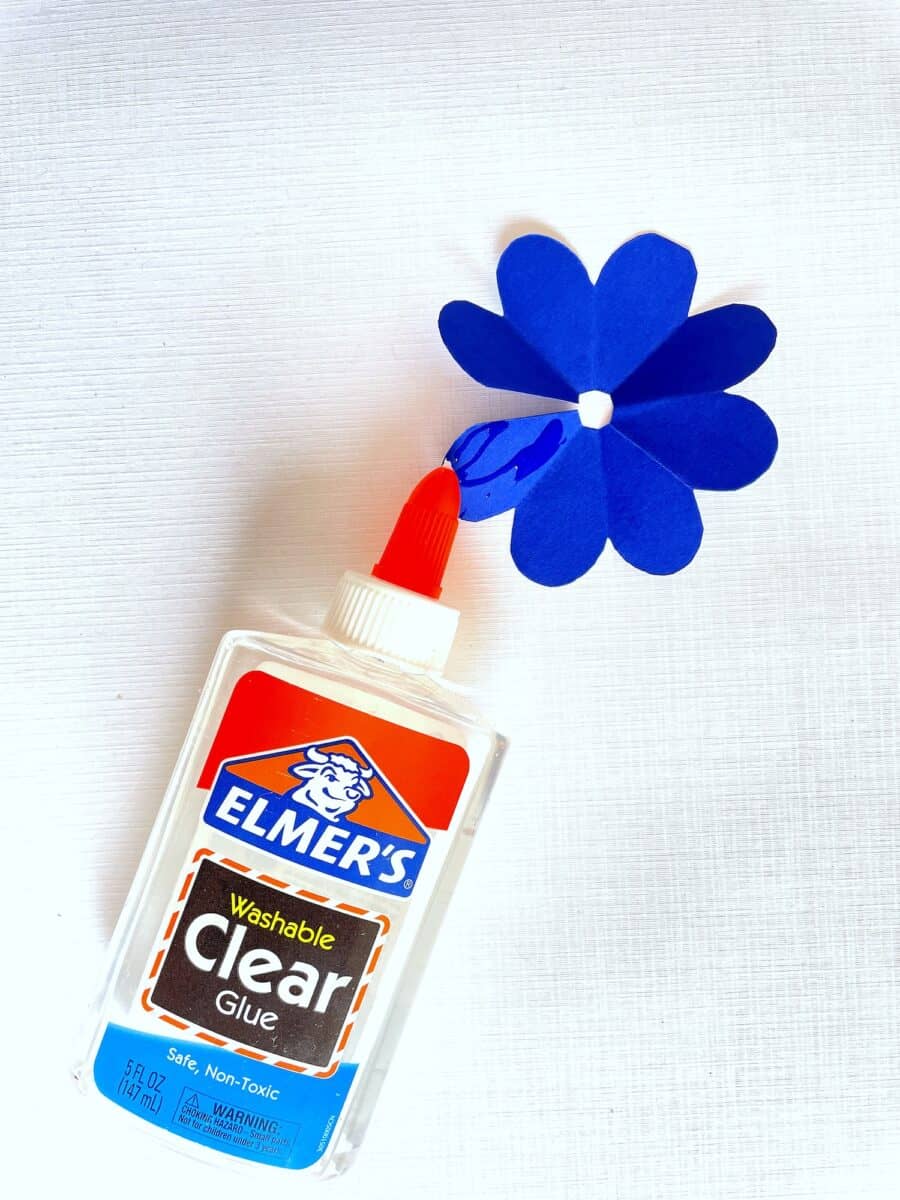
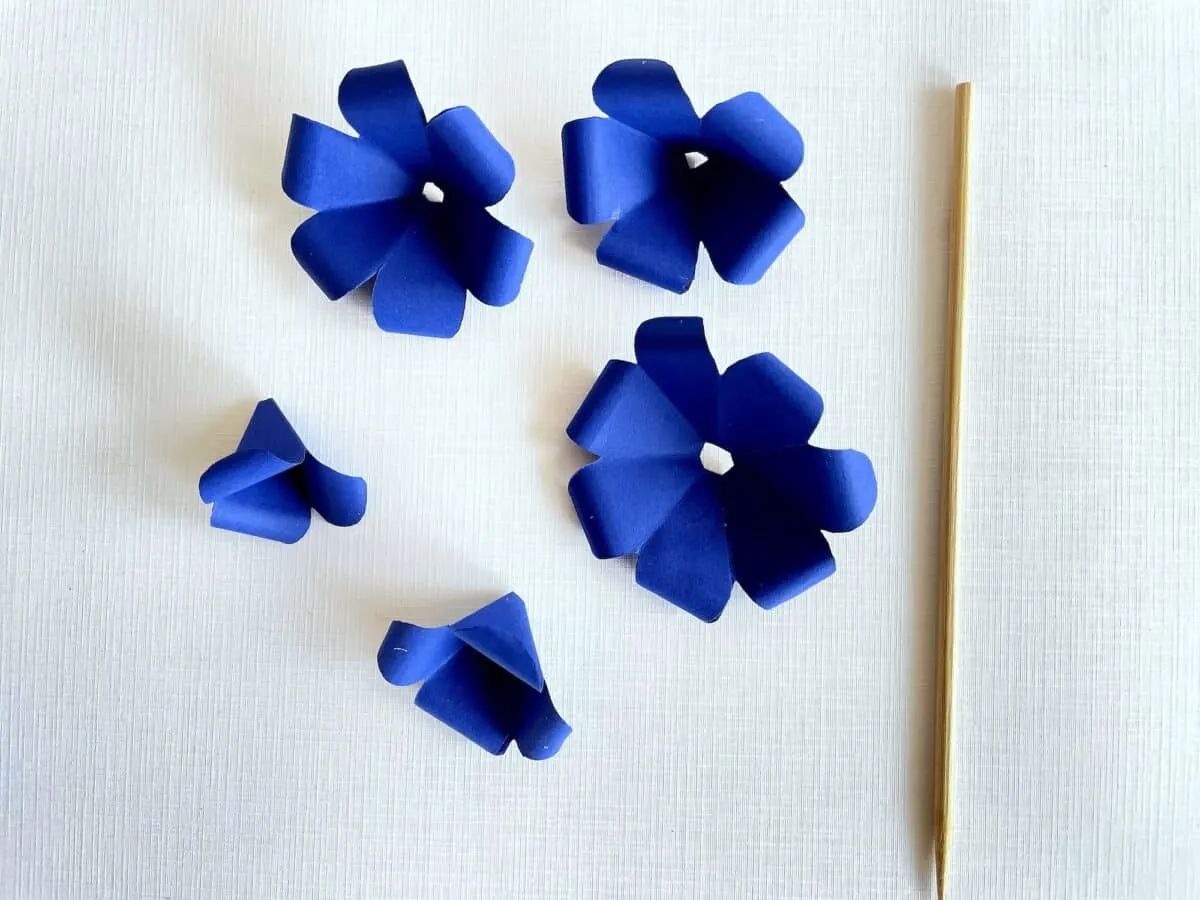
Step 11
Apply glue along the edge of the end petals and glue them together.

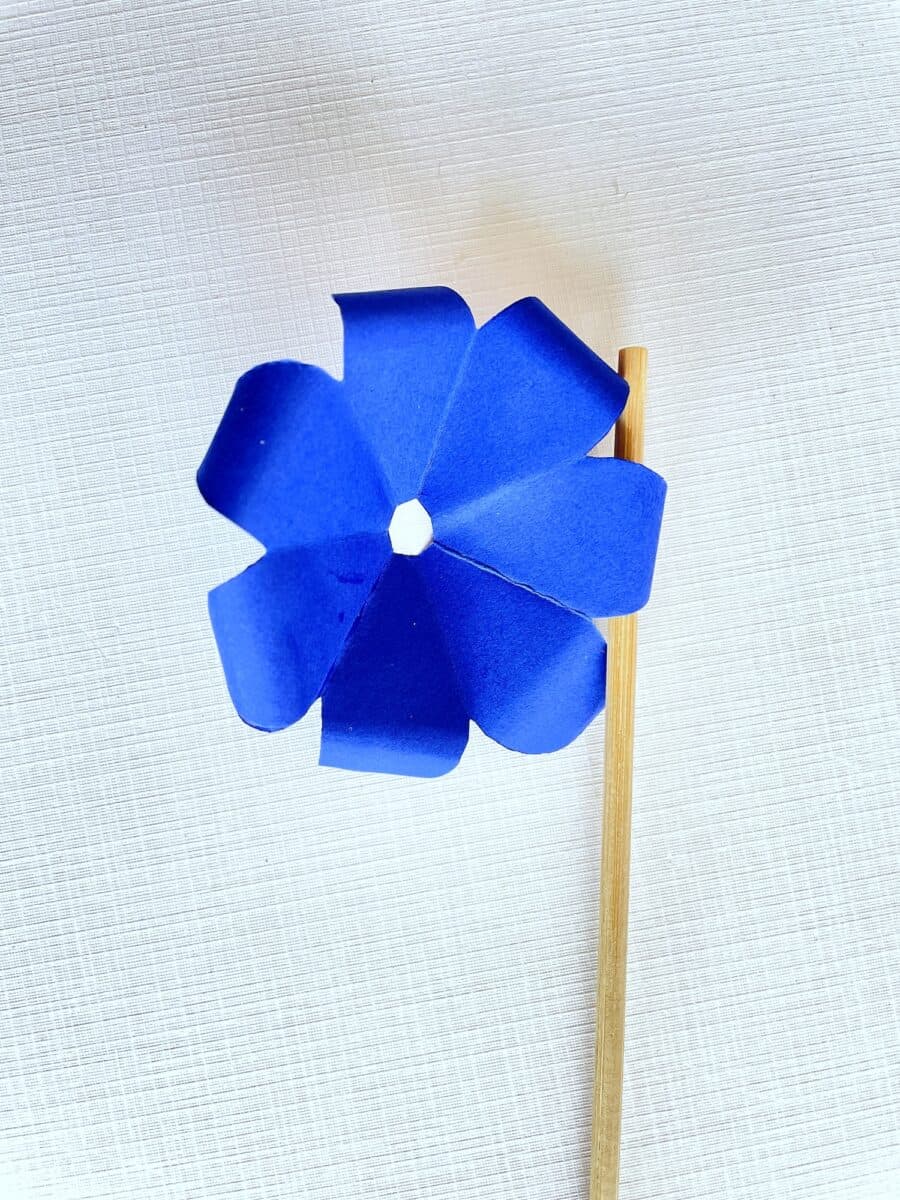
Step 12
Curl the edges outwards with a wooden skewer. Repeat the same with all the remaining layers of the flower.

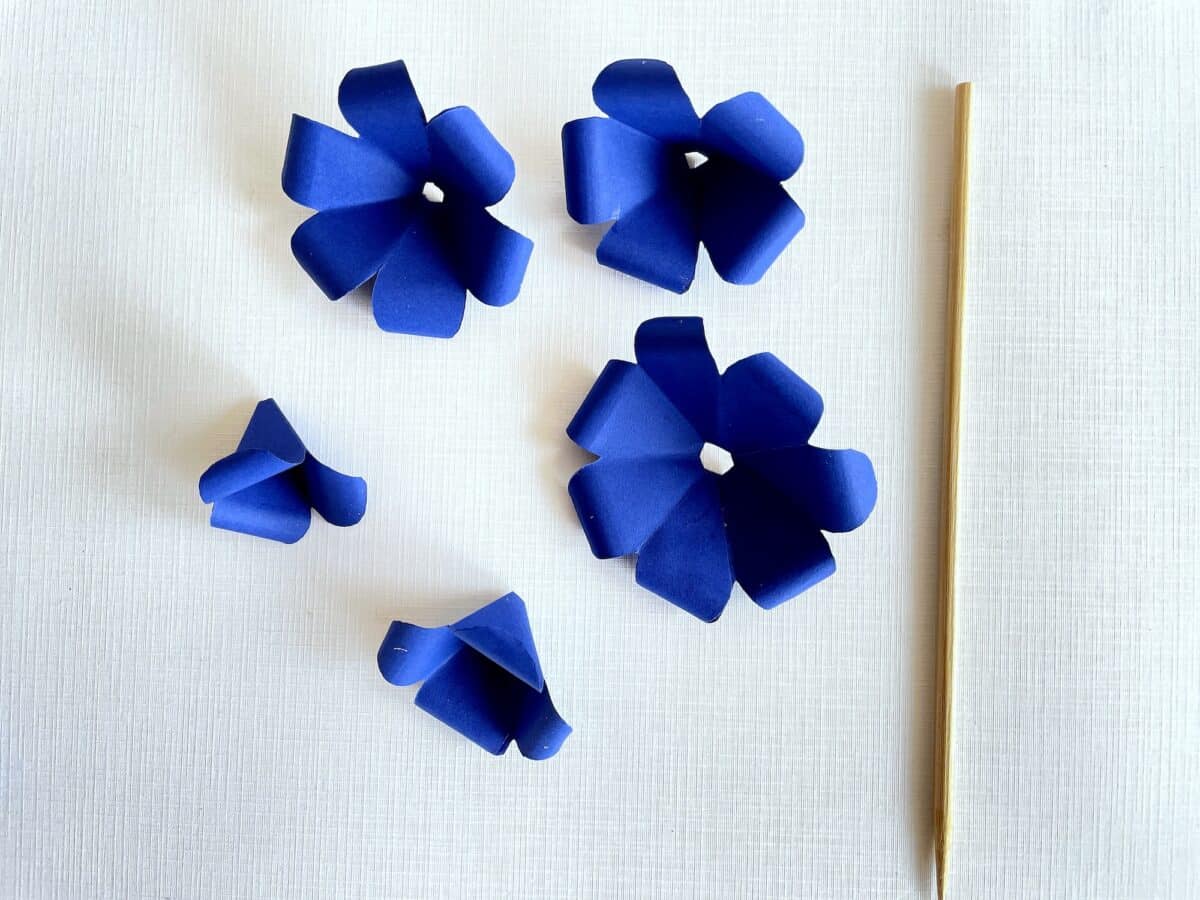
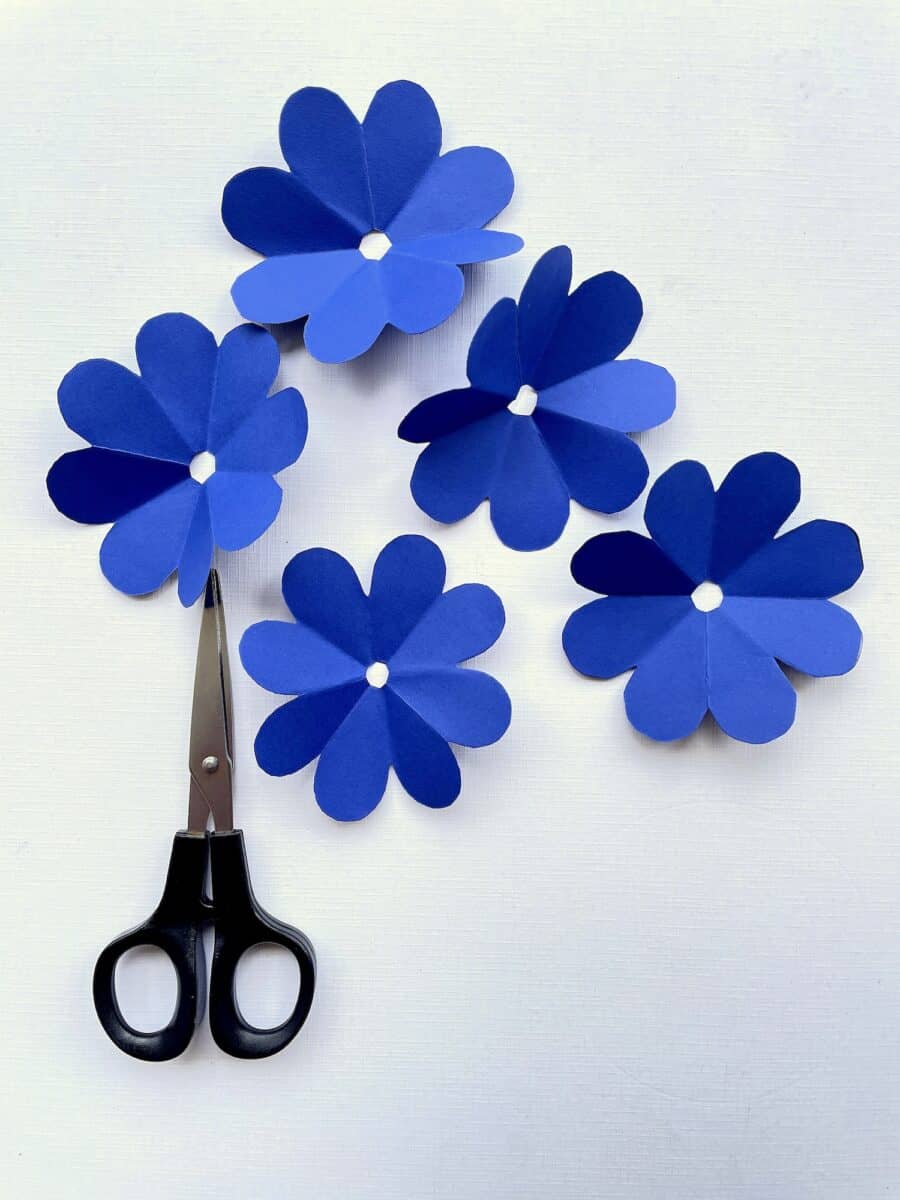
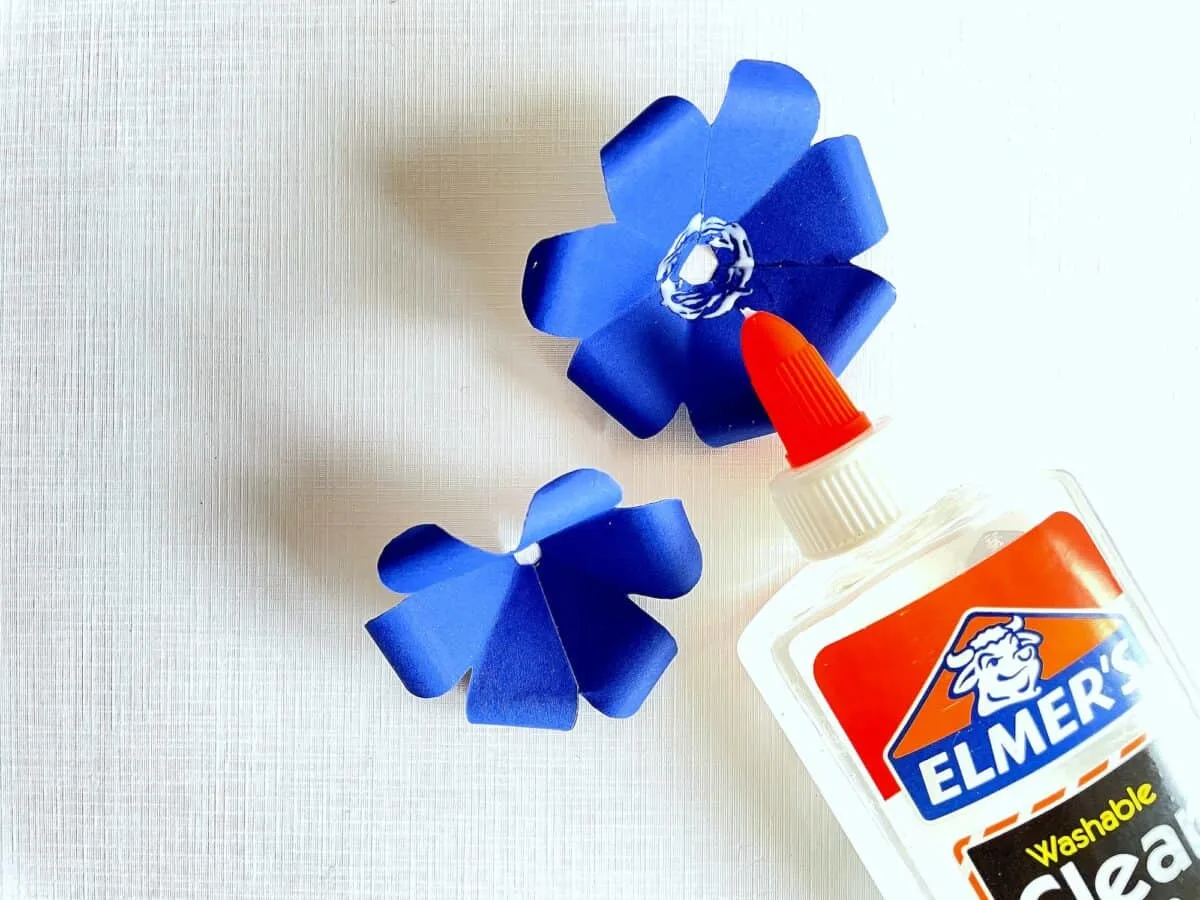
Step 13
Take the largest flower layer and apply glue along the center. Gently press the second biggest layer into the first to combine.
Repeat the process with the remaining layers until all 5 are glued together.

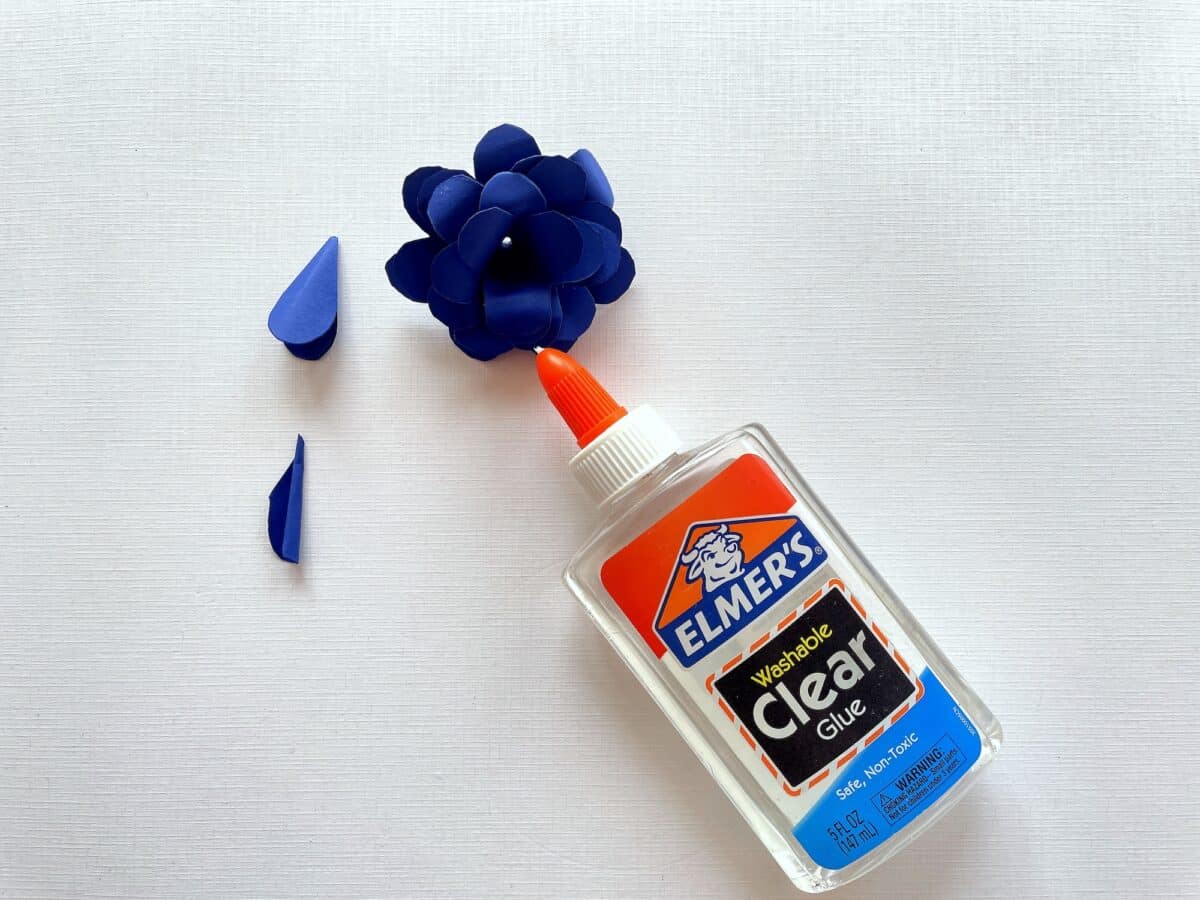
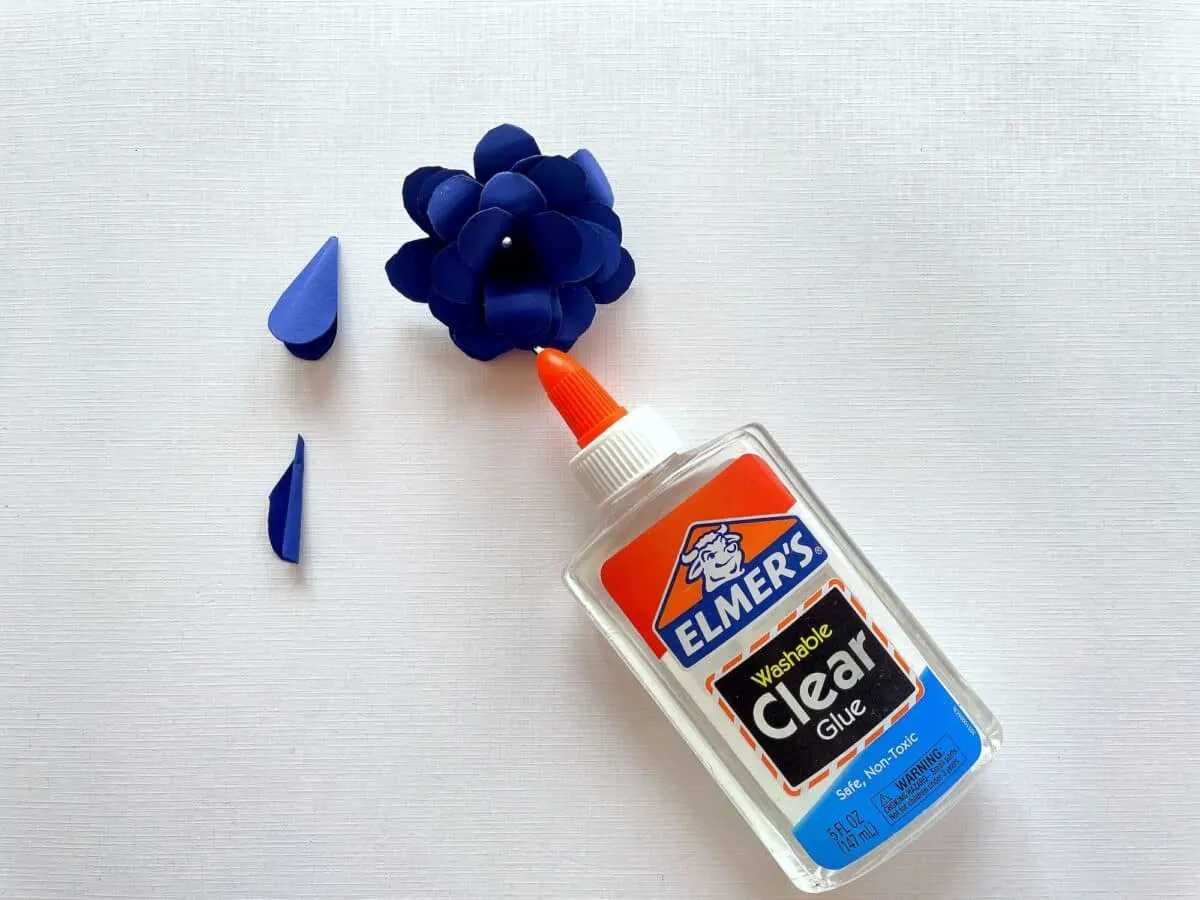
Make as many flowers as you would like and glue them to your straw wreath.
You may make the flowers in a single color or a combination of colors.
If you need a hanger, glue a loop of ribbon or twine on the back of the wreath form.
There are lots more Fourth of July crafts to see! Check these out:
