


Making a bow scrunchie is among the easiest things you can sew. All you need to do is sew a few straight edges and you will make a custom hair accessory.
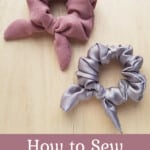
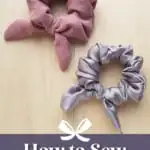
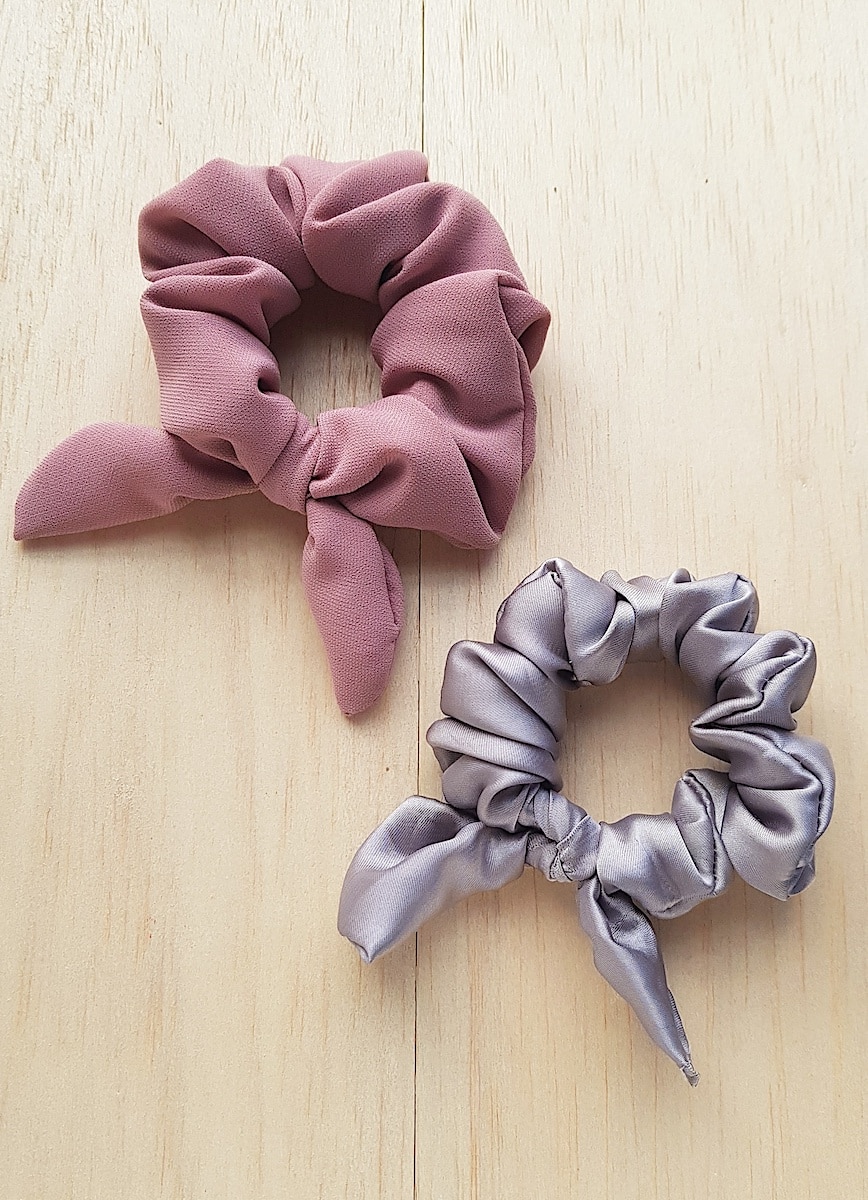
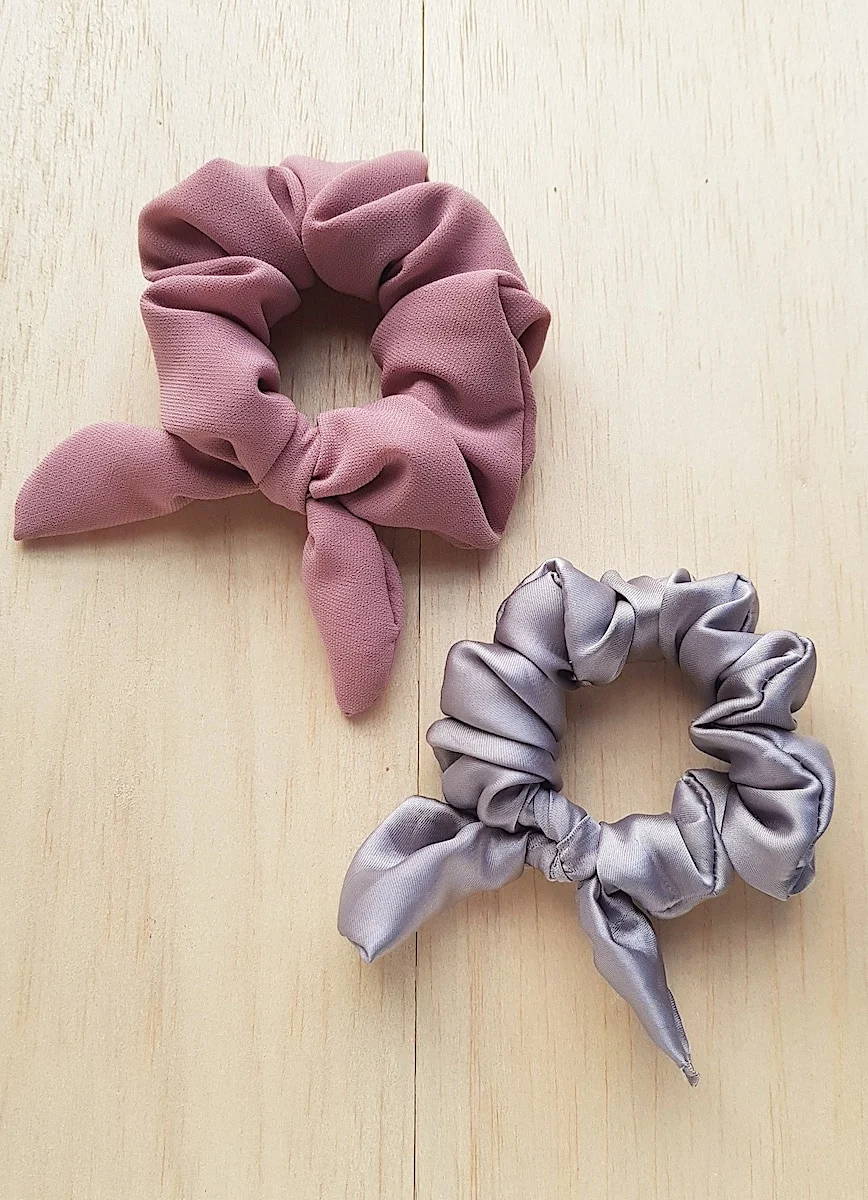
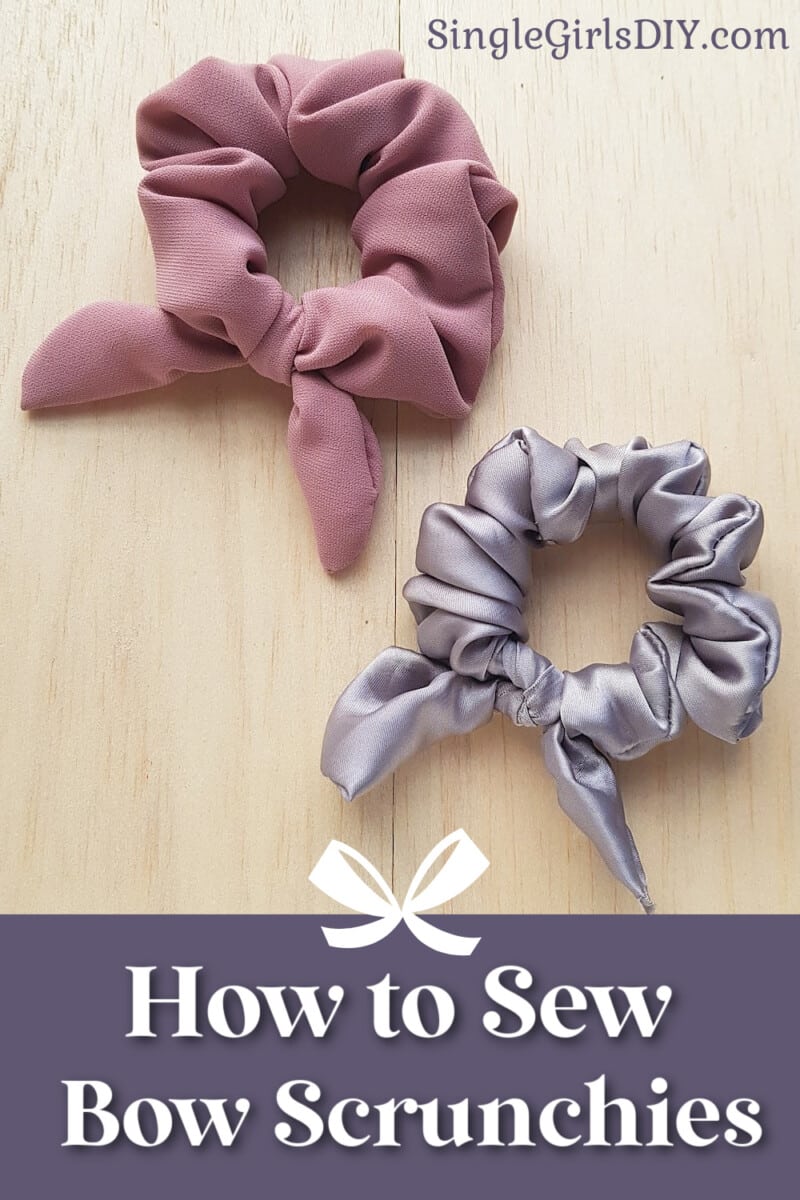
Here are the easy steps to make a DIY bow scrunchie. We made two different scrunchies in a cotton and silk fabric. Choose whatever color and type of fabric that you love to make this scrunchie with a bow.
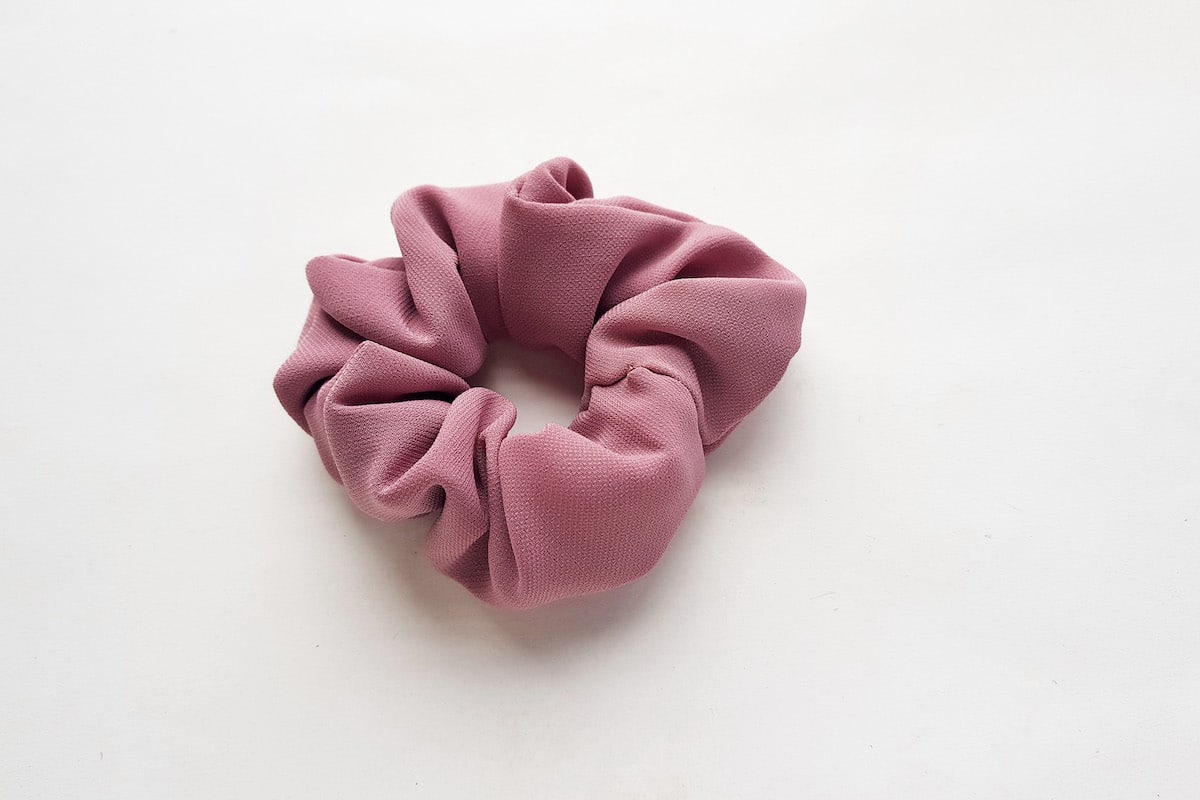
Don’t want a bow? Just stop at Step 7 to make a traditional-style scrunchie hair accessory.
How to Sew a Bow Scrunchie
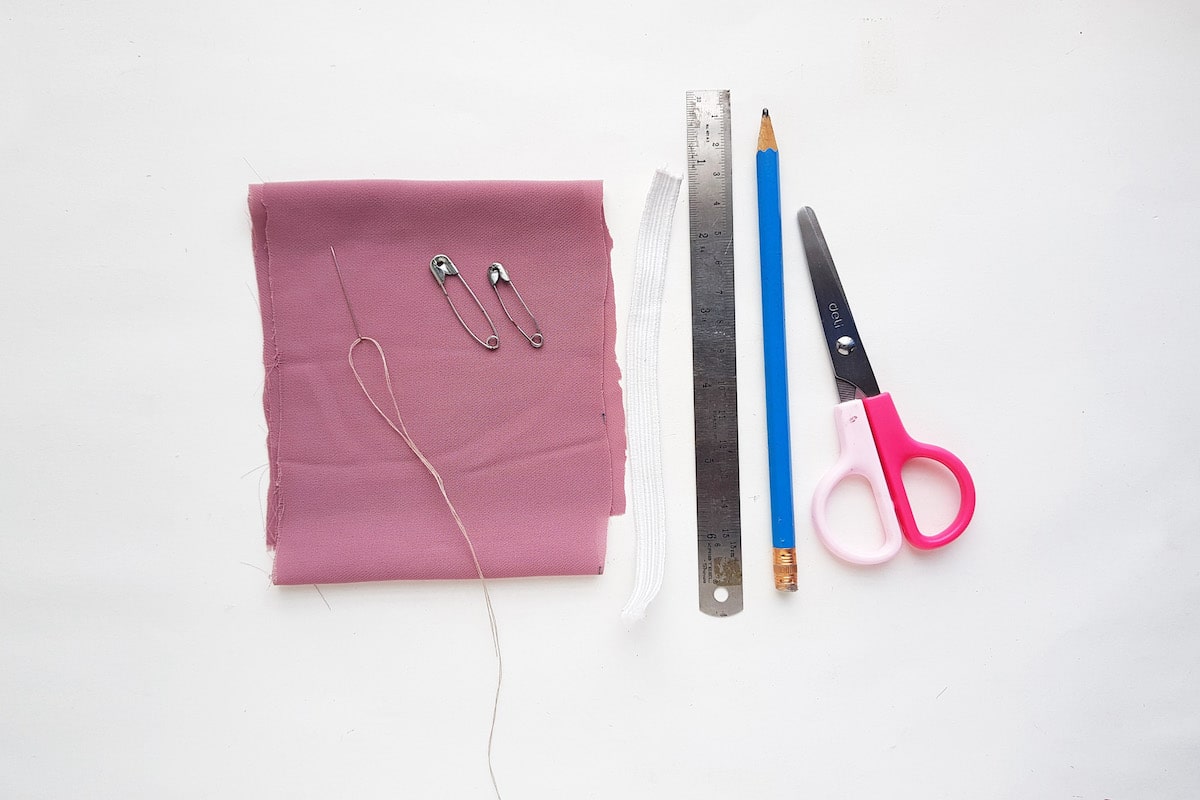
Materials
- Fabric
- Matching Thread
- Ruler
- Scissors
- Needle or sewing machine
- Elastic ribbon

Directions
Step 1
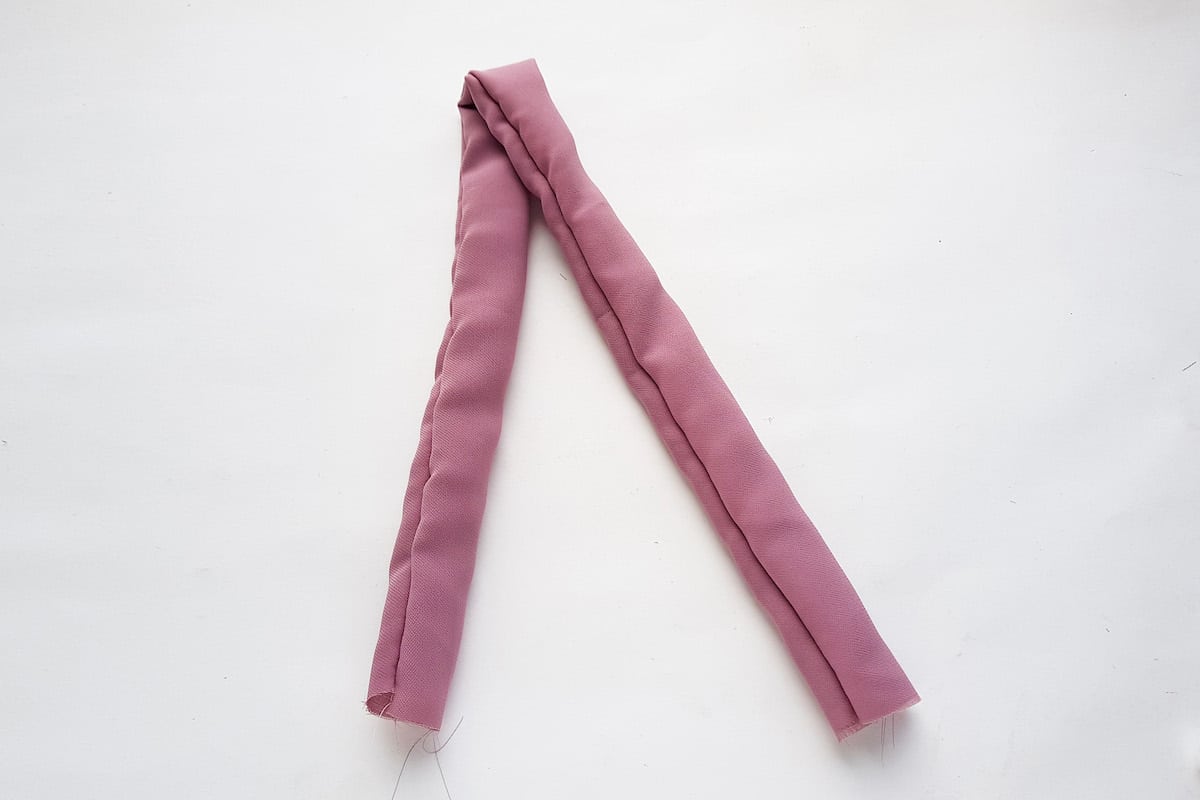
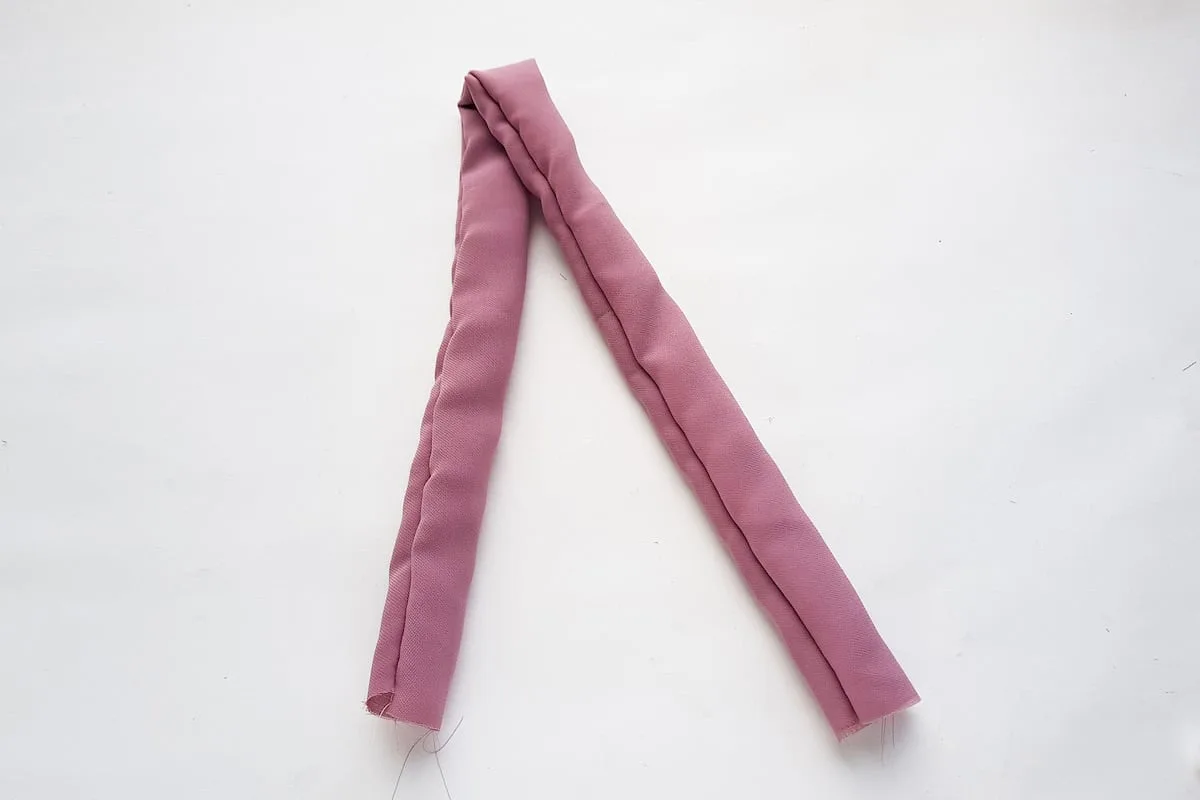
Measure and mark the fabric for the scrunchie base. The longer the fabric is, the more ruffles you will get.
We used a 13.5 inch X 3 inch piece of fabric for the scrunchie.
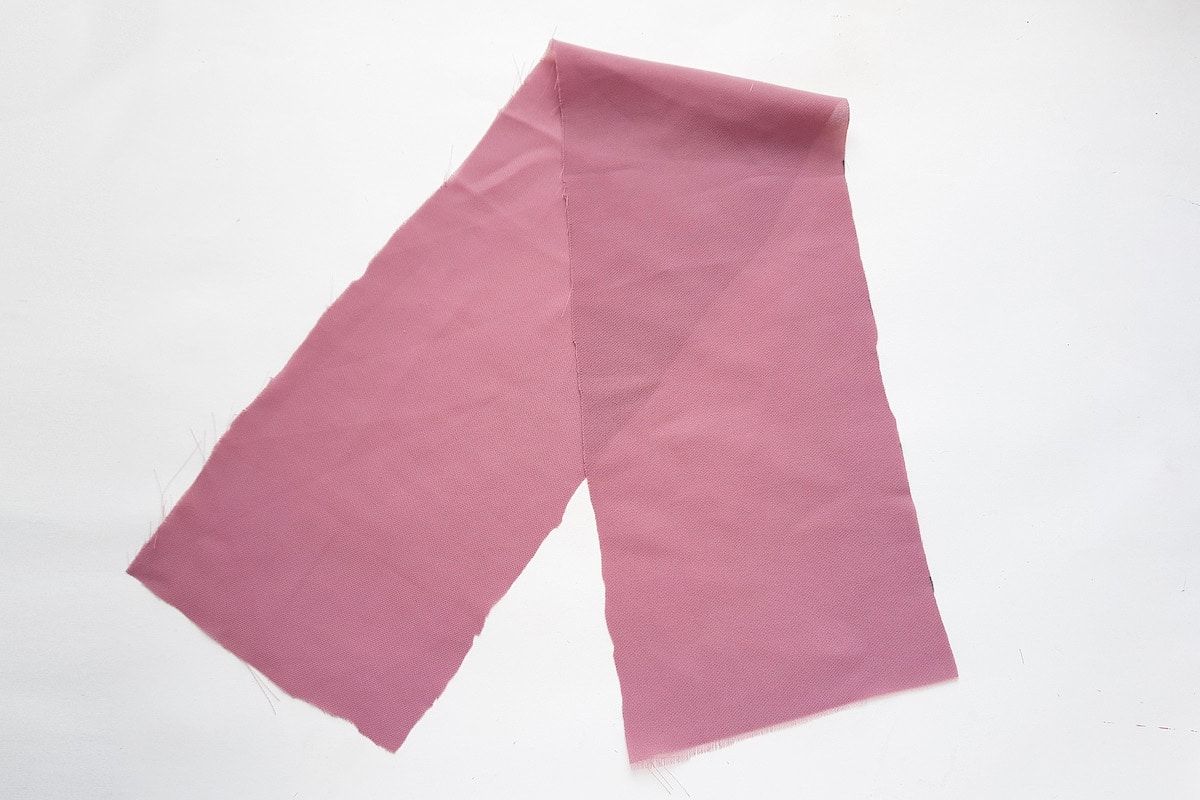

Step 2
Fold the 3-inch side in half by turning the right sides of the fabric together. Sew along the open sides.
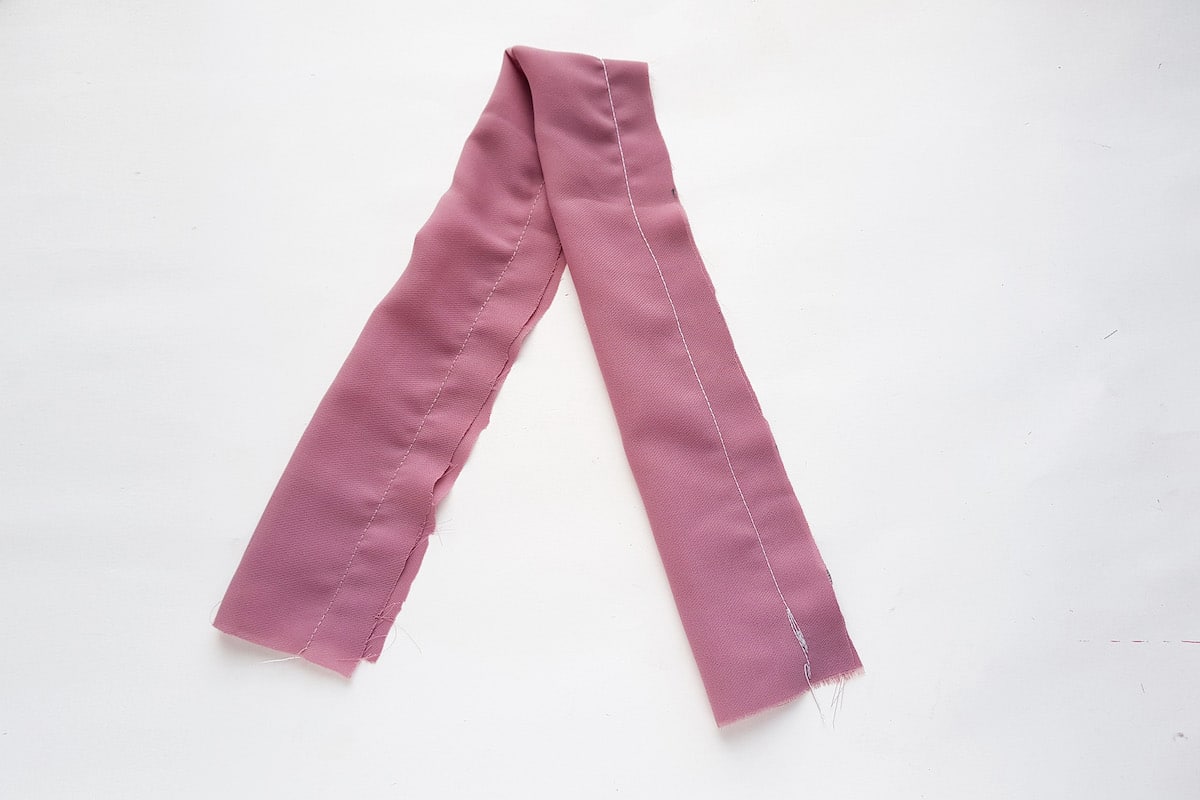
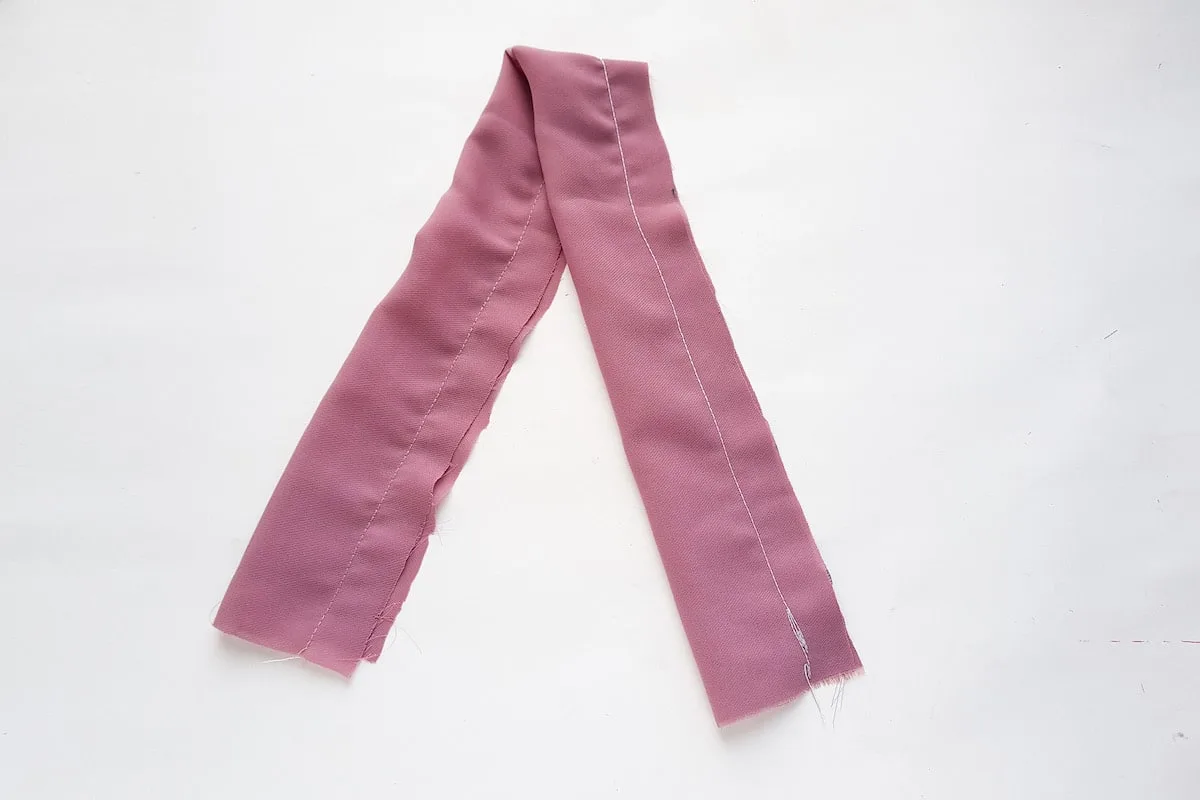
Step 3
Carefully turn out the right side of the sewed fabric.
Step 4
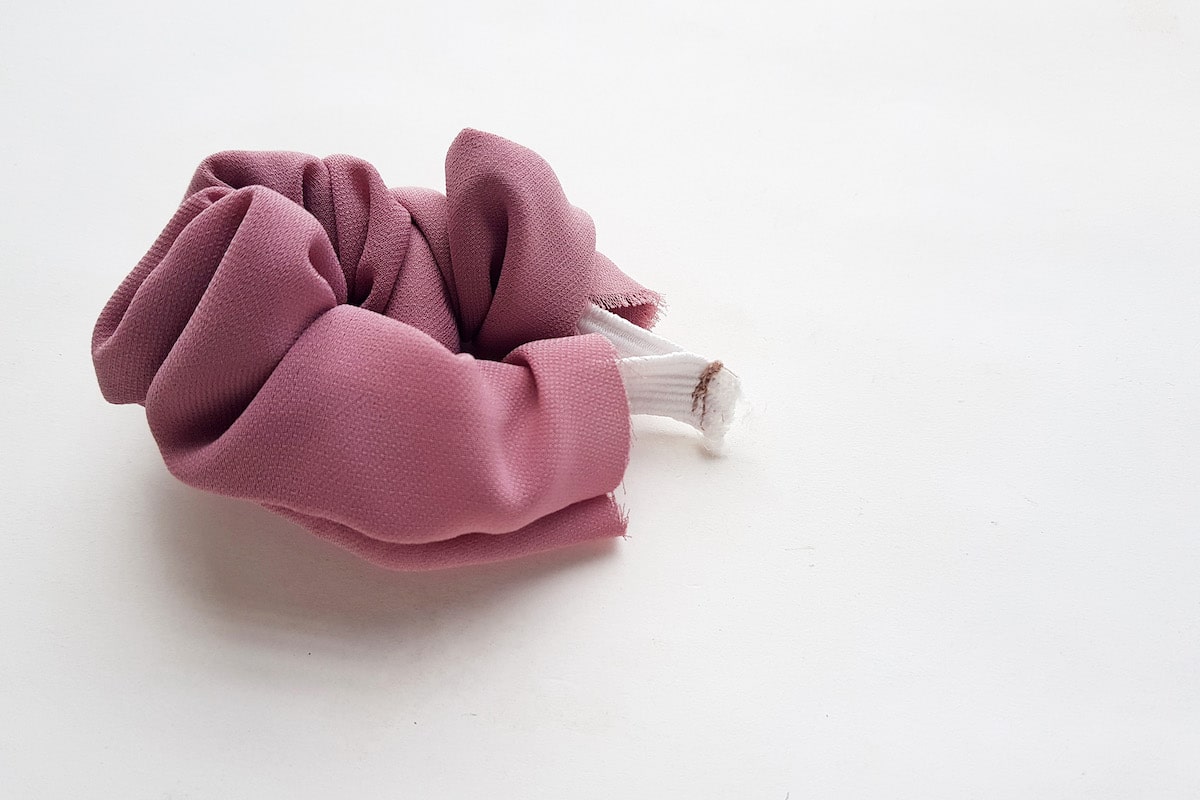
Measure and cut a piece of elastic that is ⅓ of the fabric’s length.
Use a safety pin to attach one end of the elastic to an open end of the scrunch. Secure another safety pin on the other end of the elastic.
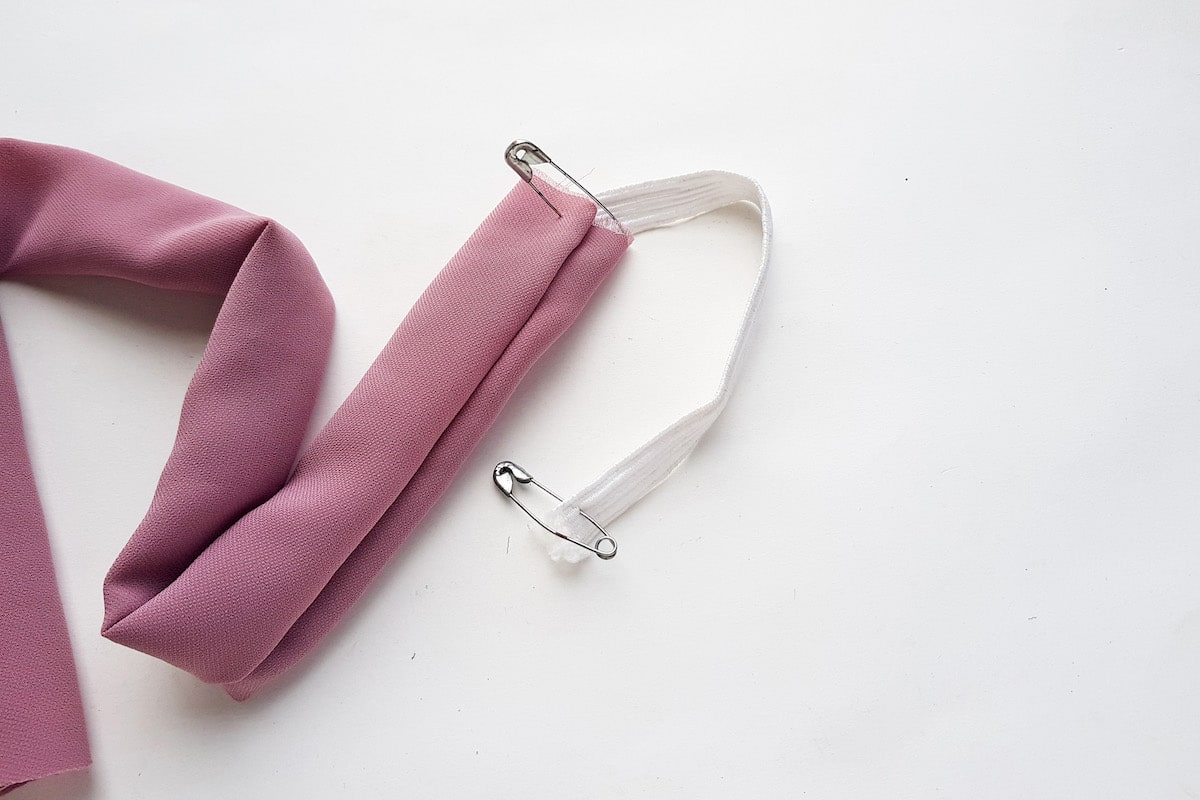

Step 5
Insert the elastic end with the safety pin (not the one that is attached to the scrunchie fabric) into the scrunchie tube. Pull the elastic all the way through the scrunchie to the other side.
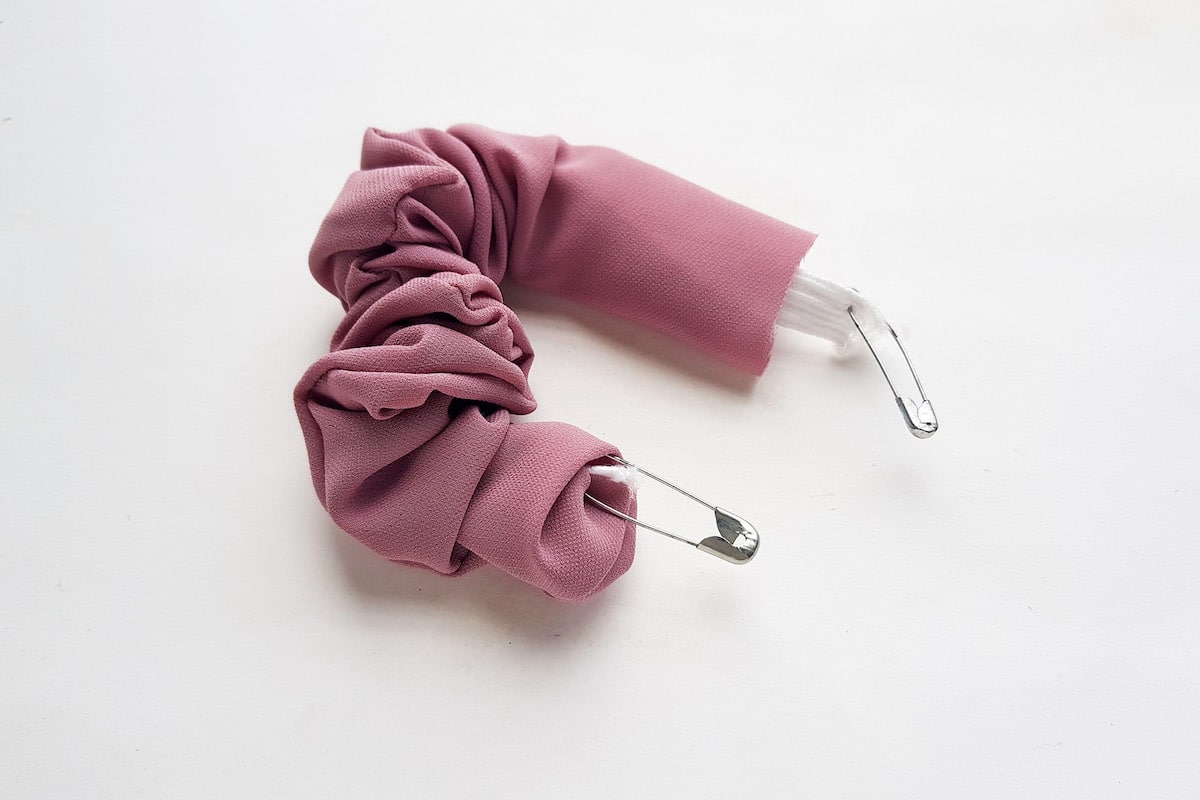

Step 6
Remove both safety pins from the elastic without letting the elastic go. Hold both ends of the elastic together and sew them together to secure.

Step 7
Now, sew the open sides of the scrunchie base closed using a sewing machine or by using needle and thread. Tuck the unfinished edge under and sew the seam closed.
Step 8
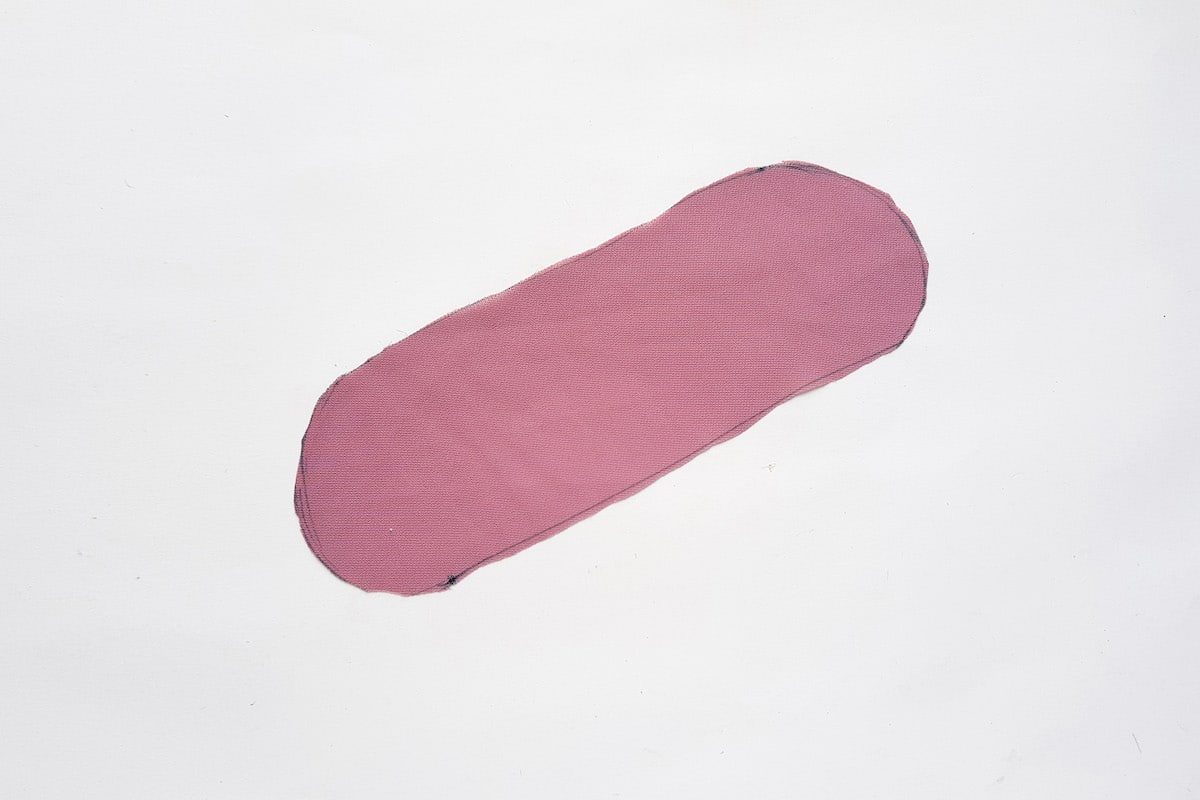
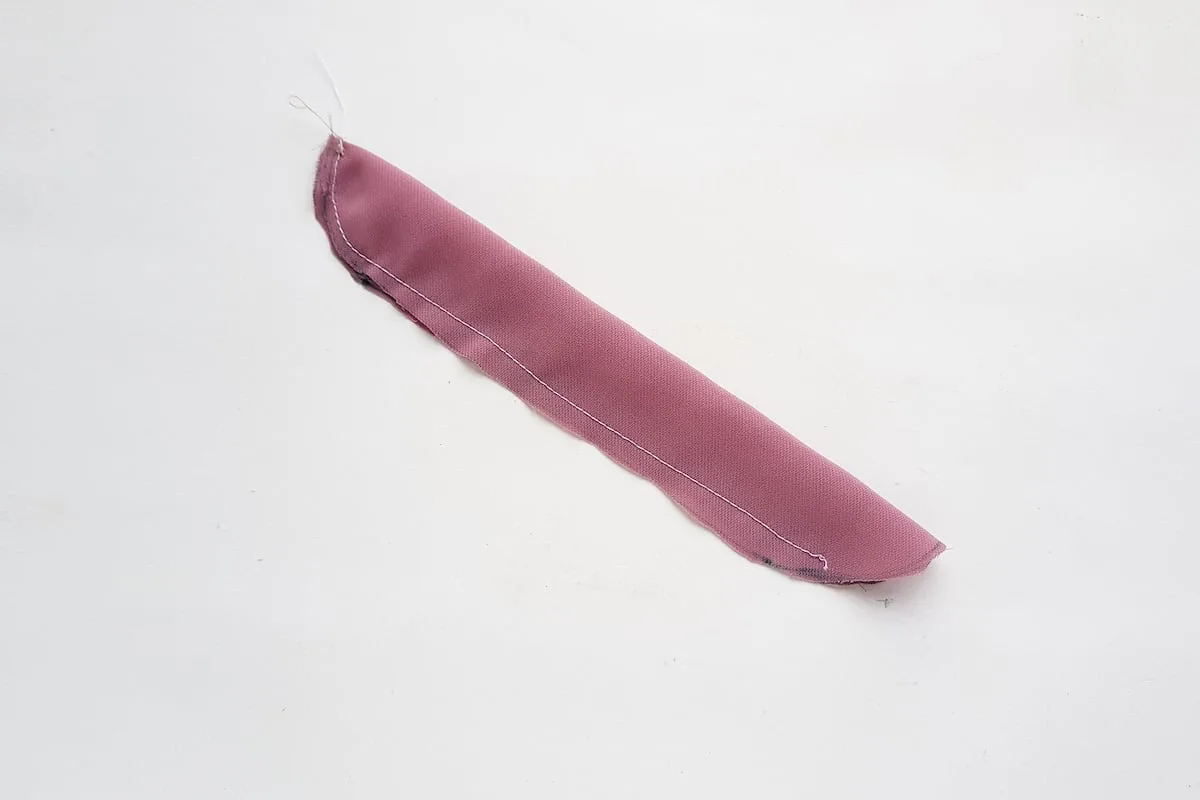
Cut a piece of fabric for the bow. You can cut out a rectangle of fabric and then round the corners. It doesn’t have to be perfect!
We use a 2 ¾ inch X 6 inch piece of fabric and cut off the corners to make rounded edges.

Step 9
Fold the fabric in half, lengthwise, with the right sides (pretty side) together.
Sew along the open sides but keep a small opening on the end.

Step 10
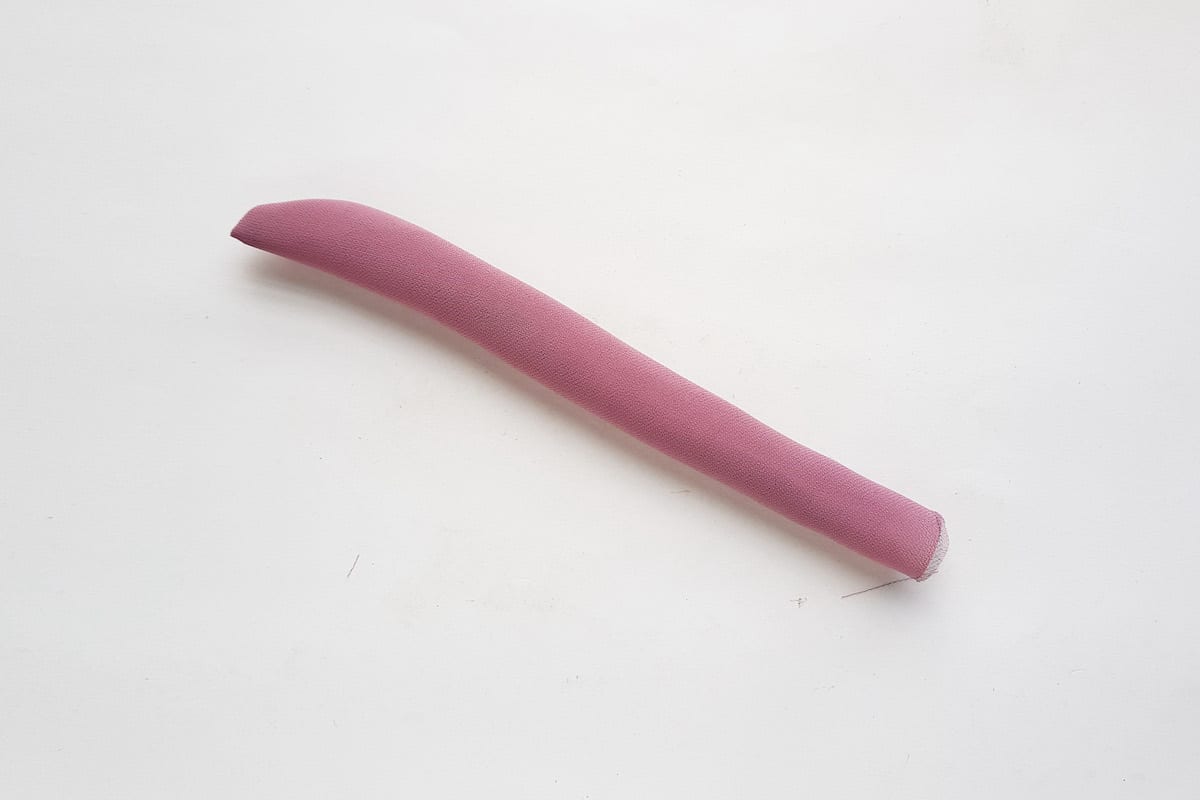
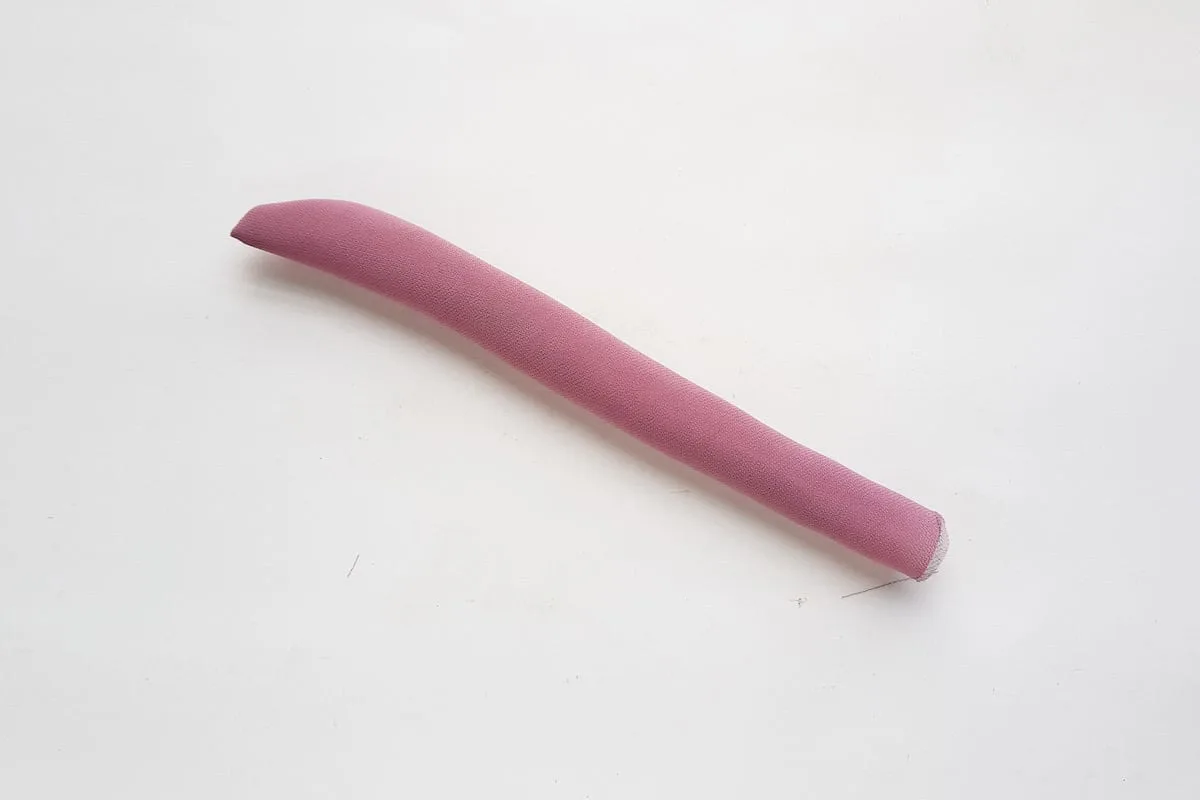
Turn the right side of the bow fabric out through the small open end.
Turn under the raw edges of the small open end and stitch closed.
Step 11
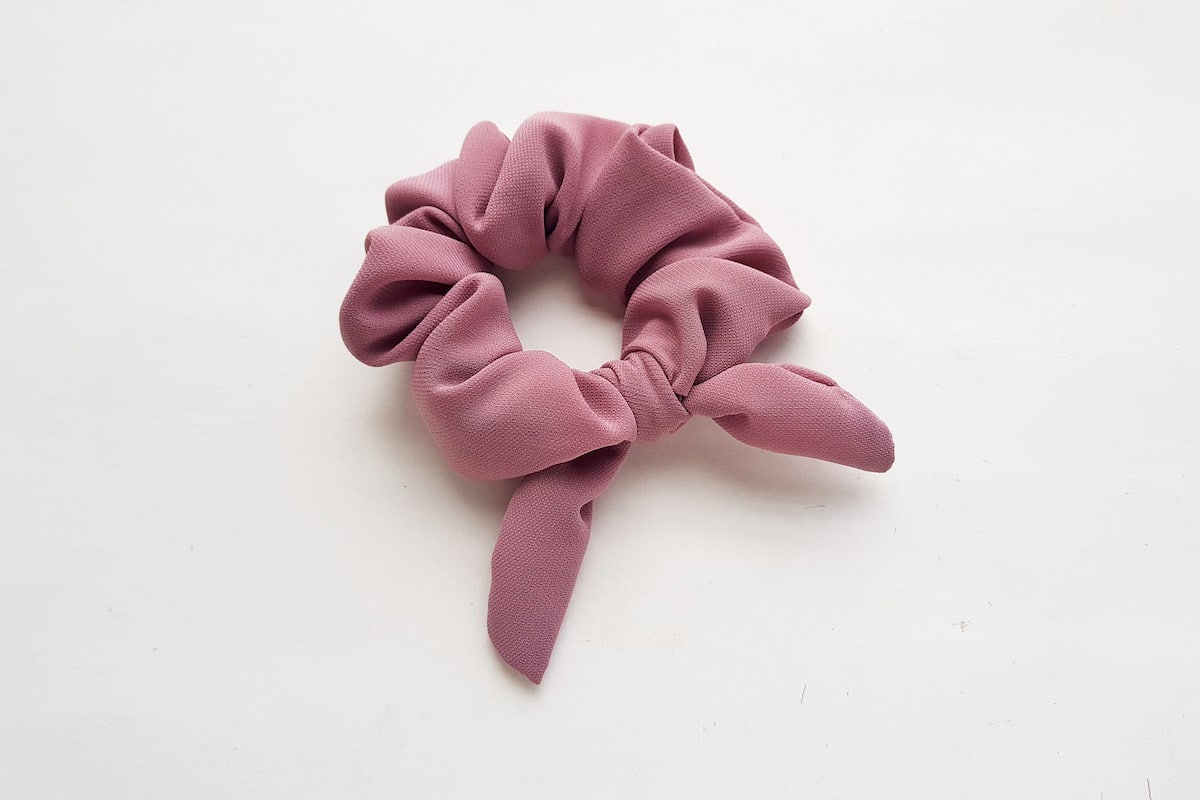
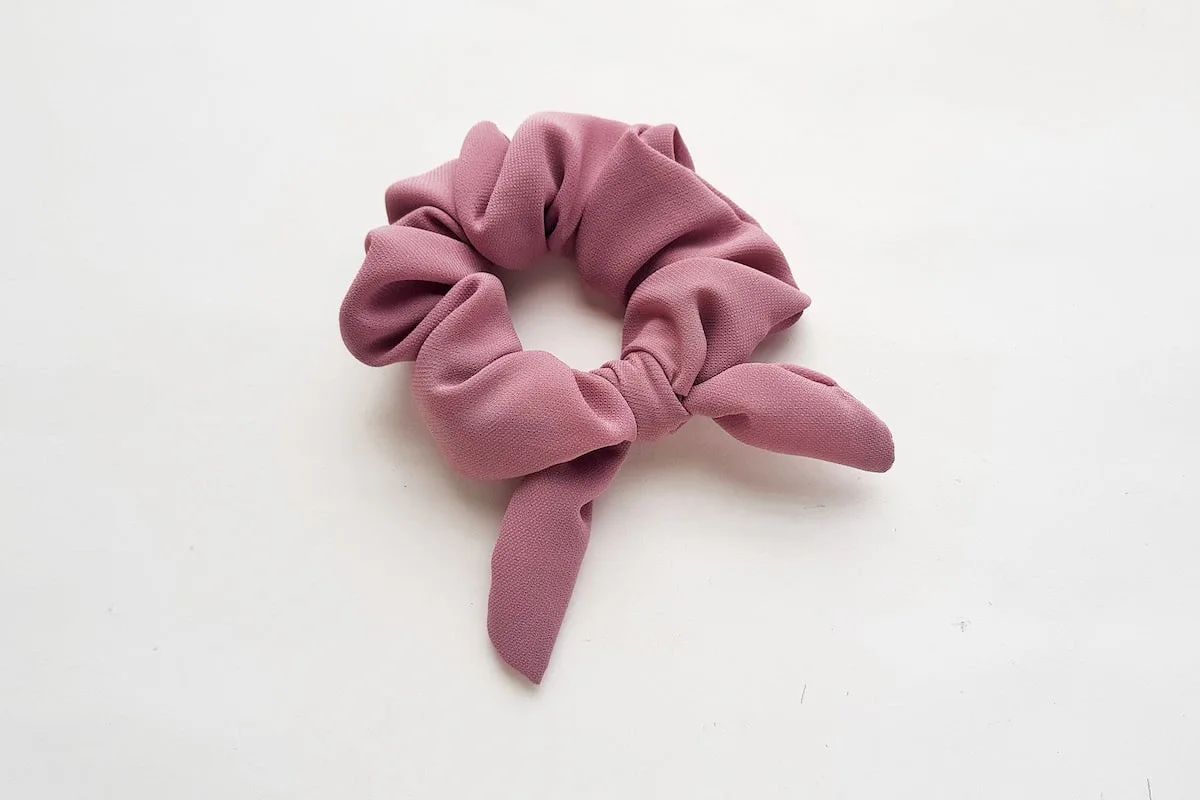
Bring the bow piece through the center of the scrunchie and keep an even length on both sides of the scrunchie.
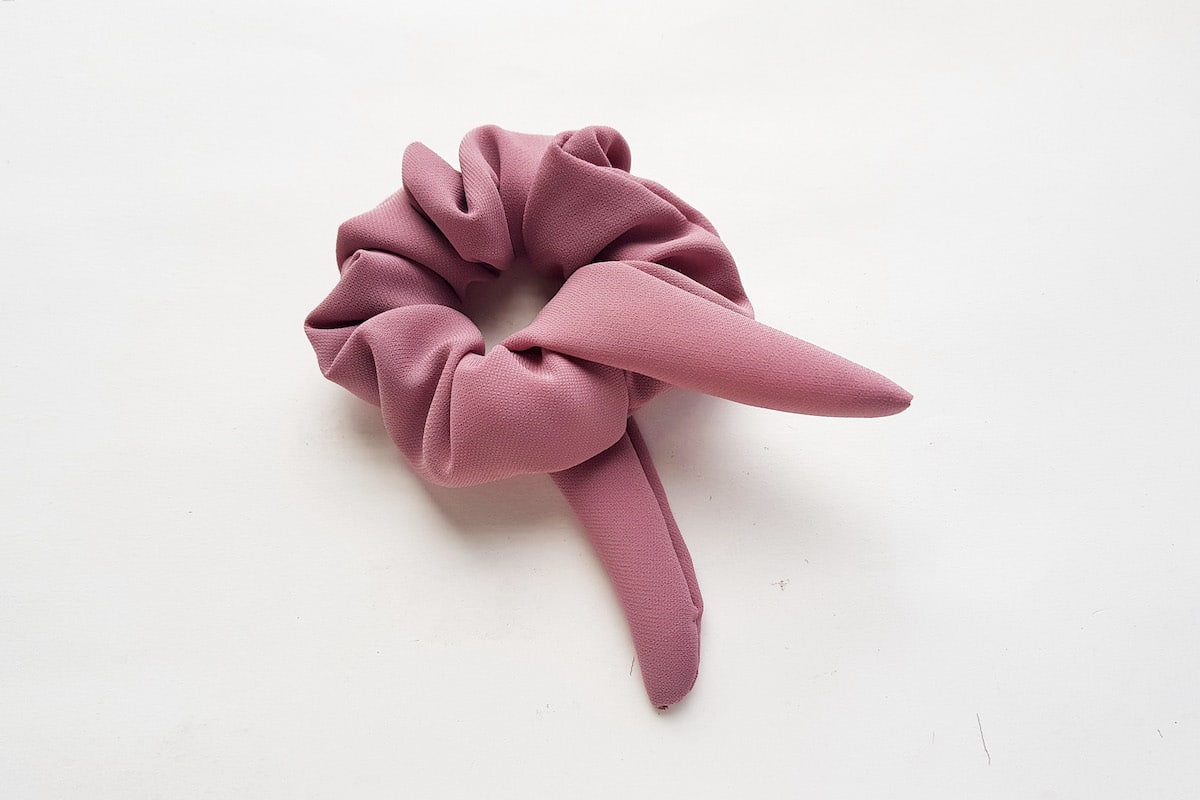

Tie a tight knot around the scrunchie band to create a bow.
Be sure to Pin This project to save for later!

We love easy sewing crafts. Like, really easy! So be sure to see more of our sewing projects!
