
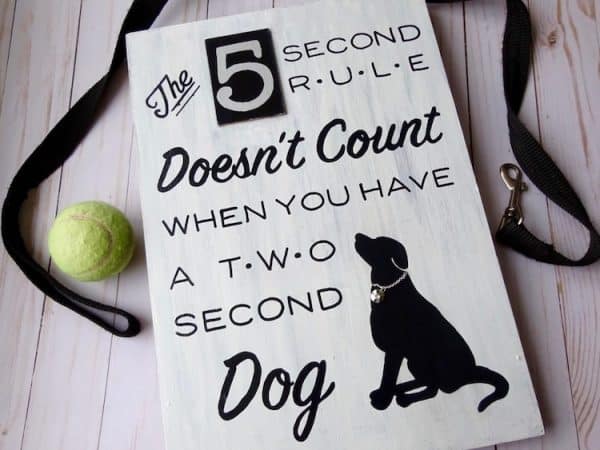
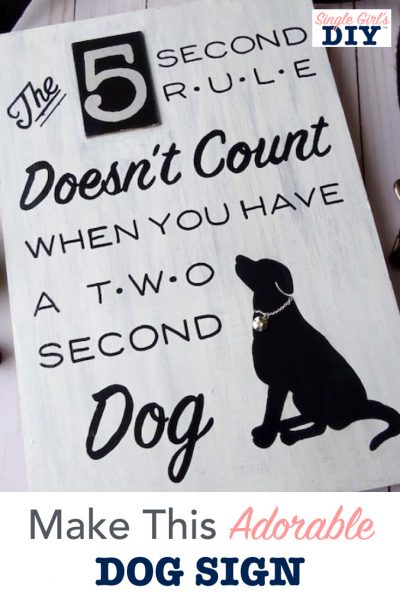
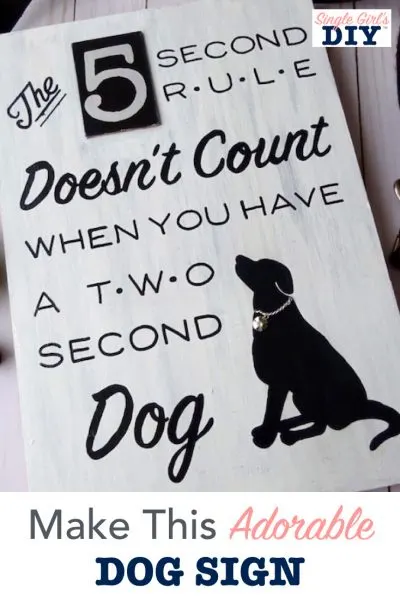
Transform a thrift store find into a cute DIY dog sign with a funny phrase all dog owners will appreciate!
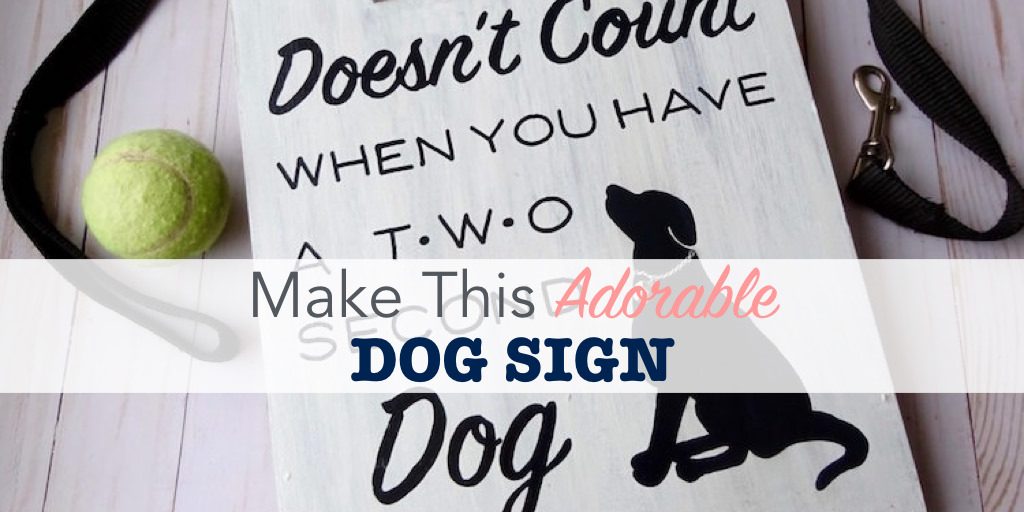

I was not the clever person who came up with this saying about the 5 second rule and a 2 second dog. I saw it somewhere, and decided to make it into this ridiculously cute sign.
That’s the great thing about DIY signs. You can transform words into art, for just a few dollars.
What’s really great is that I saved a ton of money by flipping a thrift store find into this cute dog lover artwork. I suggest you try to do the same! You can also save money by using thrift store fleece blankets to make this DIY snuffle mat for your dog.
You might also like to use thrift store finds to make this no-sew dog bed and our DIY denim dog toy.
Check out my tutorial of how to custom engrave dog tags with Cricut or how to make a dog paw balm!
I found an 11 X 16 old sign at Goodwill. However, these 12 X 16 canvases will work just as great. And if you’re making other signs, too, then this price is a great deal!

I added a dog silhouette and a sparkly collar to mine and I think it looks adorable!
How to Make a DIY Dog Sign
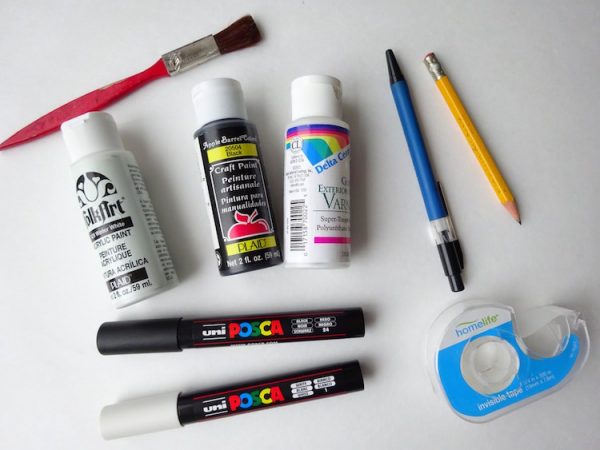
Materials
- Free Dog Sign Template
- Old Sign or 12 X 16 canvas
- Acrylic craft paints
- Paint brushes
- Varnish
- Paint pens
- Graphite pencil
- 2 pieces of white paper
- Tape

Materials for Collar (Optional)
- Scrap piece of necklace chain
- Charm or bead
- Drill
- Wire
Directions
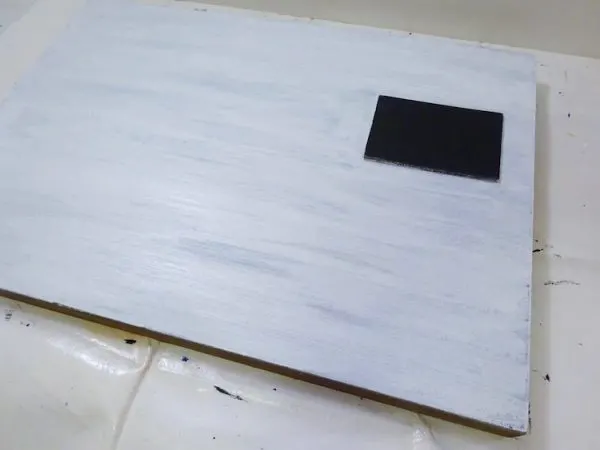
Prepare the Sign
If you buy a canvas, you won’t have to do this step.
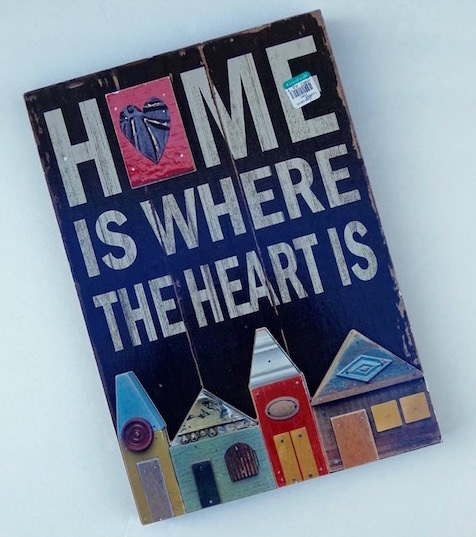
My sign board had funky little house-shaped cutouts glued to the bottom. I gently pried these off and then lightly sanded to remove any glue, and to prep the rest of the surface.

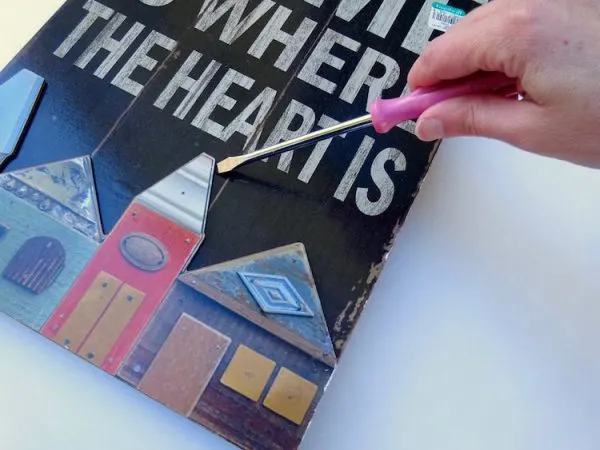

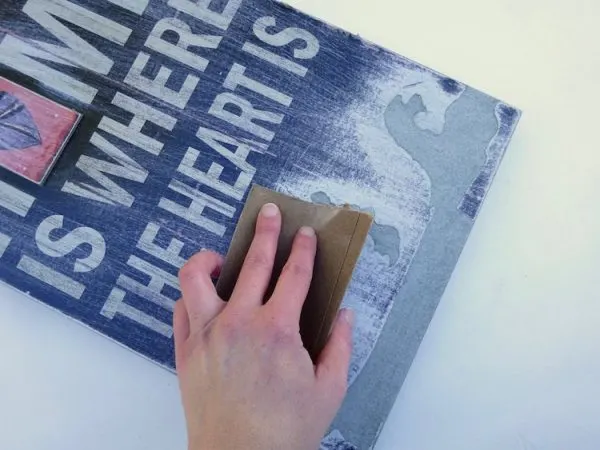
The original sign also had a raised block with a heart in the word “HOME.” I decided to make this part of my design.
Paint the background
Our family has a black dog, and I knew I wanted the dog silhouette to be black. So, I chose a black base coat, covered in a thin layer of white. You can choose any color.
Using acrylic paints, brush on a thick coat of the base layer, covering the whole sign board.
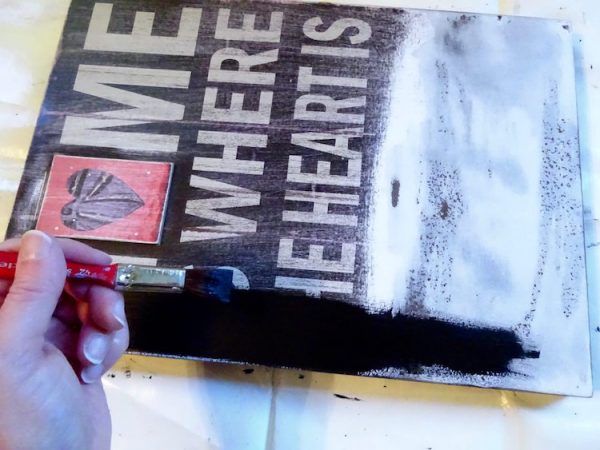
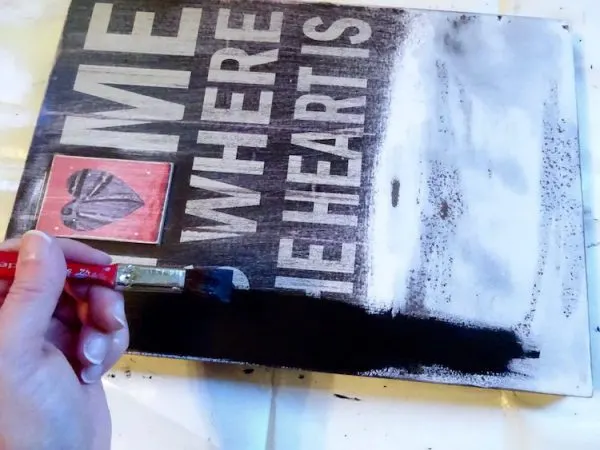
Once the base is dry, apply the top coat. To make a streaked effect, don’t put very much paint on the brush when applying the top color.

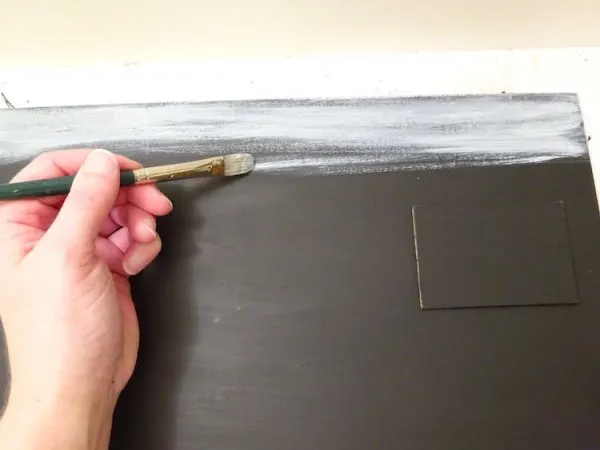
I chose to leave the raised block solid black, as part of the design. The background is part of the artwork, too.

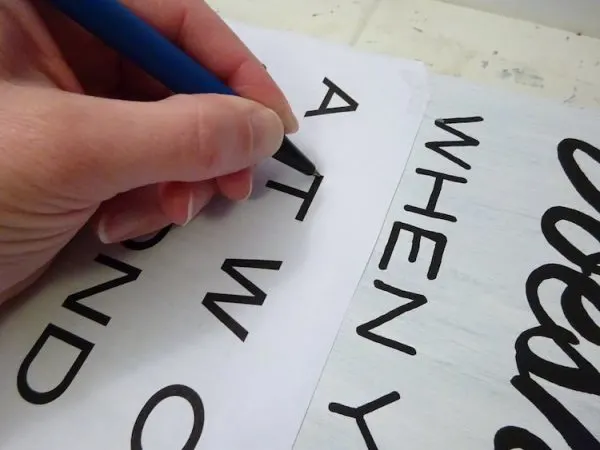
Transfer the template
To transfer the free dog sign template, color the back of the white sheets of paper (you might need two and then cut into sections) with a graphite pencil. (Just like we did to make these silhouettes.)


Place the template where you want it, and then use a small piece of tape to hold it in place.
Helpful Tip: Stick the tape to your pants first. It will pick up a little bit of lint, making it less sticky. That way you won’t accidentally peel off any of the base paint when you remove the template.
Trace over the template with a ball point pen, pressing pretty hard. This will transfer the pencil marks to the wood for you to paint over.

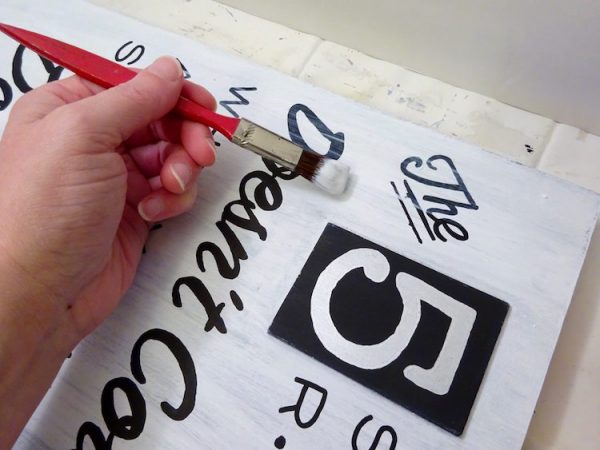
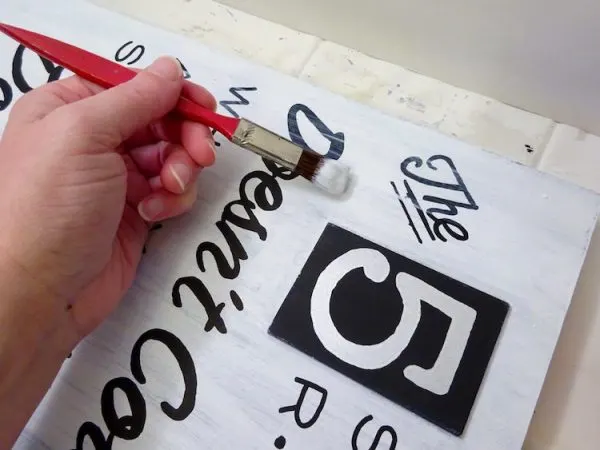
Paint the Words
Trace over the pencil marks with your paint pen. Color in the thicker letters after you trace the outline.


Make the silhouette
I traced the outline of the dog silhouette with the paint pen. Then I filled in the body with my paint brush and black paint.
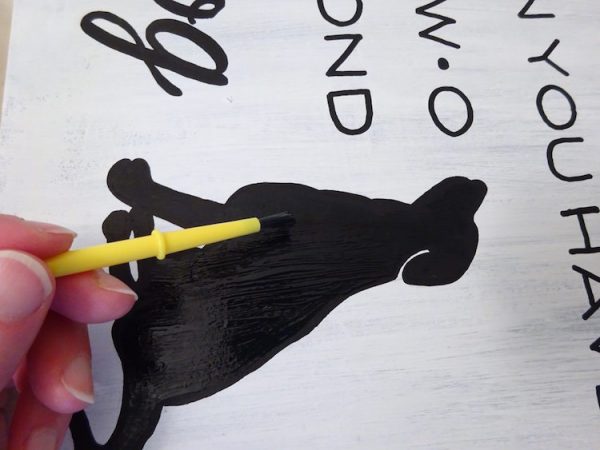

As you can see, I left just a little white space to outline the edge of the ear.
Apply varnish
To protect the painted surface, and add a little shine, I chose to brush on two coats of varnish.
Be patient, and wait until the paint is completely dry before you varnish! Otherwise, you’ll create streaks.
You can stop there and enjoy a super cute sign. I decided mine needed one more special touch.
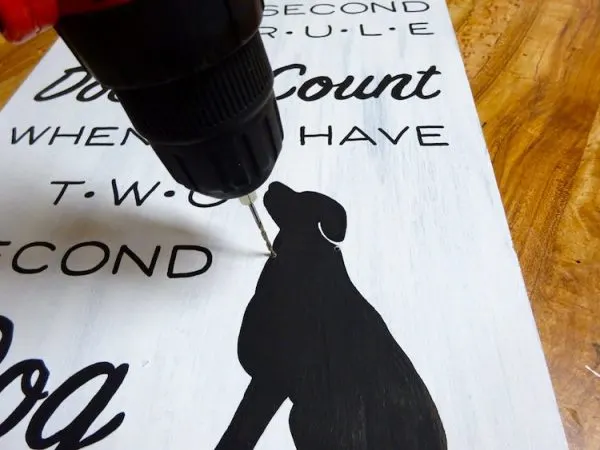
Add a collar
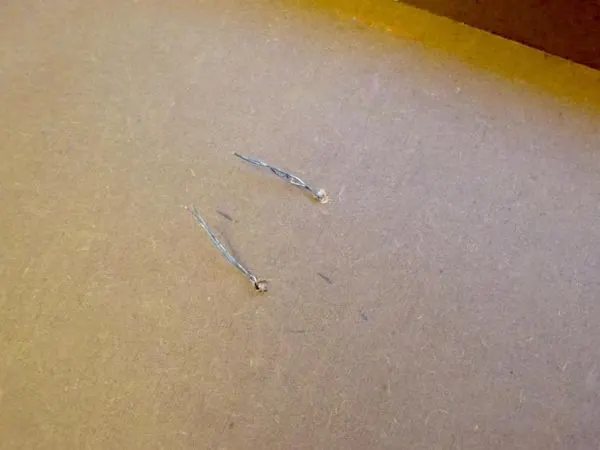
If you’d like, add a collar. To attach a chain collar, drill a hole on each side of the dog’s neck using the smallest bit you have.

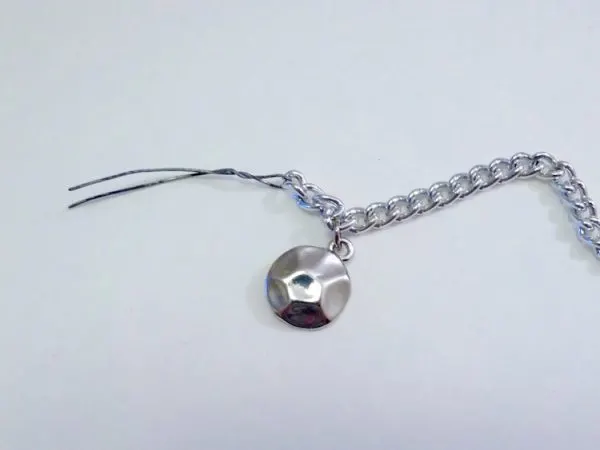
Loop a thin piece of wire through one link of chain on both sides of the collar. Twist the ends together, and push them through the holes.
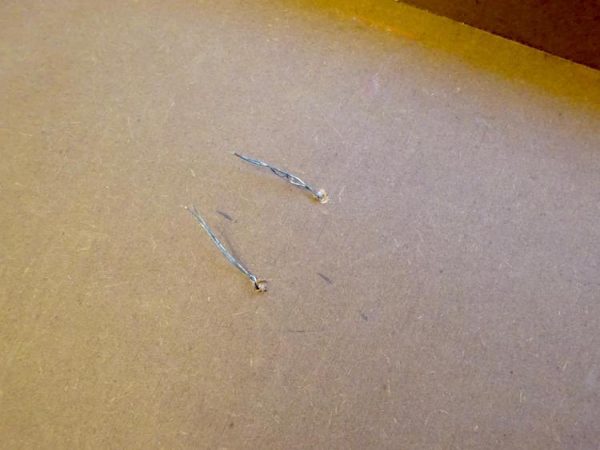
Flip the board over, and press the ends of the wire down flat. This will be enough to hold the chain in place.

Or, you can glue a small piece of ribbon or chain to the dog silhouette without needing to drill.
Pin This to save for later or share with fellow dog lovers!
If you like good repurposing projects, check out how I upcycled an old canvas art to be something pretty!

Mary A Bonnett
Saturday 28th of November 2020
Hello, Love your site and am excited about making several of the projects. I have a problem. The DIY dog sign has a template that won't come up for printing. What a GREAT idea for those who say the 5 second rule all the time. Please resend the template. THANK YOU!!
Single Girls DIY
Sunday 29th of November 2020
Thanks, Mary! I didn't realize the link was broken. I've updated it now and you can download it through our free library. Be sure to check out everything in the library to make even more crafts!