
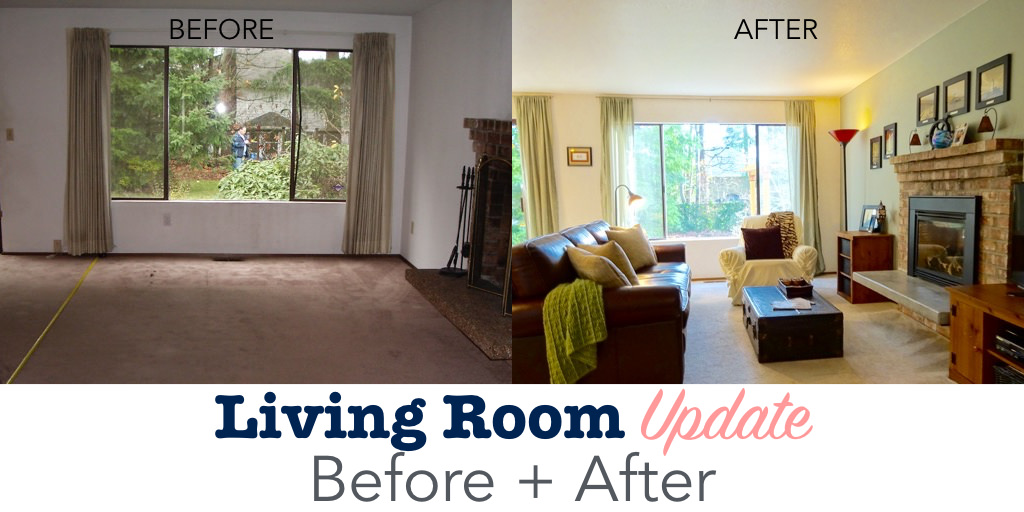

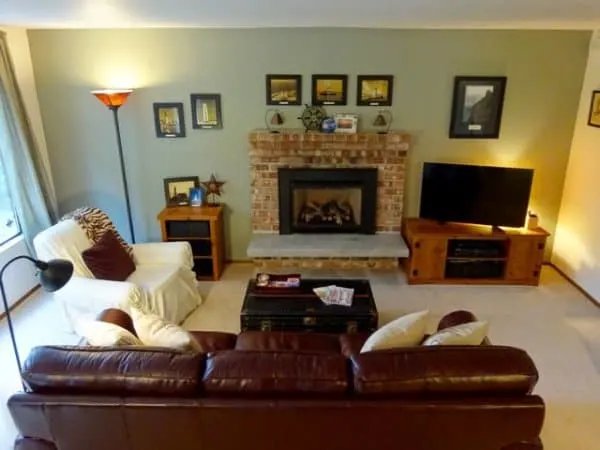
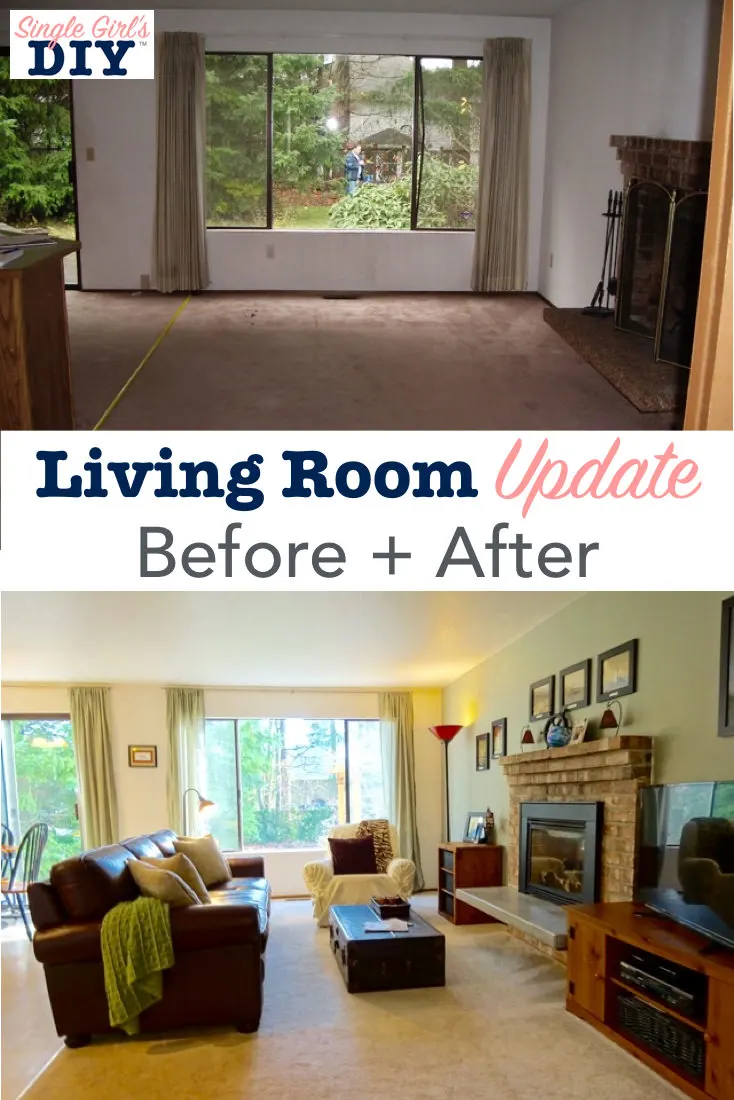
Here it is in all its glory. My living room that had been trapped in 1985 for 30+ years when I bought my house. (That’s my real estate agent checking out the yard. Hi, John!)
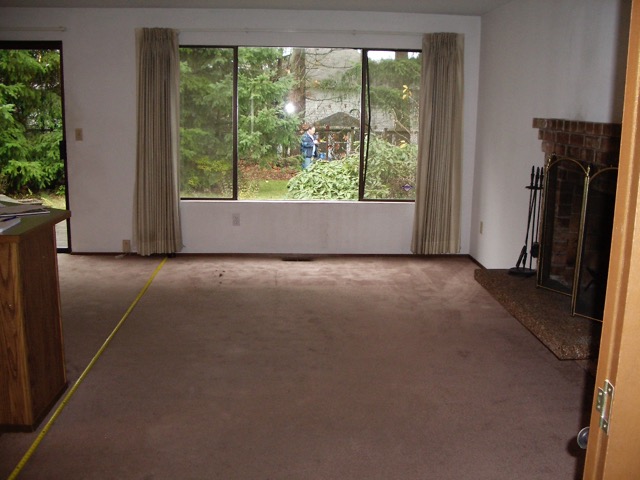

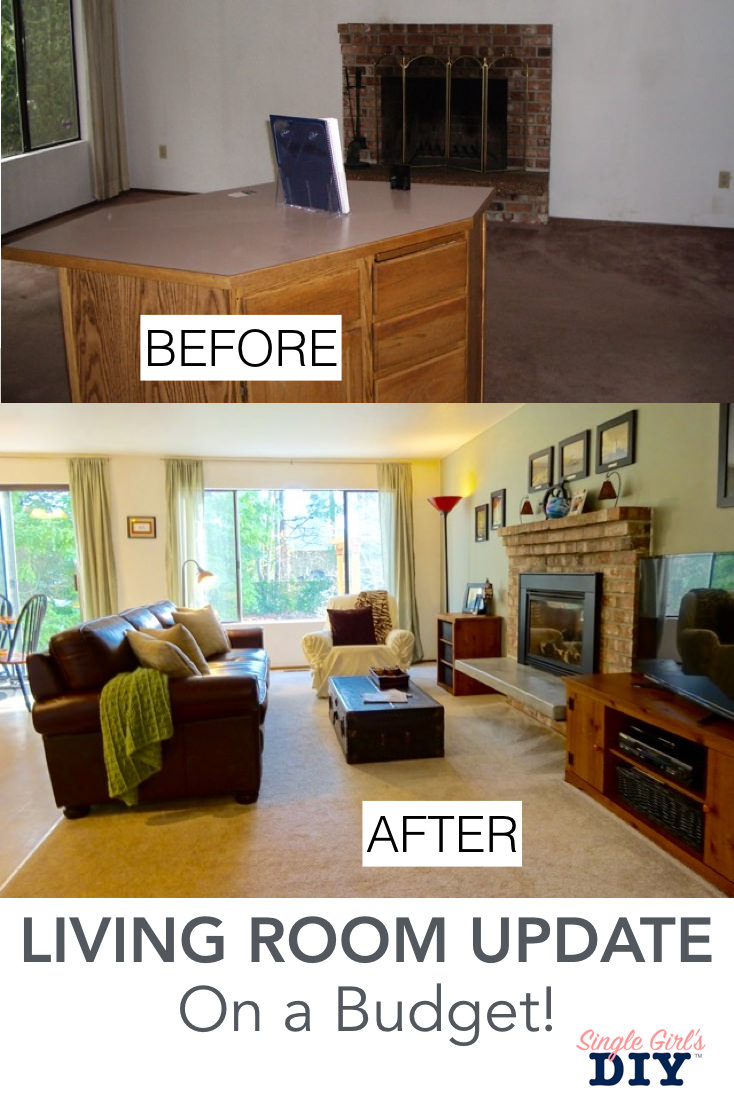
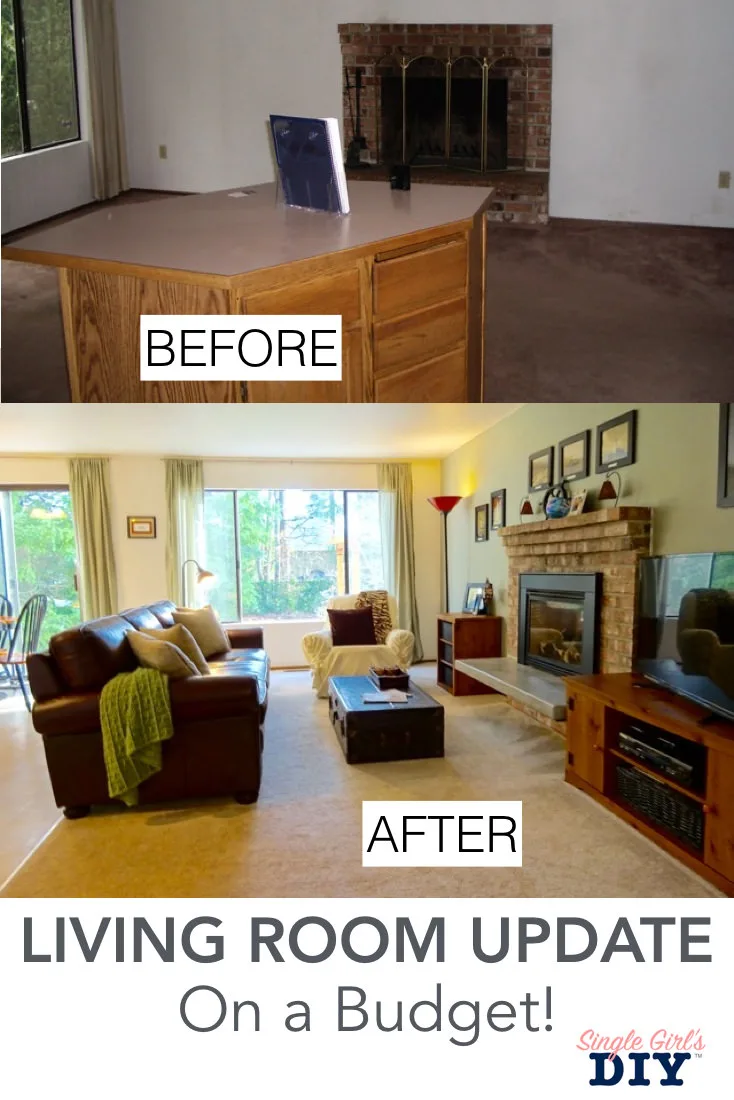
LIVING ROOM BEFORE
Pink carpet, the original drapes (destroyed by cats along with the window screens), and an ugly aggregate concrete fireplace hearth.
It’s hard to picture this space ever feeling homey. But with a few thrifty updates, it has been transformed. Read on to see the difference, and maybe get inspired to update your own tired living room.
LIVING ROOM UPDATE: BEFORE + AFTER
[disclaim]
MATERIALS TO MAKEOVER A LIVING ROOM
- Paint – I used Olympic’s Smoky Slate color in eggshell finish from Lowes
- Semi-sheer sage curtains – I tried to find a link to the exact curtains I have, Rodeo Home’s Milan Sage 50″ x 96″ panels, but they appear to be discontinued. These are some alternatives.
- Floor lamp with mica shade
- Gooseneck reading lamp
- Leather couch
- Armchair
- Old trunk turned coffee table
- Hearth Update
[/disclaim]
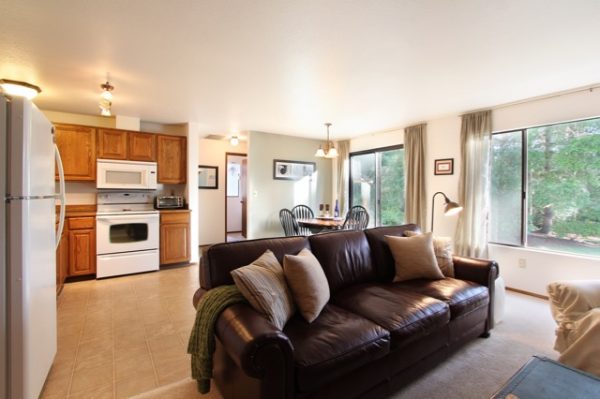
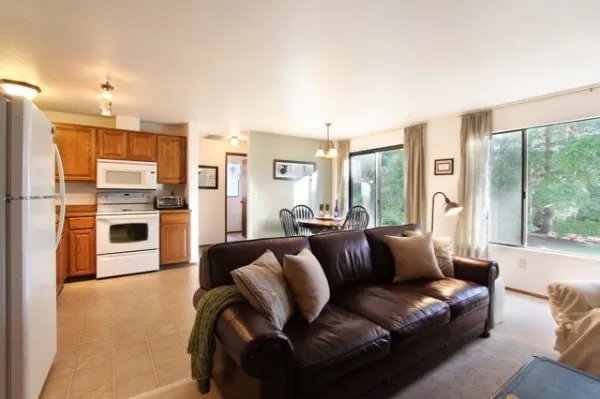
Pictured from a couple more angles, just so you get a full appreciation for the whole living room pre-makeover. (You can see the funky kitchen island, which I ripped out as soon as the sale agreement was signed. Check out the kitchen update here.)
-

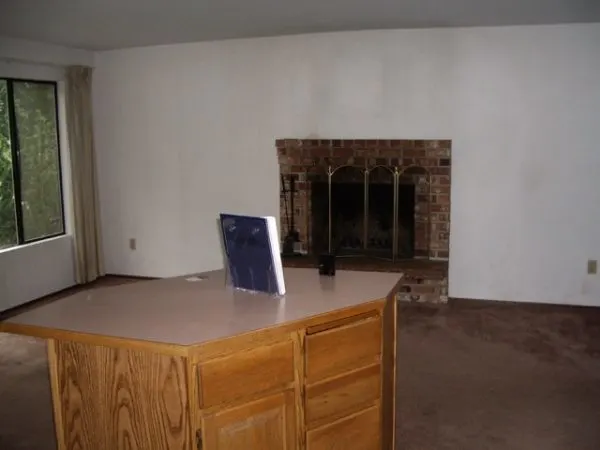
- Living room from the kitchen.
-

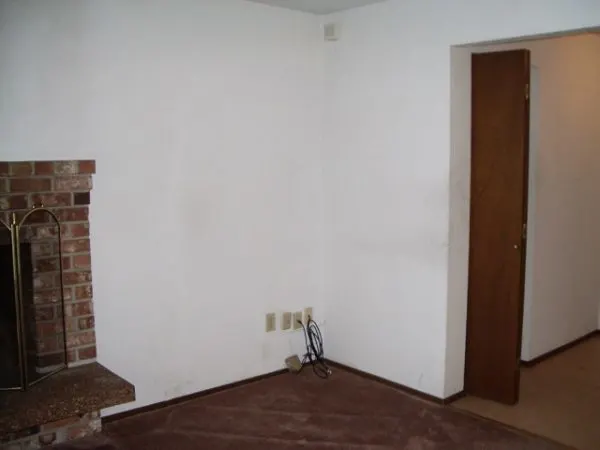
- Original pink carpet and ugly hearth!
And now, on to the updates!
Flooring
Due to age and pet damage, all of the flooring in the house had to be replaced before I moved in. I took the opportunity to change the flooring types in some of the spaces.
In the very first photo, you can see a measuring tape laid out on the floor. I used this to plan where the carpet would end, and new vinyl flooring would start.


Changing the flooring created a better separation between the living room, and the kitchen and dining areas, while keeping an open floor plan. It’s also much easier to clean the vinyl than carpet in an eating space.
With that terrible kitchen island gone, there is room to place the couch facing the fireplace, and still get around to the other areas.
Furniture and Layout
Furniture placement in my living room was a little tricky. It’s a fairly narrow space, and you have to be able to pass through it to get to the kitchen. Windows take up one full wall, and the fireplace dominates the other.
I tried to avoid what Nate Berkus calls, “furniture under arrest.” This cracks me up. He’s referring to the tendency of people to push all of their furniture up agains the walls.

Using the couch as a semi-room divider, I set it to face the fireplace as the focal point of the room. Then I positioned the TV for the best viewing angle.
I searched and searched for the perfect couch. I knew I wanted leather, but not something too fussy. It had to be a timeless, classic look. I finally found the perfect couch, on sale, with free delivery. A gooseneck lamp at one end provides light for doing craft projects while watching TV.
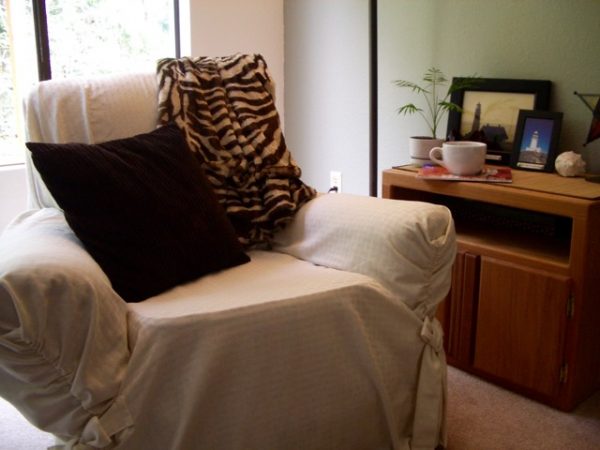
Rather than pushing the armchair into a corner, I pulled it into the room at a comfortable conversation distance from the couch.
The armchair is probably the most popular seat in the house. It’s a favorite spot to read, and guests seem to gravitate toward this seat. I found it at a thrift store, and picked up a slip cover for it, so you would never know! (Here’s something similar from Wayfair, if you want to get one like it.)
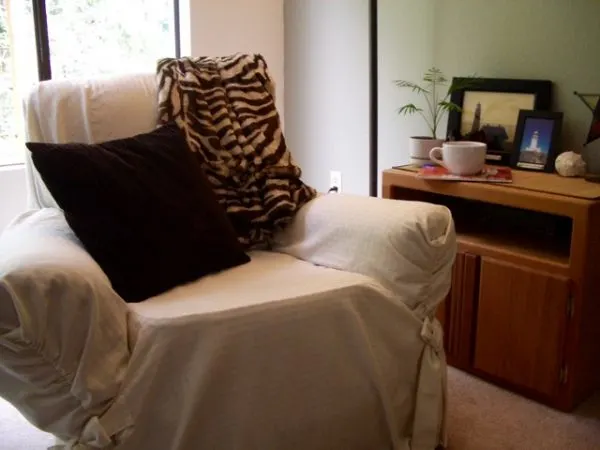
The coffee table is an old trunk, also found at a thrift store and refurbished. Now it’s a handy spot to store games and puzzles.
-


- A salvaged trunk makes a great coffee table.
-


- It’s a perfect place to store games and puzzles.
Color and Decor
One of the first decorating tasks I did in this room was to paint an accent wall. I chose a sage color (Olympic’s Smoky Slate) to complement the brick fireplace. I love it so much! This color combo creates a spa-like feel in the room. It is so soothing.
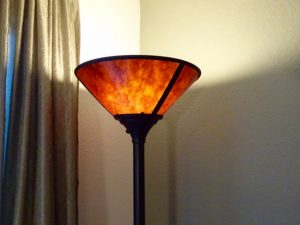
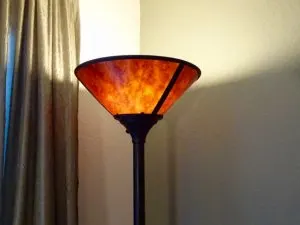 I replaced the old drapes with long semi-sheer panels in the same sage color as the wall. I love how the mica shade of the floor lamp ties in with the bricks.
I used combinations of these earth tones throughout the room for a cohesive look. They’re very grounded and calming colors.
Even the artwork ties in with the color scheme. I printed some of my own photos in sepia tone to create unique and personal art.

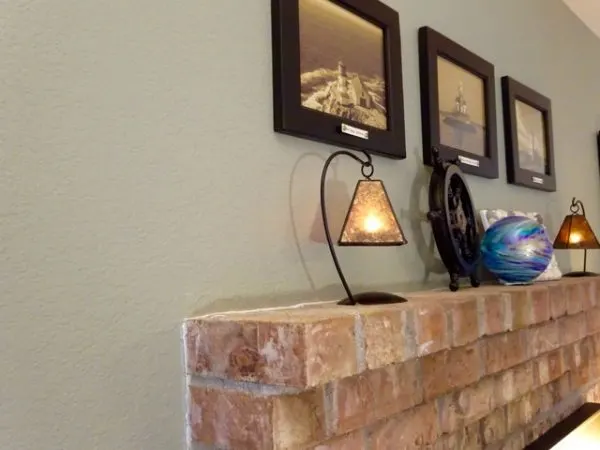
Sepia toned photos create a cohesive look with the red brick fireplace, and sage accent color.
And check out the hearth! After having a gas fireplace insert installed, I covered the ugly aggregate hearth with a concrete skim coat. Check out that project in our Quick and Easy Hearth Update.

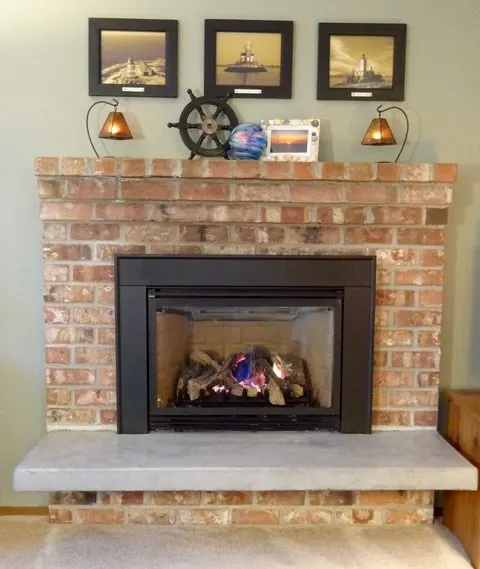
With a simple DIY update, the fireplace hearth looks clean and modern.
Updated Living Room
And that’s the story of my living room update. What do you think? This looks much better than the before picture, right?
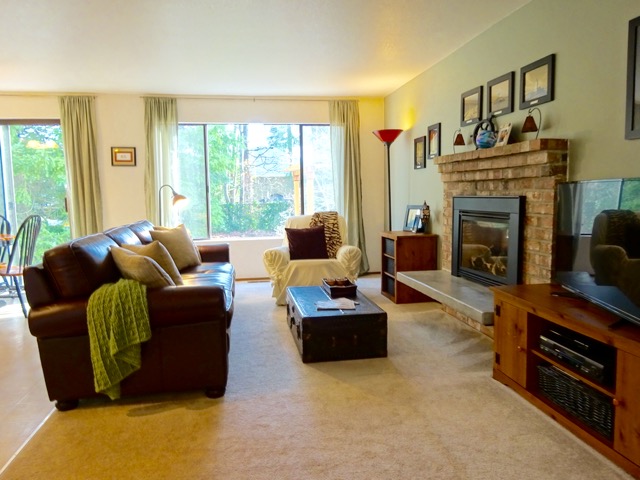

LIVING ROOM AFTER
If you’re living with a tired, outdated living room, I hope you’re feeling inspired to make a change. Let us know how it turns out!


Angie
Thursday 19th of April 2018
It looks beautiful now! I think the fireplace update was inspired, it makes a huge difference. Looks perfect for relaxing after work with a movie and popcorn now x
Jenny
Thursday 19th of April 2018
I just did movie and popcorn last night! Thanks for the compliment.