
If you want to have a more eco-friendly kitchen, then you definitely need reusable food storage solutions. These DIY beeswax food wraps can be used on your bowls to prevent waste and save you money every year.
Forget storing leftover food in plastic bags or aluminum foil! Not only do you spend a lot of money buying zip top plastic bags and rolls of aluminum foil, but they end up in the landfill, too.
Beeswax Food Wraps are a sustainable alternative that saves you money!

If you can turn on your oven, I promise you that you can easily make these beeswax food wrappers!
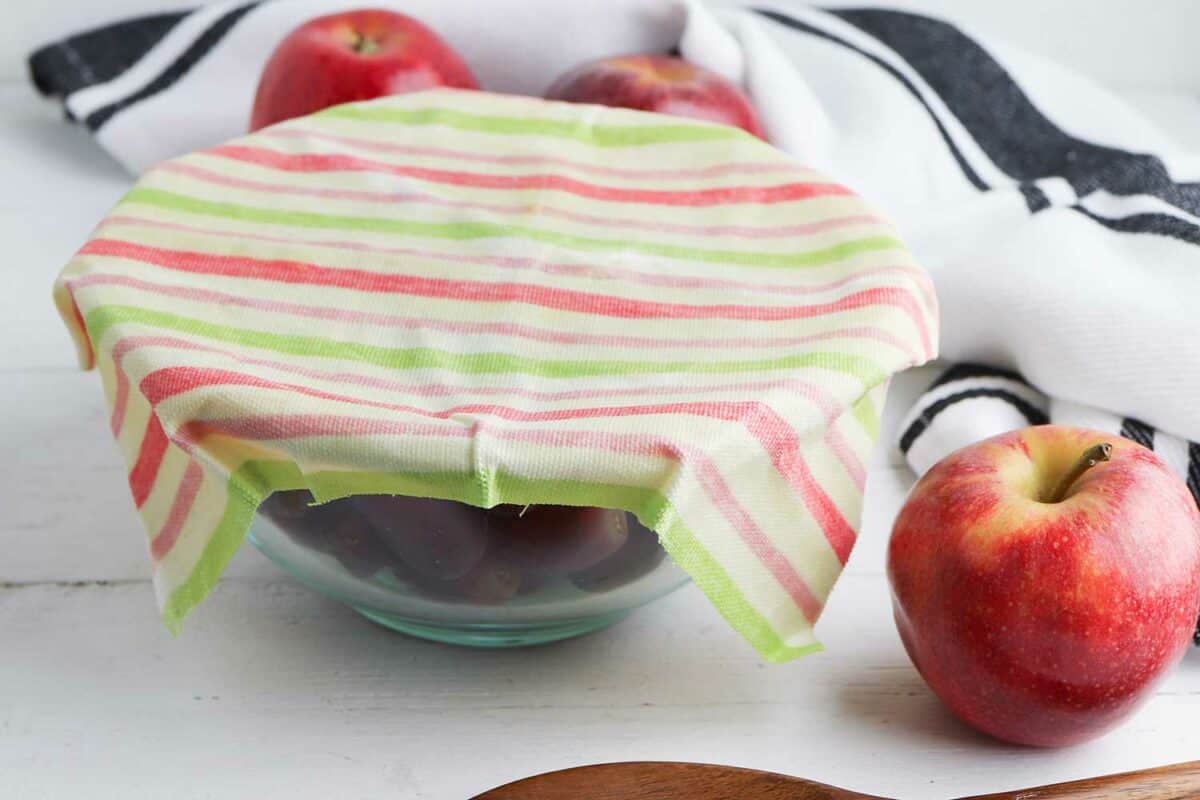
How to Use Beeswax Food Wraps
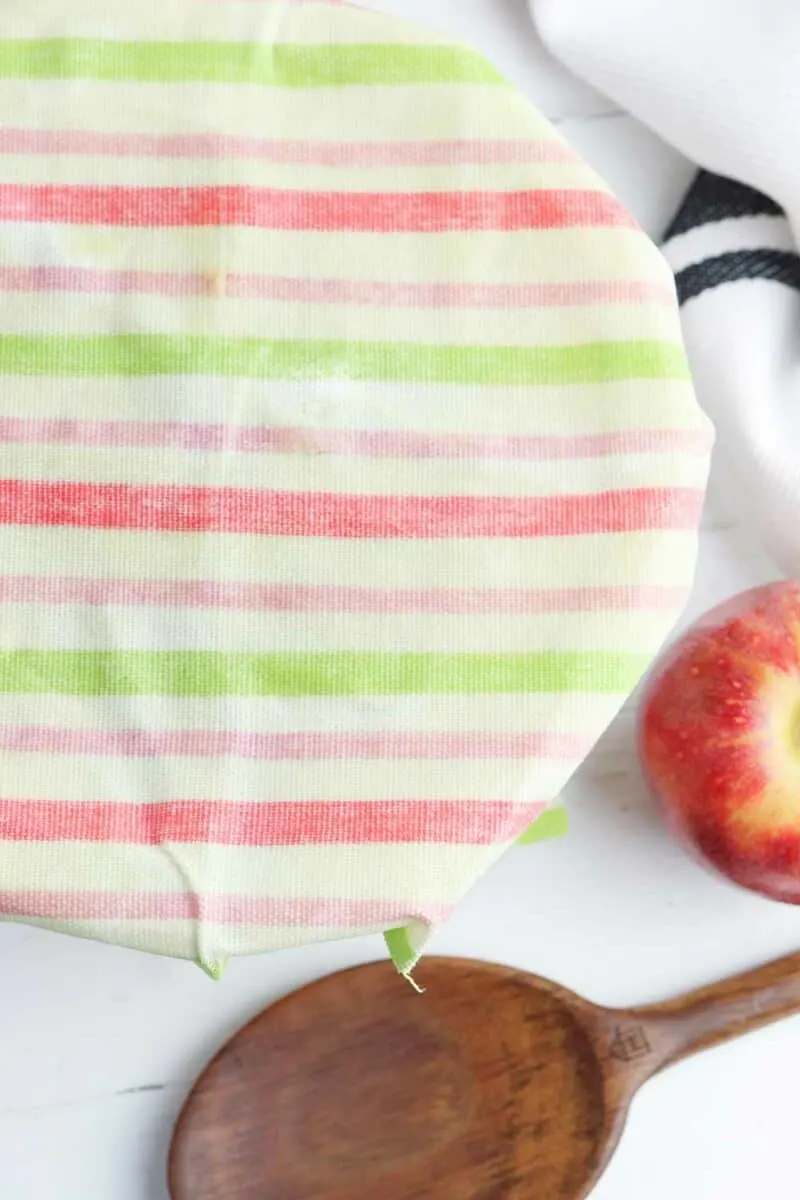
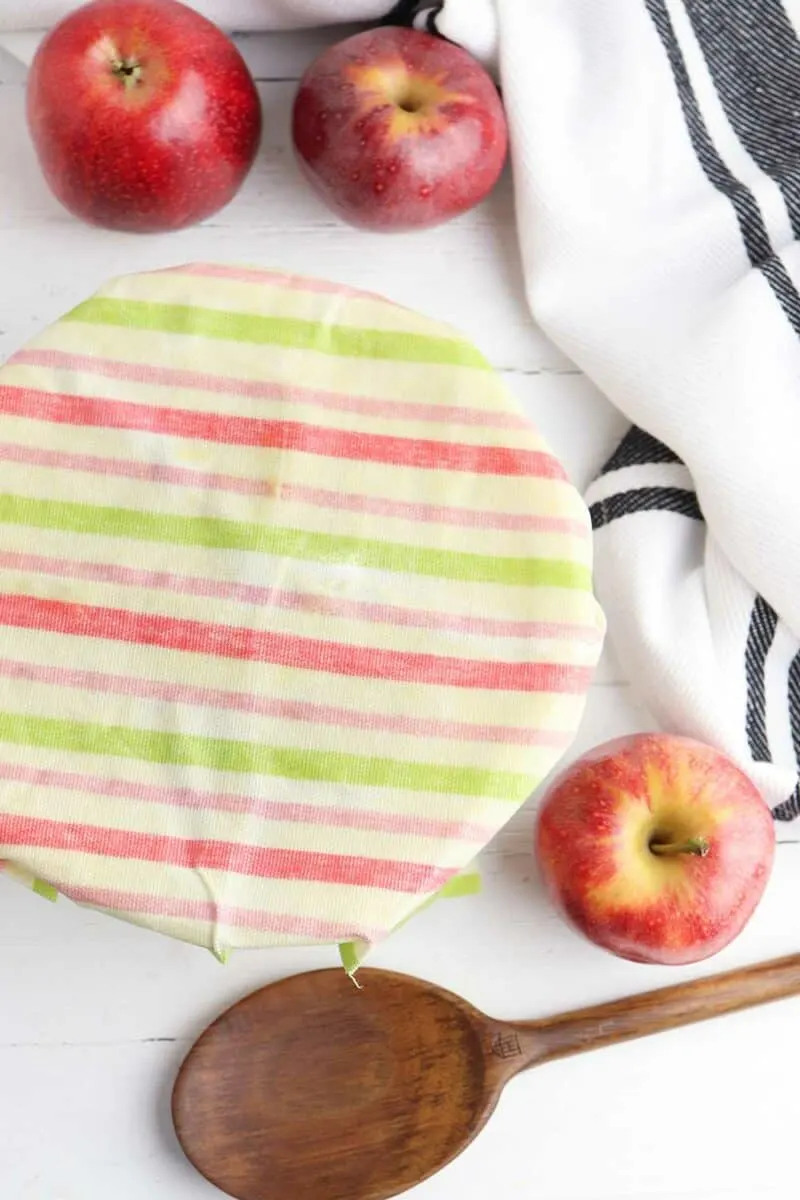
Beeswax food wraps can be bent and shaped to fit over your serving bowls or dishes.
Place the wrap over the top of a bowl or plate. Gently mold the cloth to fold over the edges.
If the beeswax-coated material does not easily bend, place your hands over the fabric for a few minutes to gently warm the beeswax. It should mold easily after being slightly warmed.
These food wrappers can also be used to store sandwiches, snacks and other items that are not in a bowl or serving dish. Just wrap the fabric around the item. Overlap the fabric and gently press down to secure.

How to Store Beeswax Food Wrappers
These food wrappers can lay flat in your drawer for easy storing.
Using beeswax wraps is an unexpected way to get more kitchen storage! No more needing to store lids to bowls!
Keep away from heat, otherwise they may melt. For instance, do not store in a drawer next to the oven if heat from the oven warms the inside of the drawer.
Helpful Tips and Tricks
- Use natural fiber fabric, such as cotton, instead of polyester fabrics
- Wash your fabric first before cutting. This will allow it to shrink (if any) and remove any toxic finishes from the material.
- Use a sturdy material, such as cotton quilting fabrics. Do not use a knit.
- Make a few different sizes for the bowls that you use the most.
- You do not need to finish the edges of the fabric. However, if you would like to prevent any fraying and are handy with a sewing machine, you could always sew a hem.
- Over time, the beeswax coating will wear off. You can refresh your food wrapper by repeating the steps below.

How to Make Beeswax Food Wraps
Supplies
- Cosmetic-grade beeswax pellets
- Cotton fabric (pre-washed and shrunk)
- Scissors
- Paintbrush or foam brush (clean and new)
- Parchment paper
- Baking sheet
- Hanger or clothespins
Instructions
Preheat the oven to 375 degrees.
Cut a piece of cotton fabric wide enough to fit over the top of your bowl with plenty of extra fabric to wrap around the sides.
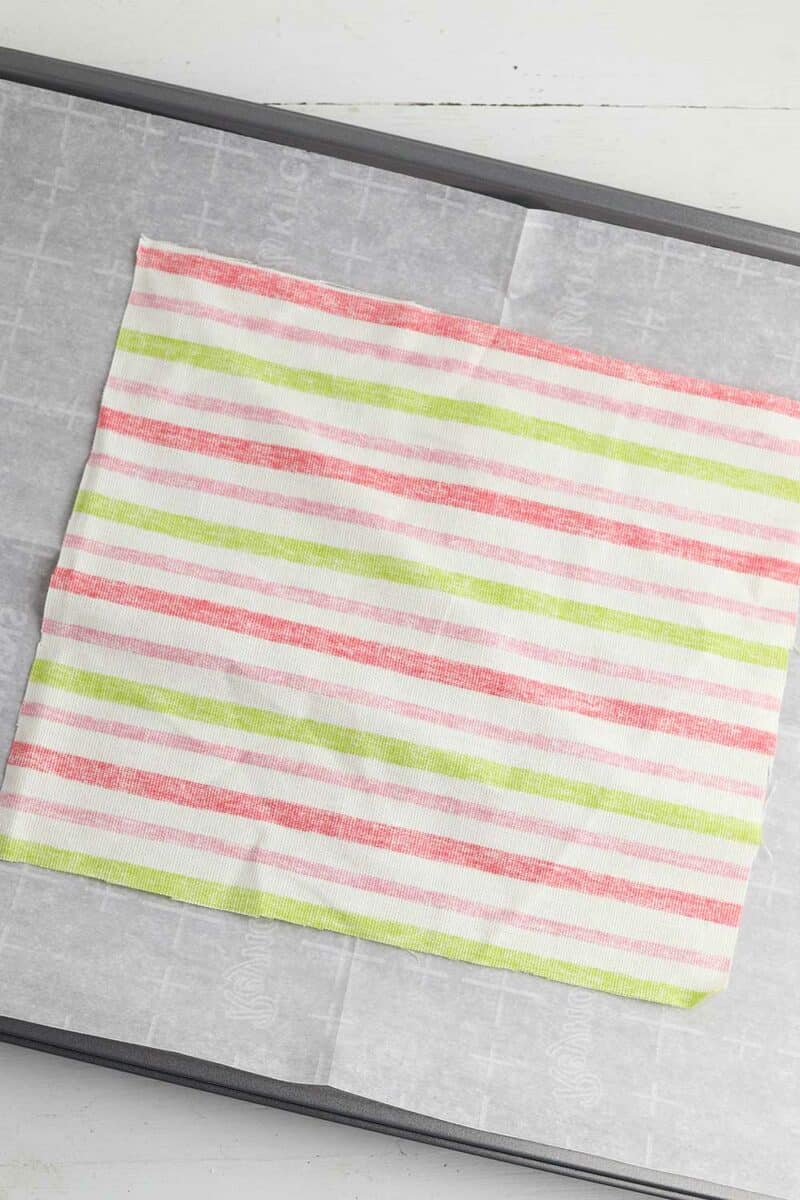
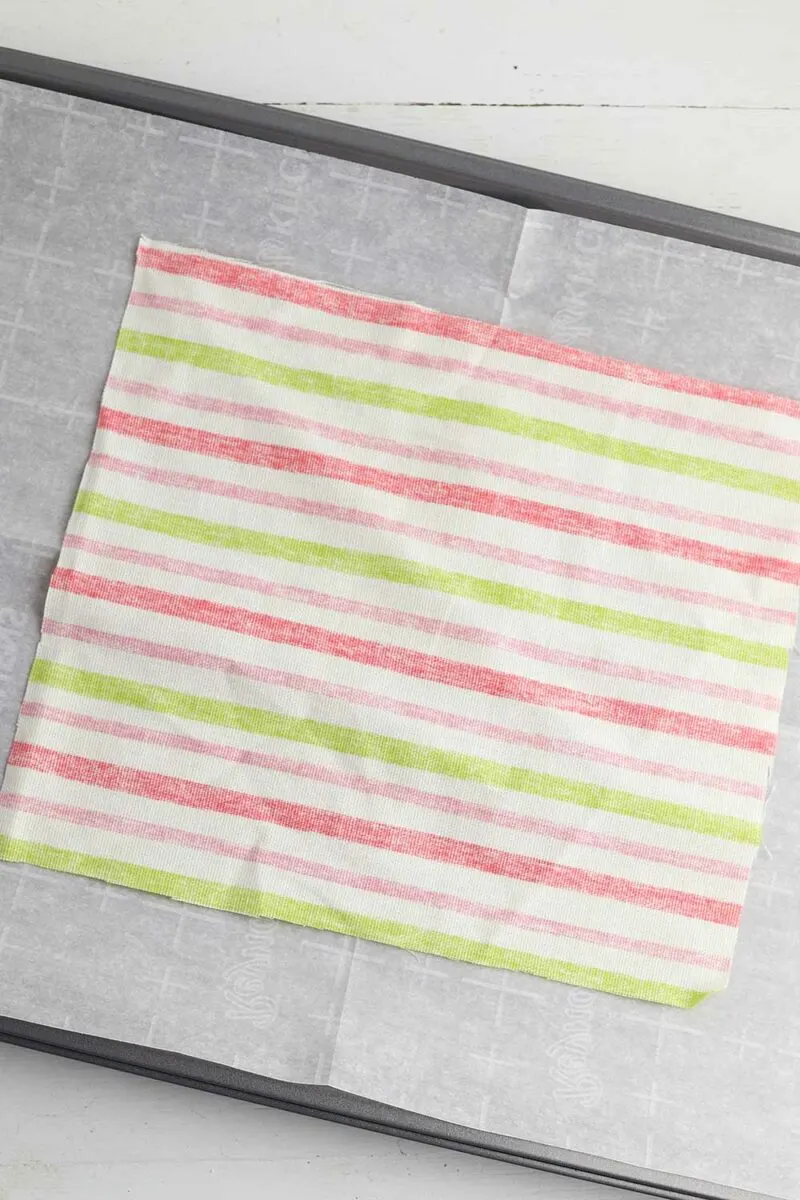
Place a piece of parchment paper on a baking sheet and lay the fabric on top of the parchment paper.
Sprinkle the beeswax pellets evenly over the top of the fabric.

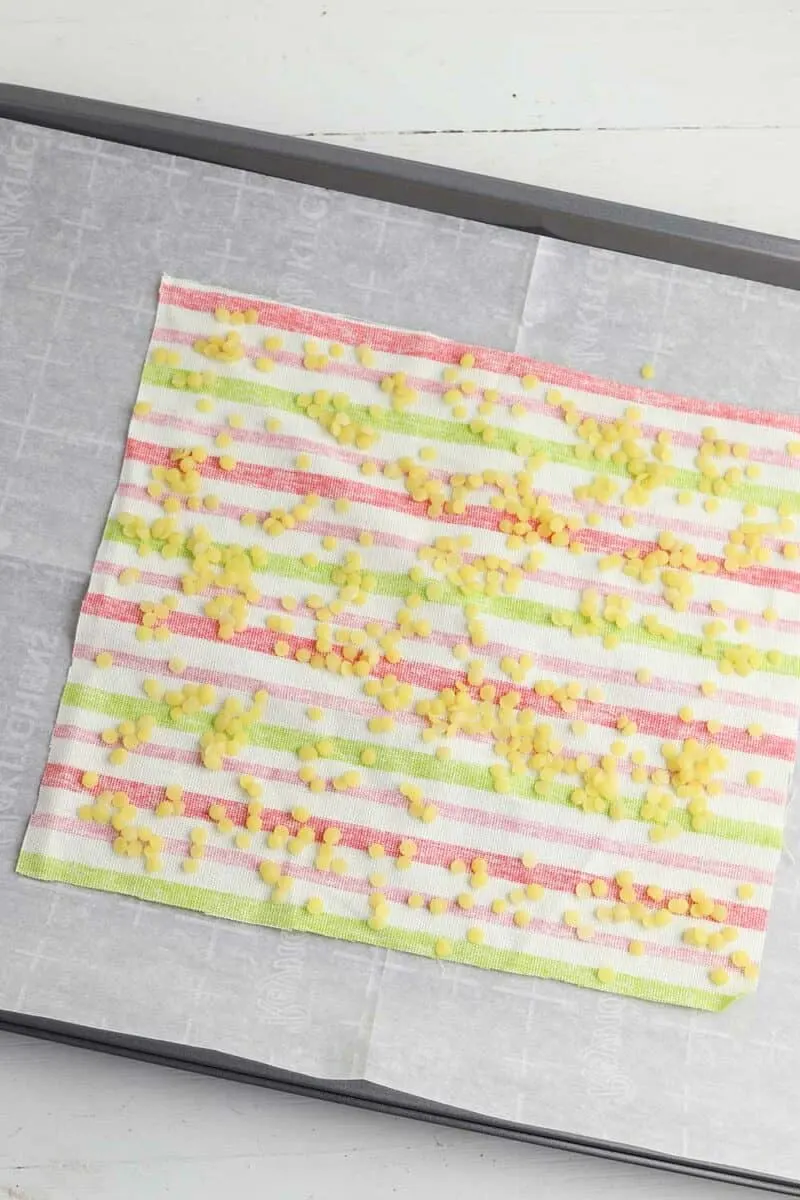
Bake for 5 to 8 minutes, or until the beeswax is melted.
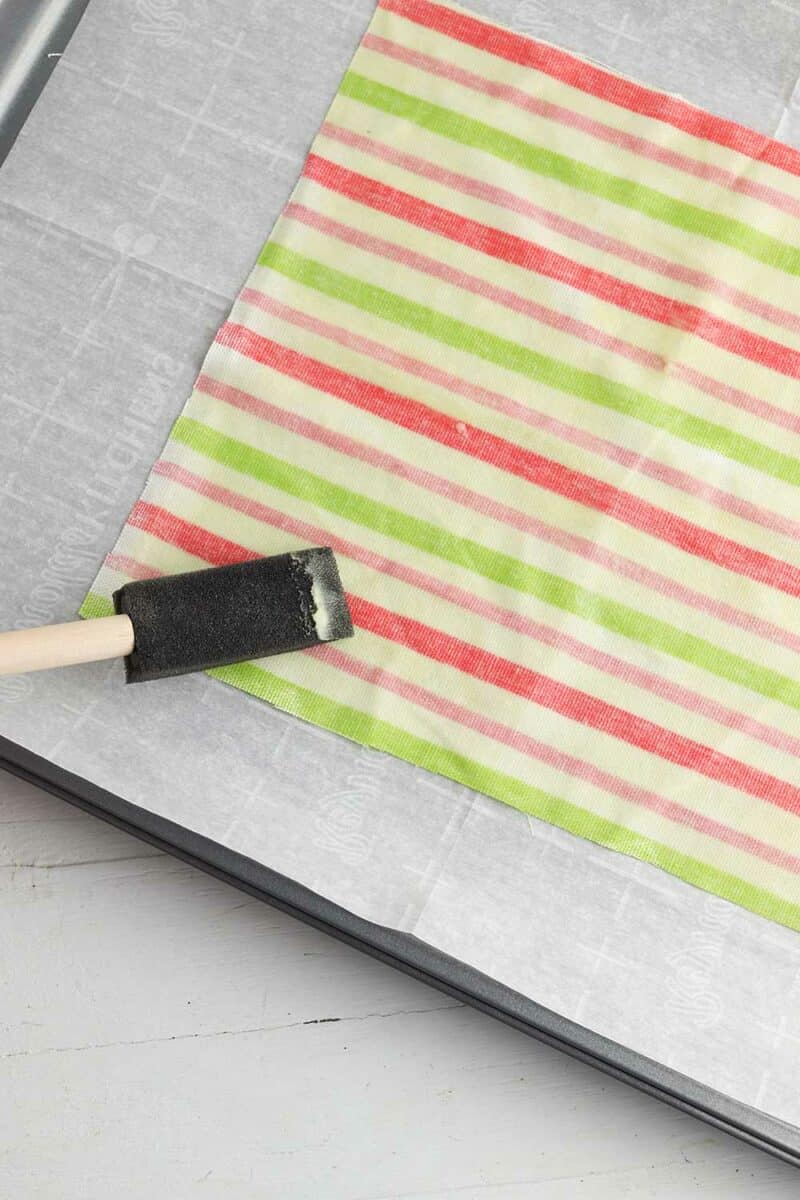
Remove the pan from the oven and use the paintbrush to spread the beeswax evenly over the fabric.

Drape the fabric over a hanger or hang with clothespins to dry. To be safe, place a towel or newspaper underneath the wrap as it dries in case it drips.
If you are making more than one wrap at a time, use a new piece of parchment paper each time you bake.
How to Clean Beeswax Food Wrappers
After using, gently clean the food wraps with soap and water.
Using warm water is fine, but water that is too hot could start to melt the beeswax off.
Do NOT put beeswax food wraps in the dishwasher! The wax will melt off and clog your dishwashing machine.
Allow to air dry before storing. Laying them on one of these small drying racks helps them to dry quicker.
Making beeswax food wraps are quick and easy. You can make quite a few of them in just a few minutes!
However, if you decide not to DIY, you can always buy reusable beeswax food wraps and still save money on your food storage solutions.
Be sure to see our sustainable crafts, including how to upcycle an oatmeal container and a brilliant way to re-use cereal boxes!
